OFFICIAL: Devils in the Dark: Nightfighters!
MichaelSatin
 Campaigns Administrator
Colorado, United States
Joined: January 19, 2008
KitMaker: 3,909 posts
AeroScale: 2,904 posts
Posted: Tuesday, June 25, 2013 - 01:08 PM UTC
Fantastic!
Richard: Great job!
Diego: Keep at it, you'll get there!
Trevor: Nice, that camo is tough to do!
Van: Great work on an old kit!
Pedro: Moving along!
All: I use too many exclamation points!!!!!!!!!!
Seriously, a lot great stuff heading towards the deadline. As I said, we're extended to July 14, but don't slow down. I expect a tremendous
gallery!
Michael

On the bench:
Sorta depends on your definition of "on the bench"...

#305
Christchurch, New Zealand
Joined: February 01, 2006
KitMaker: 1,673 posts
AeroScale: 1,517 posts
Posted: Wednesday, June 26, 2013 - 08:50 PM UTC
Lisboa, Portugal
Joined: August 27, 2010
KitMaker: 679 posts
AeroScale: 669 posts
Posted: Thursday, June 27, 2013 - 08:00 AM UTC
Hi all,
Here goes some few more pics of the job so far...lotta putty as expected

 [url=http://www.flickr.com/people/rochinhas4/]rochaped38
 [url=http://www.flickr.com/people/rochinhas4/]rochaped38
just noticed that the kit only provides the short version rudder, which apparently this version did not used

 [url=http://www.flickr.com/people/rochinhas4/]rochaped38
 no modeling time this weekend, but should get a good work pace during next week
Cheers
Pedro
Maryland, United States
Joined: February 25, 2013
KitMaker: 209 posts
AeroScale: 138 posts
Posted: Friday, June 28, 2013 - 04:38 AM UTC
Back on schedule to start the decals on the Twin Mustang today, more pictures by the end of the weekend.

#226
British Columbia, Canada
Joined: February 20, 2012
KitMaker: 1,909 posts
AeroScale: 508 posts
Posted: Saturday, June 29, 2013 - 02:54 PM UTC
Anything without guns is a target!
27 completed campaigns and counting :)

#392
Hessen, Germany
Joined: January 09, 2013
KitMaker: 696 posts
AeroScale: 608 posts
Posted: Sunday, June 30, 2013 - 12:15 AM UTC
Hi there,
finally I finished my TA-154 just in time. After some broken-off and re-glued radar gear it is ready "to hunt some Mosquitos" :-)
Here is one picture I've taken a few minutes ago. Will put it and some more to the campaign gallery.
Thanks to Michael for a splendid campaign, it was real pleasure.

On the bench:
EE(BAC) Lightning F.2A (Airfix 1:72)
MichaelSatin
 Campaigns Administrator
Colorado, United States
Joined: January 19, 2008
KitMaker: 3,909 posts
AeroScale: 2,904 posts
Posted: Sunday, June 30, 2013 - 03:00 AM UTC
Excellent stuff everyone!
I have extended the campaign two weeks to 14 July so let's get cracking!
Michael
On the bench:
Sorta depends on your definition of "on the bench"...

#305
Christchurch, New Zealand
Joined: February 01, 2006
KitMaker: 1,673 posts
AeroScale: 1,517 posts
Posted: Sunday, June 30, 2013 - 09:38 PM UTC
Cordoba, Argentina
Joined: January 27, 2011
KitMaker: 268 posts
AeroScale: 264 posts
Posted: Sunday, June 30, 2013 - 11:21 PM UTC
Hello,
@Chris, it's a really nice Monogram P-61...!!!

Congrats...!!!!

See You...

Diego
MichaelSatin
 Campaigns Administrator
Colorado, United States
Joined: January 19, 2008
KitMaker: 3,909 posts
AeroScale: 2,904 posts
Posted: Monday, July 01, 2013 - 12:54 AM UTC
Chris,
Absolutely put it in the gallery! You built it, it fits the theme, bang it in there. Great work, by the way!
Michael
On the bench:
Sorta depends on your definition of "on the bench"...
Maryland, United States
Joined: February 25, 2013
KitMaker: 209 posts
AeroScale: 138 posts
Posted: Monday, July 01, 2013 - 02:49 AM UTC
Only made progress on 1 of the 4 sides of the decals this weekend. Getting the decals to snuggle down around the wingtip corners has been an arduous task but I think I will be ready to flip it and do the top side tonight or tomorrow.

Everything else is just about done and waiting for the decals. I'm hoping to finish but it will be a close one for the 14th if the other decals go this slowly.


#226
British Columbia, Canada
Joined: February 20, 2012
KitMaker: 1,909 posts
AeroScale: 508 posts
Posted: Monday, July 01, 2013 - 05:48 AM UTC
Great Job Chris!

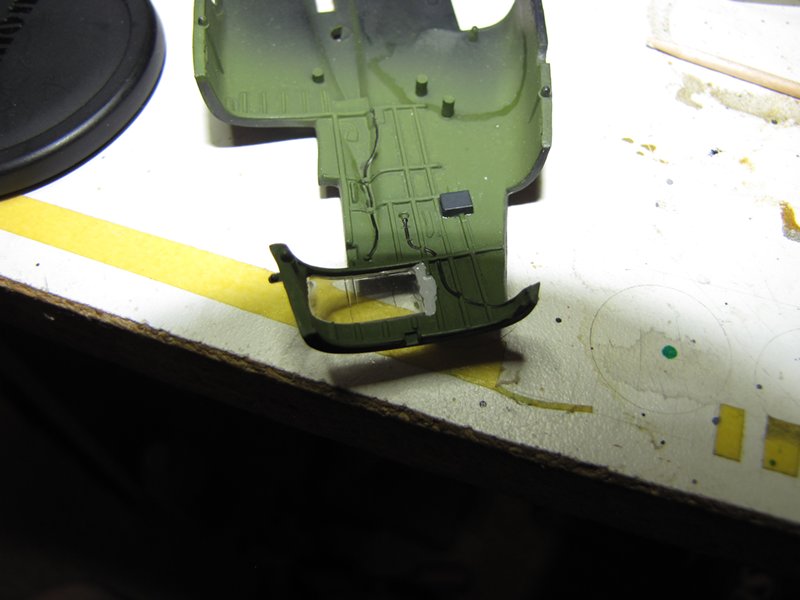
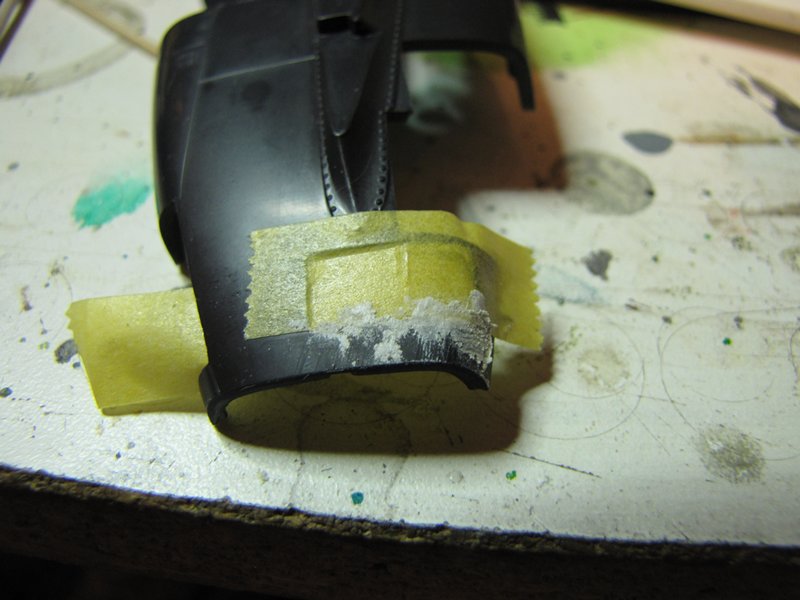
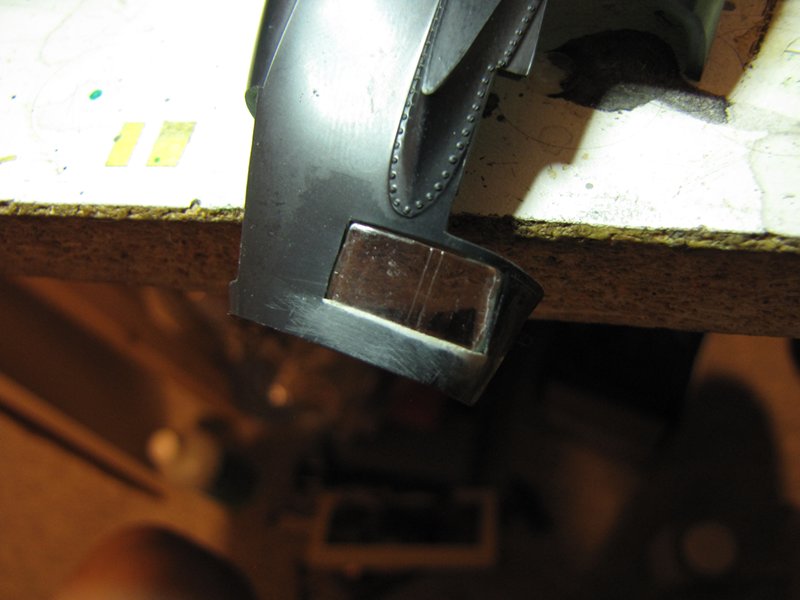
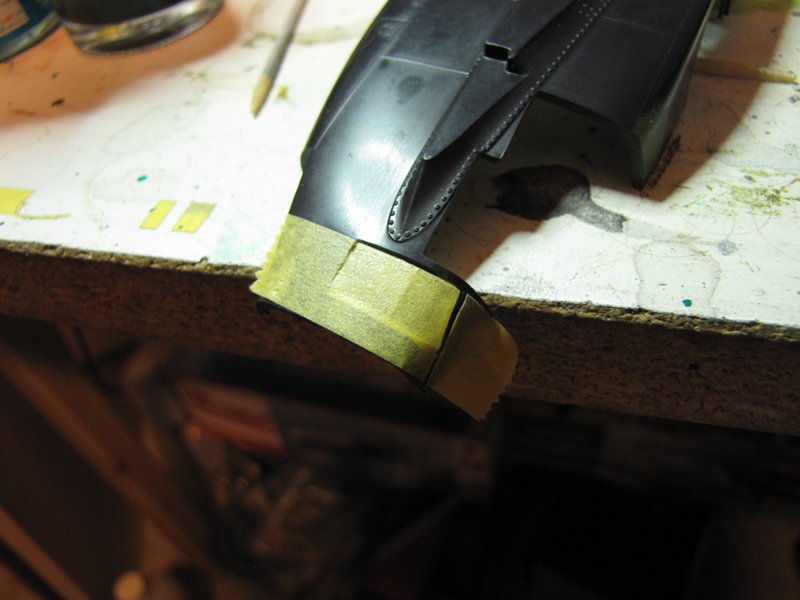
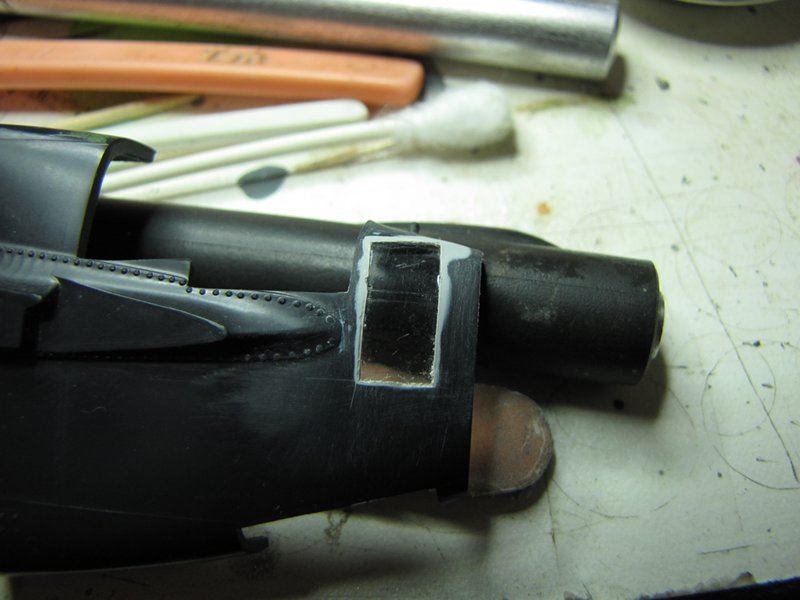
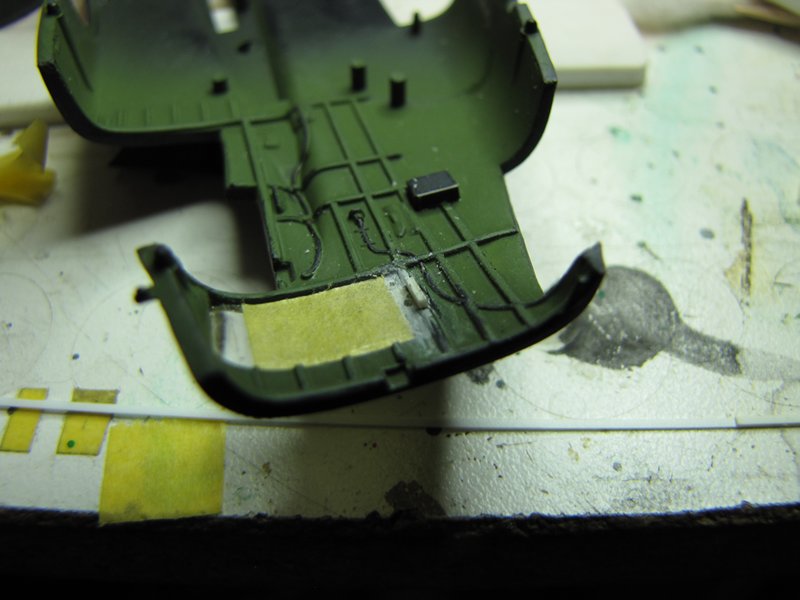
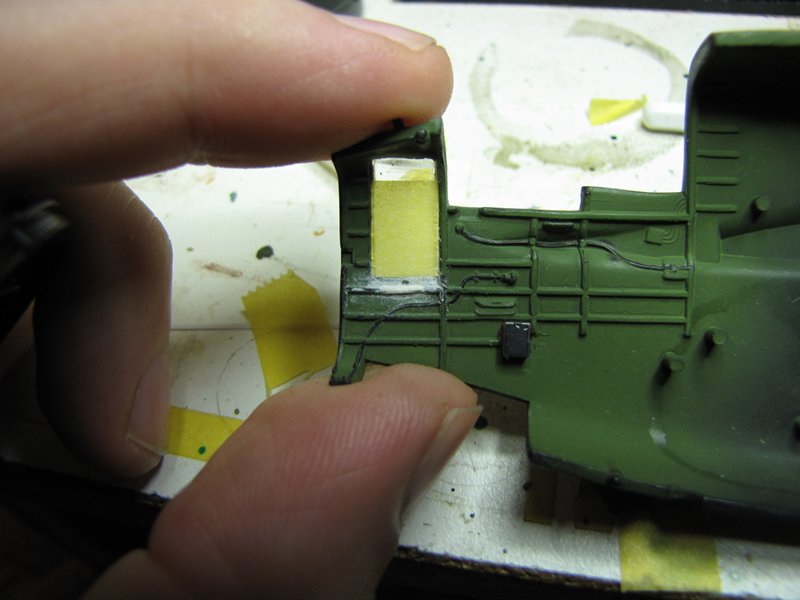
I think I have finished fitting the rear windows

While trying to clean up the first one I messed up I cracked it

so had to take one from my second kit.

I also tried some styrene to fix the missing rib on the inside but this popped off when sanding

so I used putty instead and that worked. A little painting and I can join the fuse.

I was hoping to get a lot more done this weekend but it's been so hot.

Cheers Rob.
Anything without guns is a target!
27 completed campaigns and counting :)

#439
Washington, United States
Joined: November 05, 2005
KitMaker: 4,950 posts
AeroScale: 3,192 posts
Posted: Monday, July 01, 2013 - 07:14 PM UTC
Well, I finally got the wings attached.

Hanger Queens in Waiting:
Monogram 1/72 F8F-1
Corsair the Sky Pirate - 1/72 Ace A-7D
Century Series - Airfix 1/72 F-105G
Anti Shipping - Academy 1/72 PBJ-1D
Academy 1/72 F-84E

#305
Christchurch, New Zealand
Joined: February 01, 2006
KitMaker: 1,673 posts
AeroScale: 1,517 posts
Posted: Thursday, July 04, 2013 - 08:38 PM UTC
Hi Guys just tried to upload pics to the gallery but I find I can't, I'm assuming it's because the gallery is now closed?
Maryland, United States
Joined: February 25, 2013
KitMaker: 209 posts
AeroScale: 138 posts
Posted: Friday, July 05, 2013 - 01:25 AM UTC
Closing in on the finish line, fuselage decals start later today and all the other odds and ends are about done. The date was extended to the 14th so the gallery shouldn't be closed.


MichaelSatin
 Campaigns Administrator
Colorado, United States
Joined: January 19, 2008
KitMaker: 3,909 posts
AeroScale: 2,904 posts
Posted: Friday, July 05, 2013 - 04:19 AM UTC
The
gallery remains open, so keep on working, it's looking good so far.
Michael
On the bench:
Sorta depends on your definition of "on the bench"...

#305
Christchurch, New Zealand
Joined: February 01, 2006
KitMaker: 1,673 posts
AeroScale: 1,517 posts
Posted: Friday, July 05, 2013 - 08:11 AM UTC
Hi Michael that's great about the gallery! Can someone explain what I might be doing wrong or the steps I might be missing as I keep getting the error message "The category you chose for this photo can't contain photos."
MichaelSatin
 Campaigns Administrator
Colorado, United States
Joined: January 19, 2008
KitMaker: 3,909 posts
AeroScale: 2,904 posts
Posted: Friday, July 05, 2013 - 08:30 AM UTC
Quoted Text
Hi Michael that's great about the gallery! Can someone explain what I might be doing wrong or the steps I might be missing as I keep getting the error message "The category you chose for this photo can't contain photos."
No idea, it worked fine for me. You're logged in when you're viewing the gallery, right?
Michael
On the bench:
Sorta depends on your definition of "on the bench"...
Maryland, United States
Joined: February 25, 2013
KitMaker: 209 posts
AeroScale: 138 posts
Posted: Friday, July 05, 2013 - 11:58 AM UTC
3/4 of the way there! Now we play the waiting game while this side dries, I expect to be able to do the other side of the fuselage Sunday or Monday.

Tennessee, United States
Joined: September 20, 2005
KitMaker: 1,747 posts
AeroScale: 1,673 posts
Posted: Friday, July 05, 2013 - 12:08 PM UTC
Peter your Moskito, looks great! It probably was a good thing for the allied air offensive at night that this bird didn't see production. I believe the glue which bonded the wood together for the wings was actually corrosive, wasn't it?
Chris, keep up the good work on the P-61.
Pedro, an interesting subject indeed, looking forward to seeing the build.
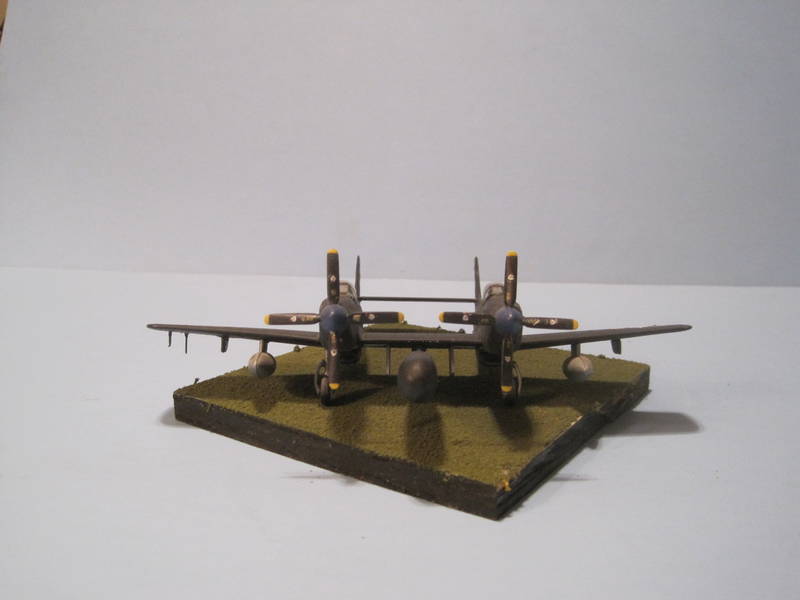
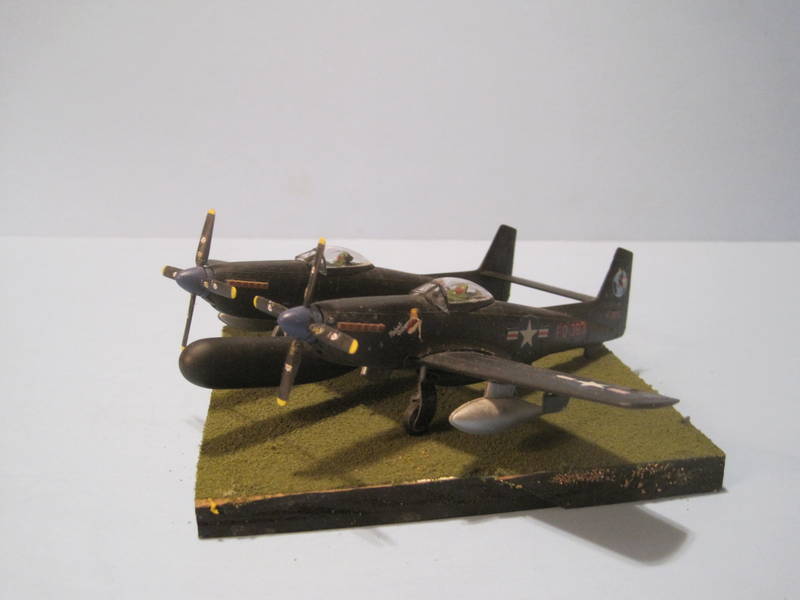
Van, I have the same kit. I had the Revell kit once before and had to cobble together decals to get my aircraft finished. I will post a couple of shots of the F-82. I think yours looks better. Good job. Russell

To Thine Own Self Be True
Siderius
A.K.A., RTA
Stockholm, Sweden
Joined: October 24, 2012
KitMaker: 202 posts
AeroScale: 92 posts
Posted: Friday, July 05, 2013 - 01:30 PM UTC
Tennessee, United States
Joined: September 20, 2005
KitMaker: 1,747 posts
AeroScale: 1,673 posts
Posted: Friday, July 05, 2013 - 01:43 PM UTC
Wow, Jakob, great looking Mosquito there. Really like the Swedish markings. The right scale too.

Of course I am partial to 72 scale. Good work. Russell
To Thine Own Self Be True
Siderius
A.K.A., RTA

#305
Christchurch, New Zealand
Joined: February 01, 2006
KitMaker: 1,673 posts
AeroScale: 1,517 posts
Posted: Friday, July 05, 2013 - 05:07 PM UTC
HI Guys and Girls .... yes most definitely logged in! I also seem to be unable to load pics to my own galleries .... I wonder if a restart is in order? .... Okay here goes....
Stockholm, Sweden
Joined: October 24, 2012
KitMaker: 202 posts
AeroScale: 92 posts
Posted: Friday, July 05, 2013 - 10:13 PM UTC
Thanks Russell! it did turn out good in the end.
Jakob
Lisboa, Portugal
Joined: August 27, 2010
KitMaker: 679 posts
AeroScale: 669 posts
Posted: Saturday, July 06, 2013 - 03:19 AM UTC
Hi All,
Just a week from deadline right? guess I have a pretty good chance of having the honour to post the last photo of this campaign

.
Here's an update...lot's of putty, evergreen and sanding to get all those line junctions smooth, latter today and tomorrow time for rescribing lost lines and scribing new fuel tank lines omitted from the kit itself with the help from AIMS templates.
After this, fun time with all painting
Thanks everyone for the feedback posted


[url=http://www.flickr.com/people/rochinhas4/]rochaped38really ugly gaps on both engine slots
 [url=http://www.flickr.com/people/rochinhas4/]rochaped38
 [url=http://www.flickr.com/people/rochinhas4/]rochaped38
minor adjustments needed to fit the solid resin cast Berlin radar nose cap
 [url=http://www.flickr.com/people/rochinhas4/]rochaped38
Cheers
Pedro


