OFFICIAL: Devils in the Dark: Nightfighters!
New York, United States
Joined: March 08, 2010
KitMaker: 3,662 posts
AeroScale: 174 posts
Posted: Tuesday, January 08, 2013 - 03:16 PM UTC
Ok I see some folks are getting off to a good start here and I was able to start today as well
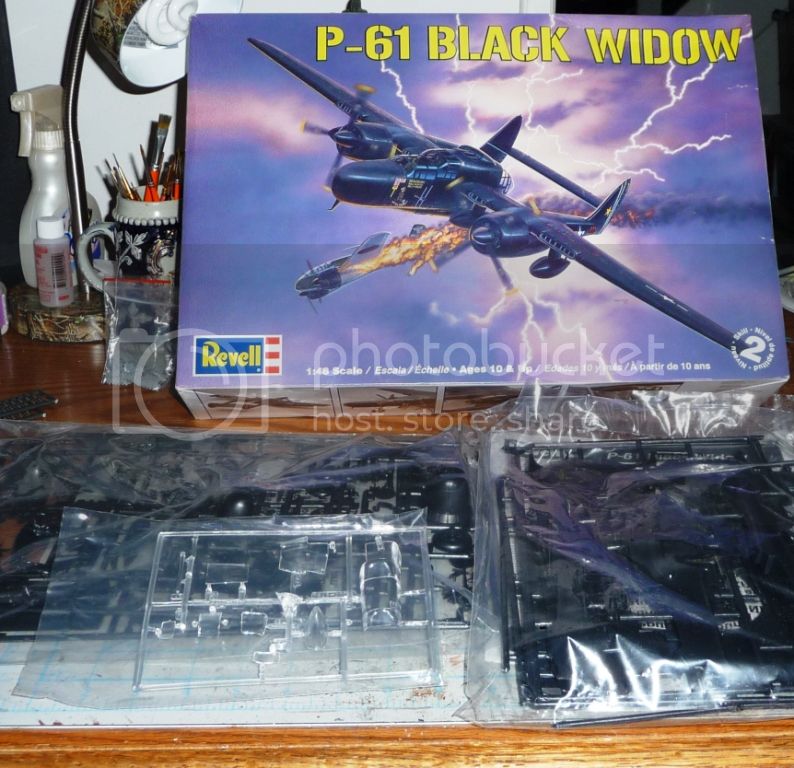
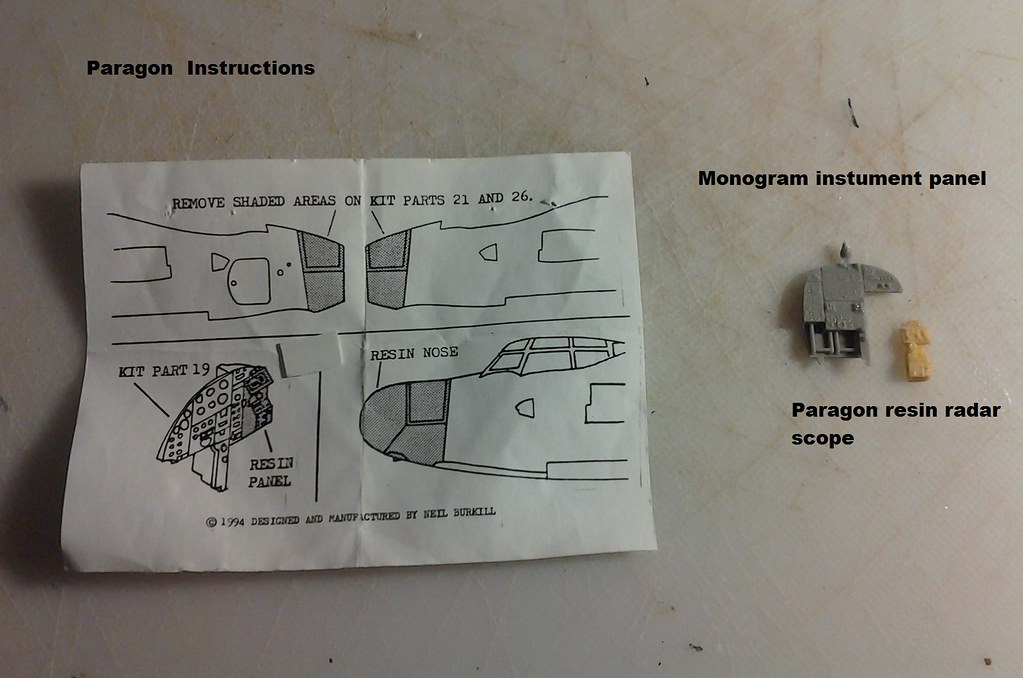
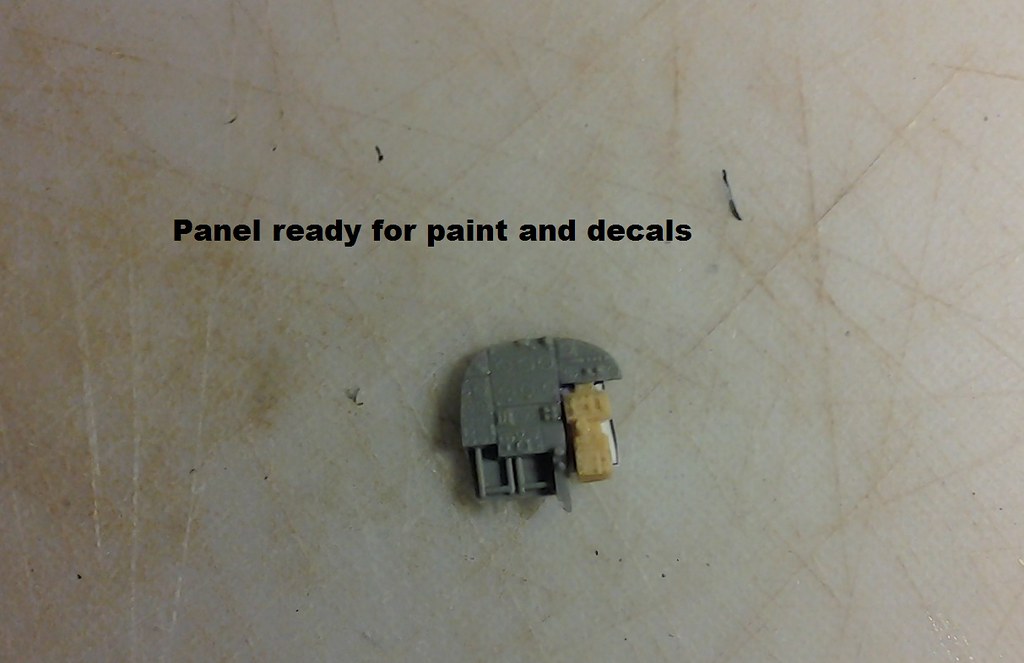
This is I believe the old Monogram kit that I always wanted to build as a kid but couldn't afford

and HOLY FLASH Batman there is a lot and lots of pin marks too

This will be an OOB build, Got the cockpit assembled today will prime it tomorrow more photos to follow

Active Campaigns on the bench:
Operation Fall Gelb - Pz.Kpfw. IV Ausf. C
Engineering the Future - M-26 Recovery Vehicle
115 Campaigns completed
New Hampshire, United States
Joined: November 09, 2008
KitMaker: 615 posts
AeroScale: 459 posts
Posted: Thursday, January 10, 2013 - 02:32 AM UTC
P-61 Black Widows, the Group Build
Veni, Vidi, Velcro; I came, I saw, I stuck around

#243
England - North East, United Kingdom
Joined: March 21, 2008
KitMaker: 996 posts
AeroScale: 915 posts
Posted: Thursday, January 10, 2013 - 04:04 AM UTC
Hi everybody I won't be starting till I've got the Halifax and DH88 out of the way. Model is Great Wall P-61 in 1/48, it'll be BIG.
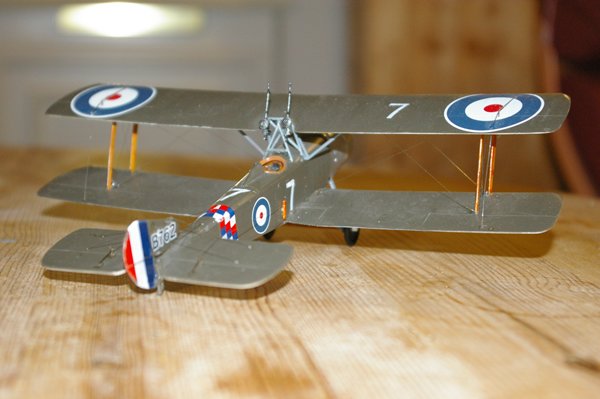
Mike, I built that kit a couple of years ago and it went together well right up to the decals, which fell apart on me. I eventually borrowed a pair of Eduard cockade decals from a Biff but so far haven't been able to replace them. The problem with the 1 1/2 strutter in service was too low a service ceiling, especially with two guns fitted. It was a 1915 aircraft that was obsolete by 1917. Looks great though.
Plan your rigging early and have a good supply of fine drills. There are several techniques but all the decent ones need drill holes to attach wires to plastic. I tried the technique in Terri's (the expert) article using hooks and Qtips without too much success, but when it works it looks good as the Qtip retainers look like turnbuckles. However, most RAF aircraft have streamline wires, which do not have turnbuckles, so I usually drill the attachment points and pass the wire through the hole secured with cyano. A clothes peg on the end provides sufficient tension. Cut the trailing end off after 24 hours and a dap of filler and a rub down takes care of the hole. It is worth fitting wires that come out of the fuselage before assembly, or as in my I-15 drill and pass the wire after assembly, then fish for the end with tweezers through the hole where the engine mounted, pull them out and knot them with a blob of cyano then pull back. I use invisible mending thread, one reel has done loads of models and costs very little. I also usually assemble the lower wing, fuselage and tail and paint the upper side, and paint the underside of the upper wing. Then, assemble the wings, I use Lego to jig them so they come out staight and parallel. Rig and finish the painting. If you plan ahead it is not too difficult. Enjoy it, it is a great kit and if you need anything, ask.
Andrew
Pfalz DIIIa, Eduard 1/48 Uffz Max Hitschler Jasta 18 Late 1917

#439
Washington, United States
Joined: November 05, 2005
KitMaker: 4,950 posts
AeroScale: 3,192 posts
Posted: Thursday, January 10, 2013 - 08:18 AM UTC
Wow, a great idea (new to me at least) hidden in this gem:
Quoted Text
Then, assemble the wings, I use Lego to jig them so they come out staight and parallel.
Wow, now that my modeling area is littered with the grandkids' Legos I'll never run out of jigs.

Hanger Queens in Waiting:
Monogram 1/72 F8F-1
Corsair the Sky Pirate - 1/72 Ace A-7D
Century Series - Airfix 1/72 F-105G
Anti Shipping - Academy 1/72 PBJ-1D
Academy 1/72 F-84E
Western Australia, Australia
Joined: September 05, 2012
KitMaker: 74 posts
AeroScale: 28 posts
Posted: Thursday, January 10, 2013 - 08:33 PM UTC
Hi All
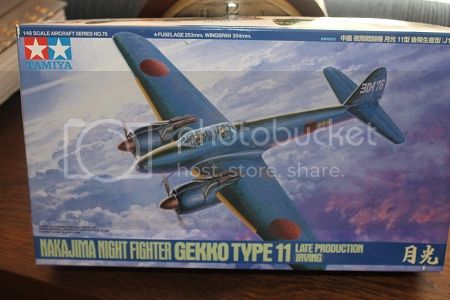
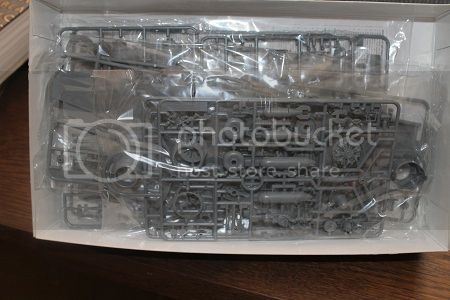
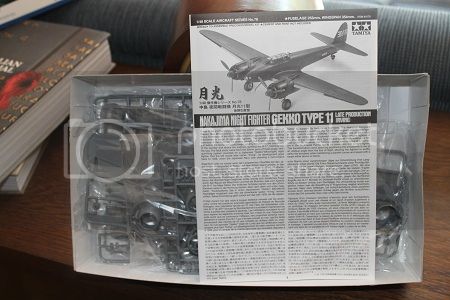
This is what I will be building:
Cheers
Shufite
On the bench:
StuG. III Ausf G. Early Production 1/35 Dragon
Messerschmitt Bf109-G4 "Regia Aeronautica" 1/48 Hasegawa

#439
Washington, United States
Joined: November 05, 2005
KitMaker: 4,950 posts
AeroScale: 3,192 posts
Posted: Friday, January 11, 2013 - 04:22 AM UTC
Managed to find all of the cockpit pieces of the P-61 and gave them a coating of interior green.
FWIW, When I was installing the canopies on my Kingfisher, the water based adhesive I was using lifted all of the acrylic paint I had used in the cockpit, so this time everything is enamel.
Hanger Queens in Waiting:
Monogram 1/72 F8F-1
Corsair the Sky Pirate - 1/72 Ace A-7D
Century Series - Airfix 1/72 F-105G
Anti Shipping - Academy 1/72 PBJ-1D
Academy 1/72 F-84E
MichaelSatin
 Campaigns Administrator
Colorado, United States
Joined: January 19, 2008
KitMaker: 3,909 posts
AeroScale: 2,904 posts
Posted: Friday, January 11, 2013 - 12:20 PM UTC
Quoted Text
Hello!
Will an AR240 C work? I built one way back, and have one in my stash now to try and see how much (and if) my aircraft modelling has improved.
I guess it was a hypothetical use for a prototype plane that never made it to prodution. But it did make it into plastic!
- Steve
Steve,
I've been thinking about it and seeing as the nightfighter was a possible variant for the aircraft, the prototype of which wasn't built that way, I'm afraid I have to see that as a what-if, which is not allowed in the campaign. Sorry about that. Hopefully you can come up with something else!
Michael
On the bench:
Sorta depends on your definition of "on the bench"...
New York, United States
Joined: March 08, 2010
KitMaker: 3,662 posts
AeroScale: 174 posts
Posted: Friday, January 11, 2013 - 02:38 PM UTC
Active Campaigns on the bench:
Operation Fall Gelb - Pz.Kpfw. IV Ausf. C
Engineering the Future - M-26 Recovery Vehicle
115 Campaigns completed
Pennsylvania, United States
Joined: June 17, 2009
KitMaker: 566 posts
AeroScale: 507 posts
Posted: Saturday, January 12, 2013 - 12:46 PM UTC
Thanks for the tips on the build Andrew! and thanks for the pics of one of these kits finished, seems like most ended up shelved so this is encouraging. Lately Ive been leaning toward building the single gun scheme since this was documented as having participate in an intercept. Im also going to go the mask/paint route for the roundels since the white outline on mine is out of register.
I havent got the ball rolling yet, lots of parts off sprues and cleaned up. some test fitting, checking and double checking references (the datafile drawings concerning the elevator rigging do not match the period photos. kit has both)so I have details to alter. Still plotting and planning the interior. I cut the seat down but am still not happy with the shape so I may scratch build one, at least its not wicker!
"...Fat, drunk, and stupid is no way to go through life son"
European Union
Joined: August 09, 2009
KitMaker: 1,732 posts
AeroScale: 1,336 posts
Posted: Saturday, January 12, 2013 - 11:27 PM UTC
Sal, a P-61 is always a great and rare sight, especially in 1/48! The old Monogram kit (c 1974!) has its issues, so don't get desperate during the build, it's worth all the pain! I've built 2 of these beauties in 2010 within 8 weeks. If you like have a look at the
Twin Boom Campaign starting from page 3.
Well, a little update from my Tigerkitty. Got some white primer and the nose covered with Parafilm ....
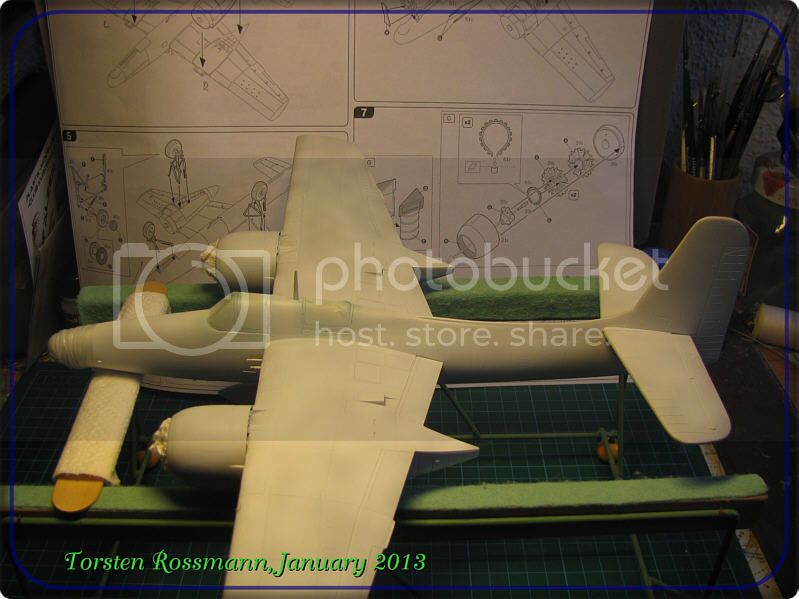
.... big black cat with a little white nose ....


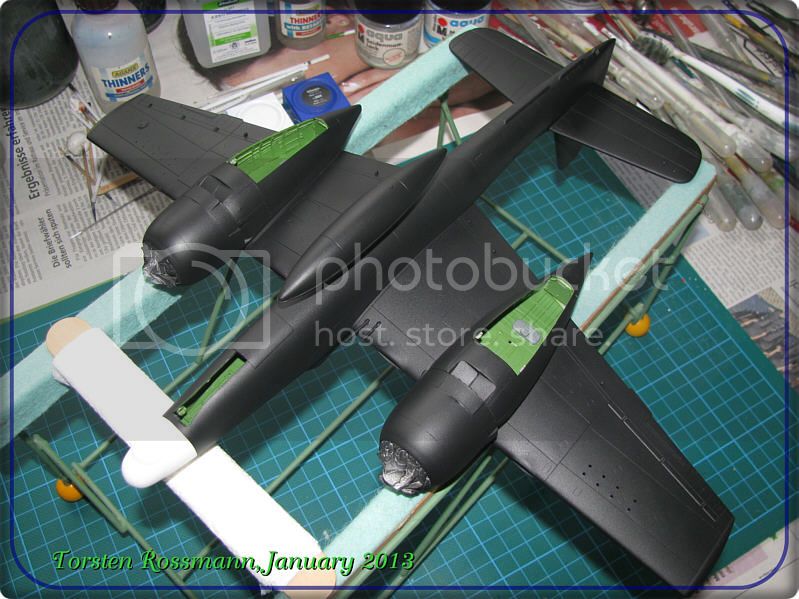
Next step is attaching the landing gear. Wish me luck!
Torsten

My campaigns for 2020:
MiGs - Done !
The Big Three - Done !
65 years Bundeswehr - Done !
40 years Leopard 2 - Done !
Land Lease - Done !
European Union
Joined: August 09, 2009
KitMaker: 1,732 posts
AeroScale: 1,336 posts
Posted: Sunday, January 13, 2013 - 06:00 AM UTC
Just made a quick gear load test and ....
SHE IS NO TAILSITTER !!!!

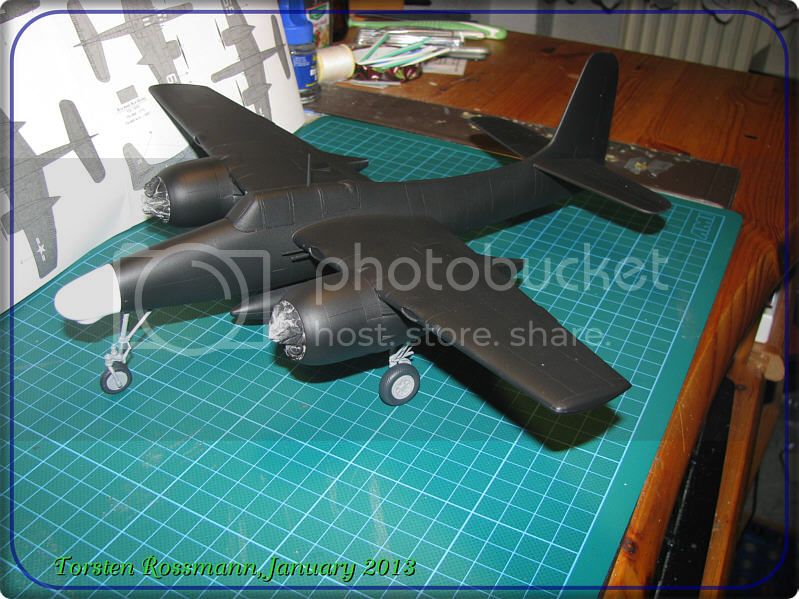
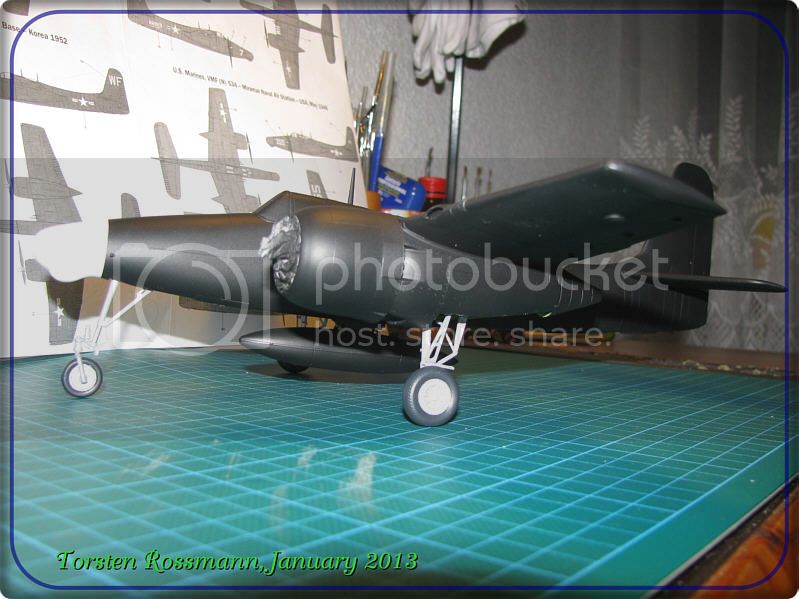
Now go back on the rack! Here kitty kitty!

Torsten

My campaigns for 2020:
MiGs - Done !
The Big Three - Done !
65 years Bundeswehr - Done !
40 years Leopard 2 - Done !
Land Lease - Done !
Cordoba, Argentina
Joined: January 27, 2011
KitMaker: 268 posts
AeroScale: 264 posts
Posted: Sunday, January 13, 2013 - 09:29 AM UTC
Hi,
WOW...!!! Torsten, your built is efficient & effective, like allways..

I likes your Kitty...

I got my Engine, for my Fiat...

It is not a great resin piece...

But it's my first engine in resin too...

Preserved in adecuate plastic continer...
See you later

Diego
Stockholm, Sweden
Joined: October 24, 2012
KitMaker: 202 posts
AeroScale: 92 posts
Posted: Sunday, January 13, 2013 - 01:27 PM UTC
So I have finally began being stuck with several math exam until a couple of days ago. I’m also building a Mosquito specifically an NF. MK XIX using a Tamiya kit as a base. I’m planning to build it in Swedish colors designated the
J 30 by the Swedish air force.
For the build I’m going to use:
Tamiya 1/72 D.H Mosquito NF .MK XIII/XVII
Aires Cockpit
True details wheels
Quickboost exhaust
Maestro models J 30 decals
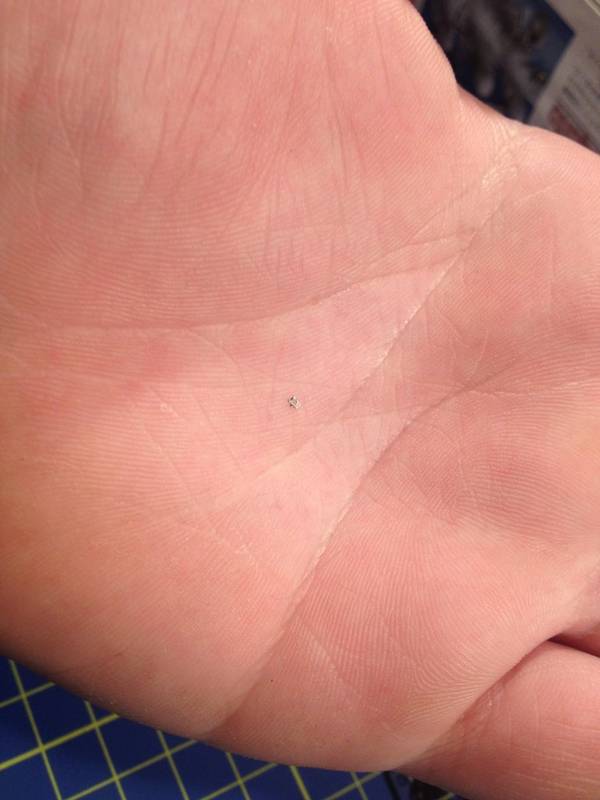
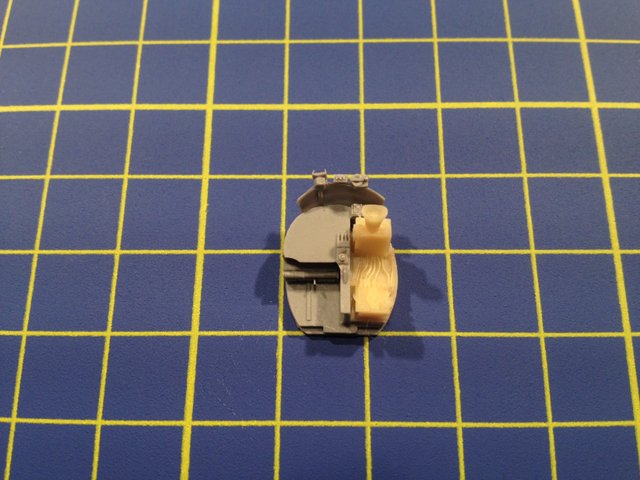
Some pics
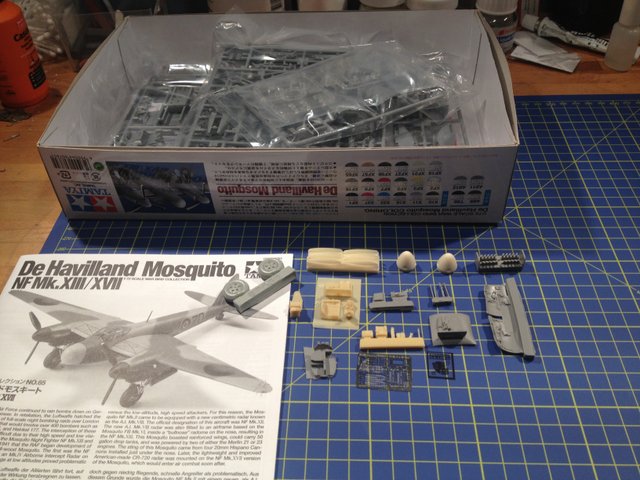
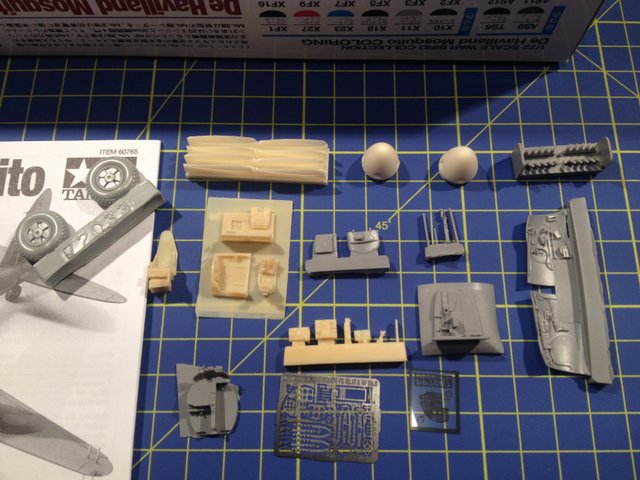
The cockpit contains some really TINY parts
Have began building the cockpit
Jakob

#226
British Columbia, Canada
Joined: February 20, 2012
KitMaker: 1,909 posts
AeroScale: 508 posts
Posted: Sunday, January 13, 2013 - 03:36 PM UTC
Lot's of good progress so far!

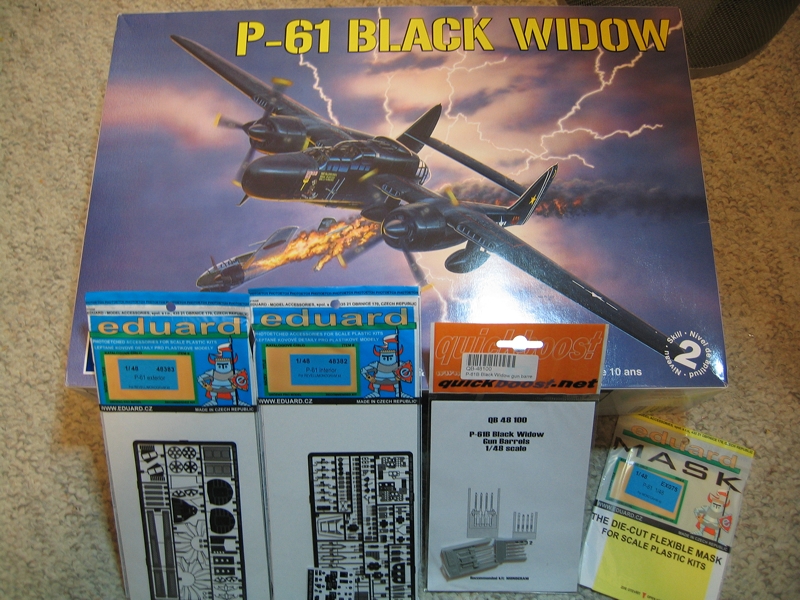
This is what I will build for the campaign.
Cheers Rob.
Anything without guns is a target!
27 completed campaigns and counting :)
AussieReg
 Associate Editor
#007
Victoria, Australia
Joined: June 09, 2009
KitMaker: 8,156 posts
AeroScale: 3,756 posts
Posted: Sunday, January 13, 2013 - 03:41 PM UTC
I love this thread, lots of nightfighters, especially lots of Black Widows !! Torsten, VERY disappointed that you didn't join the party, but your Tigercat is looking very nice indeed.
That being said, if I can get myself into gear I might join with a P-70, but no promises.
Cheers, D

ON the bench
Revell 1/24 '53 Corvette (building as '54)
Revell 1/24 BMW 507 Coupe and Cabrio
Italeri 1/48 Me262 B-1a/U1 Nightfighter
Monogram 1/24 '57 Chevy Nomad
Dragon 1/350 USS Frank Knox DD-742
Ontario, Canada
Joined: February 04, 2008
KitMaker: 2,507 posts
AeroScale: 1,814 posts
Posted: Thursday, January 17, 2013 - 12:36 PM UTC
" The Die Hards"
43rd MIDDLESEX REGIMENT
MACHINE GUN CORPS
XXX CORP
The most effective way to do it, is to do it.
- Amelia Earhart
Frederiksborg, Denmark
Joined: June 27, 2011
KitMaker: 122 posts
AeroScale: 121 posts
Posted: Saturday, January 19, 2013 - 01:33 AM UTC
Hi,
A lot of great work being done here. I'm looking forward to see a lot of great finished models!
I will be building the Eduard Messerschmitt Bf 110 Royal Class kit. This one has been lying under my working table for ages. The box has seen better days, but the plastic inside is in mint condition!
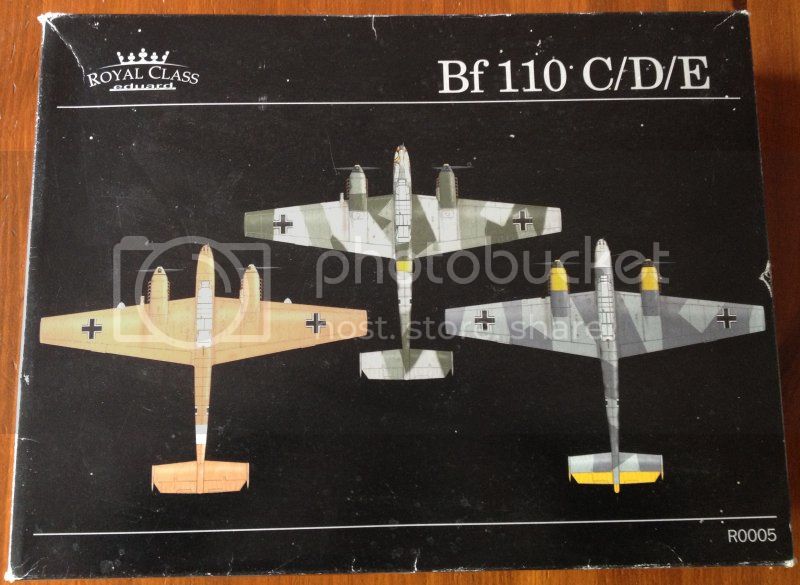

The Eduard boxing contains quite a lot of photo-etch. The only aftermarket stuff I plan to use is True Details wheels, Quickboost exhausts and Quickboost gun barrels. And then of course the EagleCals decals. Or maybe I will discard the decals and paint the markings on, which I normally prefer. We'll see.
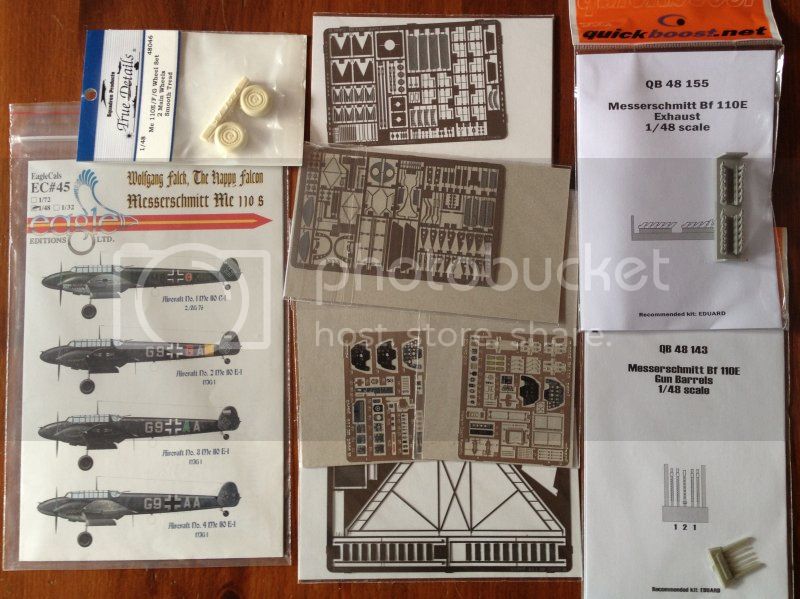
I plan on doing the overall black Bf 110E-1 G9+GA, flown by Wolfgang Falck when he was Kommodore of NJG1, winter 1940-41, Deelen, Holland. This aircraft was one of the very first Bf 110s that were painted all black for night operations. The aircraft is overall black with yellow tail band, it has the England Blitz night fighter emblem on both sides of forward fuselage and a ladybug in a white shield on the port side. It has 8 victory marks on both sides of fin. I have always had a soft spot for this particular scheme - now I finally get to build it


Cheers!
Currently on the work bench:
Tamiya Gloster Meteor 1/48 - almost finished
Hasegawa Ju 87D Stuka 1/32 - soon to be painted
Eduard Lysander Mk III on skis 1/48 (stalled)
Revell Ju 88 1/32 (aftermarket items collected)

#305
Christchurch, New Zealand
Joined: February 01, 2006
KitMaker: 1,673 posts
AeroScale: 1,517 posts
Posted: Saturday, January 19, 2013 - 11:44 AM UTC
Hi Guys I was going to do the 1/48 Tamiya He219 but since the 1/32nd scale offering from Revell has been released I've since sold it to help generate the funds to buy it! (Okay I'm a sucker for BIG aircraft!) SO instead I'll do the AMT 1/48 Tigercat which I see someone is already doing but I'm having fun with all black colour schemes and the art of making sure it isn't all just one big monotone blob. Here's a pic of the kit!


#305
Christchurch, New Zealand
Joined: February 01, 2006
KitMaker: 1,673 posts
AeroScale: 1,517 posts
Posted: Saturday, January 19, 2013 - 01:24 PM UTC
New York, United States
Joined: March 08, 2010
KitMaker: 3,662 posts
AeroScale: 174 posts
Posted: Sunday, January 20, 2013 - 04:36 AM UTC
Some real nice progress here guys

@ Rob watch the directions on that Black Widow real confusing just as bad a Dragon's

But I have made some progress base coat of gloss black
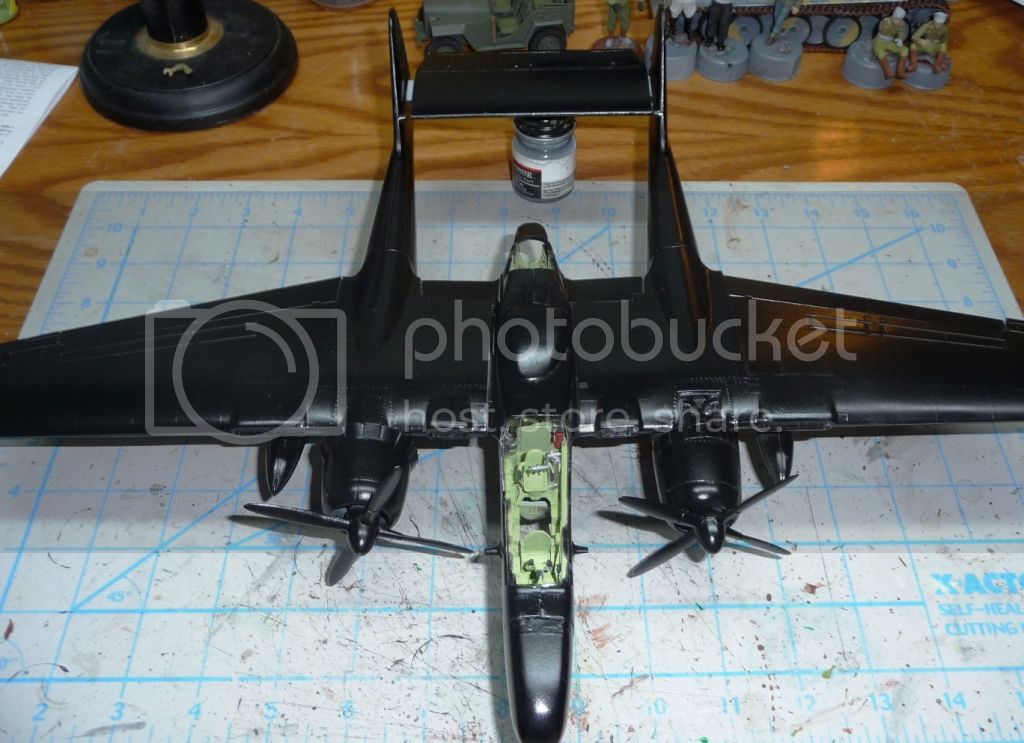
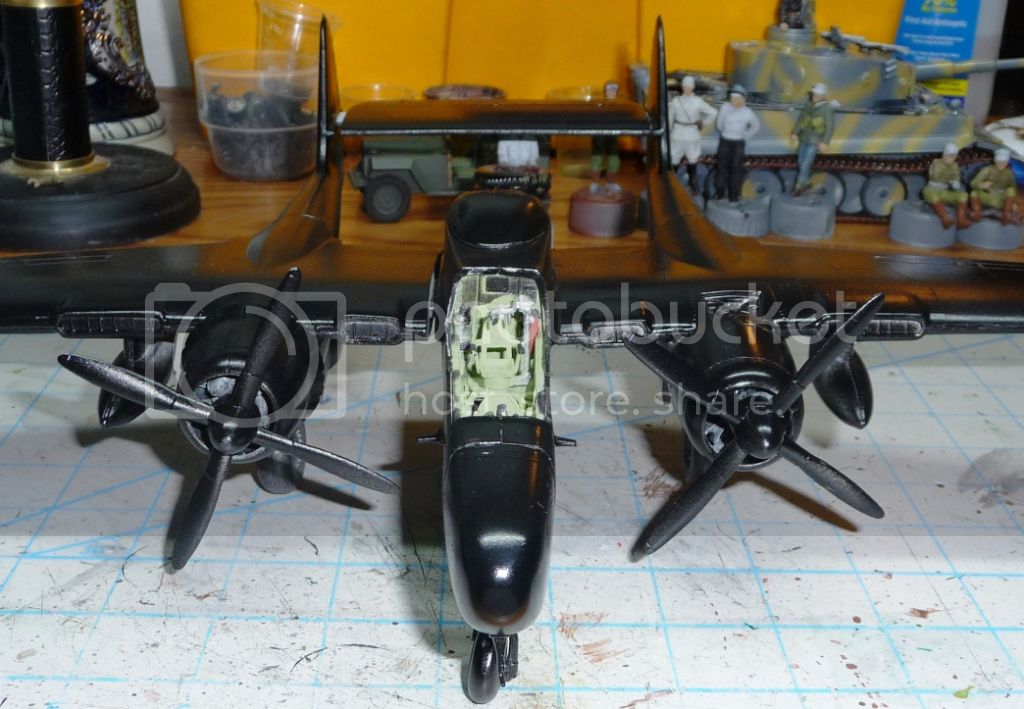

now I have to glue the right side wing on and work on the paper thin glass parts

Active Campaigns on the bench:
Operation Fall Gelb - Pz.Kpfw. IV Ausf. C
Engineering the Future - M-26 Recovery Vehicle
115 Campaigns completed

#439
Washington, United States
Joined: November 05, 2005
KitMaker: 4,950 posts
AeroScale: 3,192 posts
Posted: Sunday, January 20, 2013 - 05:11 AM UTC
UMM, gotta get back to my P-61.
Looks good.
Hanger Queens in Waiting:
Monogram 1/72 F8F-1
Corsair the Sky Pirate - 1/72 Ace A-7D
Century Series - Airfix 1/72 F-105G
Anti Shipping - Academy 1/72 PBJ-1D
Academy 1/72 F-84E
Illinois, United States
Joined: January 25, 2010
KitMaker: 110 posts
AeroScale: 88 posts
Posted: Sunday, January 20, 2013 - 05:14 AM UTC
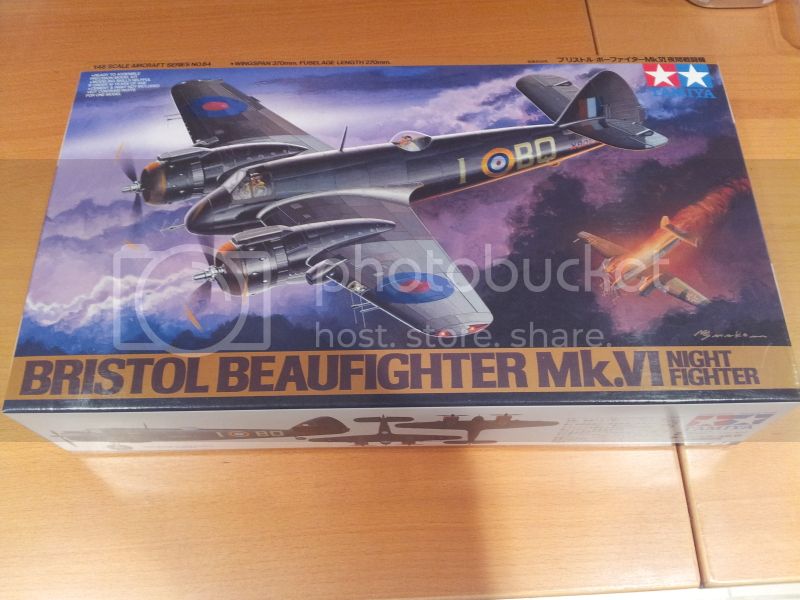
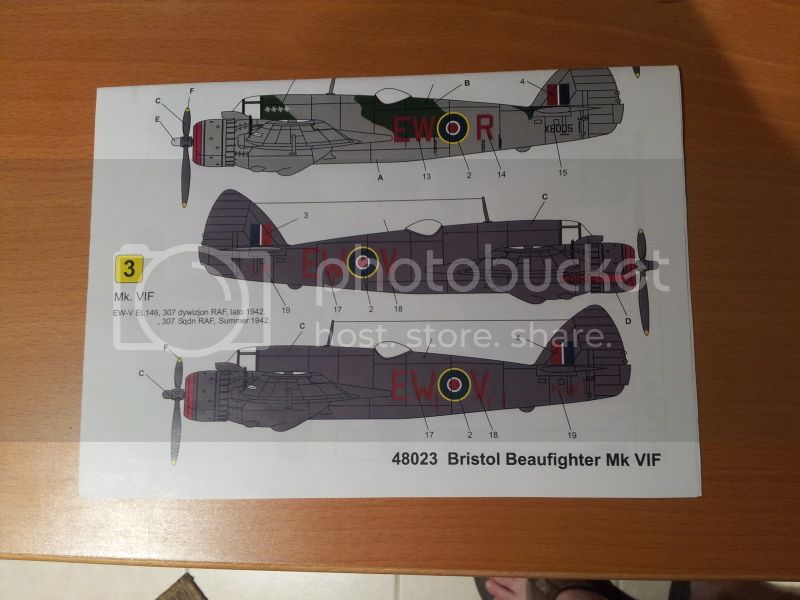
So i am going to join the campaigns with Tamiyas 1:48 Bristol Beaufighter Mk. VI NF. Aircraf will be finished as EW-V from 307 Polish RAF Sqdn. It will be done OOB with Techmod decals.
Portugal
Joined: June 15, 2005
KitMaker: 172 posts
AeroScale: 168 posts
Posted: Sunday, January 20, 2013 - 06:39 AM UTC
Wow!
Lots of interesting projects!
European Union
Joined: August 09, 2009
KitMaker: 1,732 posts
AeroScale: 1,336 posts
Posted: Sunday, January 20, 2013 - 07:47 AM UTC
Quoted Text
.... SO instead I'll do the AMT 1/48 Tigercat which I see someone is already doing ....
Chris, that someone is me!

You made a good choice. What decal version will you take and what decal versions are in the original AMT Ertl kit? I have 4 versions, 3 of them from the Korea War and one early post WW2 USMC Tigercat in blue. I went for VMF(N) 413 from Kangnung AB, winter 1951/52. Don't forget to put lots of weight in the nose if you don't want a tailsitter. In my F7F it's about 80 grams and she surely is no tailsitter. Maybe you can ask a tyre dealer around the corner for some used balance weight. I got a little bag full for free, enough for a lifetime .....

Well folks, this is it! I call my Night Tigercat done after only 19 days working on it (2.-20. Jan.). This is a veeery good kit, no filler needed at all! It goes together nearly like Tamiya. Only to squeeze the main landing gear in the engine/gear gondolas is really tricky but somehow I made it. I hope to take better photos next weekend and than upload some into the campaign gallery. Okay, here is my new baby ....


Sal, what happened to the propellers on your P-61? Looks like the engines are build in a little lopsided? The rest looks fine!

Happy modelling!
Torsten

My campaigns for 2020:
MiGs - Done !
The Big Three - Done !
65 years Bundeswehr - Done !
40 years Leopard 2 - Done !
Land Lease - Done !
MichaelSatin
 Campaigns Administrator
Colorado, United States
Joined: January 19, 2008
KitMaker: 3,909 posts
AeroScale: 2,904 posts
Posted: Sunday, January 20, 2013 - 09:23 AM UTC
Good Lord Torsten, done already?! I haven't even started!
I've been working on my Star Trek Enterprise (the new big 1/350 Polar Lights kit) for my Enterprise campaign but I've realized that that campaign runs until the end of the year and this one only goes to the end of June. I think I need to get started on the Beau. OR, given Tom's entry of a Beau, should I go with one of my big four from when I proposed this campaign...
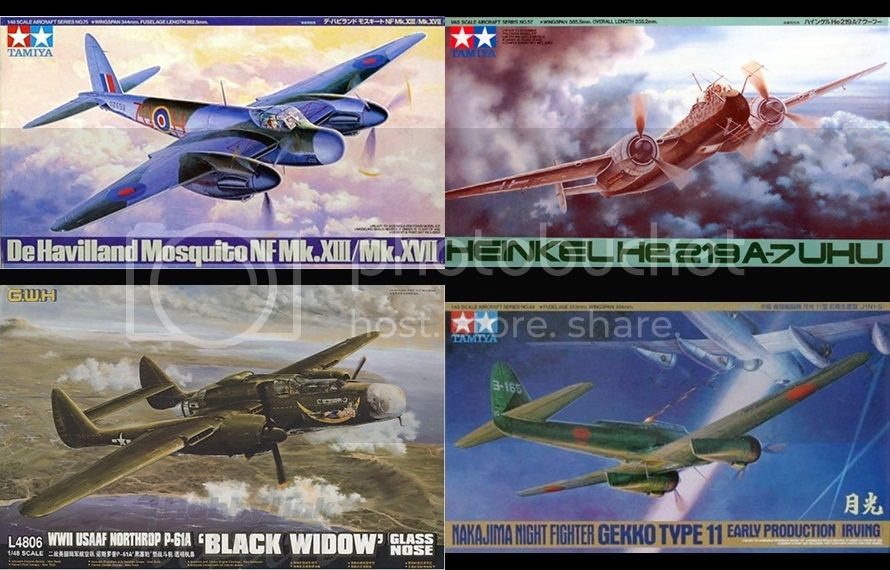
I pledge to make a decision and start the kit today! I'll let you all know.
Great work here so far everyone!
Michael
On the bench:
Sorta depends on your definition of "on the bench"...


