New to the forum and looking forward to my first campaign and first 48th scale kit after a steady diet of 32nd scale WWII Fighters. Love Eagles and the Hasegawa's Eagle, is ine gorgeous looking kit. Looking forward to enhancing the basic kit with a new Aires Front Office, a Legend Aces II ejection Seat, Aires Turkey feather Exhaust (it took a while to hunt a set down and they are still in transit) and maybe Eduard FOD covers. Hopefully should be digging in this weekend and enjoying the build as I go. As for weathering, the name of the game is: Used but not Abused.
The customary starting photos follows and comments and suggestions are always much appreciated.
Enjoy
]
Air Campaigns
Want to start or join a group build? This is where to start.
Hosted by Frederick Boucher, Michael Satin
OFFICIAL: Birds of Prey Campaign
Peterpools
New York, United States
Joined: June 08, 2013
KitMaker: 197 posts
AeroScale: 193 posts
Joined: June 08, 2013
KitMaker: 197 posts
AeroScale: 193 posts
Posted: Thursday, June 13, 2013 - 11:16 AM UTC
Posted: Friday, June 14, 2013 - 10:51 AM UTC
Welcome to our campaign Peter very nice choice of kit and goodies cant wait to see this one come together
Peterpools
New York, United States
Joined: June 08, 2013
KitMaker: 197 posts
AeroScale: 193 posts
Joined: June 08, 2013
KitMaker: 197 posts
AeroScale: 193 posts
Posted: Saturday, June 15, 2013 - 10:57 AM UTC
Thanks Dave
Looking forward to digging on and getting going. Just received word my Aires Turkey feather Exhaust shipped and I'm now ready for bea
Posted: Wednesday, June 19, 2013 - 02:49 AM UTC
Would anyone mind if i changed to an E-2 Hawkeye for this one ????
Peterpools
New York, United States
Joined: June 08, 2013
KitMaker: 197 posts
AeroScale: 193 posts
Joined: June 08, 2013
KitMaker: 197 posts
AeroScale: 193 posts
Posted: Saturday, June 22, 2013 - 05:39 AM UTC
Sure sounds good to me.
Peterpools
New York, United States
Joined: June 08, 2013
KitMaker: 197 posts
AeroScale: 193 posts
Joined: June 08, 2013
KitMaker: 197 posts
AeroScale: 193 posts
Posted: Saturday, June 22, 2013 - 07:14 AM UTC
THE FRONT OFFICE: 6/22/13
Nearly two full weekends have gone into building and painting the Aires Front office for the Eagle. A ton of sanding and filing was needed to get the parts to fit and were always done outside, as the resin dust is dangerous to say the least. While the Aires Aces II seat is gorgeous and incredibly detailed, I just couldn't handle all the PE harnesses, as the carpet monster had a field day. What I did manage to secure, just looked too flat and lifeless. I knew from the start I would most likely be going with the Legend Aces II seats and with a bit a tweaking and fitting, she slid into place wonderfully. when done, the Legend seat looks awesome when painted and lightly weathered.
The Aires PE IP went in with no problems after the Front Office was both air brushed and hand painted with Tamiya paints.
The electronics bay presented a huge problem as everyone seems to go with the blue/green metallic color. With a lot of research, I found out that the Eagles built after 1979/1980, had the electronic bay painted white and most Eagles when in for major overhauls, had the color re-painted gloss white. Just to be on the safe side, Ive ordered new decals for 21st century Eagles.
Always looking for a Used but not Abused look, I lightly weathered the Front office and went just a bit heavier in the electronics bay, with an oil pin wash and then some dry brushing with Apple Barrel Dove Gray.
The Aires Front Office is just being test fitted in the nose section, which required a lot of sanding and filing but it does fit. Still a bit more tweaking and it will be time to glue up the assembly.
Thanks for looking
Enjoy


Posted: Saturday, June 22, 2013 - 11:40 AM UTC
WOW ! Peter that looks awesome !! the level of detail you have got is great i really like the electronics bay the weathering is just right I cant wait to see this bird come together keep it up mate ...

I think i will go with the E-2 ill probably go for the Kinetic kit , im off to the Waddington airshow over here in two weeks time so ill try and get one there
Peterpools
New York, United States
Joined: June 08, 2013
KitMaker: 197 posts
AeroScale: 193 posts
Joined: June 08, 2013
KitMaker: 197 posts
AeroScale: 193 posts
Posted: Saturday, June 22, 2013 - 12:11 PM UTC
Thanks Dave
Much appreciated. Looking forward to following your E2 Hawkeye build and enjoy the air show.
raypalmer
Ontario, Canada
Joined: March 29, 2010
KitMaker: 1,151 posts
AeroScale: 985 posts
Joined: March 29, 2010
KitMaker: 1,151 posts
AeroScale: 985 posts
Posted: Saturday, June 22, 2013 - 12:34 PM UTC
Pete! What the hell man! Why didn't you sign up earlier???
That's a best in show F15 and you've only done the dang pit!
I've gotta watch this build...
Peterpools
New York, United States
Joined: June 08, 2013
KitMaker: 197 posts
AeroScale: 193 posts
Joined: June 08, 2013
KitMaker: 197 posts
AeroScale: 193 posts
Posted: Saturday, June 22, 2013 - 01:06 PM UTC
Richard
Thanks for the kind comments on Mr Mac's Eagle. New to the forum and just finding my way around. Much appreciated
Posted: Monday, June 24, 2013 - 12:13 AM UTC
Hey Peter the F-15s office looks superb my friend. New here too mate, and it's my 1st Aero too.
And here is my Hawk T1 office.
Fromt the box although I added some lead foil onto the top of the seats(chute) and added some PE from spares box for belts on co-pilots seat.
Then I added some paint.
Thats all for now, I aim to get some more done this week, but finishing off another build.
Pete
Comments.............please
Posted: Monday, June 24, 2013 - 04:55 AM UTC
1-Peter: Amazing cockpit!
2-Peter: Nice cockpit too, considering the basic level of the Airfix kit.
Posted: Thursday, June 27, 2013 - 10:47 AM UTC
Peter nice looking cockpit there i like the chutes you have made ill be trying that one myself i think and its good to see a pilot too not many people do that anymore ..
Great work allround guys keep it up
Peterpools
New York, United States
Joined: June 08, 2013
KitMaker: 197 posts
AeroScale: 193 posts
Joined: June 08, 2013
KitMaker: 197 posts
AeroScale: 193 posts
Posted: Sunday, June 30, 2013 - 04:30 AM UTC
With all the major assemblies now having been assembled except the front office, progress Mr Mac's Eagle is moving forward. Lots of dry fitting and fussing was needed to work all the assemblies together but things are starting to look A-OK. UP next is scribing the lost panel lines and then gluing up all the assemblies at least, that's the plan.
Posted: Sunday, June 30, 2013 - 11:36 AM UTC
Looking good Peter can i ask what scribing tool do you use ??
Peterpools
New York, United States
Joined: June 08, 2013
KitMaker: 197 posts
AeroScale: 193 posts
Joined: June 08, 2013
KitMaker: 197 posts
AeroScale: 193 posts
Posted: Sunday, June 30, 2013 - 11:49 AM UTC
Thanks Dave
For scribing I use a few different tools:
Tamiya J Blade Scribing tool
Trumpeter Scribing tool
RB Scribing tool
A sharp needle in a pin vise.
It's taken me a long time to finally get it right and I seem to have the best results with the different toots.
For scribing I use a few different tools:
Tamiya J Blade Scribing tool
Trumpeter Scribing tool
RB Scribing tool
A sharp needle in a pin vise.
It's taken me a long time to finally get it right and I seem to have the best results with the different toots.
vdejarnette
Maryland, United States
Joined: February 25, 2013
KitMaker: 209 posts
AeroScale: 138 posts
Joined: February 25, 2013
KitMaker: 209 posts
AeroScale: 138 posts
Posted: Friday, July 05, 2013 - 02:00 AM UTC
This is about ready to move into the hanger.
I will also be using an Eduard mask (which hasn't arrived yet) to save me the trouble of masking the serrated edges of the canopy frame.
Posted: Friday, July 05, 2013 - 05:11 AM UTC
@ Petter .. i think i will be trying to get hold of some of thos tools .. @ Van what scale is your Nighthawk ?? that will be a good one
vdejarnette
Maryland, United States
Joined: February 25, 2013
KitMaker: 209 posts
AeroScale: 138 posts
Joined: February 25, 2013
KitMaker: 209 posts
AeroScale: 138 posts
Posted: Friday, July 05, 2013 - 05:16 AM UTC
It is 1/72 scale.
SuperSandaas
Sør-Trøndelag, Norway
Joined: October 23, 2012
KitMaker: 189 posts
AeroScale: 142 posts
Joined: October 23, 2012
KitMaker: 189 posts
AeroScale: 142 posts
Posted: Friday, July 05, 2013 - 10:27 AM UTC
Adam, the Airfix (P-40B) Hawk is a very nice kit, even though the blue color on the Chinese markings are a bit light.
Only issue I had was with getting the side windows to fit flush with the fuselage, test fit twice is all I can say.
SuperSandaas
Sør-Trøndelag, Norway
Joined: October 23, 2012
KitMaker: 189 posts
AeroScale: 142 posts
Joined: October 23, 2012
KitMaker: 189 posts
AeroScale: 142 posts
Posted: Friday, July 05, 2013 - 11:36 AM UTC
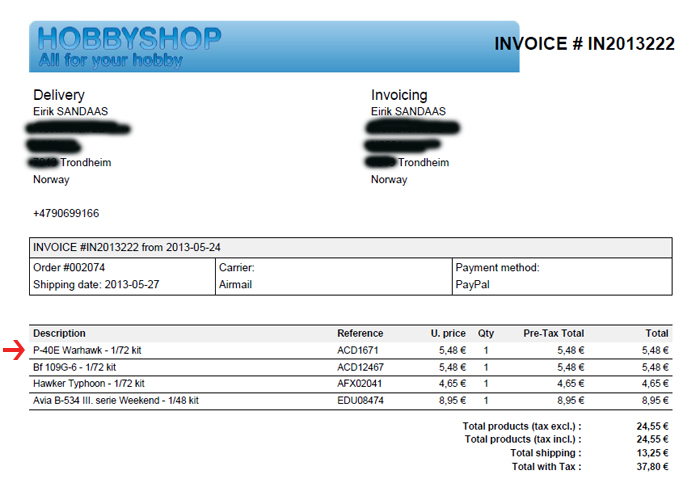
As I was editing some pictures to show progress on my project, the P-40E Warhawk from the Aleutian Tigers. I just realized that when my laptop bit the bullet a week ago, I didn't have a copy of the pictures of the unstarted kit.
I posted on my blog when I started it http://polarcoordinate.wordpress.com/2013/06/27/tigre-i-alaska/ but when I decided not to use the sprue-shot in the blogpost I didn't upload it to wp as i planned, and now it's on the harddrive of a comatose computer. So I hope a picture of the invoice will do!
On with the show!
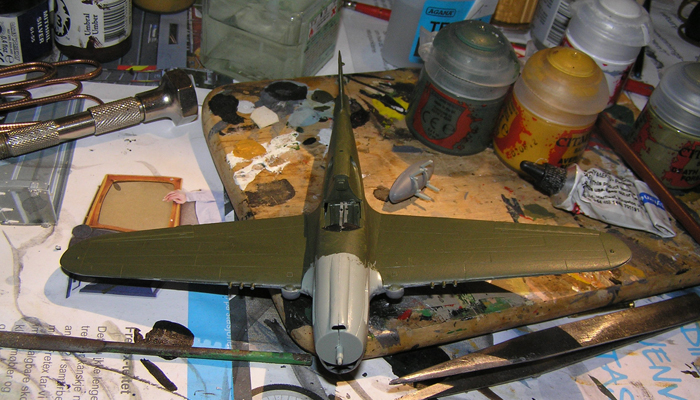
Status pr this evening:
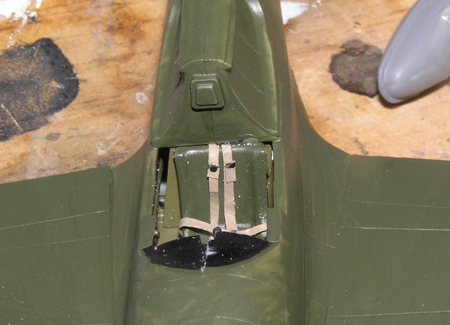
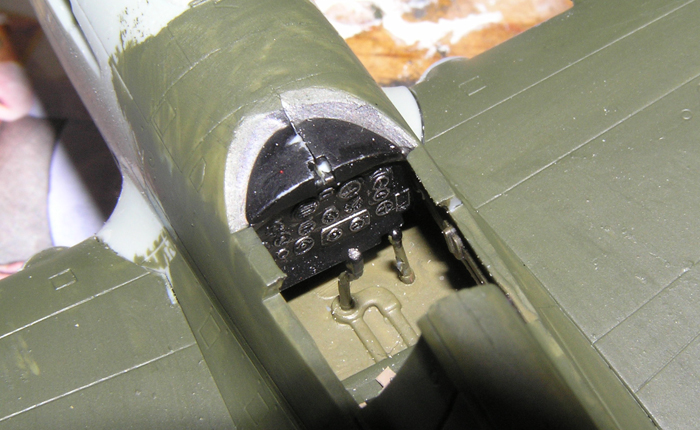
The fit of the armourplate/bulkhead behind the seat could have been better, but I don't think it will be too noticable in the end... (crossing fingers) The harness came out okay at least.
Drybrushed instruments just look better than decals, maybe the one thing "new-airfix" could improve. The fit of the wings are excellent as you can see!
I hope to do final assembly tomorrow, and block in most of paint job, leaving canopy, weathering and decals for sunday.
mykroft
Ontario, Canada
Joined: November 14, 2009
KitMaker: 270 posts
AeroScale: 264 posts
Joined: November 14, 2009
KitMaker: 270 posts
AeroScale: 264 posts
Posted: Saturday, July 06, 2013 - 01:52 AM UTC
Posted: Saturday, July 06, 2013 - 07:58 AM UTC
Thats fine no problem at all . The Hawk looks like its really coming together now .. im off to Waddington airshow tomorrow so im hoping to pick up my kit then i cant wait its going to be a great day out ill share some pics if anyone is interested ?
SuperSandaas
Sør-Trøndelag, Norway
Joined: October 23, 2012
KitMaker: 189 posts
AeroScale: 142 posts
Joined: October 23, 2012
KitMaker: 189 posts
AeroScale: 142 posts
Posted: Sunday, July 07, 2013 - 05:27 AM UTC
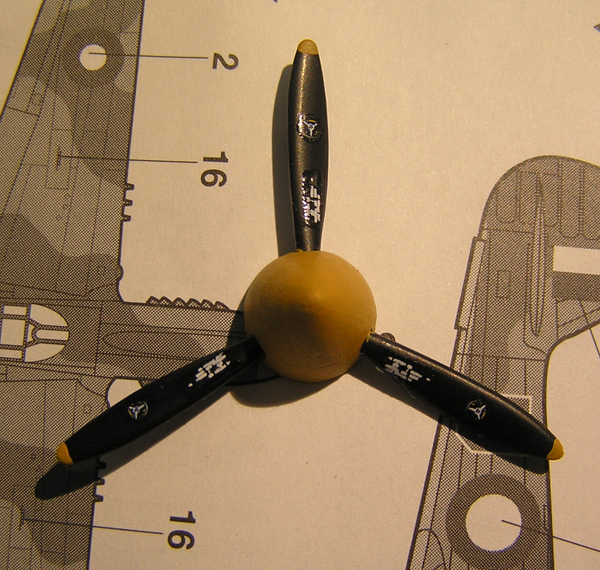
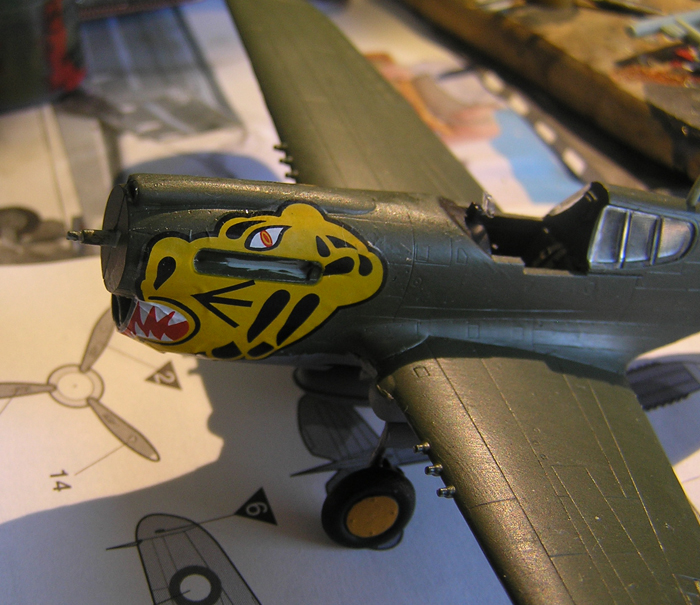
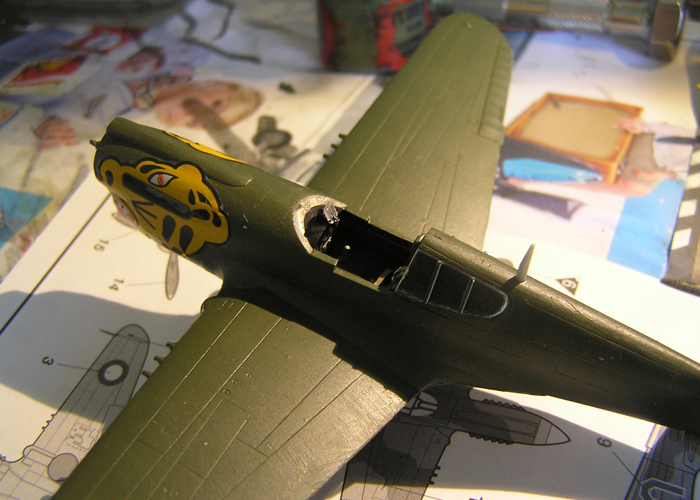
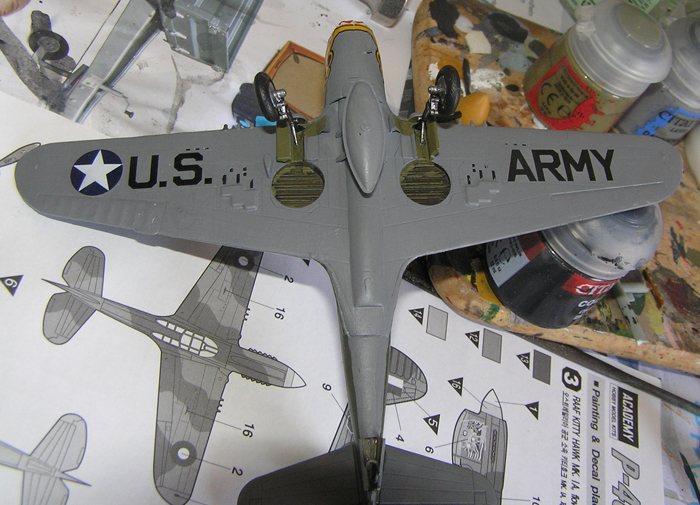
Got some more work done on the Warhawk. The decals are stiff as Academy decals tend to be, but copious amounts of tensol seems to do the trick. Might be a few wrinkles left when it dries, but I hope to polish them out, and weathering will help with disguising any blemishes. Im pretty pleased with the way the yellow paint I use (Citadel) matches the yellow on the decals.
(And I noticed I glued the gunsight in the wrong way around, before I glued on the windscreen!)
Posted: Tuesday, July 09, 2013 - 09:33 AM UTC