Air Campaigns
Want to start or join a group build? This is where to start.
Want to start or join a group build? This is where to start.
Hosted by Frederick Boucher, Michael Satin
OFFICIAL: Birds of Prey Campaign
Posted: Saturday, August 31, 2013 - 09:37 PM UTC
Looking good warren i have to agree that is nice detail for 1/72 

Posted: Sunday, September 01, 2013 - 08:57 AM UTC

Jessie_C


Joined: September 03, 2009
KitMaker: 6,965 posts
AeroScale: 6,247 posts

Posted: Wednesday, September 04, 2013 - 12:58 PM UTC
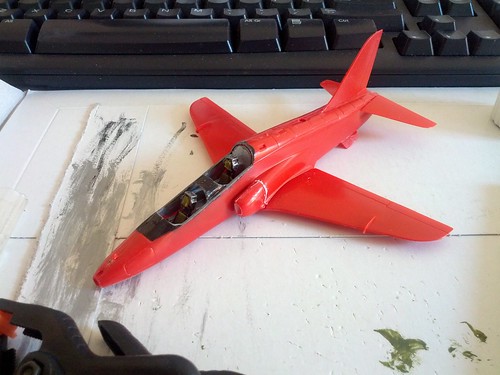
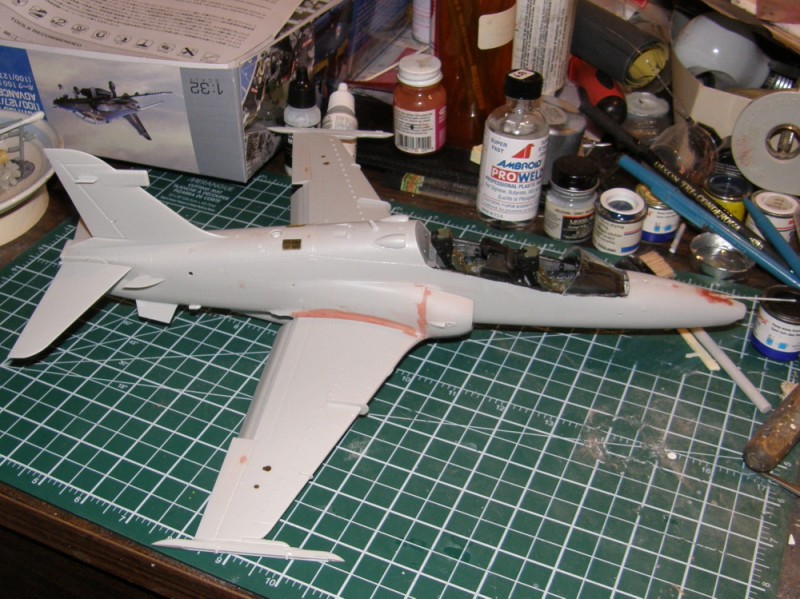
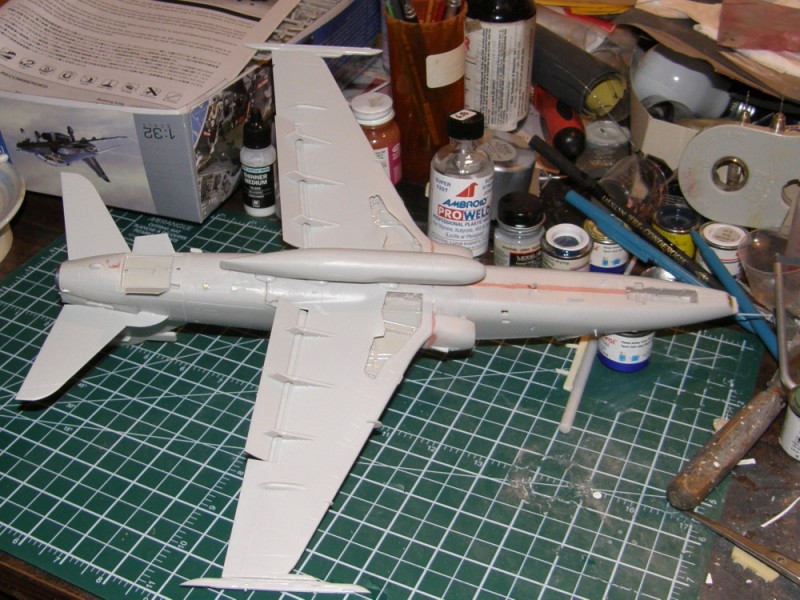
Some more progress on the hawk. The cockpit is for the most part complete. The canopy doesn't fit terribly well closed so I guess it's a good thing I intend to have it open.
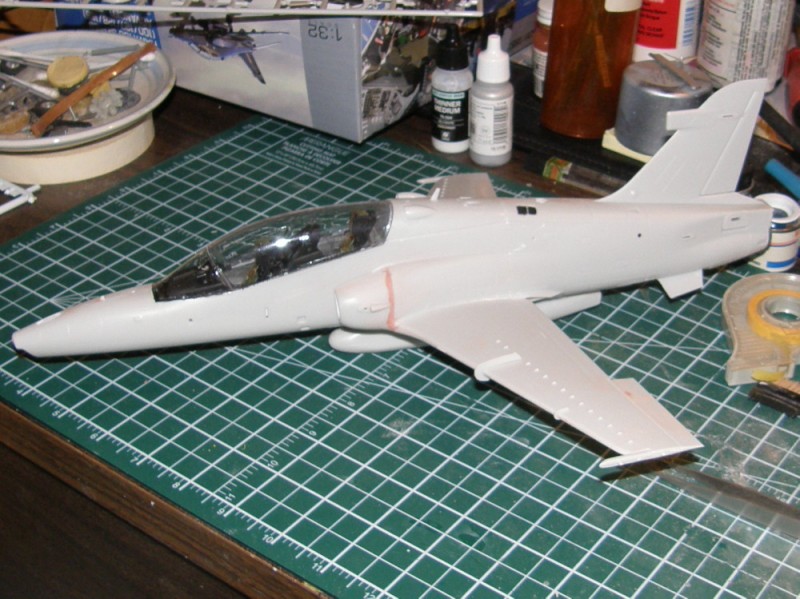
The seams are sanded down. Now I need to put the remaining little outside bits on and I can give it a coat of primer.
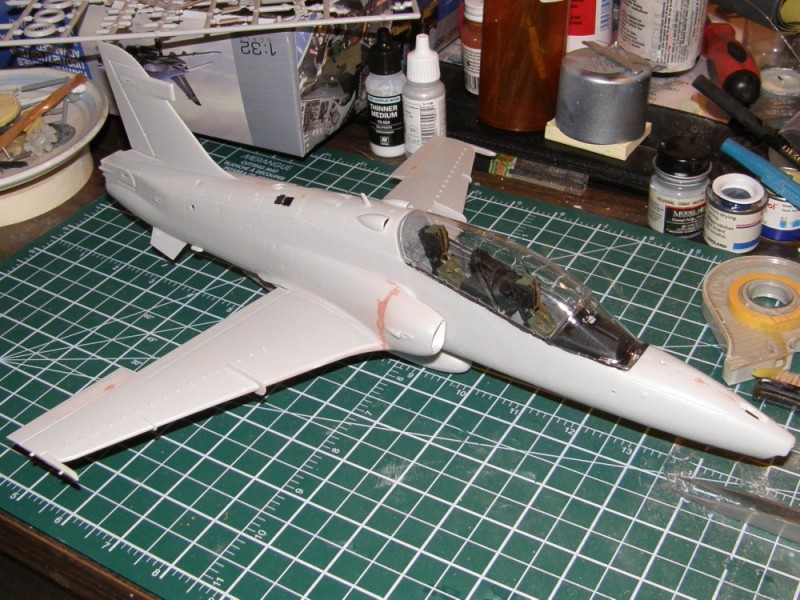
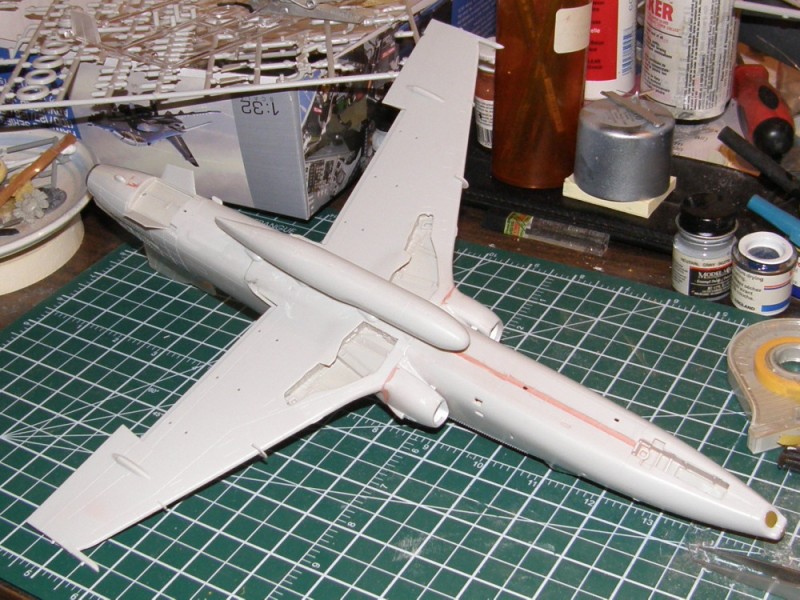

The seams are sanded down. Now I need to put the remaining little outside bits on and I can give it a coat of primer.


do335b6

Joined: October 30, 2011
KitMaker: 84 posts
AeroScale: 81 posts

Posted: Thursday, September 05, 2013 - 03:44 PM UTC
ljames0874

Joined: August 15, 2012
KitMaker: 408 posts
AeroScale: 365 posts

Posted: Friday, September 06, 2013 - 06:05 AM UTC
Hello Everyone! I just signed up for this one, at the 11th hour. I am building a 1/72 Airfix Bae Hawk T Mk 1A, which I acquired yesterday from the Hornby Visitor Centre. As it is so tiny, I should have no problems knocking this out in a little under a month.


Posted: Friday, September 06, 2013 - 10:58 AM UTC
@ Winston Fantastic work here cant wait to see it done !!
@ Lee Welcome to our campaign hope you enjoy it and looking forward to seeing your Hawk
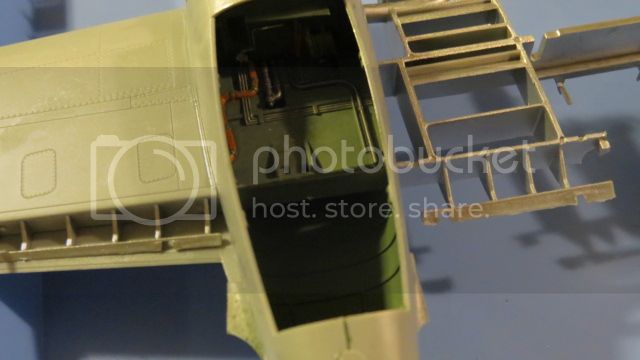
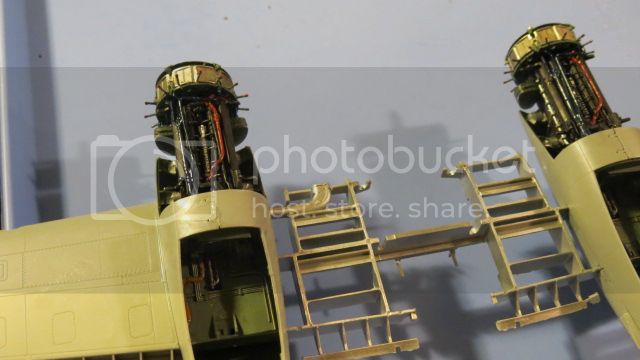
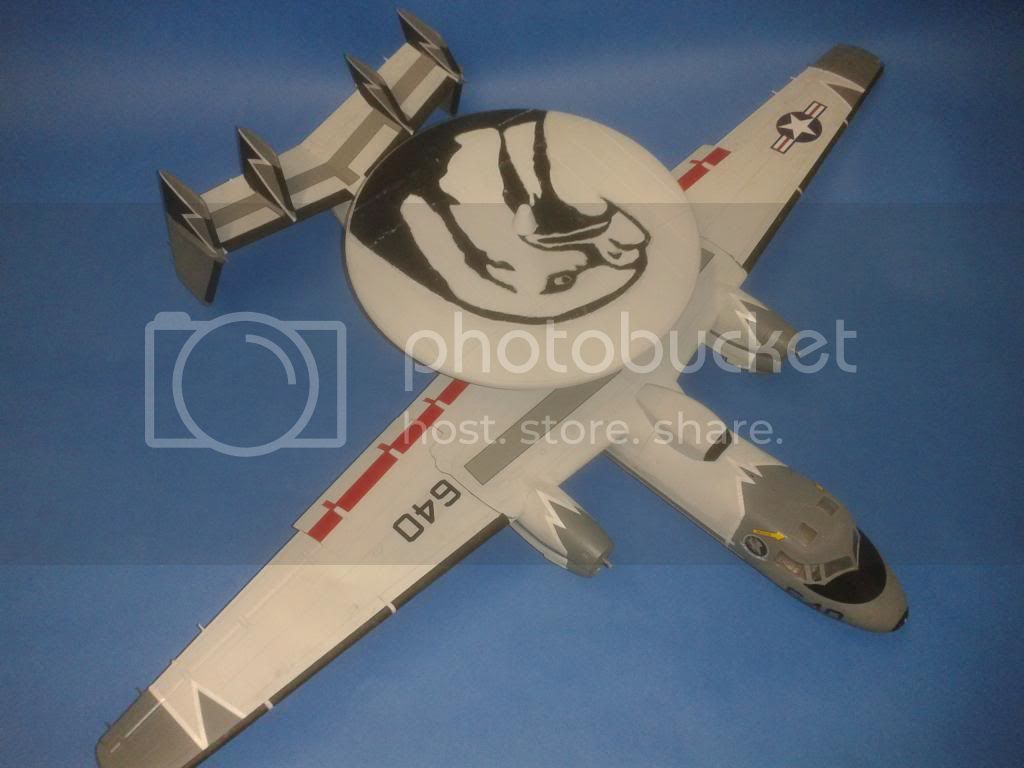
Iv been busy painting and weathering the undercarriage and wheel wells and made some decals for the Hawkeye iv cut some strips of white at 2mm for the border strips on the model and started to apply them ...
Port wing tip
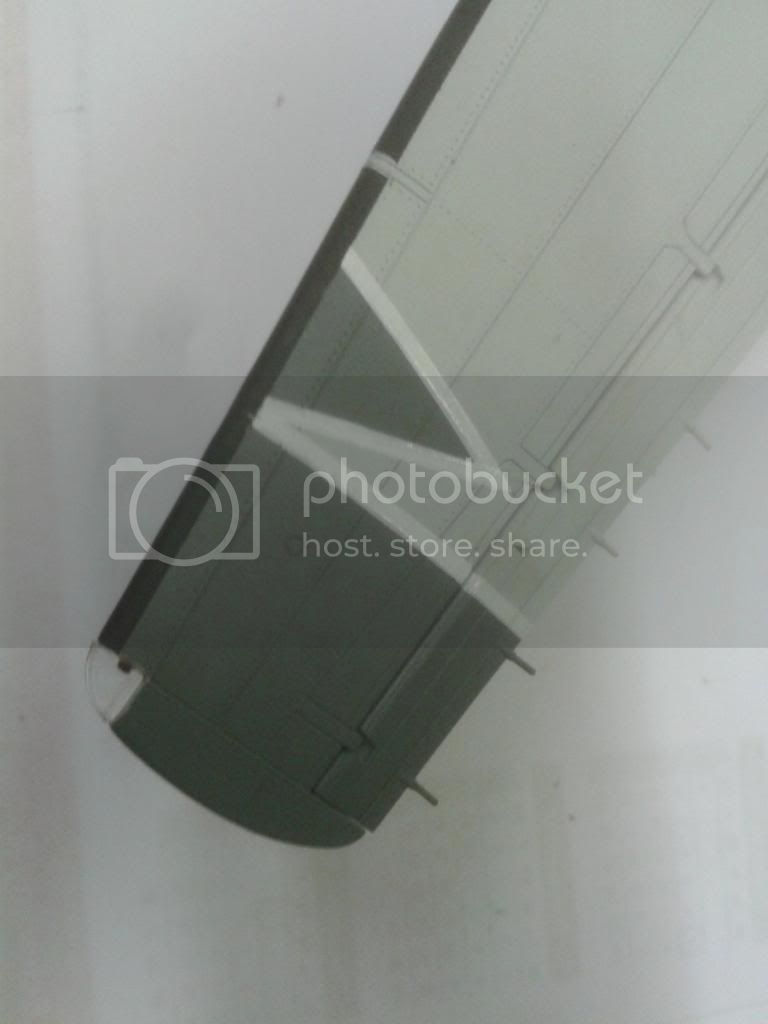
Port engine nacelle
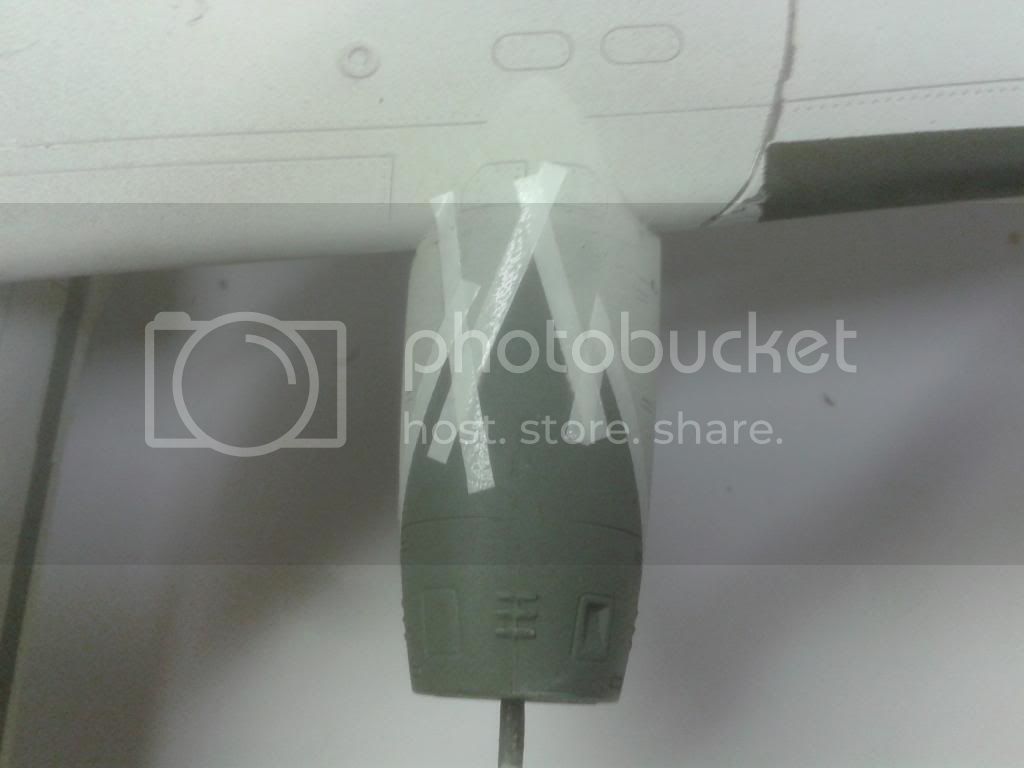
As you can see i havnt yet trimmed of the access.. Its quite trick because the strips of white are quite flexible .. thats all for now
@ Lee Welcome to our campaign hope you enjoy it and looking forward to seeing your Hawk

Iv been busy painting and weathering the undercarriage and wheel wells and made some decals for the Hawkeye iv cut some strips of white at 2mm for the border strips on the model and started to apply them ...
Port wing tip

Port engine nacelle

As you can see i havnt yet trimmed of the access.. Its quite trick because the strips of white are quite flexible .. thats all for now

Posted: Sunday, September 08, 2013 - 09:06 AM UTC
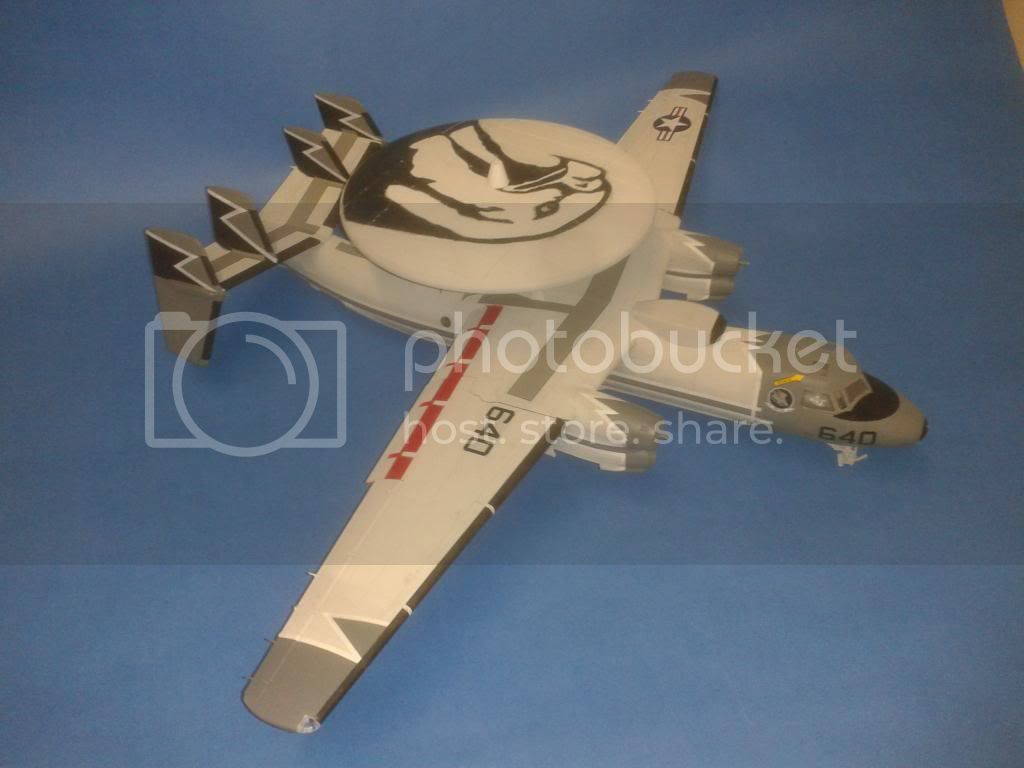
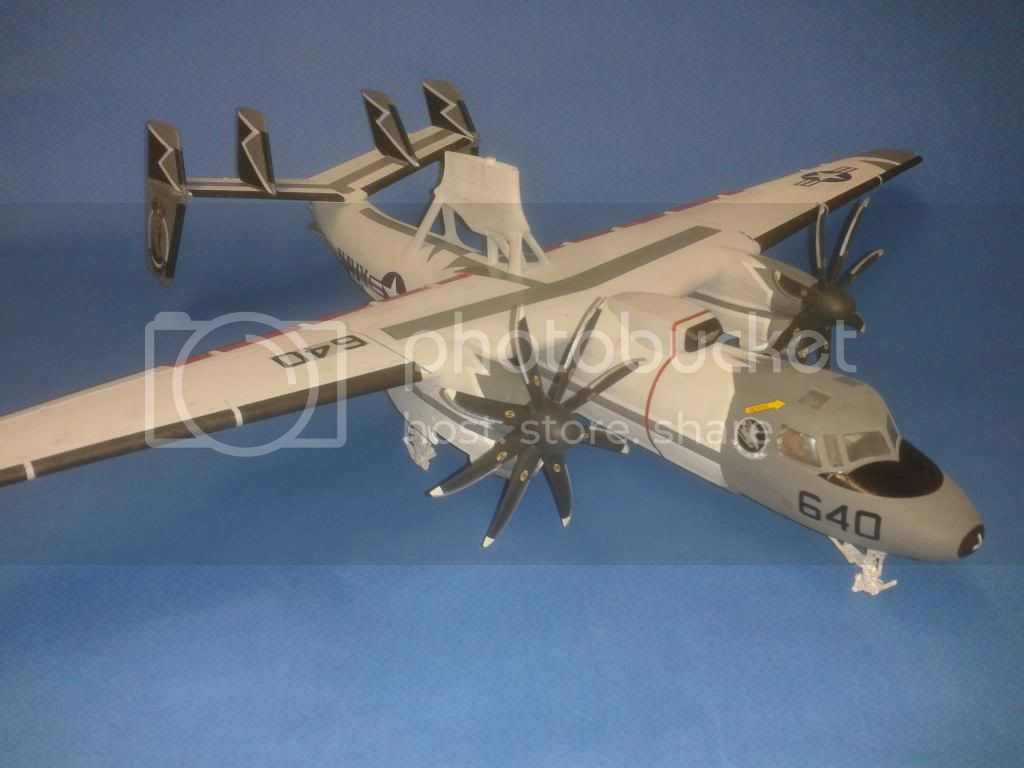
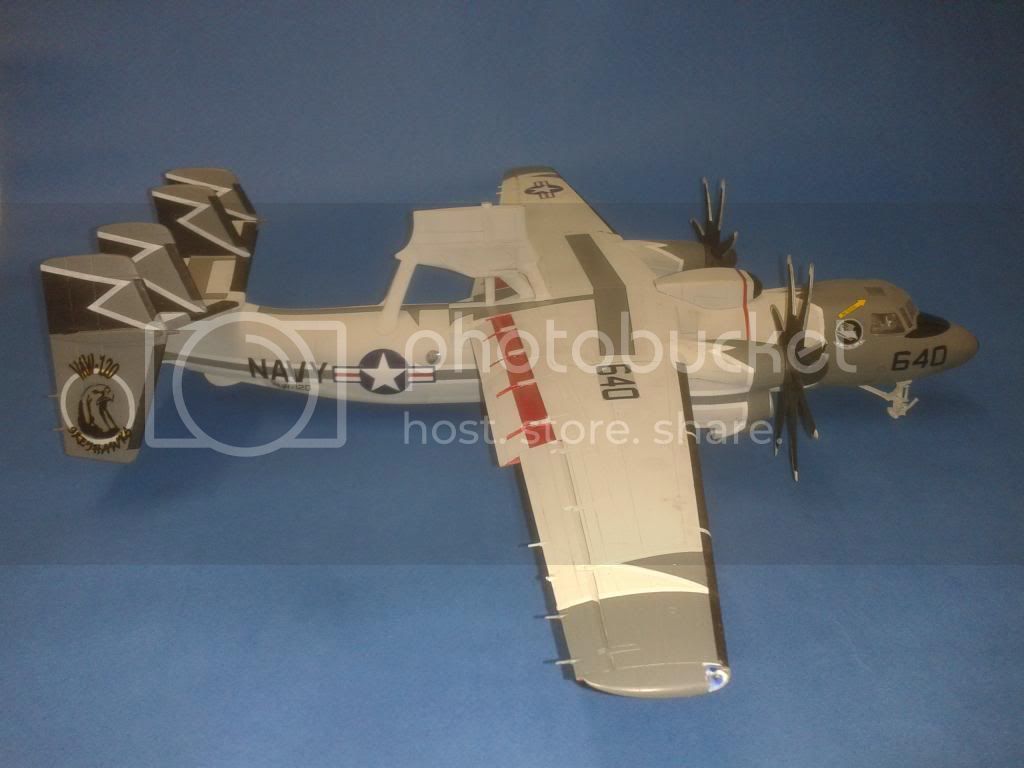
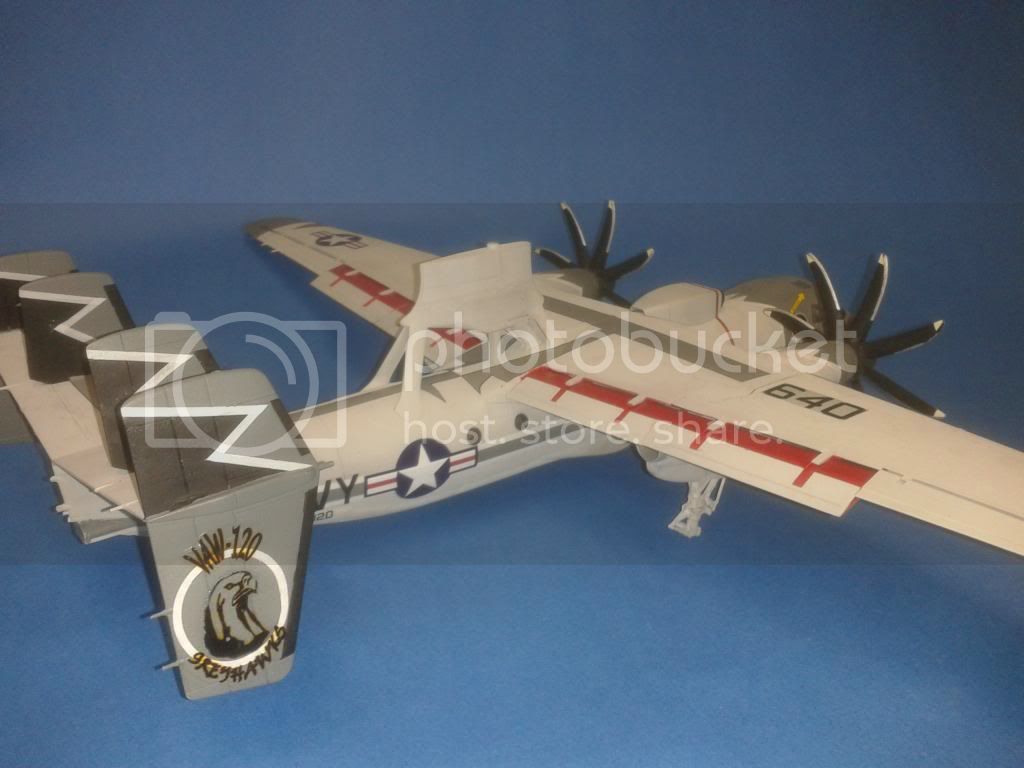
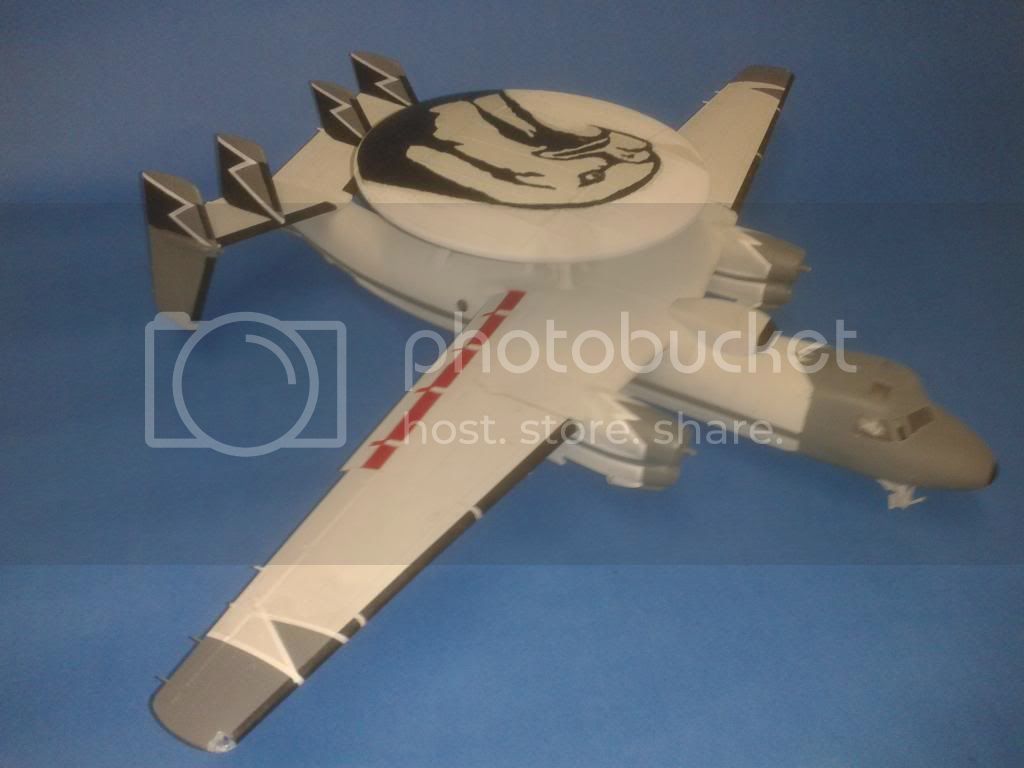
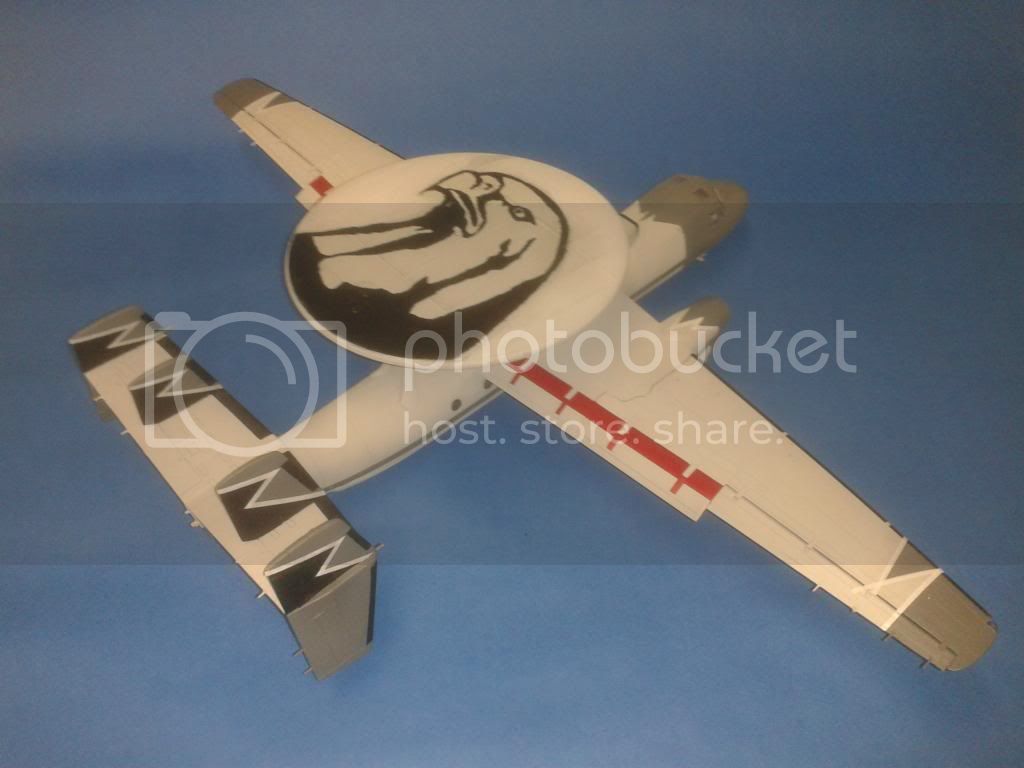
Some more progress on the Hawkeye , done most of the white strips iv just got the long ones on the sides and around the forward fuselage to do ...The hawk on the radome Is the first time iv tried to print off my own large decal and its turned out ok iv just got some touching up to do on it . Iv just started detailing the landing gear bays and painted the the gear doors.. its getting there now tho 


Jessie_C


Joined: September 03, 2009
KitMaker: 6,965 posts
AeroScale: 6,247 posts

Posted: Sunday, September 08, 2013 - 12:37 PM UTC
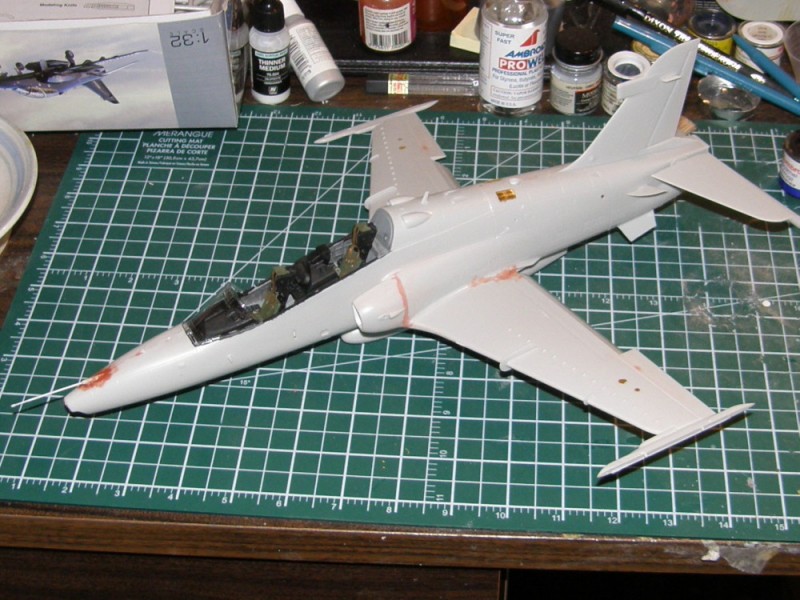
The majority of assembly is finished. Some last bits of cleanup will be needed and then I can get a coat of primer on.


anselneo

Joined: January 23, 2013
KitMaker: 20 posts
AeroScale: 13 posts

Posted: Sunday, September 08, 2013 - 07:00 PM UTC

North4003

Joined: August 01, 2012
KitMaker: 960 posts
AeroScale: 391 posts

Posted: Monday, September 09, 2013 - 02:18 AM UTC
This is my BOP entry starting photo. 

North4003

Joined: August 01, 2012
KitMaker: 960 posts
AeroScale: 391 posts

Posted: Tuesday, September 10, 2013 - 06:29 AM UTC
I worked on my Academy 1/72 P40B yesterday evening; arriving at this state. The seams fitted together ok and were sanded. I decided to model this kit with the wheels up and will make a stand. The wheel wells required considerable trimming to enable the wheels/landing gear to fit.

Posted: Tuesday, September 10, 2013 - 10:40 AM UTC
looking good there Brent . Airfix do sell some stands that are quite good iv used them for a 1/48 P-51 i have ..
http://www.airfix.com/shop/aircraft/accessories/af1008-aircraft-display-stand-assortment-172/
http://www.airfix.com/shop/aircraft/accessories/af1008-aircraft-display-stand-assortment-172/
Removed by original poster on 09/11/13 - 21:18:58 (GMT).
Posted: Wednesday, September 11, 2013 - 09:20 AM UTC

Jessie_C


Joined: September 03, 2009
KitMaker: 6,965 posts
AeroScale: 6,247 posts

Posted: Wednesday, September 11, 2013 - 09:47 AM UTC
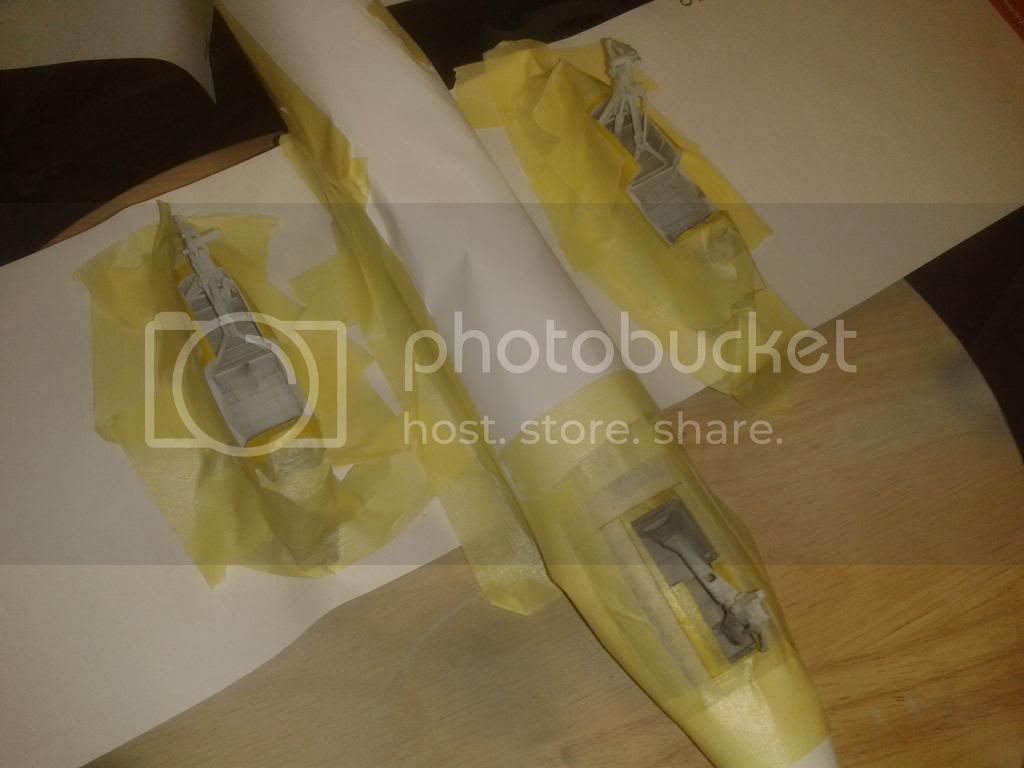
Cockpit masking on and sealed with Future
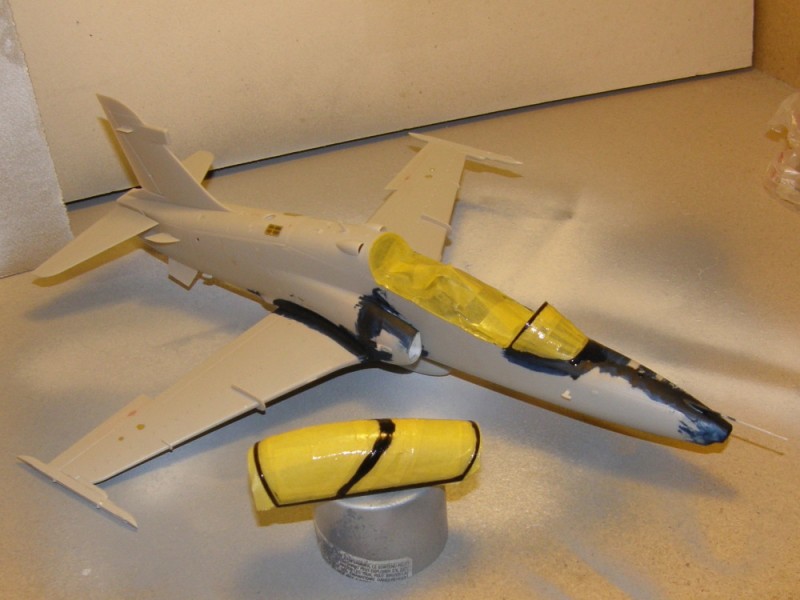
And now the primer coat
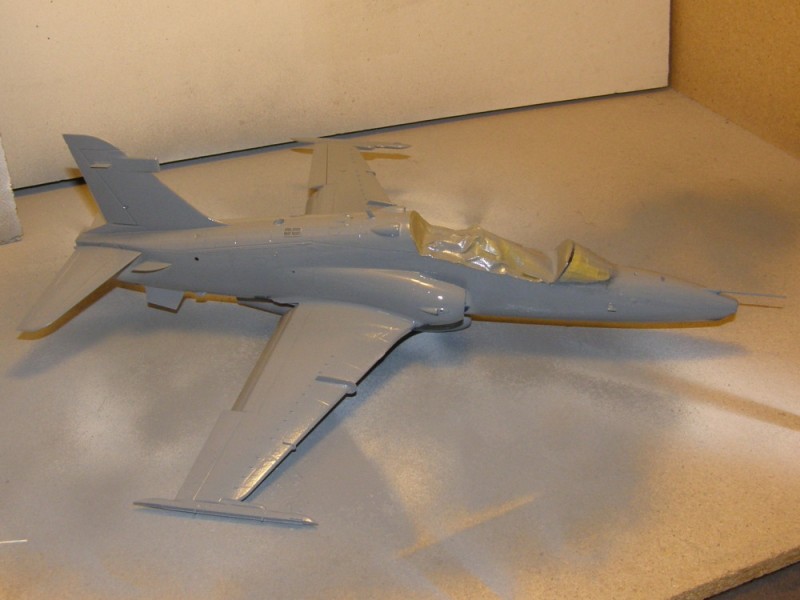
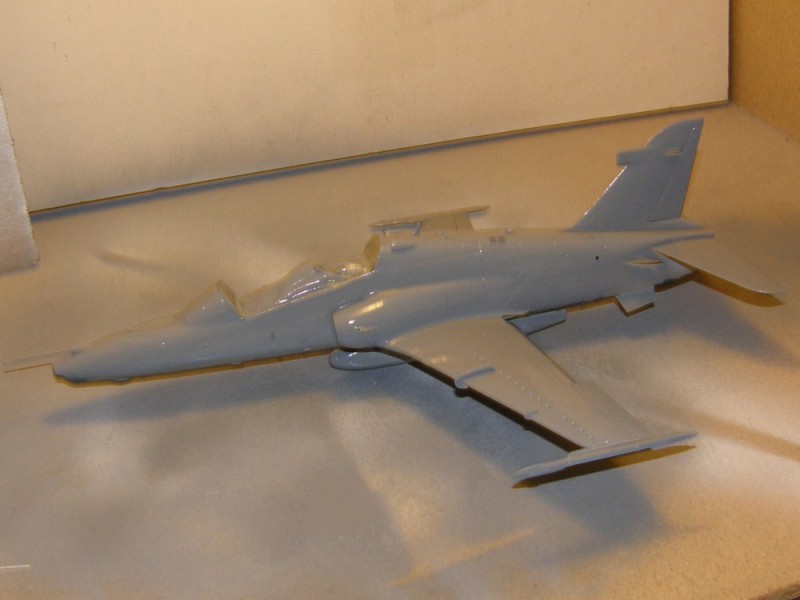

And now the primer coat


vdejarnette

Joined: February 25, 2013
KitMaker: 209 posts
AeroScale: 138 posts

Posted: Thursday, September 12, 2013 - 01:01 AM UTC
That is one sweet Hawkeye. Lots of other nice BAE Hawks too, but that makes me glad I ultimately decided to go with something else.
Here is a repost of my starting shot since it was a few pages ago now before I finally got around to posting progress.

OOB Cockpit of my F-117 Nighthawk (Hasegawa, 1/72). The canopy will be closed so it is more than adequate.
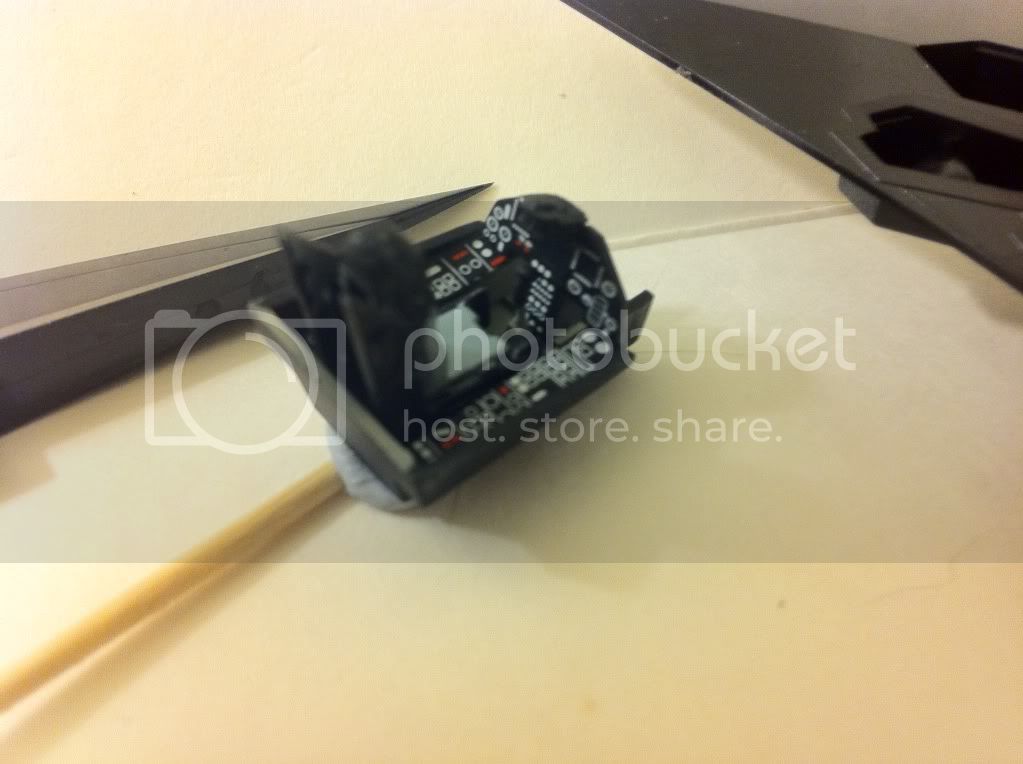
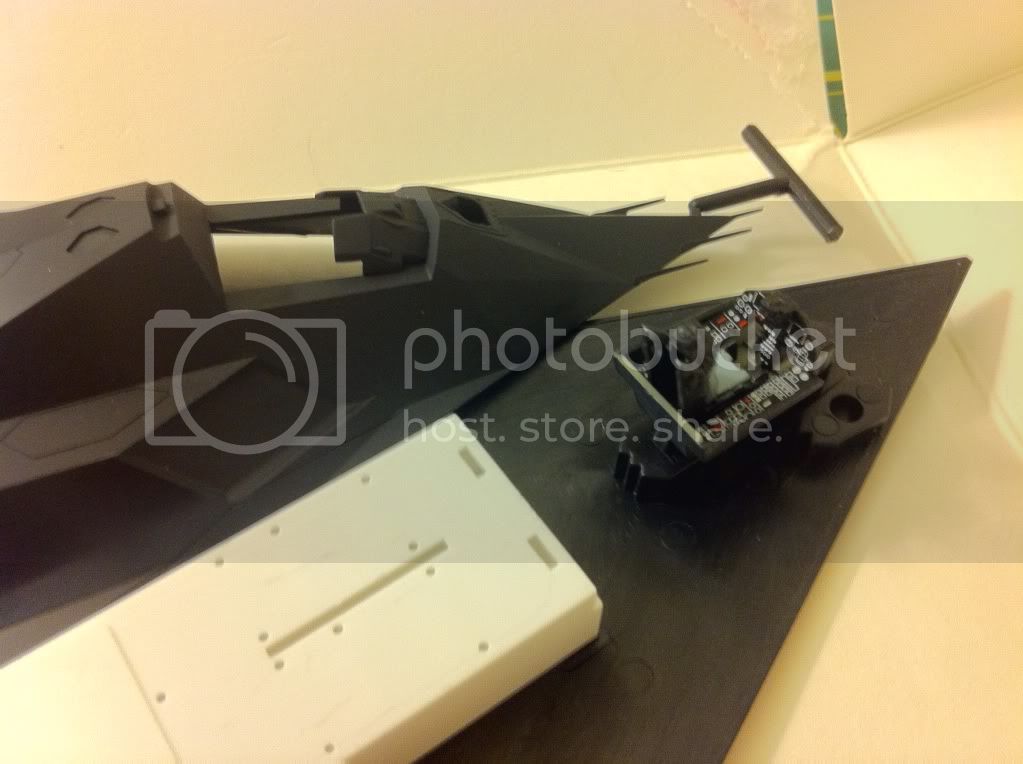
Cockpit mounted to bottom half of fueselage along with the bomb bay. You can't see it in this photo, but the kit came with a solid styrene insert shaped to the inside of the nose for ballast. It's nice when the kit company solves the tail-sitting problem for you!
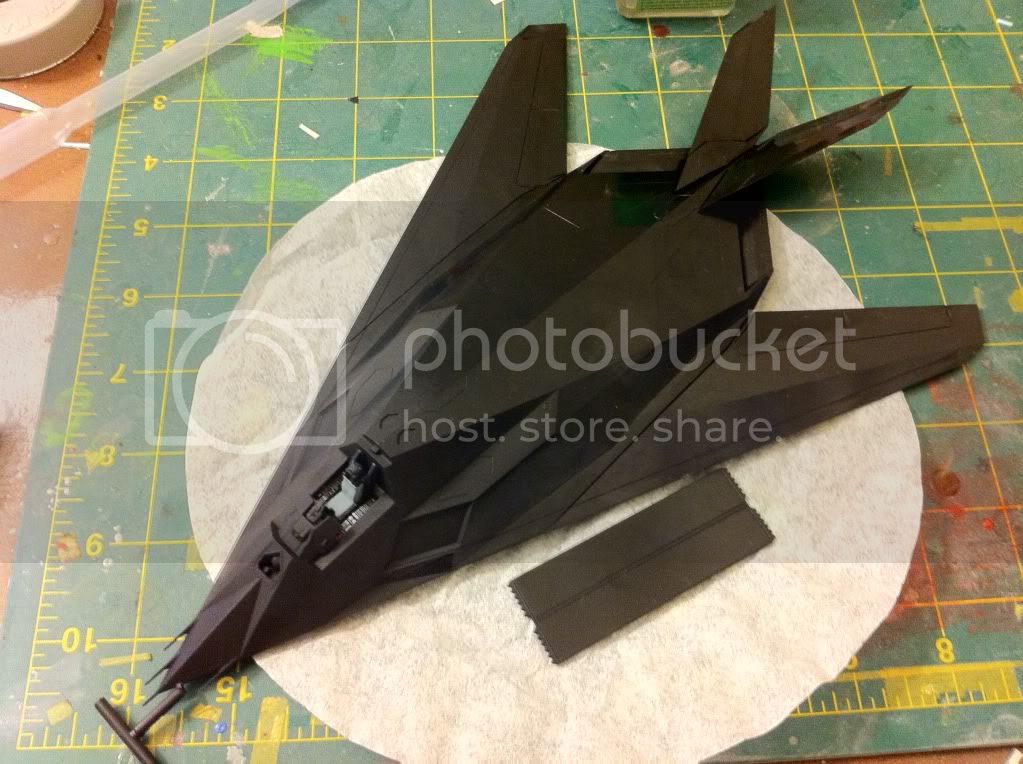
Last photo is the fuselage top and bottom after being cemented together and left to dry overnight. Wing halves were cemented together also. The wings and tail planes are dry-fitted to the fuselage at the moment. This is a big bird, even in 1/72... much bigger than I would have imagined looking at it in photos.
Here is a repost of my starting shot since it was a few pages ago now before I finally got around to posting progress.

OOB Cockpit of my F-117 Nighthawk (Hasegawa, 1/72). The canopy will be closed so it is more than adequate.

Cockpit mounted to bottom half of fueselage along with the bomb bay. You can't see it in this photo, but the kit came with a solid styrene insert shaped to the inside of the nose for ballast. It's nice when the kit company solves the tail-sitting problem for you!

Last photo is the fuselage top and bottom after being cemented together and left to dry overnight. Wing halves were cemented together also. The wings and tail planes are dry-fitted to the fuselage at the moment. This is a big bird, even in 1/72... much bigger than I would have imagined looking at it in photos.


Jessie_C


Joined: September 03, 2009
KitMaker: 6,965 posts
AeroScale: 6,247 posts

Posted: Friday, September 13, 2013 - 04:43 PM UTC
Hawk has come down with a case of the blues
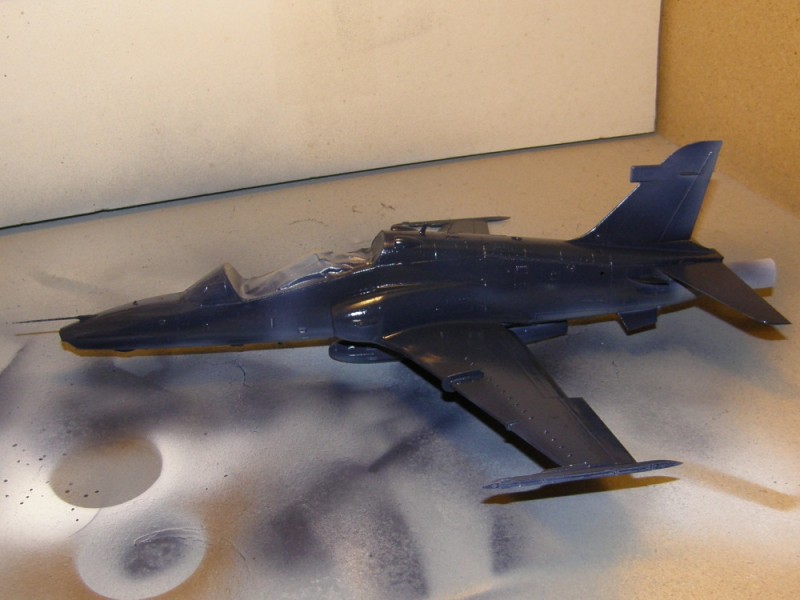
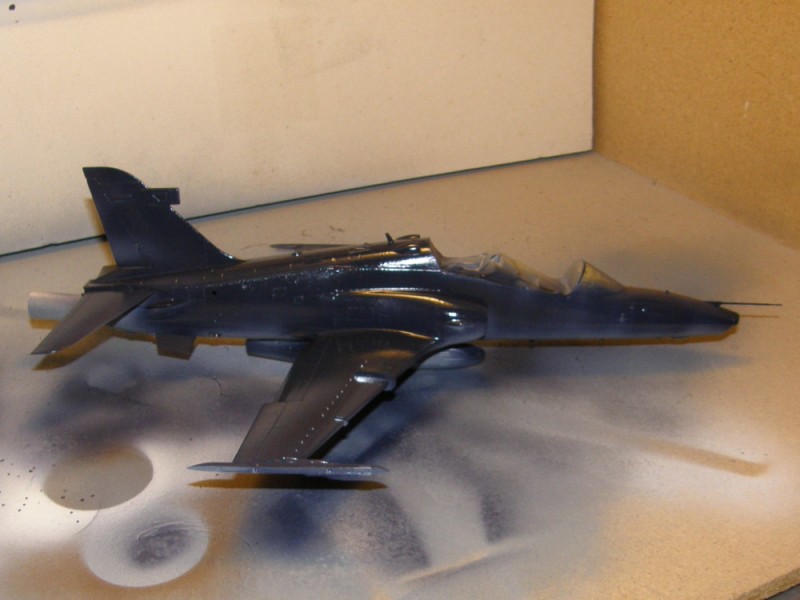
After this dries I'll do the undersides and then see how it turns out.


After this dries I'll do the undersides and then see how it turns out.
ljames0874

Joined: August 15, 2012
KitMaker: 408 posts
AeroScale: 365 posts

Posted: Monday, September 16, 2013 - 10:40 PM UTC
Ok, I have most of the Hawk built and filled. Given the number of gaps and the poor fit of some of the parts, I was quite suprised to learn that this is one of Airfix's new toolings - really?  . The Pilot figures are way too small - nothing like 1/72 scale, and the instrument panels are huge - after applying the supplied decals, I had to substantially trim the panels just to get them to fit in the cockpit.

 . The Pilot figures are way too small - nothing like 1/72 scale, and the instrument panels are huge - after applying the supplied decals, I had to substantially trim the panels just to get them to fit in the cockpit.
Posted: Tuesday, September 17, 2013 - 08:02 AM UTC

Jessie_C


Joined: September 03, 2009
KitMaker: 6,965 posts
AeroScale: 6,247 posts

Posted: Tuesday, September 17, 2013 - 03:36 PM UTC
What an incredible paint scheme! It's looking both good and mean 
My Hawk is coming along well. I've just given it another coat of paint but I won't bother with pictures just now. You've seen one wet blue Hawk, you've seen them all.

My Hawk is coming along well. I've just given it another coat of paint but I won't bother with pictures just now. You've seen one wet blue Hawk, you've seen them all.
ljames0874

Joined: August 15, 2012
KitMaker: 408 posts
AeroScale: 365 posts

Posted: Tuesday, September 17, 2013 - 05:50 PM UTC
@Dave - that Hawkeye is incredible, I can really appreciate the work that has gone into the masking and spraying. 


Jessie_C


Joined: September 03, 2009
KitMaker: 6,965 posts
AeroScale: 6,247 posts

Posted: Wednesday, September 18, 2013 - 03:34 AM UTC
Unmasking reveals the need for touch-ups
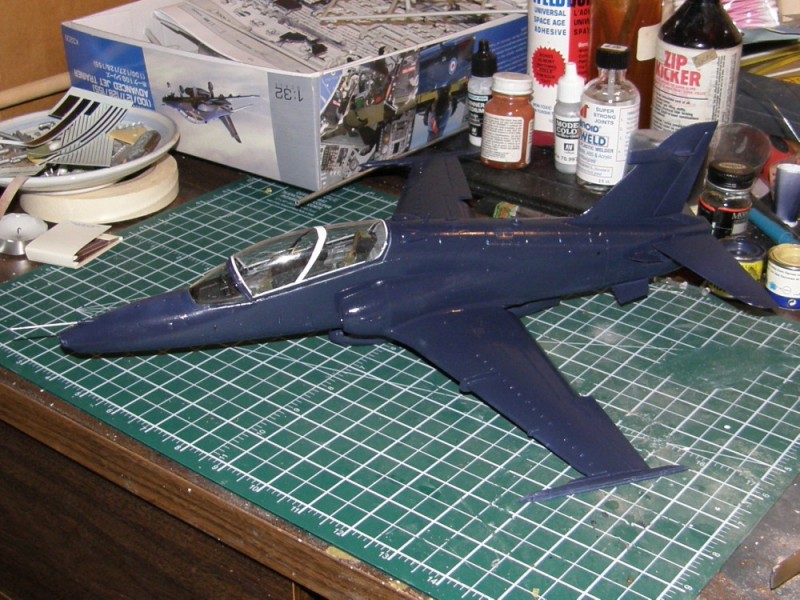
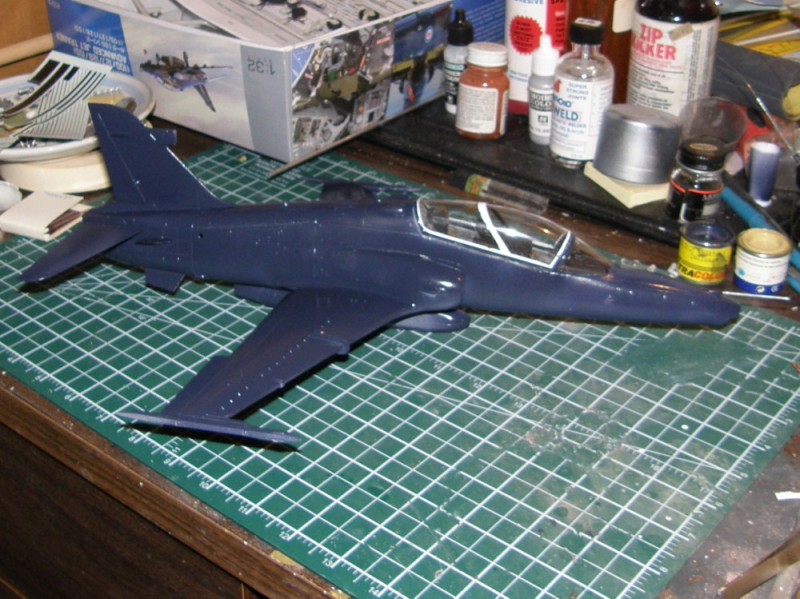
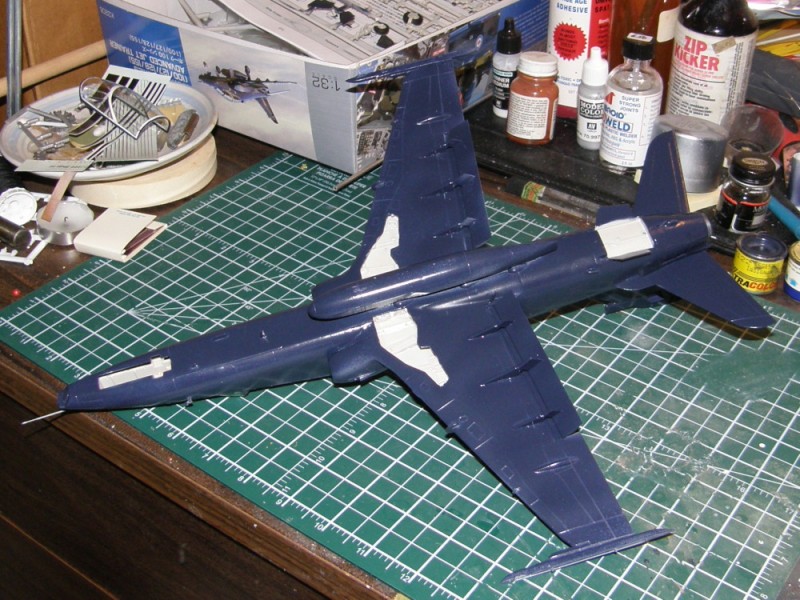
There are a few places where I didn't get the paint on thickly enough, and a few others where it crept under the masking, but it could have been so much worse. Soon enough it'll be time for the decals.


There are a few places where I didn't get the paint on thickly enough, and a few others where it crept under the masking, but it could have been so much worse. Soon enough it'll be time for the decals.

Jessie_C


Joined: September 03, 2009
KitMaker: 6,965 posts
AeroScale: 6,247 posts

Posted: Wednesday, September 18, 2013 - 10:19 AM UTC
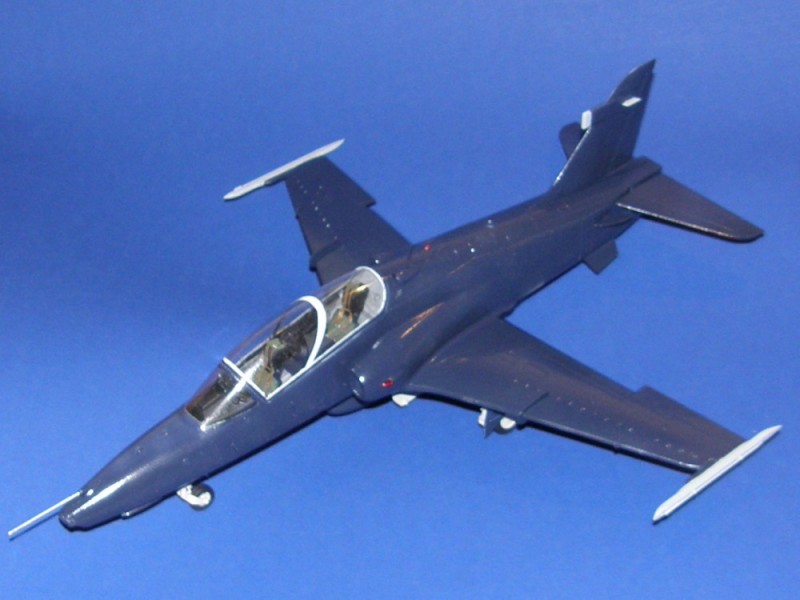
Construction is essentially finished, barring a few pieces of the canopy which I'll leave to the last. Now it's time for clear coat and decals.

Posted: Wednesday, September 18, 2013 - 11:25 AM UTC
Lots of nice work going on! Dave that Hawkeye looks Great! 
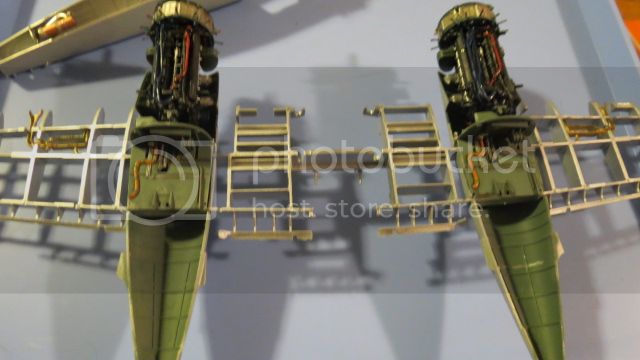
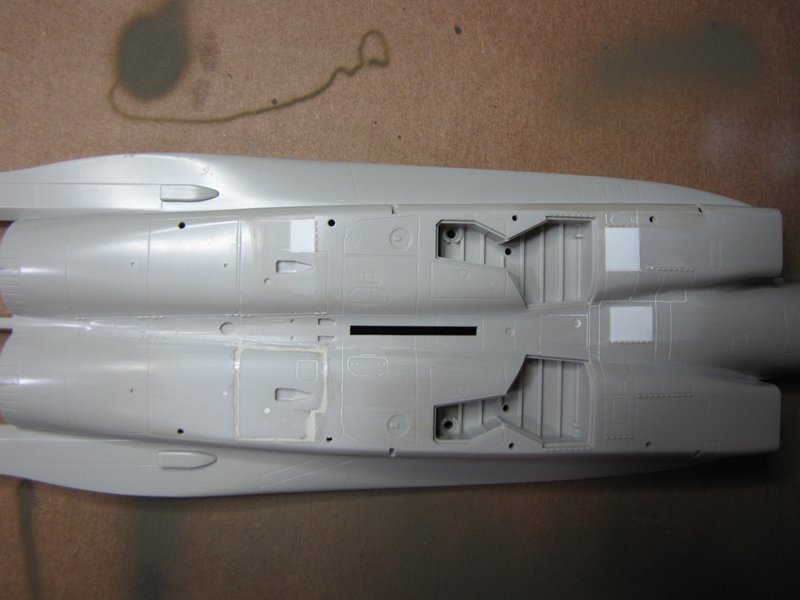
I have not got a lot done, I have finished closing in the open panels and there is just a little scribing left. Now when I started this kit many years ago I was going to make an engine for it I went so far as cutting out the front turbine fan and carving the blades only to store the box too close to the water heater and they melted.
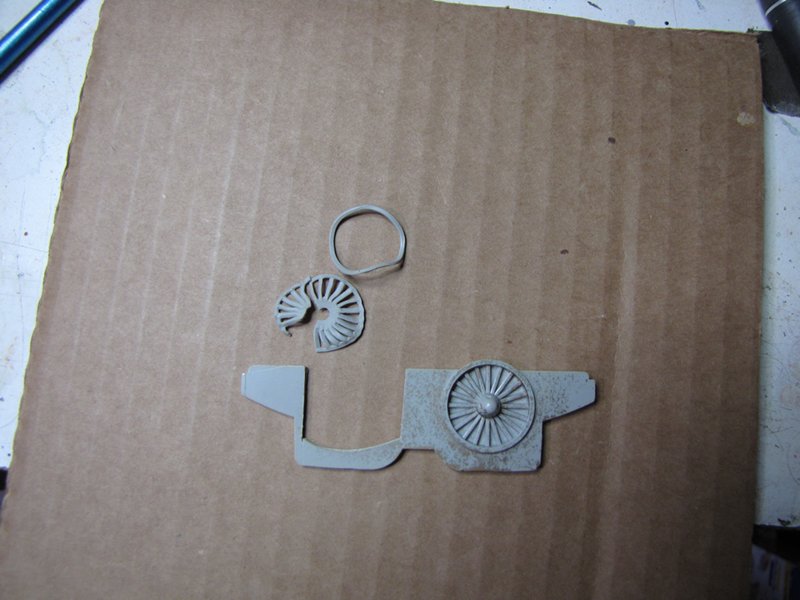
So to fix that and add detail to the cockpit I cast some parts, the turbine fans are from the Academy kit and the black boxes are Verlinden.
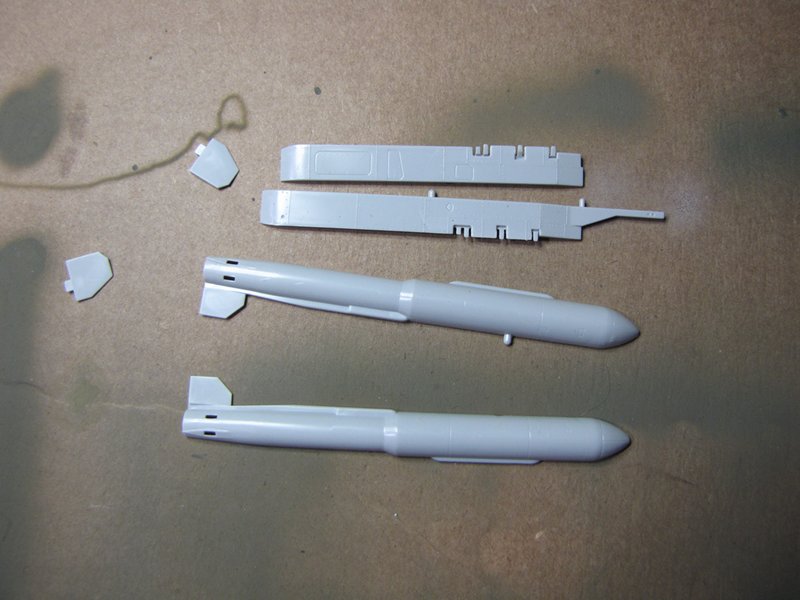
And finally what she will be carrying.
Cheers Rob.
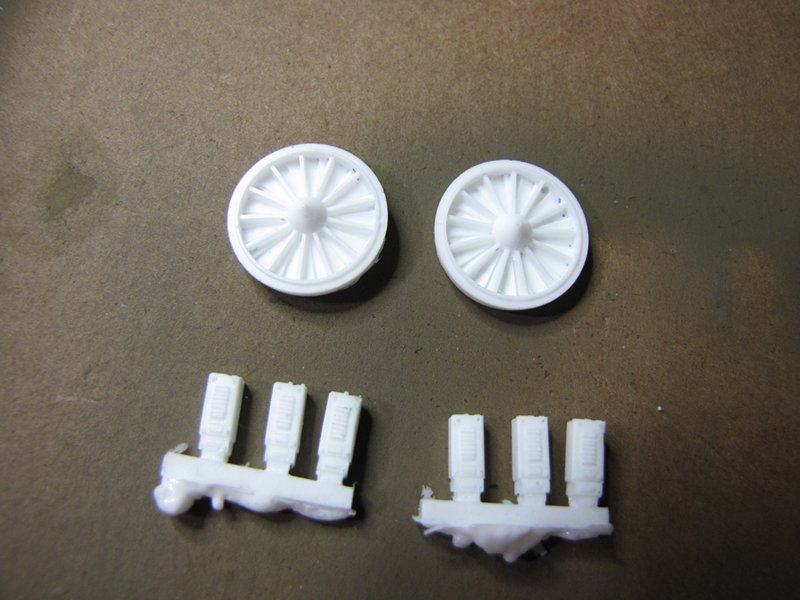

I have not got a lot done,
 I have finished closing in the open panels and there is just a little scribing left. Now when I started this kit many years ago I was going to make an engine for it I went so far as cutting out the front turbine fan and carving the blades only to store the box too close to the water heater and they melted.
So to fix that and add detail to the cockpit I cast some parts, the turbine fans are from the Academy kit and the black boxes are Verlinden.
And finally what she will be carrying.

Cheers Rob.


Posted: Thursday, September 19, 2013 - 05:38 AM UTC
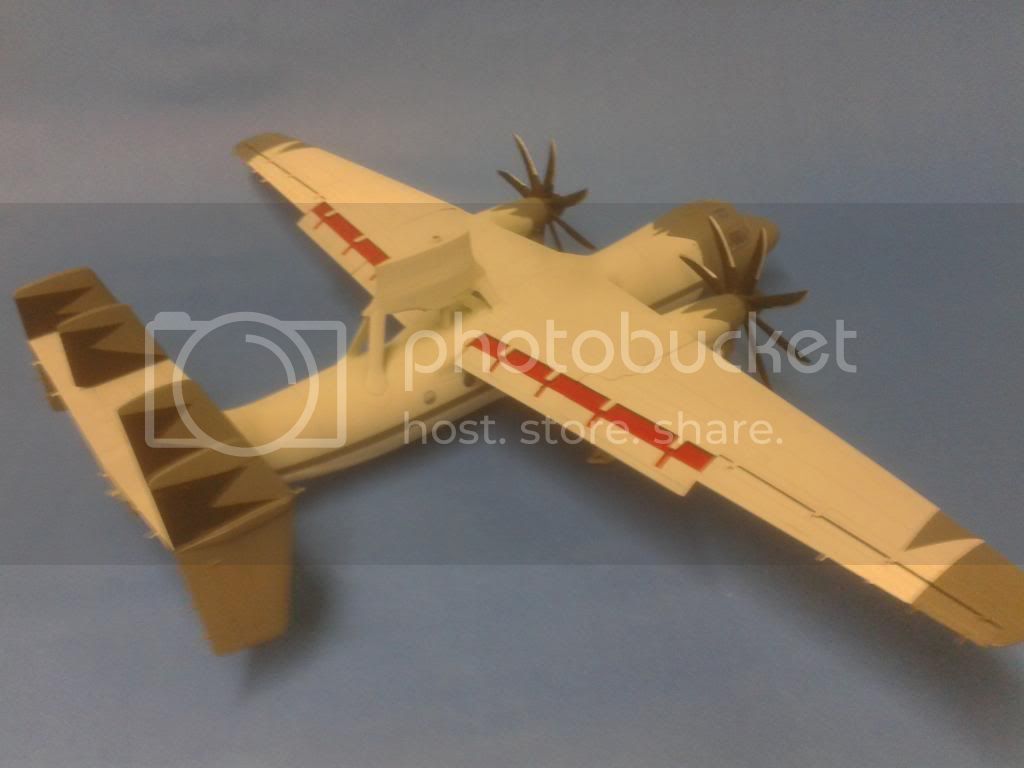
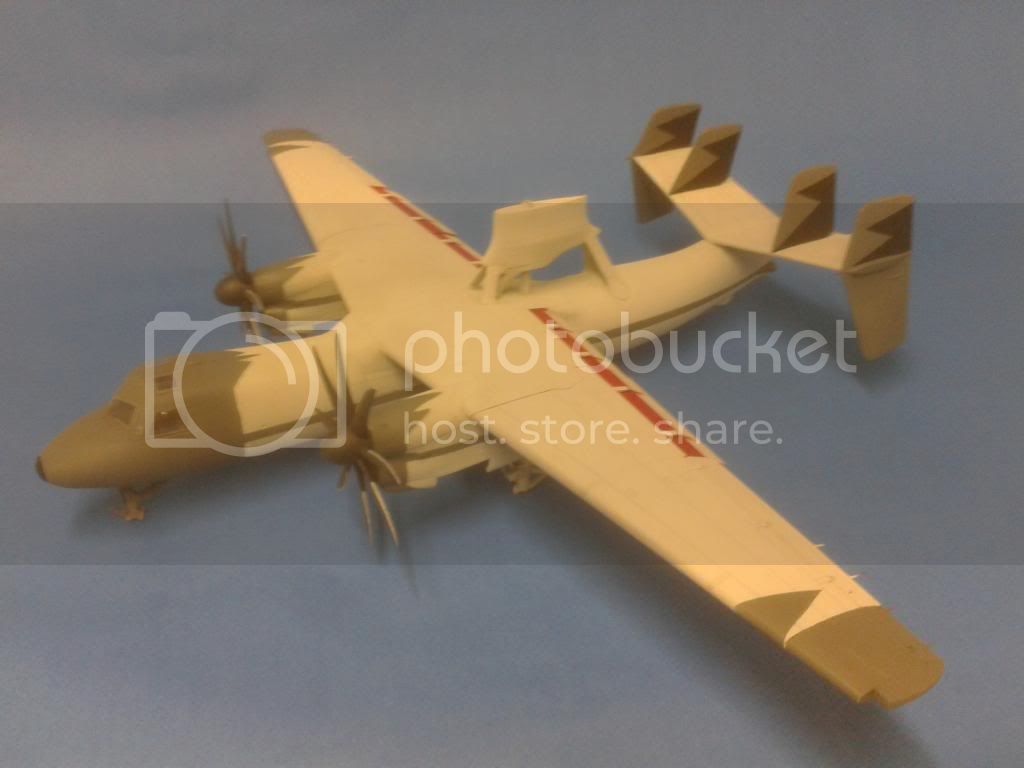
Thanks for the comments guys . It has been quite a mission to do the E2 but the hard bit is done now , im leaving the wheels until the very end as its one heavy bird iv got 150 grams in the nose just to stop it tail sitting so i dont want to risk breaking the wheels when i keep moving it , to be honest it think buying some AM metal undercarriage would have been a smart move but o well..
 |


