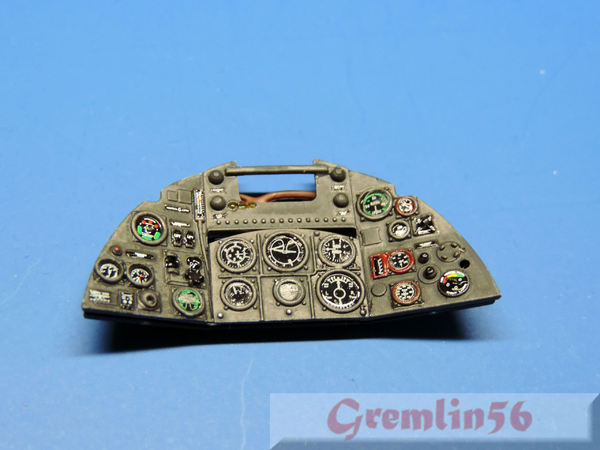
Grems 1/24th Typhoon build
Merlin
 Senior Editor
#017
United Kingdom
Joined: June 11, 2003
KitMaker: 17,582 posts
AeroScale: 12,795 posts
Posted: Thursday, August 07, 2014 - 08:22 AM UTC
Hi Julian
Really nice work so far.

Are the "sinkholes" actually that, or ejector pin marks? The reason I ask is just that they're different issues - and after the talk of cracked canopies going out, it's useful to differentiate between design and production hiccups.
Punched styrene disks are a great fix in awkward spots (I always thank Steffen (alpha-tango) for alerting me to that solution).
All the best
Rowan

BEWARE OF THE FEW...
As I grow older, I regret to say that a detestable habit of thinking seems to be getting a hold of me. - H. Rider Haggard
Joined: October 30, 2005
KitMaker: 3,897 posts
AeroScale: 564 posts
Posted: Thursday, August 07, 2014 - 03:42 PM UTC
Quoted Text
Hi Julian
Really nice work so far.  Are the "sinkholes" actually that, or ejector pin marks? The reason I ask is just that they're different issues - and after the talk of cracked canopies going out, it's useful to differentiate between design and production hiccups.
Punched styrene disks are a great fix in awkward spots (I always thank Steffen (alpha-tango) for alerting me to that solution).
All the best
Rowan 
Sorry Rowan, you are quite right. I am muddling things up here. They are ejector pin marks.

Joined: October 30, 2005
KitMaker: 3,897 posts
AeroScale: 564 posts
Posted: Friday, August 08, 2014 - 02:30 AM UTC
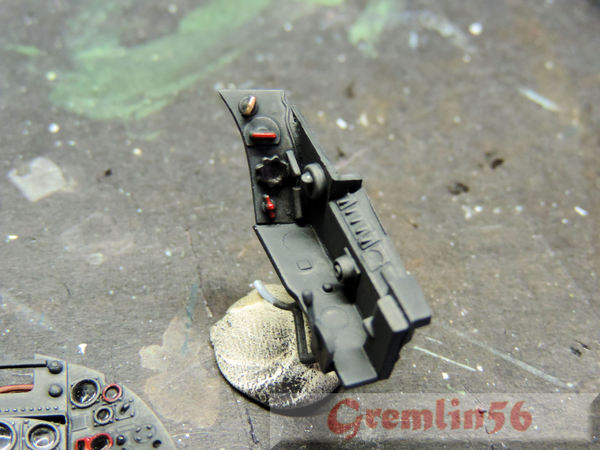
August 9th update:
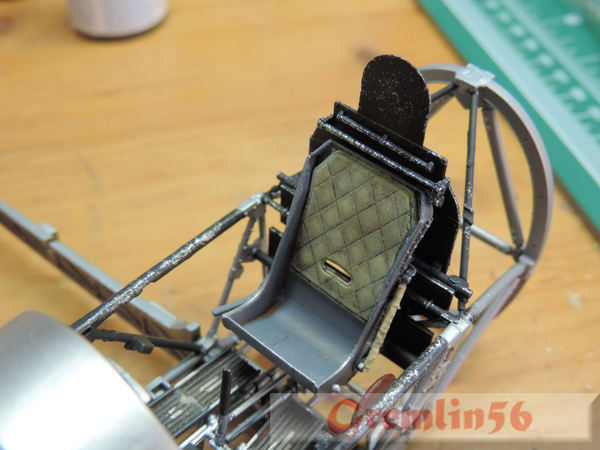
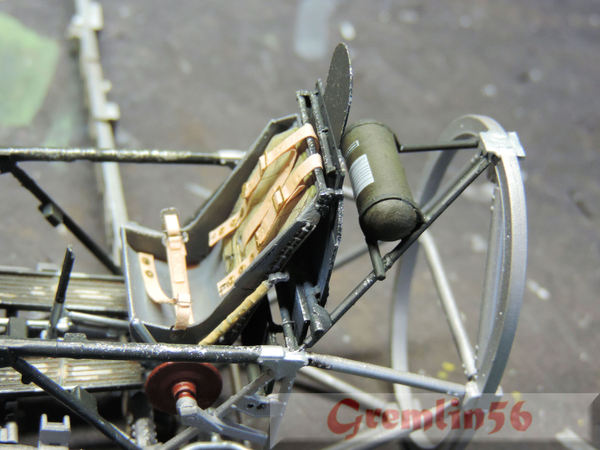
Further work on the pilots seat. Not sure if I will be fitting the "hemorrhoid" cushion in the seat pan


The seat adjustment lever is fitted as are the trim wheel and what would appear to be an emergency hydraulic pump.
The oil tank is Alcladded and only dry fitted at the moment. Final addition is the base of the joystick:
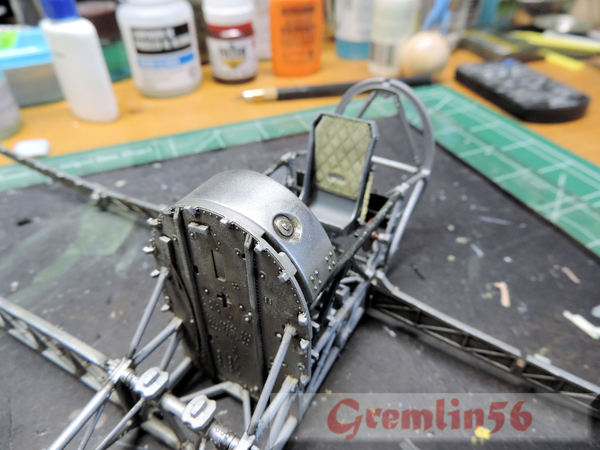
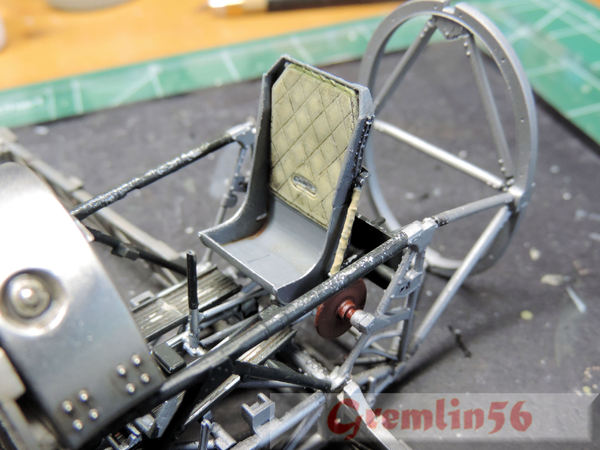
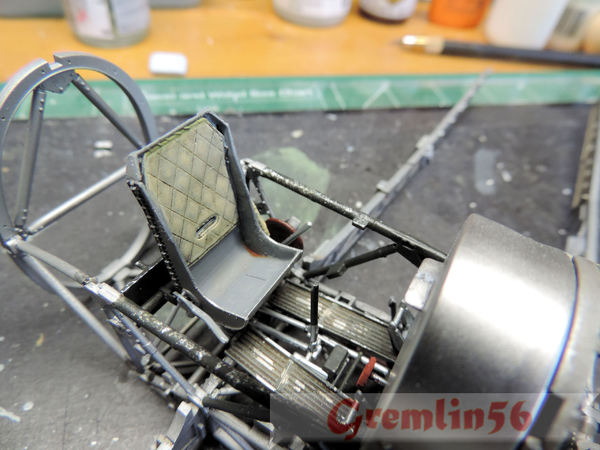

Haute-Vienne, France
Joined: August 15, 2011
KitMaker: 57 posts
AeroScale: 55 posts
Posted: Friday, August 08, 2014 - 07:07 PM UTC
Hi Julian
I think the seat cushion is meant to represent the pilot's parachute seat pack so you definitely won't need it if you are not going to use the pilot. You could of course turn it into a complete parachute with straps and buckles etc., go on, you know you want to really!

Joined: October 30, 2005
KitMaker: 3,897 posts
AeroScale: 564 posts
Posted: Friday, August 08, 2014 - 07:31 PM UTC
Hi John, I won't be using the pilot figure and I certainly won't be doing major surgery on the parachute pack/whoopee cushion


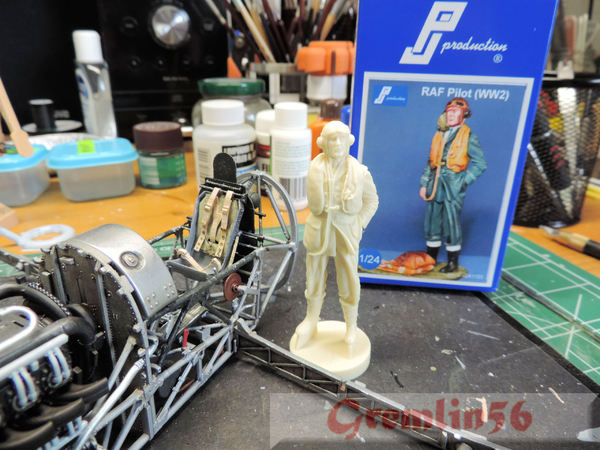
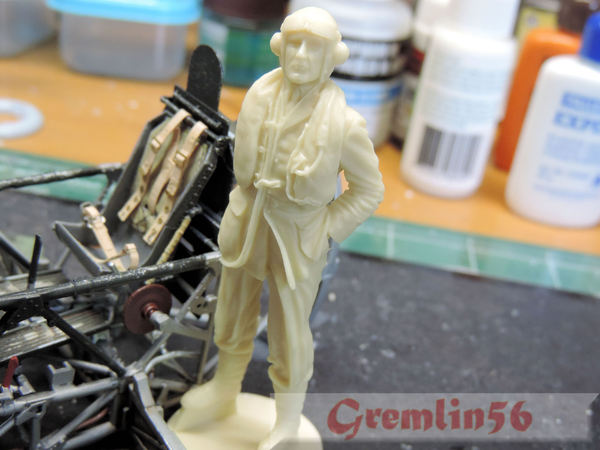
I am still looking round for a standing late war RAF figure.
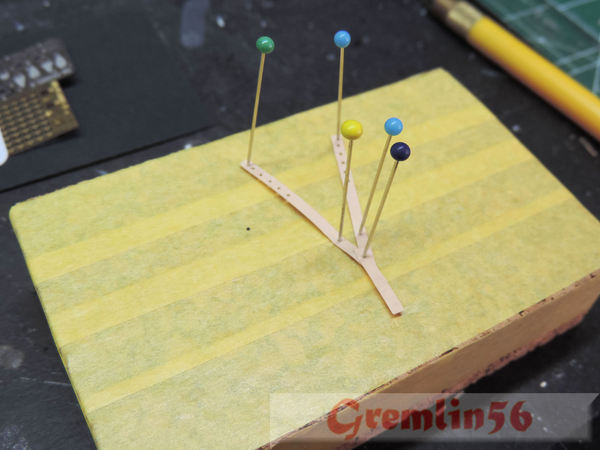
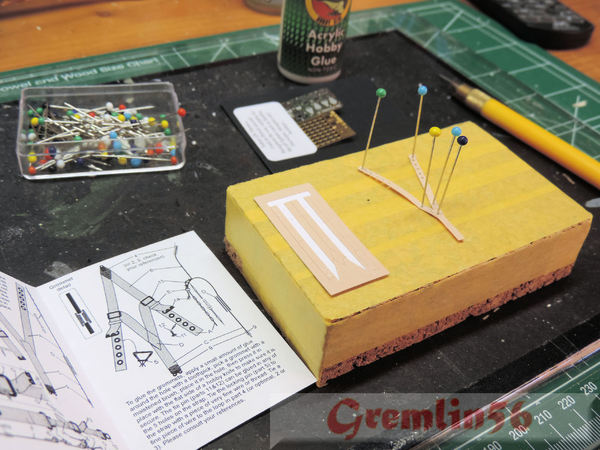
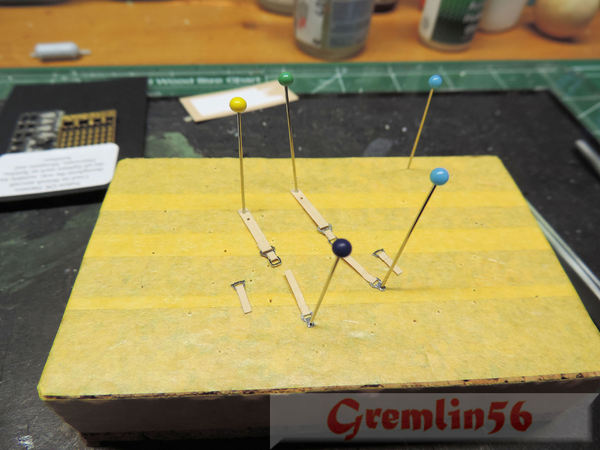
Plenty of time, I am at the moment looking at Radu's Sutton harness with great misgivings. Still, worth the try.

How are things in France? You haven't been tempted to dive into the Typhoon yet?

Joined: October 30, 2005
KitMaker: 3,897 posts
AeroScale: 564 posts
Posted: Friday, August 08, 2014 - 10:33 PM UTC
Haute-Vienne, France
Joined: August 15, 2011
KitMaker: 57 posts
AeroScale: 55 posts
Posted: Saturday, August 09, 2014 - 12:47 AM UTC
Hi again Julian, I'm going to wait 'till all you pioneers have built it so that I can gather tips, and we have visitors for most of August anyway. Yes, Radu's Sutton Harness it rather intimidating isn't it, I've got a couple in 32 scale which I haven't had the courage to start yet
I like your seat, not quite aluminium but with a metallic sheen, how did you achieve that effect?
Keep up the good work
John
Joined: October 30, 2005
KitMaker: 3,897 posts
AeroScale: 564 posts
Posted: Saturday, August 09, 2014 - 01:42 AM UTC
Quoted Text
I like your seat, not quite aluminium but with a metallic sheen, how did you achieve that effect?
Nothing special really John, After spraying the seat cushion I hand painted the rest of the seat with Vallejo neutral grey acrylic,and brushed a burnt umber oil wash over that. Then a coat of Vallejo matt acrylic varnish,(that is probably the sheen you refer to), and then some light dry brushing along the edges with Citadel dry Necron Compound.

Joined: October 30, 2005
KitMaker: 3,897 posts
AeroScale: 564 posts
Posted: Sunday, August 10, 2014 - 01:24 AM UTC
Haute-Vienne, France
Joined: August 15, 2011
KitMaker: 57 posts
AeroScale: 55 posts
Posted: Sunday, August 10, 2014 - 03:58 AM UTC
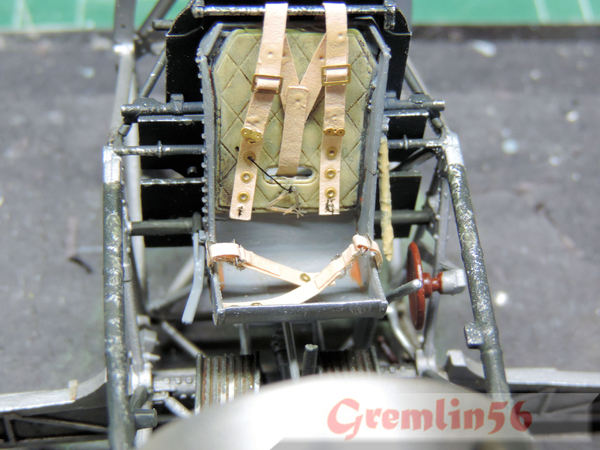
Fantastic Julian, looks like It has the right amount of stiffness for the 'holy'
Sutton Harness. I think I'll be getting one of those along with the radiator set, and try to convince myself that I don't need any more AM goodies ( another pink pig!)
John

Joined: October 30, 2005
KitMaker: 3,897 posts
AeroScale: 564 posts
Posted: Sunday, August 10, 2014 - 04:05 AM UTC
Quoted Text
Fantastic Julian, looks like It has the right amount of stiffness for the 'holy'
Sutton Harness. I think I'll be getting one of those along with the radiator set, and try to convince myself that I don't need any more AM goodies ( another pink pig!)
John 
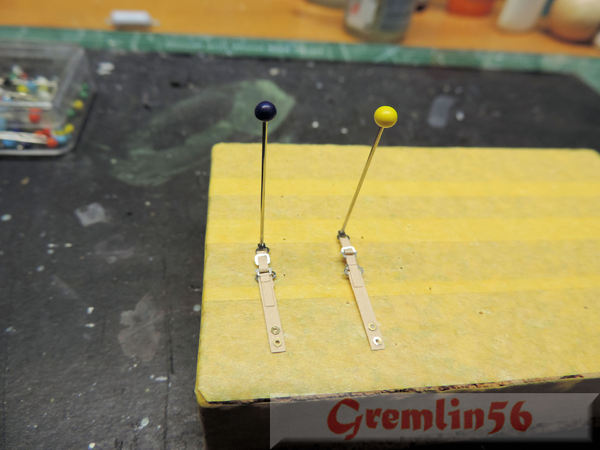
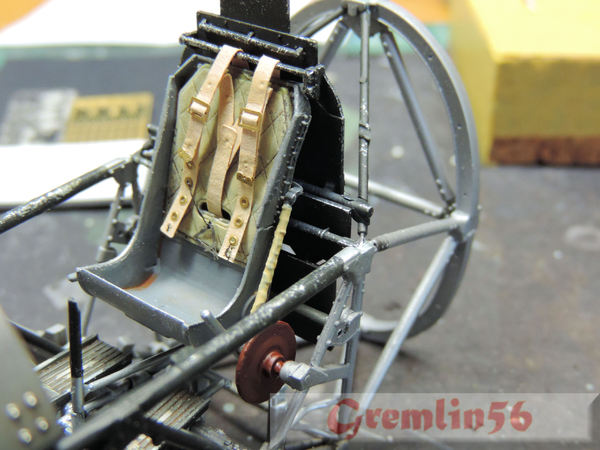
Edgar warned me about the the metal plate in the waist belts of the Sutton. Not sure if I got it completely right but it certainly isn't completely wrong

Joined: October 30, 2005
KitMaker: 3,897 posts
AeroScale: 564 posts
Posted: Tuesday, August 12, 2014 - 06:03 AM UTC
England - South West, United Kingdom
Joined: July 04, 2013
KitMaker: 430 posts
AeroScale: 18 posts
Posted: Tuesday, August 12, 2014 - 06:41 PM UTC
OMG
Amazing Julian
Cheers Kev
Joined: October 30, 2005
KitMaker: 3,897 posts
AeroScale: 564 posts
Posted: Wednesday, August 13, 2014 - 02:52 AM UTC
Thanks Kev, I would love to have that 24 cylinder monster "up forward" in my Volvo. Fuel consumption would be a killer though...............


Ontario, Canada
Joined: July 22, 2012
KitMaker: 771 posts
AeroScale: 763 posts
Posted: Wednesday, August 13, 2014 - 05:00 AM UTC
Quoted Text
Thanks Kev, I would love to have that 24 cylinder monster "up forward" in my Volvo. Fuel consumption would be a killer though............... 

Try owning a proper rotary like my FD RX-7 and then come talk to me about F/E lol
Matt Odom
I've been known to build a few things
Joined: October 30, 2005
KitMaker: 3,897 posts
AeroScale: 564 posts
Posted: Wednesday, August 13, 2014 - 05:06 AM UTC
A colleague of mine used to have a Mazda RX-7. It was a really beautiful machine. I have an S-40 1.6 turbo diesel which is not a race machine but an excellent commuter.


Joined: October 30, 2005
KitMaker: 3,897 posts
AeroScale: 564 posts
Posted: Thursday, August 14, 2014 - 01:58 AM UTC
AussieReg
 Associate Editor
#007
Victoria, Australia
Joined: June 09, 2009
KitMaker: 8,156 posts
AeroScale: 3,756 posts
Posted: Thursday, August 14, 2014 - 02:12 AM UTC
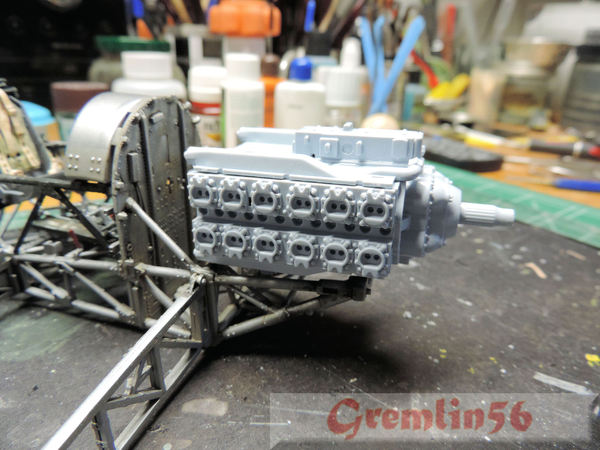
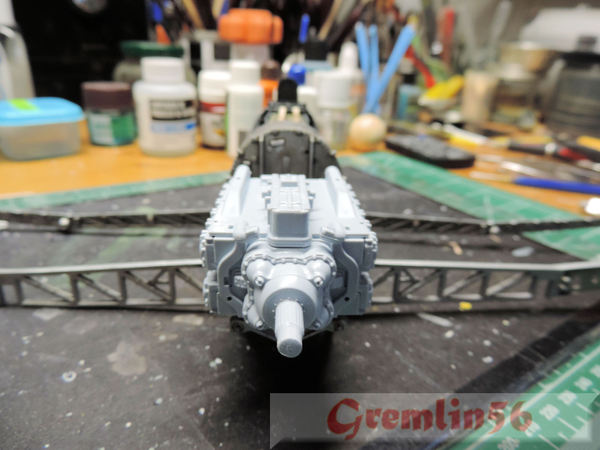
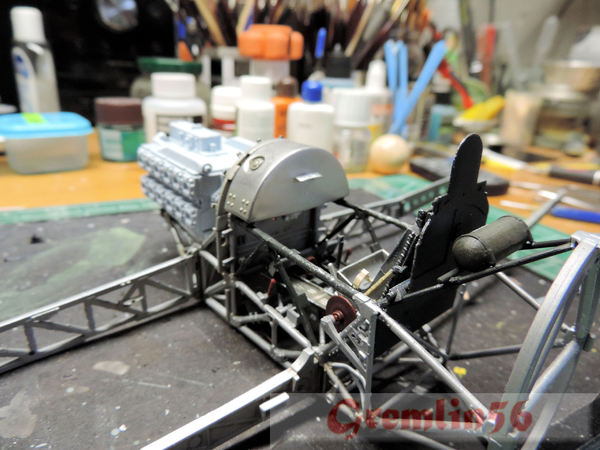
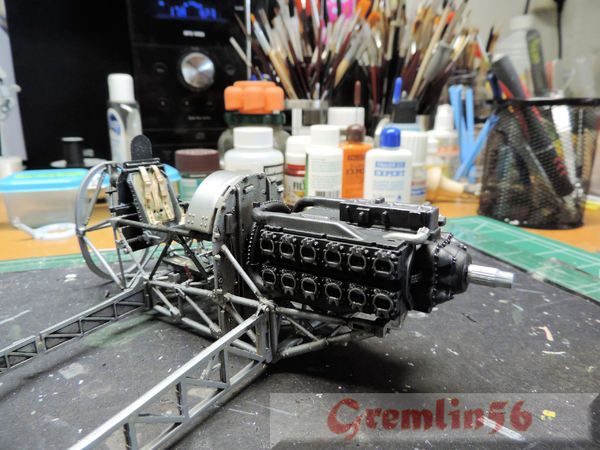
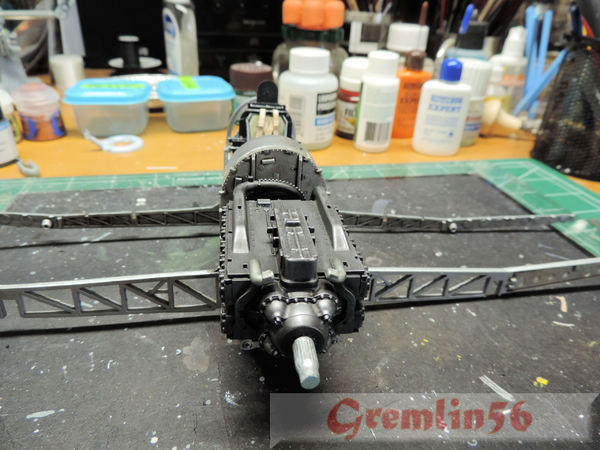
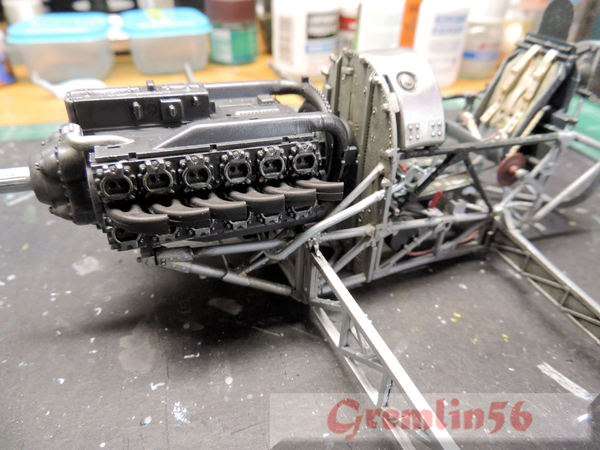
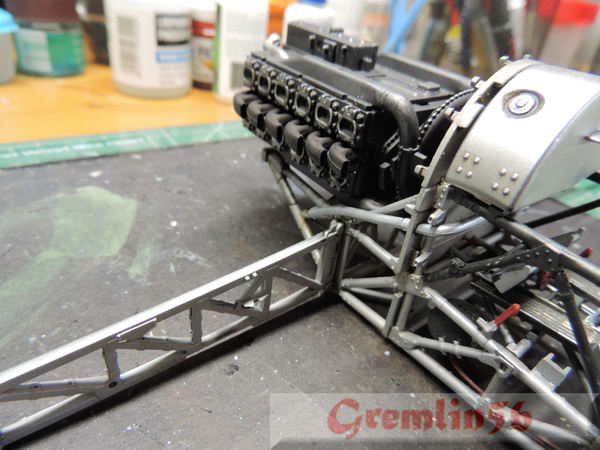
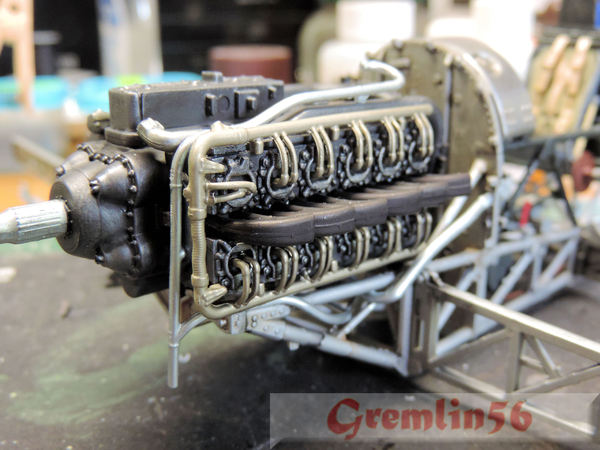
That Napier Sabre is a mean looking piece of work, and you have done a cracking paint job on it Julian !
What paints/colours did you use?
Cheers, D
ON the bench
Revell 1/24 '53 Corvette (building as '54)
Revell 1/24 BMW 507 Coupe and Cabrio
Italeri 1/48 Me262 B-1a/U1 Nightfighter
Monogram 1/24 '57 Chevy Nomad
Dragon 1/350 USS Frank Knox DD-742
Joined: October 30, 2005
KitMaker: 3,897 posts
AeroScale: 564 posts
Posted: Thursday, August 14, 2014 - 02:30 AM UTC
Hi Damien, thanks first off, glad the paint job passes muster. Always difficult to get engines looking respectable

I started with a base coat of Alclad burnt iron which I sealed in with Vallejo matt acrylic varnish, (great stuff, can't recommend it enough). I gave it a wash using MiG's engine grime, well thinned down and not too thickly applied. I then dry brushed the engine with Citadel necron compound which I then toned back down again with Humbrol gunmetal, (the old enamel polish me up stuff). I then did a very light dry brush over the whole block using the Humbrol gunmetal again to get a nice metallic sheen. the exhausts are done using Alclad exhaust manifold.Not there yet though, more to come

Ontario, Canada
Joined: July 22, 2012
KitMaker: 771 posts
AeroScale: 763 posts
Posted: Thursday, August 14, 2014 - 05:33 AM UTC
This and their gunmetal are two of my favorite paints.
Matt Odom
I've been known to build a few things
Ontario, Canada
Joined: February 04, 2009
KitMaker: 743 posts
AeroScale: 151 posts
Posted: Thursday, August 14, 2014 - 11:40 PM UTC
Julian,
Lovely build so far. Regarding the harness looks like your going to do just fine with this one as from what I can see you are going to do a mid Typhoon, d-day type tiffie. If you were going to do a late war tiffie I would recommend you use the Q-type harness as these began to replace the sutton type toward the end of the war, first with the spits then tempest then tiffie.
Dave.
http://ghmicro.wix.com/twis-first-cut
Joined: October 30, 2005
KitMaker: 3,897 posts
AeroScale: 564 posts
Posted: Friday, August 15, 2014 - 12:54 AM UTC
Hi Dave, thanks for reassuring me here on the Sutton

I noticed in Brett Green's book that the harness was a different type to the harness I bought. Luckily I will be building a Typhoon for the period just after Normandy.
Thanks for looking in,

Joined: October 30, 2005
KitMaker: 3,897 posts
AeroScale: 564 posts
Posted: Friday, August 15, 2014 - 01:53 AM UTC
Joined: October 30, 2005
KitMaker: 3,897 posts
AeroScale: 564 posts
Posted: Saturday, August 16, 2014 - 03:37 AM UTC
Joined: October 30, 2005
KitMaker: 3,897 posts
AeroScale: 564 posts
Posted: Saturday, August 16, 2014 - 11:54 PM UTC
 Are the "sinkholes" actually that, or ejector pin marks? The reason I ask is just that they're different issues - and after the talk of cracked canopies going out, it's useful to differentiate between design and production hiccups.


