Thanks, Richard. Appreciate it.
Thanks for sharing, Chris. Good inspiration for the next one.
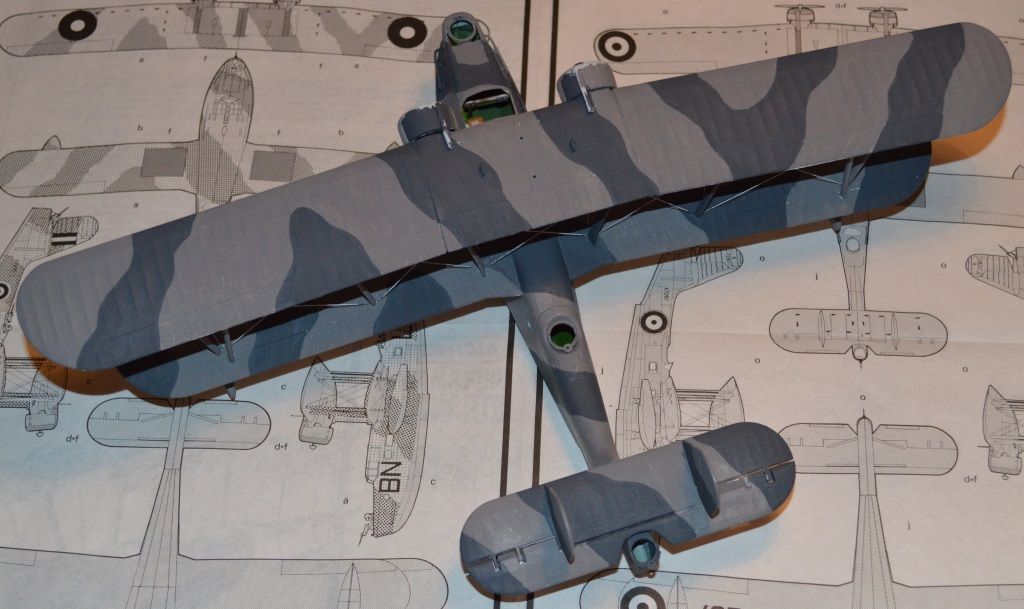
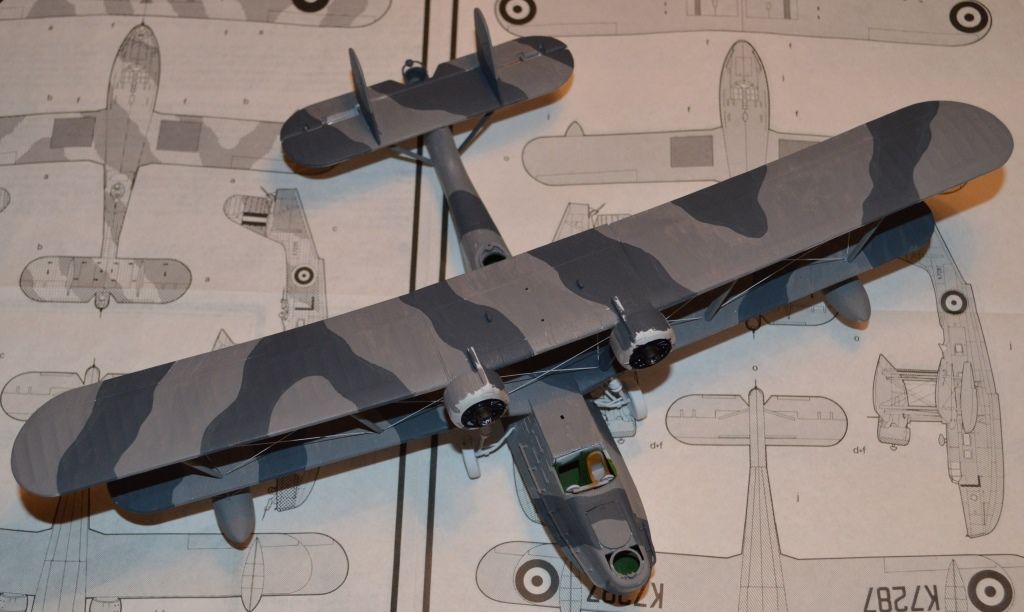
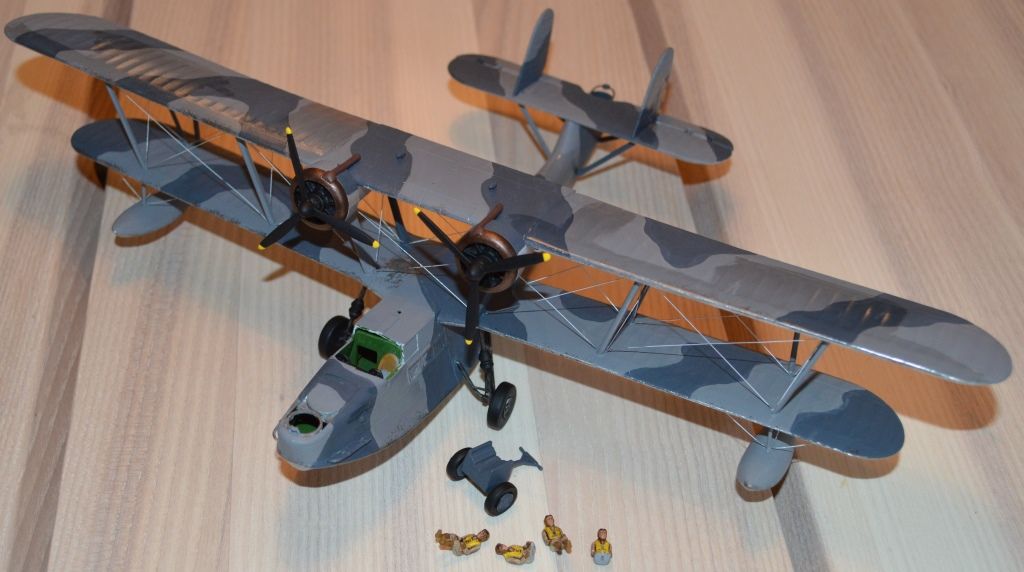
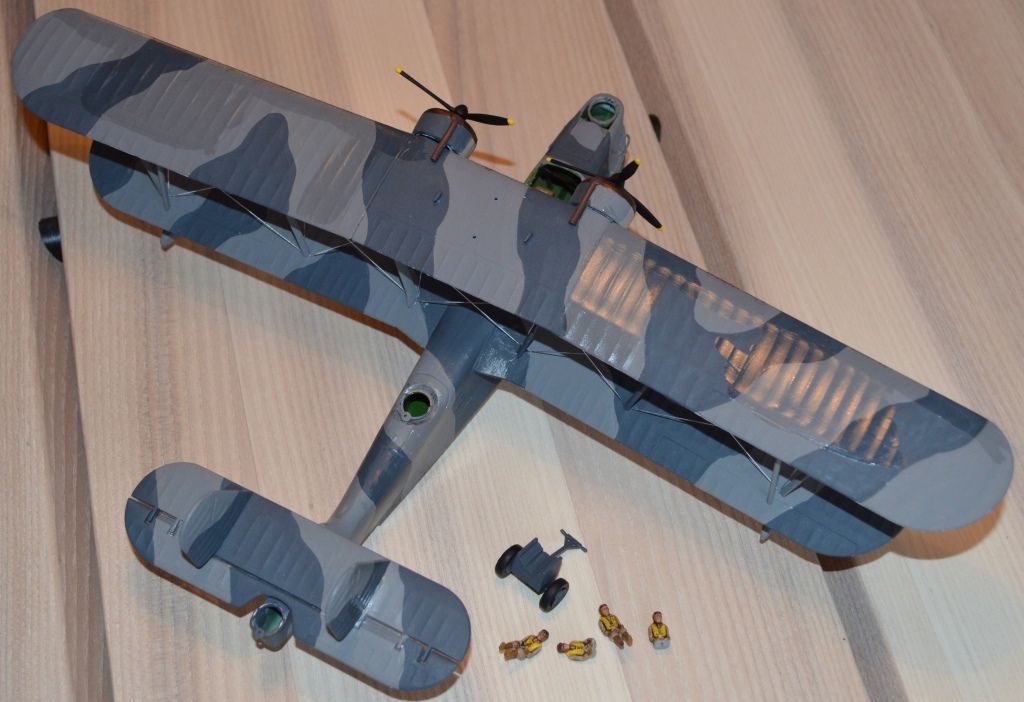
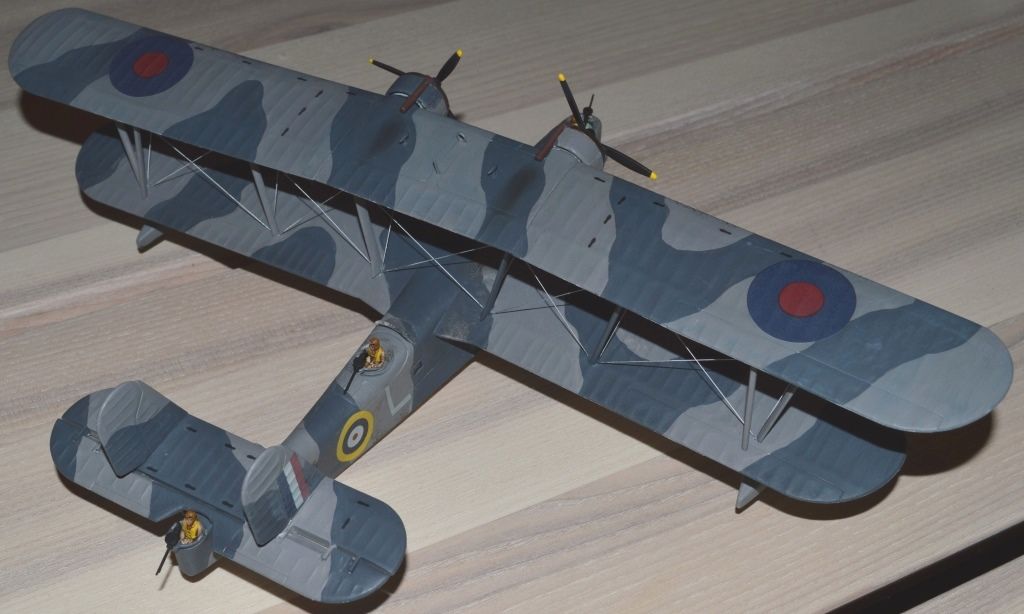
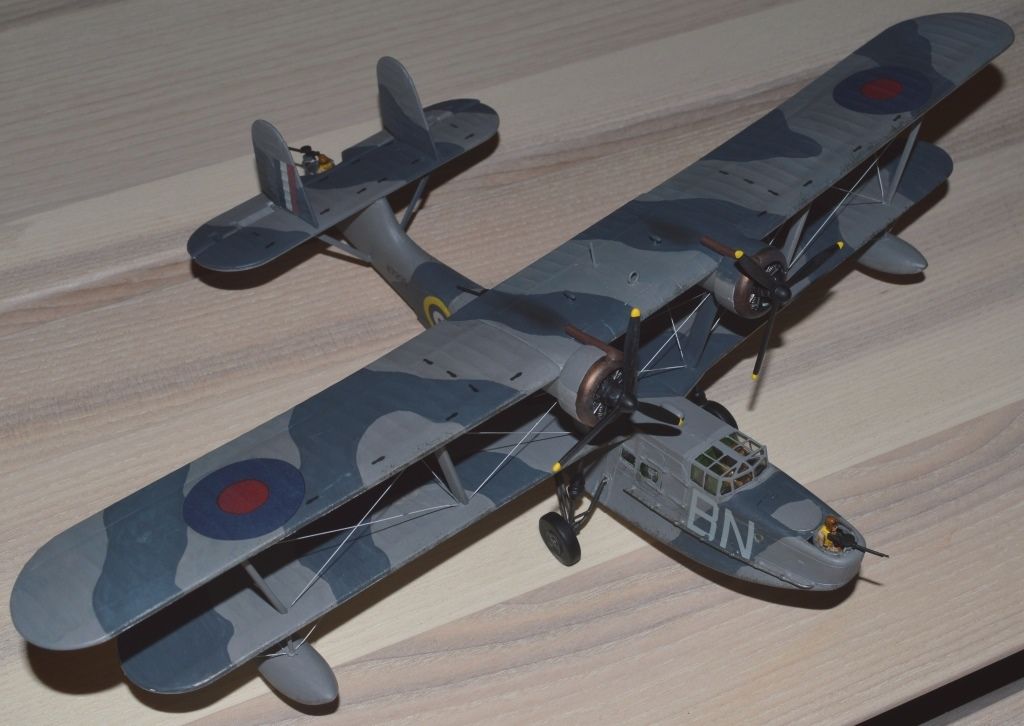
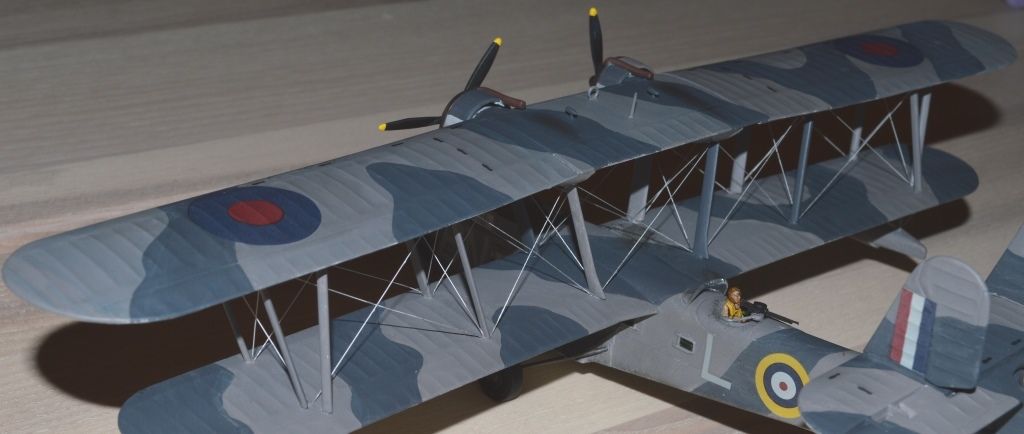
I had a very productive day yesterday. Main camouflage colors are on although there is a lot of touching up to do. Also a fair amount of details still to be done.
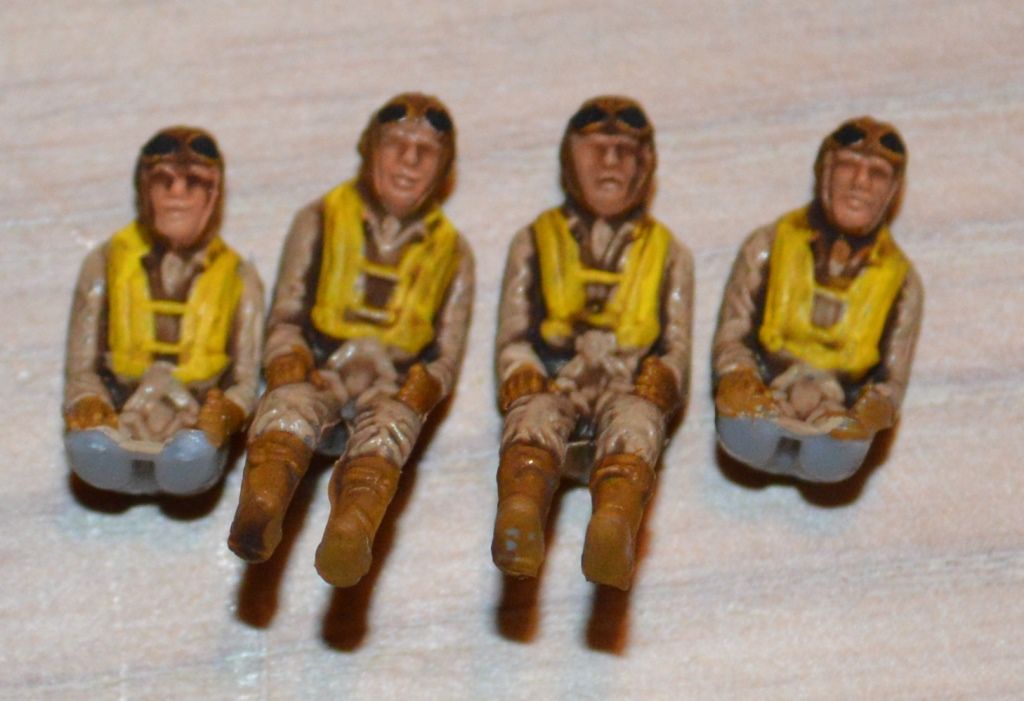
The crew is ready in their usual relaxed matchbox poses.
More to follow soon.
Air Campaigns
Want to start or join a group build? This is where to start.
Hosted by Frederick Boucher, Michael Satin
OFFICIAL: Sea Plane Campaign 2014
Posted: Thursday, January 08, 2015 - 04:30 PM UTC
Blespooky
Tel Aviv-Yafo, Israel
Joined: June 03, 2014
KitMaker: 277 posts
AeroScale: 36 posts
Joined: June 03, 2014
KitMaker: 277 posts
AeroScale: 36 posts
Posted: Friday, January 09, 2015 - 09:53 PM UTC
1:72 Airfix Fairey Swordfish
@Jesper that camo pattern came out great especially considering the fine rigging you had to preserve.
I have finished the Swordfish with all its rigging. I want to thank everyone on Aeroscale, this is my first campaign and first model using many of the techniques that are the minimum level of quality on this website. For example, this if the first gloss coated, properly decalled, rigged, ink washed, masked canopied, paint chipped and matte coated model I have ever done. I have learned much and in the future hope to improve even more. I should have dry fitted the framework that holds the wings to the fuselage because they didn't sit flush and the whole construct is so fragile I was afraid to apply any real pressure to get it right. I see many elements to improve for the next attempt, what do you see?
Thanks,
Bryan
Posted: Saturday, January 10, 2015 - 12:14 AM UTC
@Jesper:- Hey Jesper while going over some of my old rigging info I read about using a heated screwdriver blade held near the mono-filament to make it shrink and tighten up, would this be of any use to you to tighten the areas of slack you have in your rigging?
@Bryan:- Hi Bryan I see a great little Swordfish nice clean build with the usual challenges when building a bi plane. As modelers we are always acutely aware of our "mistakes" and think them glaringly obvious, however most of our peers don't see them until we point them out. It's great to see someone grow in their talent and ability and this is what Aeroscale and the kitmaker network is about, constructive criticism and advice to our fellow modelers and admiration for a job well done and yours most certainly is, congrats on your first campaign and good luck with the many others to come.
"We" are always glad to help and from what I've seen you're progressing extremely well. I to have had many firsts whilst on Aeroscale and I've found the thing that usually held me back was a "fear" of the unknown, I didn't know how to use an airbrush and they're expensive what if I damage it somehow, how do I mask isn't it all a little too difficult?? After using the airbrush I suddenly realised that it's really quite simple and you get better with time. But over coming that initial hurdle was difficult, after watching what could be accomplished by experienced modelers I realised that if I wanted to achieve similar results I would have let go of some of my reservations and jump in with both feet. I can honestly say that without the impetuous given by the outstanding ability of this community I probably would still be frozen where I was before I joined.
But as always this is supposed to be "fun" and the joy I derive from building a model and making it come "alive" to the best of my ability is one of the most satisfying feelings I know. Yes they can be frustrating when it won't go together as planned, but then I think that I enjoy the problem solving side of this hobby just as much. Uhmmmm okay enough of the preaching....
Posted: Saturday, January 10, 2015 - 07:04 AM UTC
Great work Bryan!
Posted: Saturday, January 10, 2015 - 01:53 PM UTC
Bryan, beautiful swordfish! Really great job especially considering the scale. You should be very satisfied with the result.
Thanks for the comments on my Stranraer, guys. Much appreciated. Progress is good, so more pictures later today.
Chris is monofilament the same as fishing line? What happens if the fishing line is already painted and then heated?
The only place with a bit of slack is the underwing pylons. The struts are so flimsy I could not tighten them. I do not know if I have the guts to heat them up. If they snap there is no way to fix it without ruining the paintwork.
Posted: Sunday, January 11, 2015 - 02:16 AM UTC
Posted: Sunday, January 11, 2015 - 12:37 PM UTC
Hi Jesper yes it's the same as fishing line. If it's already painted I suggest it's left alone. You could always repaint it afterward as I'd guess the paint would flake off when the line shrinks, and getting the tension right would be a hit and miss affair. So I guess the answer is leave it be, it looks damn good as it is!
stukaace
England - West Midlands, United Kingdom
Joined: January 03, 2006
KitMaker: 39 posts
AeroScale: 39 posts
Joined: January 03, 2006
KitMaker: 39 posts
AeroScale: 39 posts
Posted: Sunday, January 11, 2015 - 04:43 PM UTC
Hi all, I must say I am really impressed with the builds coming out of this campaign, I especially admire Bryan's Swordfish.
Well after some rescribing of panel lines on my Bv138, which include filling some after slipping several times with the scribing tool (Olfa 'P' cutter). Also adding some silver foil for some raised detail on upper fuselage fairing & nose. I proceeded to prime the beast. After drying any defects were resolved.
I then gave it a second coat which gave me a satisfactory finish. Masking was next on list, using the spare canopy,as a template & Tamiya masking tape I proceeded to make the canopy masking. Turret masking was done in the usual way strips & then filling in clear areas with offcuts of tape.
She's now starting to look more like a Bv138!
I've added pitot tube from a hypodermic needle, drilled out holes for lights in bow. I sanded down the front of each wing mounted engine nacelle leaving a thin rim around the openings, as looking at photos this gives a more accurate representation of the original. Holes drilled for exhausts, when I can find tubing of the right diameter to make them.
Now comes the difficult part choosing which aircraft to model, camouflage isn't a problem except for winter camouflage or not
With time running out for this campaign I guess I'd better make my mind up a.s.a.p. Certainly not enough time for diorama or beaching trolley as was my original intention
That's all for now look forward to seeing all the completed builds.
Cheers Andy
Well after some rescribing of panel lines on my Bv138, which include filling some after slipping several times with the scribing tool (Olfa 'P' cutter). Also adding some silver foil for some raised detail on upper fuselage fairing & nose. I proceeded to prime the beast. After drying any defects were resolved.
I then gave it a second coat which gave me a satisfactory finish. Masking was next on list, using the spare canopy,as a template & Tamiya masking tape I proceeded to make the canopy masking. Turret masking was done in the usual way strips & then filling in clear areas with offcuts of tape.
She's now starting to look more like a Bv138!
I've added pitot tube from a hypodermic needle, drilled out holes for lights in bow. I sanded down the front of each wing mounted engine nacelle leaving a thin rim around the openings, as looking at photos this gives a more accurate representation of the original. Holes drilled for exhausts, when I can find tubing of the right diameter to make them.
Now comes the difficult part choosing which aircraft to model, camouflage isn't a problem except for winter camouflage or not
With time running out for this campaign I guess I'd better make my mind up a.s.a.p. Certainly not enough time for diorama or beaching trolley as was my original intention
That's all for now look forward to seeing all the completed builds.
Cheers Andy
Posted: Sunday, January 11, 2015 - 05:41 PM UTC
Chris, I will leave it as it is or only try the hot screwdriver after I have taken pictures for the campaign Almost done now.
Andy, looks great. This is really starting to look like a Bv 138 as you point out. Very impressive! Looking forward to see more.
Posted: Monday, January 12, 2015 - 01:14 PM UTC
Posted: Monday, January 12, 2015 - 04:32 PM UTC
Very nice build Jesper!
Blespooky
Tel Aviv-Yafo, Israel
Joined: June 03, 2014
KitMaker: 277 posts
AeroScale: 36 posts
Joined: June 03, 2014
KitMaker: 277 posts
AeroScale: 36 posts
Posted: Monday, January 12, 2015 - 04:32 PM UTC
Jesper, great looking model, the rigging came out great as well as the camouflage.
Posted: Monday, January 12, 2015 - 06:45 PM UTC
Thanks a lot, Guys! Appreciate the comments.
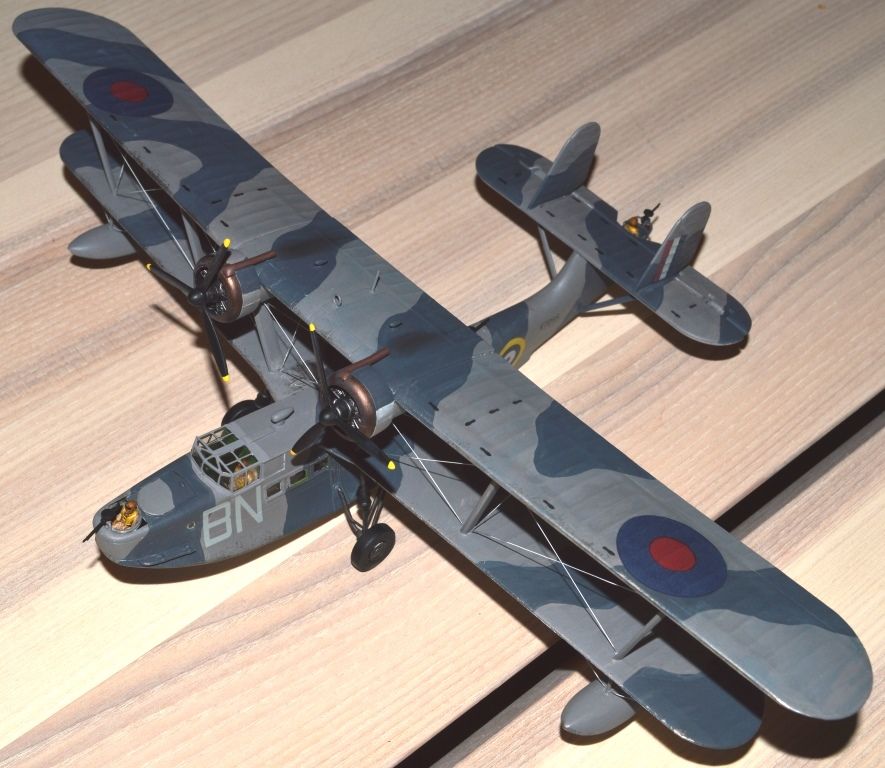
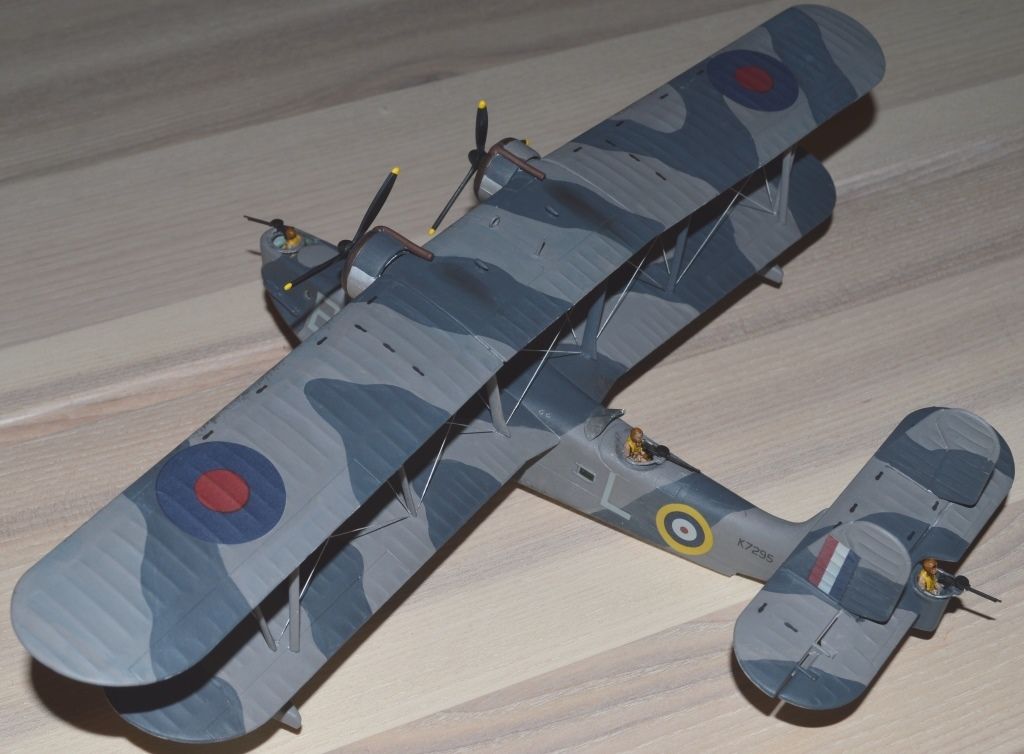
Not an easy build for me with the rigging, but I am satisied with the end result.
Posted: Monday, January 12, 2015 - 07:46 PM UTC
This campaign continues to produce great results.
Jesper, That is a lovely model. I especially like the polished metal engine cowlings and the crew men besides all the other nice details.
Andy Hershell, the Bv-138 is looking great. Cant wait to see it painted.
Bryan Epstein, that Swordfish is beautiful. you have already a very high skill level to get such a fine result, I look forward to seeing more of your work in future campaigns!
Jesper, That is a lovely model. I especially like the polished metal engine cowlings and the crew men besides all the other nice details.
Andy Hershell, the Bv-138 is looking great. Cant wait to see it painted.
Bryan Epstein, that Swordfish is beautiful. you have already a very high skill level to get such a fine result, I look forward to seeing more of your work in future campaigns!
Posted: Tuesday, January 13, 2015 - 02:37 AM UTC
Excellent work on the Stranraer Jesper. It's an impressive looking beast.
Posted: Tuesday, January 13, 2015 - 01:04 PM UTC
Thanks for the comments, Jonathan and Stephen.
Much appreciated
Much appreciated
Posted: Sunday, January 18, 2015 - 02:53 AM UTC
Masked and ready for primer:-
Posted: Sunday, January 18, 2015 - 11:36 AM UTC
Progress update of my entry , Azur 1/72 Loire 130.
Posted: Sunday, January 18, 2015 - 01:07 PM UTC
Richard, the beast is really taking shape now. Looking forward to see more.
Lap Man, nice little kit that seems to go together well. What kind of markings and camo scheme are you planning on?
Posted: Sunday, January 18, 2015 - 04:39 PM UTC
Jesper this is the biggest resin kit I've built!
Posted: Monday, January 19, 2015 - 03:52 AM UTC
I have rigged the wing floats with E-Zee line and added PE connectors:-
Posted: Monday, January 19, 2015 - 04:12 AM UTC
Looking forward to seeing the Shorts and Loire finished.
I spent tonight masking the Walrus's canopy, always my favourite part of a build. Not. Luckily Matchbox made the frames quite pronounced which helped a lot.
I've also painted up the engine nacelle prior to fitting it to the fuselage.
Apologies for no photo's but the light was bad tonight and they just did not turn out very well.
Posted: Monday, January 19, 2015 - 01:20 PM UTC
Sounds good, Stephen. The Matchbox Walrus is the only kit I have simply had to give up on in many years. Great that you are making good progress.
I am looking forward to see your result.
Posted: Tuesday, January 20, 2015 - 04:49 AM UTC
It's been a fun build so far. I found the most challenging bit the engine nacelle and strut assembly. Bit of a pain to get right and it wasn't helped by unclear instructions. Time will tell if goes together correctly.
The Walrus is long overdue for a modern tooling in 1/72. Hopefully, and if they're reading this, Airfix will continue with their current trend with retooling British WW2 subjects and treat us to one next year.
Posted: Wednesday, January 21, 2015 - 12:52 AM UTC
And here's how she's looking tonight.
I used Humbrol enamels to paint up the nacelle. I would be using Humbrol acrylics for speed if I'd had them, but times ticking and no local shop stocks them. Probably should have considered that earlier. I still prefer enamel, but it does slow things down when your working to a deadline.
Planning on giving the fuselage and wings a spraying of primer tomorrow.