OFFICIAL: China-Burma-India Campaign
Western Australia, Australia
Joined: May 05, 2006
KitMaker: 900 posts
AeroScale: 200 posts
Posted: Monday, January 30, 2017 - 04:01 PM UTC
Made a start on my spitfire.
I have gotten as far as reading through the instructions and highlighting the specific option parts I need to use for my chosen scheme.

Don't you feel more like you do now than you did when you came in?
MichaelSatin
 Campaigns Administrator
Colorado, United States
Joined: January 19, 2008
KitMaker: 3,909 posts
AeroScale: 2,904 posts
Posted: Monday, January 30, 2017 - 06:14 PM UTC
Glad to see lots of great work going on here. This campaign seems to have touched a nerve! Don't forget there will be follow-ons to include all the different theaters of WWII, starting with the
Western Front/ETO tomorrow!
Michael

On the bench:
Sorta depends on your definition of "on the bench"...
Uusimaa, Finland
Joined: October 01, 2016
KitMaker: 514 posts
AeroScale: 239 posts
Posted: Monday, January 30, 2017 - 11:49 PM UTC
Some progress since last update:

Green colour, touching up, decals, weathering, etc missing. But so far no major mishaps.
Indre-et-Loire, France
Joined: May 23, 2011
KitMaker: 651 posts
AeroScale: 181 posts
Posted: Thursday, February 02, 2017 - 12:54 PM UTC
Hi all,
very good works around there !
Here is my progress on my P-40 :


Cheers
nico
Nordrhein-Westfalen, Germany
Joined: March 22, 2015
KitMaker: 671 posts
AeroScale: 614 posts
Posted: Saturday, February 04, 2017 - 04:13 AM UTC
Hello fellow modelers!
Very nice work is going on here.
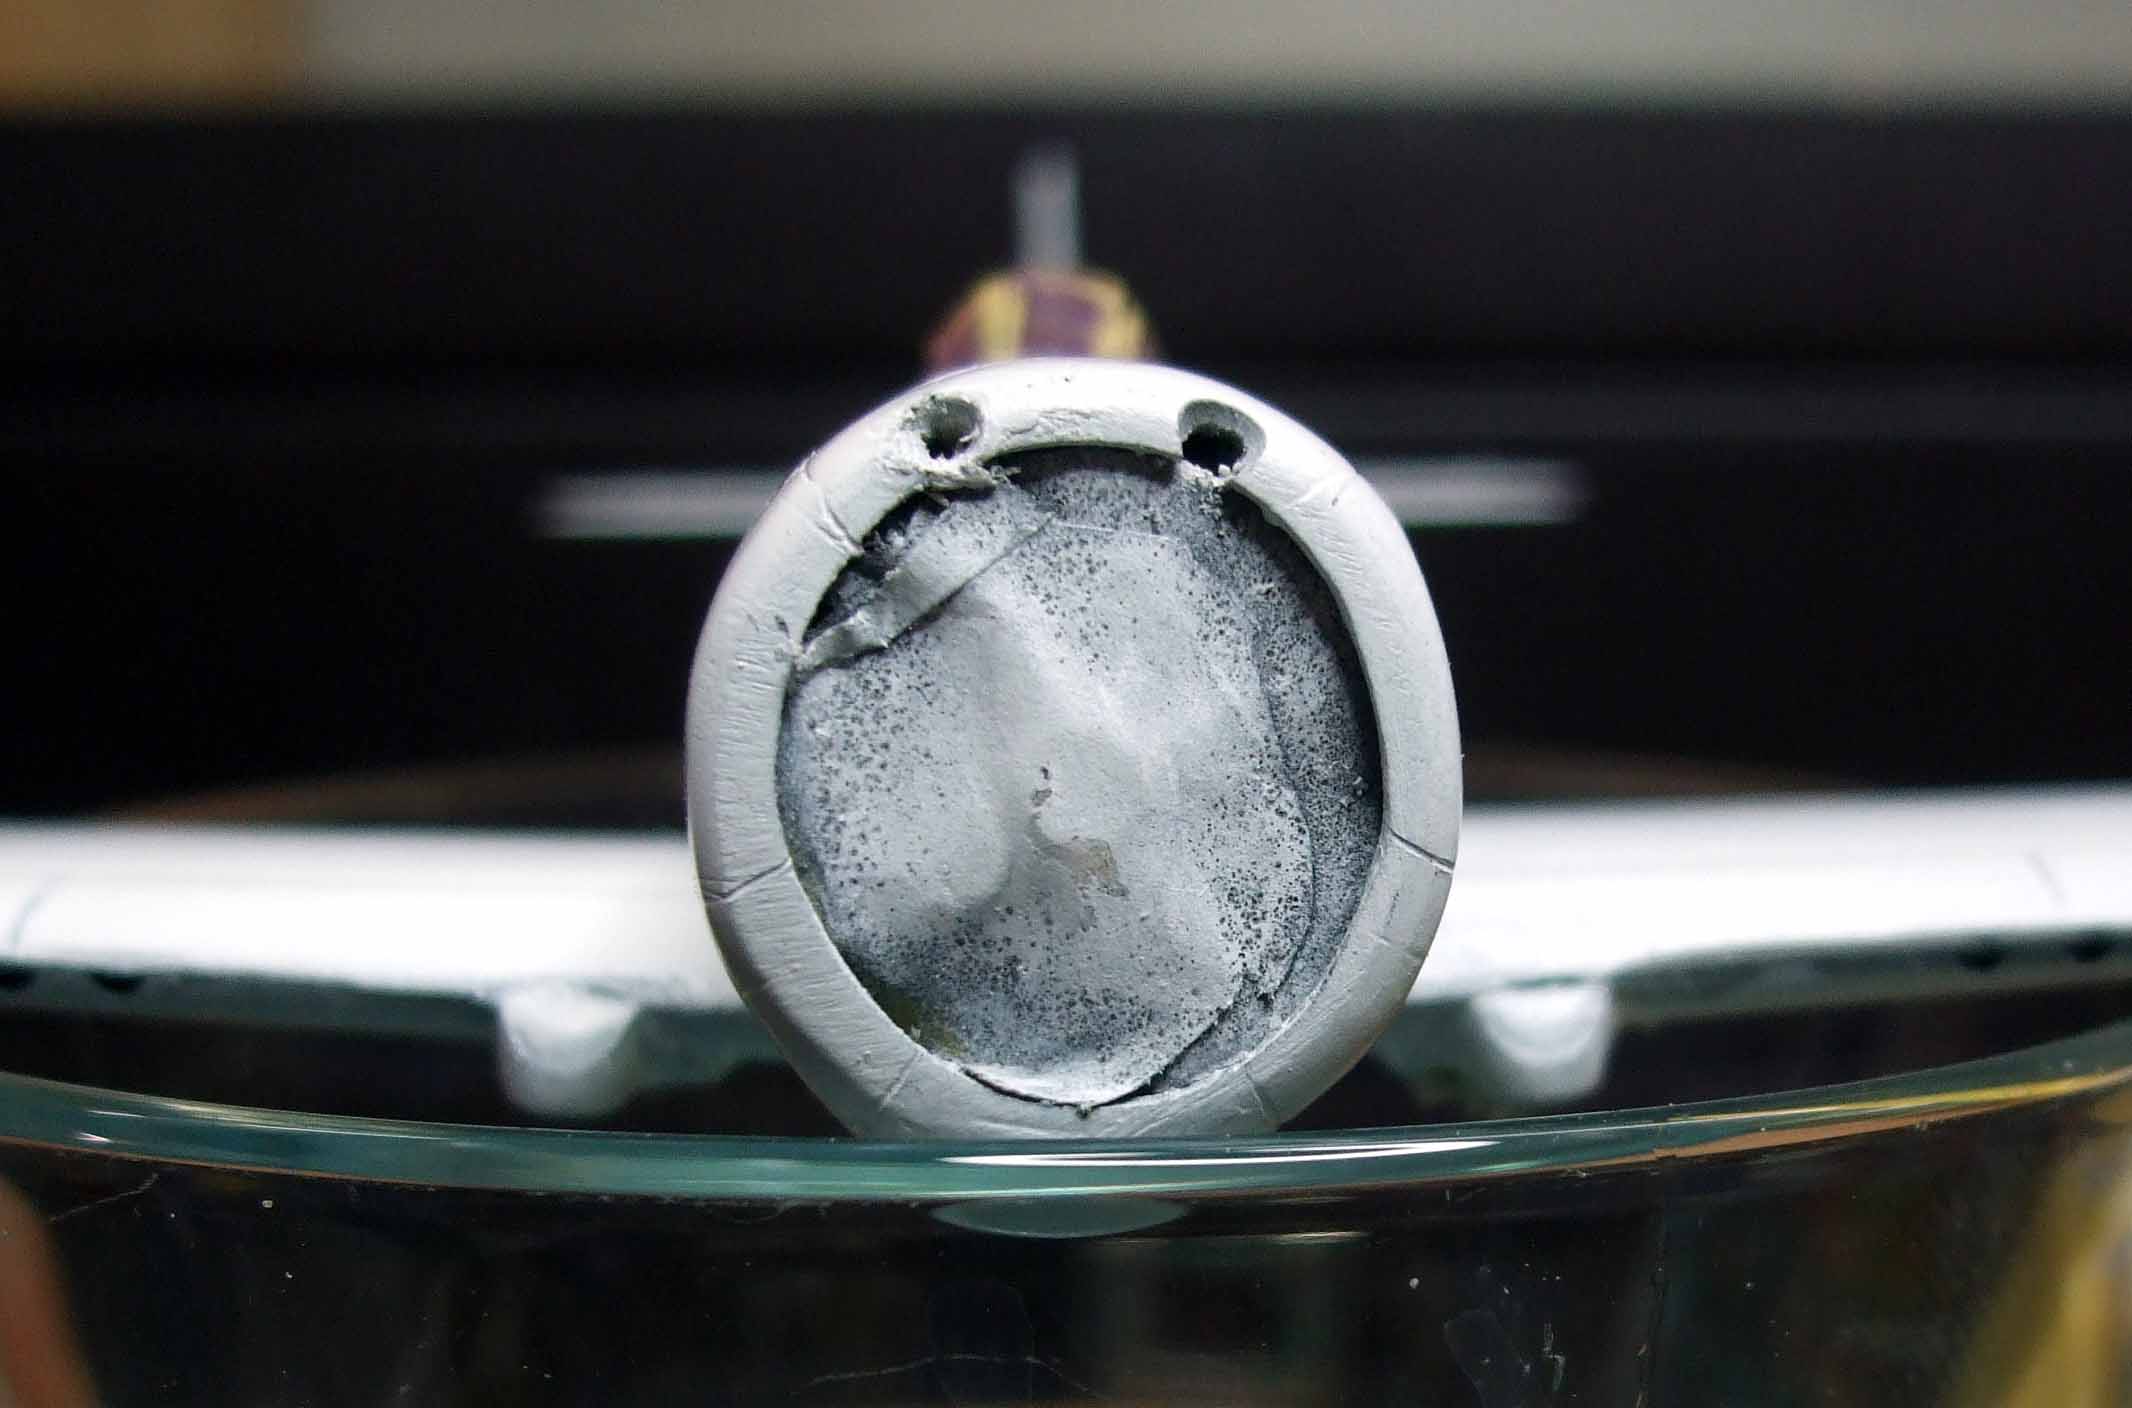
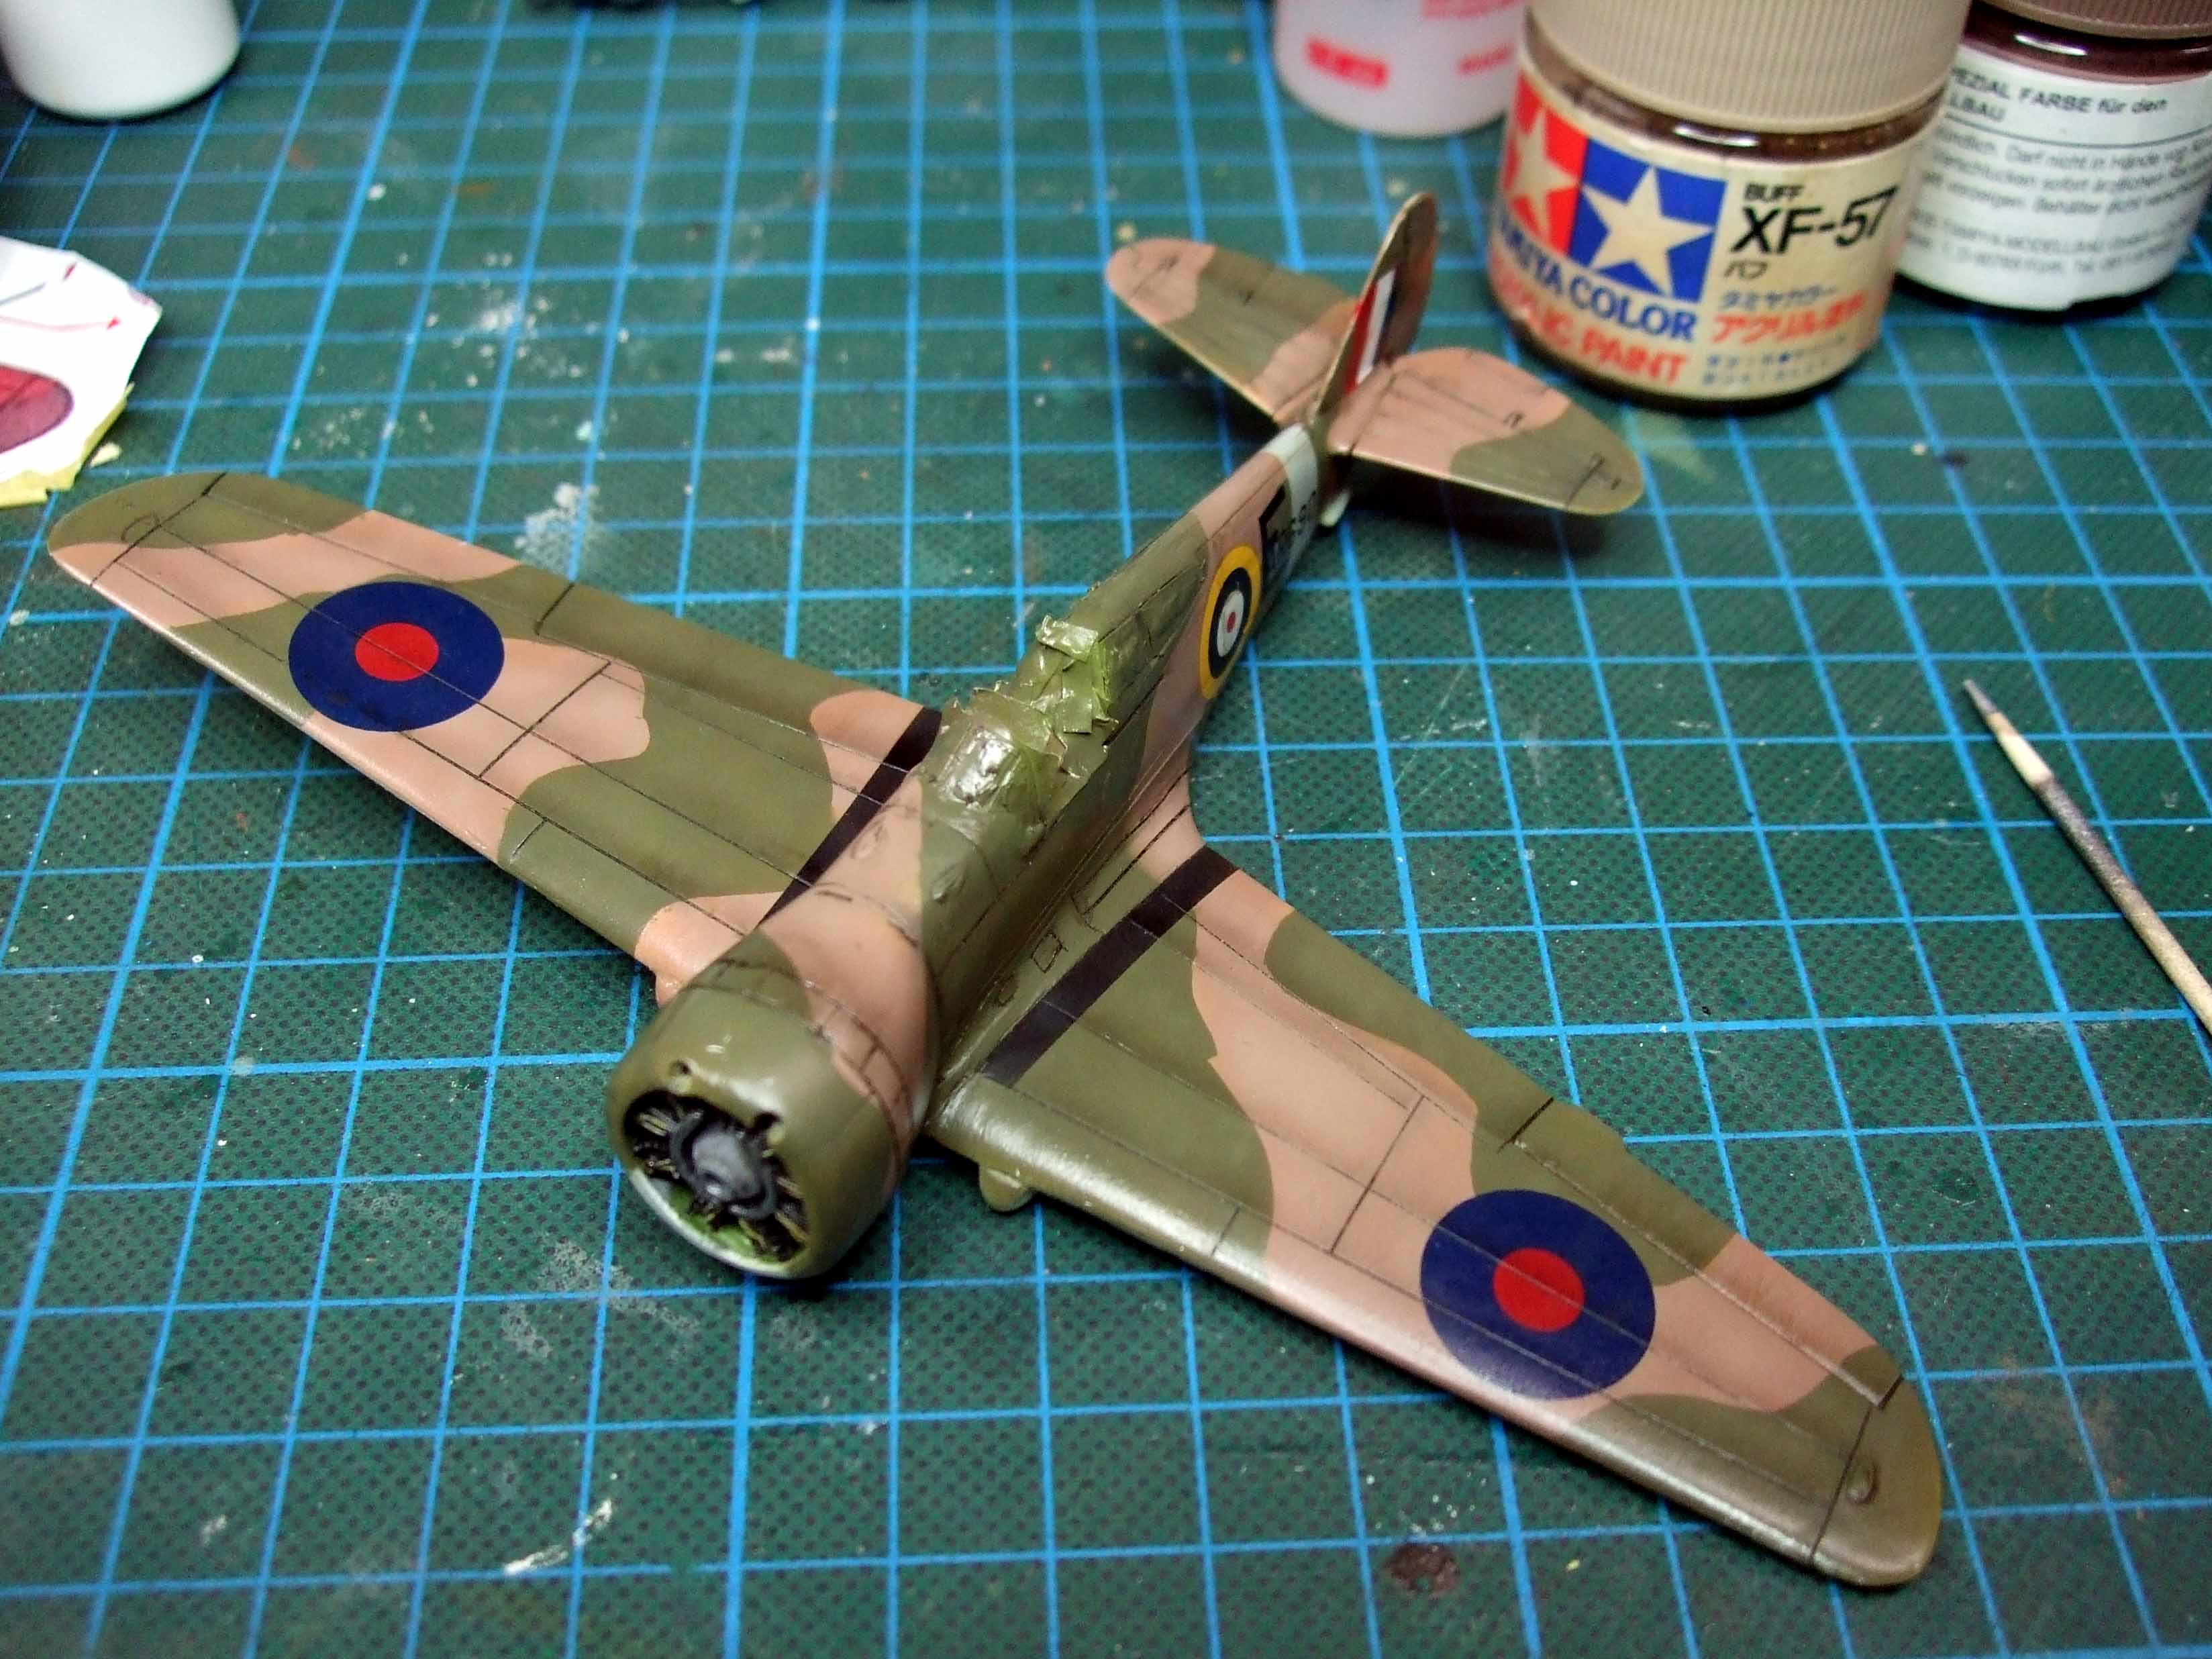
Thomas: Here is one picture of the cowling shape. Not 100 %, but it is okay for me.
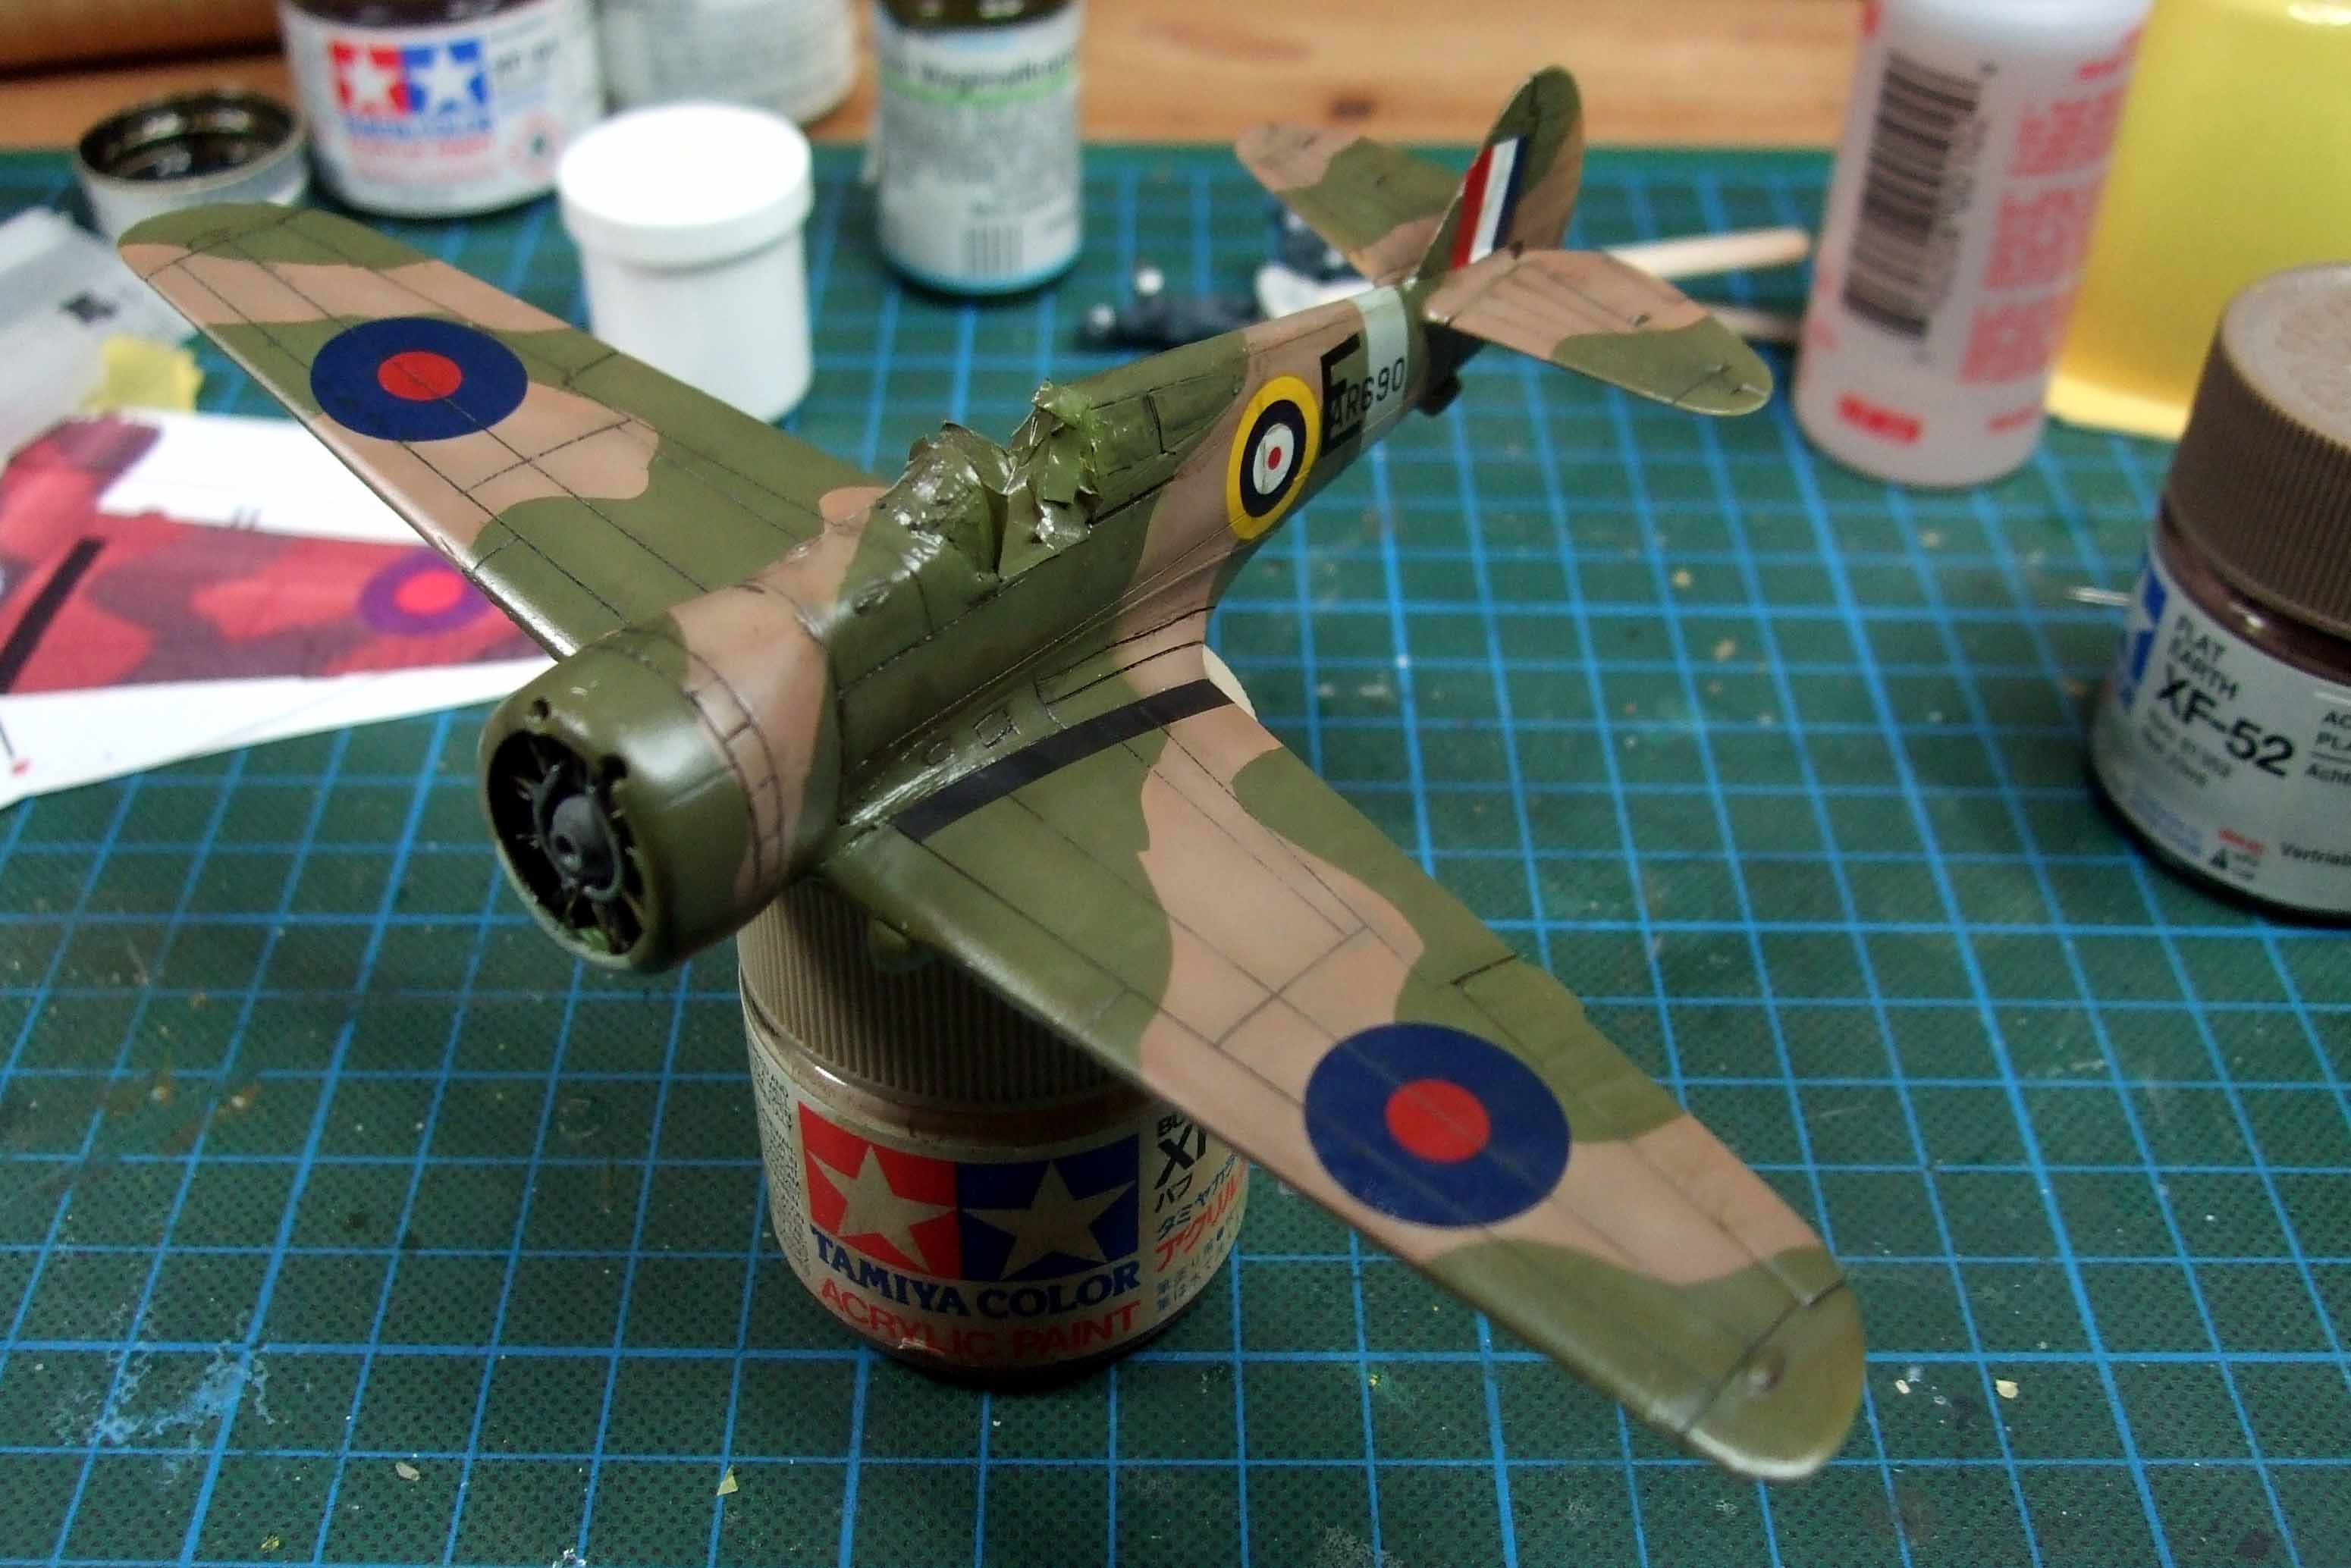
I found some time to do some work on my mohawk. So this is the progress for now.
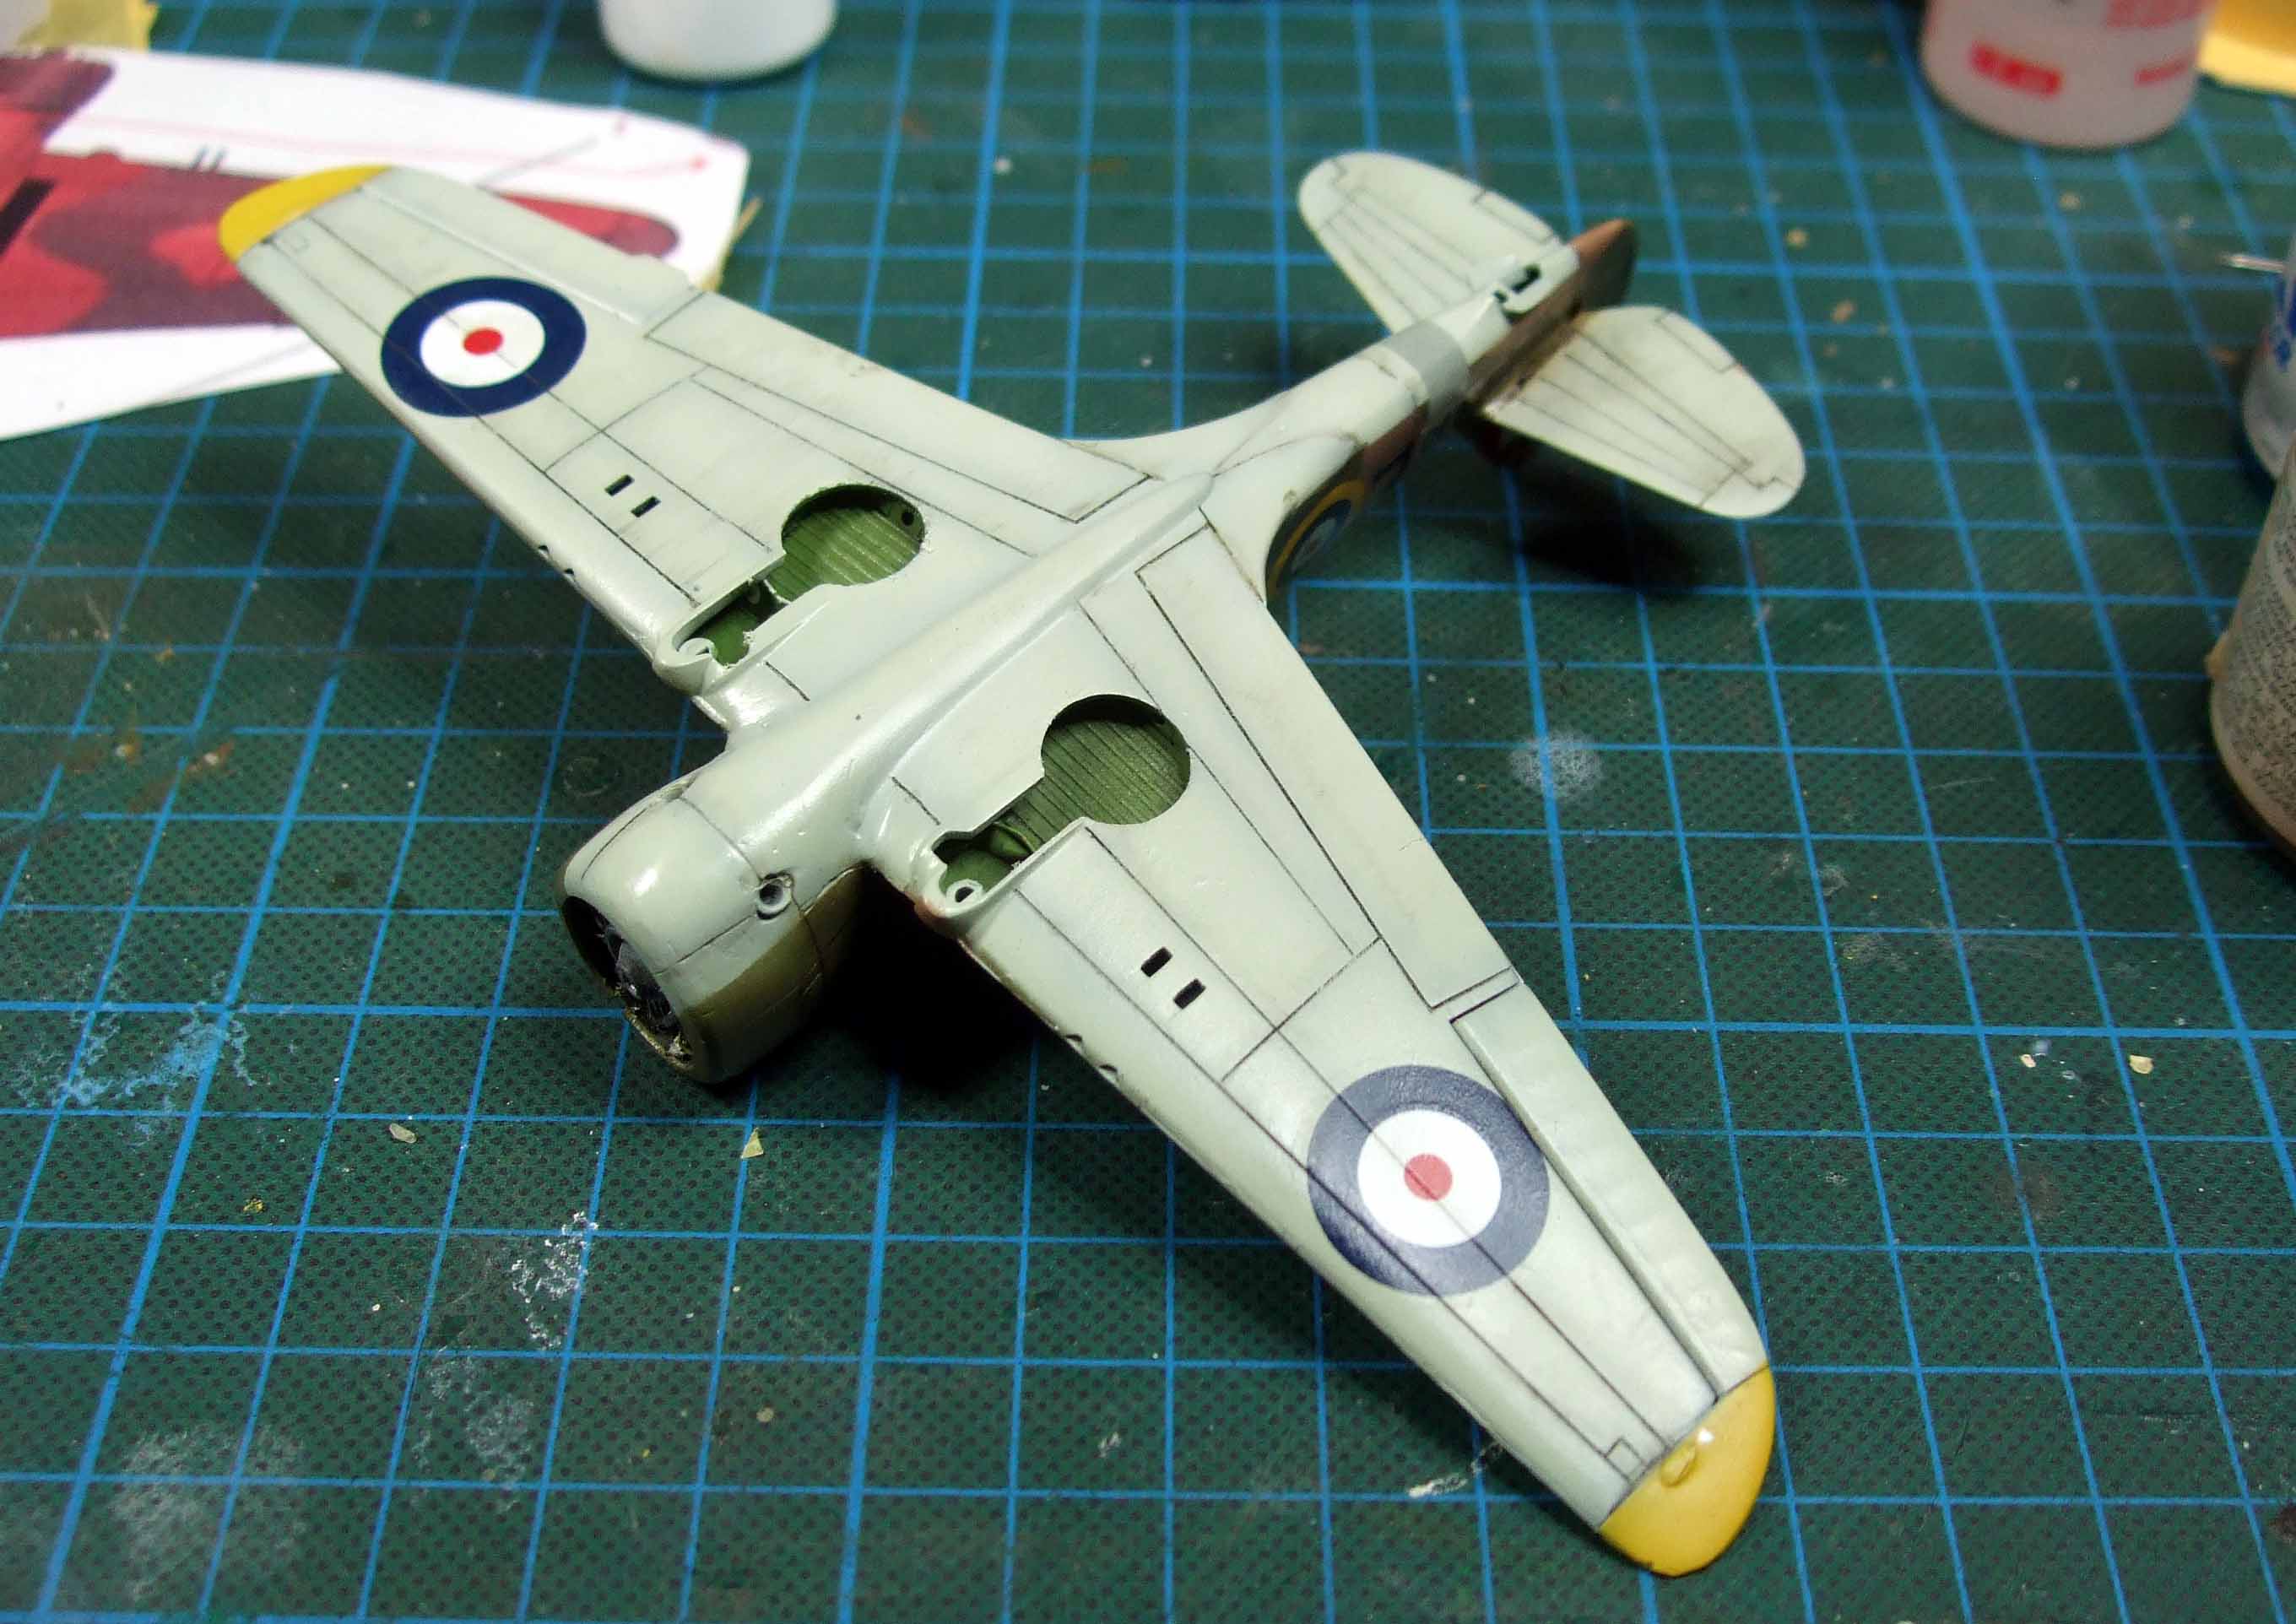
Next will be the landing gear. This is not correct for a mohawk. Let´s see what can be done!
Oliver

On the desk: Probably a Panzer III.
Berlin, Germany
Joined: October 12, 2008
KitMaker: 709 posts
AeroScale: 651 posts
Posted: Saturday, February 04, 2017 - 11:42 AM UTC
Very nice work, Oliver!
Well done on the modification with the cowling and it looks even better with all the paint on. Camo, paint job and decals looking great. Already a beautiful eye-catcher! Are you sure about the MLG? Maybe also the exhausts should be different, but so what on both. Awaiting the rollout...
Thomas
Sometimes you need to distance yourself to see things clearly - Lao Tzu -
... in scale and in real life -T.
Nordrhein-Westfalen, Germany
Joined: March 22, 2015
KitMaker: 671 posts
AeroScale: 614 posts
Posted: Saturday, February 04, 2017 - 02:22 PM UTC
Hallo Thomas,
thank´s for the kind words. Concerning the MLG, most pictures of the CBI theatre show, that the cover of the wheels were cut. Probably too avoid to much dirt accumulation.
Additionally, there should be two secondary struts of the gear.
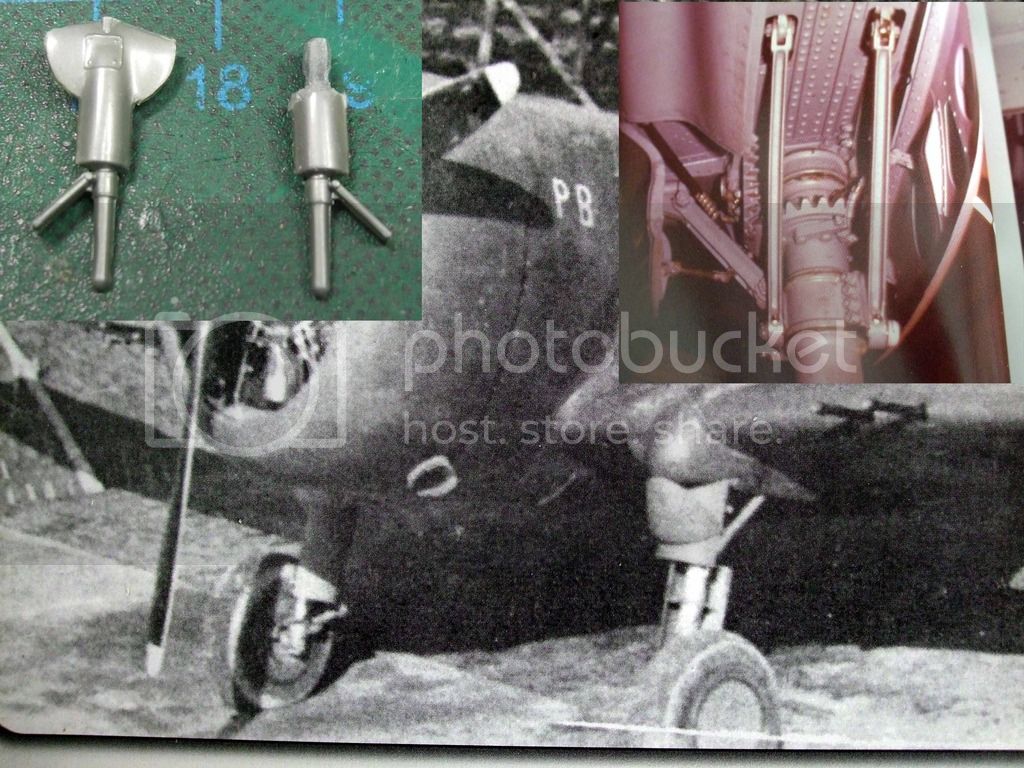
Not sure, if I can fix this, but I will give it a try.
Concerning the exhausts, You are unfortunately right

. They should protrude more.
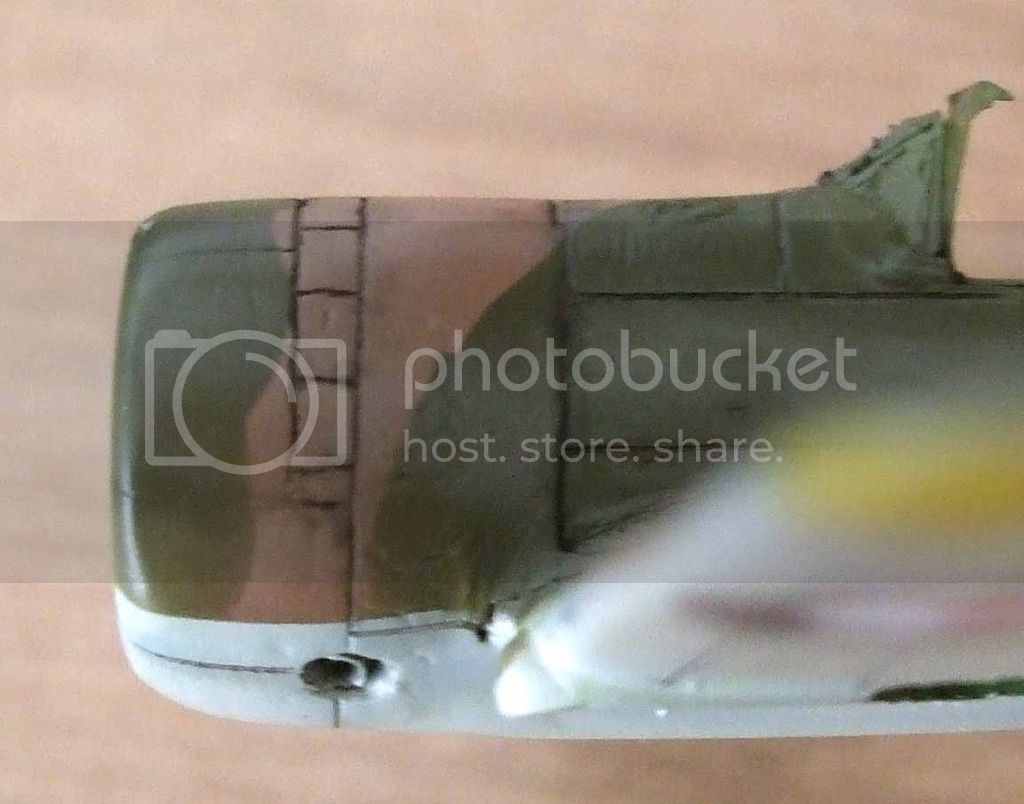
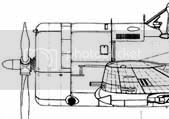
But, I have no clue, how to correct this. Any clues welcome!
Oliver

On the desk: Probably a Panzer III.
Australia
Joined: October 15, 2016
KitMaker: 62 posts
AeroScale: 36 posts
Posted: Saturday, February 04, 2017 - 03:42 PM UTC
Hi
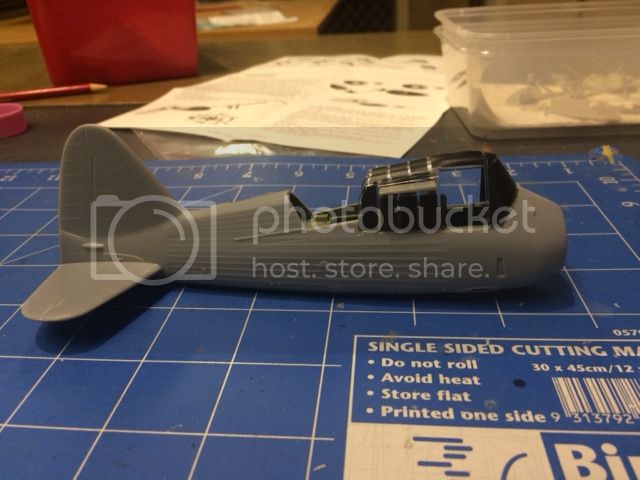
I've managed to get the interior of the Lysander finished and the fuselage together. Working on a few small sub assemblies now.
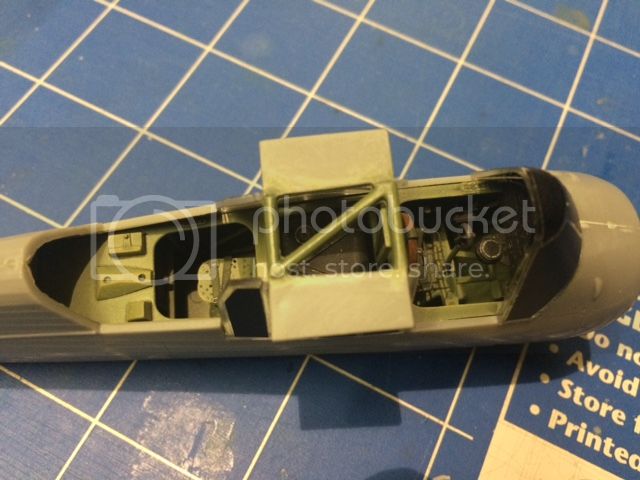
As you can see, elegant she is not.
Cheers
Simon
Berlin, Germany
Joined: October 12, 2008
KitMaker: 709 posts
AeroScale: 651 posts
Posted: Saturday, February 04, 2017 - 04:11 PM UTC
Nice progress and a well done pit, Simon!
The partially assembled shape of the Lysander looks pretty funny, like a kind of an egg-plane ...
Thomas
Sometimes you need to distance yourself to see things clearly - Lao Tzu -
... in scale and in real life -T.
New Jersey, United States
Joined: February 06, 2015
KitMaker: 1,098 posts
AeroScale: 900 posts
Posted: Saturday, February 04, 2017 - 06:42 PM UTC
Oliver -
Your Mohawk is looking very nice ! The cowling /engine graft turned out well.
Regarding the exhaust- drilling out the kit exhaust at an angle and inserting brass or aluminum tubing of the appropriate length should be an easy fix .
Cheers - Richard
Nordrhein-Westfalen, Germany
Joined: March 22, 2015
KitMaker: 671 posts
AeroScale: 614 posts
Posted: Saturday, February 04, 2017 - 09:11 PM UTC
Quoted Text
Oliver -
Your Mohawk is looking very nice ! The cowling /engine graft turned out well.
Regarding the exhaust- drilling out the kit exhaust at an angle and inserting brass or aluminum tubing of the appropriate length should be an easy fix .
Cheers - Richard
Thank's a lot for the clue. I will try this Richard!
Oliver

On the desk: Probably a Panzer III.

#305
Christchurch, New Zealand
Joined: February 01, 2006
KitMaker: 1,673 posts
AeroScale: 1,517 posts
Posted: Sunday, February 05, 2017 - 04:28 AM UTC
New Jersey, United States
Joined: February 06, 2015
KitMaker: 1,098 posts
AeroScale: 900 posts
Posted: Sunday, February 05, 2017 - 04:47 AM UTC
Looking good Chris ! I built this kit myself half a lifetime ago !
,,,,, Richard
Texas, United States
Joined: February 22, 2008
KitMaker: 5,026 posts
AeroScale: 2,811 posts
Posted: Sunday, February 05, 2017 - 10:55 AM UTC
Chris, is that 1/48? The cockpit looks really detailed.
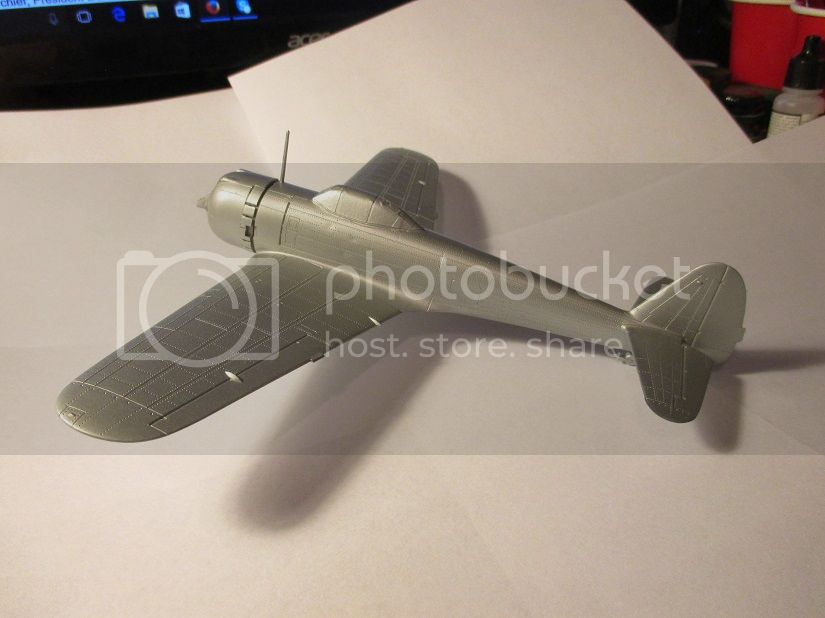
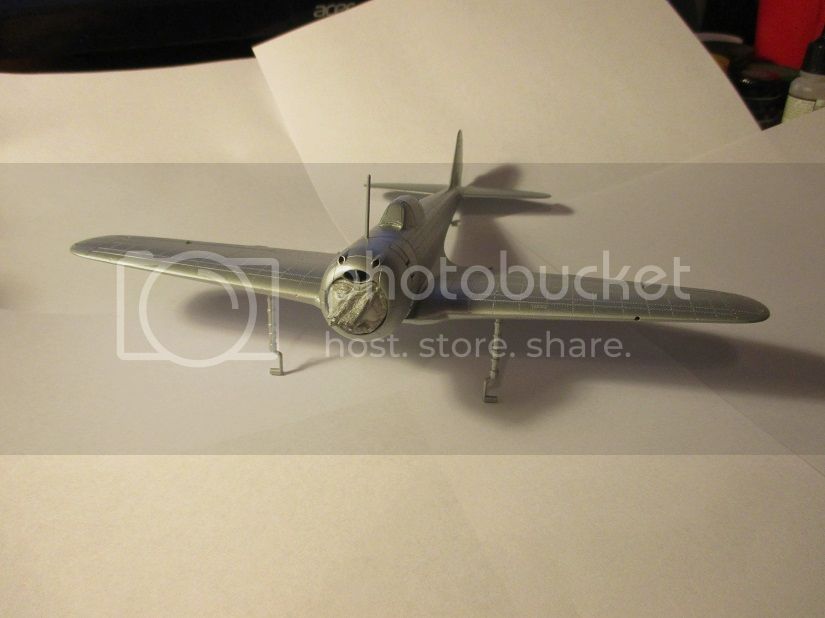
I applied some silver before I spray the upper with JA Green.
If it aint broke dont fix it.

#305
Christchurch, New Zealand
Joined: February 01, 2006
KitMaker: 1,673 posts
AeroScale: 1,517 posts
Posted: Sunday, February 05, 2017 - 02:08 PM UTC
Western Australia, Australia
Joined: March 21, 2016
KitMaker: 247 posts
AeroScale: 105 posts
Posted: Sunday, February 05, 2017 - 04:13 PM UTC
Nordrhein-Westfalen, Germany
Joined: March 22, 2015
KitMaker: 671 posts
AeroScale: 614 posts
Posted: Wednesday, February 08, 2017 - 08:30 PM UTC
Bob:
Your Hayabusa looks very sportive in his metal gear! Like it!
Chris:
The additional brass cannons are really nice! Truly an eyecatcher!
Simon:
Nice progress on Your kit. Looking at Your Lysander I remember the one, I build as a kid from Matchbox. Maybe I have to buy the Eduard one

.
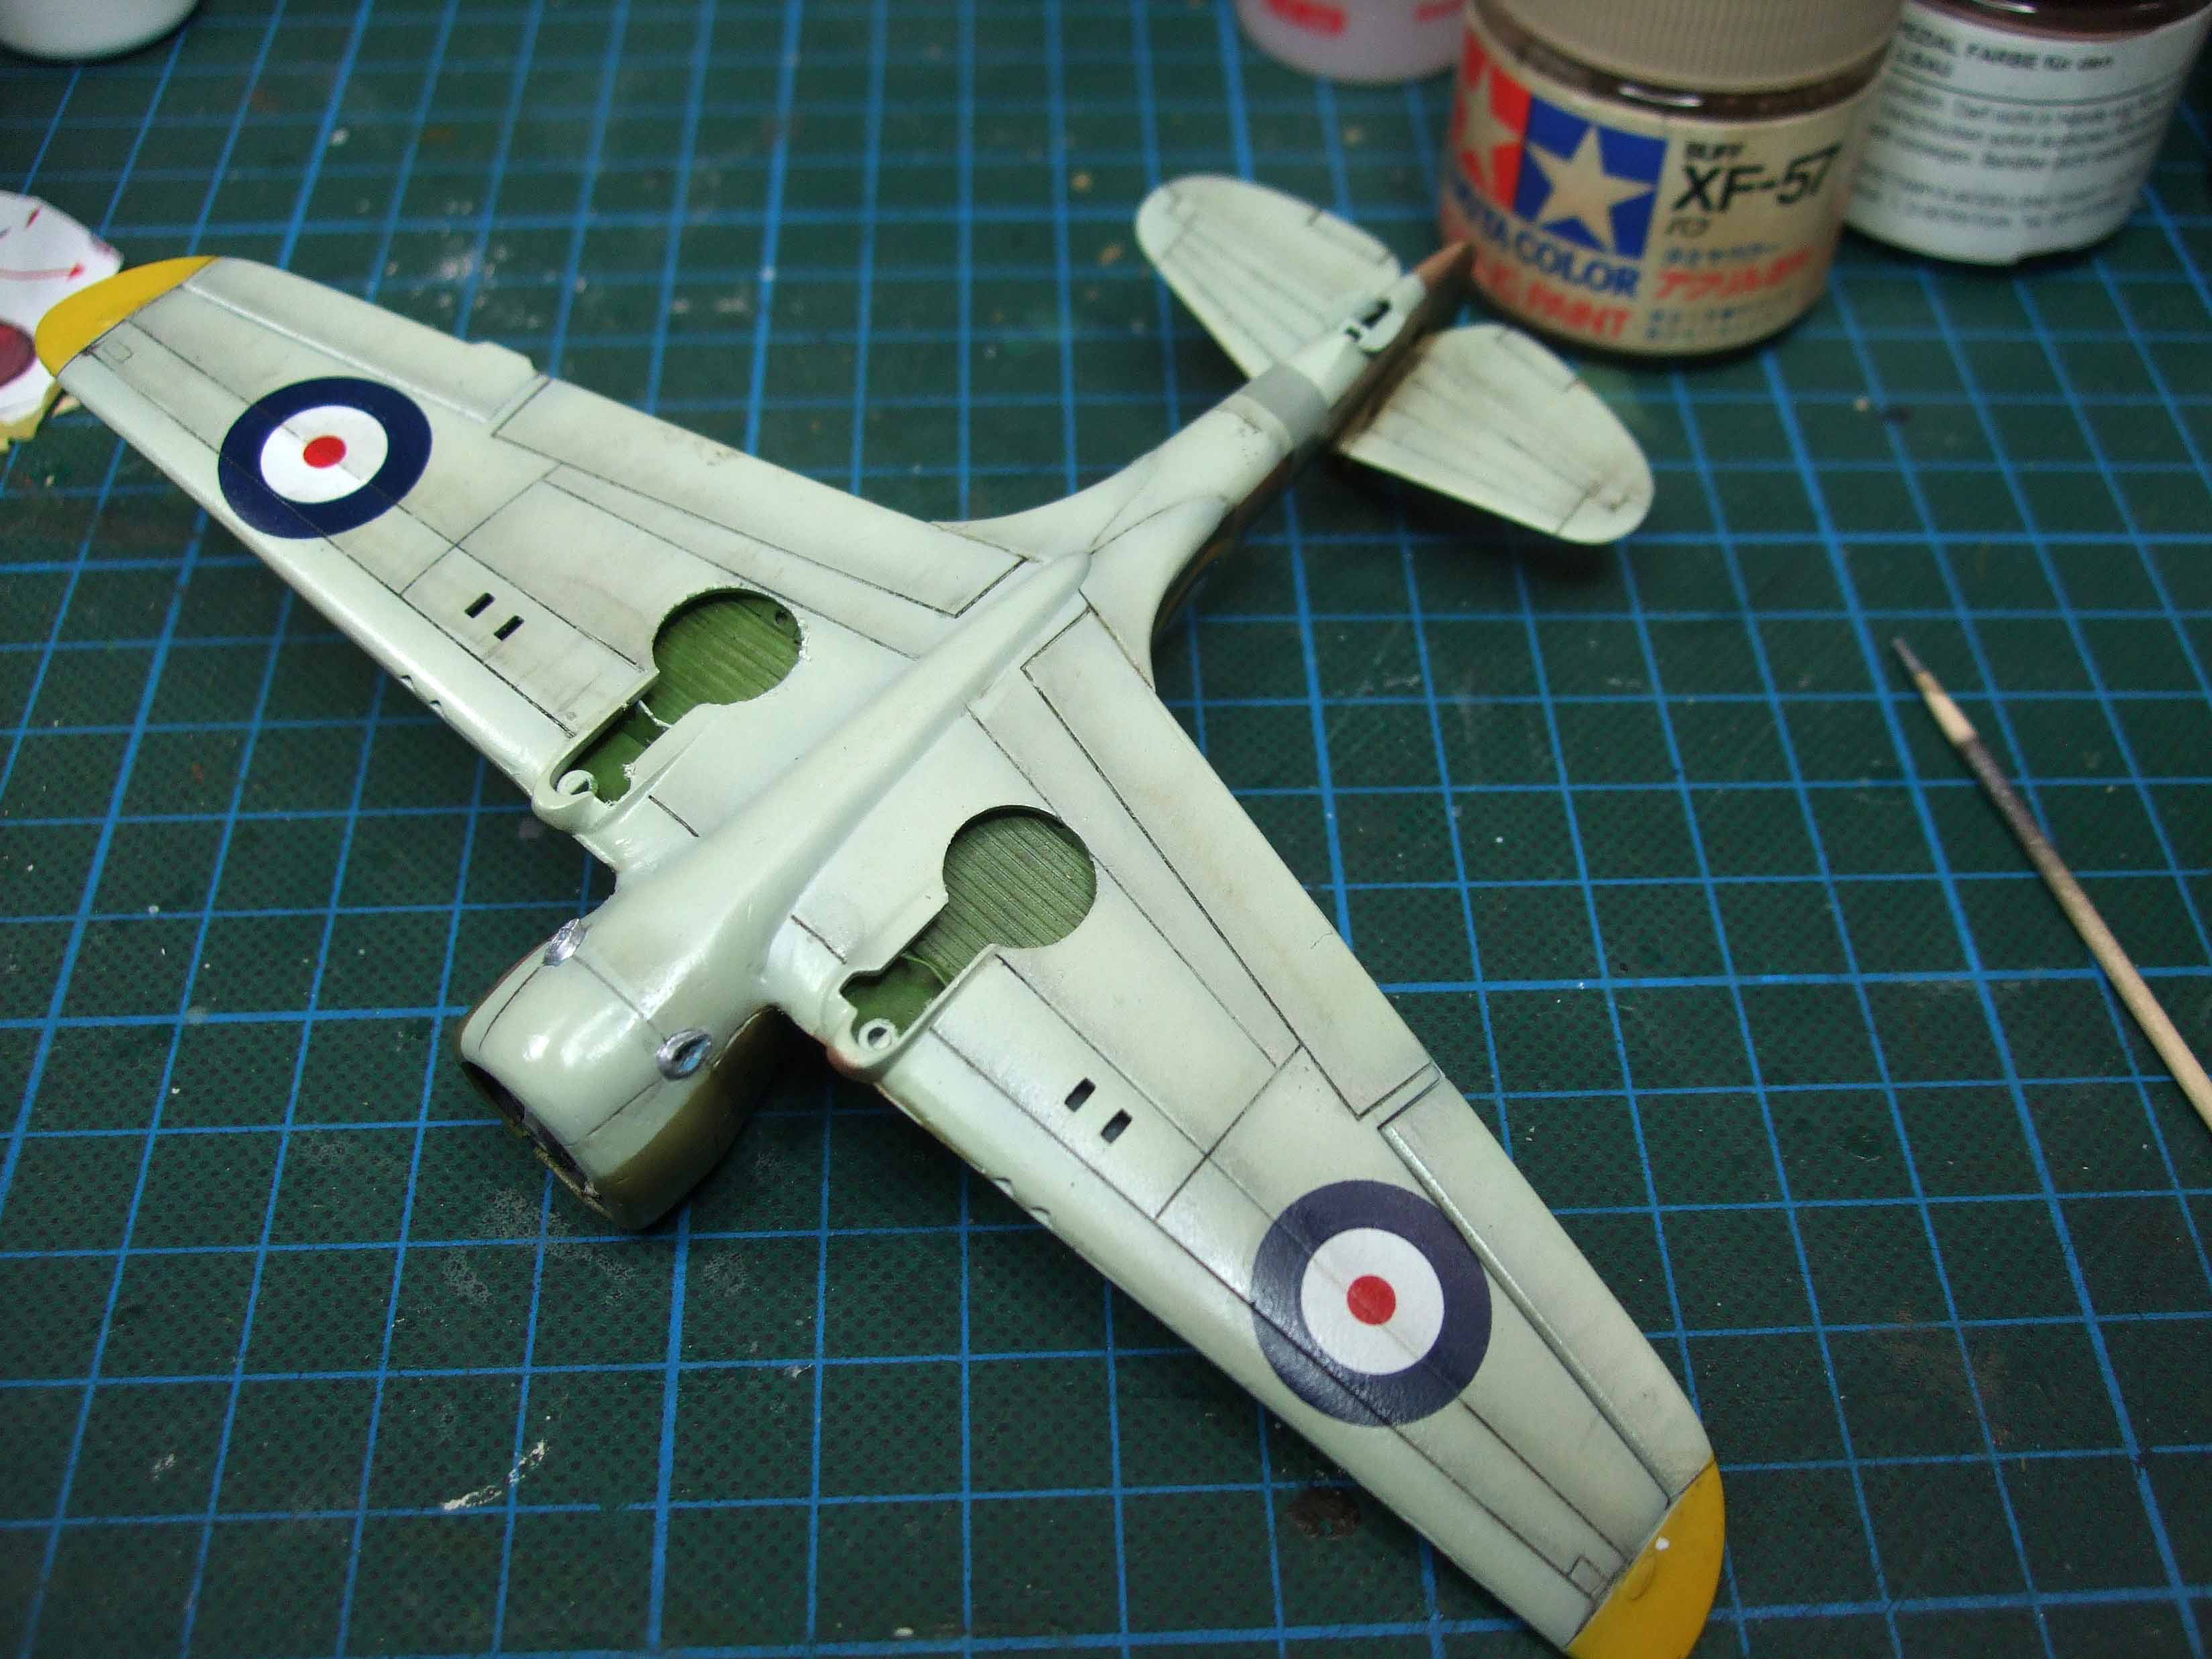
Thanks to Richard and Thomas the exhausts have been changed. I drilled up the exhaust and just used some PE from cotton swabs, that were bend and cut to shape.
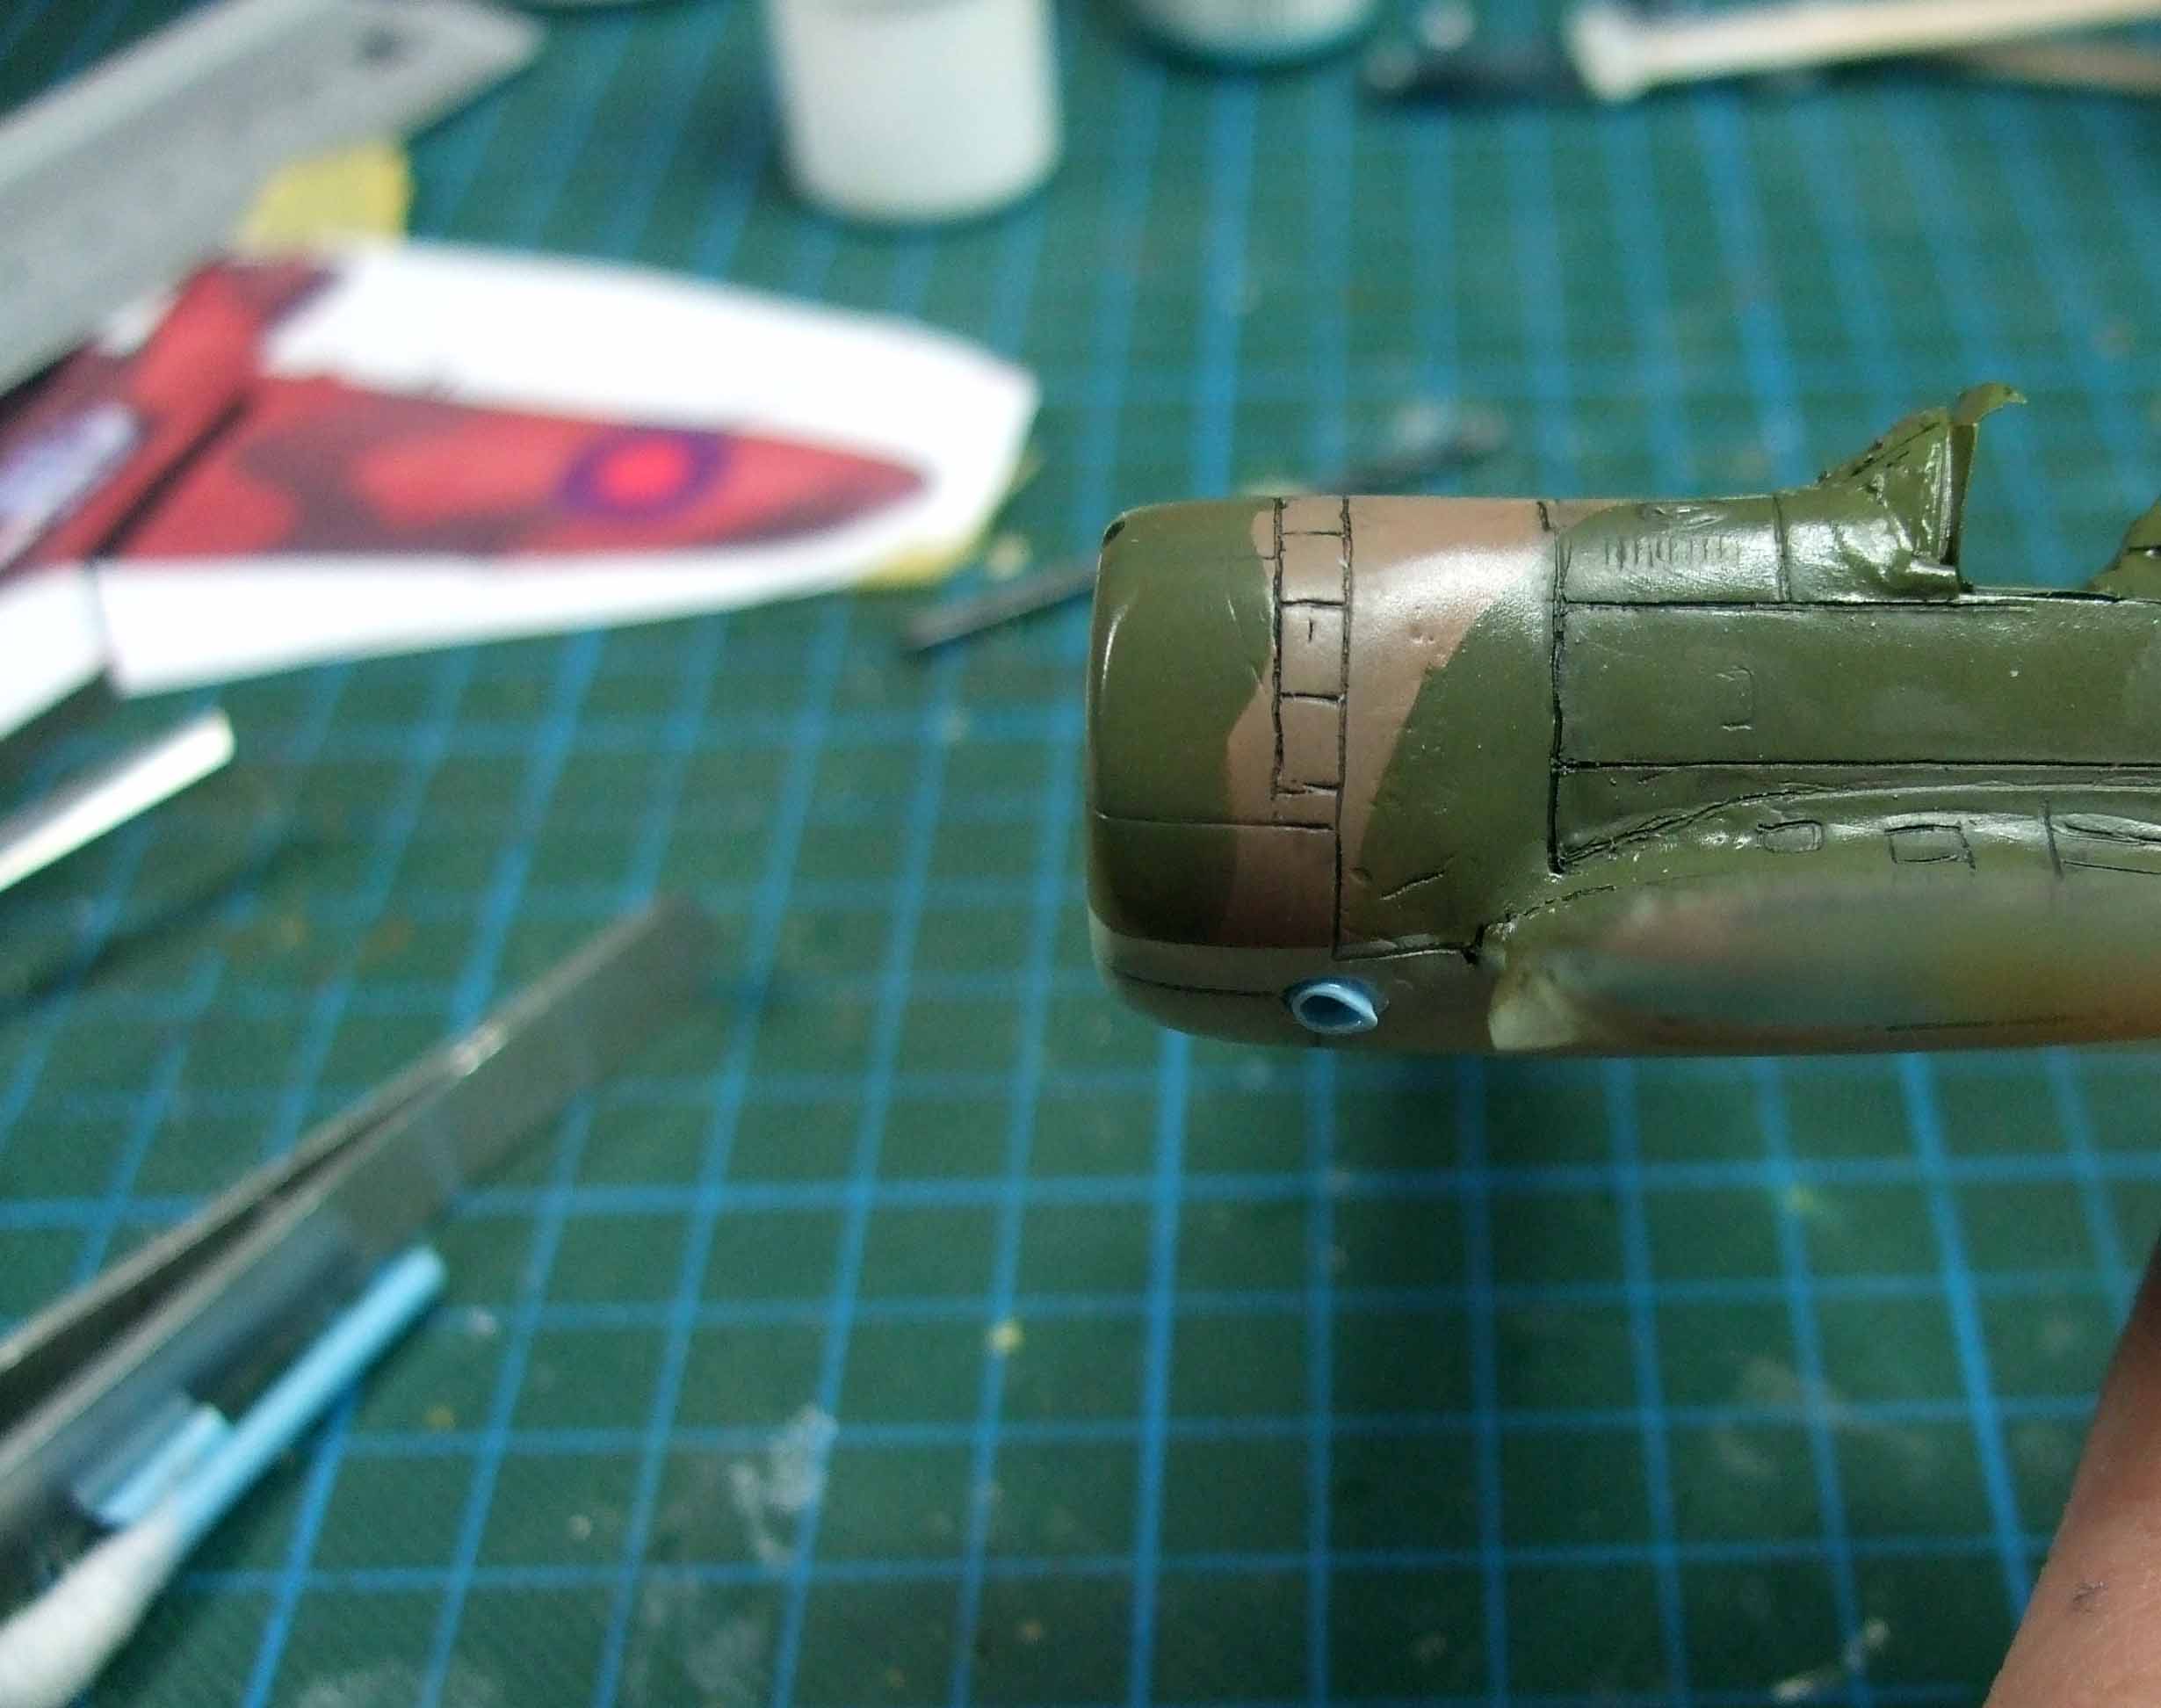
The surface was enhanced by some post-shading.
Oliver

On the desk: Probably a Panzer III.

#123
New Mexico, United States
Joined: November 17, 2008
KitMaker: 1,202 posts
AeroScale: 292 posts
Posted: Thursday, February 09, 2017 - 07:22 AM UTC
Oliver: Wow! That post shading looks great. I've always been to chicken to try it. Keep up the good work, I'm enjoying watching your build.
Take care,
Don "Lakota"

Working on Campaigns:
1/72 Hasegawa Ki-84 Frank
1/144 Dragon Armor
Texas, United States
Joined: February 22, 2008
KitMaker: 5,026 posts
AeroScale: 2,811 posts
Posted: Thursday, February 09, 2017 - 12:25 PM UTC
Quoted Text
Oliver: Wow! That post shading looks great. I've always been to chicken to try it. Keep up the good work, I'm enjoying watching your build.
Take care,
Don "Lakota" 
I agree with LAKOTA, really nice job Oliver.
Bob
If it aint broke dont fix it.
Berlin, Germany
Joined: October 12, 2008
KitMaker: 709 posts
AeroScale: 651 posts
Posted: Thursday, February 09, 2017 - 07:14 PM UTC
Quoted Text
I agree with LAKOTA, really nice job Oliver.
I'll second that! Great job on the shading and especially on the exausts. Cotton-bud sticks are always ueful and every build should at least have a part somewhere

Mine (streched) is the fin-capacitor for the aerial on the Hawk75.
Thomas

Sometimes you need to distance yourself to see things clearly - Lao Tzu -
... in scale and in real life -T.
New Jersey, United States
Joined: February 02, 2015
KitMaker: 330 posts
AeroScale: 286 posts
Posted: Friday, February 10, 2017 - 01:11 AM UTC
oliver nice looking mohawk. i like the paint job and weathering. what paints/colors did you use? i am making an avg p-40 and like the shades of tan/green. i am interested especially in the underside. i know the p-40's were painted the us equivalent of british colors. some info i have found said the underside was a light grey as opposed to the british sky color
joe
Noord-Holland, Netherlands
Joined: January 27, 2014
KitMaker: 200 posts
AeroScale: 85 posts
Posted: Friday, February 10, 2017 - 01:37 AM UTC
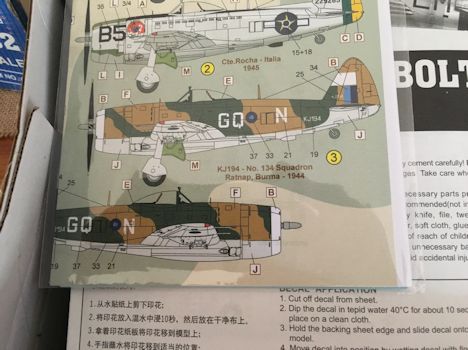
Do to a recent purchase of an Airfix Dakota i came in the possession of a decal set perfectly fitting for this campaign as such i went true the stash to find my other Dakota. So here we go with an Italeri 1/72 C-47
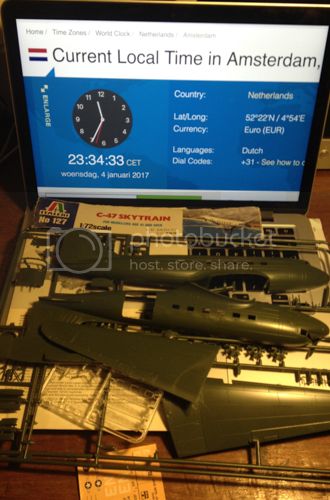
The Airfix will be used one day for IDF C-47 version of this beautiful aircraft
Before closing the hull i added some extra detailing and some cargo. The boxes are made from a wooden stick and aluminium tape.
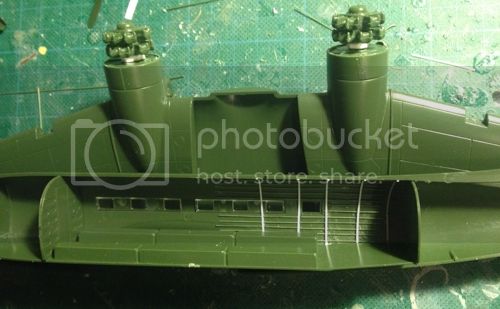
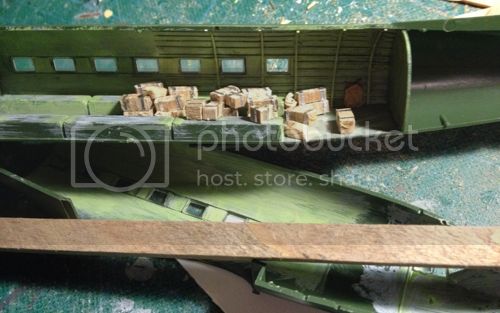
That is it for now more to follow
Lego, building blocks for life

#305
Christchurch, New Zealand
Joined: February 01, 2006
KitMaker: 1,673 posts
AeroScale: 1,517 posts
Posted: Sunday, February 12, 2017 - 11:21 AM UTC
Indre-et-Loire, France
Joined: May 23, 2011
KitMaker: 651 posts
AeroScale: 181 posts
Posted: Sunday, February 12, 2017 - 12:04 PM UTC
Hi all,
this campaign is coming along very nicely, great jobs so far !
Here are my progress pics, i finished the below paint work, added the riggs and canopy :


cheers
nico
Bangkok, Thailand / ไทย
Joined: September 17, 2013
KitMaker: 1,617 posts
AeroScale: 212 posts
Posted: Tuesday, February 14, 2017 - 03:57 PM UTC
Hello all. Great builds everyone so far. I'm having troubles with uploading photos from my location. So this a test. When not satisfying I will remove this.
https://www.facebook.com/photo.php?fbid=701196930052165&set=pcb.1788874824708670&type=3Edit.
Whoop this works perfect for the time being. Make a big photo show tonight so my progress will be visible on a reasonable size to watch at.
Teaser...
https://www.facebook.com/photo.php?fbid=700237936814731&set=pcb.1787946944801458&type=3Cheers,
Robert Jan




 . They should protrude more.




 .
.


