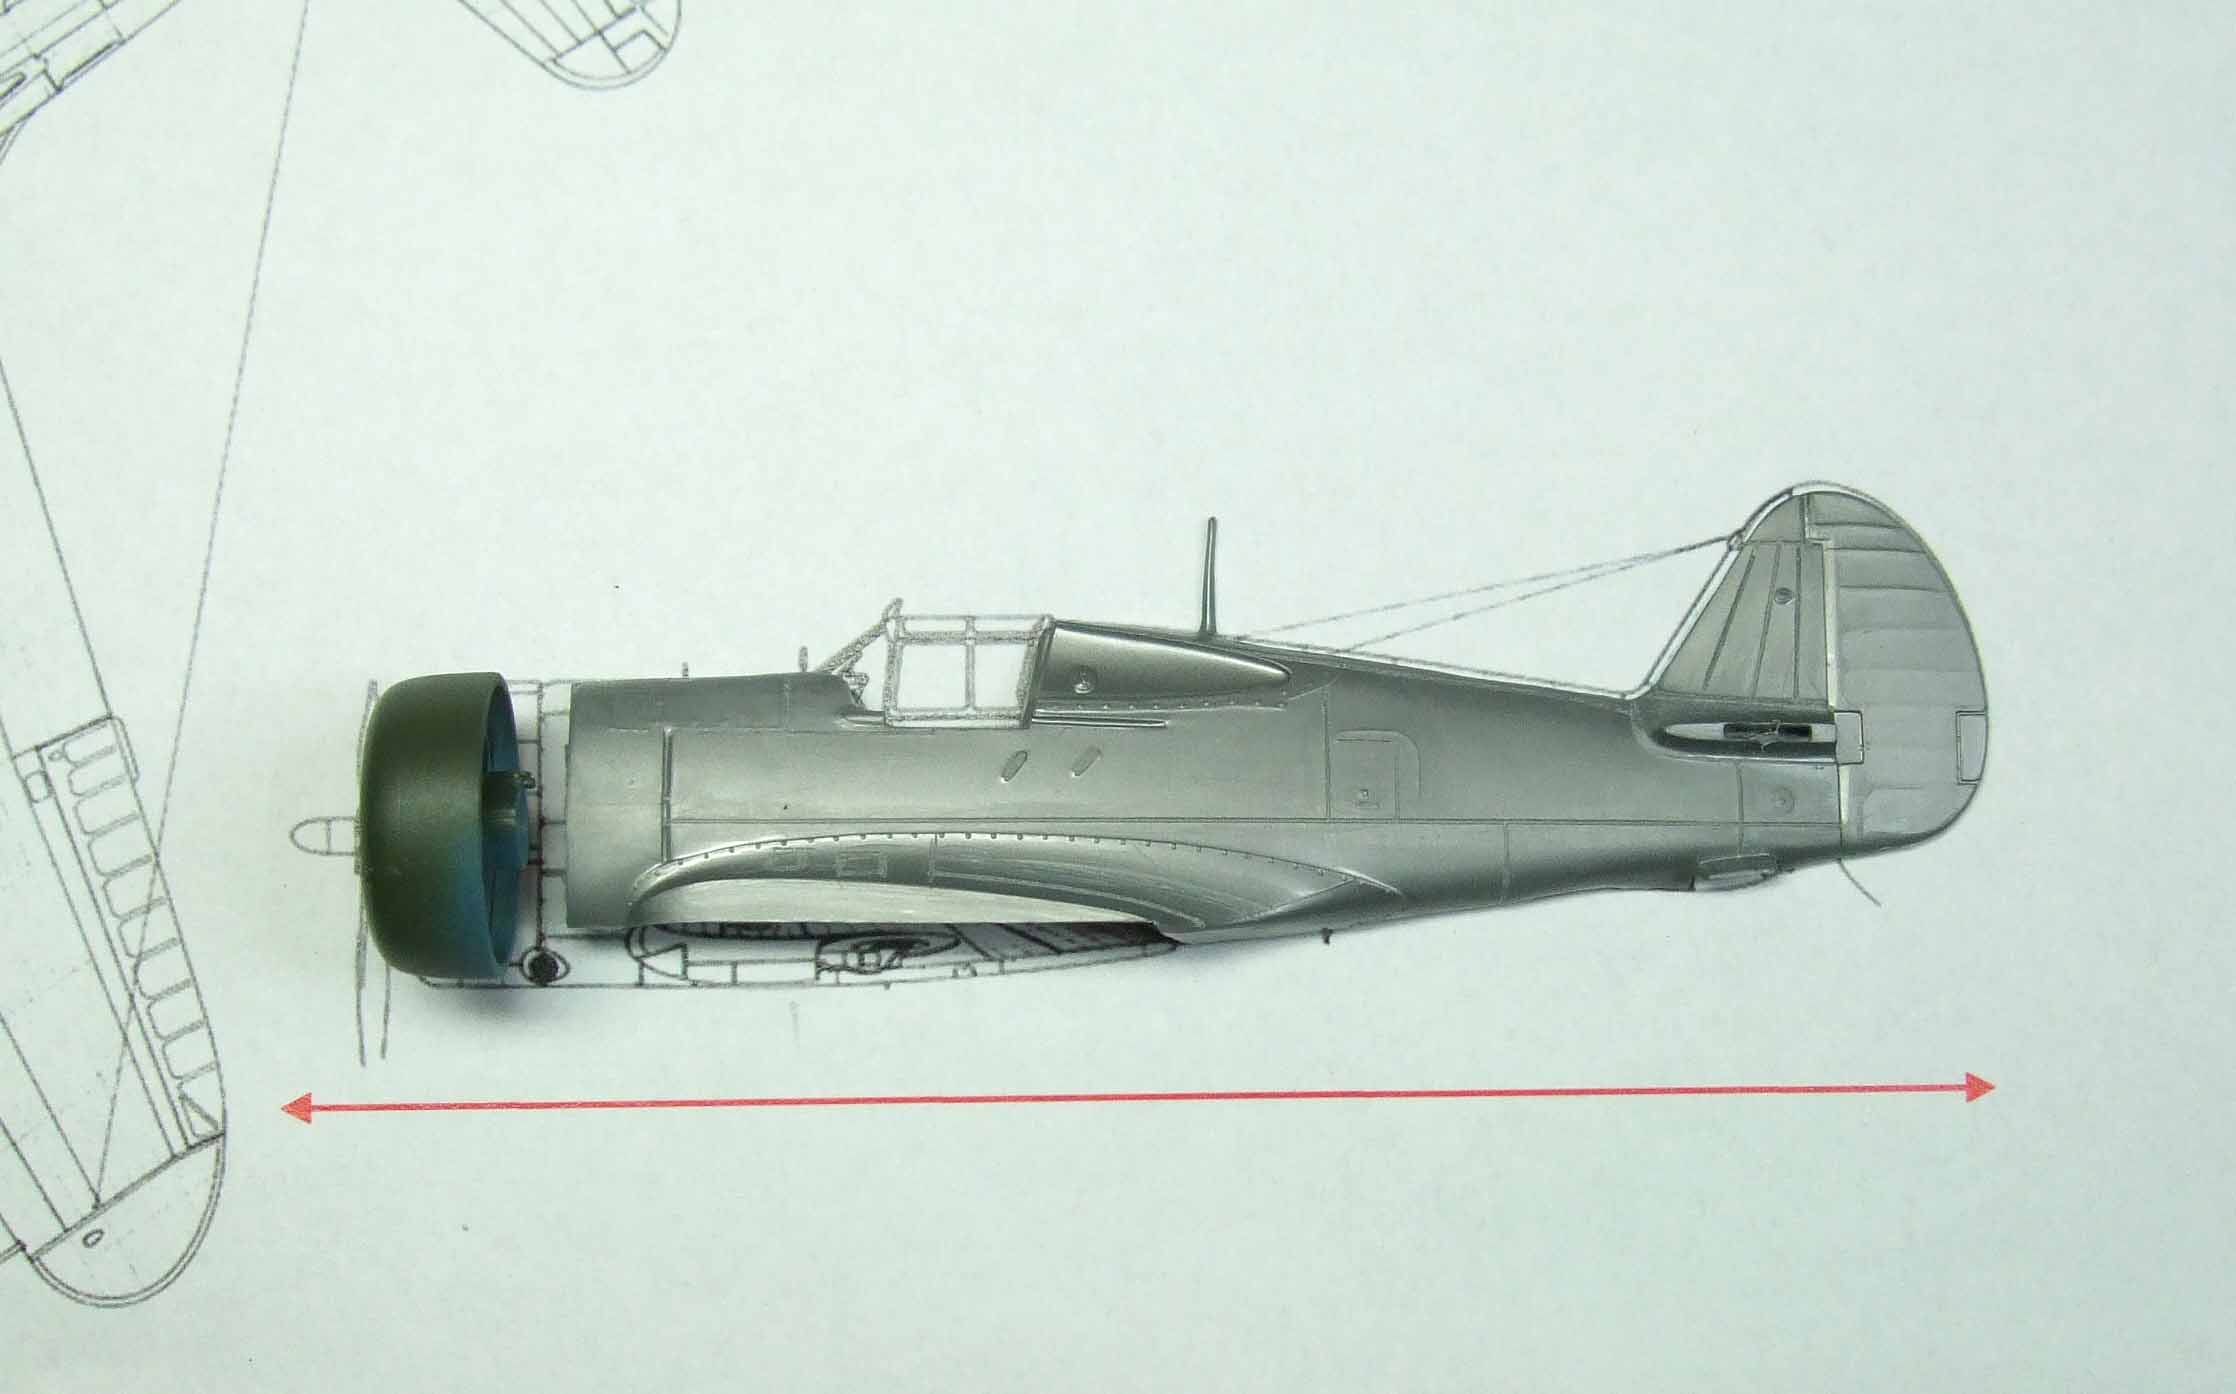
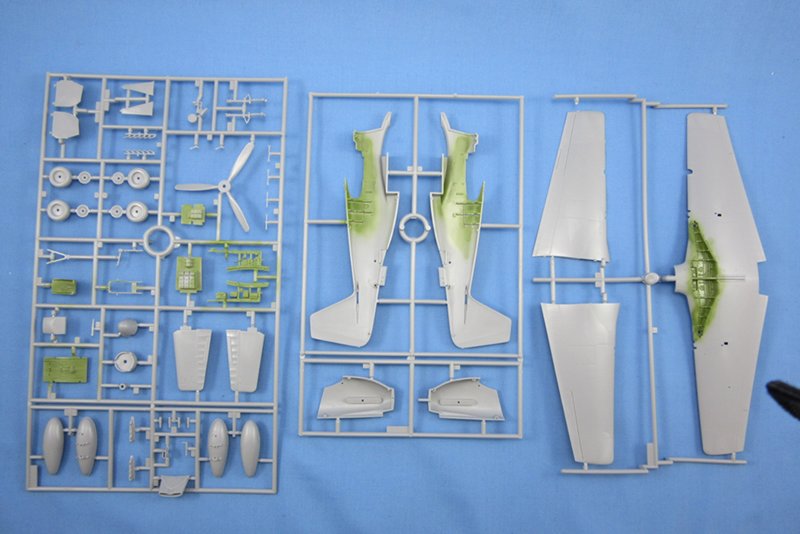
Accurate Miniatures 1:48 P-51A MustangI made a start finally, washing all the plastic and scrubbing the resin with an old toothbrush to prep everything for paint. I plan to add quite a bit of work to the basic AM kit for this build. I am taking inspiration from several photos of 1st ACG Mustangs that are out there, this will be anything but a clean aircraft when she's done.
 Photos found on Google for informational purposes.
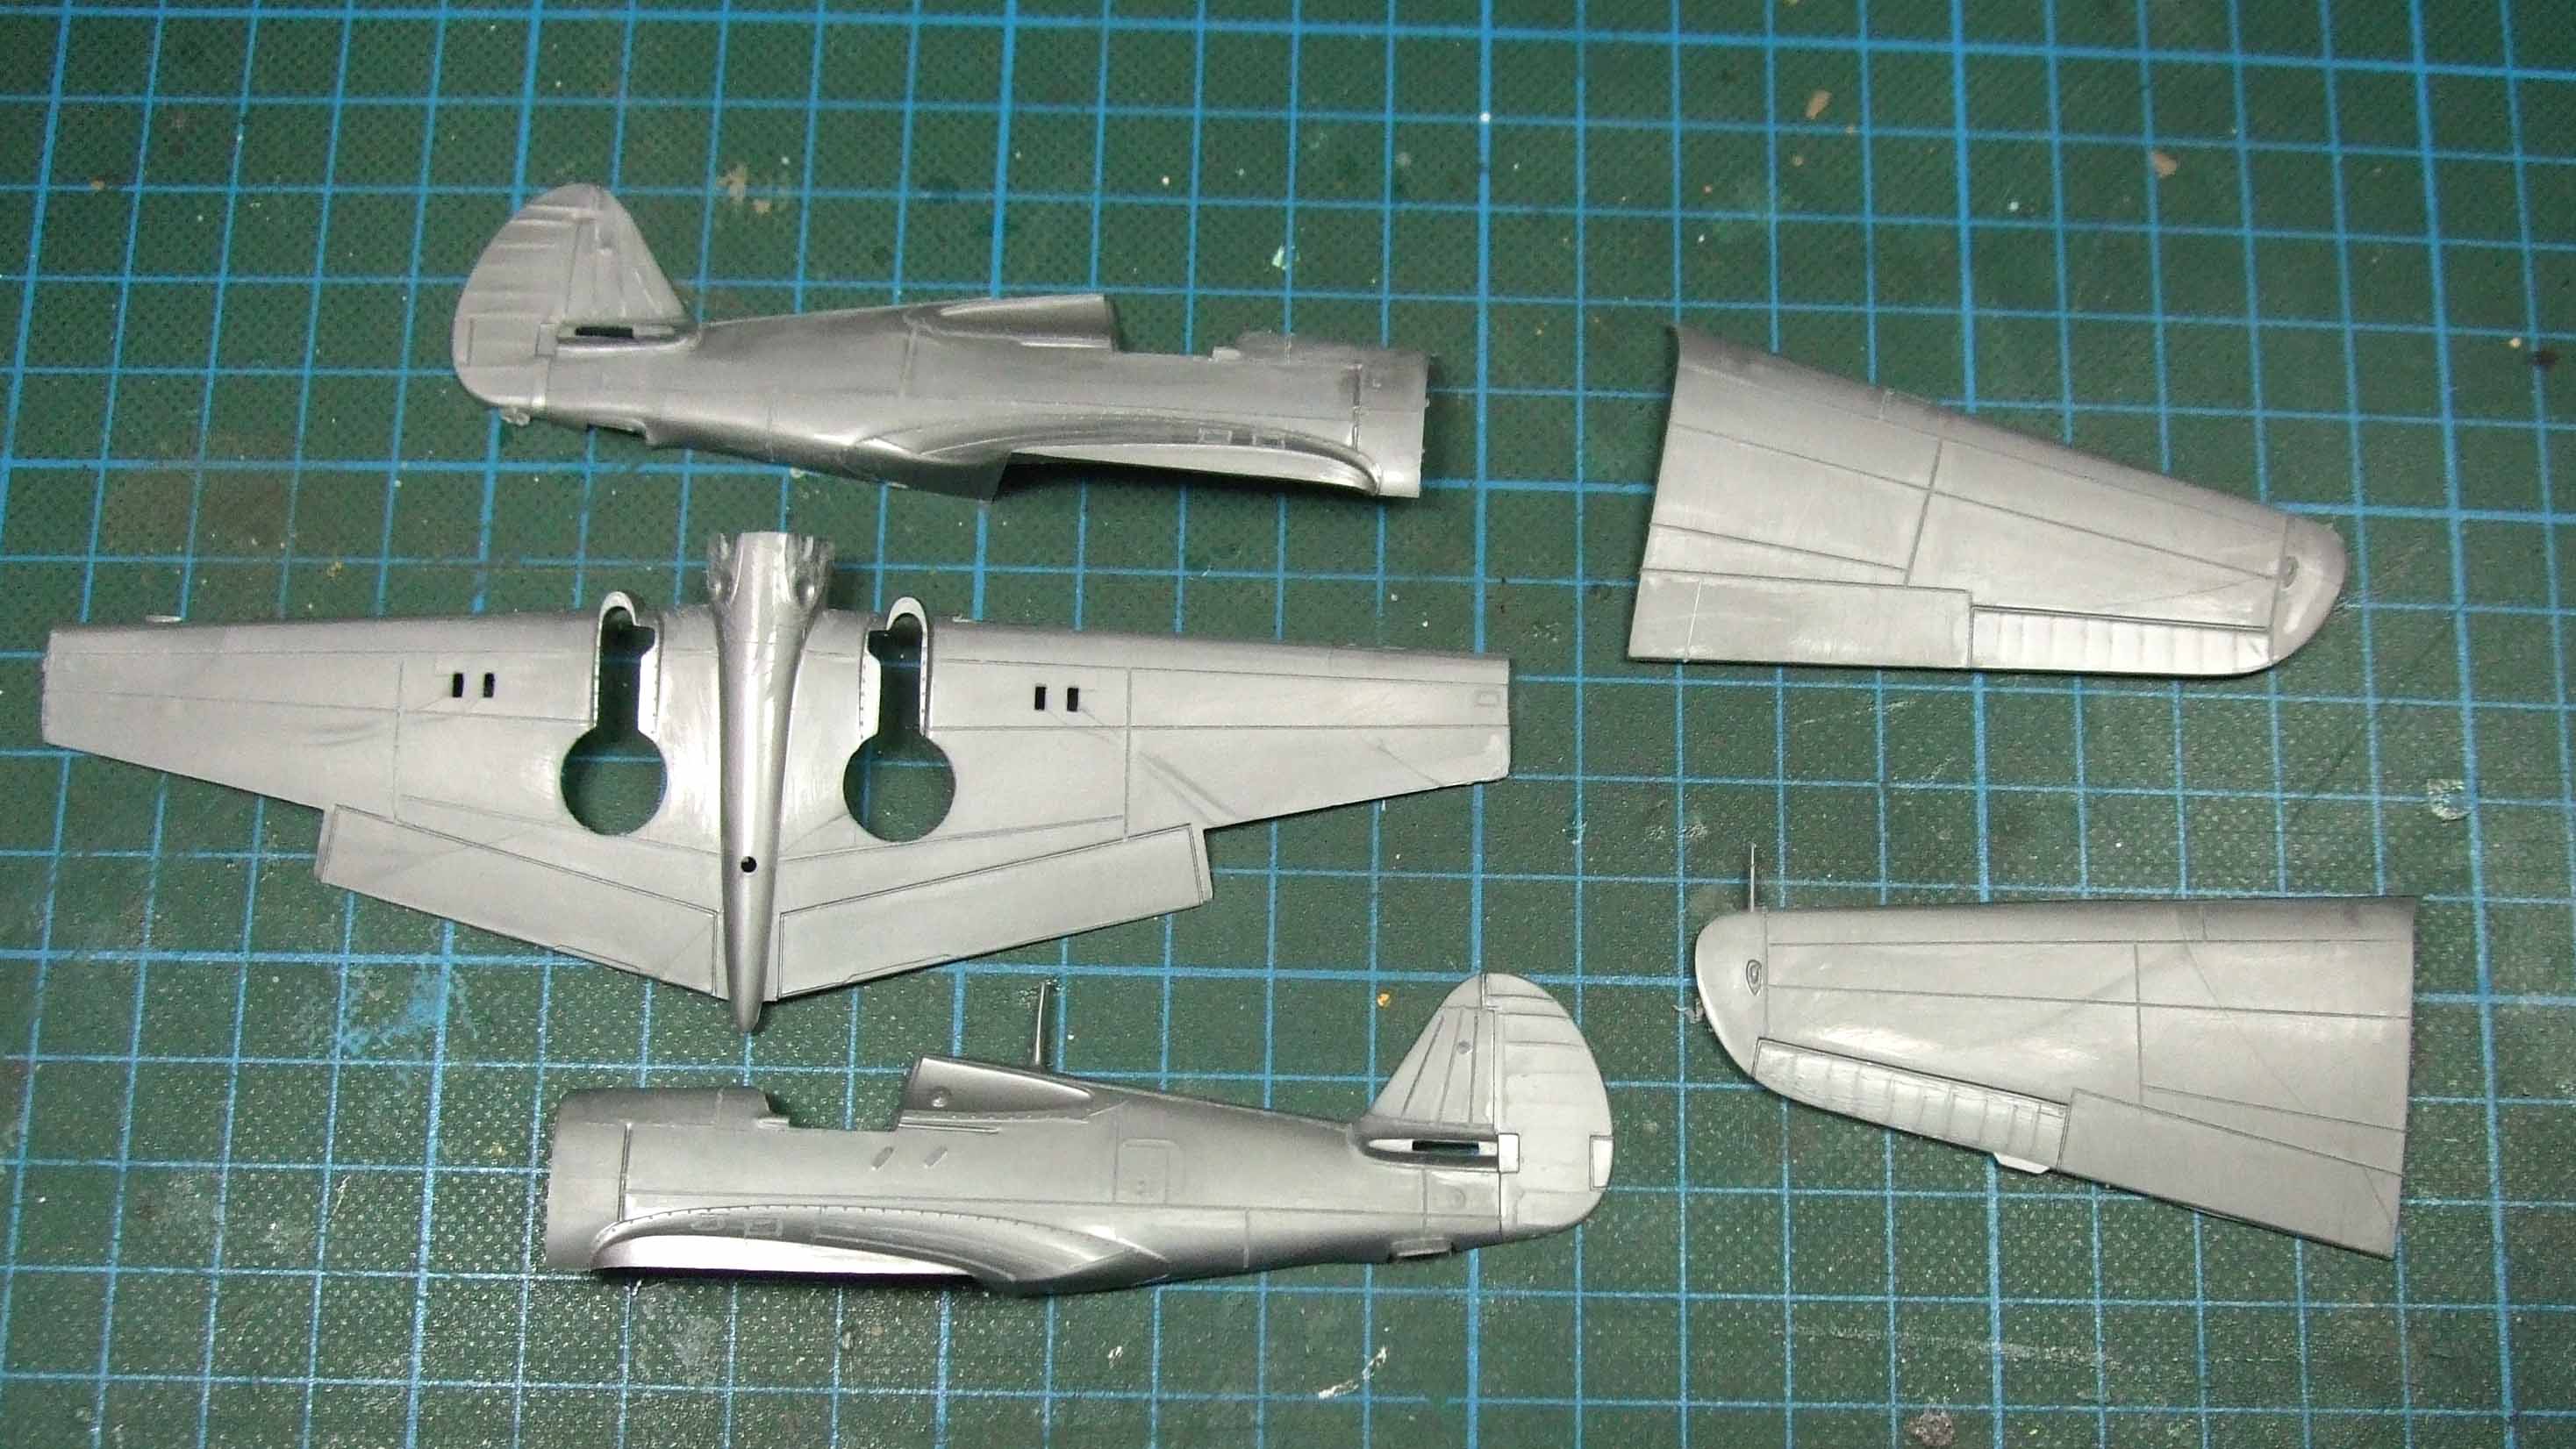
I picked this kit up some time ago on Ebay quite cheaply. Its prior owner warned he had started doing some preliminary painting but hadn't put anything together yet. It also included the True Details cockpit set, so I figured what the heck and took a chance.
 It was just as advertised, nothing assembled and most of these parts will be replaced with resin so the paintwork doesn't matter.
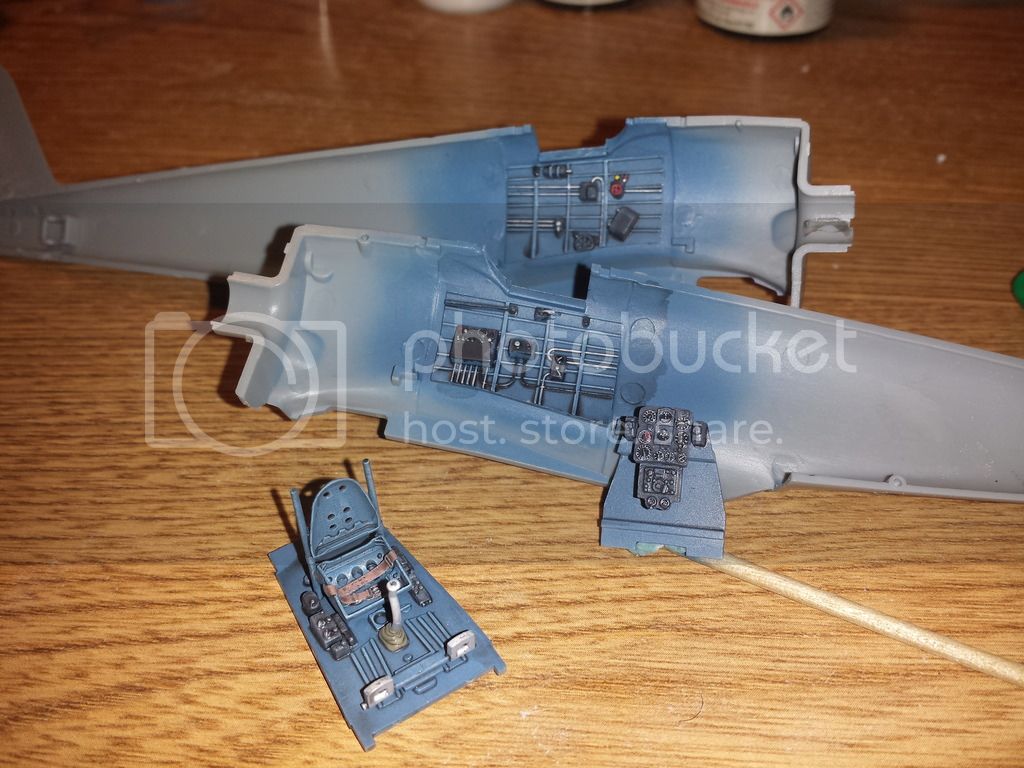
 This will have to be redone, as it is totally wrong. The wheel well should be aluminum with the rear spar in zinc chromate primer.
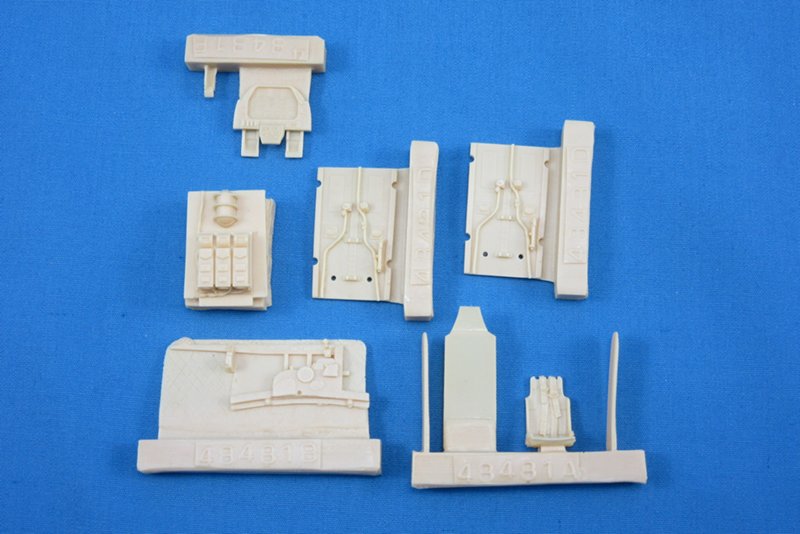 The resin that came with it was actually where I came across a problem. Notice anything wrong here? Where the heck is the right sidewall! Oh well, True Details' quality control failed this set but it was still a good deal.
I shelled out for a new True Details set. This one came in there new packing and was cast in grey rather than cream. Fortunately it did not suffer from missing parts, everything was included. In addition to the True Details set, I have picked up a number of additions for the Accurate Miniatures line of kits I plan to pick and choose from. I have Verlinden's Alison Engine for the kit; their P-51A Upgrade Set which has another cockpit set, a gunbay, and positionable flaps; both Barracudacals and Eduard's P-51 wheels; and an Ultracast early-style seat with molded harness. Plenty to work with.
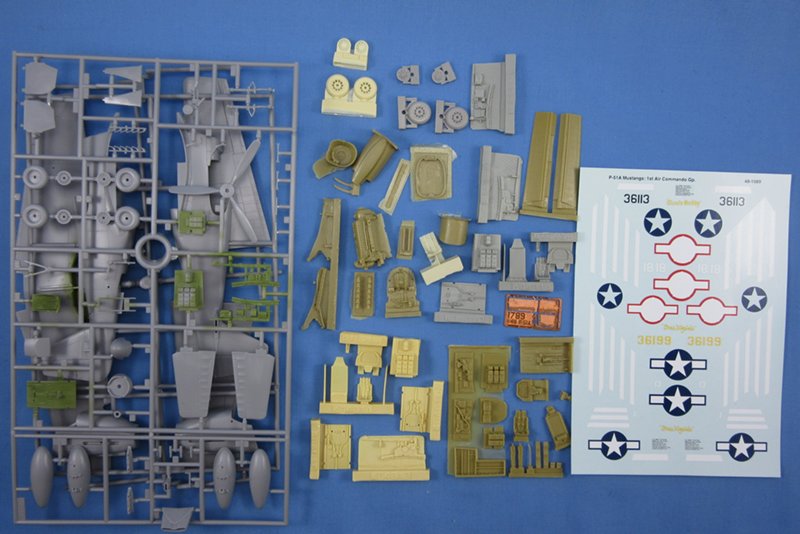 All sorts of goodies to choose from.
The engine set is very nice, and looks easy to use. There are very few modifications to make to the plastic, it basically just replaces the nose sections from the kit. Verlinden have put a lot of detail into the engine, it shouldn't need much more work except maybe some wiring added to it.
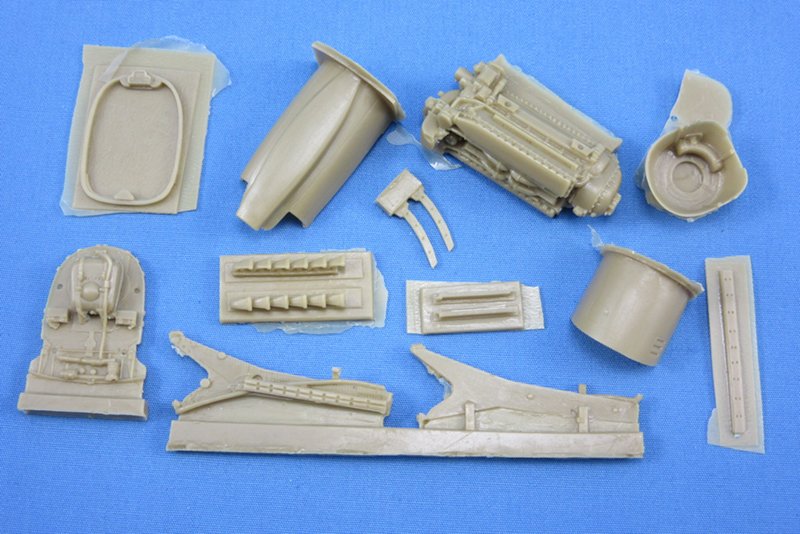 Verlindin P-51 Alison Engine for Accurate Miniatures kit.
The P-51A Upgrade Set is not as nice in my opinion. The resin is all very well cast but there are issues with the details they have added. The seat looks to be the plywood version that was very common in the P-51B, but I have yet to see that type in an -A model. Same goes for the armor plate, it has the first aid kit molded in as is commonly seen in -B models. I have never that feature in an -A. I will likely not make use of much cockpit detail from this set, and just use the gunbay and flaps.
 Verlinden P-51A Uprade Set, minus the seat and armor plate.
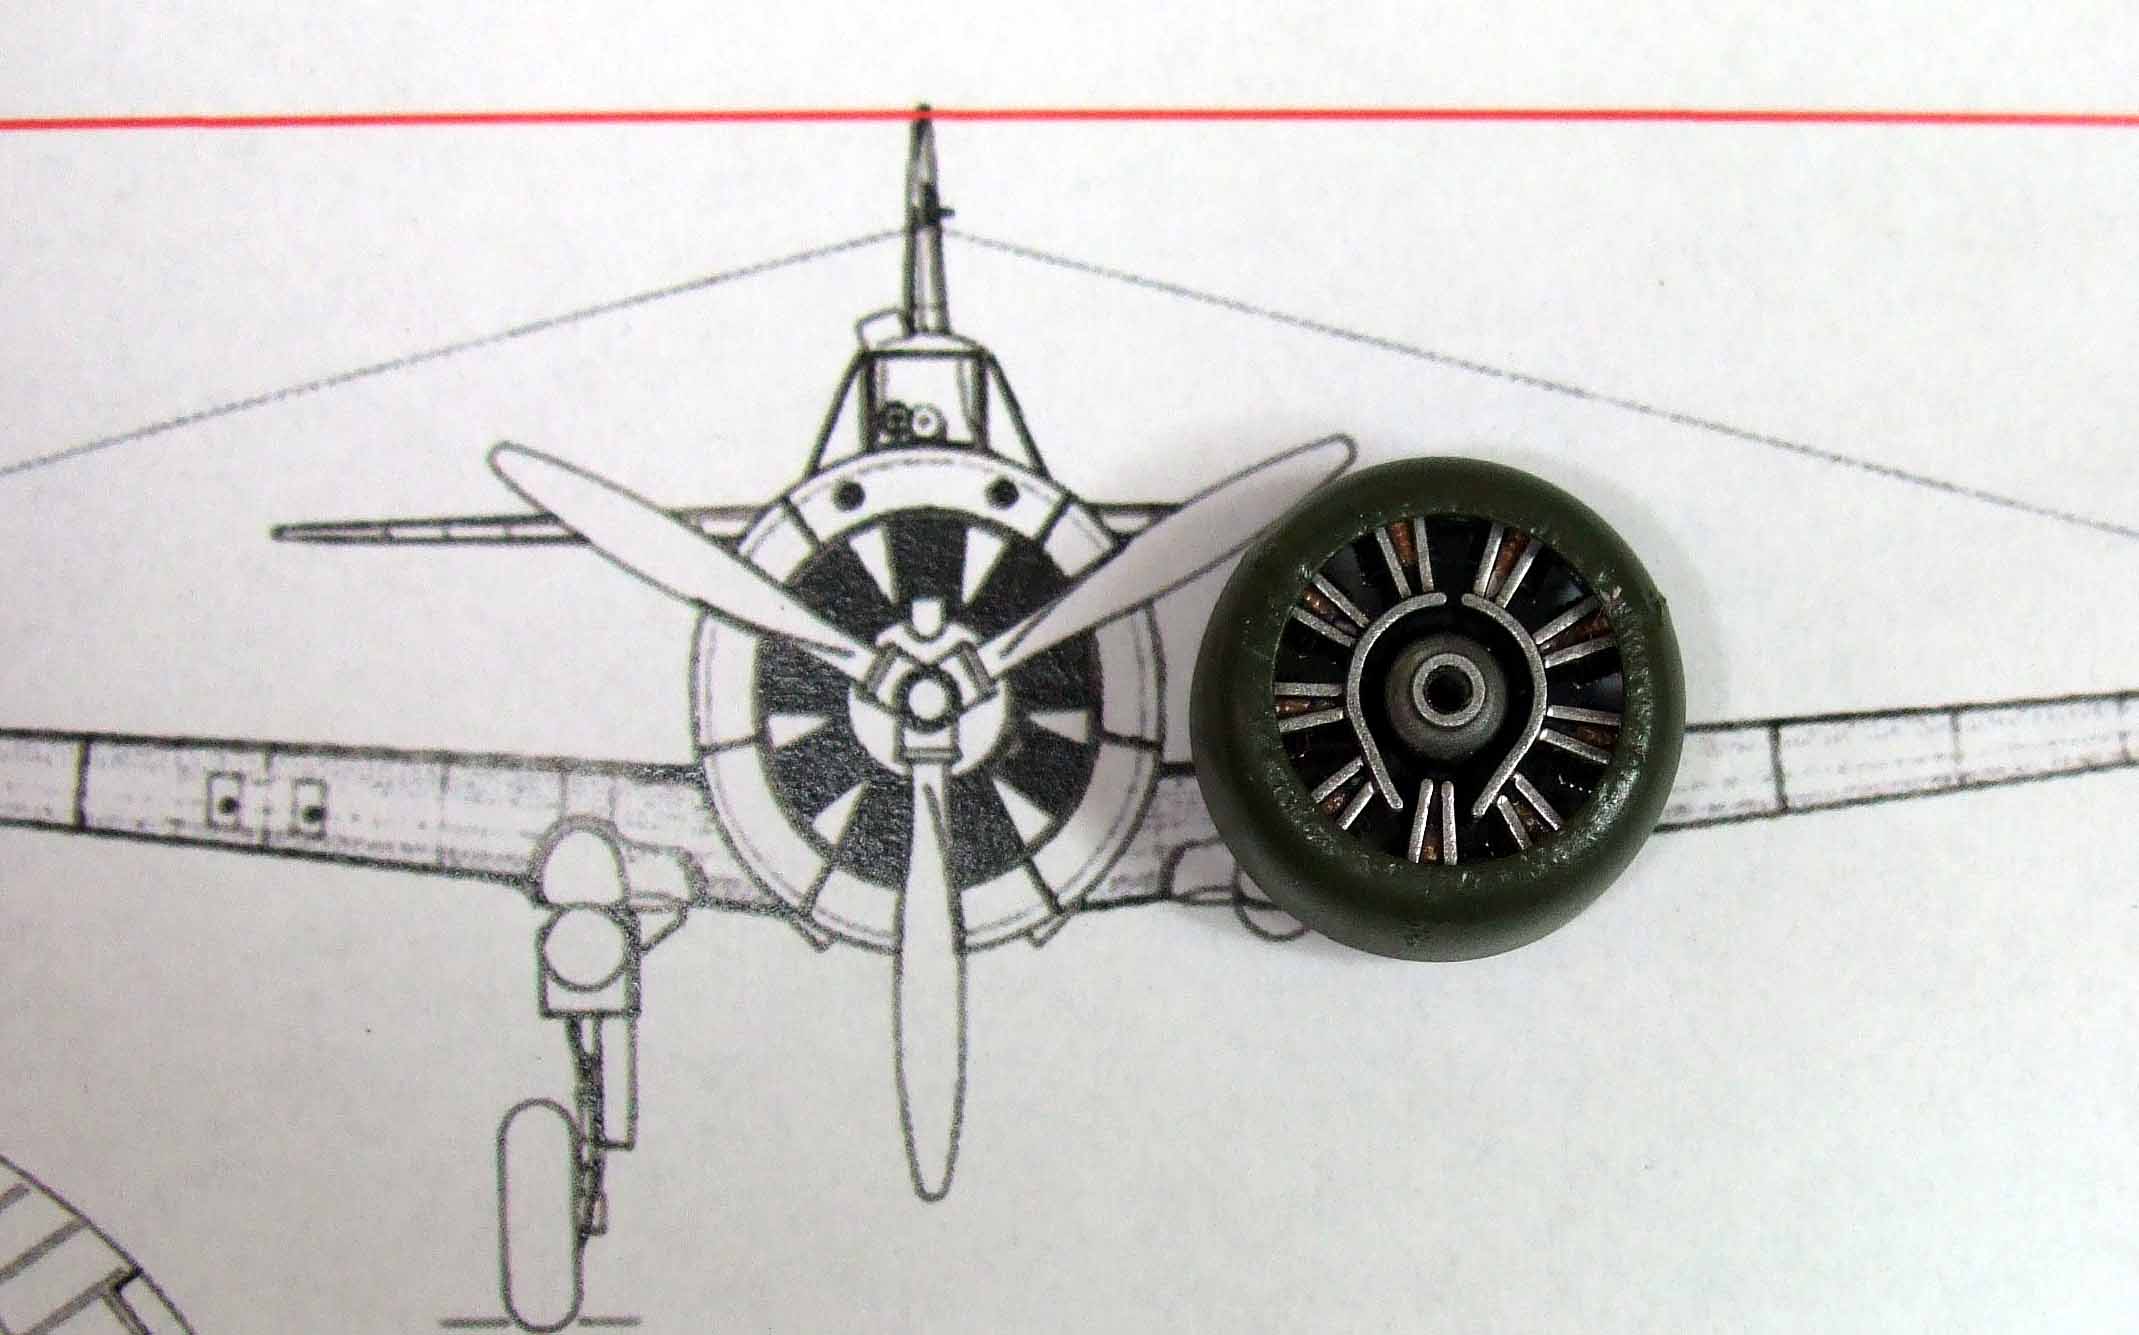
The wheels are a toss up, either set is superb and a vast improvement over the kit plastic. Really it just comes down to which tread pattern I want to go with.
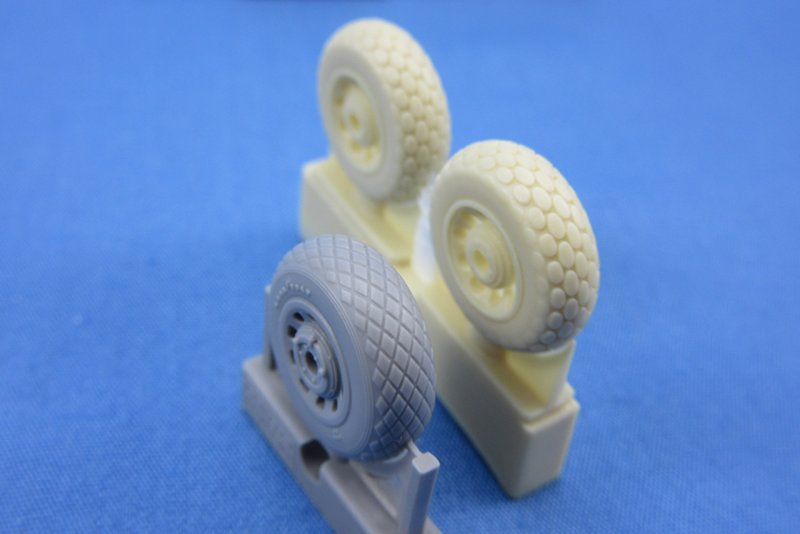 Eduard vs Barracudacals. Too close to call on quality of detail, but Barracudacals does edge Eduard out due to price and the availablilty to choose 3 tread patterns: oval (here), daiamond, or block treads.
With all of these aftermarket sets I ended up with 4 different seats to choose from. I will be using Ultracast's seat as it matches my references in the Valiant Wings book. The True Details and Verlinden seat look more appropriate for a P-51B.
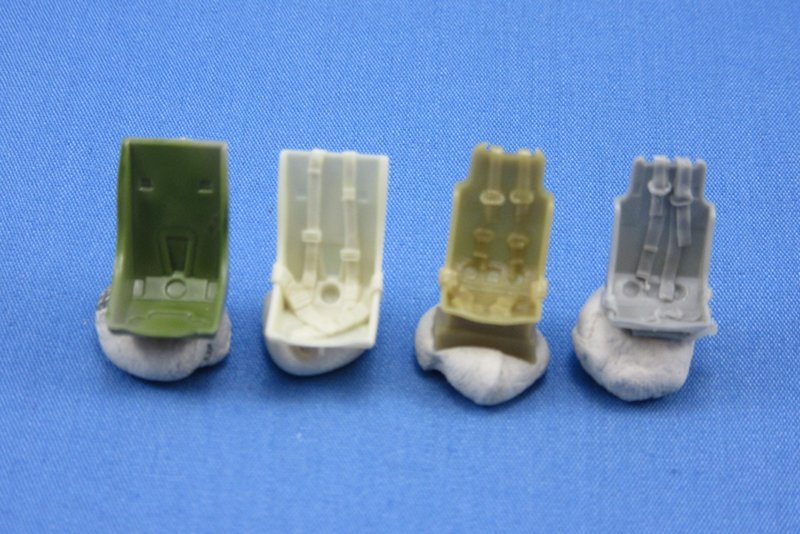 Kit seat, Ultracast, Verlinden, and True Details seats, although the pic is a bit blurry for some reason.. The differences between Ultracast and the other two resin options are rather obvious though. The plywood style seat does not look correct at all to me.
The armor plate is a detail TD did get correct over Verlinden. It should be a clean two-piece affair with a small overlap, the first aid kit isn't appropriate for this version.
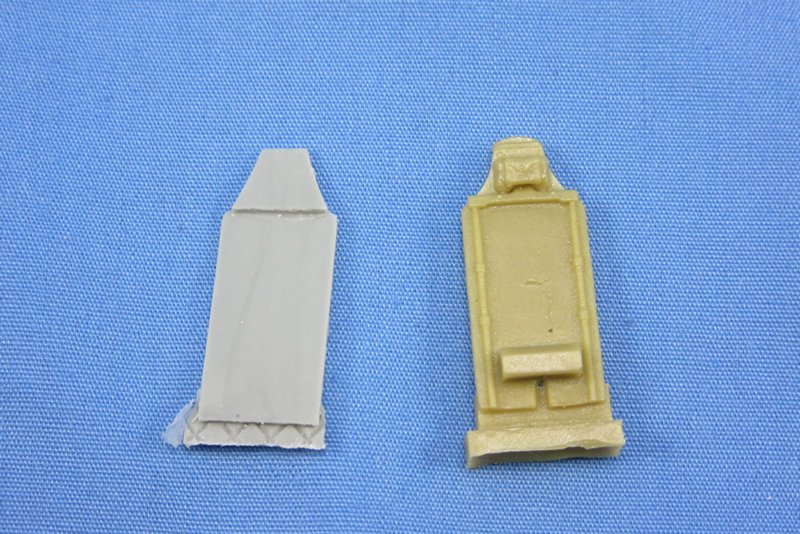 Close but no cigar, Verlinden.
That brings me to one final detail I needed to source: the bazooka rocket tubes. I have some spares from a Tamiya P-47 that are really sharp and crisp, but the mounts are not correct for a P-51. Rather than scratch my own, I decided to just steal them out of a Hasegawa P-51D kit. This gave me proper mount rails and had the added bonus of making them easy to locate. I just made a template out of heavy painter's tape using Hasegawa's hole locations as my guide. It made it simple to drill the wings.
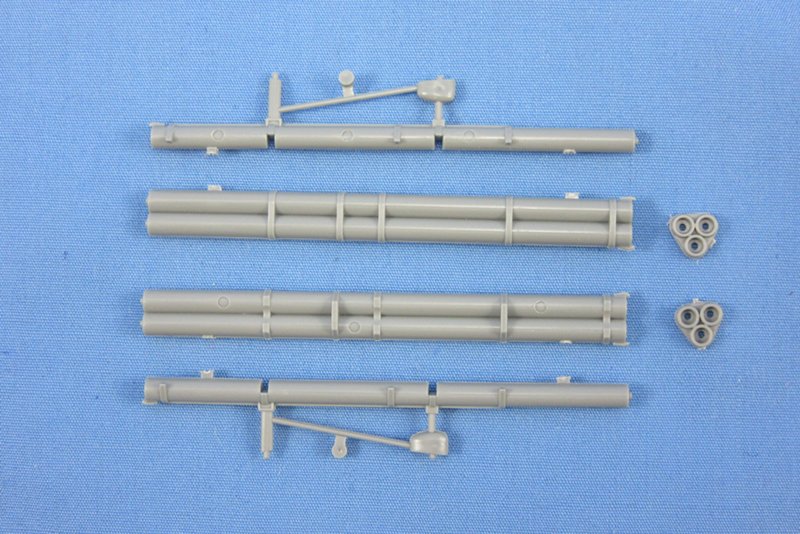 The Hasegawa tubes are not as clean as Tamiya's, but I'd rather fix those ejector marks than scratch build mounting brackets.
That's all for now. I plan to start shooting paint this week while I work on building a lot of the tiny sub-assemblies on my ZM Ho 229 project.