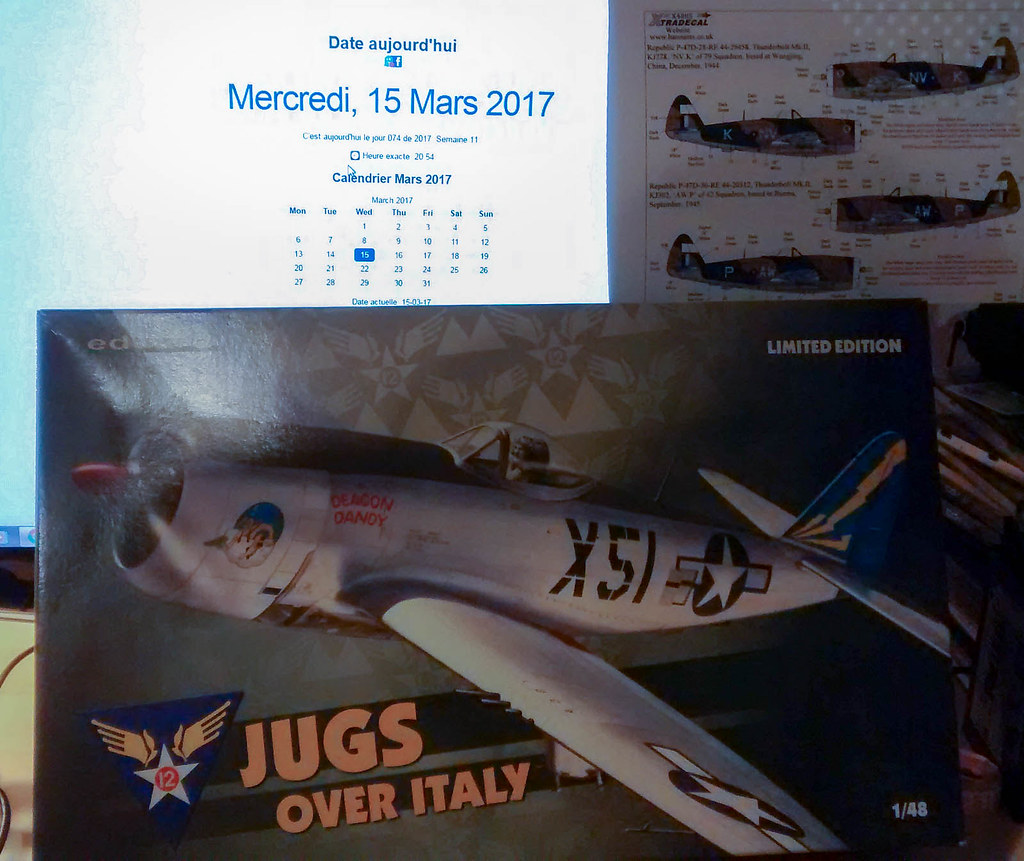
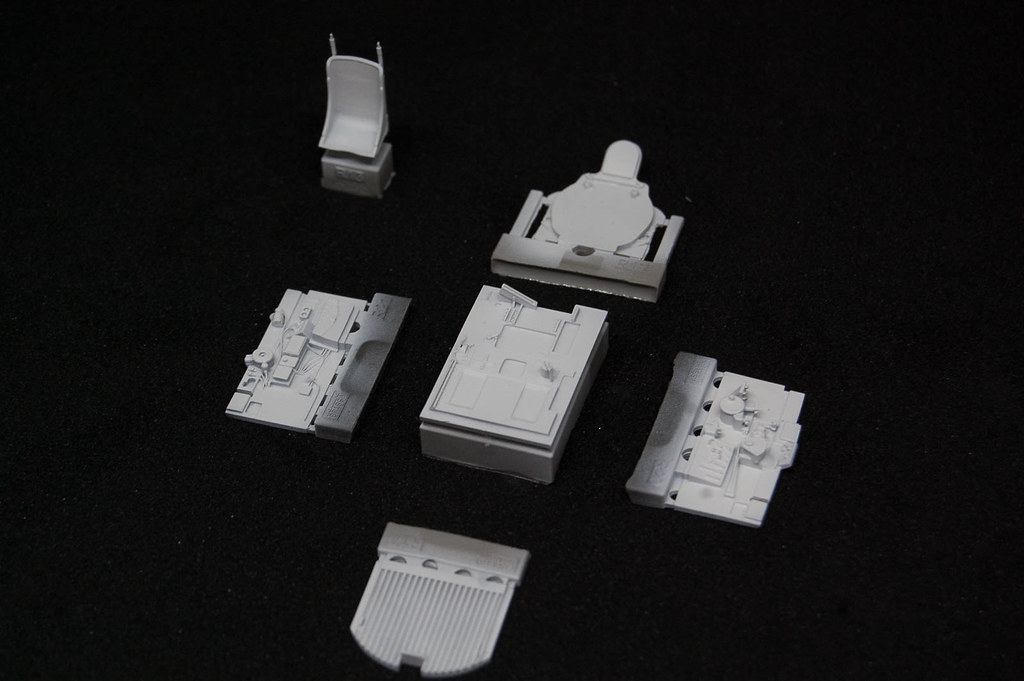
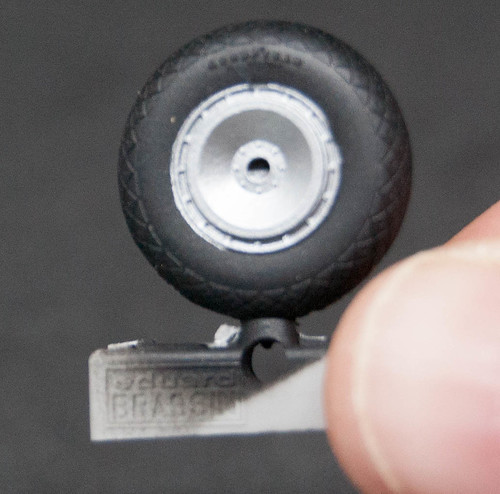
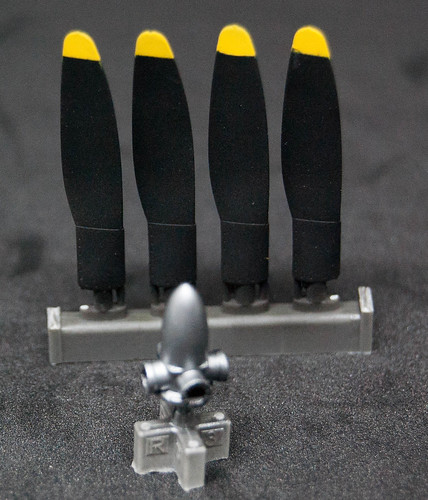
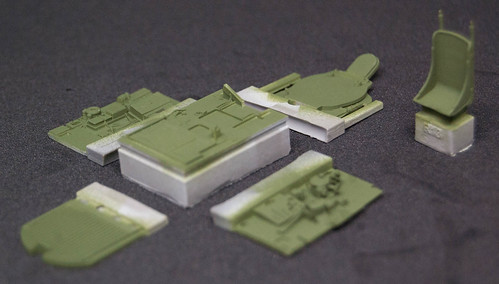
There's four great looking models on the previous page. All of them finished to a high standard and each one done in a different way. Well done Oliver, Chris, Sal and Robert Jan.
Simon.
Air Campaigns
Want to start or join a group build? This is where to start.
Want to start or join a group build? This is where to start.
Hosted by Frederick Boucher, Michael Satin
OFFICIAL: China-Burma-India Campaign
simonn

Joined: October 15, 2016
KitMaker: 62 posts
AeroScale: 36 posts

Posted: Wednesday, March 08, 2017 - 03:03 AM UTC

SHAKY962

Joined: May 21, 2012
KitMaker: 765 posts
AeroScale: 316 posts

Posted: Sunday, March 12, 2017 - 05:12 PM UTC
Antilles

Joined: March 22, 2015
KitMaker: 671 posts
AeroScale: 614 posts

Posted: Monday, March 13, 2017 - 08:40 PM UTC
Sal: Nice finish on Your Hawk! Congrats!
Simonn: Thank´s for watching. I am glad You like it!
Jose: Good progress! With this camo Your kit will turn out very nice!
Oliver
Simonn: Thank´s for watching. I am glad You like it!
Jose: Good progress! With this camo Your kit will turn out very nice!
Oliver


SpeedyJ

Joined: September 17, 2013
KitMaker: 1,617 posts
AeroScale: 212 posts

Posted: Saturday, March 18, 2017 - 06:31 PM UTC
Hit the fear. Did my canopy, first time with the masking and airbrush. Very happy so far with the results. A two weeks coming to finish.
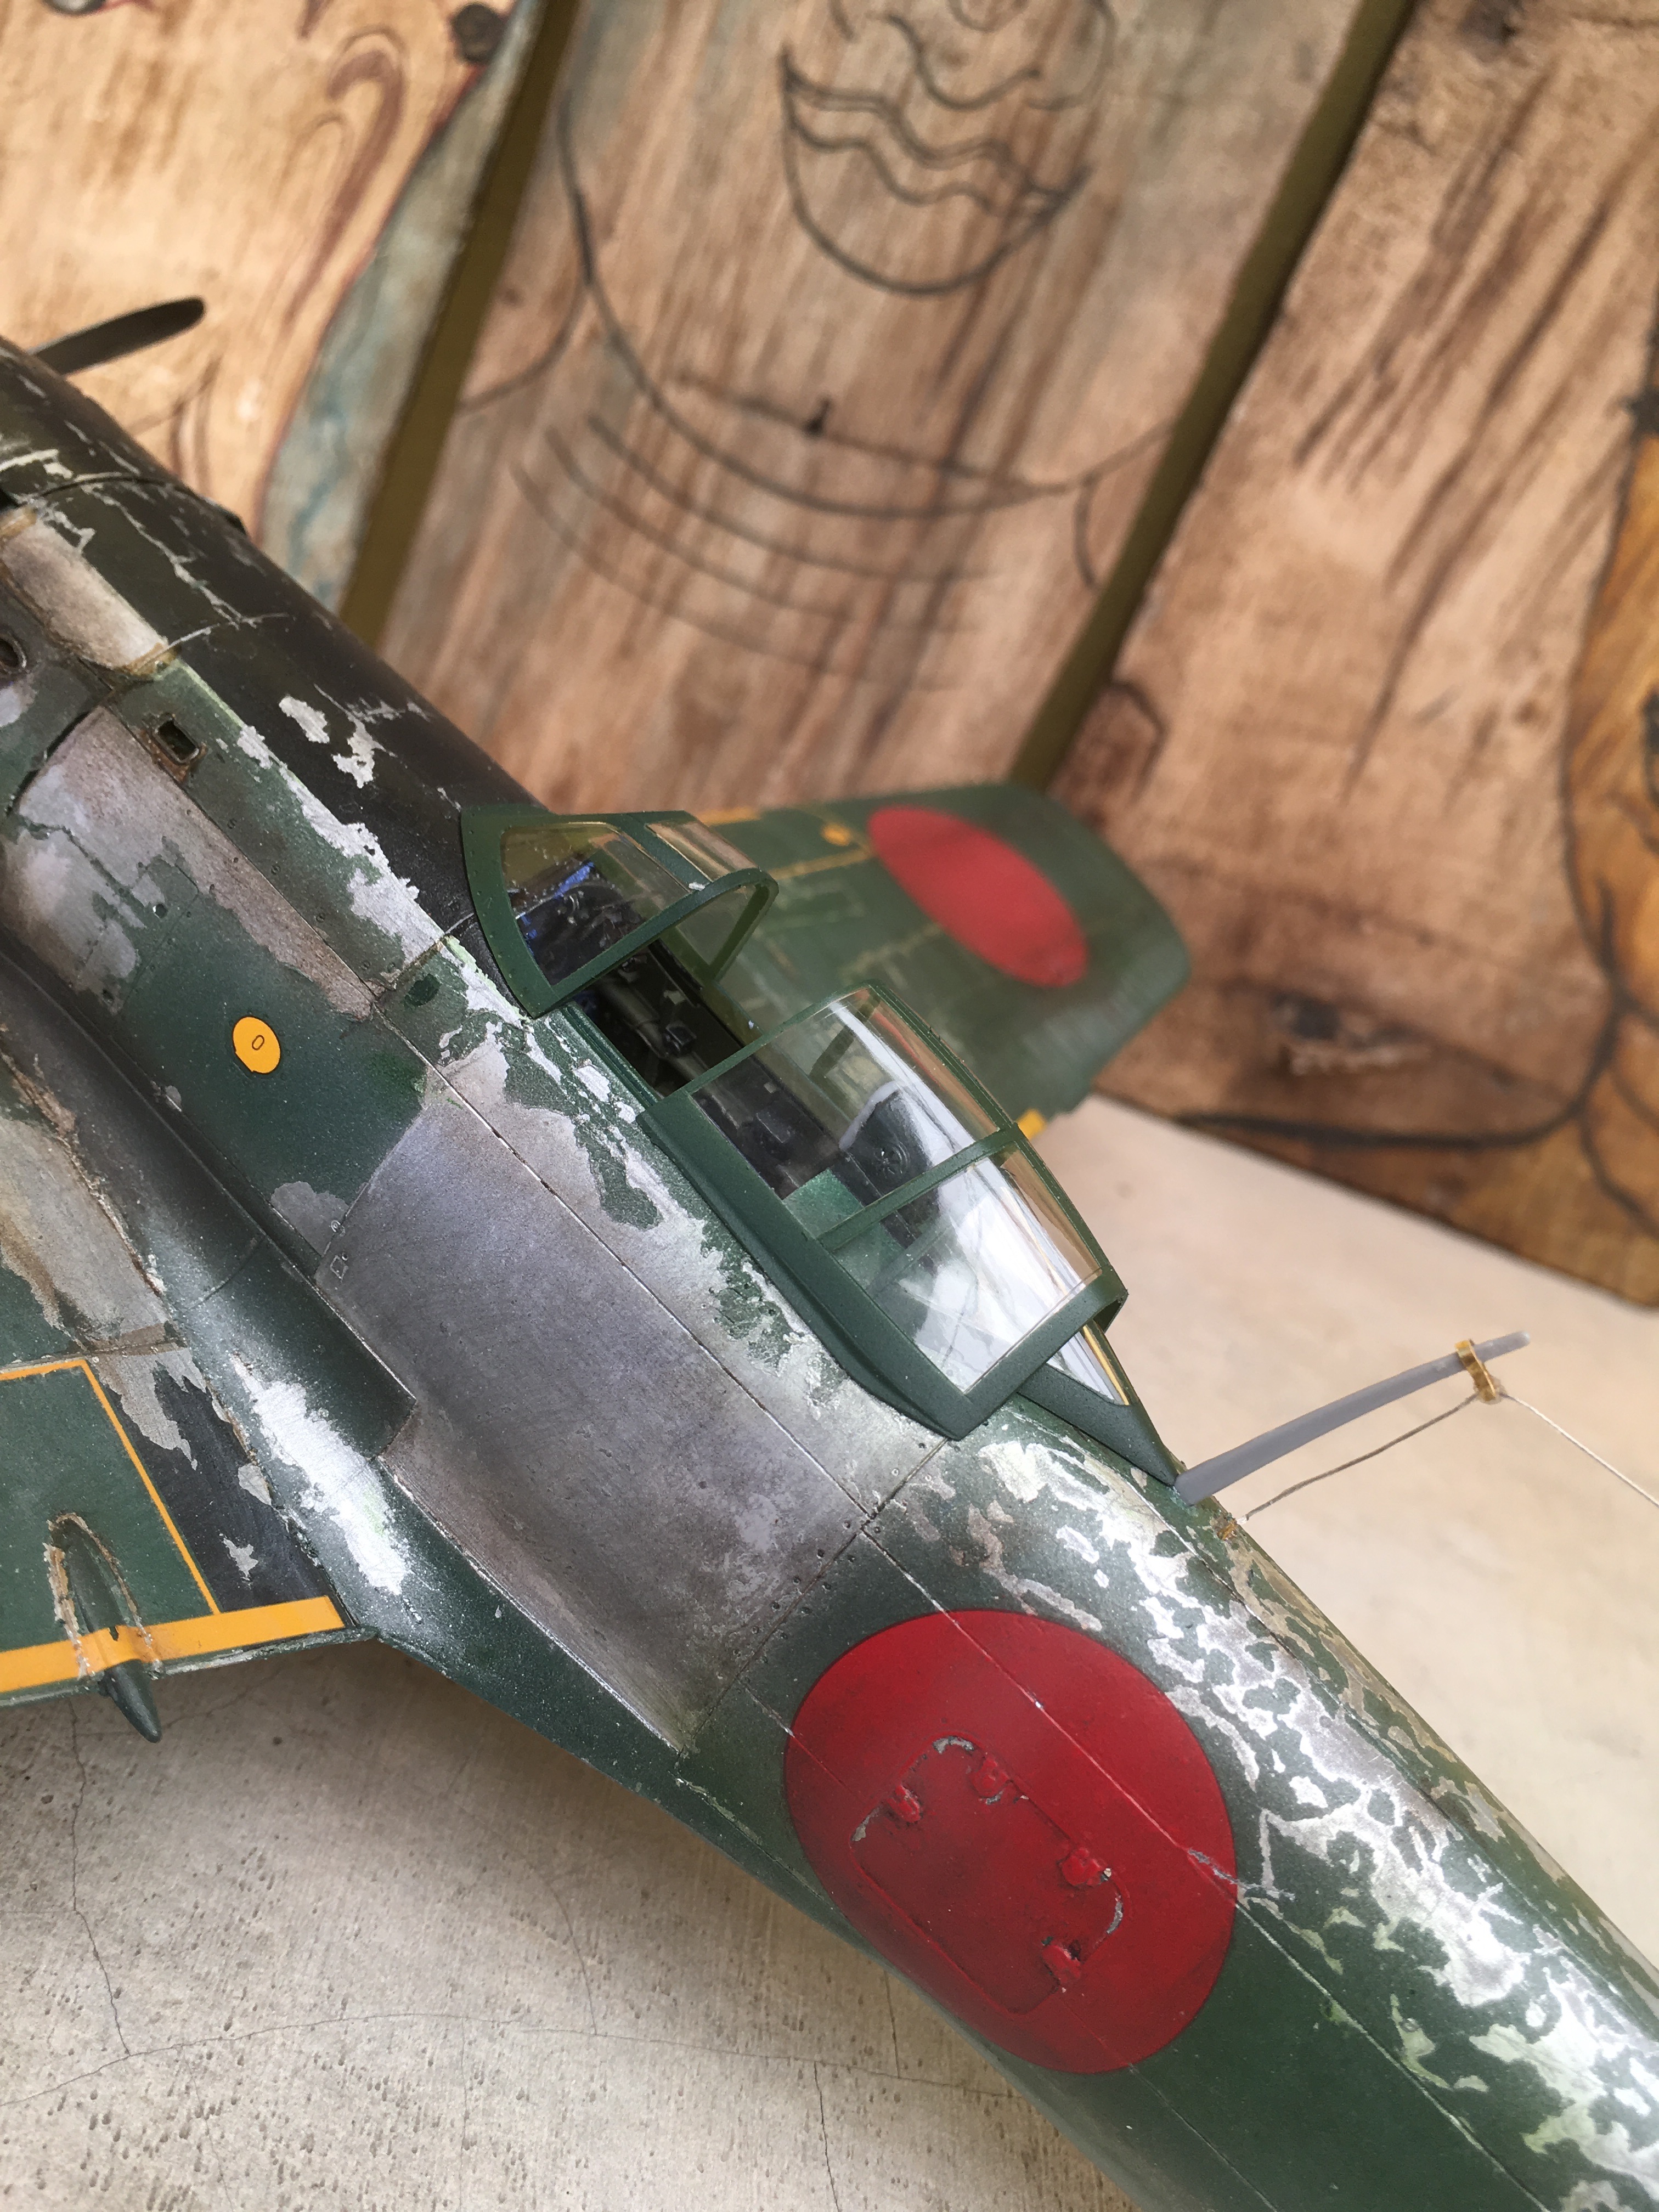
Kind regards,
Robert Jan

Kind regards,
Robert Jan

SpeedyJ

Joined: September 17, 2013
KitMaker: 1,617 posts
AeroScale: 212 posts

Posted: Saturday, March 18, 2017 - 06:42 PM UTC
Some more pictures. The wood in the back I picked up at a night market near Bangkok. I've got 3 build coming up with the same theme. First focus is to fix the wing extensions and last details on the cockpit.
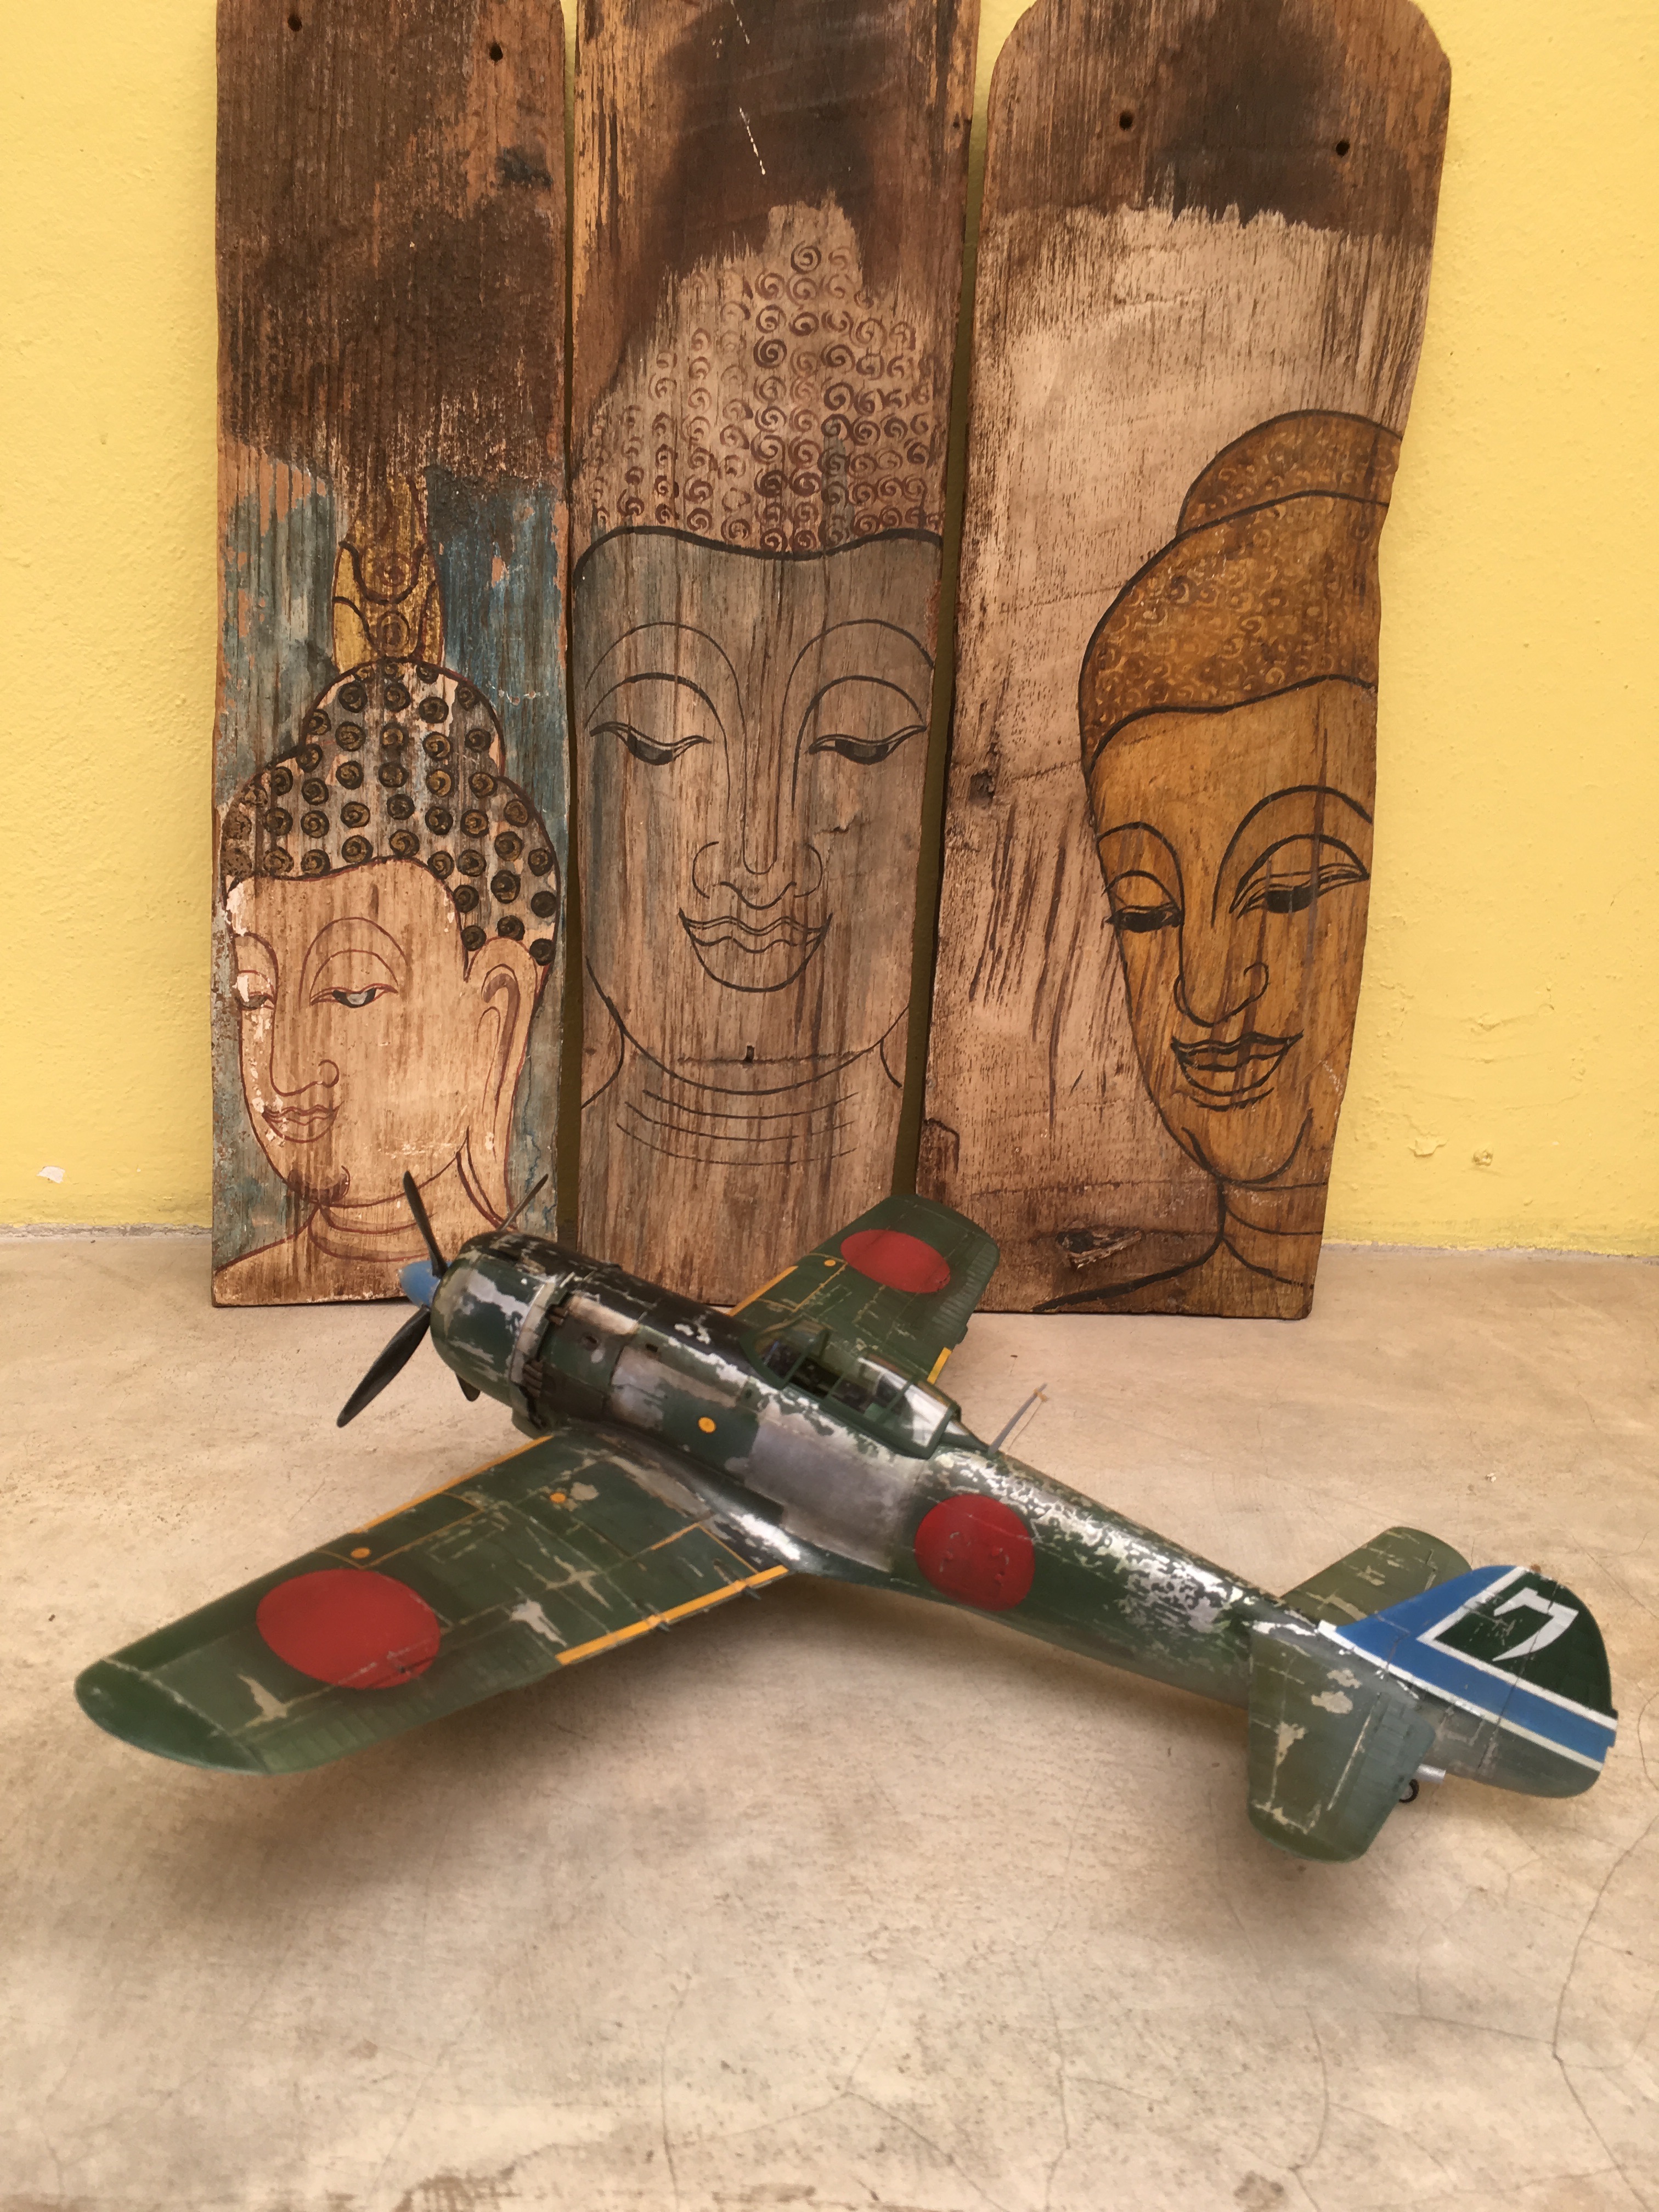
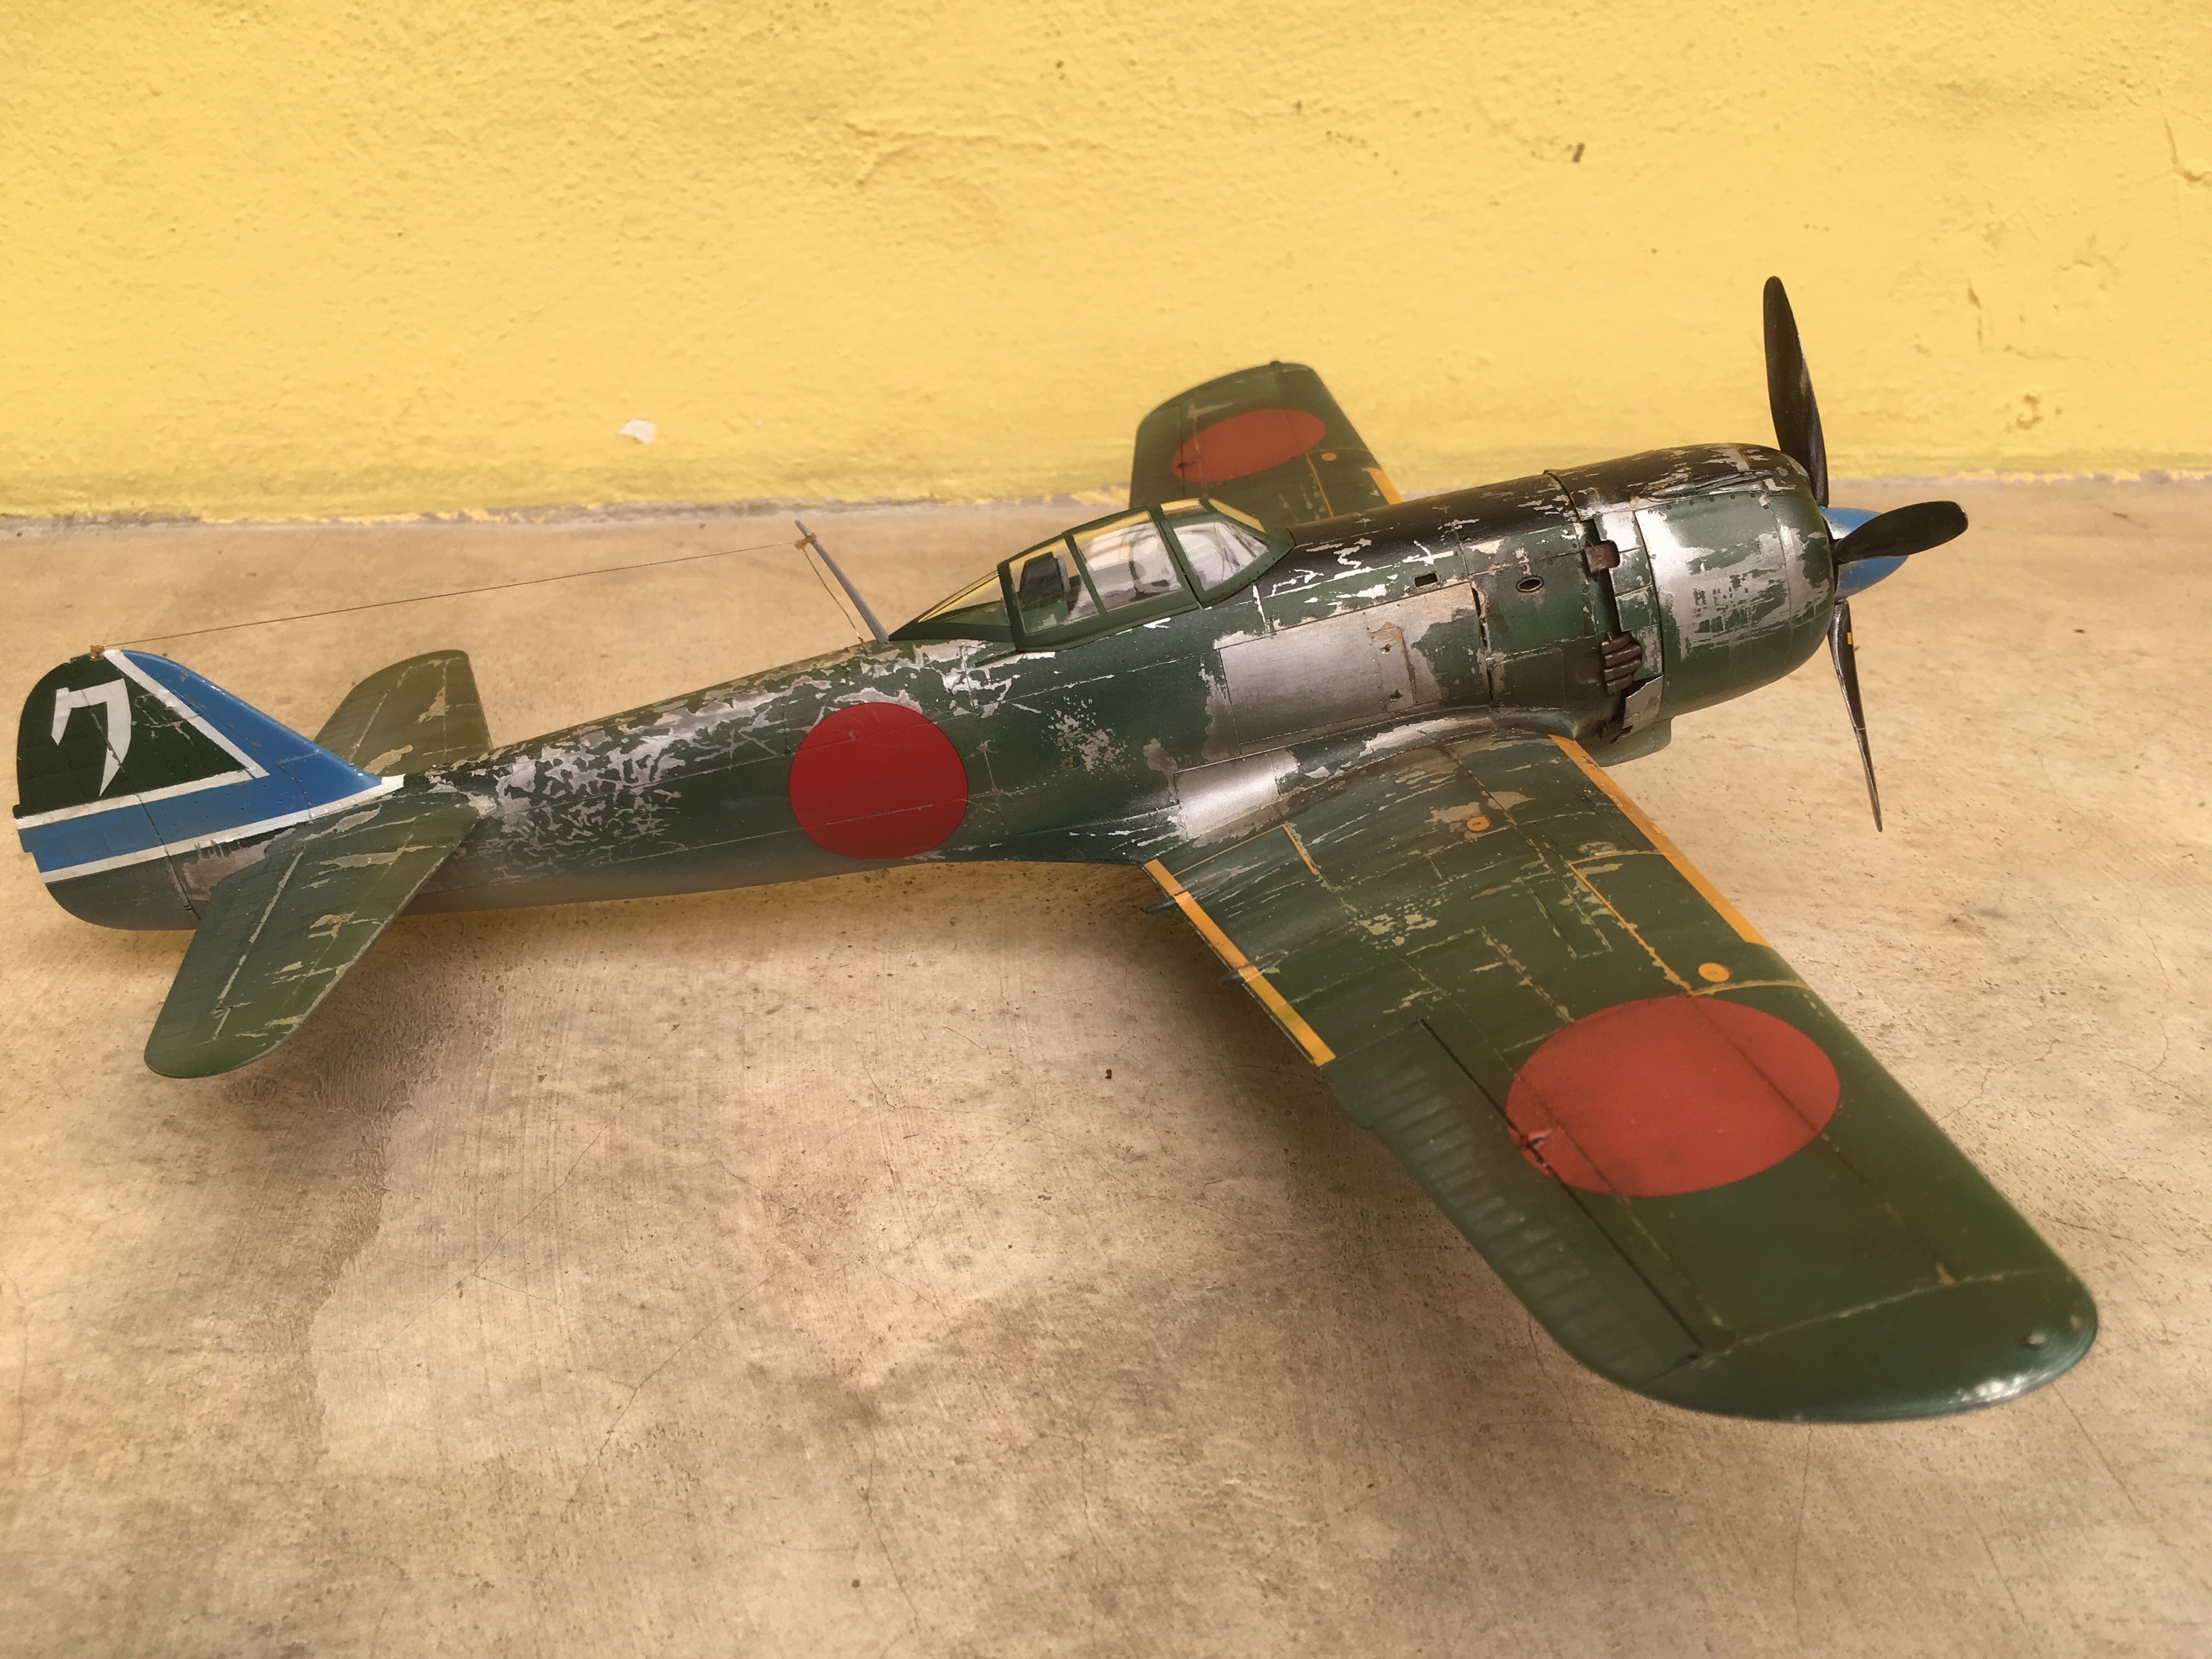
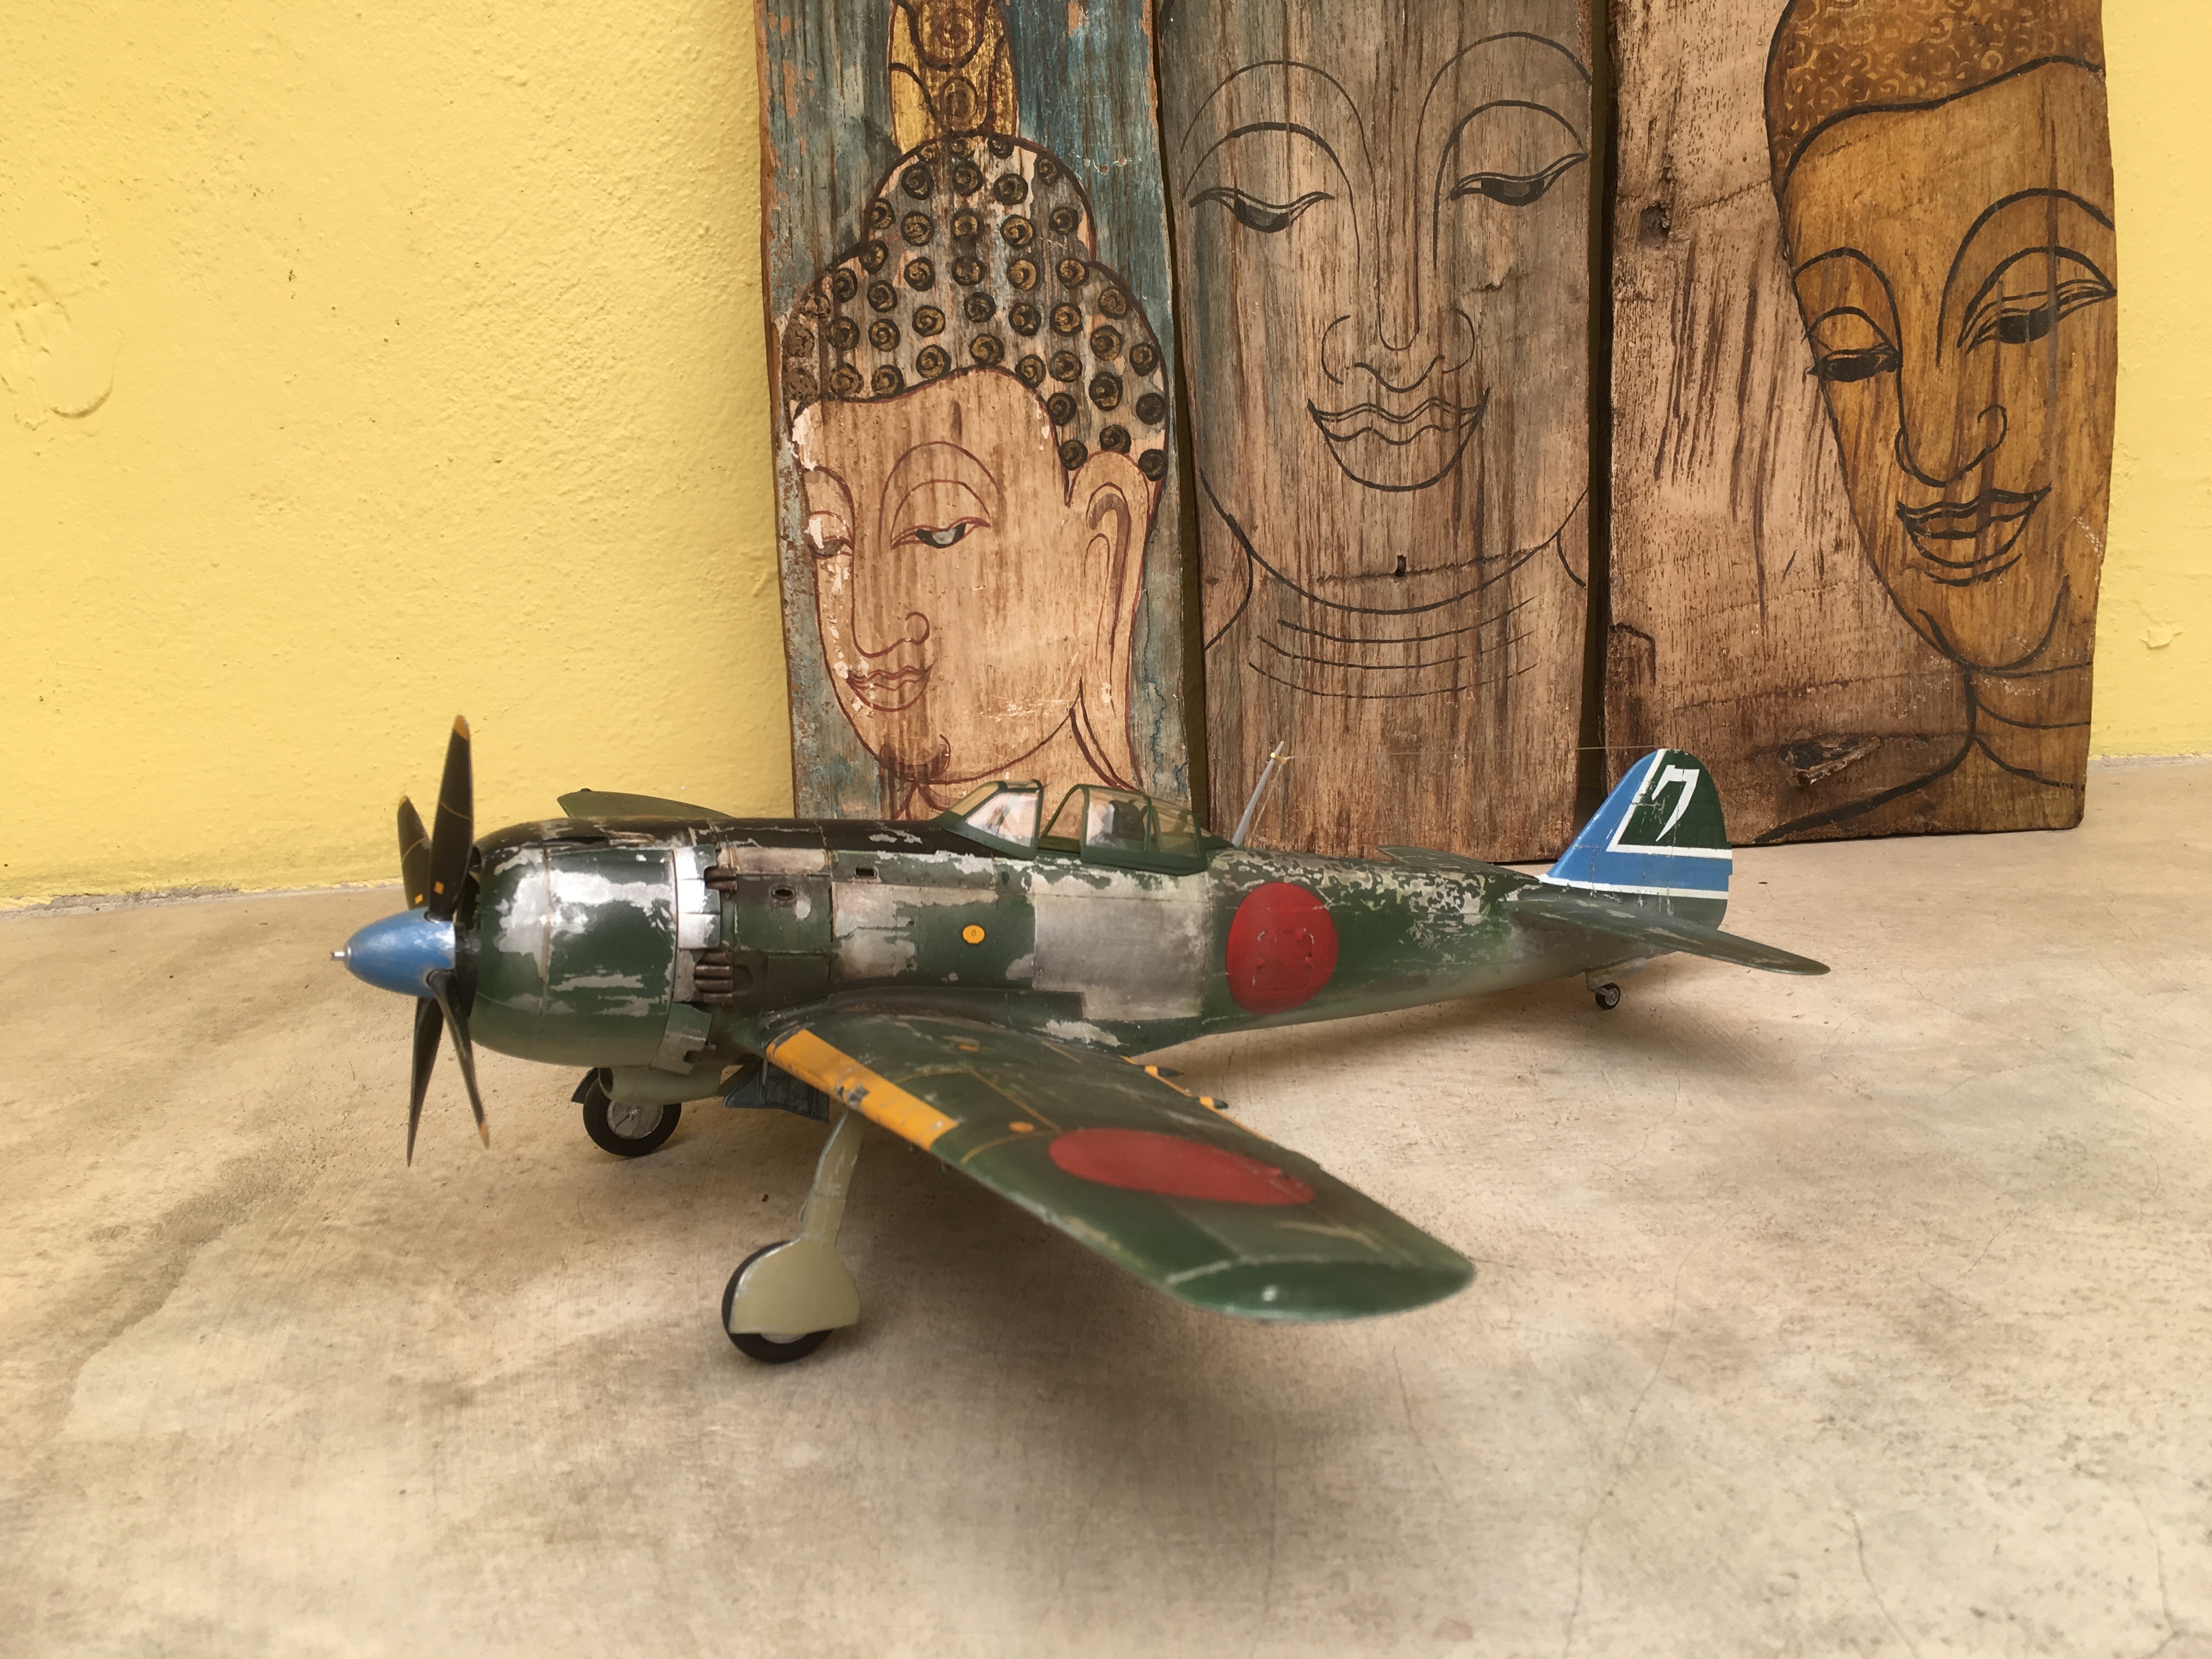
Two weeks is my goal, leaves some space for other building


Two weeks is my goal, leaves some space for other building


SHAKY962

Joined: May 21, 2012
KitMaker: 765 posts
AeroScale: 316 posts

Posted: Saturday, March 18, 2017 - 10:03 PM UTC
@Oliver, thanks!!!!
@Jan, your model is fantastic!!! I love it!!!!
@Jan, your model is fantastic!!! I love it!!!!

RhinoSpit

Joined: September 22, 2016
KitMaker: 224 posts
AeroScale: 191 posts

Posted: Sunday, March 19, 2017 - 03:27 AM UTC

LinusB

Joined: March 21, 2016
KitMaker: 247 posts
AeroScale: 105 posts

Posted: Sunday, March 19, 2017 - 02:44 PM UTC
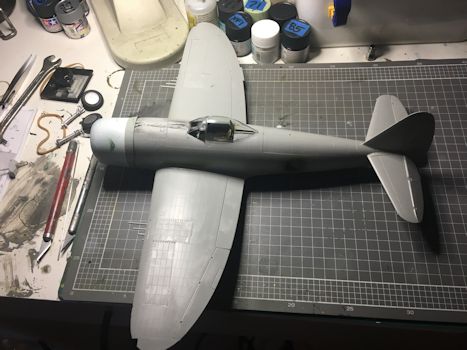
My Jug to date:


SpeedyJ

Joined: September 17, 2013
KitMaker: 1,617 posts
AeroScale: 212 posts

Posted: Sunday, March 19, 2017 - 06:55 PM UTC
Thank you Jose. It's been a long time I actually will be able to finish build. Moving to Asia had some aspects I did not for see at all. Thai don't have hobbies, except for eating 
Next two weeks for finishing and touch ups.
Rest of all campaigners, nice builds so far I have seen.


Next two weeks for finishing and touch ups.
Rest of all campaigners, nice builds so far I have seen.


goodn8

Joined: October 12, 2008
KitMaker: 709 posts
AeroScale: 651 posts

Posted: Monday, March 20, 2017 - 07:23 PM UTC
Robert Jan A really crackin' build! Awesome chipping and weathering job. Now the canopy looks a bit too new.
Thomas
Thomas

MichaelSatin


Joined: January 19, 2008
KitMaker: 3,909 posts
AeroScale: 2,904 posts

Posted: Monday, March 20, 2017 - 07:40 PM UTC
Beautiful job Robert Jan!
Michael
Michael


SpeedyJ

Joined: September 17, 2013
KitMaker: 1,617 posts
AeroScale: 212 posts

Posted: Tuesday, March 21, 2017 - 05:48 AM UTC
Thanks for the compliments, but it's still a work in progress.


nico37

Joined: May 23, 2011
KitMaker: 651 posts
AeroScale: 181 posts

Posted: Wednesday, March 22, 2017 - 06:47 PM UTC

RhinoSpit

Joined: September 22, 2016
KitMaker: 224 posts
AeroScale: 191 posts

Posted: Sunday, March 26, 2017 - 02:09 AM UTC
Pave-Hawk

Joined: May 05, 2006
KitMaker: 900 posts
AeroScale: 200 posts

Posted: Monday, March 27, 2017 - 12:28 PM UTC
Well I have kind of made a start on my Spitfire.
I am building both Eduard spitfires from the combo kit together as part of this and the ETO campaign, and have started a build log here.
I am building both Eduard spitfires from the combo kit together as part of this and the ETO campaign, and have started a build log here.
Pave-Hawk

Joined: May 05, 2006
KitMaker: 900 posts
AeroScale: 200 posts

Posted: Thursday, March 30, 2017 - 01:52 PM UTC
My spitfire builds have begun
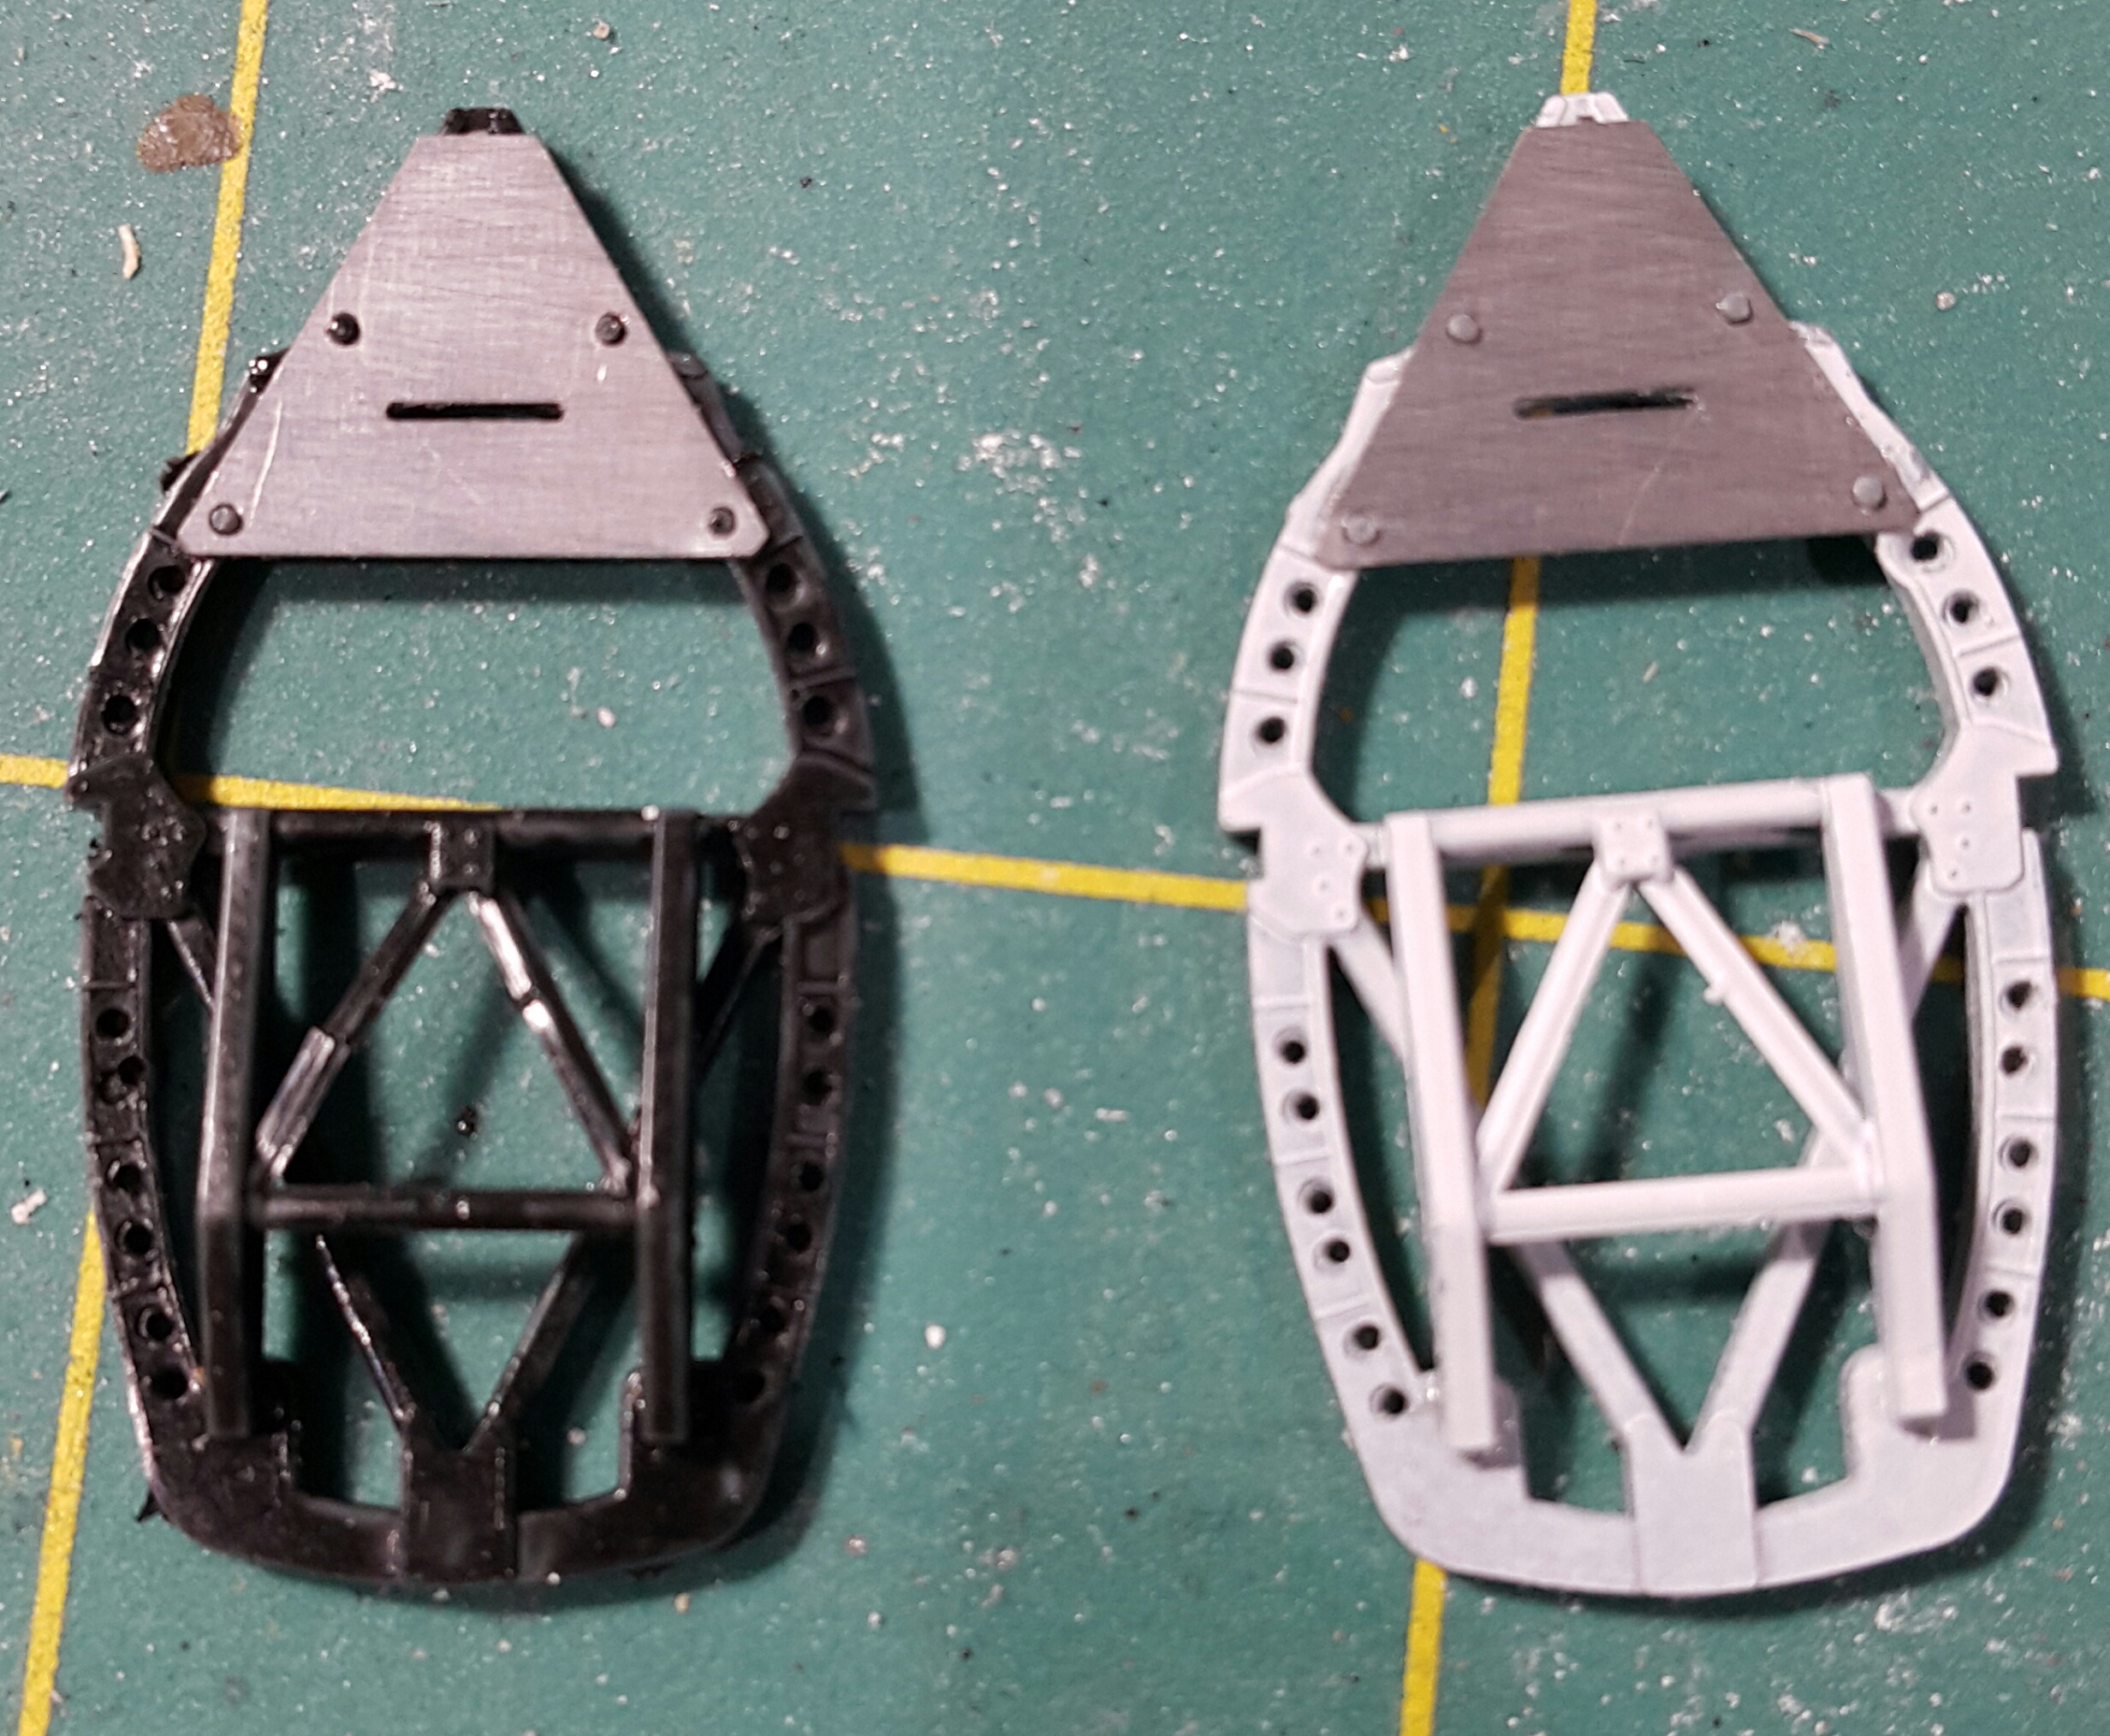
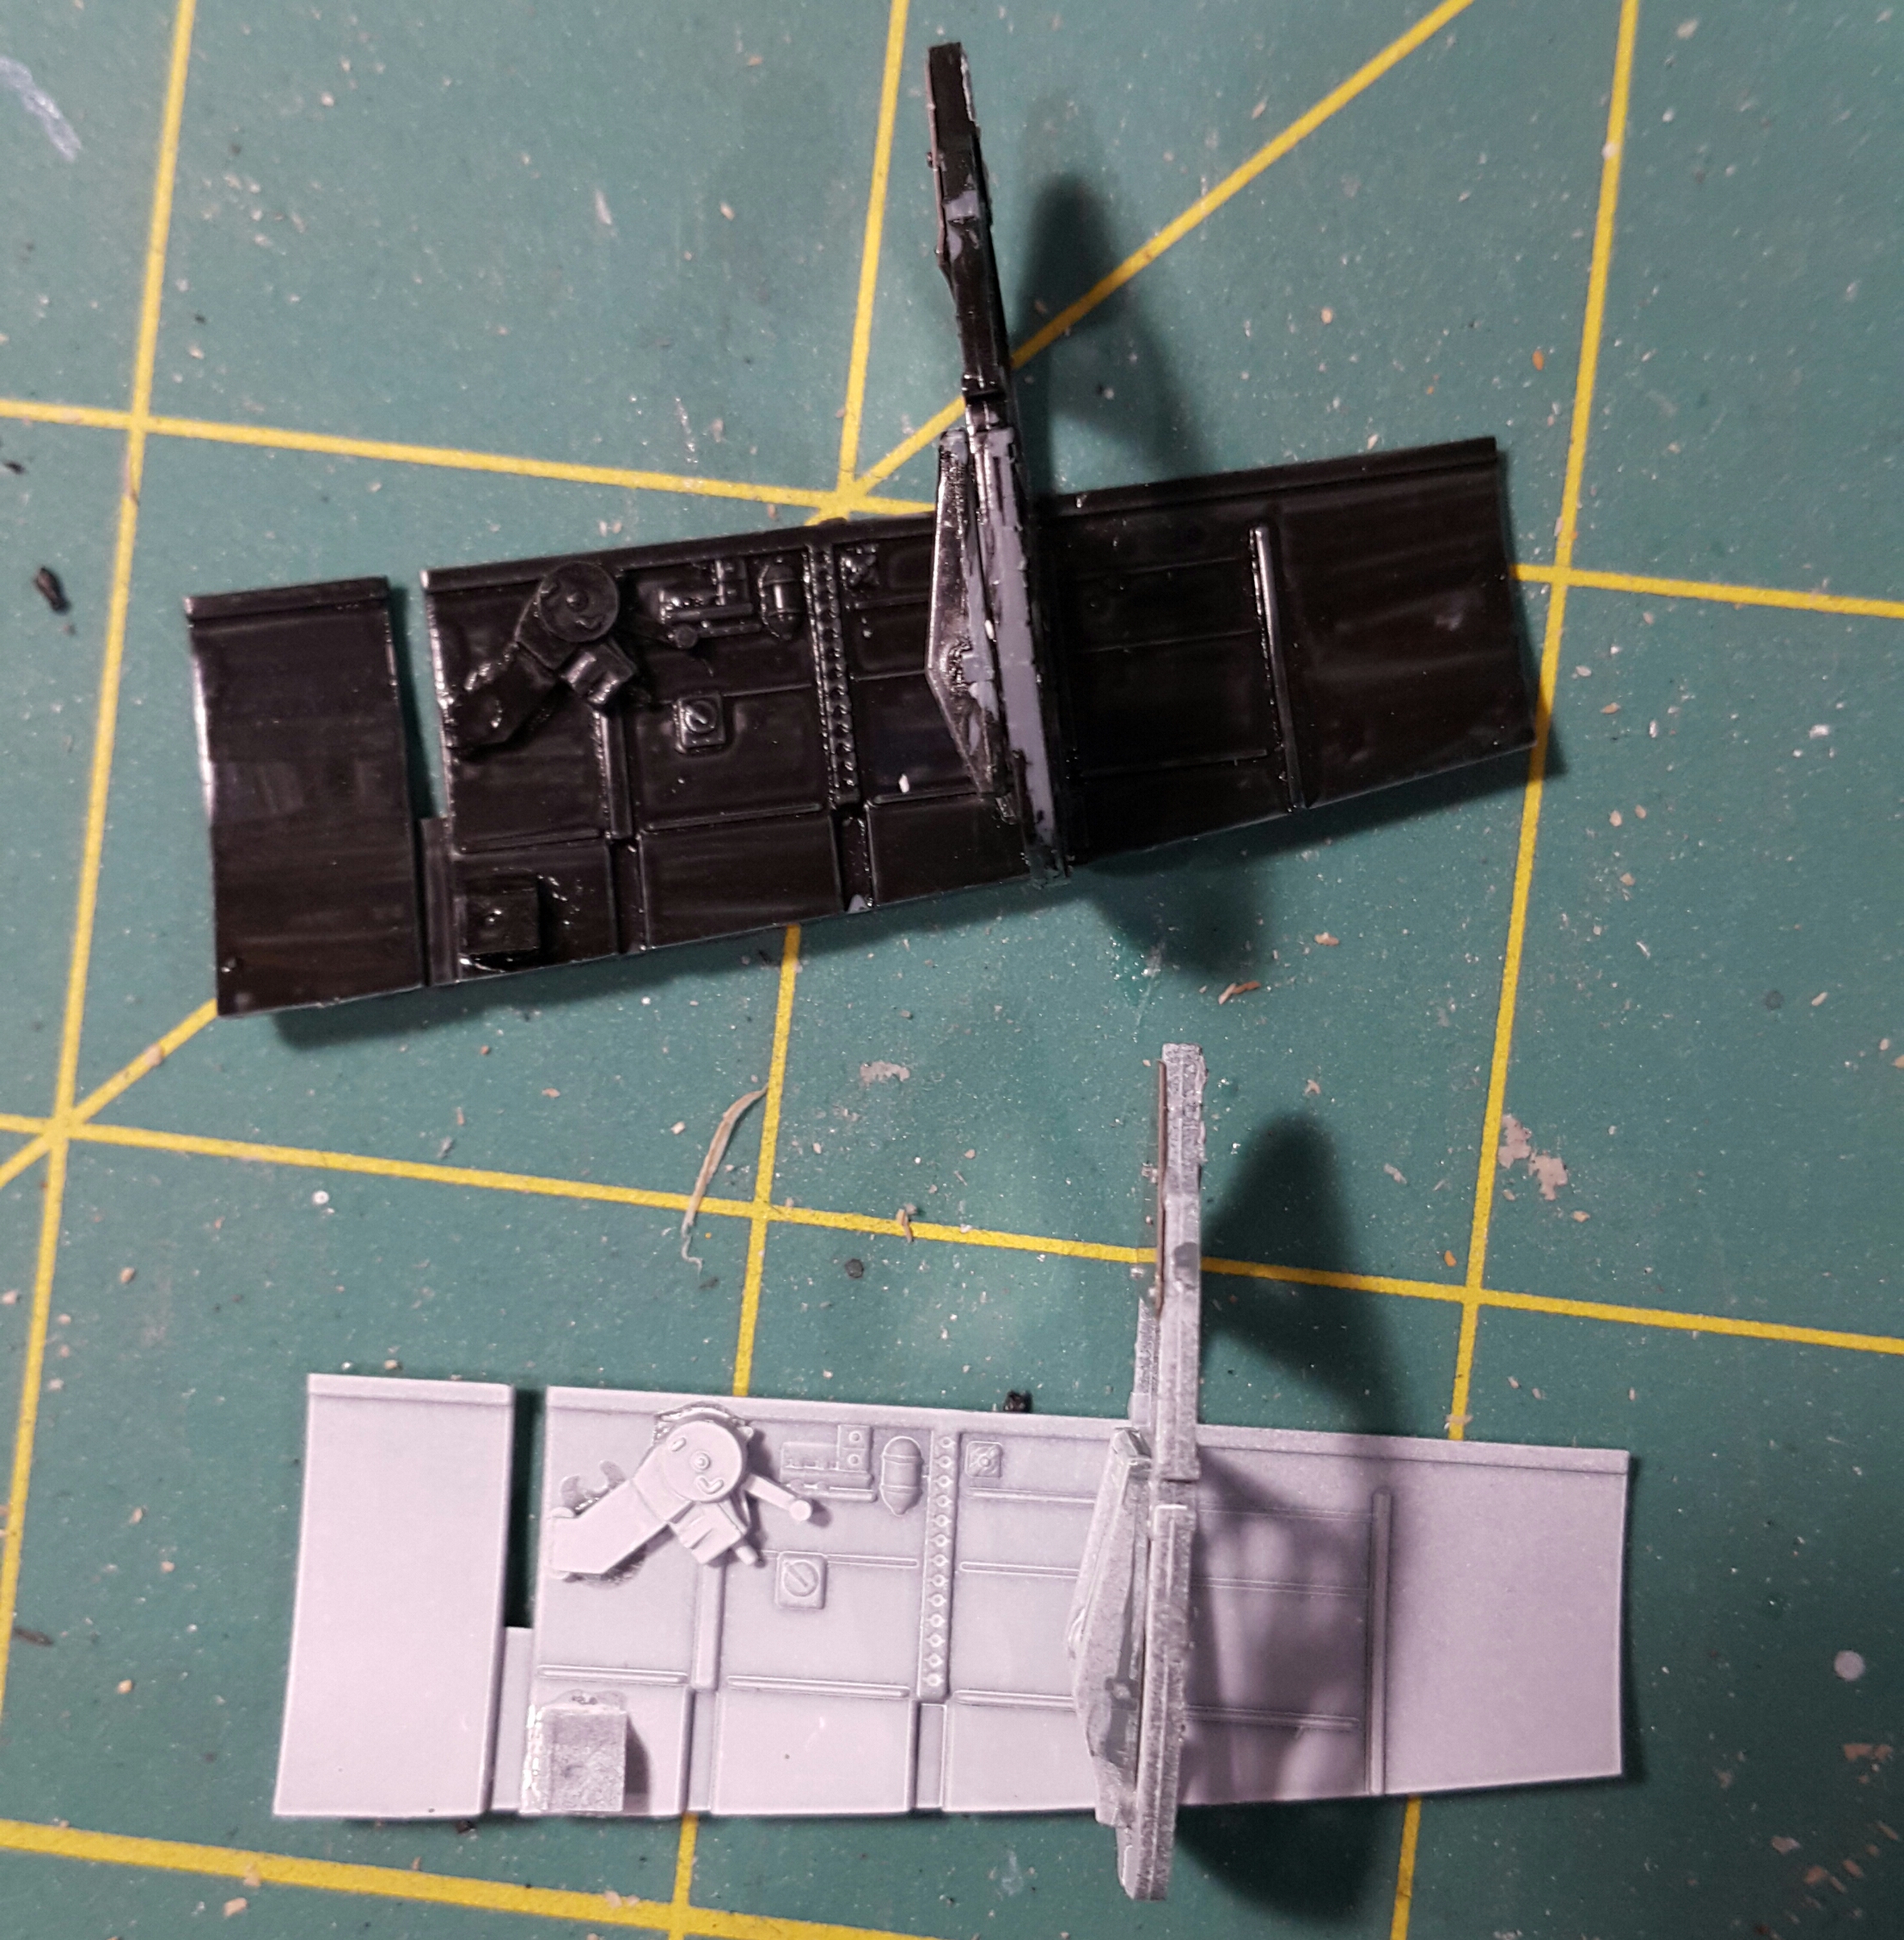
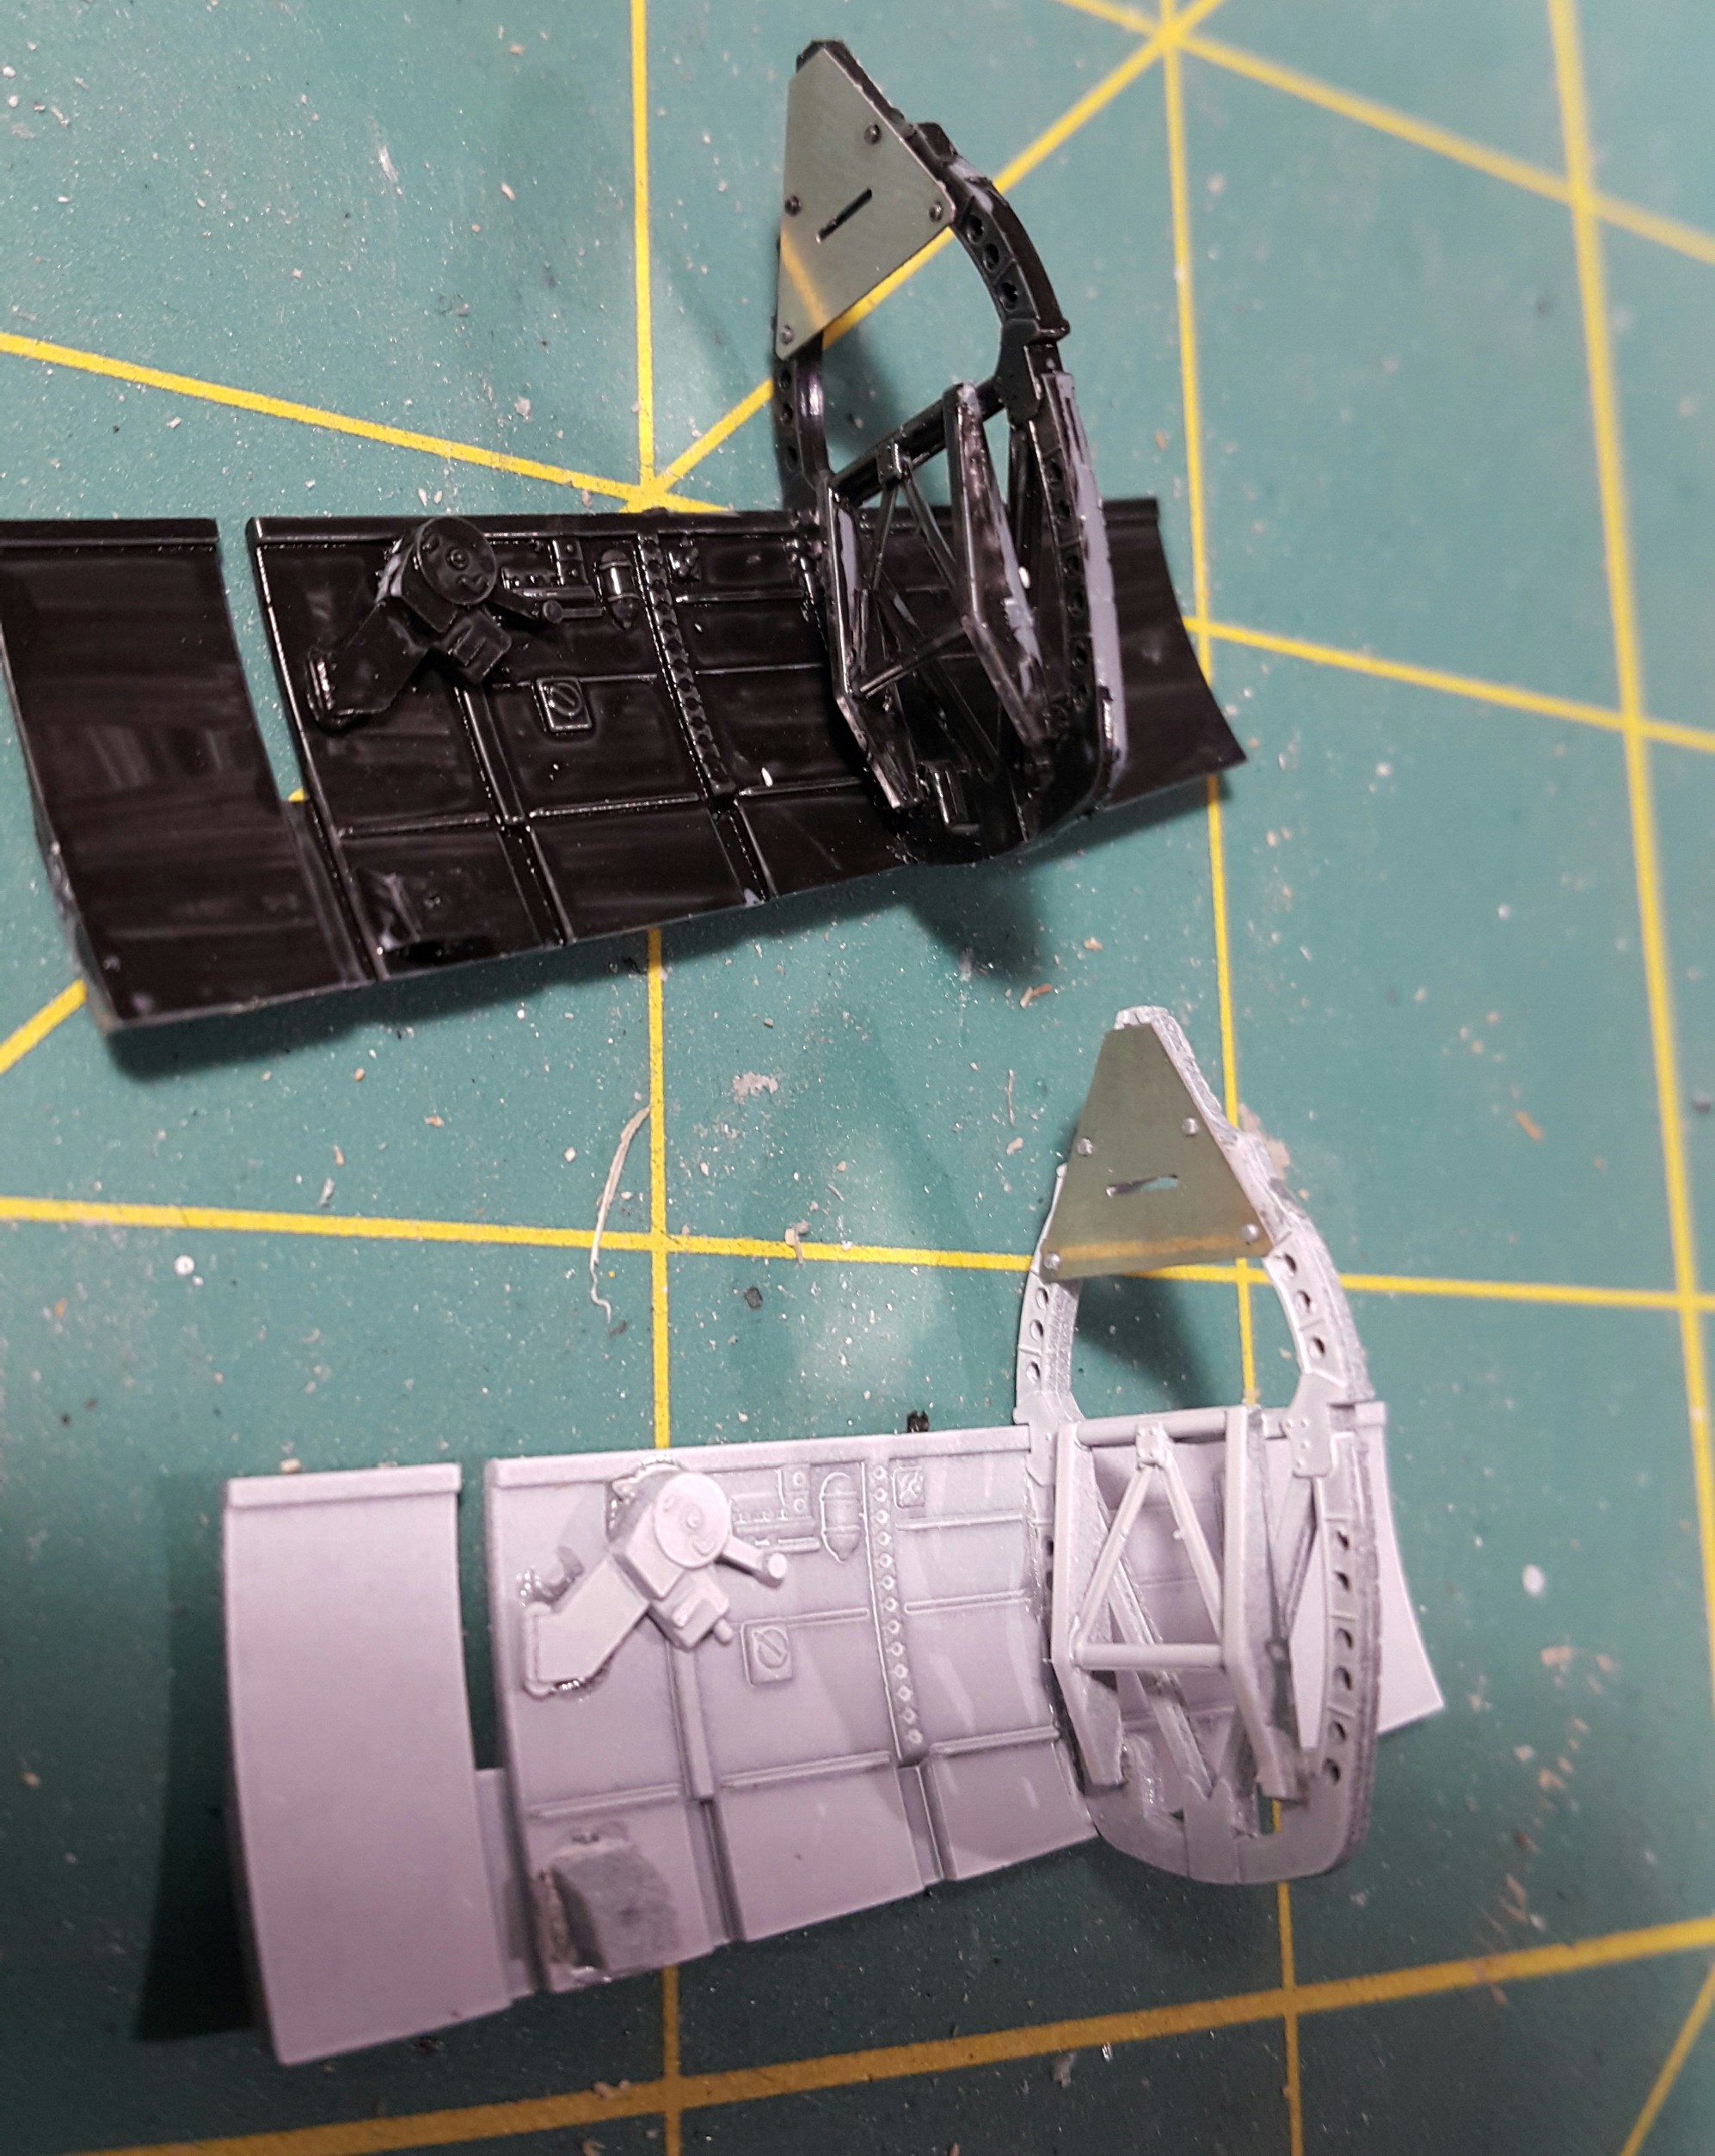
I will throw an occasional post in the campaign thread after this, updating progress, but my build thread will contain pretty much everything I do.


I will throw an occasional post in the campaign thread after this, updating progress, but my build thread will contain pretty much everything I do.
Pave-Hawk

Joined: May 05, 2006
KitMaker: 900 posts
AeroScale: 200 posts

Posted: Tuesday, April 11, 2017 - 06:24 AM UTC
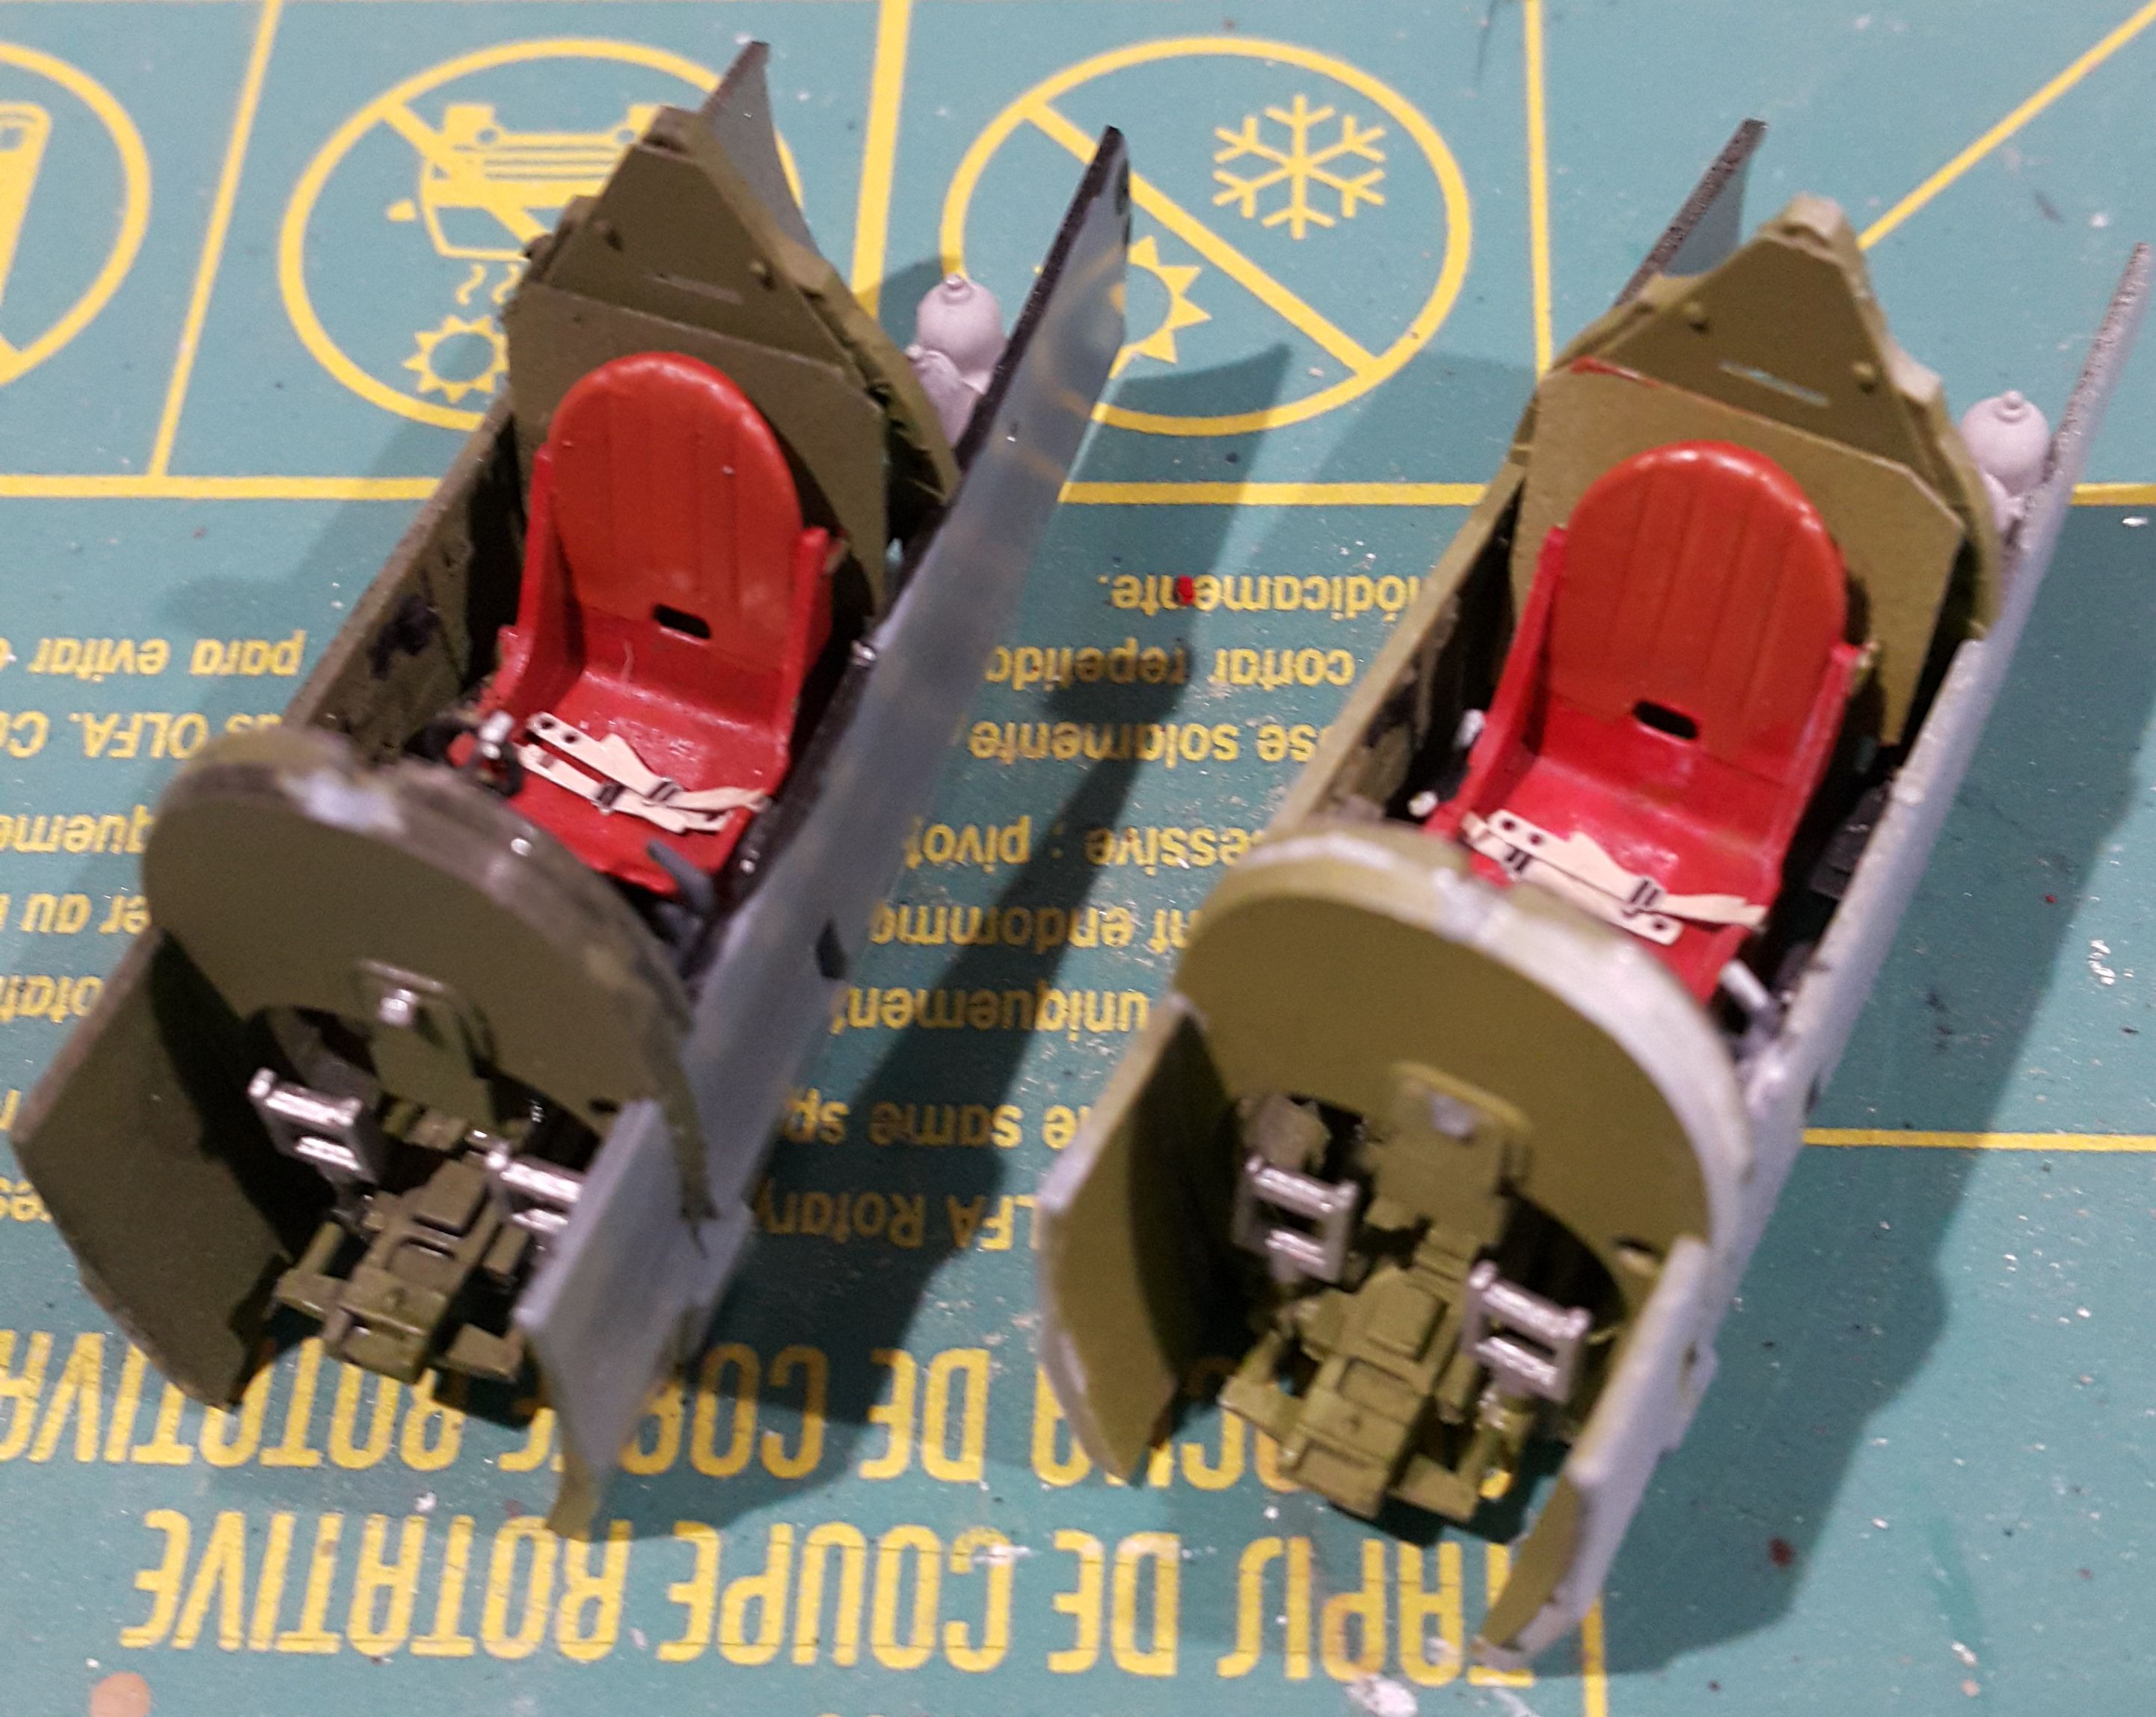
Spitfire Cockpit is completed and ready to install in fuselage.
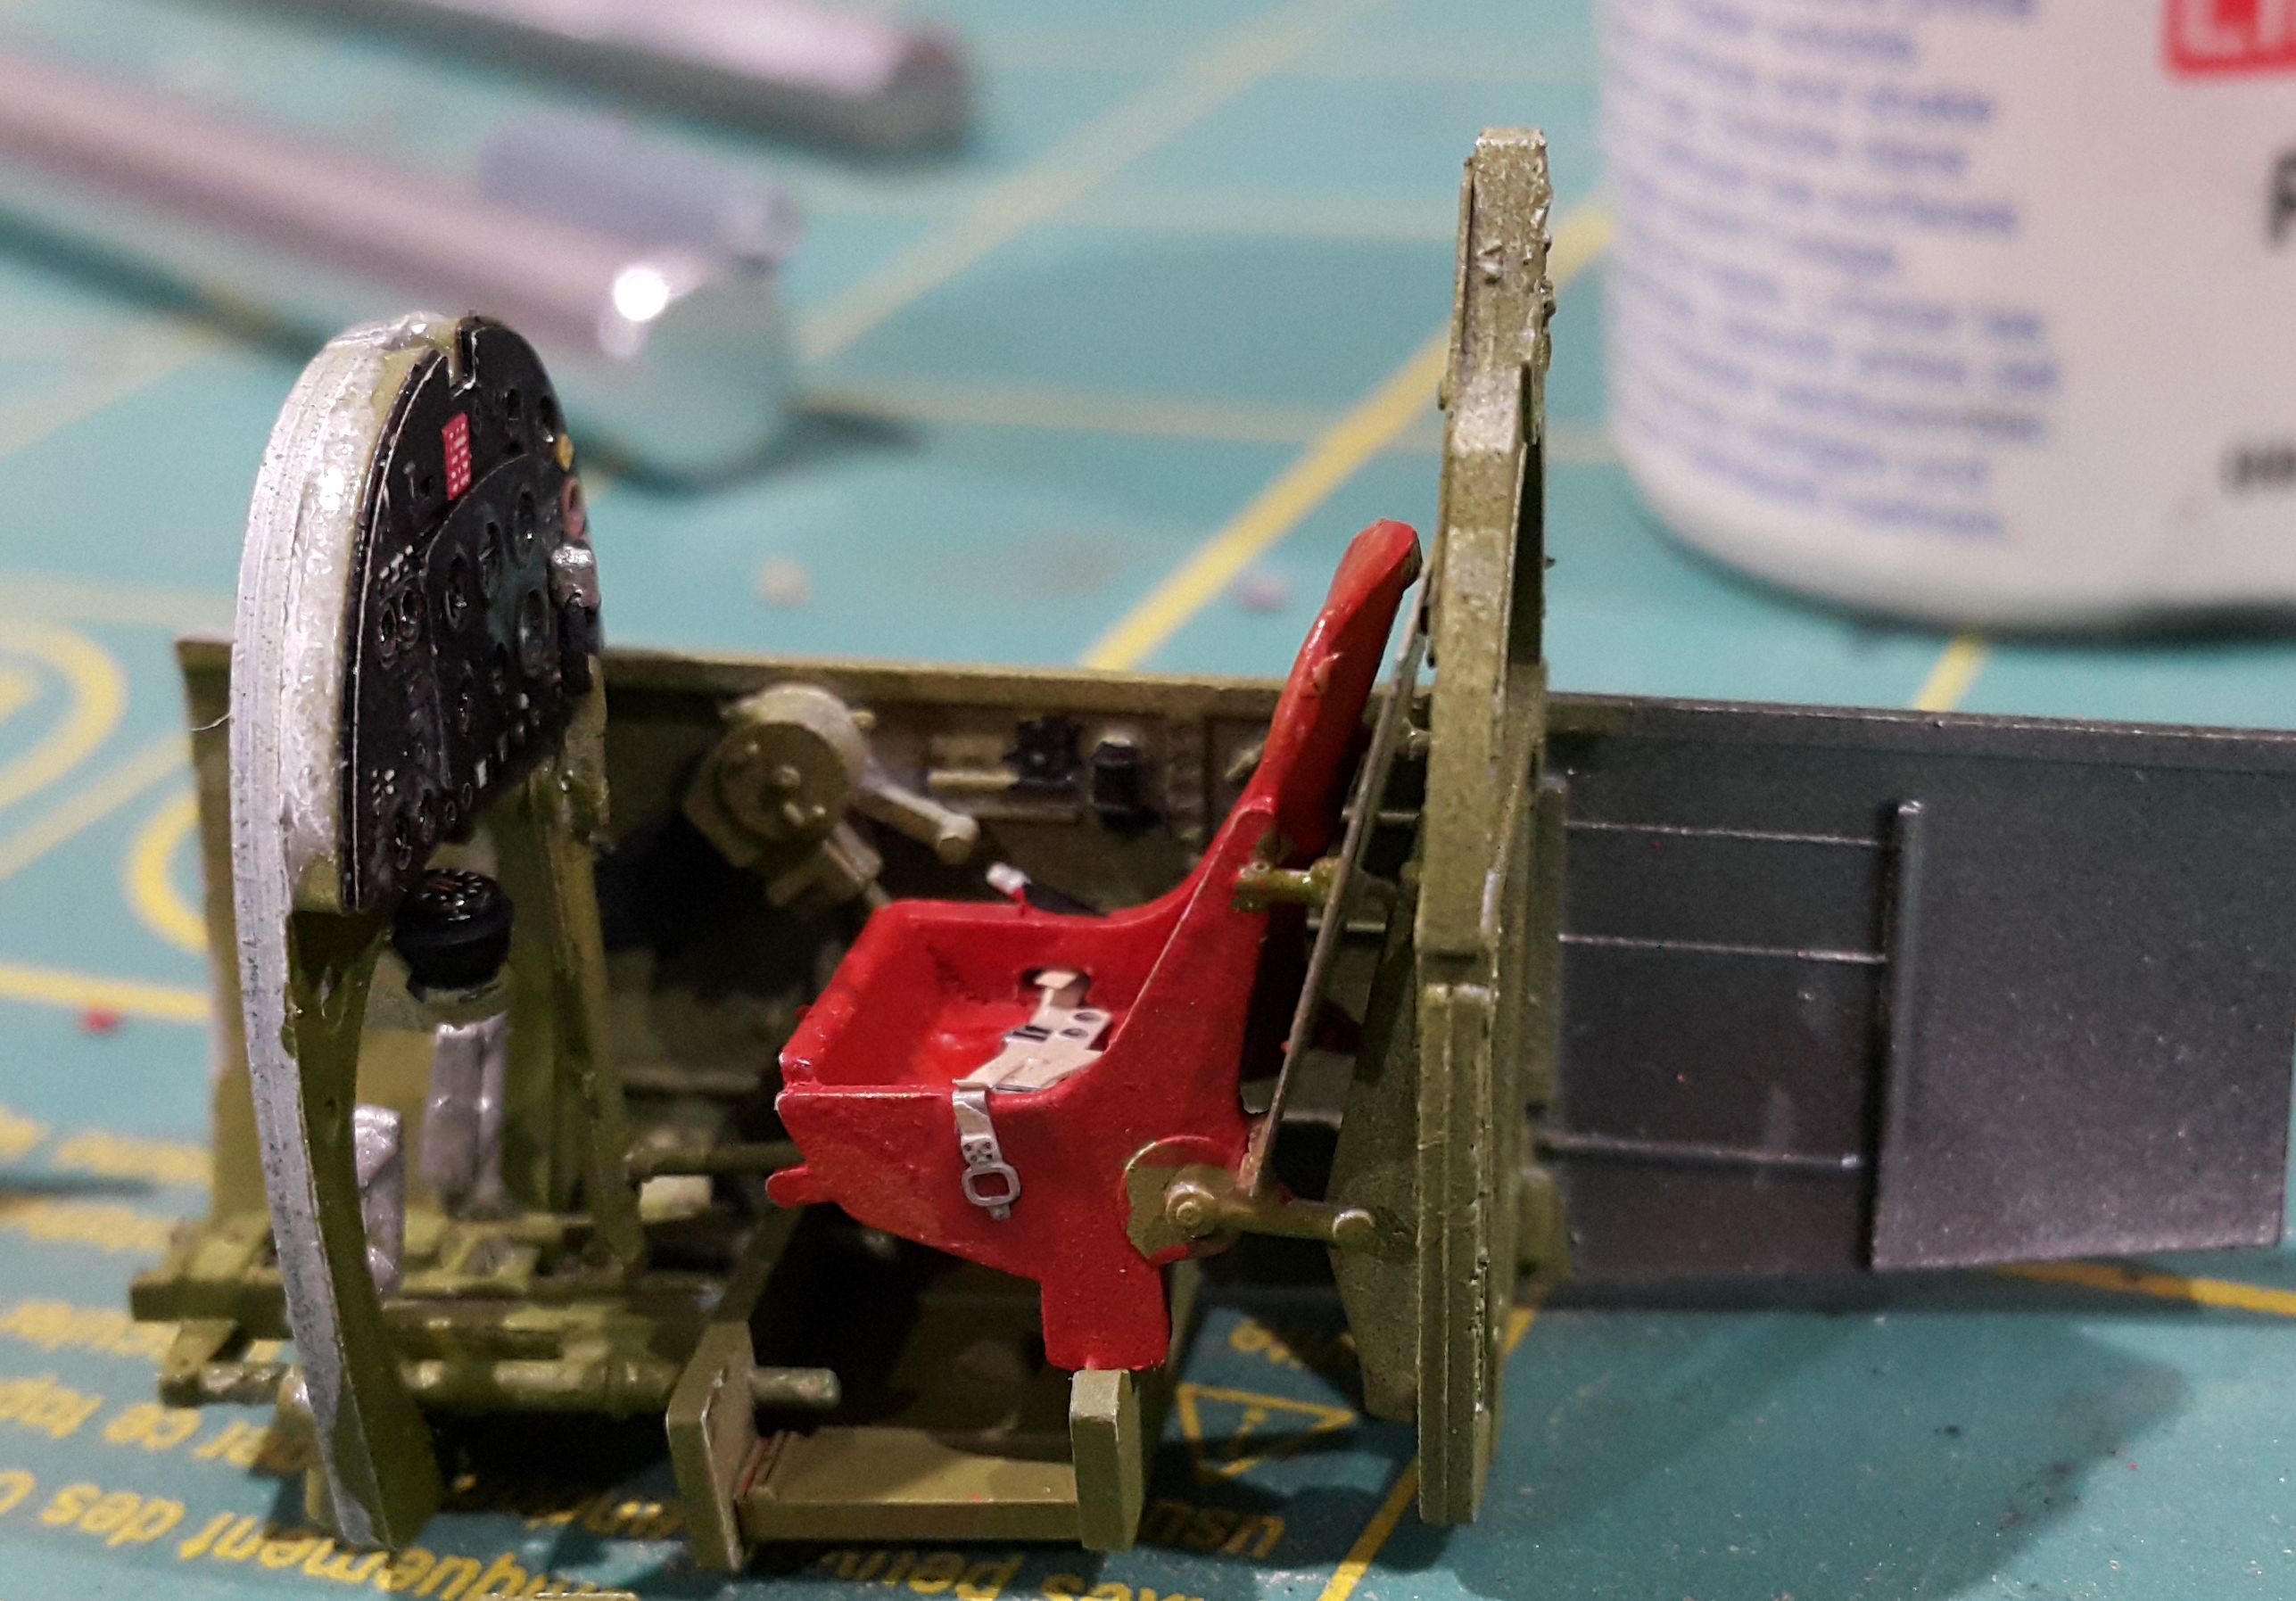
Seen here with it's ETO campaign brother:

bomber14

Joined: February 02, 2015
KitMaker: 330 posts
AeroScale: 286 posts

Posted: Tuesday, April 11, 2017 - 08:53 AM UTC
some great builds so far here. robert jan nice chipping job i would like to know how you did it.
my progress has been slow. in fact i was thinking of dropping out because i didn't like how the build was going. the old revell p-40 kit was/is giving me some trouble but i decided to pick it up again. i have made some progress
i swapped out the kit cockpit for a legend pit.i removed the molded in shoulder harness from the seat as you can see since the p-36 and early p-40's didn;t have them
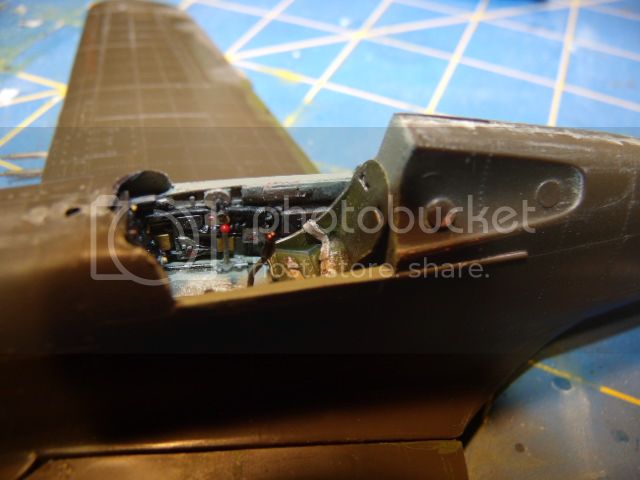

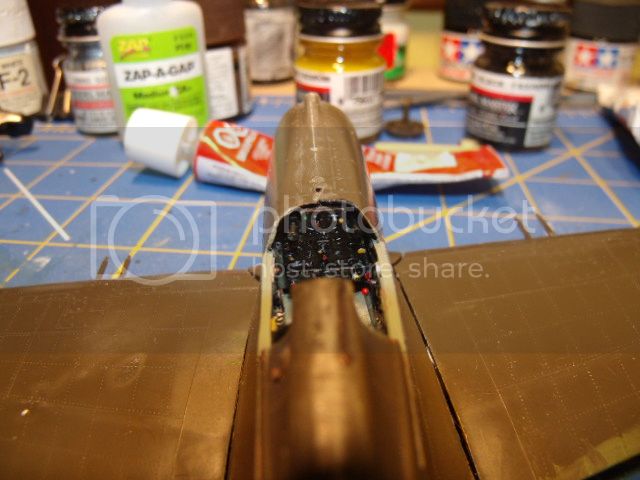
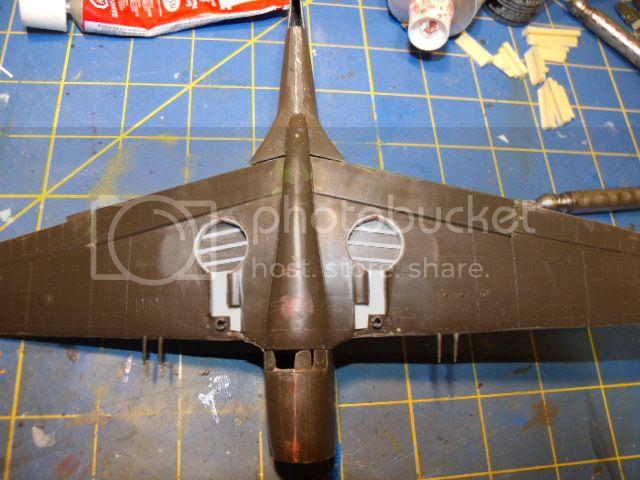
i also boxed in the wheel wells and added some structure.
can anyone tell me what color paint should the wheel wells for this craft should be? interior green, zinc chromate yellow, or british interior grey green like i painted the cockpit? i need to paint them first before the camo.
also as you can see in the photos i have quite a gap at the wing root. i am going tofill it with some strip plastic and then i plan to use either mr dissolved putty or mr surfacer 500 to smooth it out. for those of you who use these what do you all use to clean up the excess? obviously lacquer thinner is no good since it will melt the plastic. i tried rubbing alcohol and nail polish remover with not much success.
thanks for any help- joe
my progress has been slow. in fact i was thinking of dropping out because i didn't like how the build was going. the old revell p-40 kit was/is giving me some trouble but i decided to pick it up again. i have made some progress
i swapped out the kit cockpit for a legend pit.i removed the molded in shoulder harness from the seat as you can see since the p-36 and early p-40's didn;t have them


i also boxed in the wheel wells and added some structure.
can anyone tell me what color paint should the wheel wells for this craft should be? interior green, zinc chromate yellow, or british interior grey green like i painted the cockpit? i need to paint them first before the camo.
also as you can see in the photos i have quite a gap at the wing root. i am going tofill it with some strip plastic and then i plan to use either mr dissolved putty or mr surfacer 500 to smooth it out. for those of you who use these what do you all use to clean up the excess? obviously lacquer thinner is no good since it will melt the plastic. i tried rubbing alcohol and nail polish remover with not much success.
thanks for any help- joe

bomber14

Joined: February 02, 2015
KitMaker: 330 posts
AeroScale: 286 posts

Posted: Tuesday, April 11, 2017 - 09:00 AM UTC
forgot the wheel well photo

Posted: Thursday, April 13, 2017 - 07:20 AM UTC
Hi all,
I've been watching from the sidelines since this campaign started and I must say that there are some nice builds here! It also seems that the Japanese are a little underrepresented. So I'm tossing my hat in the ring with Hasegawa's 1/48 KI-27. Planning to do one that spent some time in Malaya.
The kit is from the molds created by Mania and is quite a nice kit still. Hasegawa bought the molds and true to their form has made many reissues. I have a True Details cockpit set, but may hold off on using it for this one. Depends how the seat and instruments turn out. I also plan to use a Squadron canopy to open things up.

I plan to do it in field applied camouflage, and paint the insignia as well...
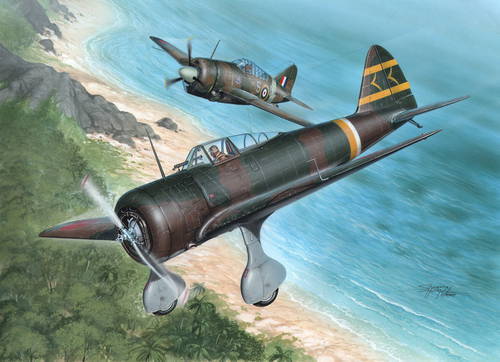
With a low parts count and some good research I'm pretty optimistic on the outcome!
I've been watching from the sidelines since this campaign started and I must say that there are some nice builds here! It also seems that the Japanese are a little underrepresented. So I'm tossing my hat in the ring with Hasegawa's 1/48 KI-27. Planning to do one that spent some time in Malaya.
The kit is from the molds created by Mania and is quite a nice kit still. Hasegawa bought the molds and true to their form has made many reissues. I have a True Details cockpit set, but may hold off on using it for this one. Depends how the seat and instruments turn out. I also plan to use a Squadron canopy to open things up.

I plan to do it in field applied camouflage, and paint the insignia as well...

With a low parts count and some good research I'm pretty optimistic on the outcome!
TmHippo

Joined: July 28, 2016
KitMaker: 42 posts
AeroScale: 42 posts
Posted: Friday, April 14, 2017 - 05:37 AM UTC
Hello Fellow Modeler's
I will throw my hat into another air campaign ( this time I will be sure to upload the photos into the campaign folder!!! I fail to do that on the four campaign 😁 Lesson learned )
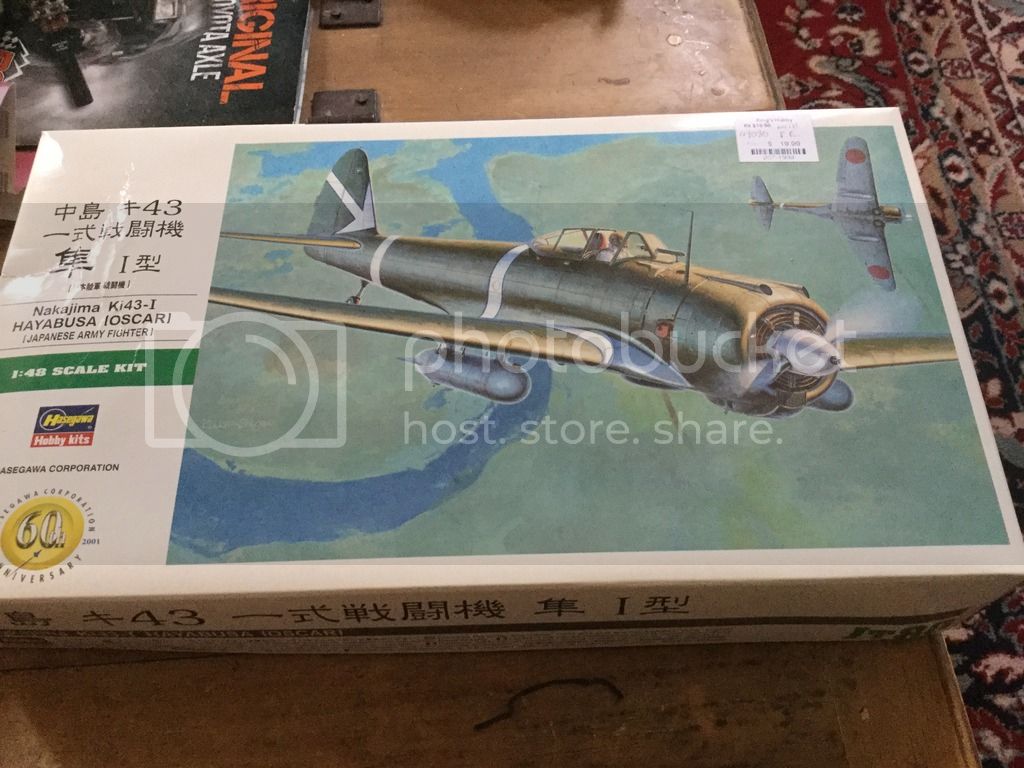
Well, for this one I will do a Japanese Nakajima Ki43I Hayabusa ( Oscar) flown by the ace Msgt Satoshi Ababuki the highest scoring Oscar polit!
This particular plane was also flown by Lt Shigeru Nakazaki.
Both pilots belonged to the 50th Sentai, 3rd Chutai , stationed i Toungoo Burma January 1943.
This aircraft was also named " Fubuki" ( snowstorm)


Posted: Friday, April 14, 2017 - 07:53 AM UTC
While looking for something for the ETO western front campaign I ran across this in one of my garage cabinets.
I did not even remember having this one.
So I am joining in with this doing it with Burma markings.
I did not even remember having this one.
So I am joining in with this doing it with Burma markings.

bomber14

Joined: February 02, 2015
KitMaker: 330 posts
AeroScale: 286 posts

Posted: Friday, April 14, 2017 - 08:38 PM UTC
i didn't get a response so if i may i will repeat my request
first does anyone know what color should the AVG p-40b wheel wells should be? can't find any photos or documentation. also if any of you out there use mr dissolved putty or mr surfacer 500 to fill wing roots and seams what do you use to clean up the excess around the join with out damage to the plastic? i tried nailpolish remover and rubbing alcohol.
thanks- joe

goodn8

Joined: October 12, 2008
KitMaker: 709 posts
AeroScale: 651 posts

Posted: Friday, April 14, 2017 - 09:20 PM UTC
Quoted Text
i didn't get a response so if i may i will repeat my request
first does anyone know what color should the AVG p-40b wheel wells should be? can't find any photos or documentation. also if any of you out there use mr dissolved putty or mr surfacer 500 to fill wing roots and seams what do you use to clean up the excess around the join with out damage to the plastic? i tried nailpolish remover and rubbing alcohol.
thanks- joe
Joe, try enamel/laquer thinner (while it is fresh) - but once the putty/surfacer dried hard normally it's impossible to remove with a solvent. For the wheel wells of a P-40 I'm not sure but should be the same color as the whole underside/-carriage.
Thomas

btw: nice work on that ancient kit, you are going to overcome the issues...
Posted: Saturday, April 15, 2017 - 07:39 AM UTC
I'm officially calling this one done! I've put the finishing touches on her and she looks more or less like I envisioned. Here a few pics of her now to put some up in the gallery.


 |


