

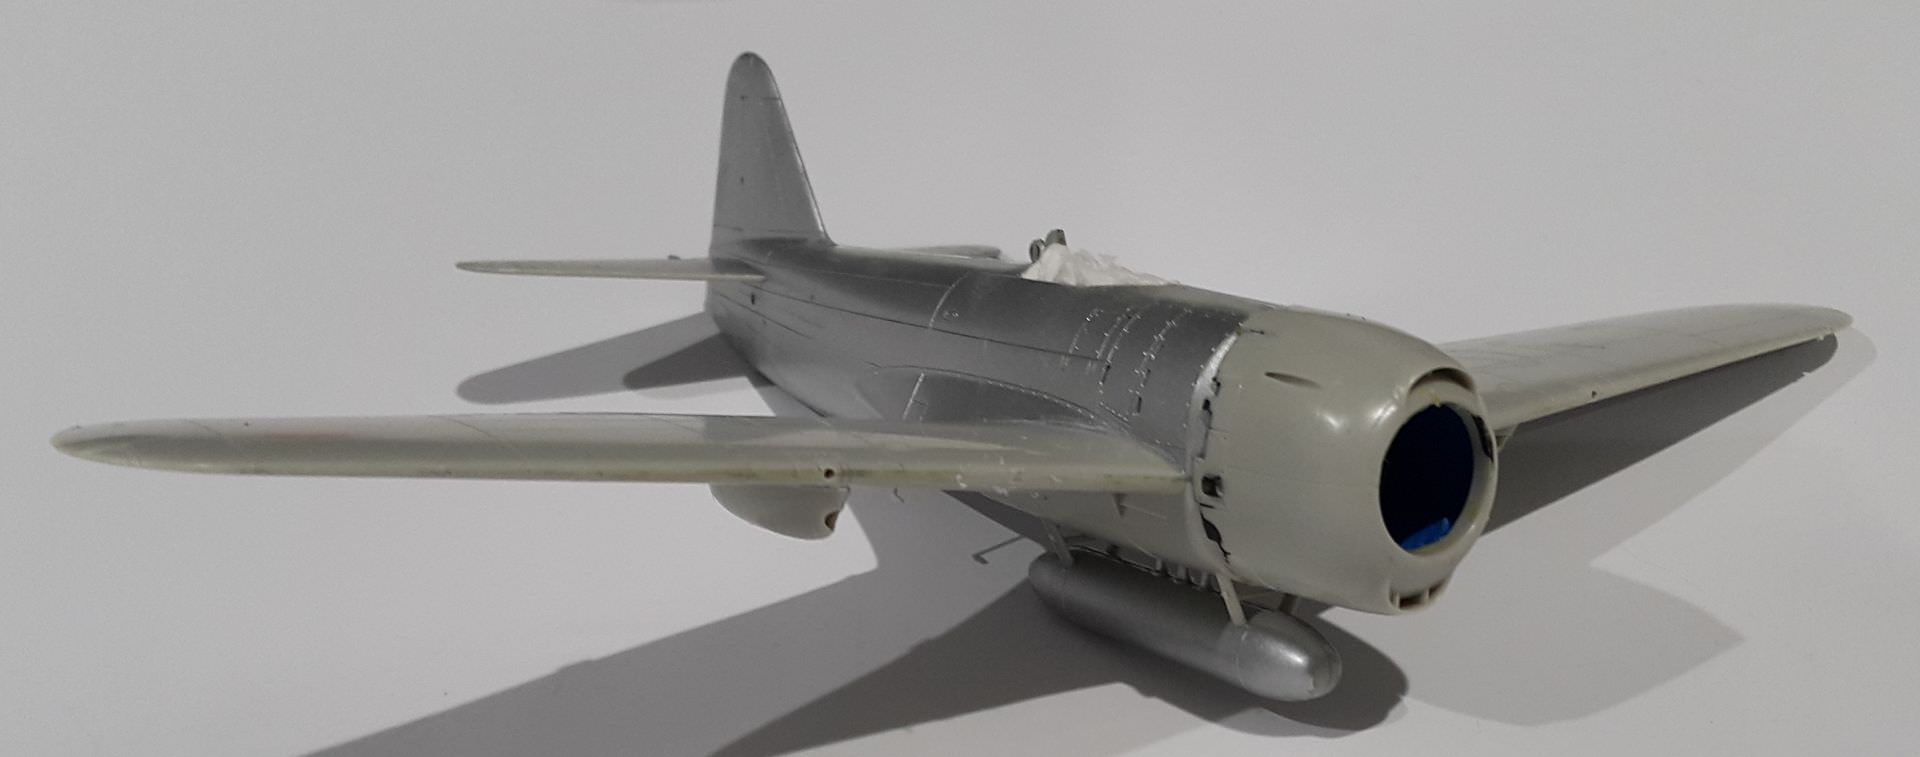
I will go with a different scheme than I normally do. Ive ordered some decals for RNZAF F4U Corsairs. The bottom of the photo is the set that I will go with.


Hey Joe,
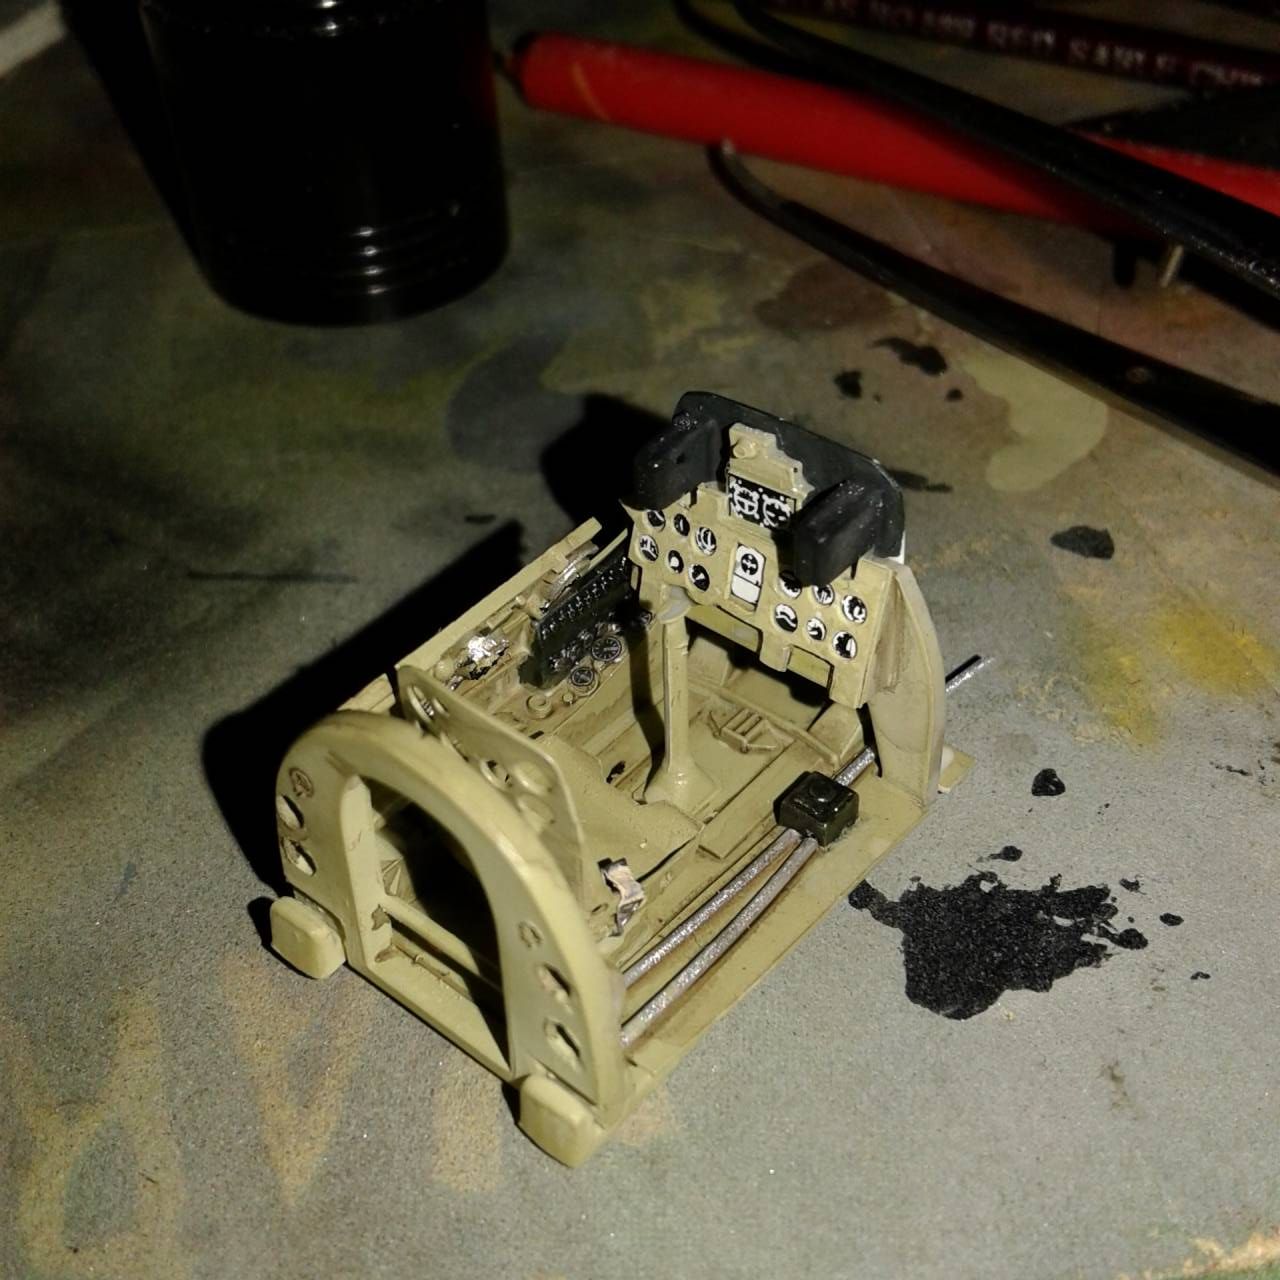
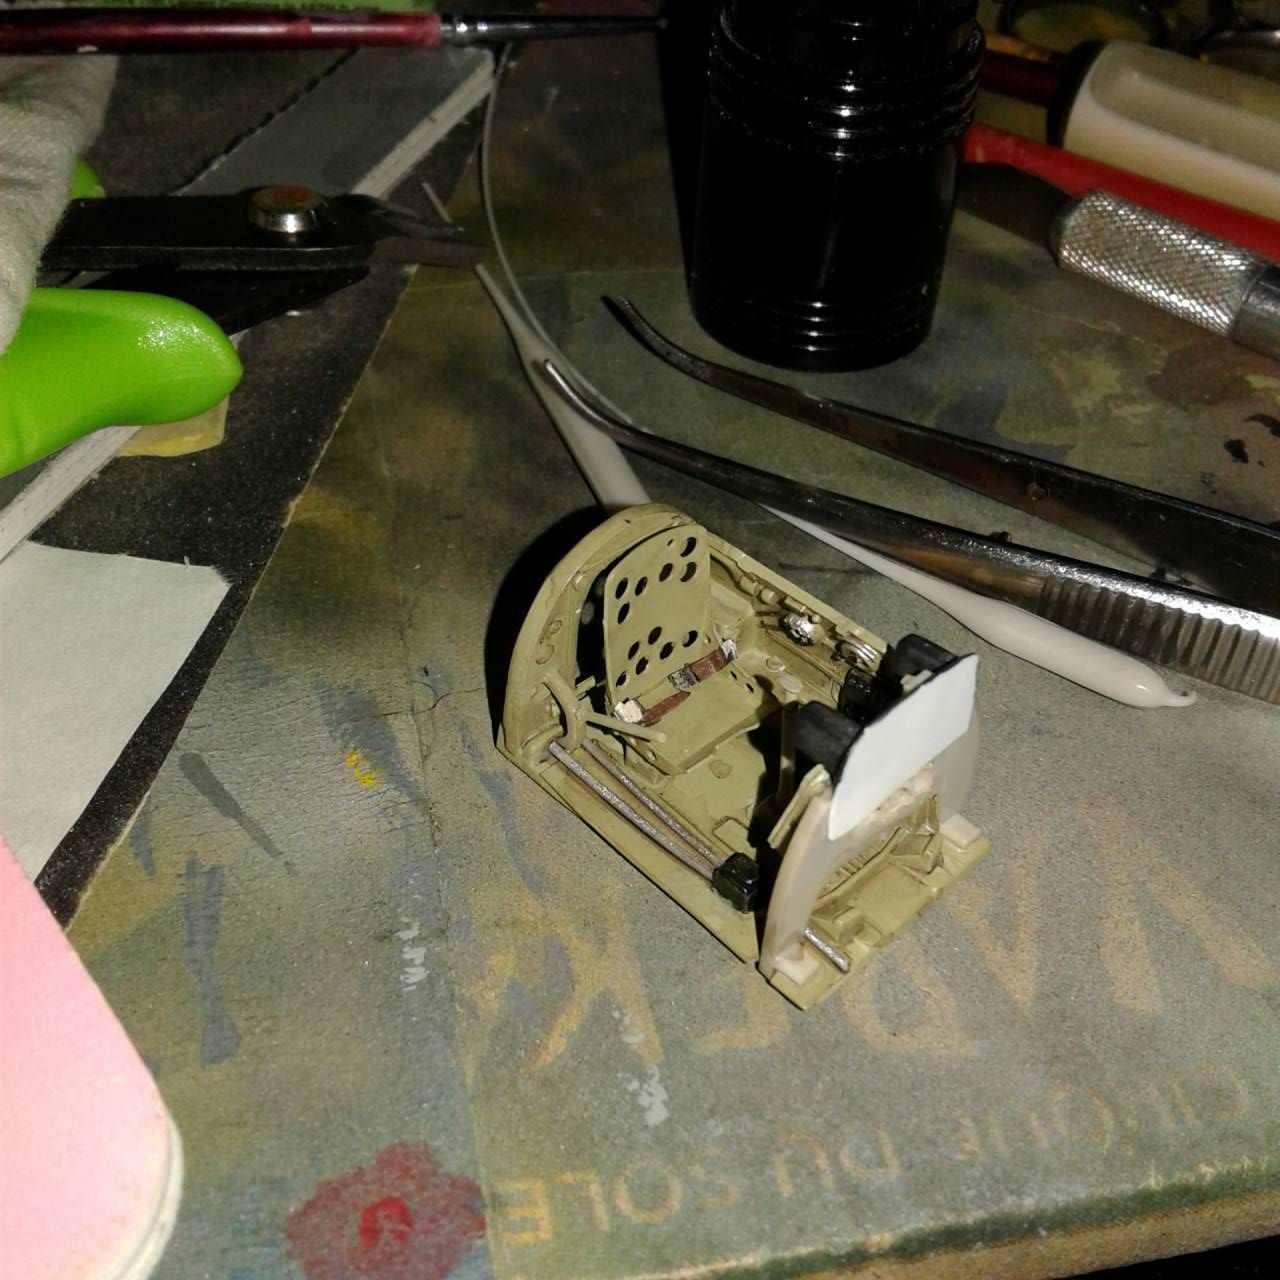
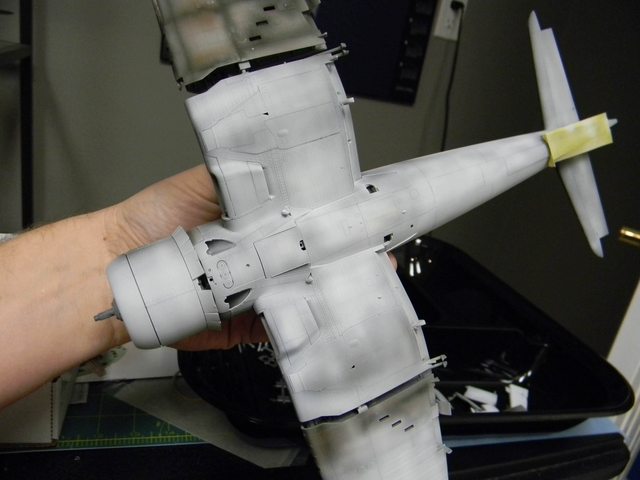
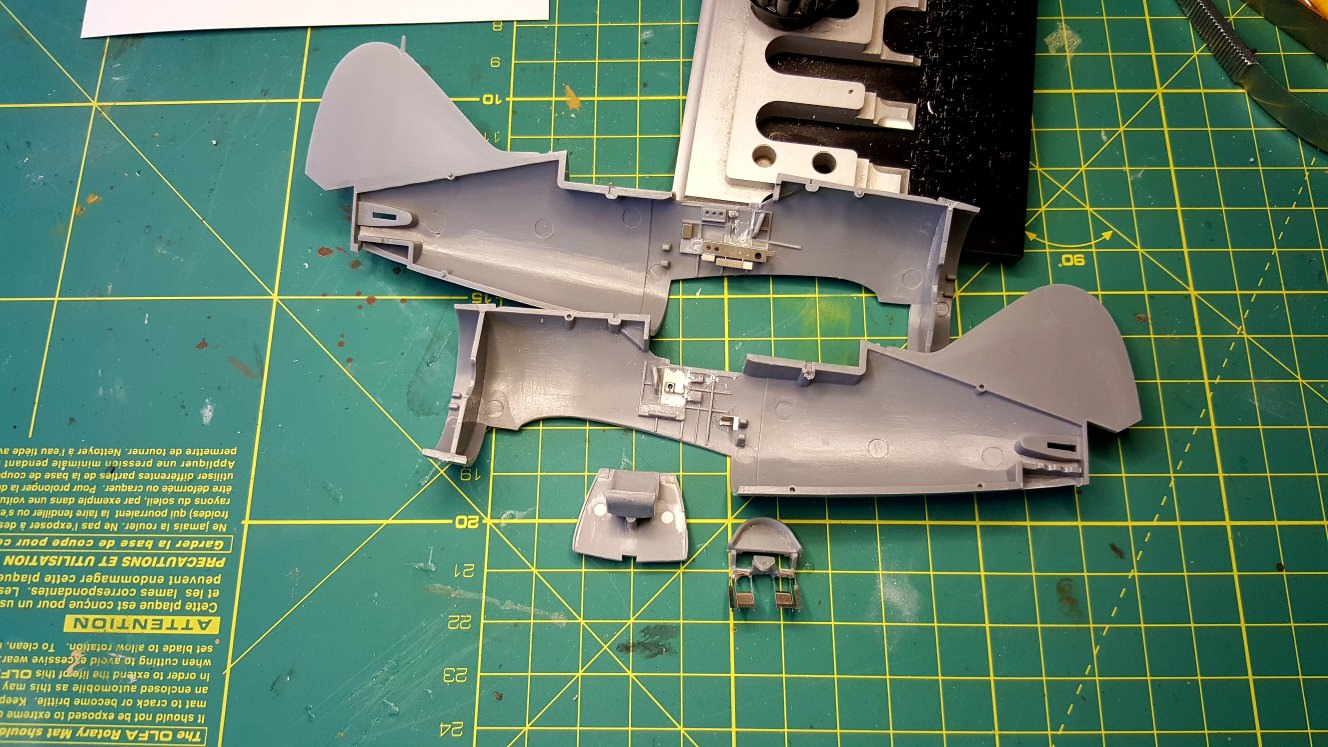
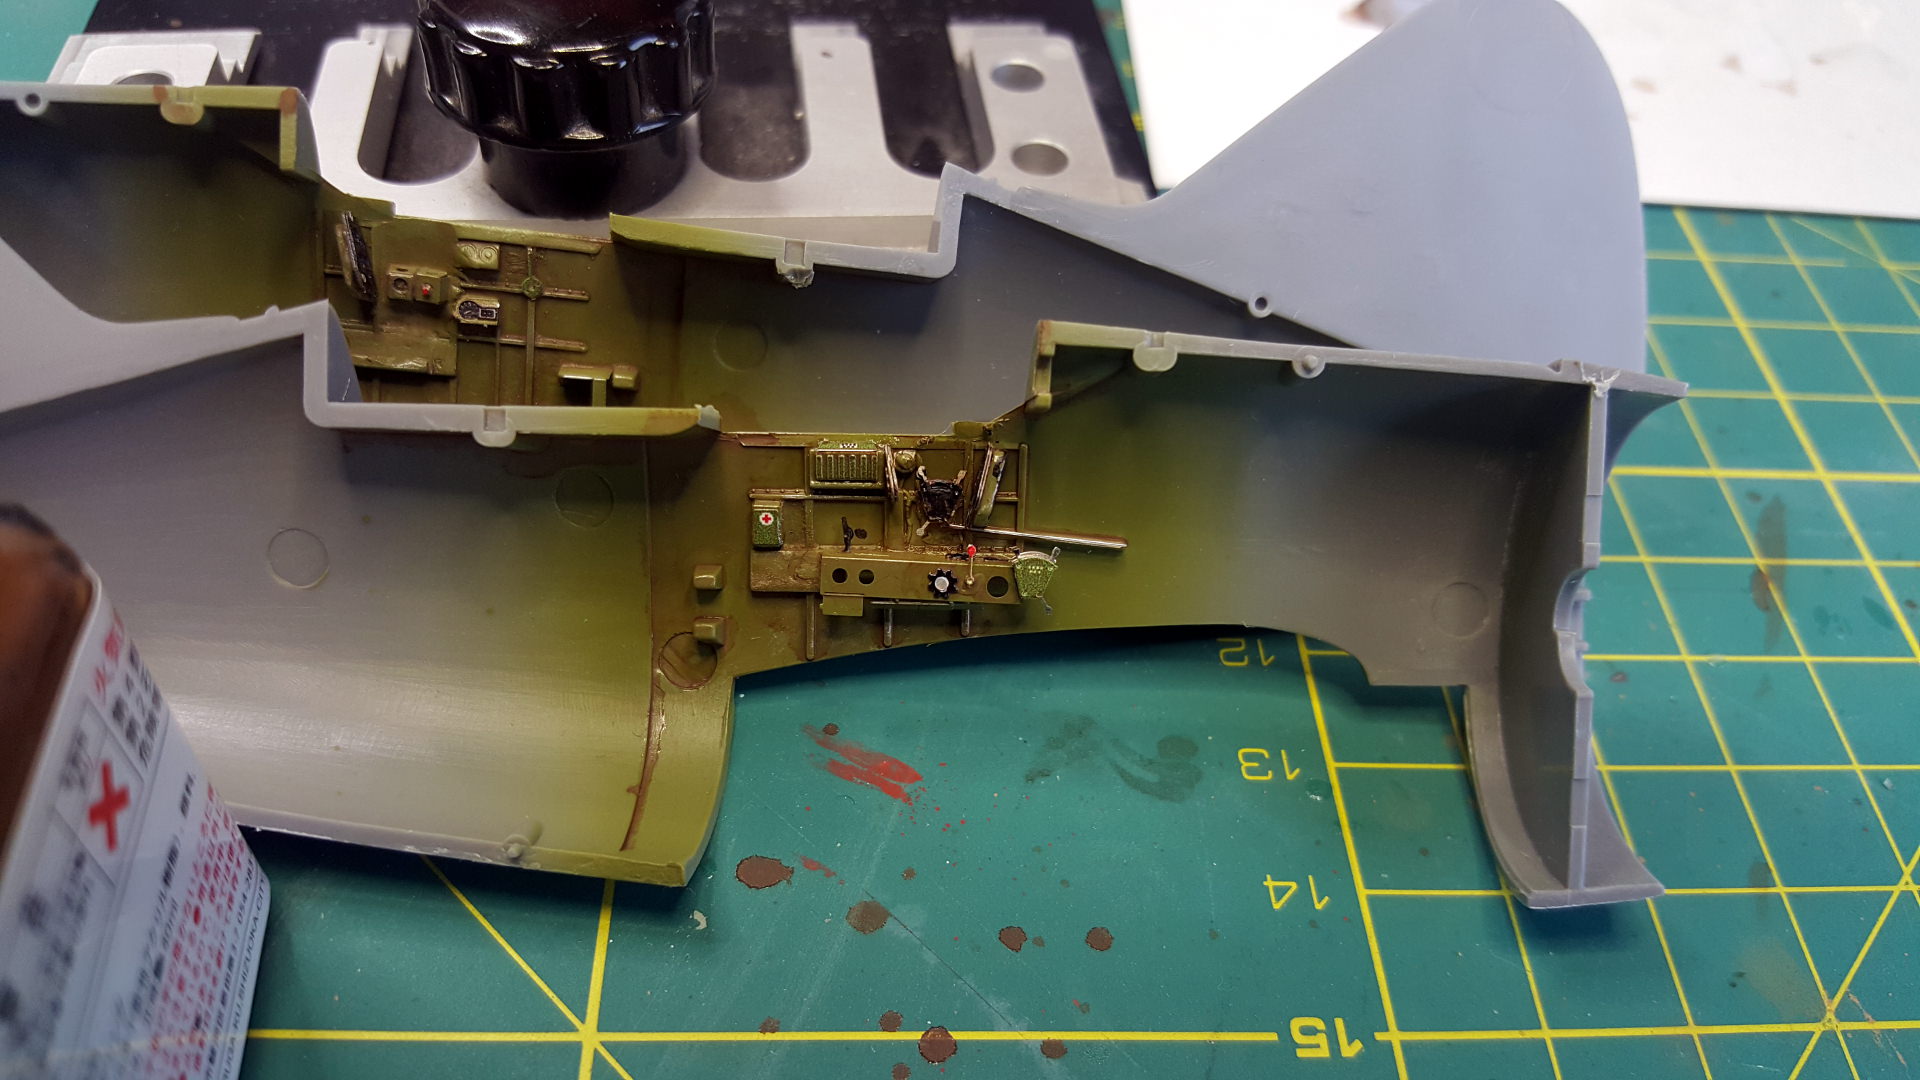
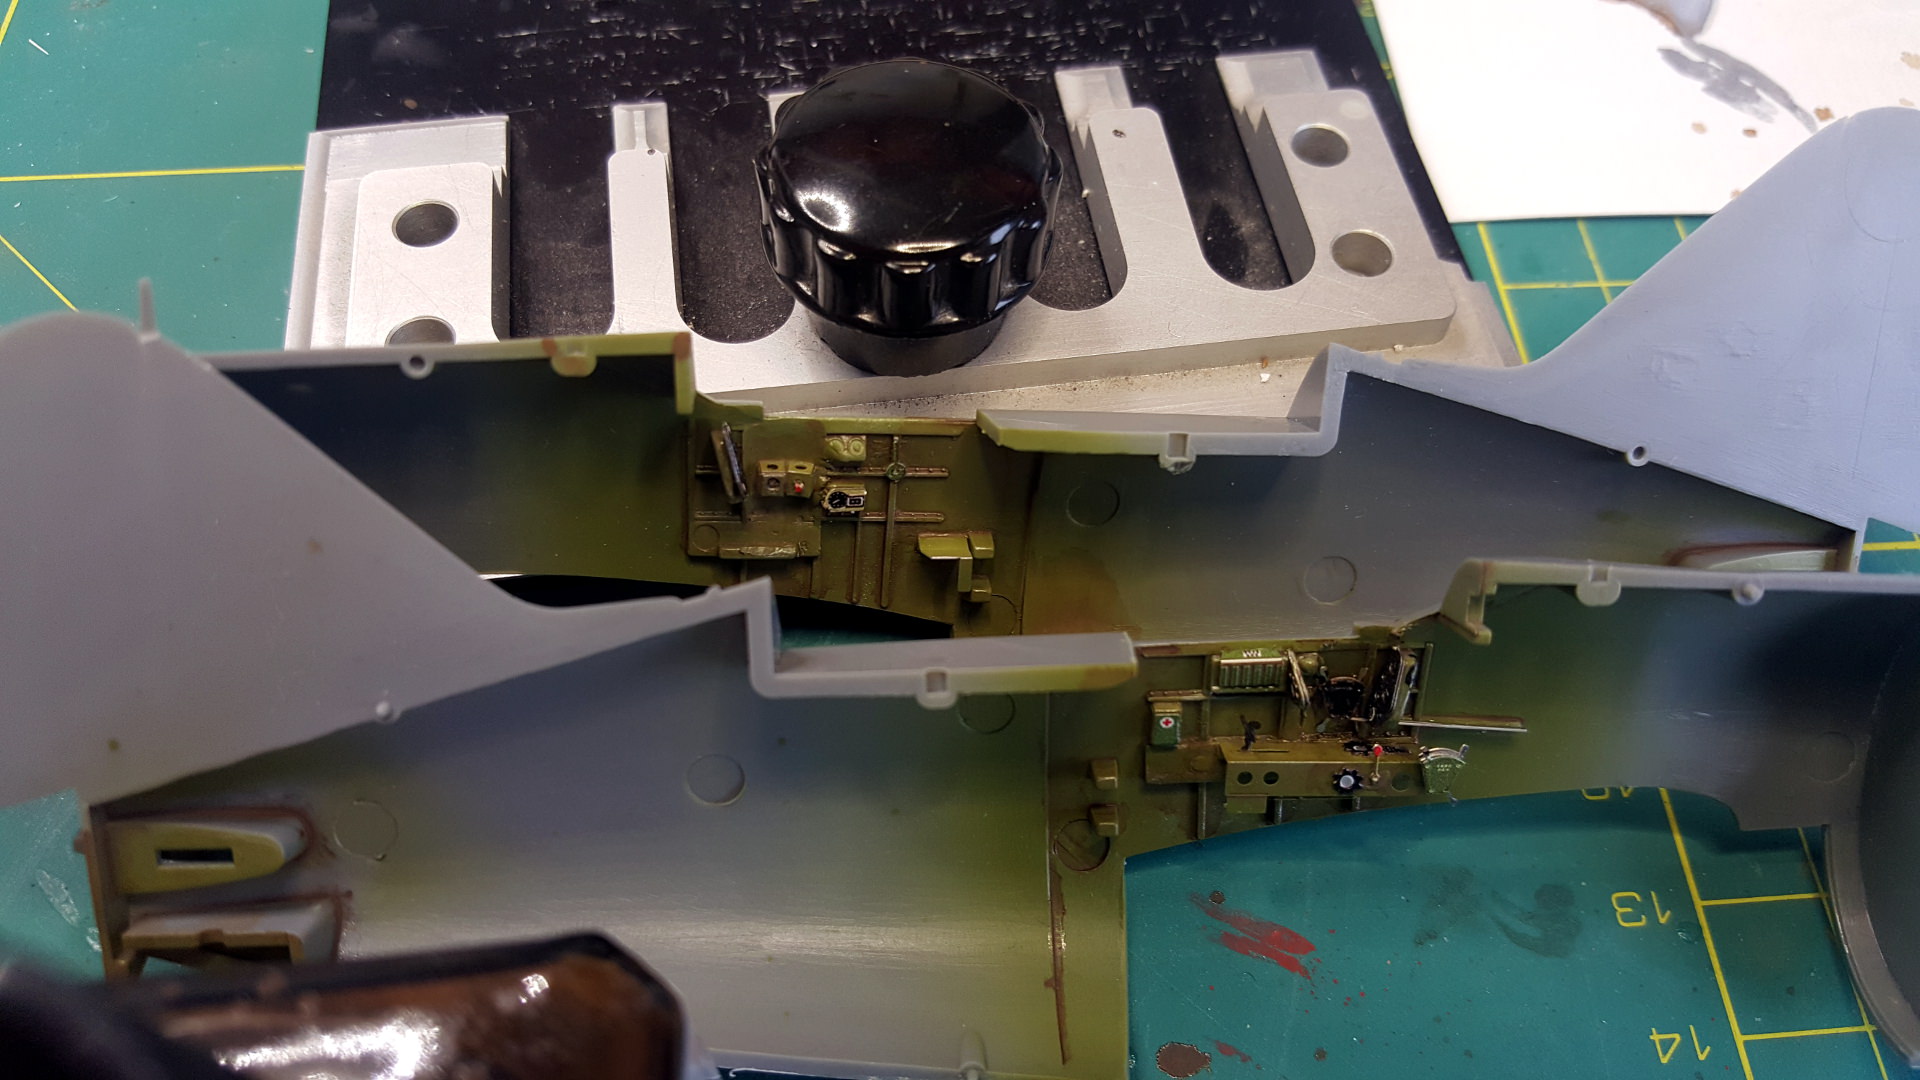
Good news, bad news. My reading would indicate that the interior of all TBD's overhauled were painted interior green, and were painted in war time colors (grey) in 1941. All combat TBD's were overhauled. So interior green is appropriate for a Midway TBD. Note the US Navy didn't start using shoulder harnesses until after Midway, so that should save a little bit of time.
John
Remember to that the government wasn't there in the front lines so it was whatever was fastest and easiest for the maintenance crews. And I remember that it was pretty hectic at that time so it would have been whatever was expedient. But I've got a monograph for the devastator that came with a kit I bought I'll take a look and see what it recommends and let you know when I get home.


However after doing some web gazing I ran across this piece by Dana Bell who's done some exceptional research regarding the colours for interiors. And it would appear Bronze green was used, well actually a mix of Zinc Chromate and black. Follow the link and read for yourself.


 |


