Air Campaigns
Want to start or join a group build? This is where to start.
OFFICIAL: PTO Campaign
md72
#439
_VISITCOMMUNITY
Washington, United States
Joined: November 05, 2005
KitMaker: 4,950 posts
AeroScale: 3,192 posts
Posted: Saturday, January 13, 2018 - 10:58 AM UTC
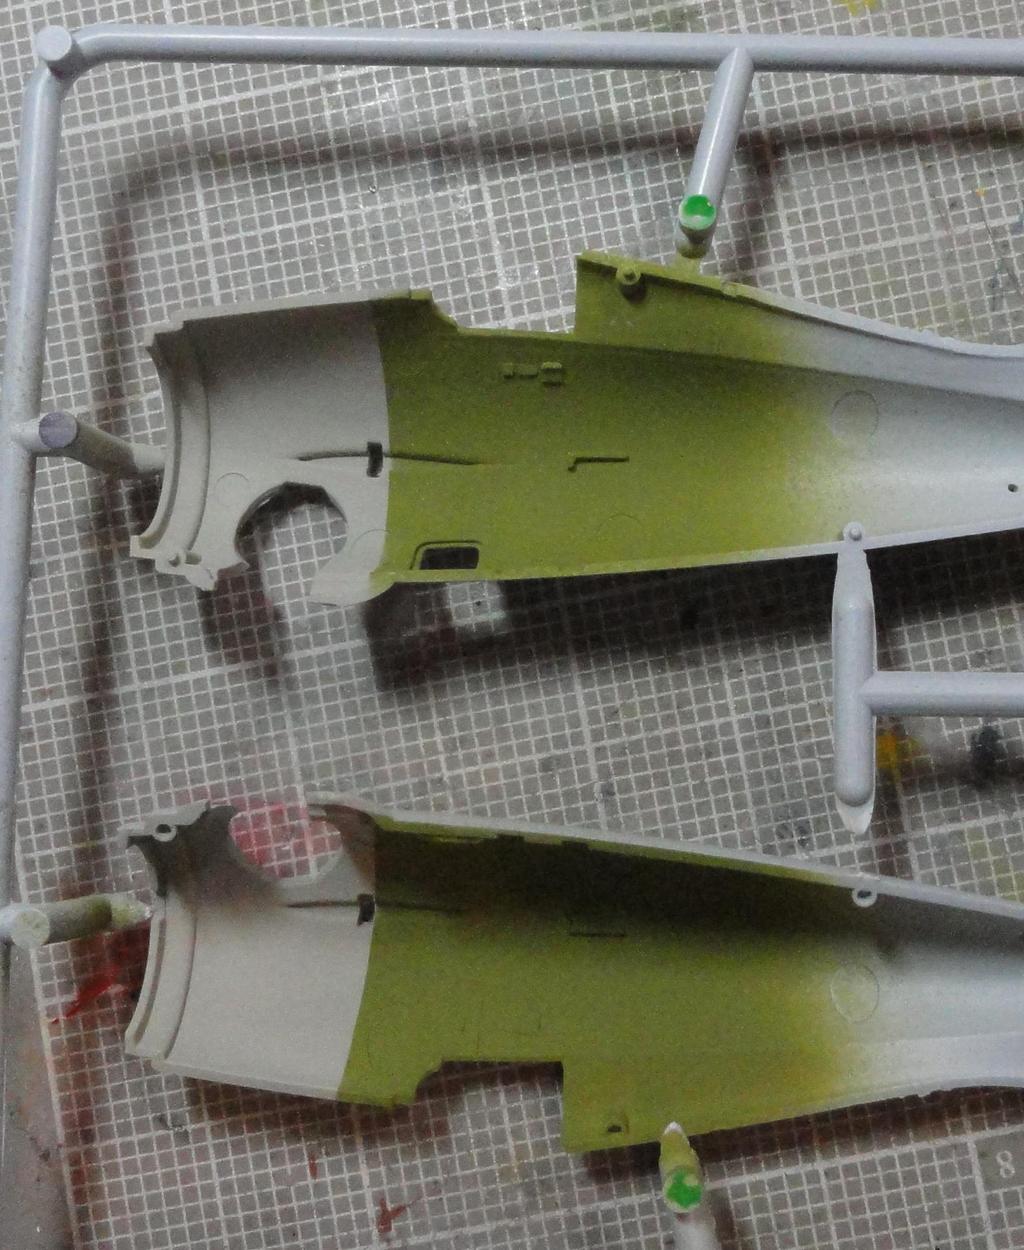
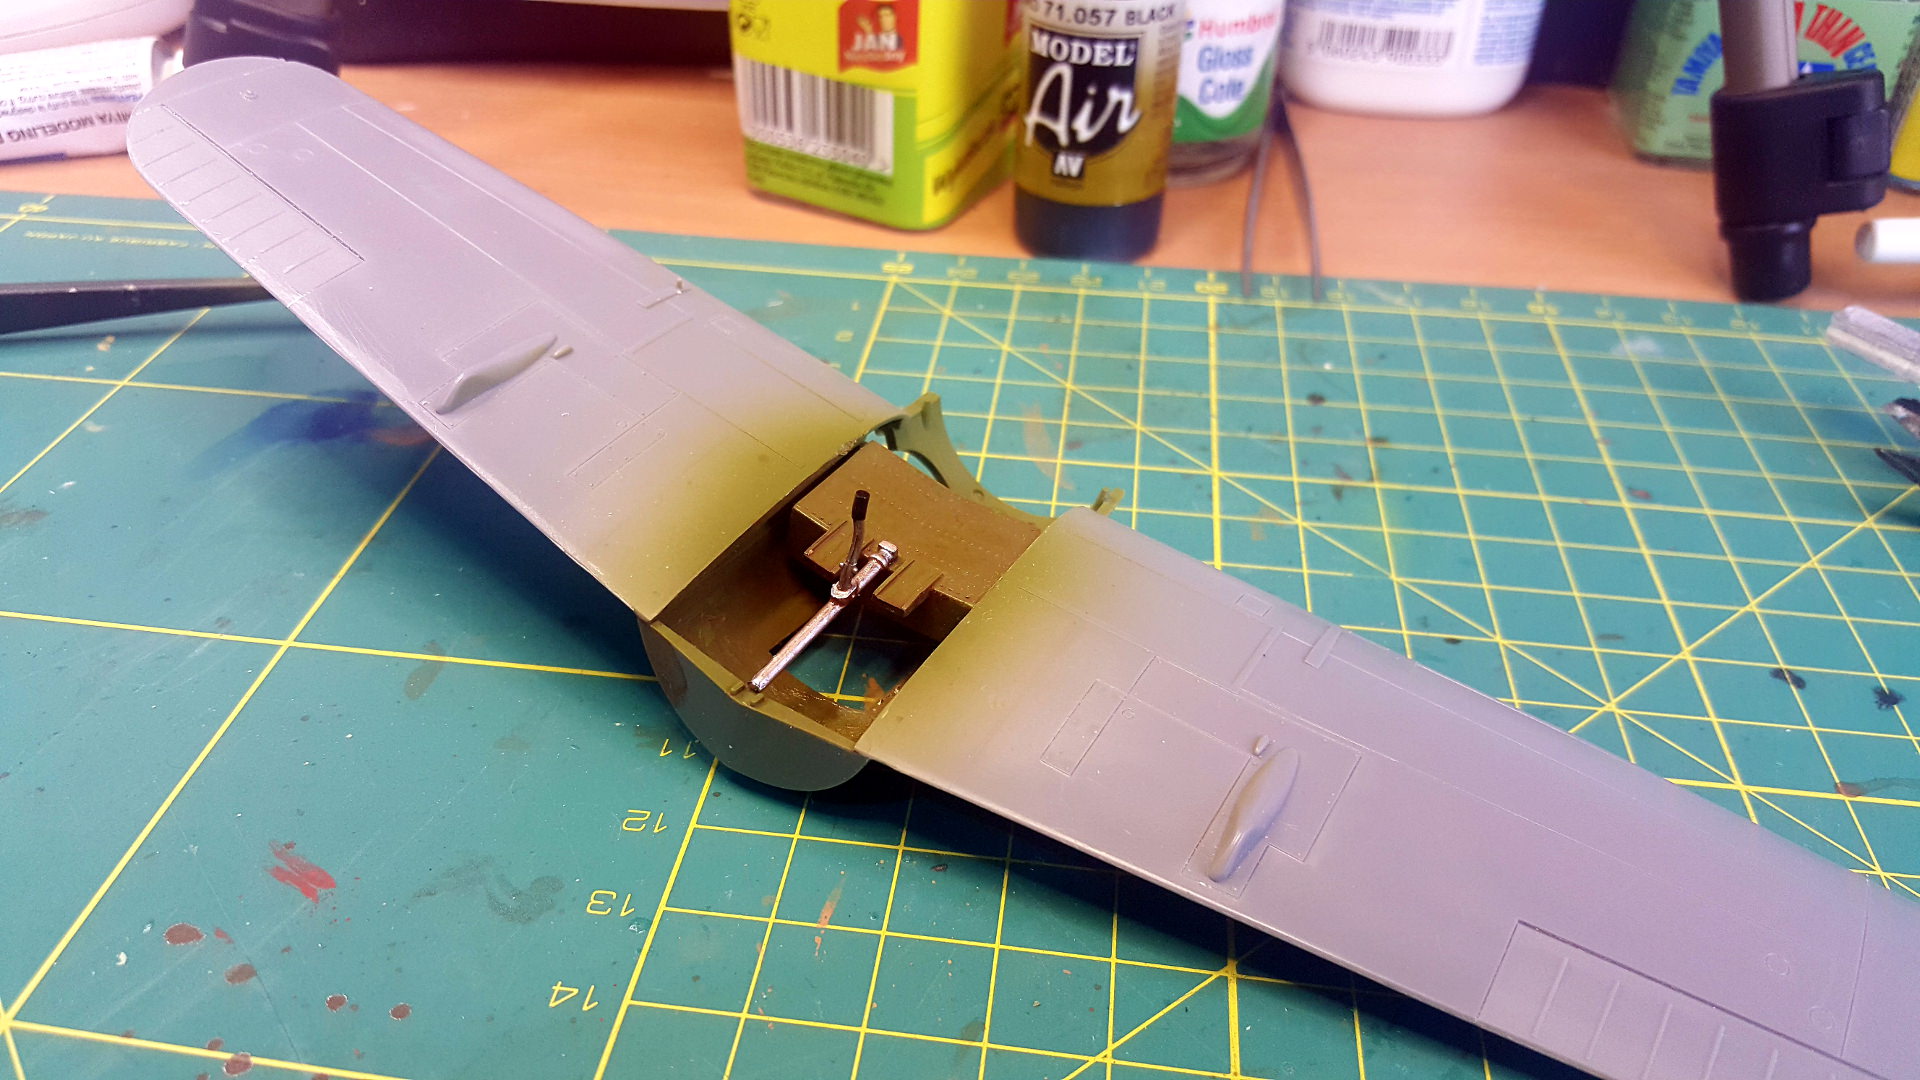
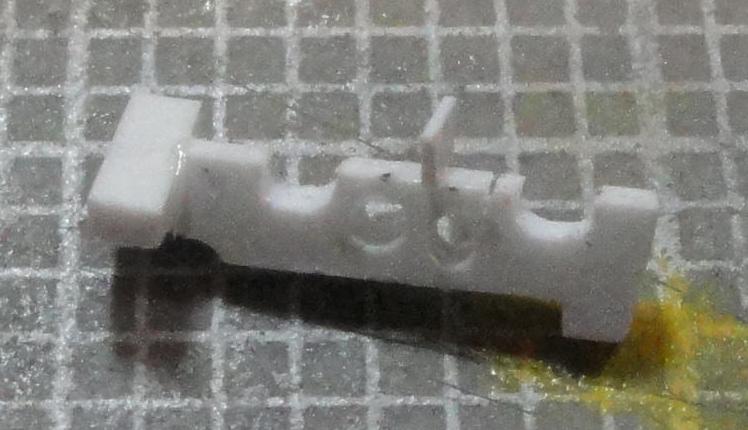
Well that was brilliant, I have barely started to paint the details and I've managed to lose a critical part.
I've managed to scratch up a replacement that might work. This model would never pass muster at a contest now...
c4willy
#305
_VISITCOMMUNITY
Christchurch, New Zealand
Joined: February 01, 2006
KitMaker: 1,673 posts
AeroScale: 1,517 posts
Posted: Saturday, January 13, 2018 - 02:52 PM UTC
Damn Mark that sucks! I know that feeling then once I've got it all together the missing part miraculously reappears!

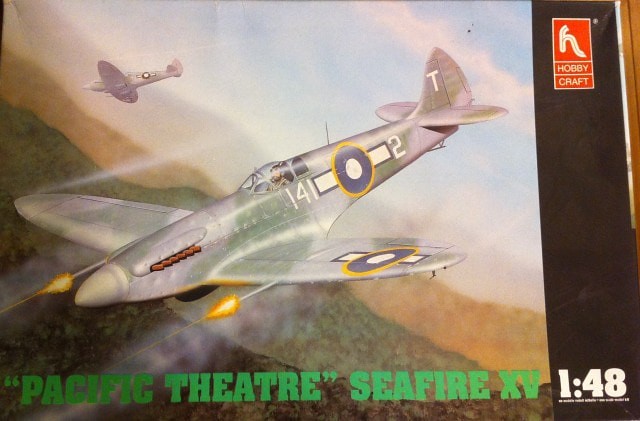
Well my entry for this campaign is a Hobbycraft Seafire Mk XV, waits for collective sudden intake of breath. Yes I know not exactly an accurate kit but I'm adding some resin and white metal bits that will hopefully make it a little better. I've got a build log up and I'll just give you a pic of the kit box as the kit itself is a bagged kit and has no box as such.

Hobbycraft Mk XV Seafire by Chris WIlson, on Flickr
md72
#439
_VISITCOMMUNITY
Washington, United States
Joined: November 05, 2005
KitMaker: 4,950 posts
AeroScale: 3,192 posts
Posted: Sunday, January 14, 2018 - 10:11 AM UTC
Well, it might work. all of the mating parts fit. and itseems tofit into the fuselage.

MichaelSatin
Staff MemberCampaigns Administrator
AEROSCALE
_VISITCOMMUNITY
Colorado, United States
Joined: January 19, 2008
KitMaker: 3,909 posts
AeroScale: 2,904 posts
Posted: Sunday, January 14, 2018 - 06:38 PM UTC

Quoted Text

Well, it might work. all of the mating parts fit. and itseems tofit into the fuselage.


Good one, Mark! Painted and in place you won't be able to tell the difference. You're sure to find the original now.

Michael
md72
#439
_VISITCOMMUNITY
Washington, United States
Joined: November 05, 2005
KitMaker: 4,950 posts
AeroScale: 3,192 posts
Posted: Tuesday, January 16, 2018 - 11:32 AM UTC
Got the gull gray interior parts shot tonight. A bit of black parts and I can start assembly..

md72
#439
_VISITCOMMUNITY
Washington, United States
Joined: November 05, 2005
KitMaker: 4,950 posts
AeroScale: 3,192 posts
Posted: Wednesday, January 17, 2018 - 11:29 PM UTC
Well, Hornby informs me that for L3 sterling, they will gladly send me a replacement part.... That's about a third of what I paid for the kit, but still only half of what MRC wanted for a P-47 part I lost.... Of course the phone call to the UK probably set me back a bit.
bomber14
_VISITCOMMUNITY
New Jersey, United States
Joined: February 02, 2015
KitMaker: 330 posts
AeroScale: 286 posts
Posted: Thursday, January 18, 2018 - 01:24 AM UTC

Quoted Text


Quoted Text

However after doing some web gazing I ran across this piece by Dana Bell who's done some exceptional research regarding the colours for interiors. And it would appear Bronze green was used, well actually a mix of Zinc Chromate and black. Follow the link and read for yourself.


If you can't trust Dana Bell, you can't trust anyone. If I saw that he has made a ruling on color, I would confidently go with it.

Great work, everyone! Still struggling with whether to get moving on the Tamiya 1/32 F4U-1D to go with my Ki-84. Today may decide it.

Michael


chris/michael: thanks, i read over the doc and that is exactly what i did. i mixed some flt black to zinc yellow and sprayed it through my new ab. i think i added a little too much black though, it is closer to interior green anyway-lol.

a question, and i realize this is off topic a little. i am not an expert on the airbrush and what happened was/is a little confusing. i thinned my mix of enamels and sprayed with my new ab. it is by creative air and has a cut out cone like a kings crown. it was spraying beautifully but after a moment it started spitting drops. i thought at first it was moisture but it was paint. i think it was built up on the crone/tip of my ab and spraying off with the spray. what caused this? the paint was thinned properly, not spidering as with too much thinner and not thick and clogging. this has never happened to me before with my other brushes so i am at a loss. any help please? i was thinking maybe i had the paint pre set open too much so i cut down the paint flow.or,-the ab has three needles .020,.030,.050. maybe the factory put the wrong needle and nozzle on it.

thanks-joe
c4willy
#305
_VISITCOMMUNITY
Christchurch, New Zealand
Joined: February 01, 2006
KitMaker: 1,673 posts
AeroScale: 1,517 posts
Posted: Thursday, January 18, 2018 - 01:44 AM UTC
Definitely sounds like paint build up on the tip usually happens when paint collects on it, as to why it happened not too sure. Paint volume coming out of the nozzle was possibly to high and not really sure of a fix for that. Perhaps the paint was just that little bit over thinned and the volume was a little too high. I've had it happen but usually when I've got the paint a little too thin.
MichaelSatin
Staff MemberCampaigns Administrator
AEROSCALE
_VISITCOMMUNITY
Colorado, United States
Joined: January 19, 2008
KitMaker: 3,909 posts
AeroScale: 2,904 posts
Posted: Thursday, January 18, 2018 - 02:54 AM UTC
I had that problem with my Iwata when the crown was on it. I removed that and never had the issue again. This renders the needle more liable to damage, but it helped my painting.

Michael
c4willy
#305
_VISITCOMMUNITY
Christchurch, New Zealand
Joined: February 01, 2006
KitMaker: 1,673 posts
AeroScale: 1,517 posts
Posted: Friday, January 19, 2018 - 02:25 PM UTC
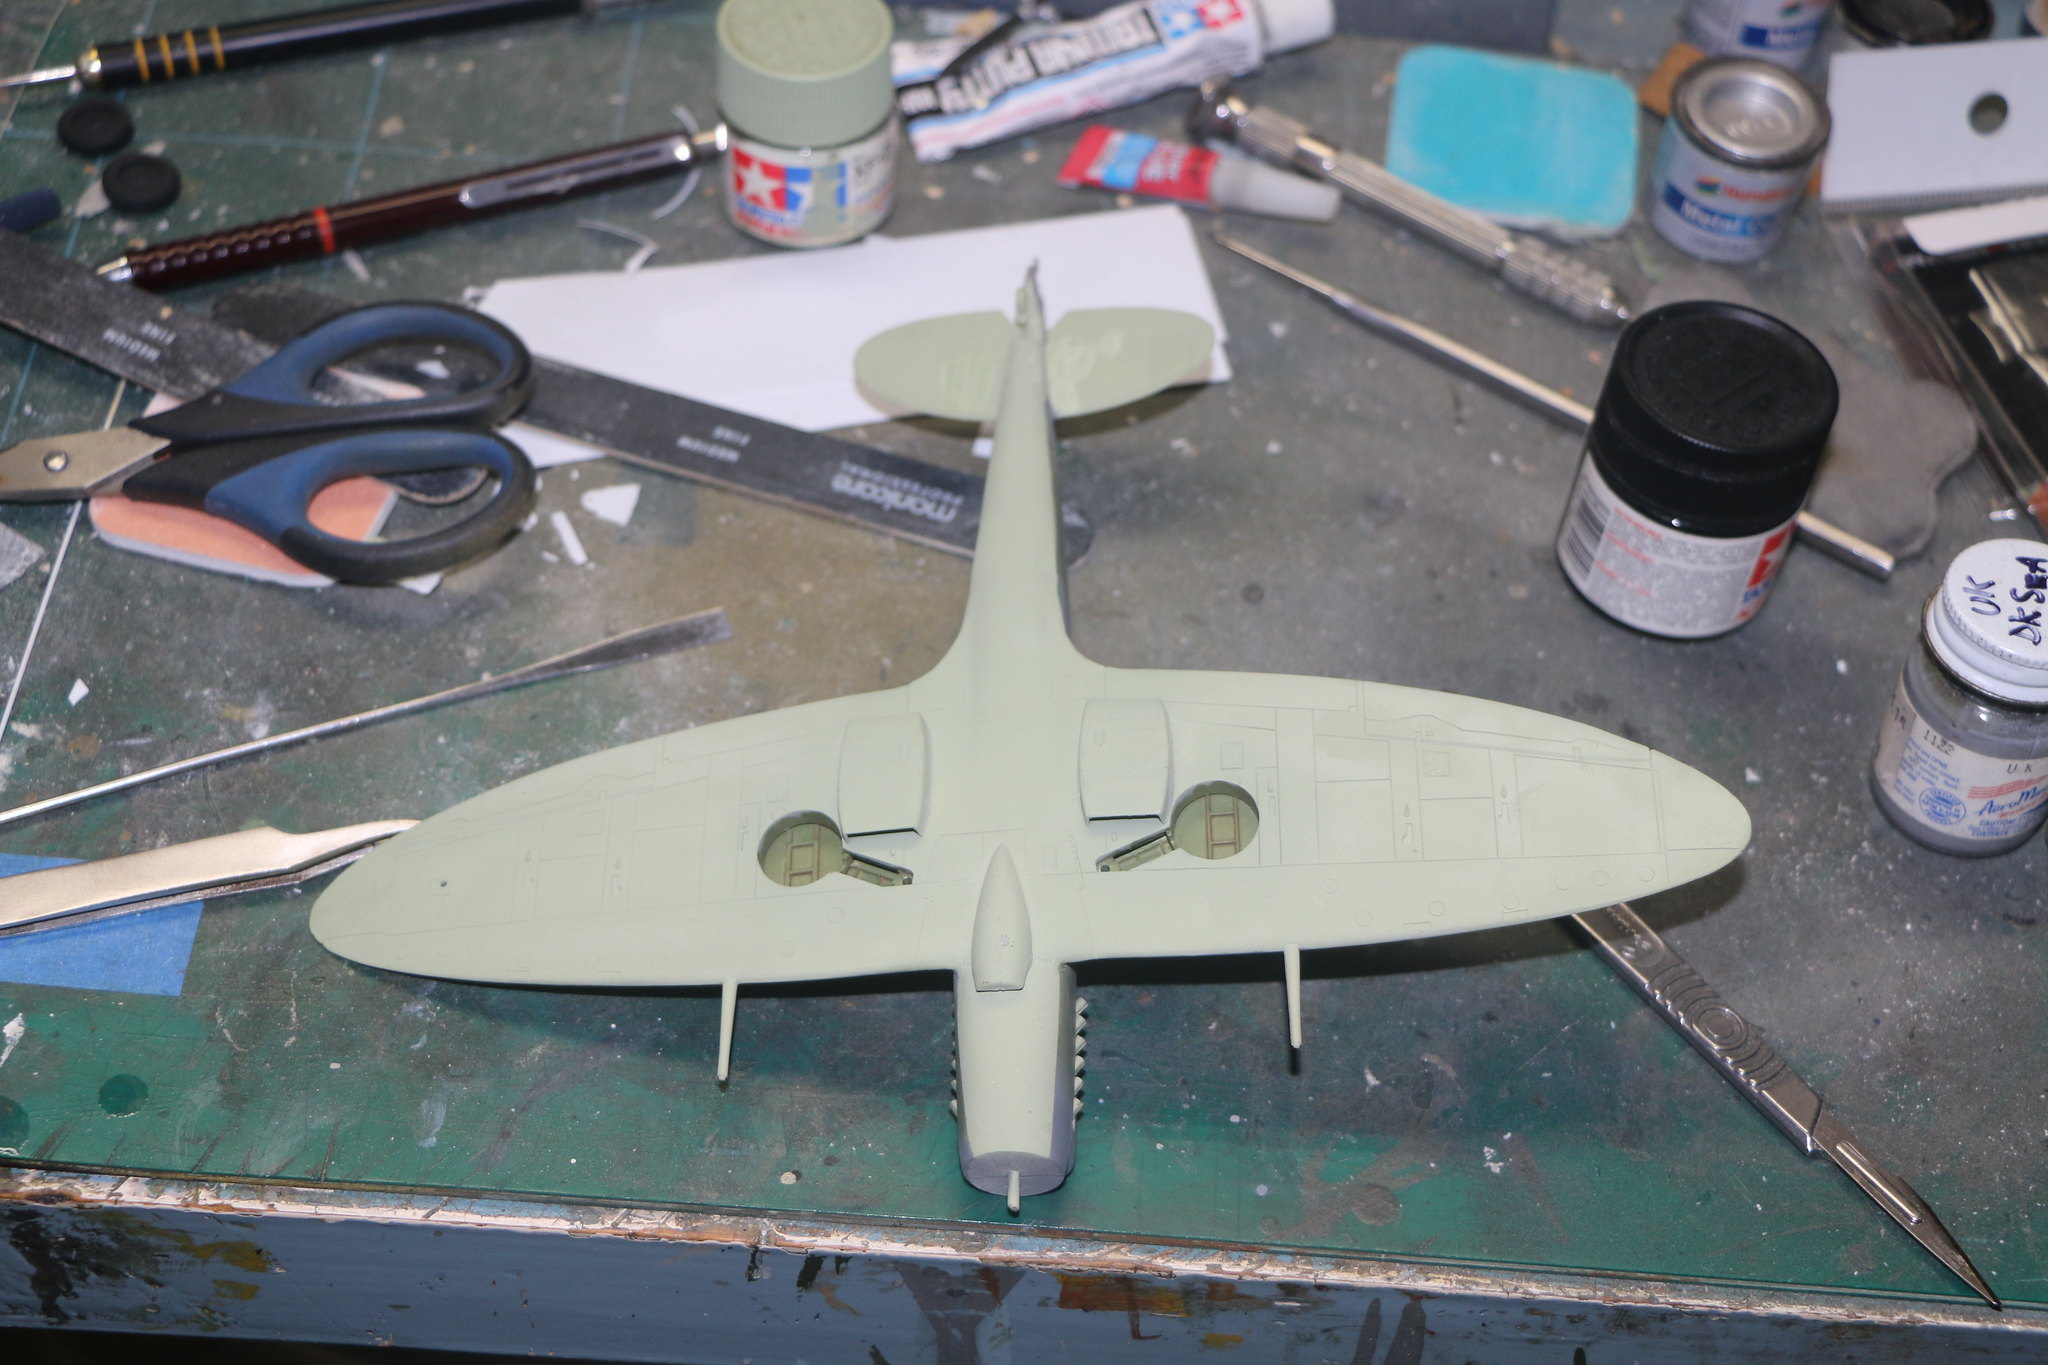
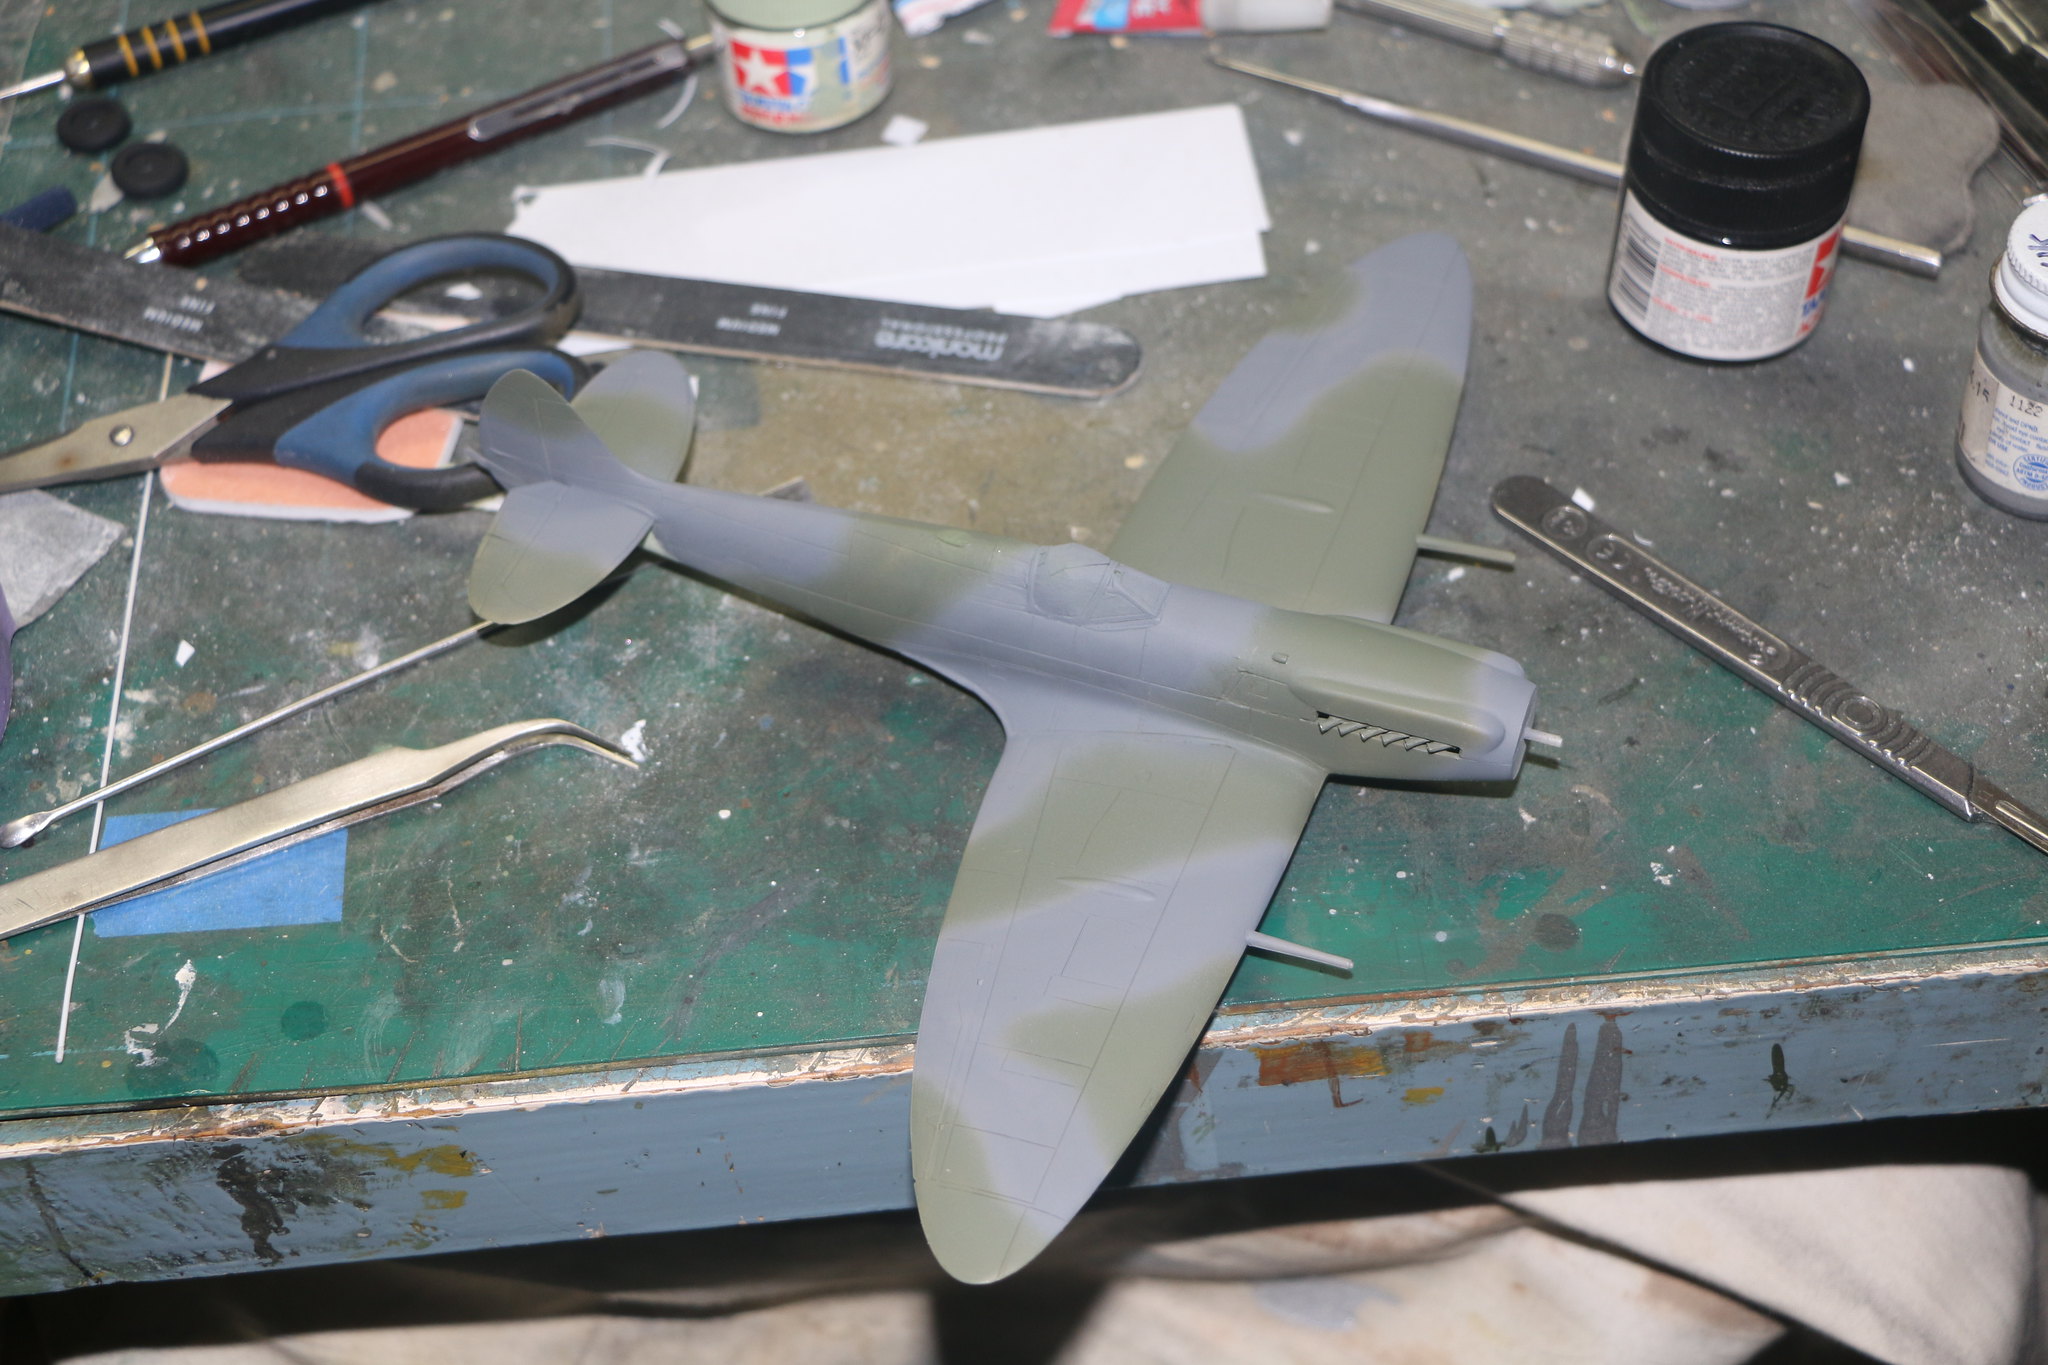
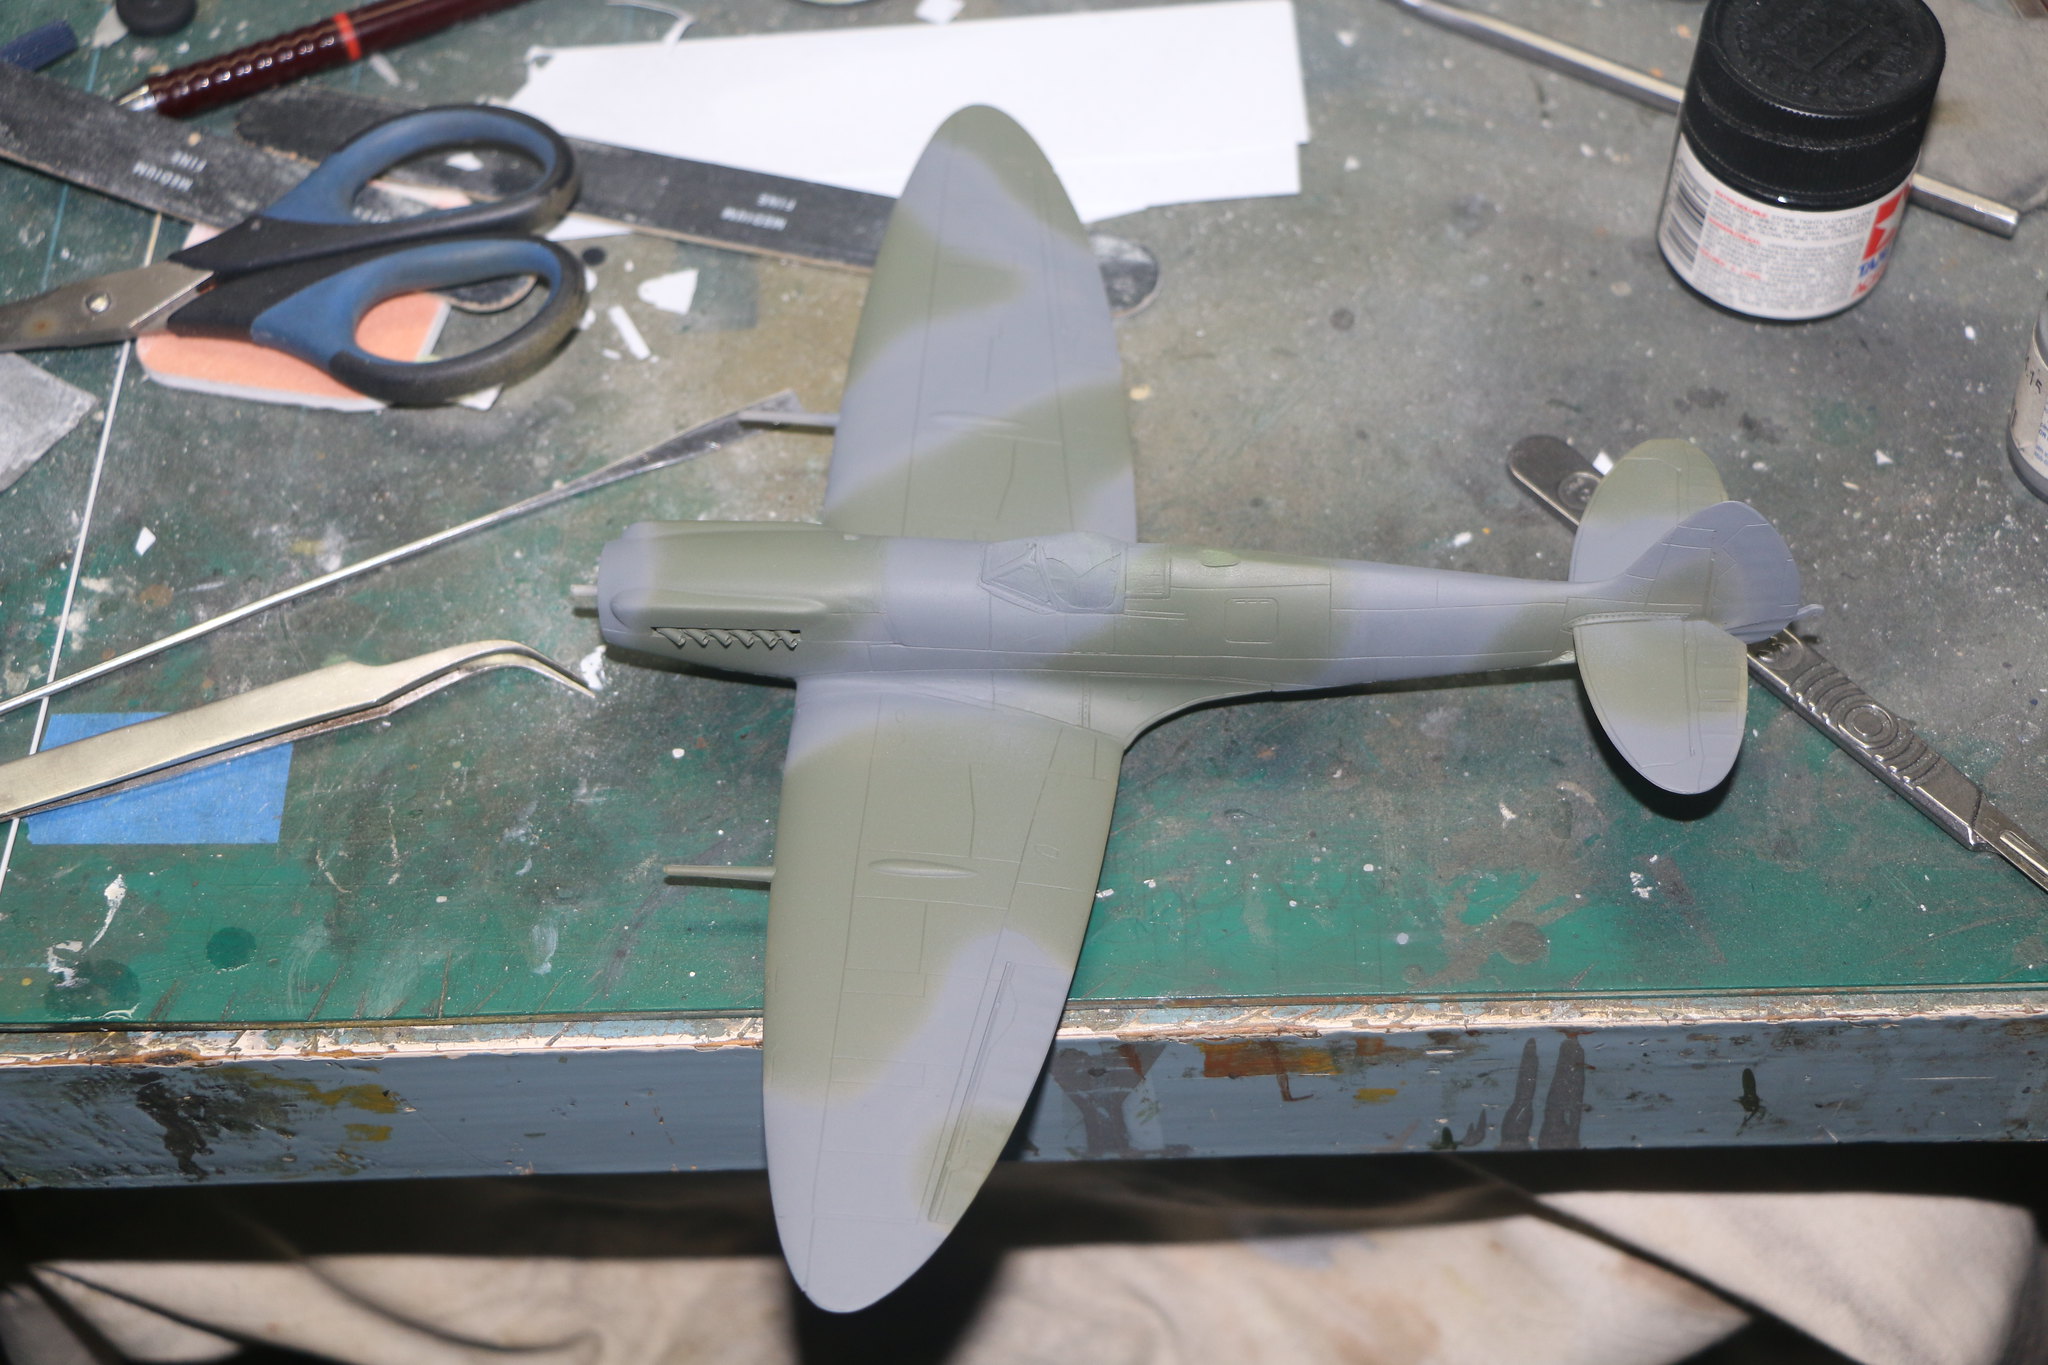
And we've got paint on! While the Hobbycraft kit may not be the most detailed kit right out of the box it builds into a rather nice kit. Especially after adding the resin parts to improve the looks of the airframe. Although I feel I should have looked for a replacement carburettor intake as the kit part is just a blank with no opening. I think I'll rummage through my spares I have a vague idea there's a carb intake front with a recess.

IMG_2000 by Chris WIlson, on Flickr

IMG_1999 by Chris WIlson, on Flickr
IMG_1998 by Chris WIlson, on Flickr
RadekZ
_VISITCOMMUNITY
Warszawa, Poland
Joined: March 12, 2013
KitMaker: 125 posts
AeroScale: 85 posts
Posted: Monday, January 22, 2018 - 02:38 AM UTC
Chris, Mark, nice progress, guys. Spit looks spot on and those tiny fiddly stuff you did Mark hurt my eyes with fine detail .

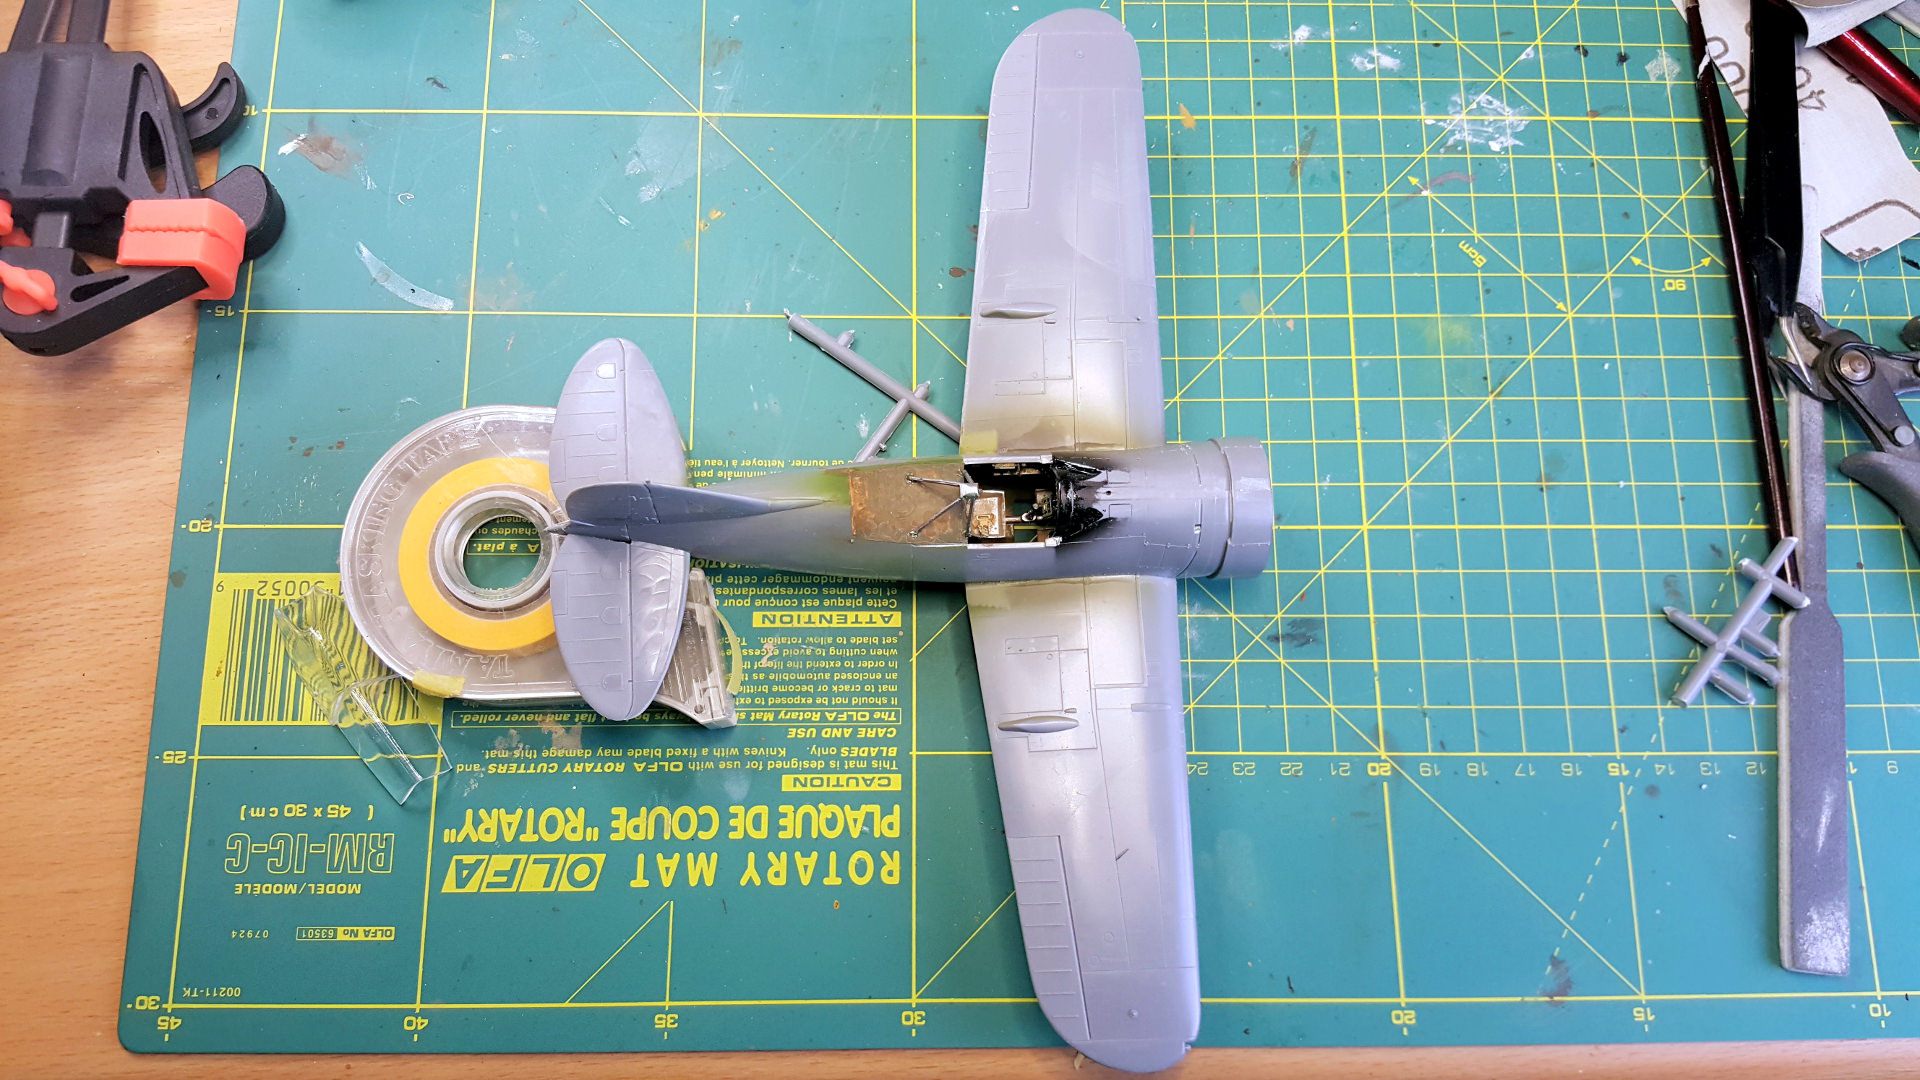
I've moved a little forward with my Buffalo. It finally started looking like plane as wings were glued to fuselage.
First I had to assemle interior parts that were supposed to be glued to the wing segment (yoke and I think a fuel tank):


and then I could finally assemble it all together:


I decided to make this area behind pilot's head a little dirty. These planes weren't overly used as they've been delivered on the prelude of war in Dutch Indochina, but some reference photos of other planes showed that such area quickly became dirty, especially when operating from dusty airfields. Dunno if it's true, but I like a little colour variety effect on this part as it was boringly green on whole area.

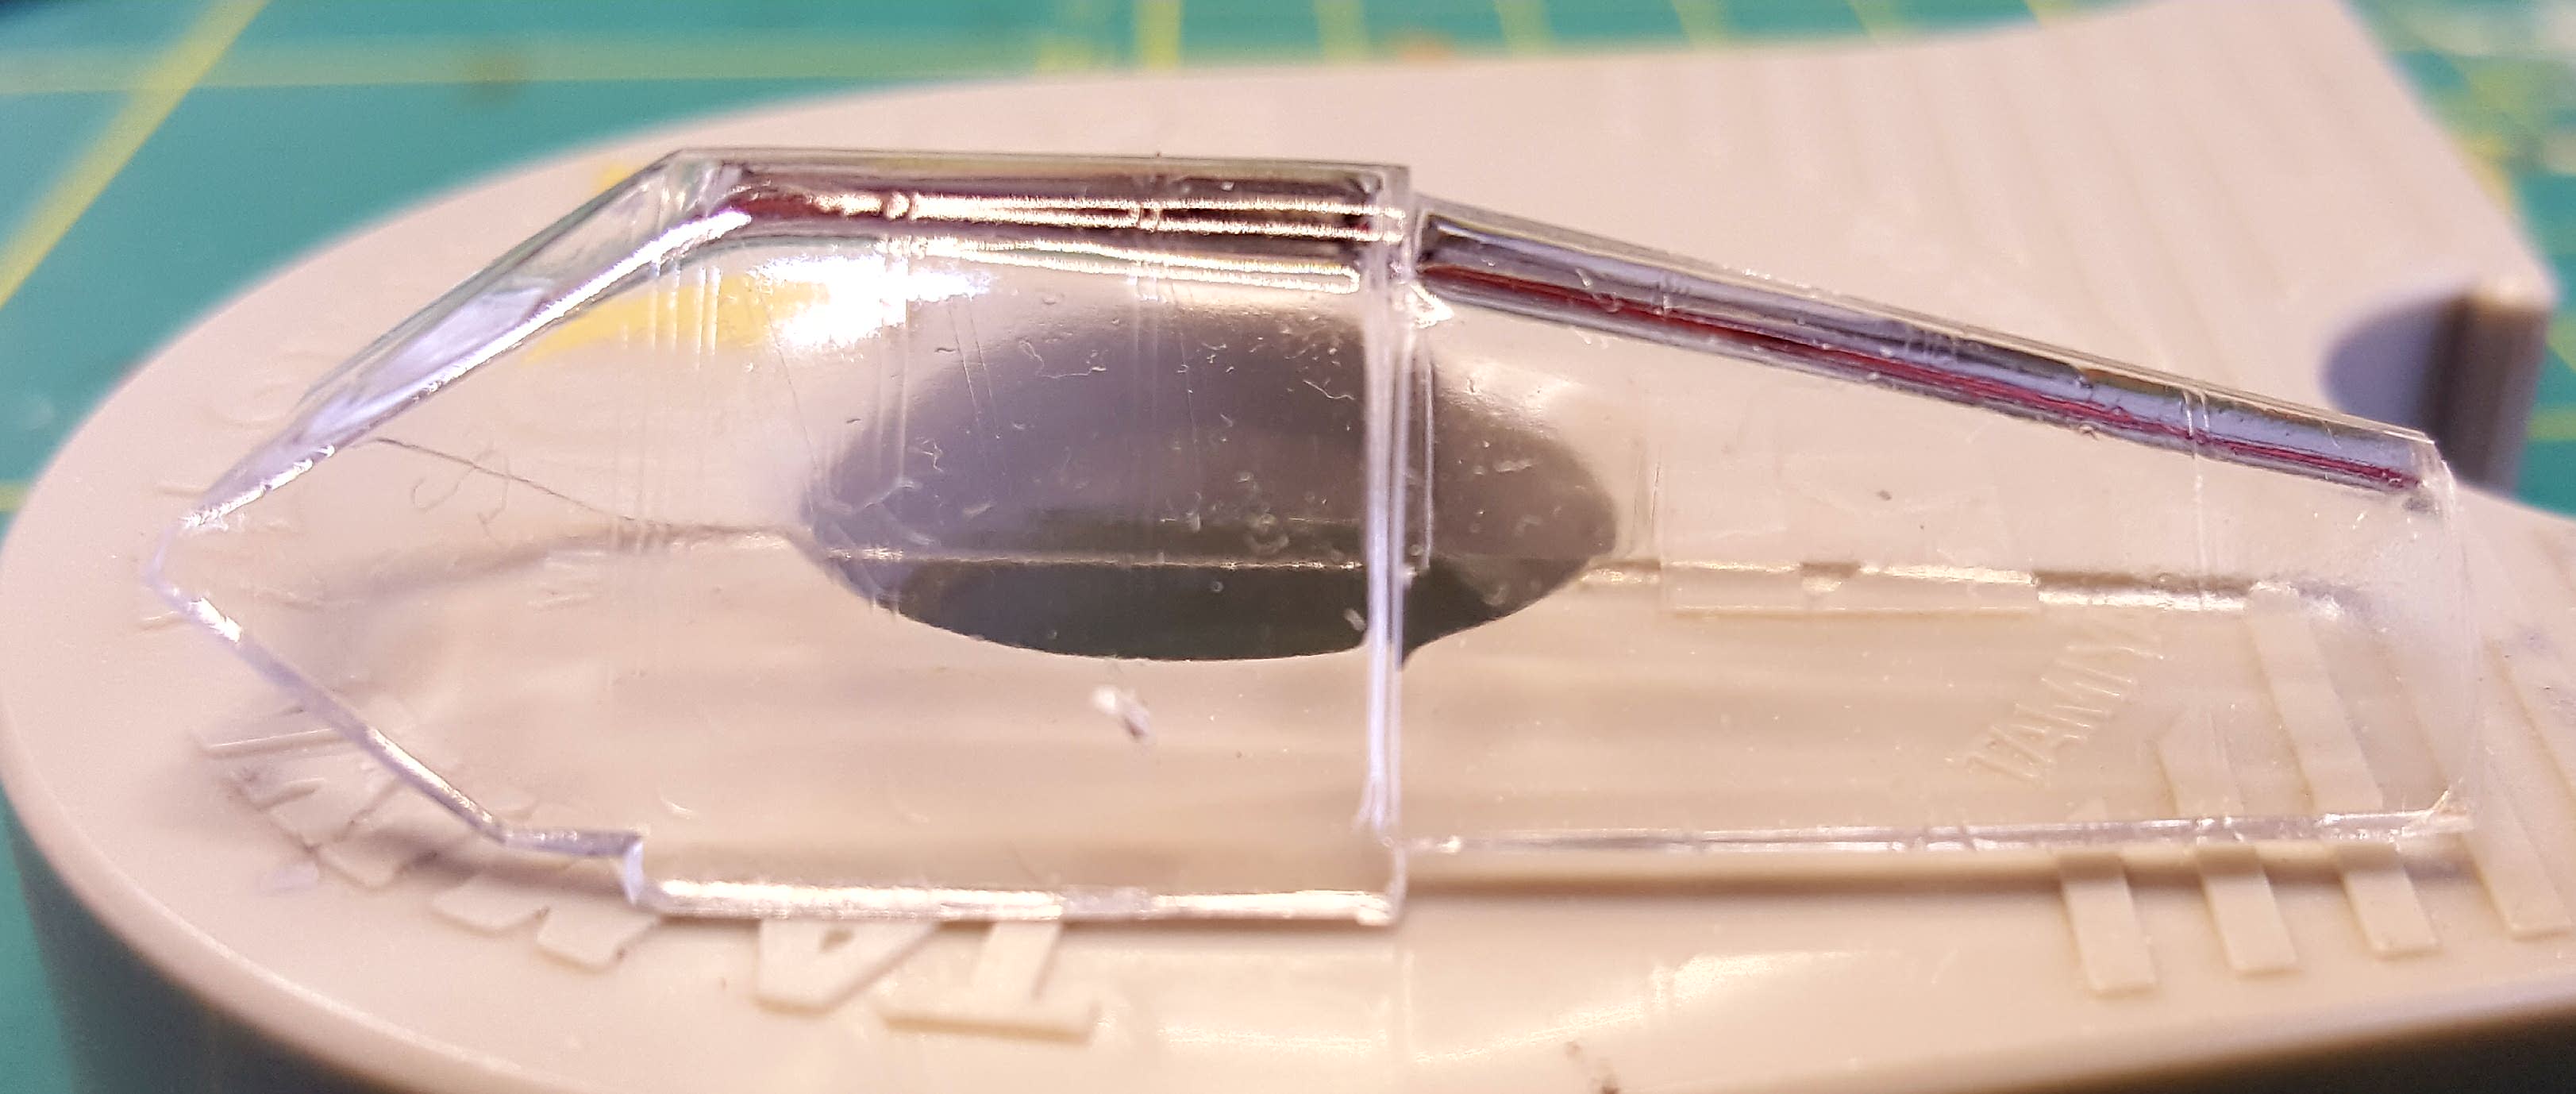
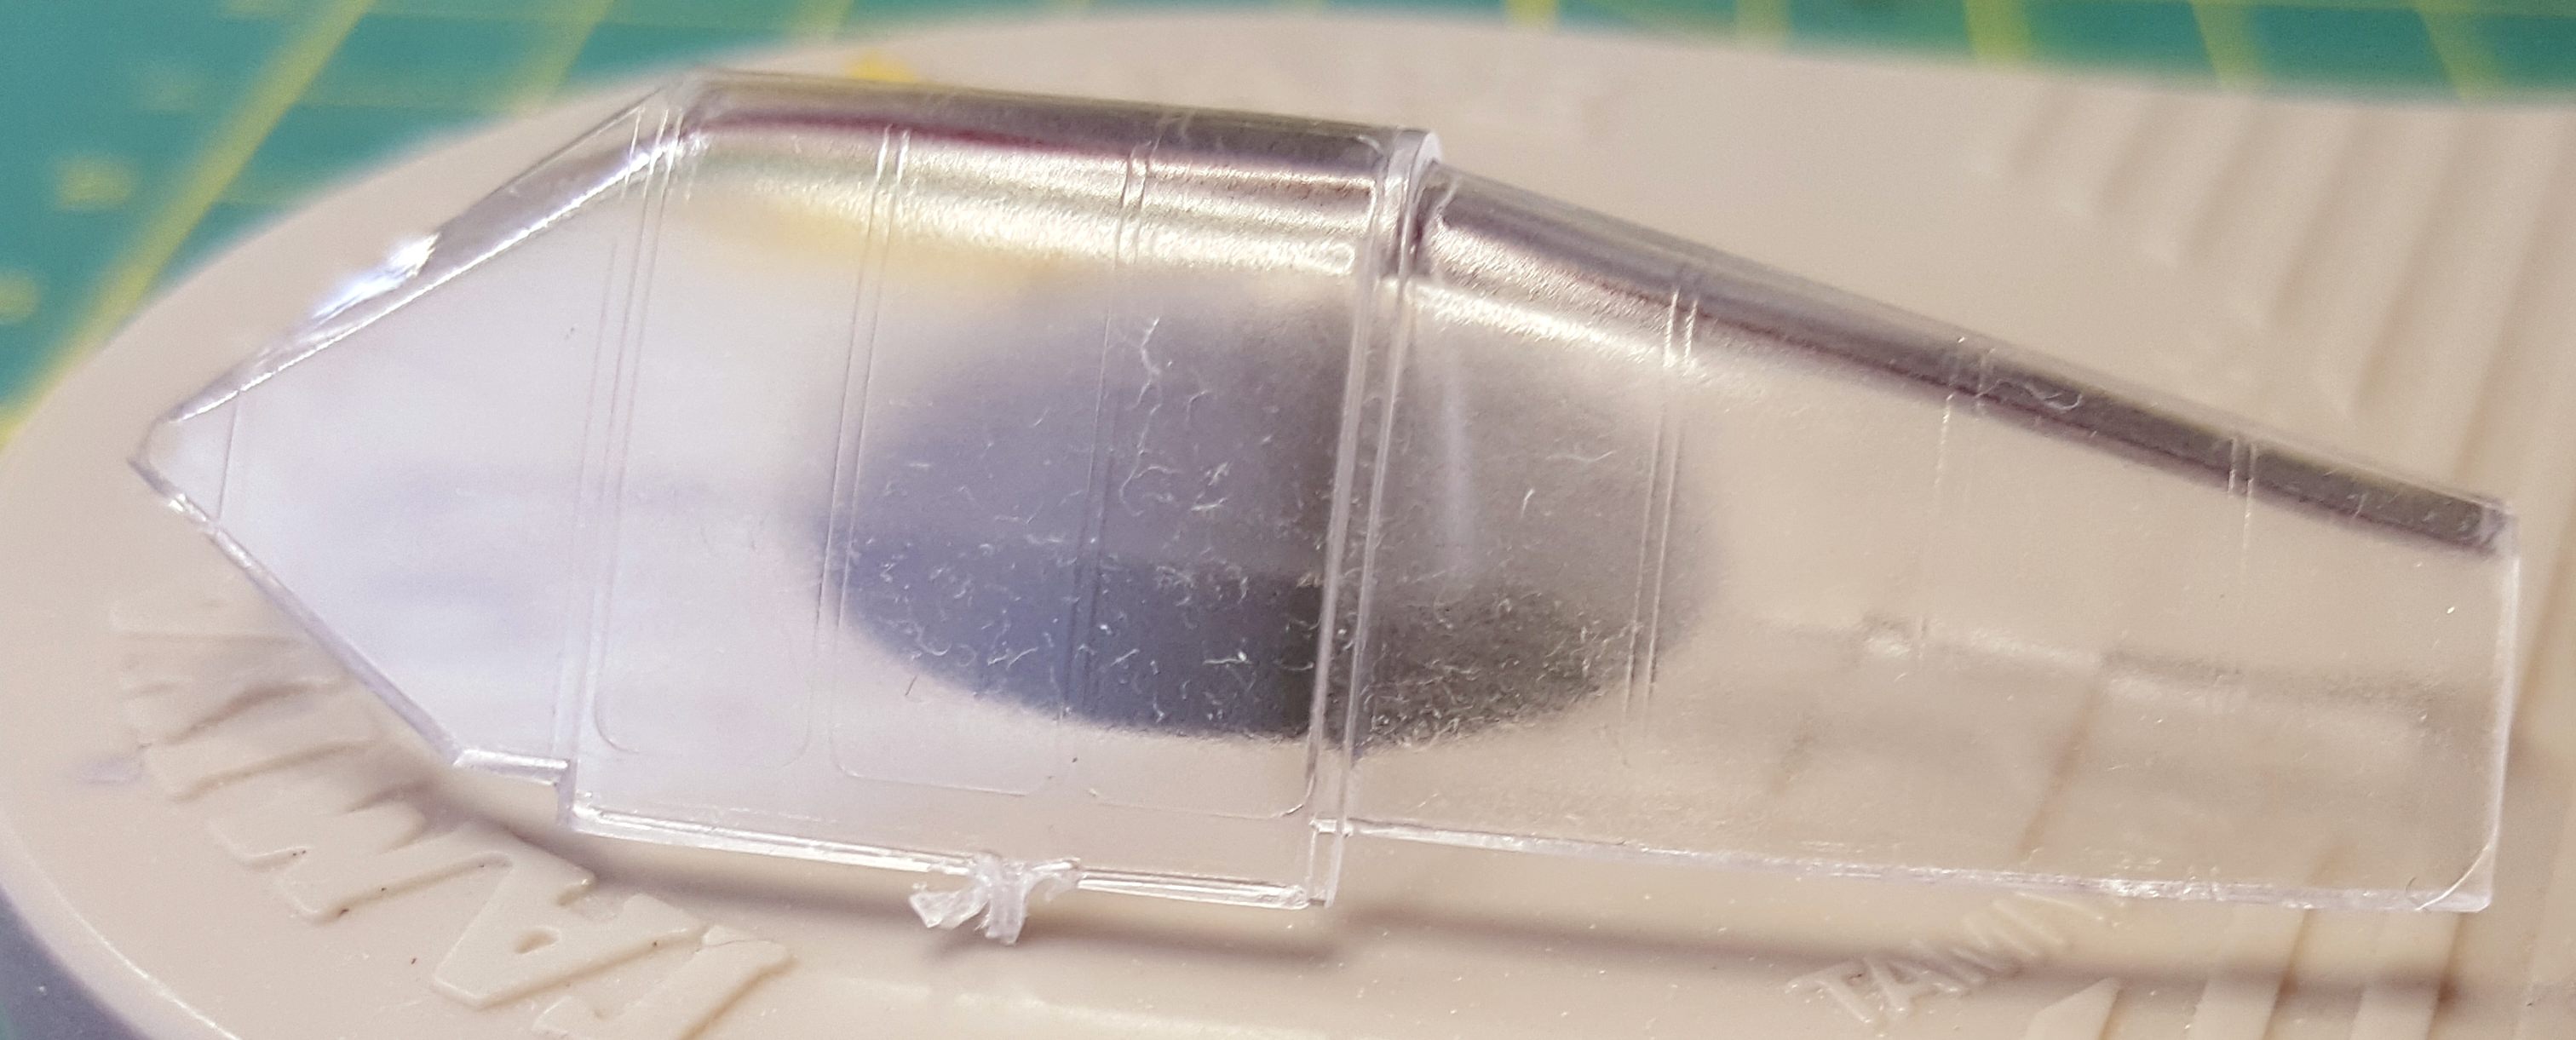
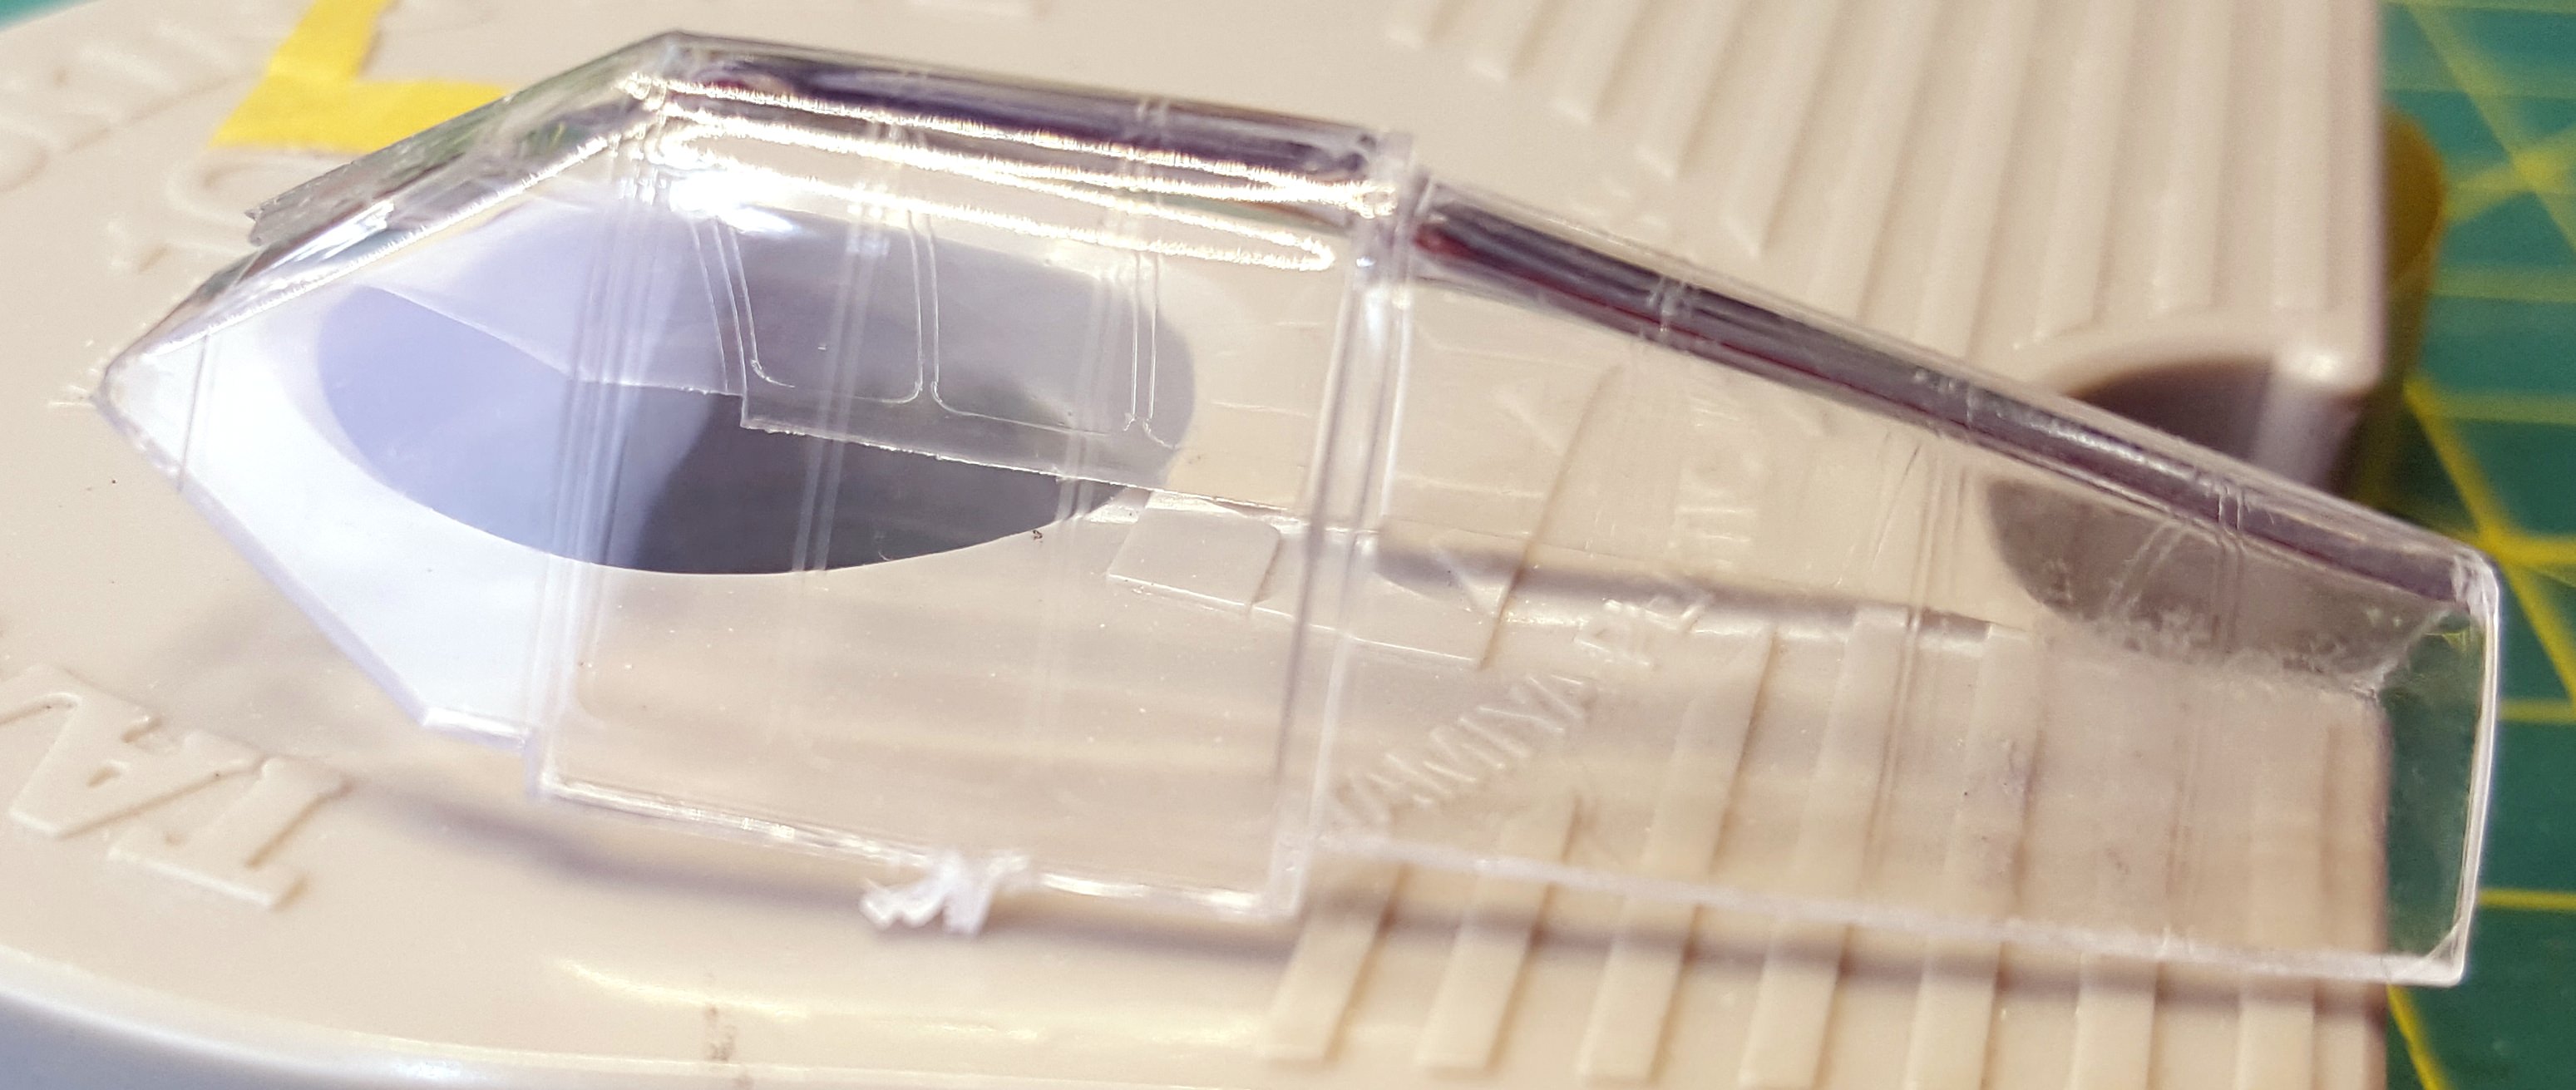
So that's it for now. Now I need to make a quick repair on canopy as I screwed securing it with clear varnish, surface is now a mess with some paint imperfection (X-22) and also lot of tiny dust particles stuck to it) - unfortunately I got this layer hardened enough after 2 days sitting in closed box. Can you suggest if there's a way to get rid of these things (hopefully visible on pic below) without damaging the part too much?
c4willy
#305
_VISITCOMMUNITY
Christchurch, New Zealand
Joined: February 01, 2006
KitMaker: 1,673 posts
AeroScale: 1,517 posts
Posted: Monday, January 22, 2018 - 02:47 PM UTC
Hi Radek I've polished out small imperfections with toothpaste before but I'm not sure if it'll help you out in this case.
RadekZ
_VISITCOMMUNITY
Warszawa, Poland
Joined: March 12, 2013
KitMaker: 125 posts
AeroScale: 85 posts
Posted: Monday, January 22, 2018 - 03:29 PM UTC

Quoted Text

Hi Radek I've polished out small imperfections with toothpaste before but I'm not sure if it'll help you out in this case.


Thanks Chris, I will give it a try on spare part. I was also thinking about polishing it with a high grid sponge or micromesh (like 4000, 6000 grid) and then use a polishing compound from Tamiya. I only hope these imperfections aren't too deeply soaked into varnish coat.
MichaelSatin
Staff MemberCampaigns Administrator
AEROSCALE
_VISITCOMMUNITY
Colorado, United States
Joined: January 19, 2008
KitMaker: 3,909 posts
AeroScale: 2,904 posts
Posted: Monday, January 22, 2018 - 05:55 PM UTC
I've used ammonia to remove acrylic varnish before. Don't know if that will work on Tamiya, but it didn't hurt the plastic. Maybe a test run on something scrap?

Michael
goodn8
_VISITCOMMUNITY
Berlin, Germany
Joined: October 12, 2008
KitMaker: 709 posts
AeroScale: 651 posts
Posted: Monday, January 22, 2018 - 08:31 PM UTC

Quoted Text

I've used ammonia to remove acrylic varnish before. Don't know if that will work on Tamiya, but it didn't hurt the plastic. Maybe a test run on something scrap?

Michael


Michael' s tip is what I suggest too but take care for your health. You can also try masking fluid, since they are mostly ammonia based . Leave it on for a day , than try to remove all.

Thomas
RadekZ
_VISITCOMMUNITY
Warszawa, Poland
Joined: March 12, 2013
KitMaker: 125 posts
AeroScale: 85 posts
Posted: Monday, January 22, 2018 - 09:29 PM UTC
Thank you Michael & Thomas. I'll give a try all methods, also another one I read about, which was Gunze Mr Color Levelling Thinner that seems to also harmlessly remove acrylic varnishes... question is if dry hard as well...
john41492
#442
_VISITCOMMUNITY
Malacca, Malaysia
Joined: July 20, 2015
KitMaker: 363 posts
AeroScale: 335 posts
Posted: Tuesday, January 23, 2018 - 04:34 AM UTC
HI Radek,

I use 70% isopropyl alcohol to remove Tamiya paints all the time. I'd use a swab dipped in it, and let it sit for moment on the part, then swab it around. It'll strip off all the clear. For the canopy I'd even dip it too. Won't harm or mare the part either.

Can't recommend this method for use trying to fix some overspray around a decal though...it does remove the paint!

John
RadekZ
_VISITCOMMUNITY
Warszawa, Poland
Joined: March 12, 2013
KitMaker: 125 posts
AeroScale: 85 posts
Posted: Tuesday, January 23, 2018 - 07:42 PM UTC

Quoted Text

HI Radek,

I use 70% isopropyl alcohol to remove Tamiya paints all the time. I'd use a swab dipped in it, and let it sit for moment on the part, then swab it around. It'll strip off all the clear. For the canopy I'd even dip it too. Won't harm or mare the part either.

Can't recommend this method for use trying to fix some overspray around a decal though...it does remove the paint!

John


Thank you John. Does it work also for a hard dry paints?
RadekZ
_VISITCOMMUNITY
Warszawa, Poland
Joined: March 12, 2013
KitMaker: 125 posts
AeroScale: 85 posts
Posted: Wednesday, January 24, 2018 - 01:12 AM UTC
Quick sitrep on restoring clarity

I used my test subject (other spare canopy from Buffalo that's used in British version) to check the legend of Mr Color Levelling Thinner. X-22 was "misted" on canopy at the very same day as on "main target", so 20th of Jan.

Before:


And after ~15-20 min of lying in Levelling Thinner:


(you can still see remains of varnish in the right corner, but it's because this part was not sinked in liquid)

Not bad I think and what's more important no sign of damage of clear part.

I've already cleaned the bottom clear parts (these with many small "windows") and now canopy is taking a deserved bath
md72
#439
_VISITCOMMUNITY
Washington, United States
Joined: November 05, 2005
KitMaker: 4,950 posts
AeroScale: 3,192 posts
Posted: Wednesday, January 24, 2018 - 01:53 AM UTC
Wow, that's neat!
john41492
#442
_VISITCOMMUNITY
Malacca, Malaysia
Joined: July 20, 2015
KitMaker: 363 posts
AeroScale: 335 posts
Posted: Thursday, January 25, 2018 - 02:43 PM UTC
Hi all!

Radek, yes it works on hardened acrylic paints. I’ll be demonstrating this in the Hangar Queen 8 campaign, don’t miss it! (Shameless plug!).

I’d be careful using lacquer thinners as a remover, I don’t know what is in Mr. Leveler (I love the stuff!) but most contain the chemicals used to glue/weld plastics. Your canopy sure did turn out nice though.

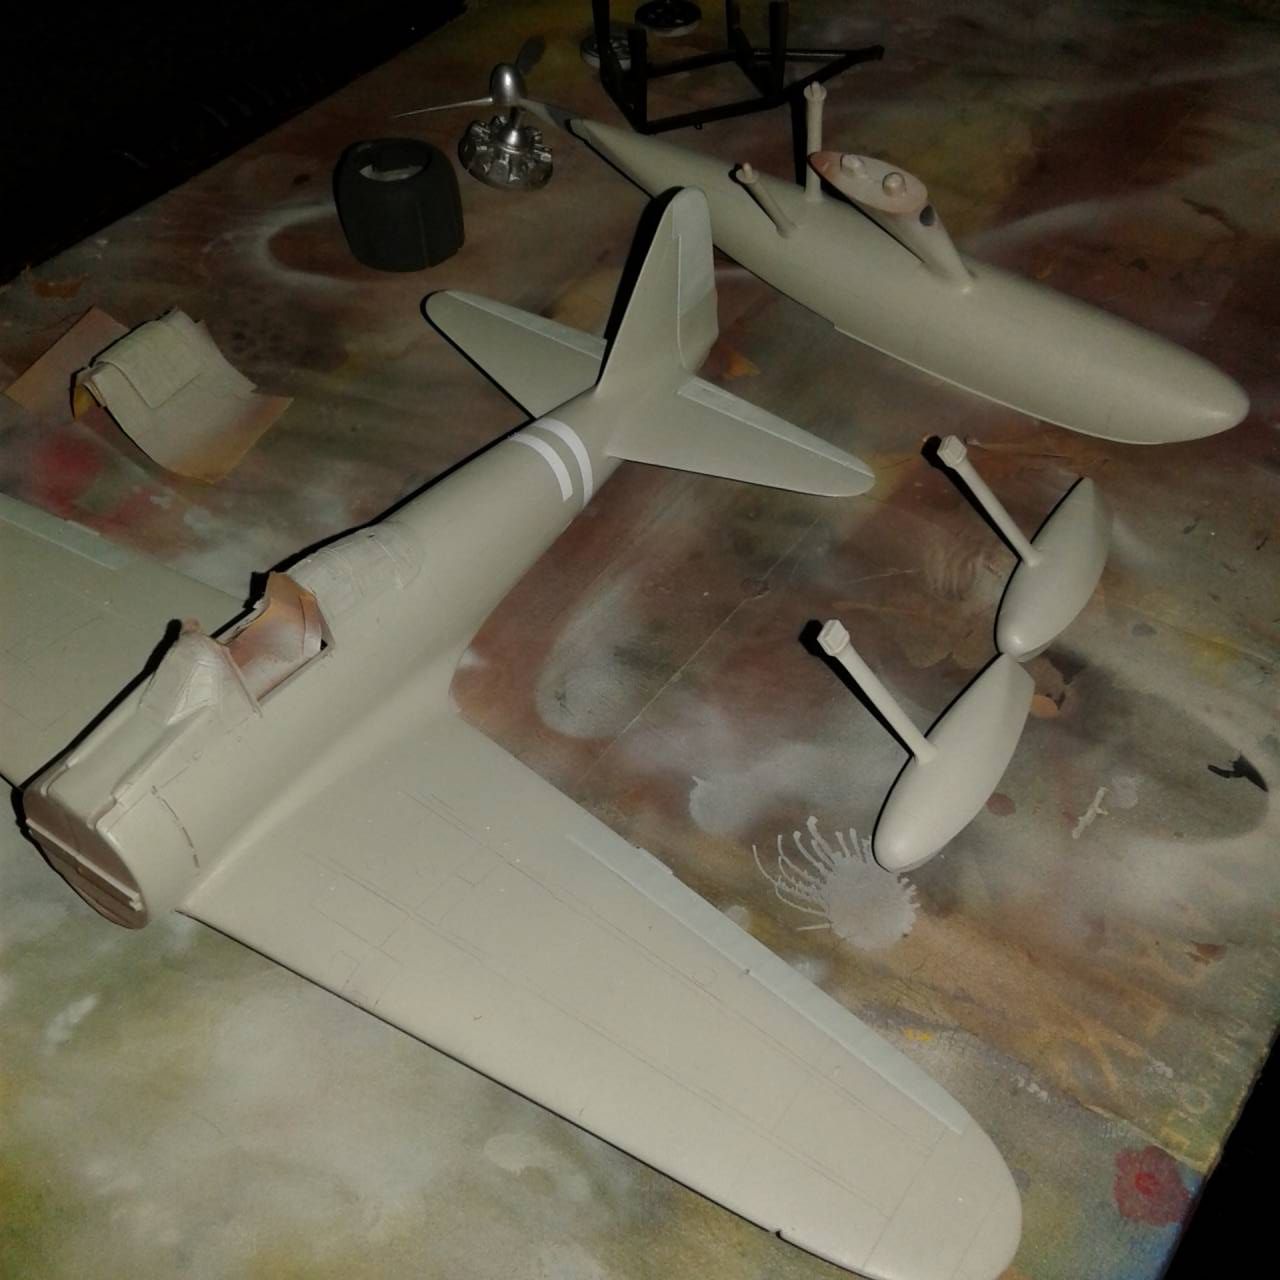
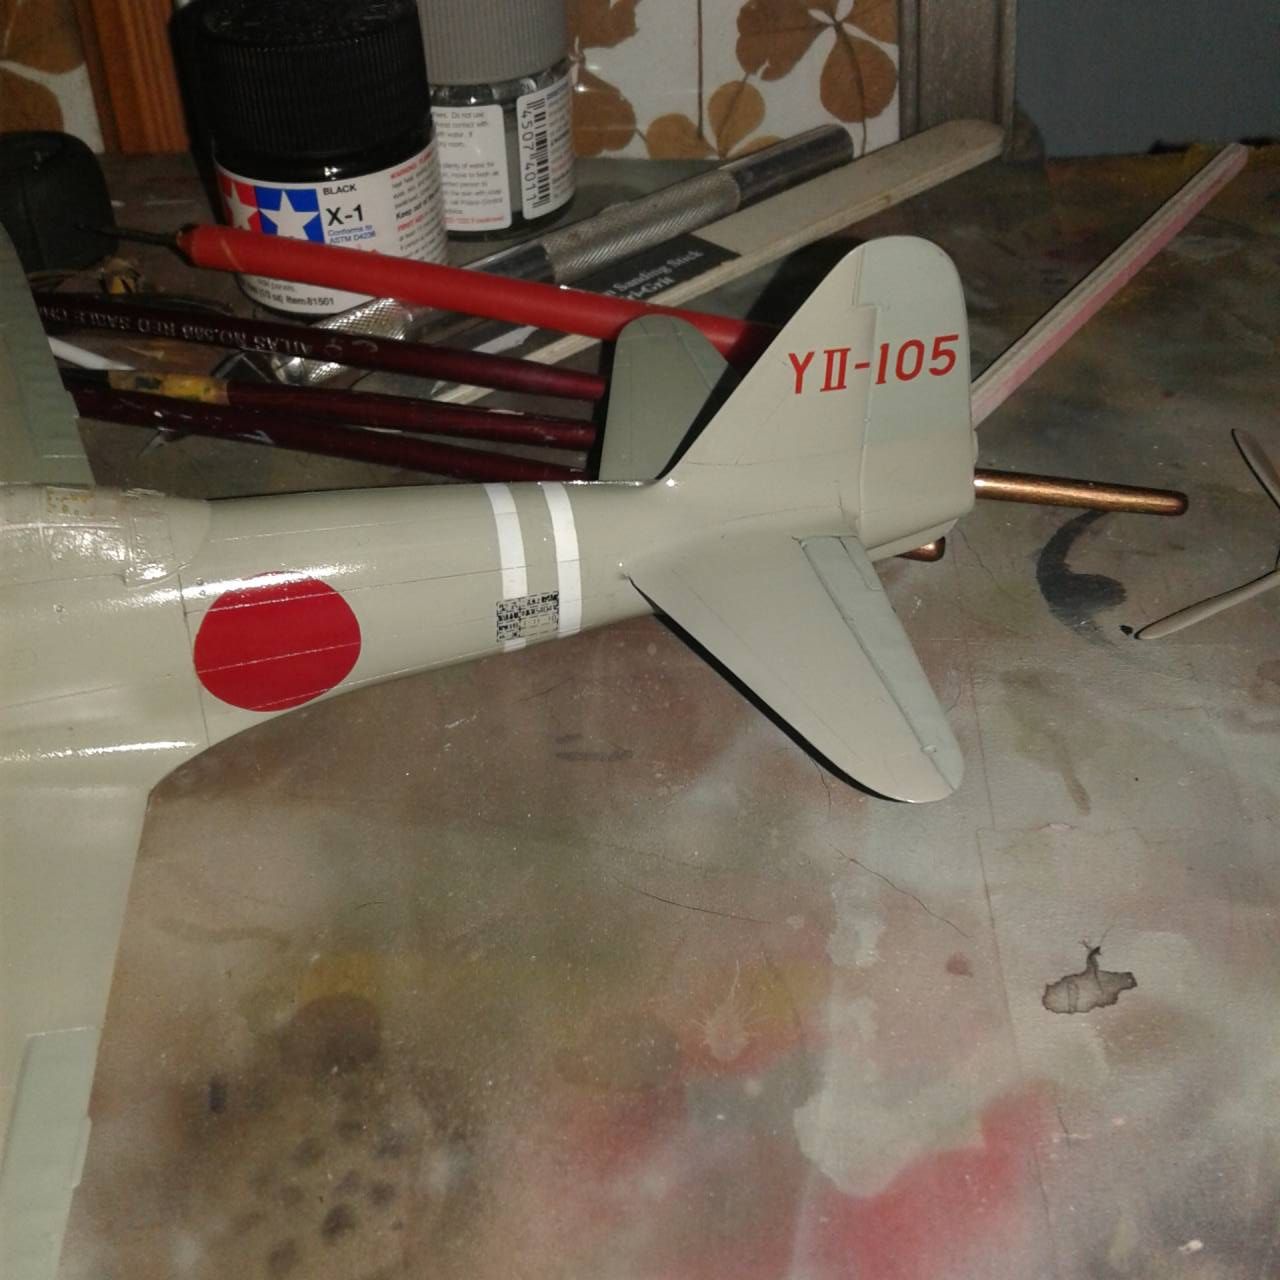
So, it’s been a while since my last update. Beginning anew is certainly a challenge! Thankfully I brought my plywood paint board with me, for it now is my make shift workbench.

I got all the seams taken care of, I really like the Vallejo acrylic filler. This stuff is great at filling, though I did go over it with some Mr. Surfacer 500. After the seams it was a base coat of Tamiya Red/brown. A slight variation on an adopted painting method called black basing. Since this bird was Nakajima grey/green all over, I wanted to break up the monochromic color. I also opted to paint the control surfaces Tamiya JN Grey, which seems to match current thinking on the whole zero color thing. The first batch of paints came, and I was able to undertake some painting.


It was about this time that something happened. A gust of wind, or poorly placed, a combo of the two, add in some gravity and you get a fall of 2M off the shoe cabinet. This resulted in a crack. I did my best to restore it not wanting to strip and repaint everything.


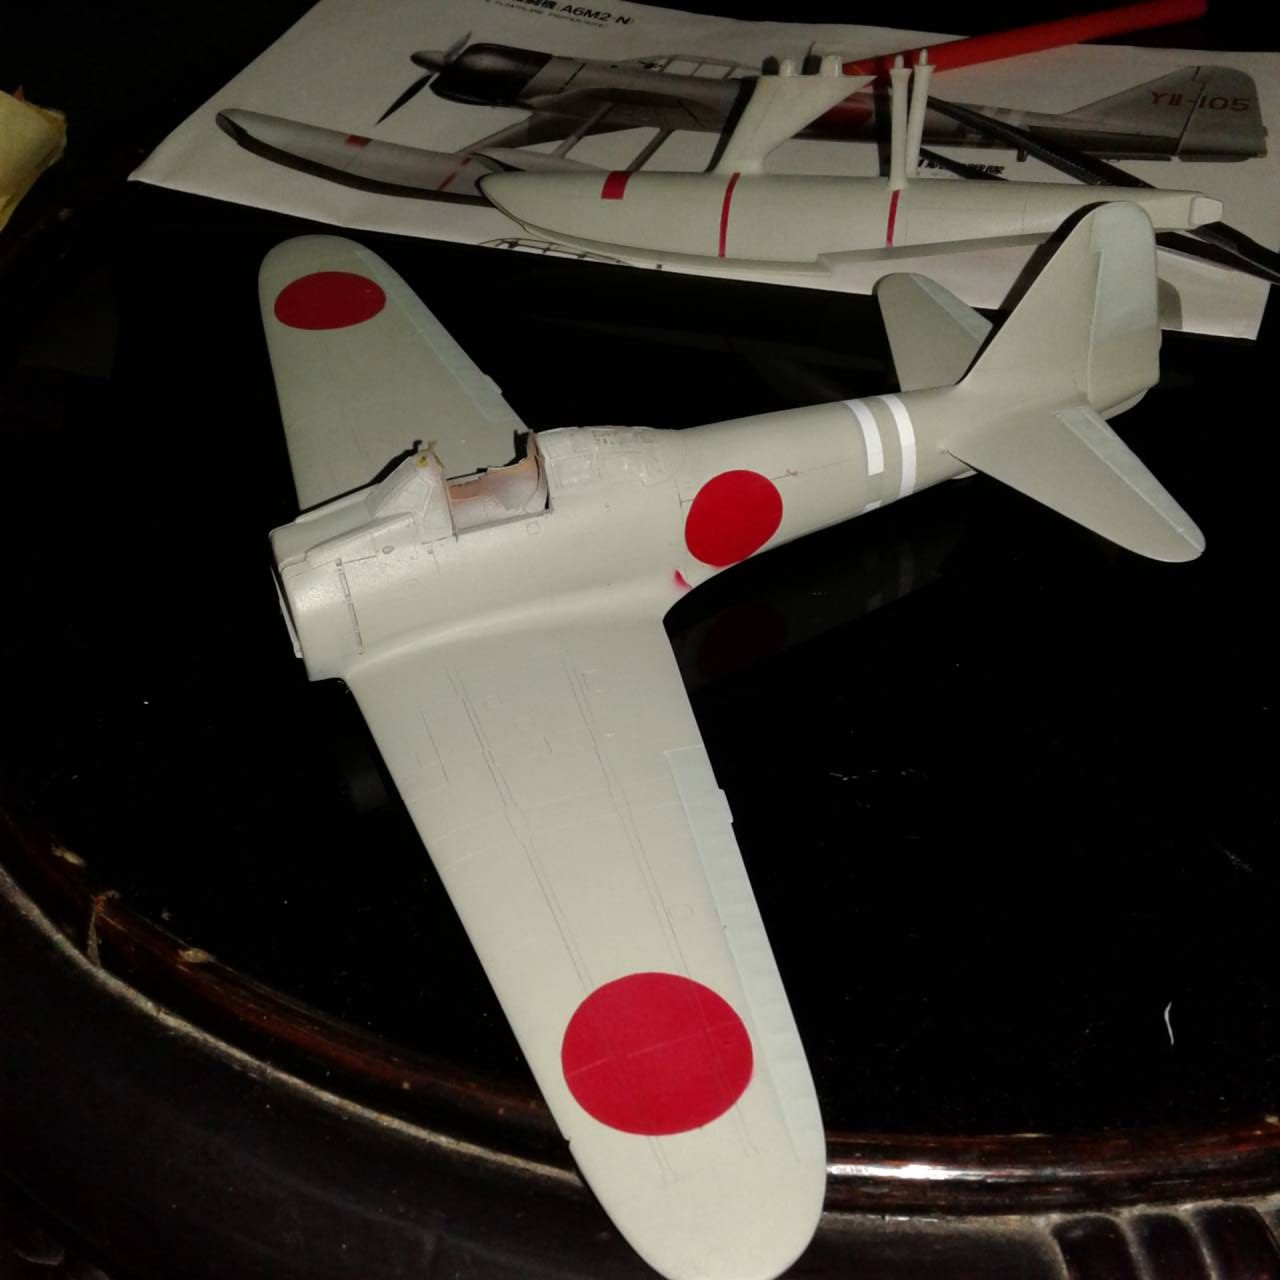
On went the squadron and command stripes, a problem area for me lately, something that I’ll be working on for sure.


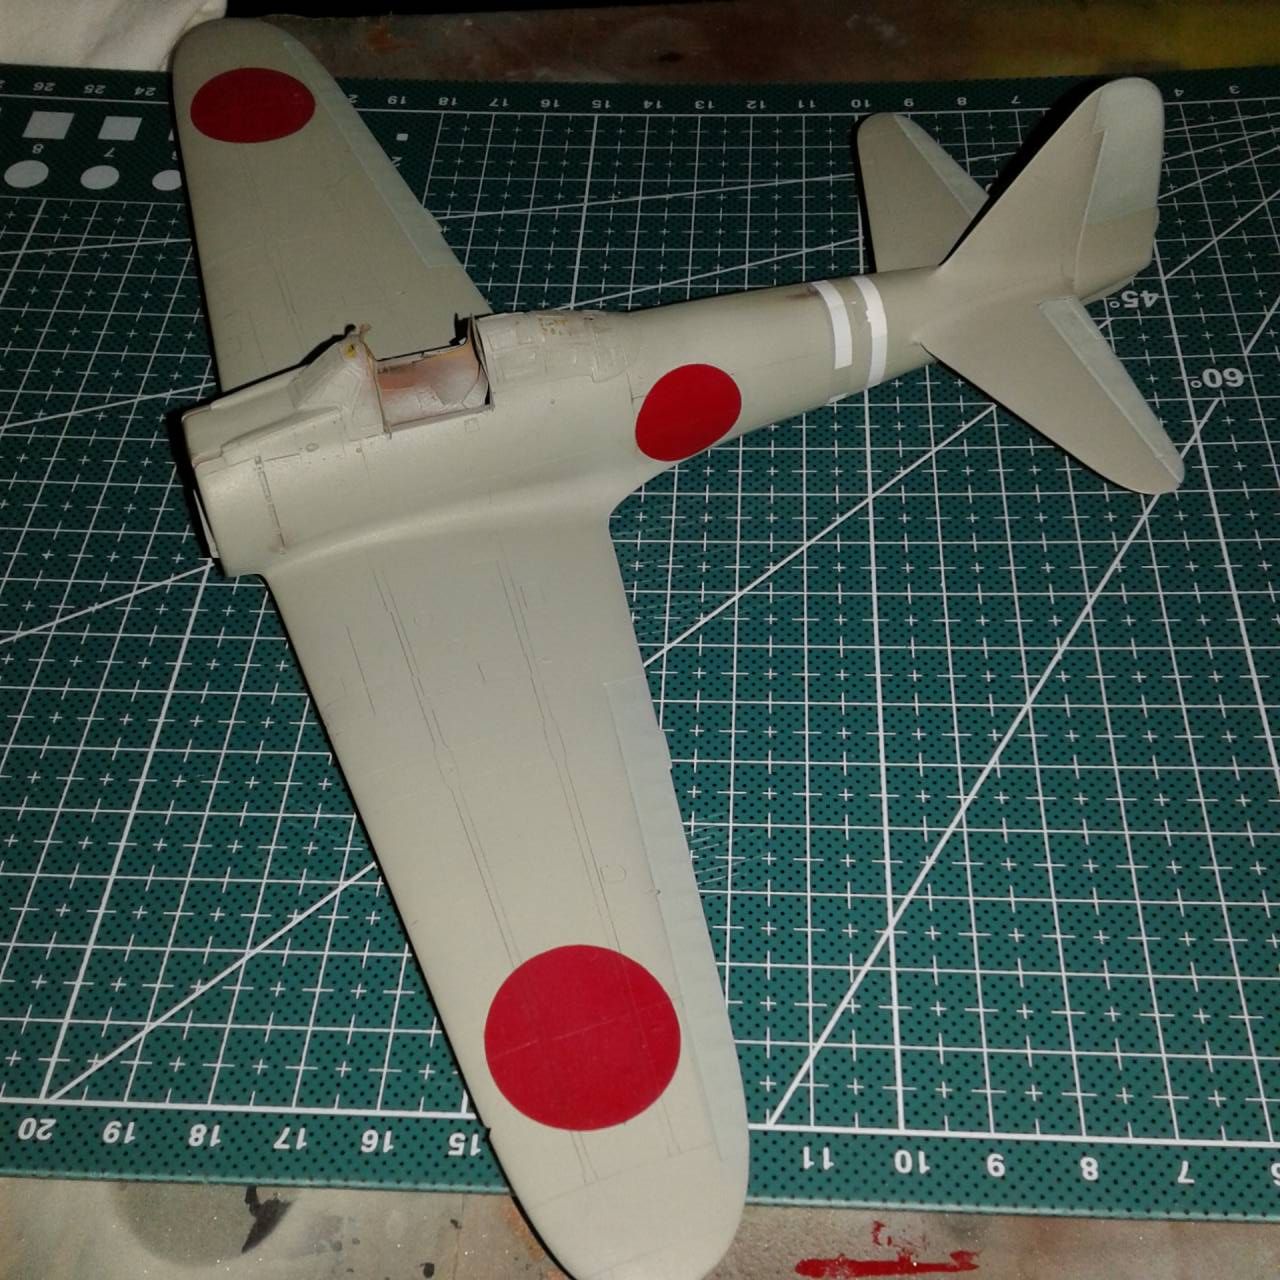
Next went the insignia, Tamiya red with a touch of white to match the decals, and despite my best efforts to cover everything, I got red spray through. More masking and touch up painting, and the stripes continued to give me grief!
Finally, I did a redo on the stripes, needless to say, the area looks poor. On went the clear coat, and then I added the kit decals for the data plate and the tail codes. The decals responded well despite their age. They are a bit thick, but some clear overspray seems to help.


Next up will be mating the floats, and little bits, and more opportunities to mess this one up!

Enjoy!

b17-peter
#392
_VISITCOMMUNITY
Hessen, Germany
Joined: January 09, 2013
KitMaker: 696 posts
AeroScale: 608 posts
Posted: Sunday, January 28, 2018 - 02:30 AM UTC
@John - Like your build, will follow!

I just found something in my stash to join this interesting campaign.
Here's my entry:


It will be build OOB plus resin air intakes and gun barrels by Quickboost. Decal variant as on the box cover.
Let's have fun and finish all in time
Scrodes
_VISITCOMMUNITY
Ontario, Canada
Joined: July 22, 2012
KitMaker: 771 posts
AeroScale: 763 posts
Posted: Sunday, January 28, 2018 - 05:58 AM UTC

Quoted Text

HI Radek,

I use 70% isopropyl alcohol to remove Tamiya paints all the time.


Same here - I actually just did this on the Corsair I'm building for this corsair because trial and error on a new technique left the paint built up way thicker than I could accept (more error than trial) and it took about 6-8 layers of paint off perfectly and the surface detail was completely unharmed, albeit still a little filled with paint - nothing a toothpick couldn't cure.
goodn8
_VISITCOMMUNITY
Berlin, Germany
Joined: October 12, 2008
KitMaker: 709 posts
AeroScale: 651 posts
Posted: Tuesday, January 30, 2018 - 12:04 AM UTC
Radek, very well done on the canopy - congrats!

John, despite all of your issues it looks nice and you really overcome them.


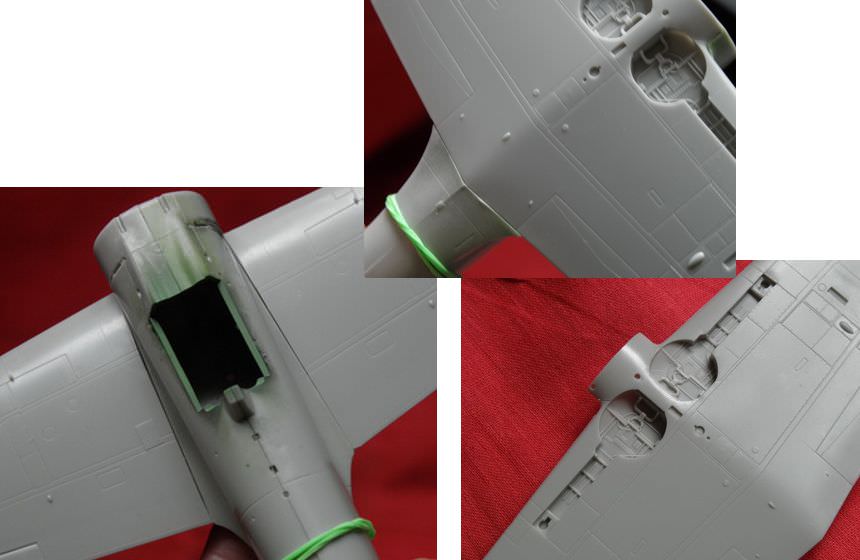
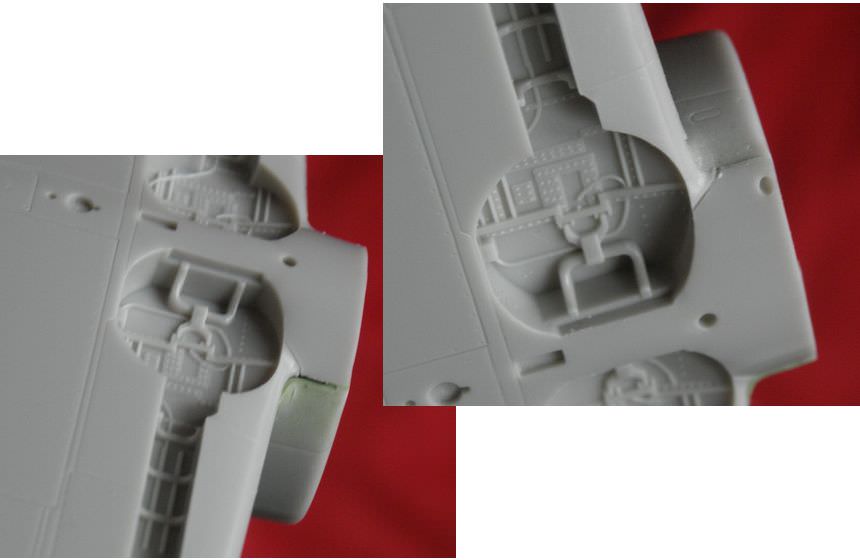
Got the wing halves of my Zero together (-yeah). No issues here.
The details on the surface and gear wells are quite nice for the age of this Tamiya kit. Think I'll move on OOB.
But dry fitting is promising some extra work ...


Thomas
Scrodes
_VISITCOMMUNITY
Ontario, Canada
Joined: July 22, 2012
KitMaker: 771 posts
AeroScale: 763 posts
Posted: Wednesday, January 31, 2018 - 06:15 AM UTC
In a desperate attempt to keep this thread going....


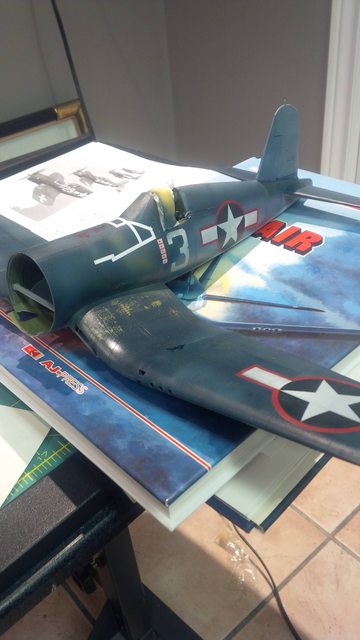
So close to the finish now.

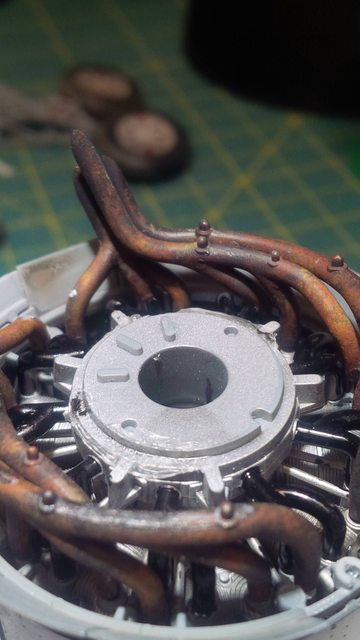
Long story short - the Brassin engine just isn't going to work. Don't get me started

That means I had to backtrack and detail the Tamiya engine up a little bit. I was building it alongside the Brassin engine so I could use it basically as a mule. It's passable now.


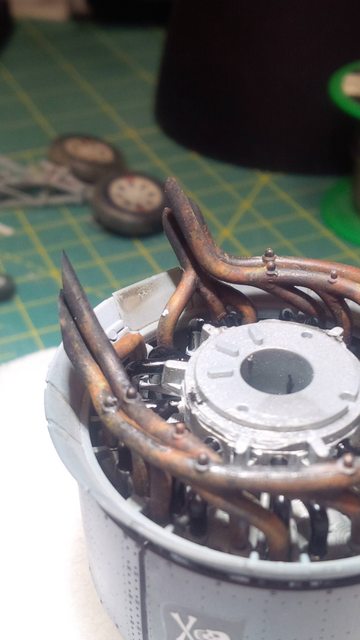
Here are the exhausts - brand new technique that I'm trying out - and yes, I see the spots that I need to touch up.


Ignore the unweathered engine - the front is plenty dirty.


Sooooooooooo clooooose. Mainly I'm waiting on a shipment from Spruebrothers.


Markings painted using Mal's aptly named Miracle Masks