Quoted Text
Radek, very sorry for that paint disaster!
Hope you can fix it as this is going to be a nice looking bird.
Maybe (at least what I can see) the colors (and combination) seems to be too weak and incompatible to resist the adhesives of the tape that soften them anyhow.
Anyone else got a similar problems with those color mixes?
good luck, Thomas 
Hi Thomas,
thanks

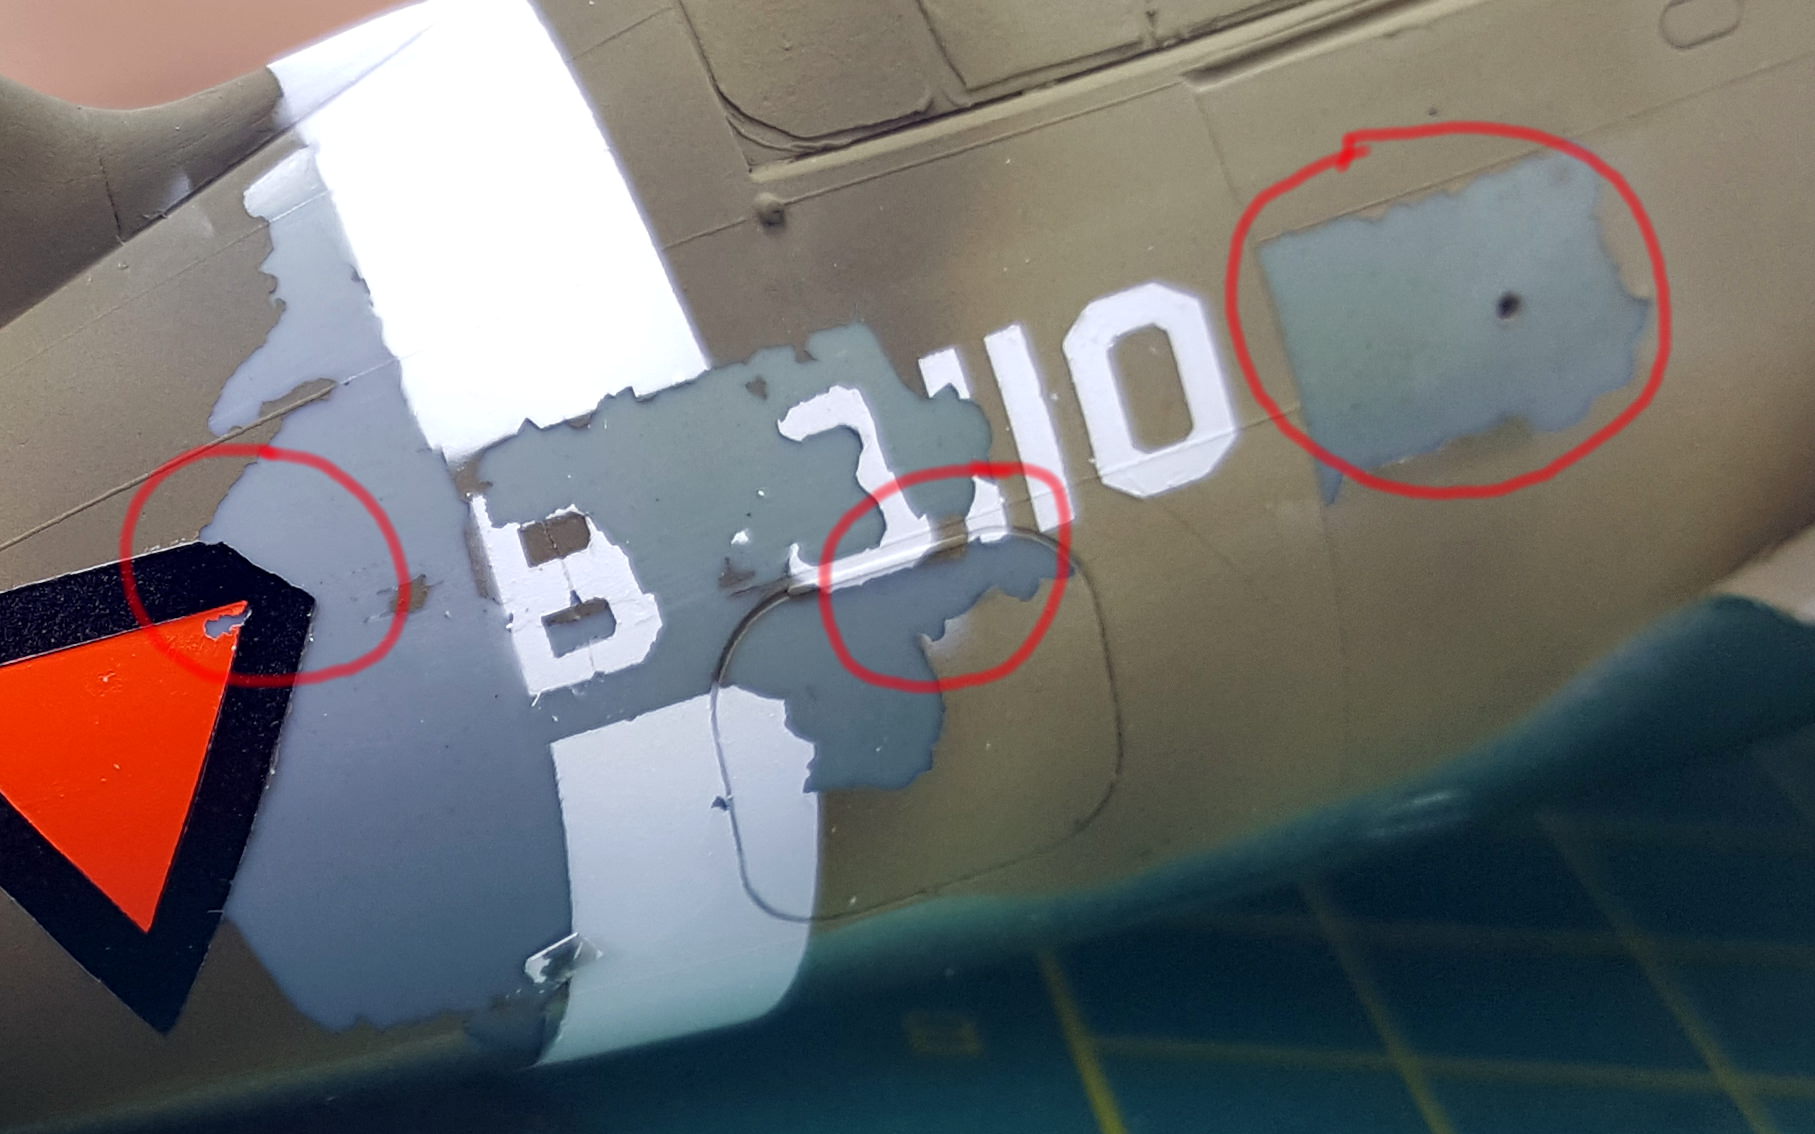
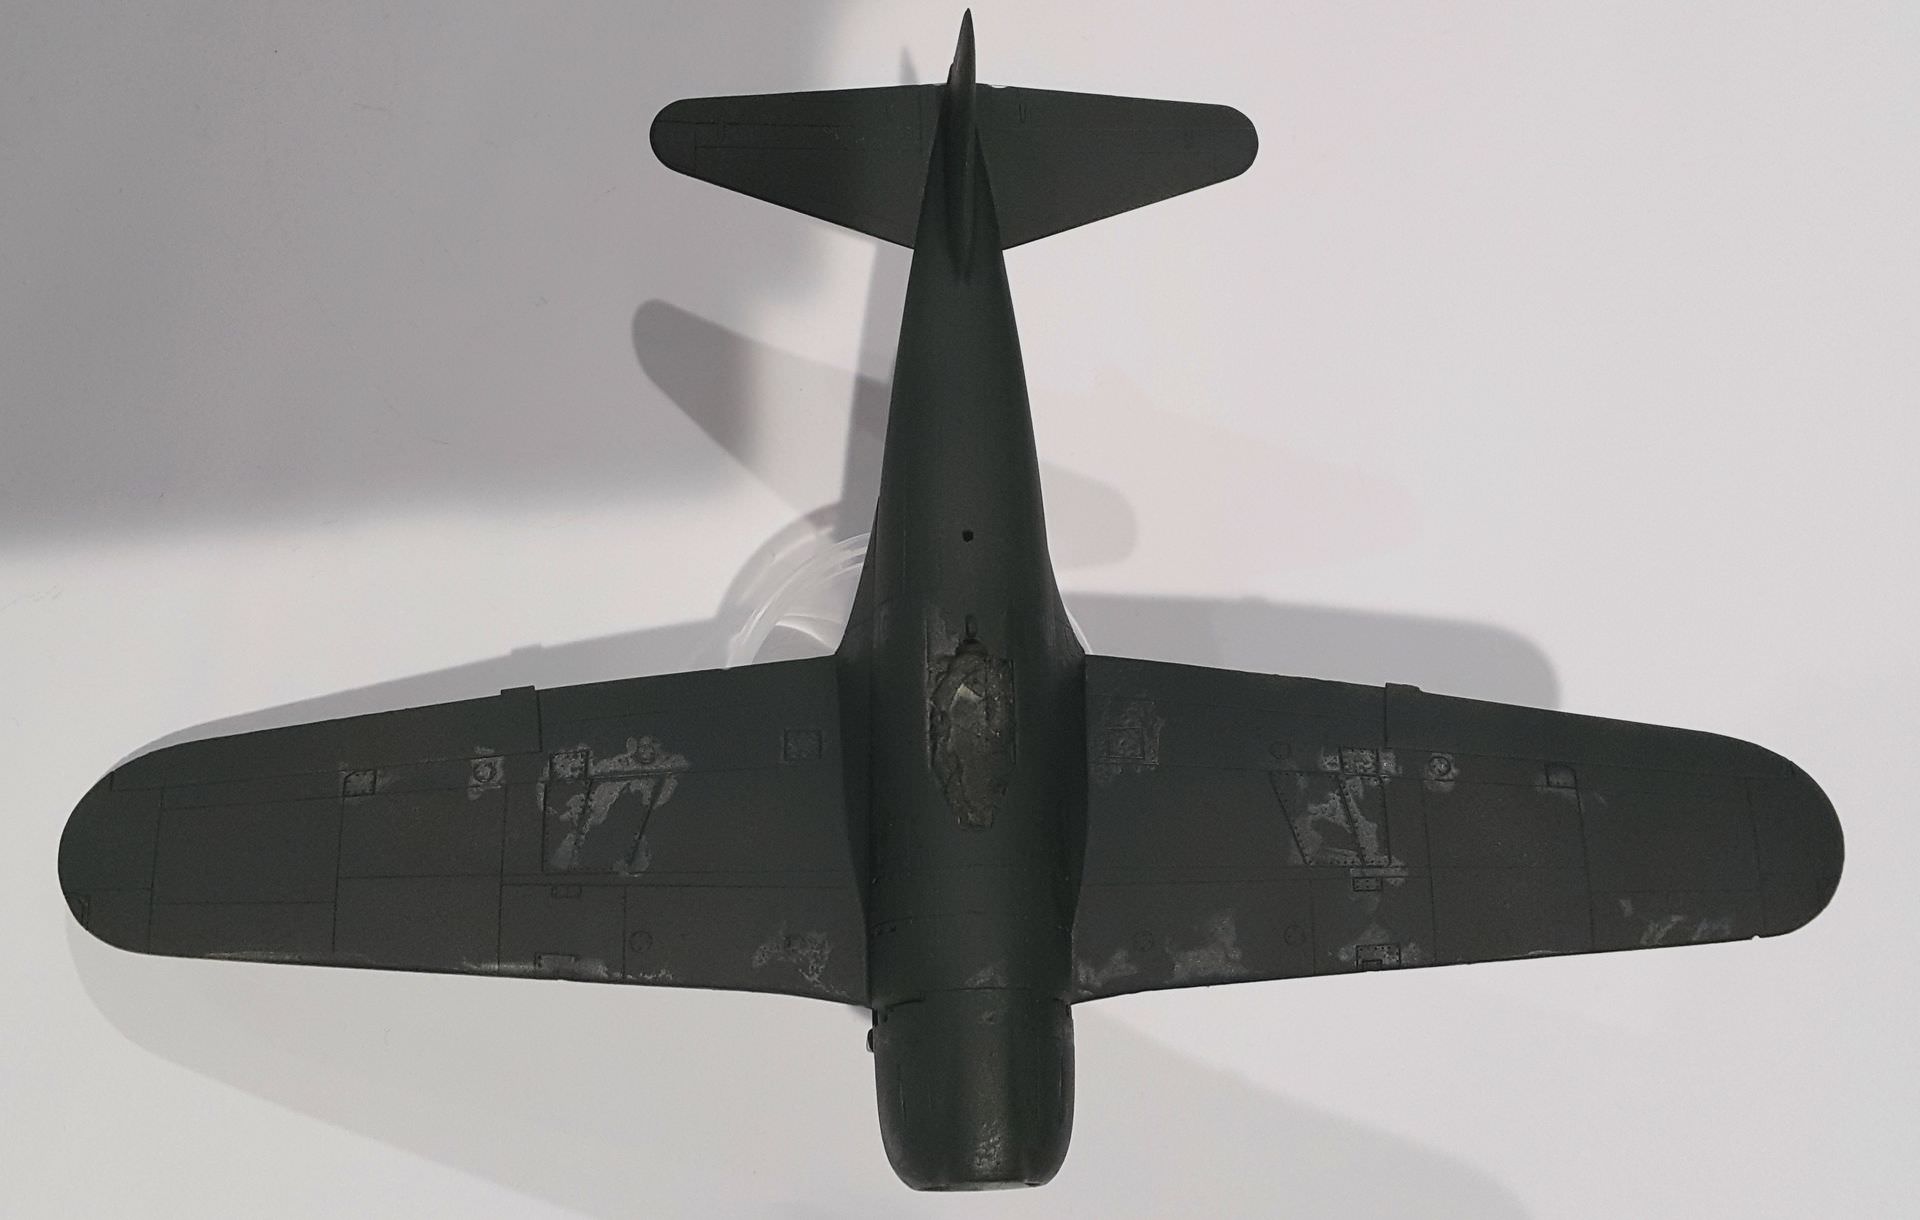
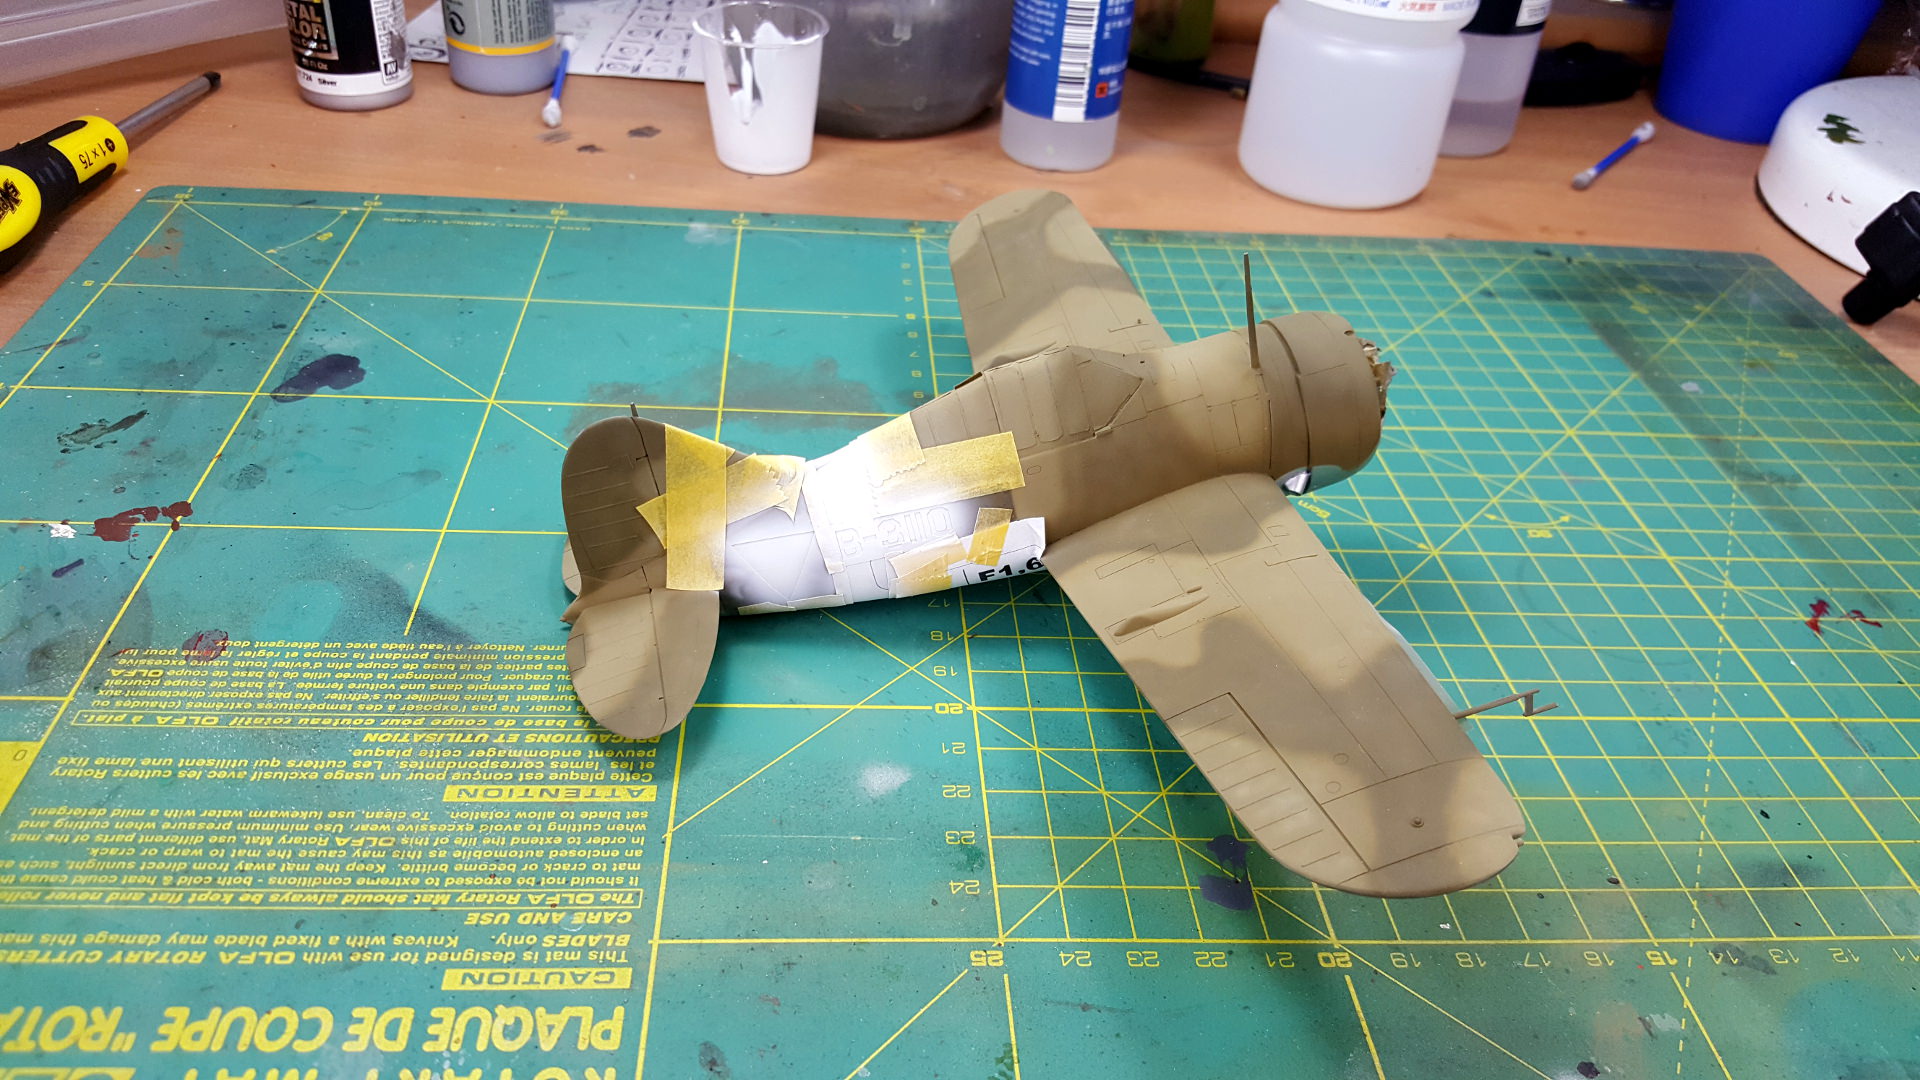
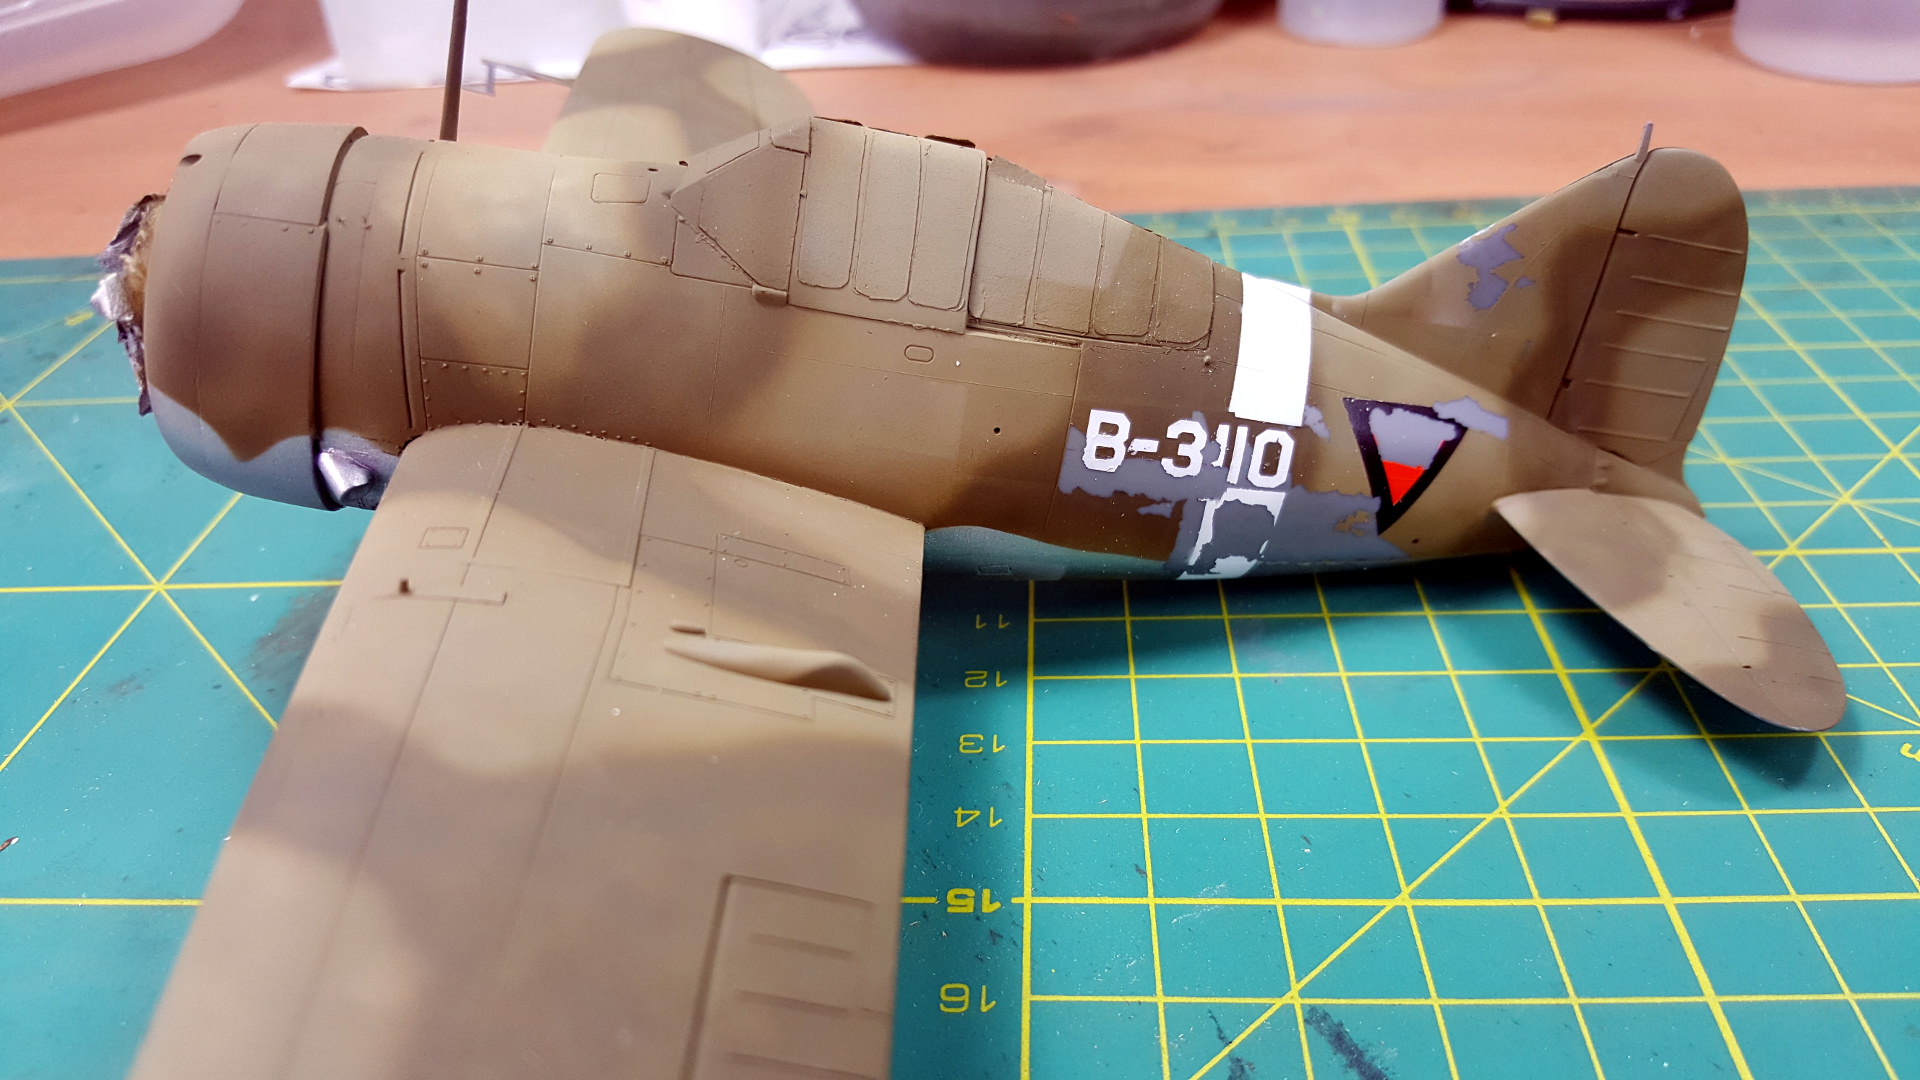
. For me there's definitely problem with primer. Paint seems to stick good to primer, but primer just goes off with everything above.
Like on this pic below.
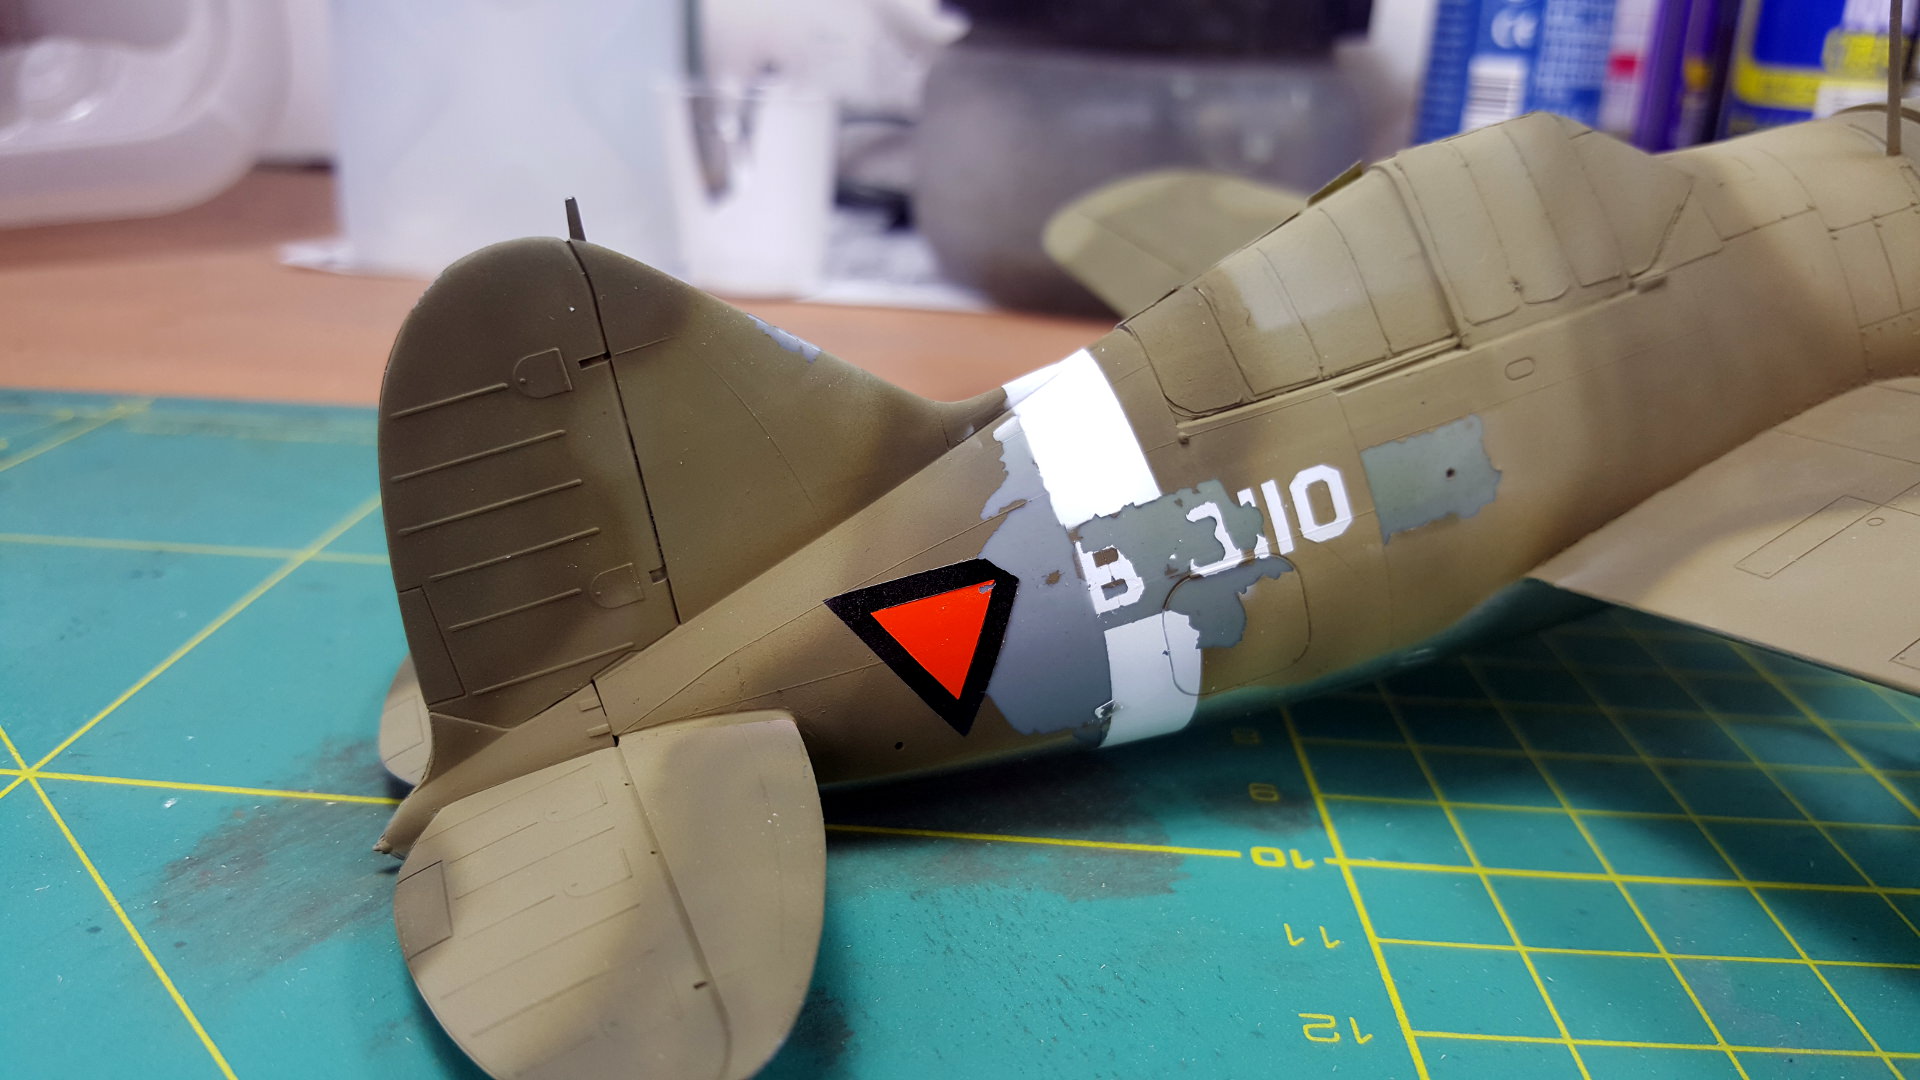
Left marking - I just "scratched" the orange paint on Dutch roundel and it went off to bare plastic... just if it was not fixed to surface.
The strangest one is however in area marked to the right. There is a visible tint or faint discolouration on plastic surface just like if camo colour passed through primer or something. Very disturbing.
The mid marking shows clearly how the primer with paint ripped off surface during removal of masks...
I don't know which way I'll follow to fix that.
From one side as I'm not going to use any masking anymore (decals only) I can try to remove only the paint in "affected" area by sanding it down with fine sandpaper and then repaint the area but without OneShot primer, just the Tamiya's grey paint as primer.
Drawback here is that it will probably leave differences in paint shades as I won't be able to recreate mixing proportions of paints I mentioned in earlier post.
The other option which I don't want to follow would be to completely remove the paint and do all painting from scratch.
Drawback is that it takes time and may cause some other damage to plastic or joints and also it may cause I'll loose my mojo again

Nevertheless it seems I once again overcomplicated the build. If I decided to go for decals stright away I would be already publishing my final pics


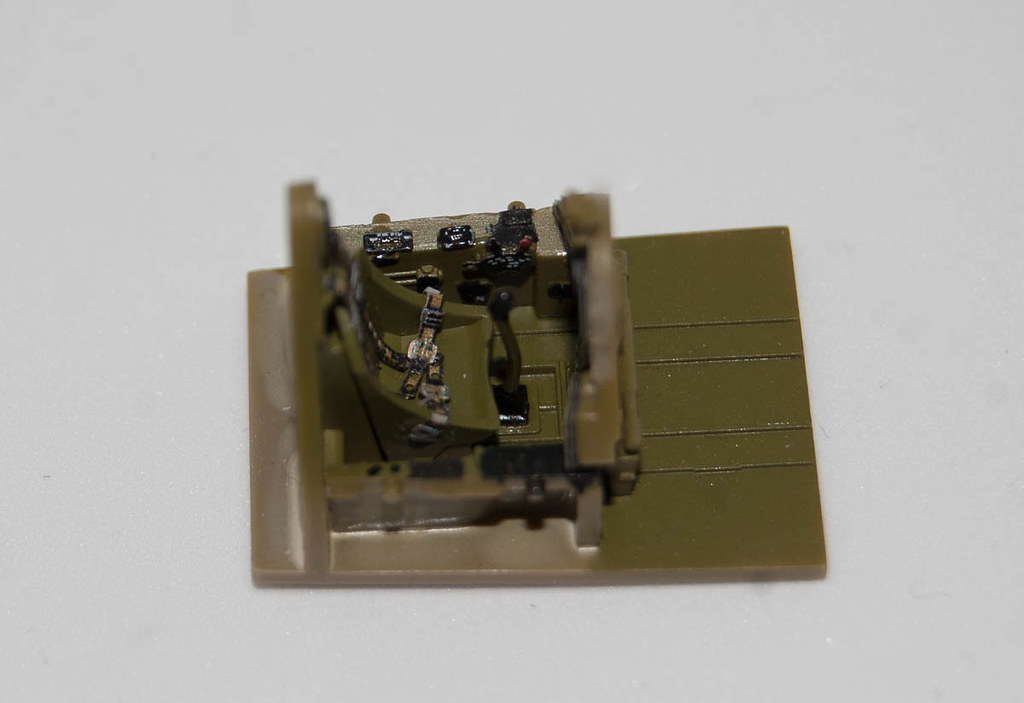
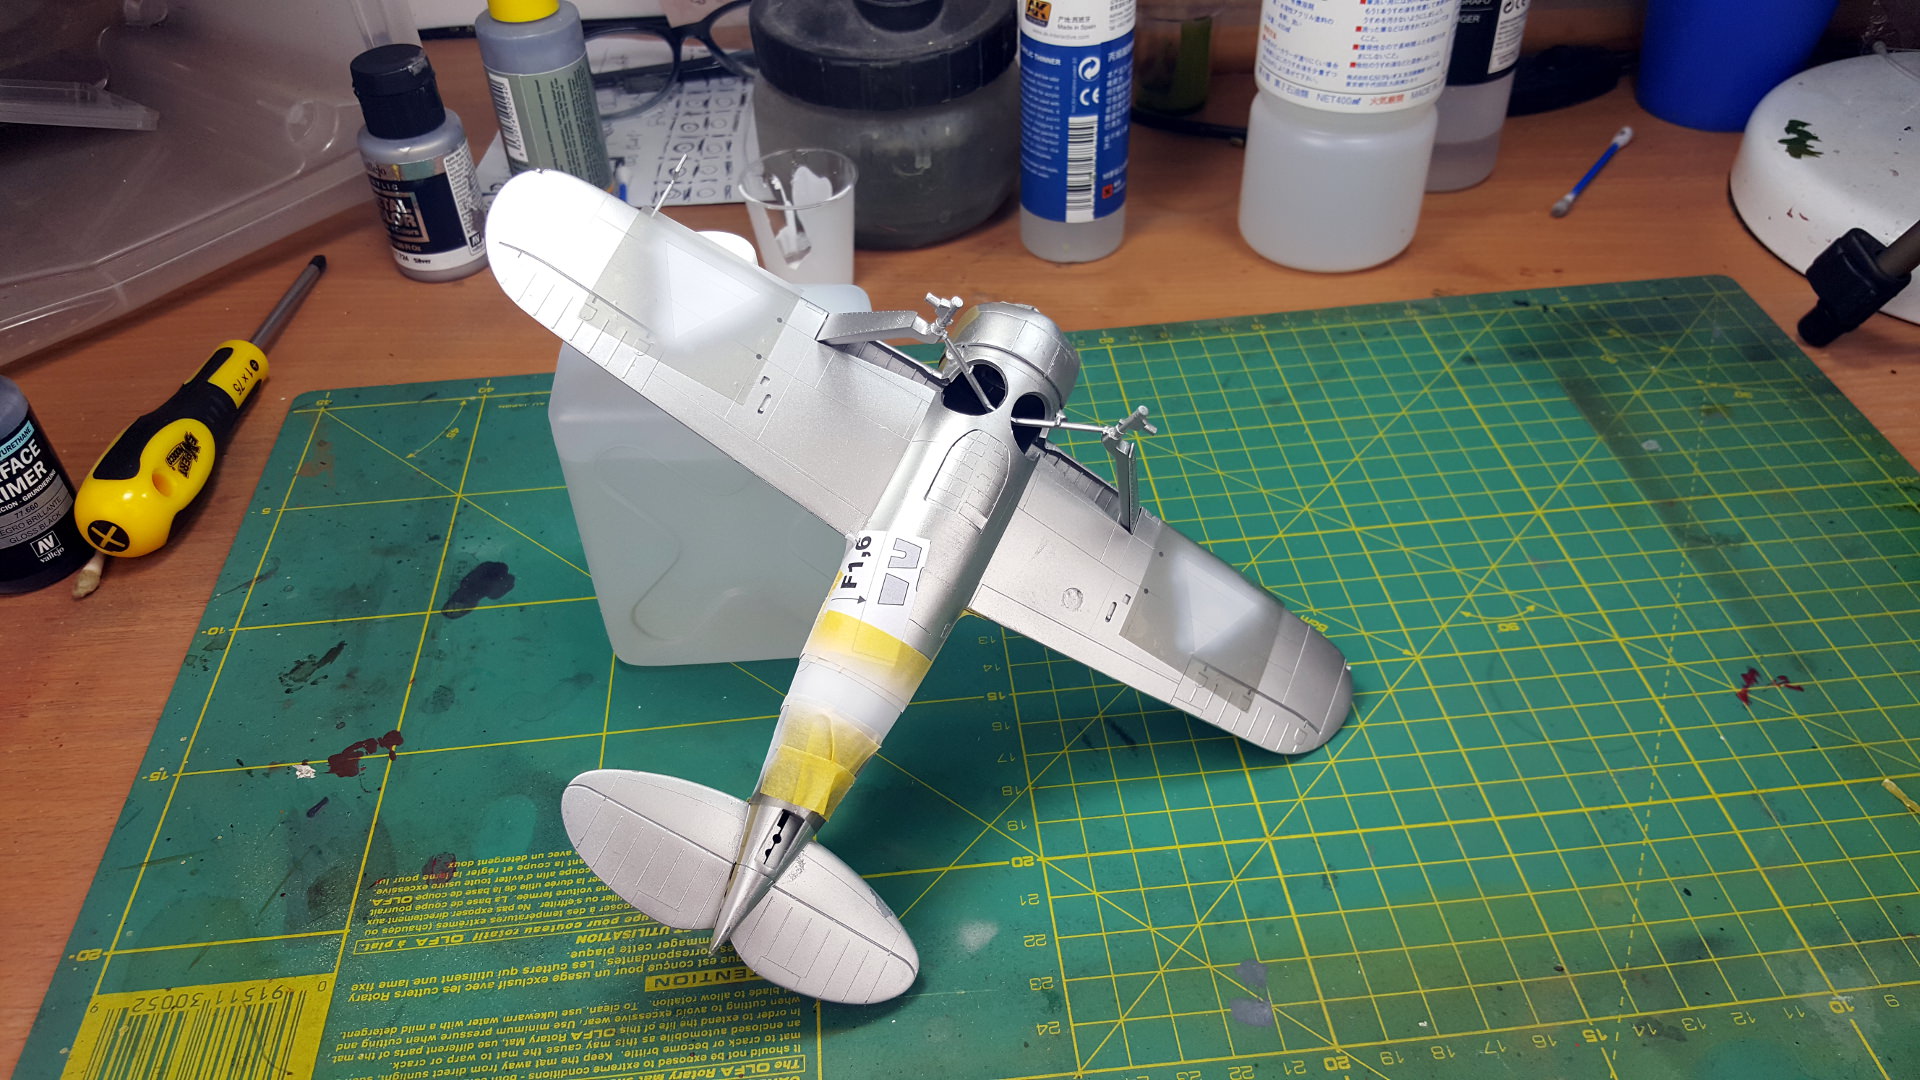
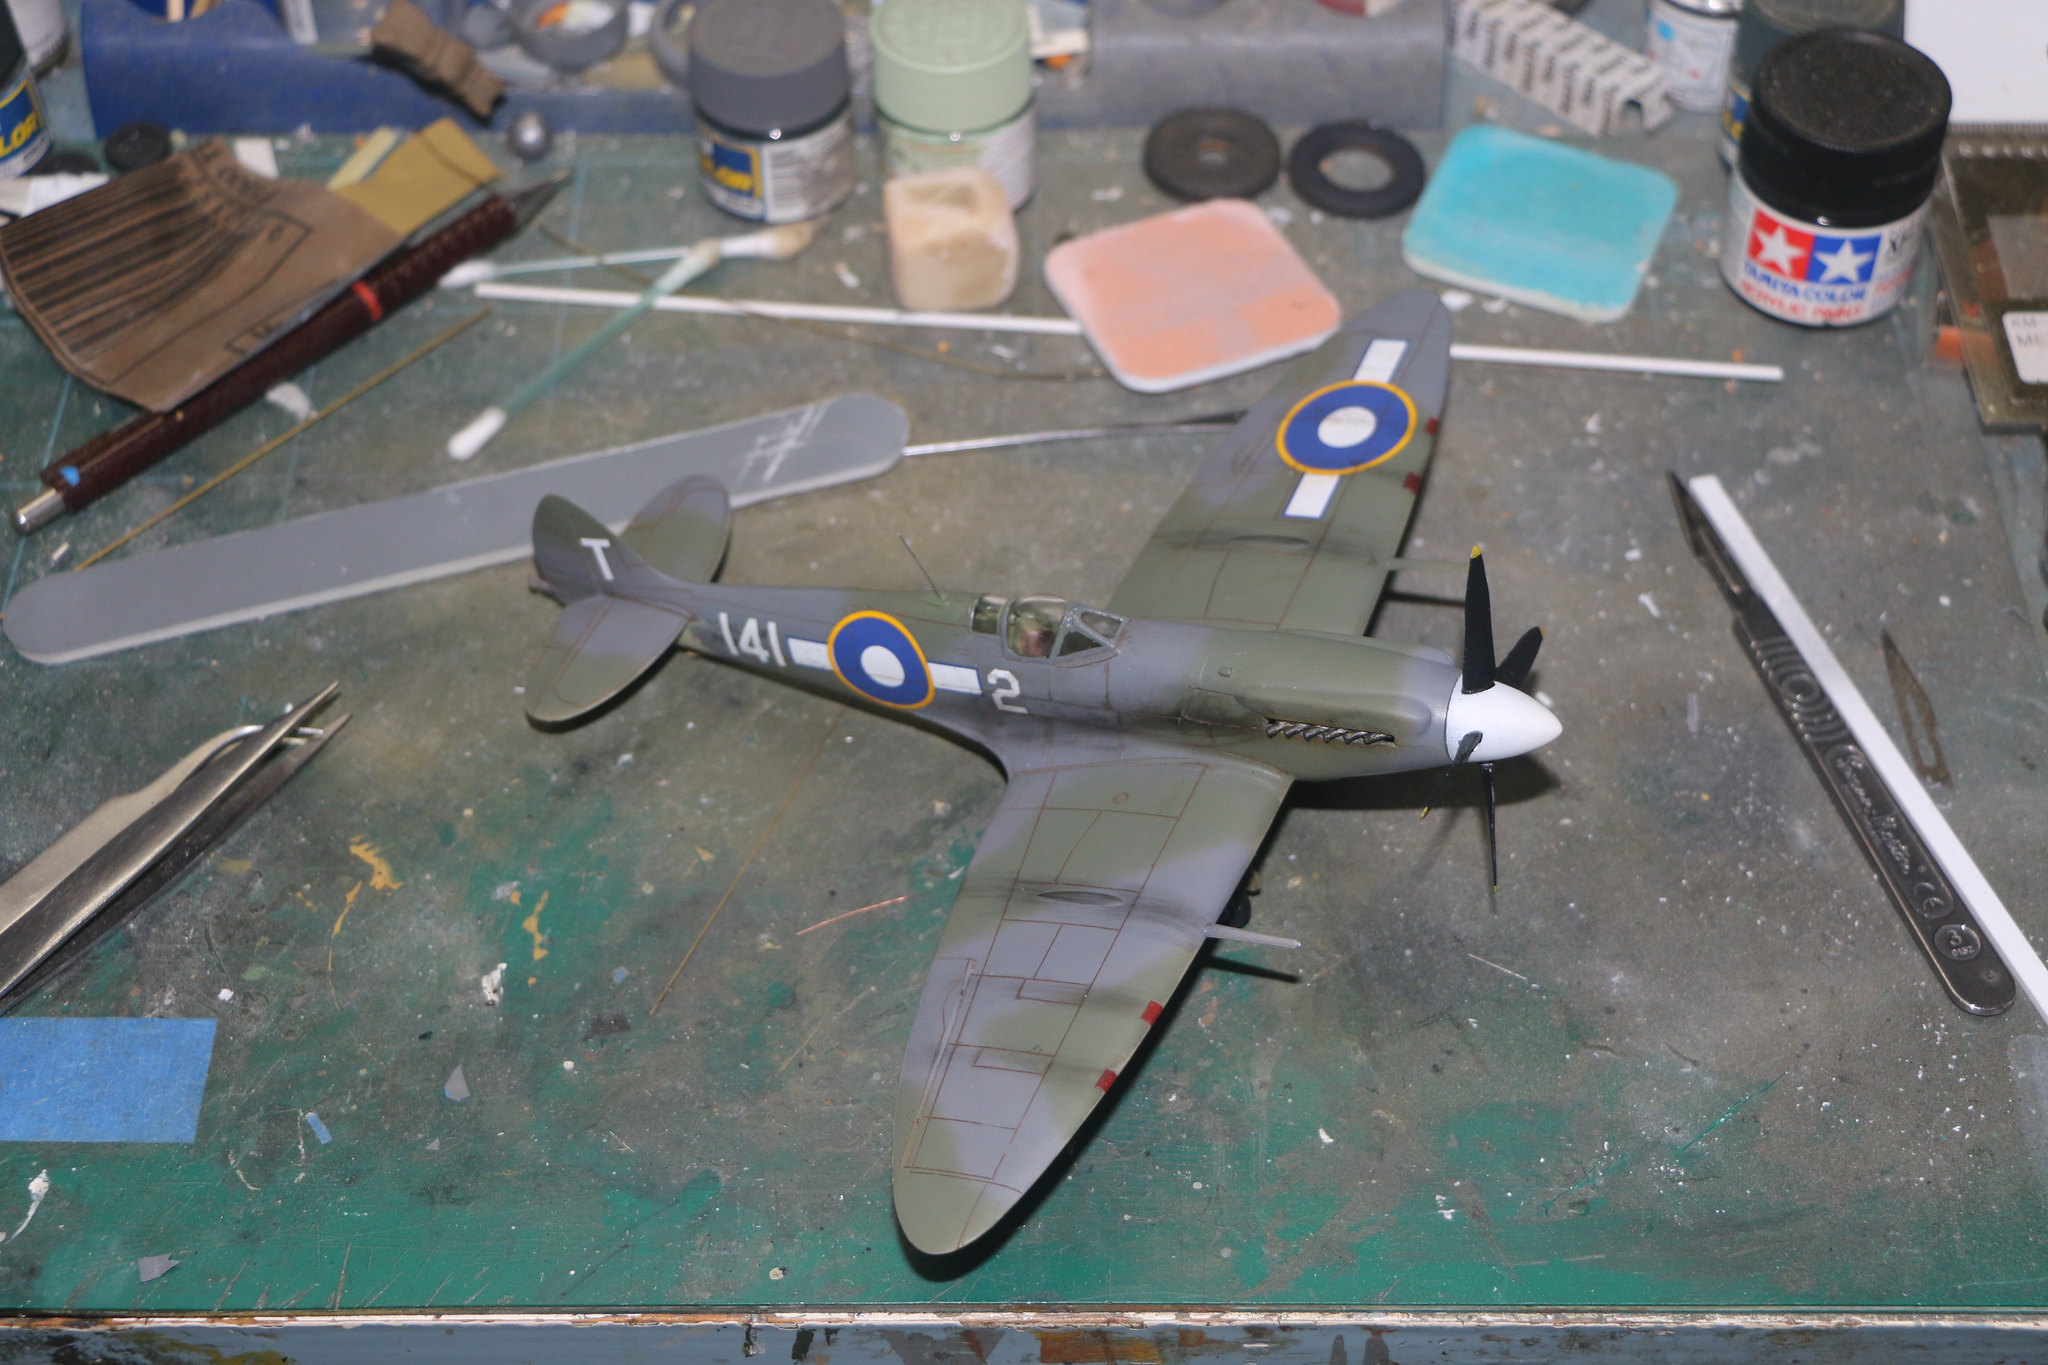 IMG_2017 by Chris WIlson, on Flickr
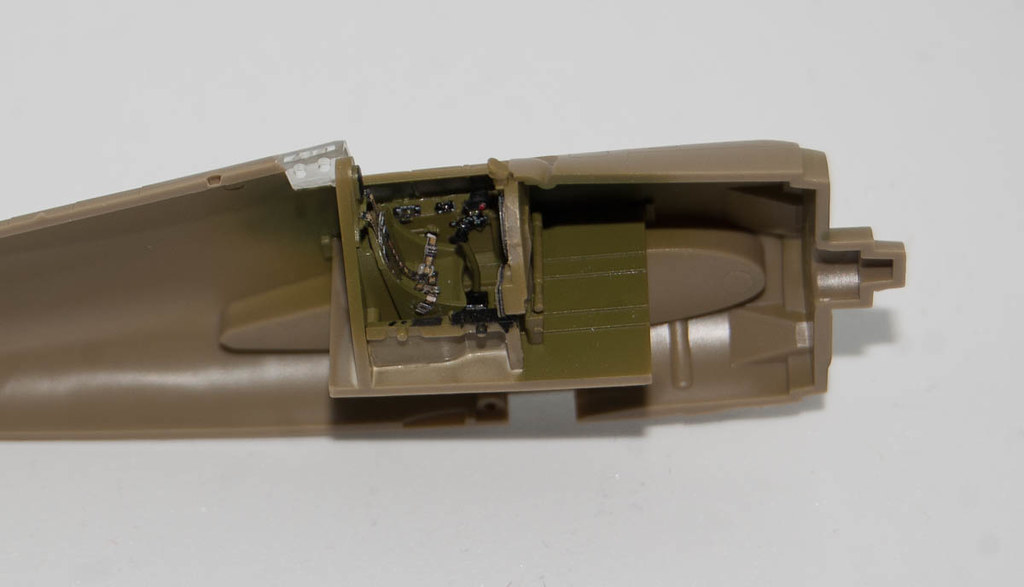
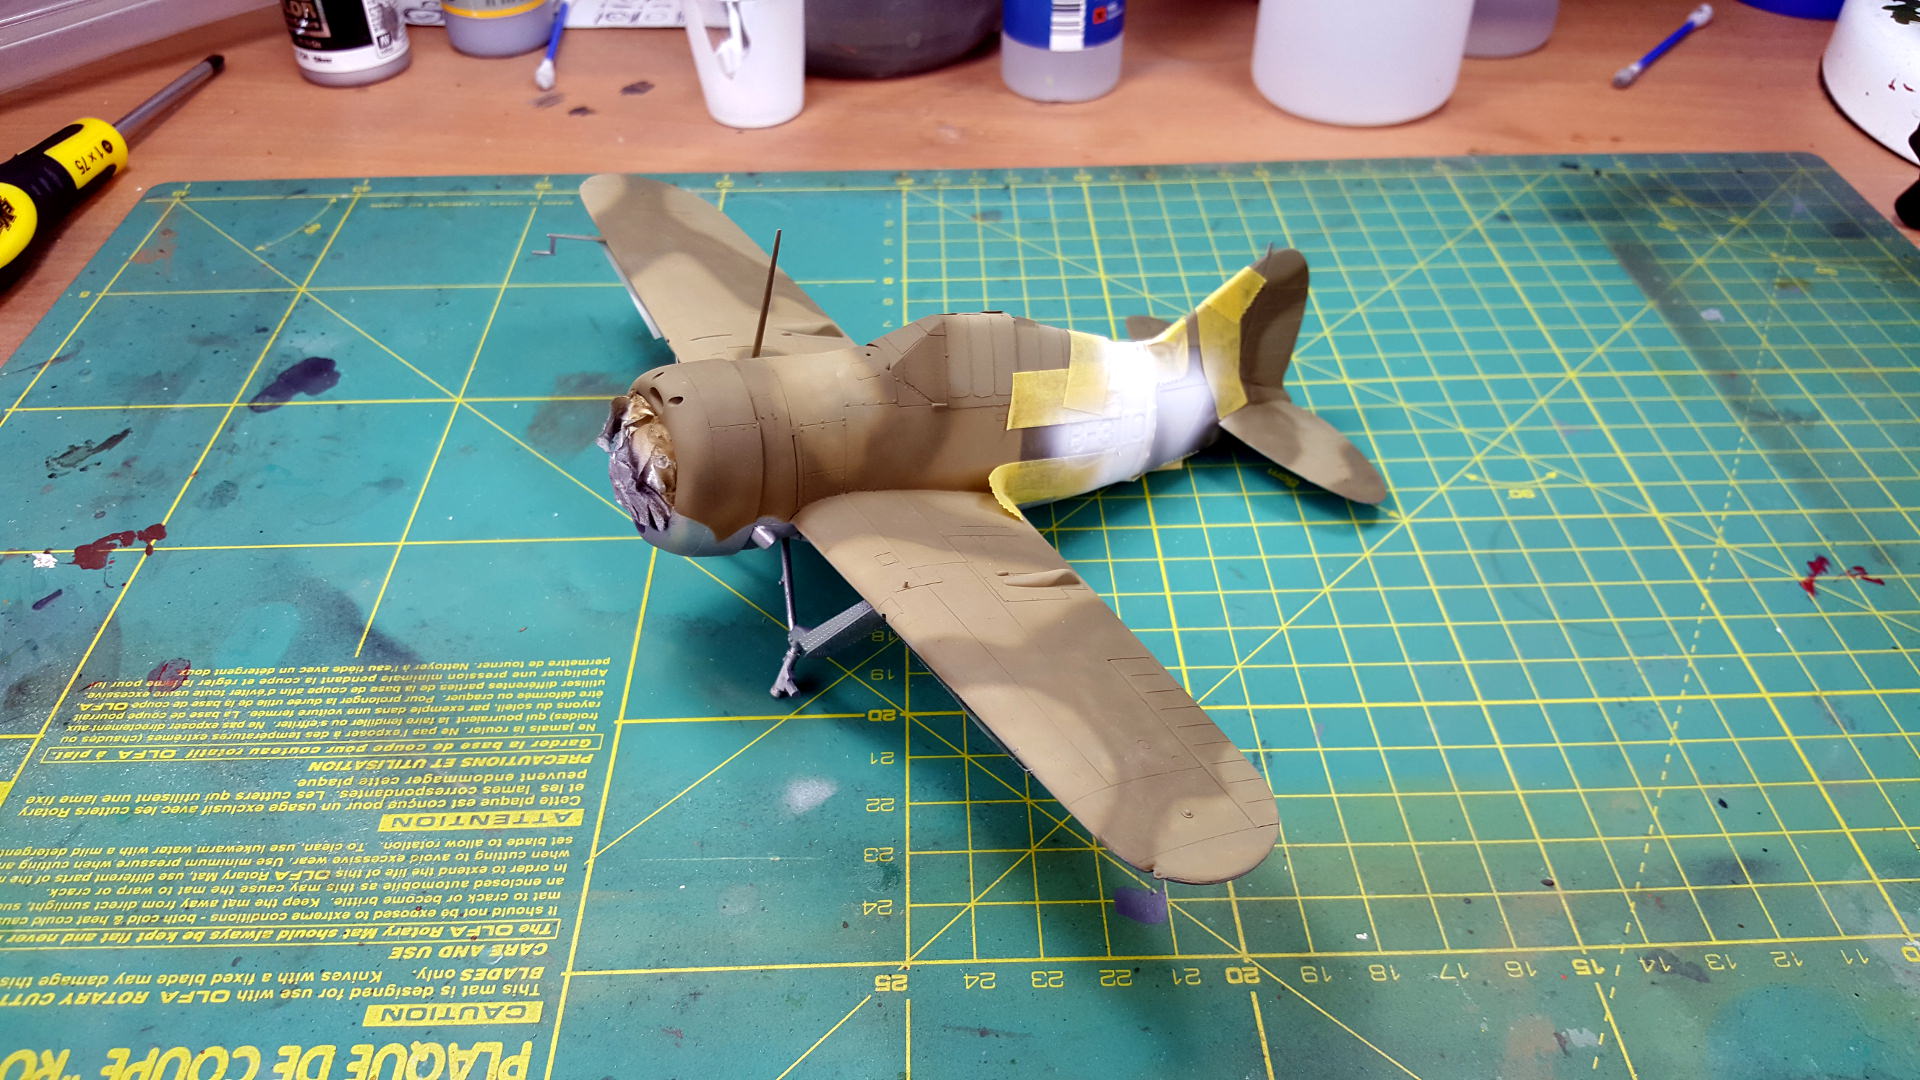
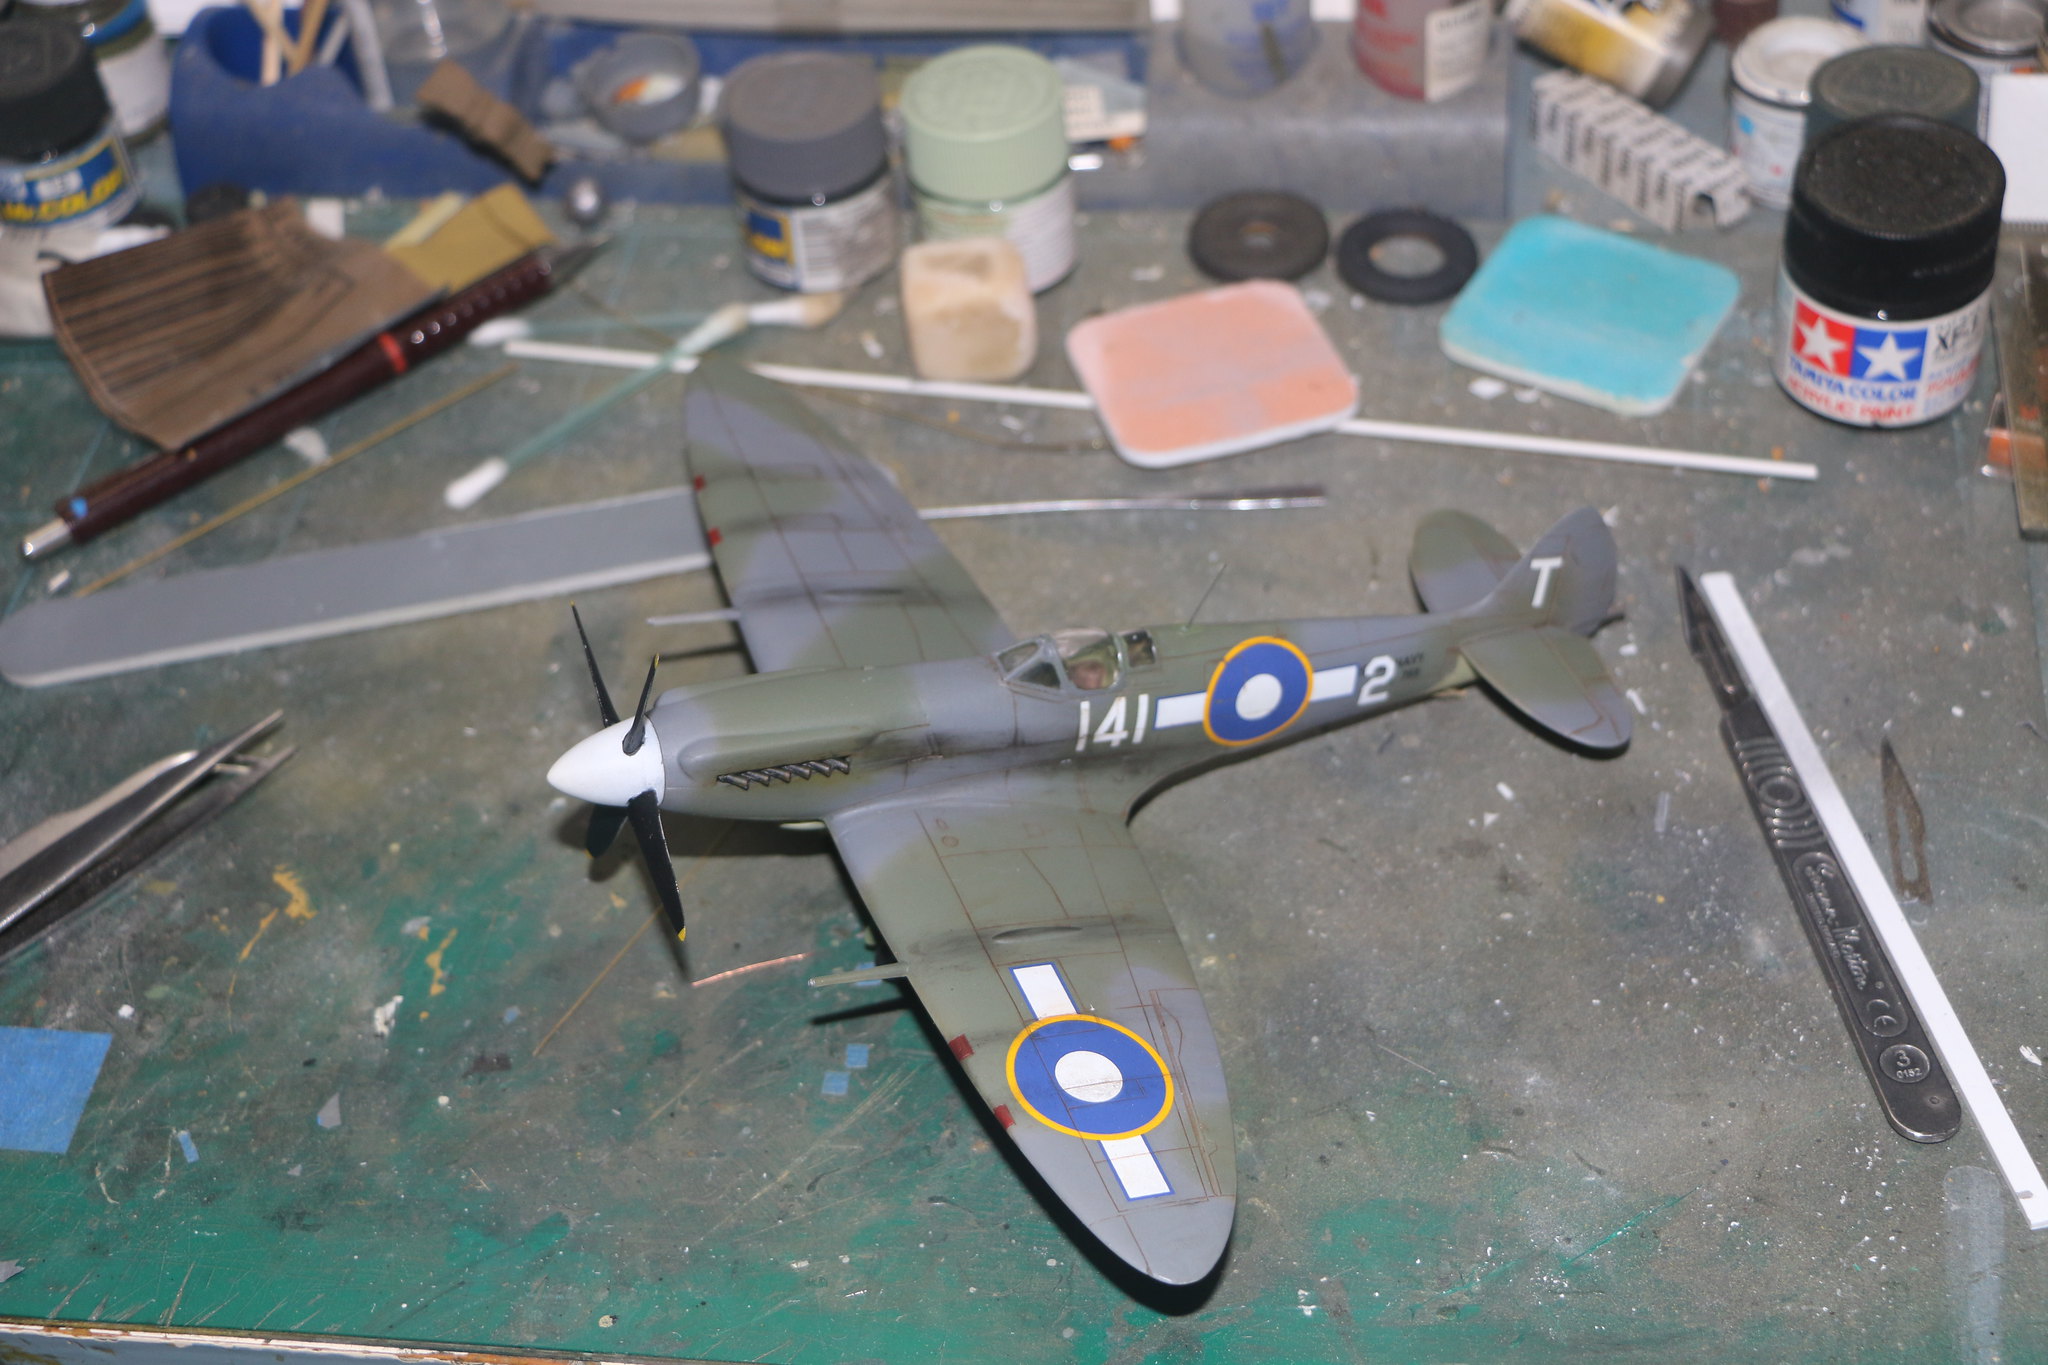 IMG_2018 by Chris WIlson, on Flickr
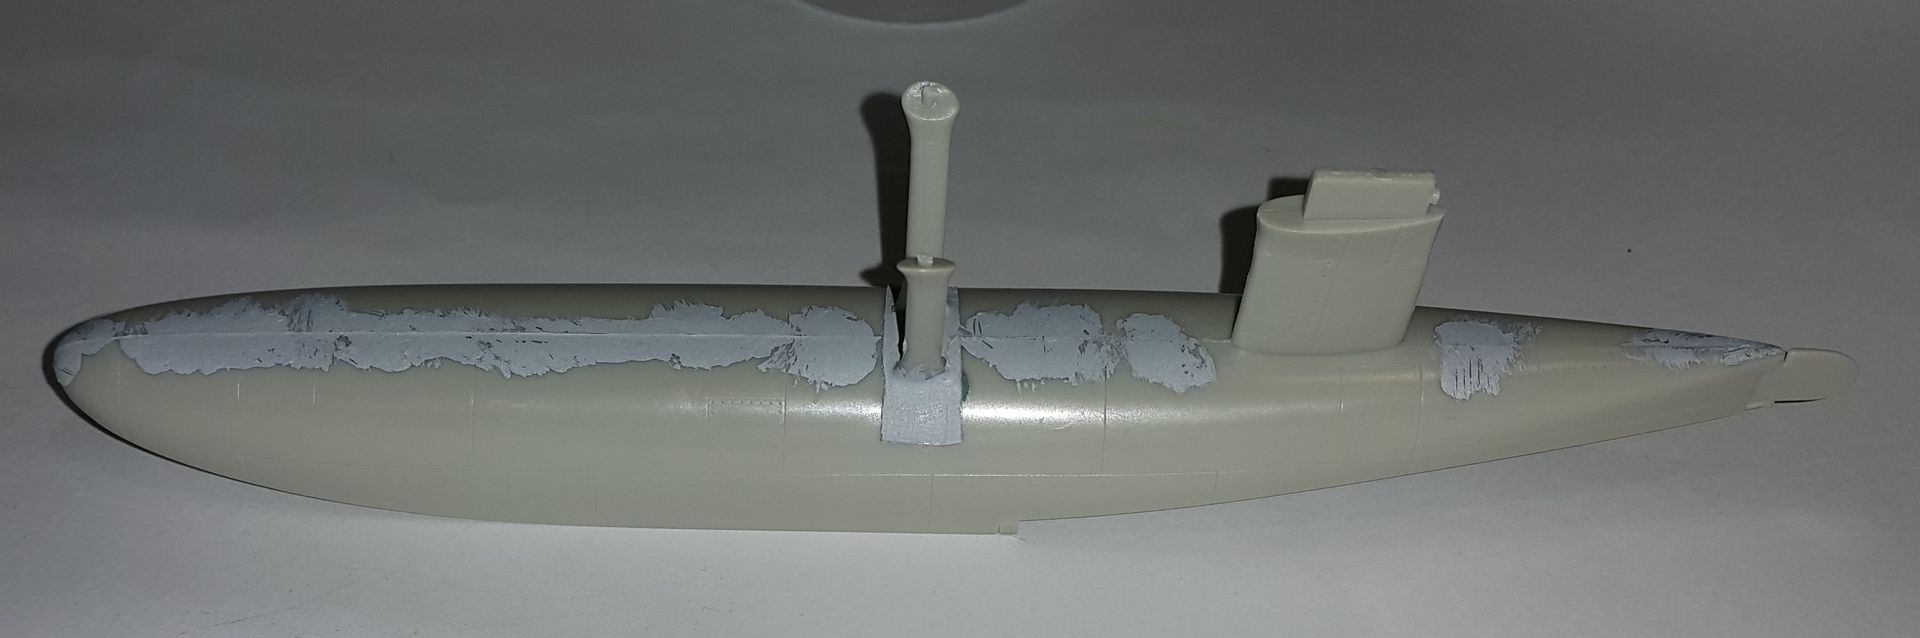
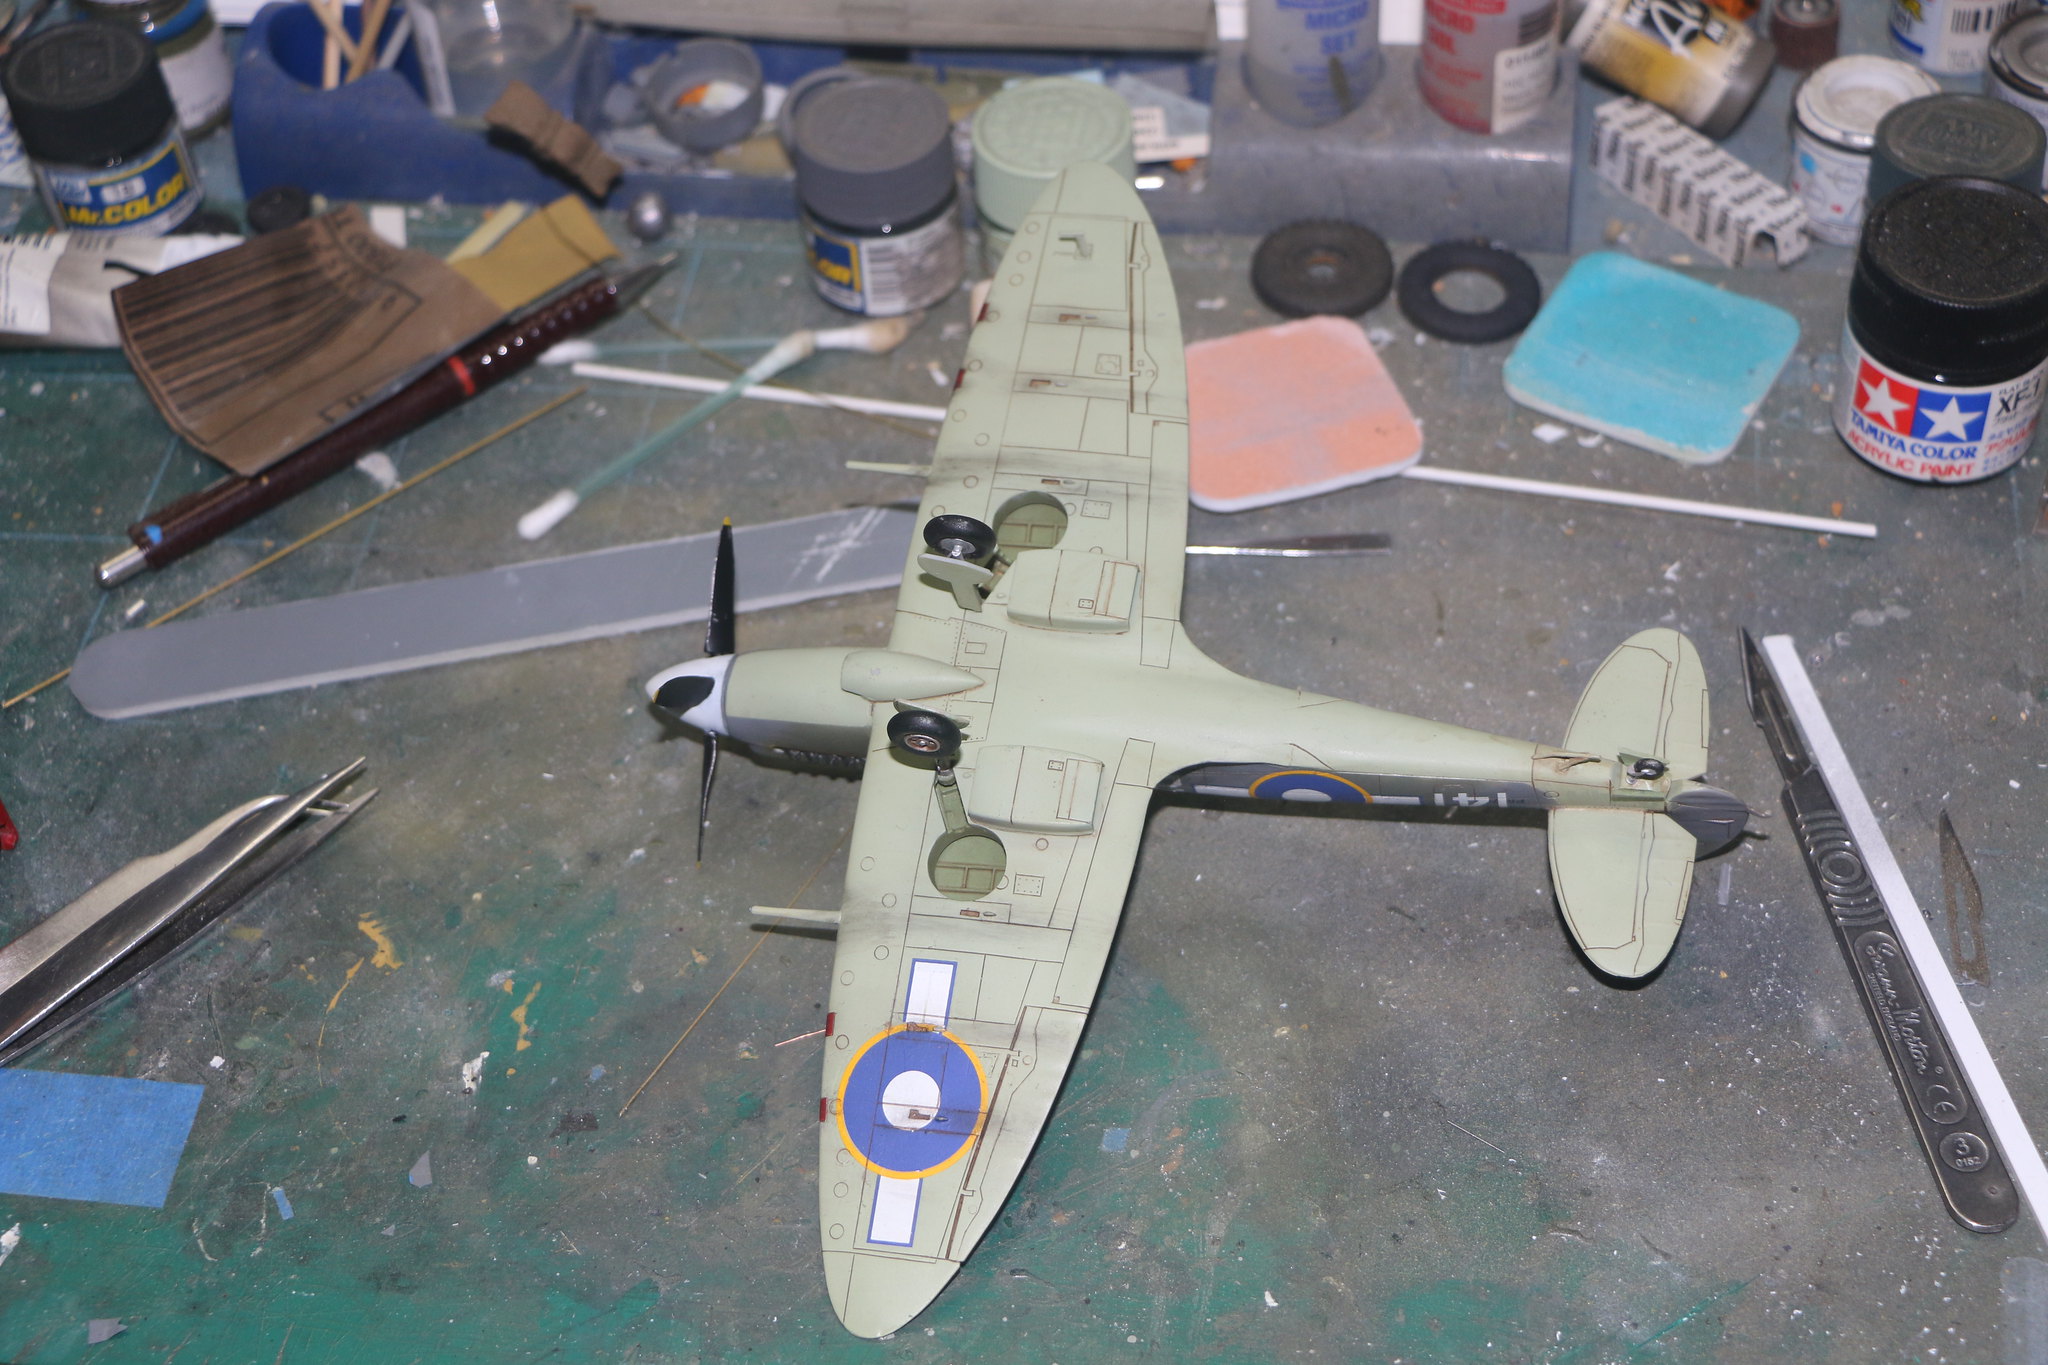 IMG_2019 by Chris WIlson, on Flickr
 IMG_2022 by Chris WIlson, on Flickr


 This is getting to be the hardest build ever.
 ) about priming and painting and I think this might be an issue in my case as well as I spray with 0.2mm nozzle, which means I can't use too dense paints and have to thin them well....


