Hi all,
Oliver, as always kind words, and another great build! Nice Kate and in 1/72 no less. To add to the question regarding the holes in the seats of some Japanese aircraft. These were made to lighten the aircraft, they are asymmetric, though most pictures will show the holes of varying size in the same general place. From a pilots perspective Id think they would have chosen better places somewhere on the plane to lighten the load! Gotta love those engineers!
Ernest, I like the SBD!
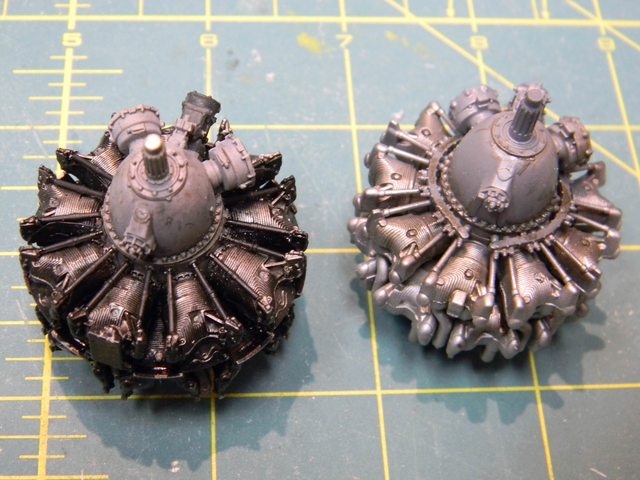
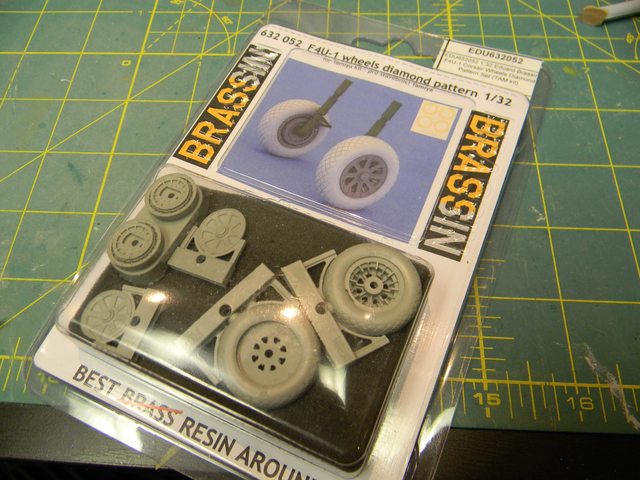
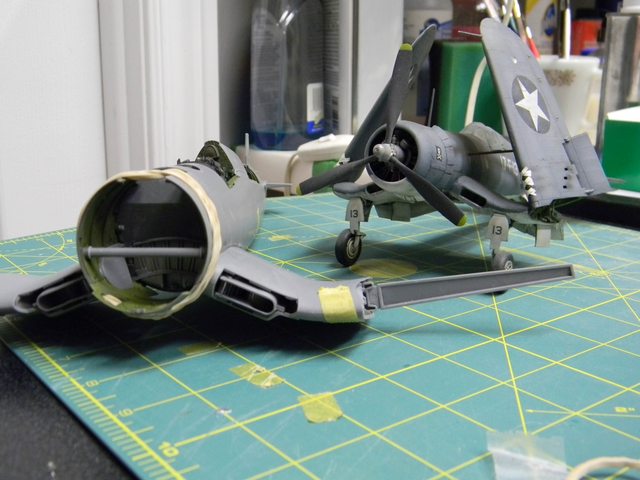
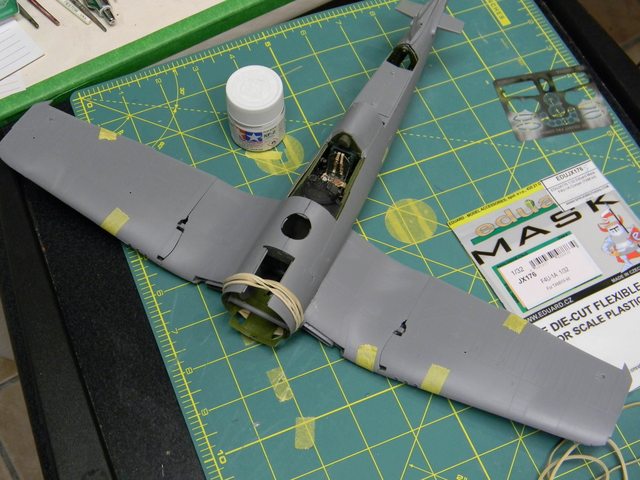
Matt the corsair is coming along nicely. Regarding scale? While 32nd may allow for greater detail that is actually seen, after you build a few, where do you put them?
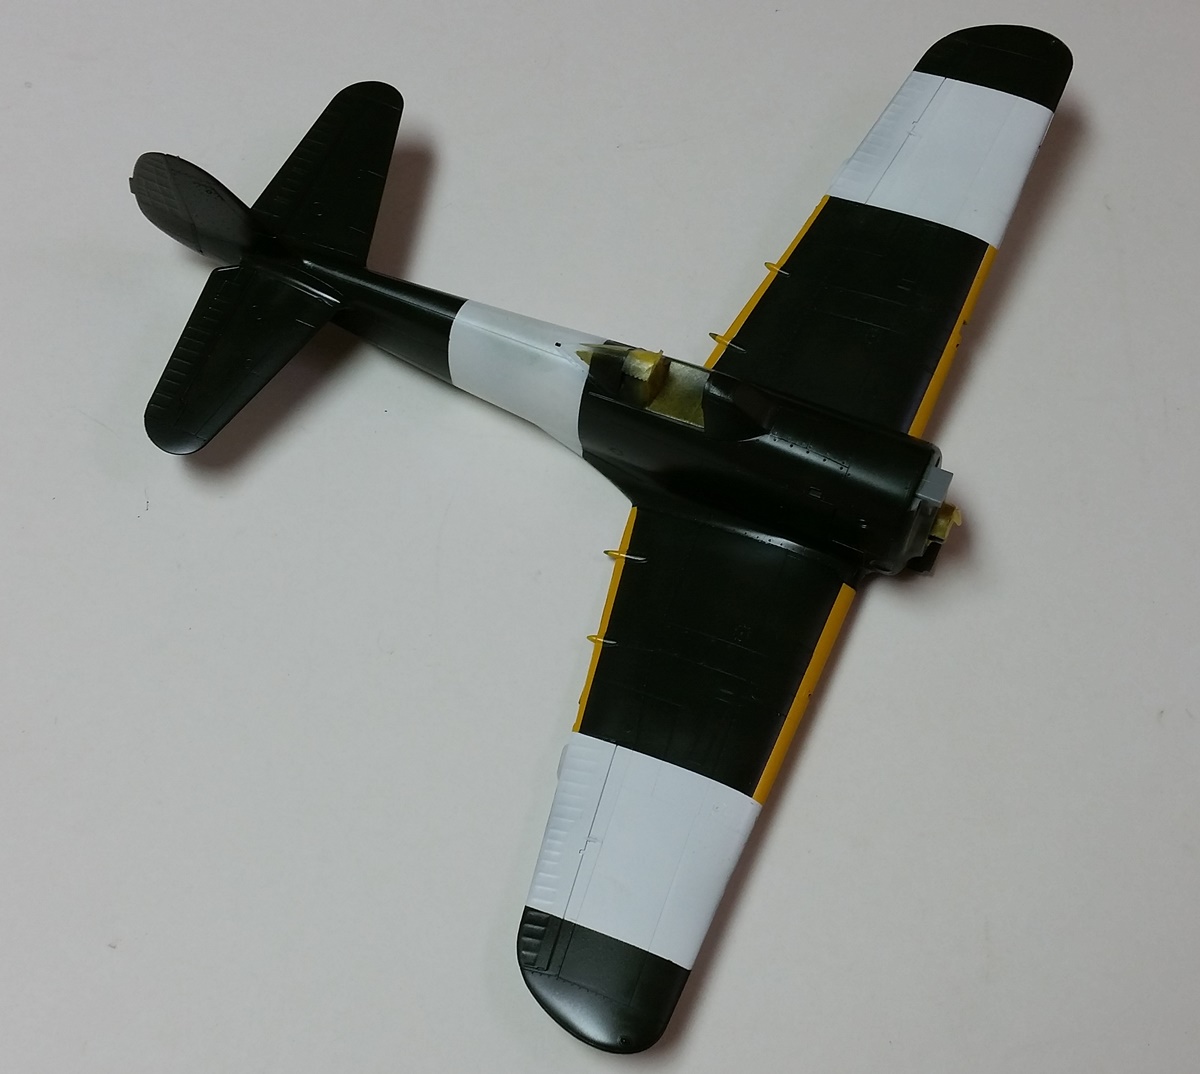
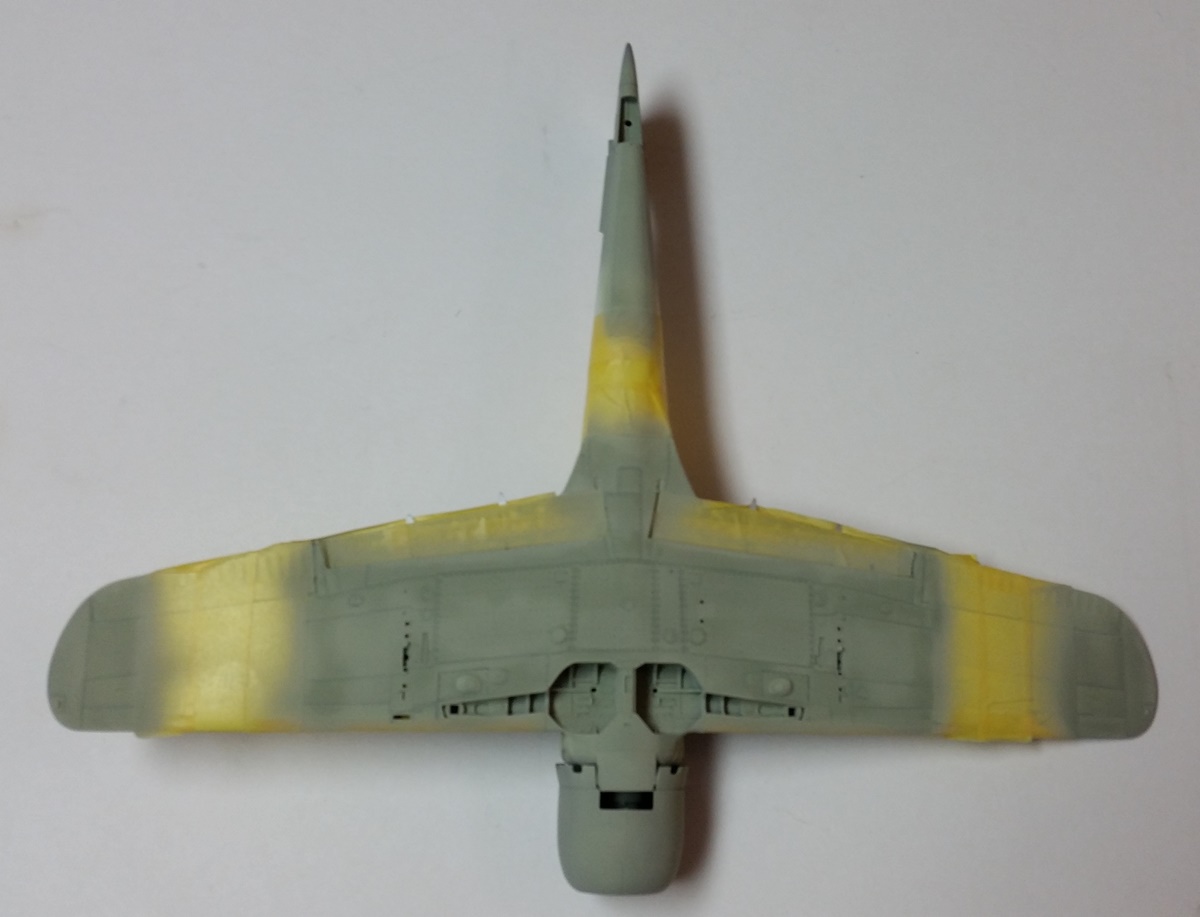
Mike, if youve not redone the yellow on the Frank, you may wish to try this. Yes Tamiya yellow is a bit too bright for IJA/N ID bands, though if you mask the area and give it a shot of Tamiya clear orange the color is quite convincing!
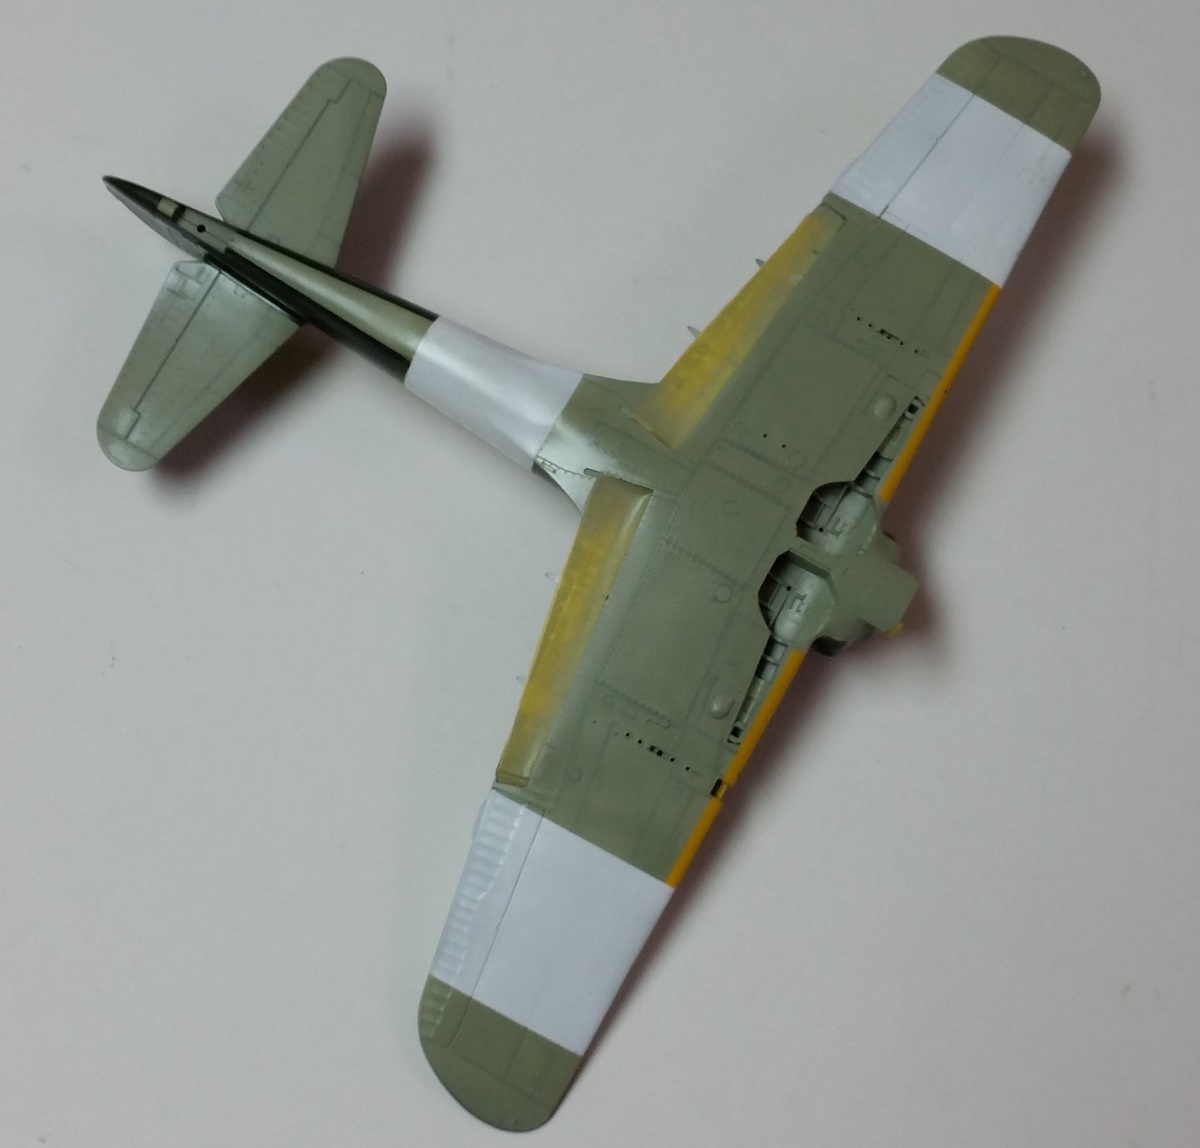
Michael, Ive always liked the homeland defence bands on a Frank! Looks good!
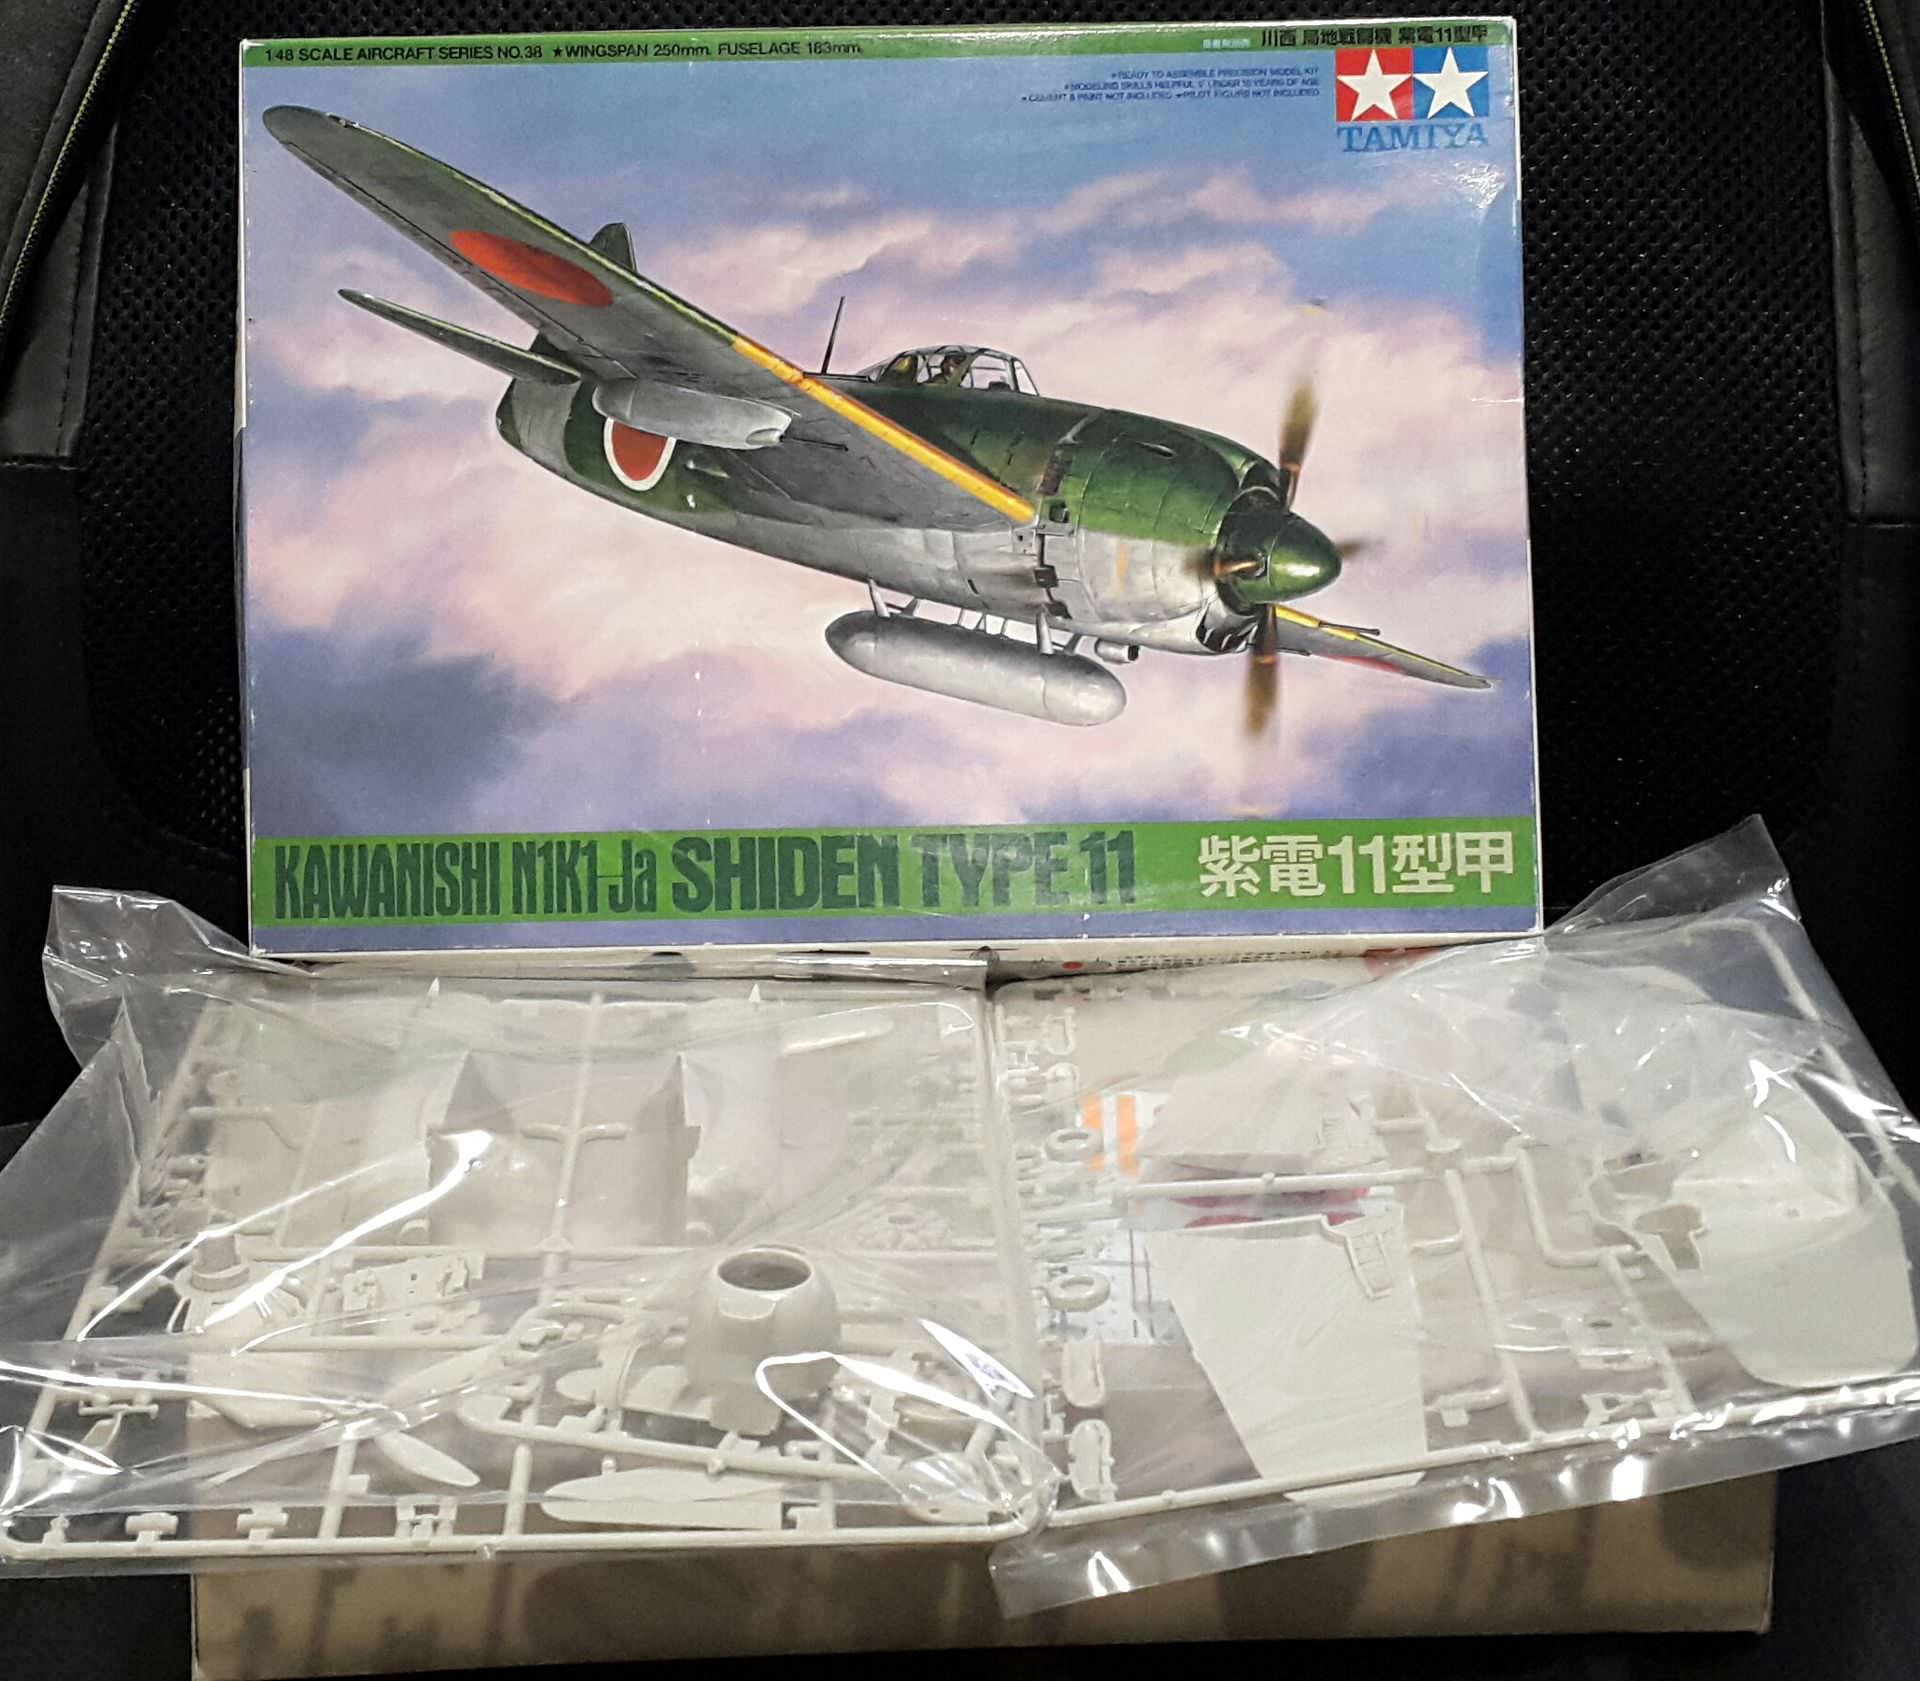
So two weeks into my build and Im making some hard discoveries. The local Tamiya model shop here has decided to scale back on the models available, now just one shelf. To add insult to injury there were only four bottles of paint! All colors that Ive not seen on any model. I inquired when more would come, and the young store rep said thats it in a proud sort of way. This has led to purchasing my paints via the mail. They say that they should be here in a month! Aiyo!
The first week was spent scribing the raised detail. Theres not too much on this kit so it was pretty straight forward. Nice straight lines! While time consuming, about 10 hours total, I had little better to do as I was spending my time with Crickit, my dog, in quarantine. For the record, it is no fun at all! And in the heat, even modelling was a bit of chore. Fortunately, it was over and we all headed down to our new home, which isnt quite done yet.
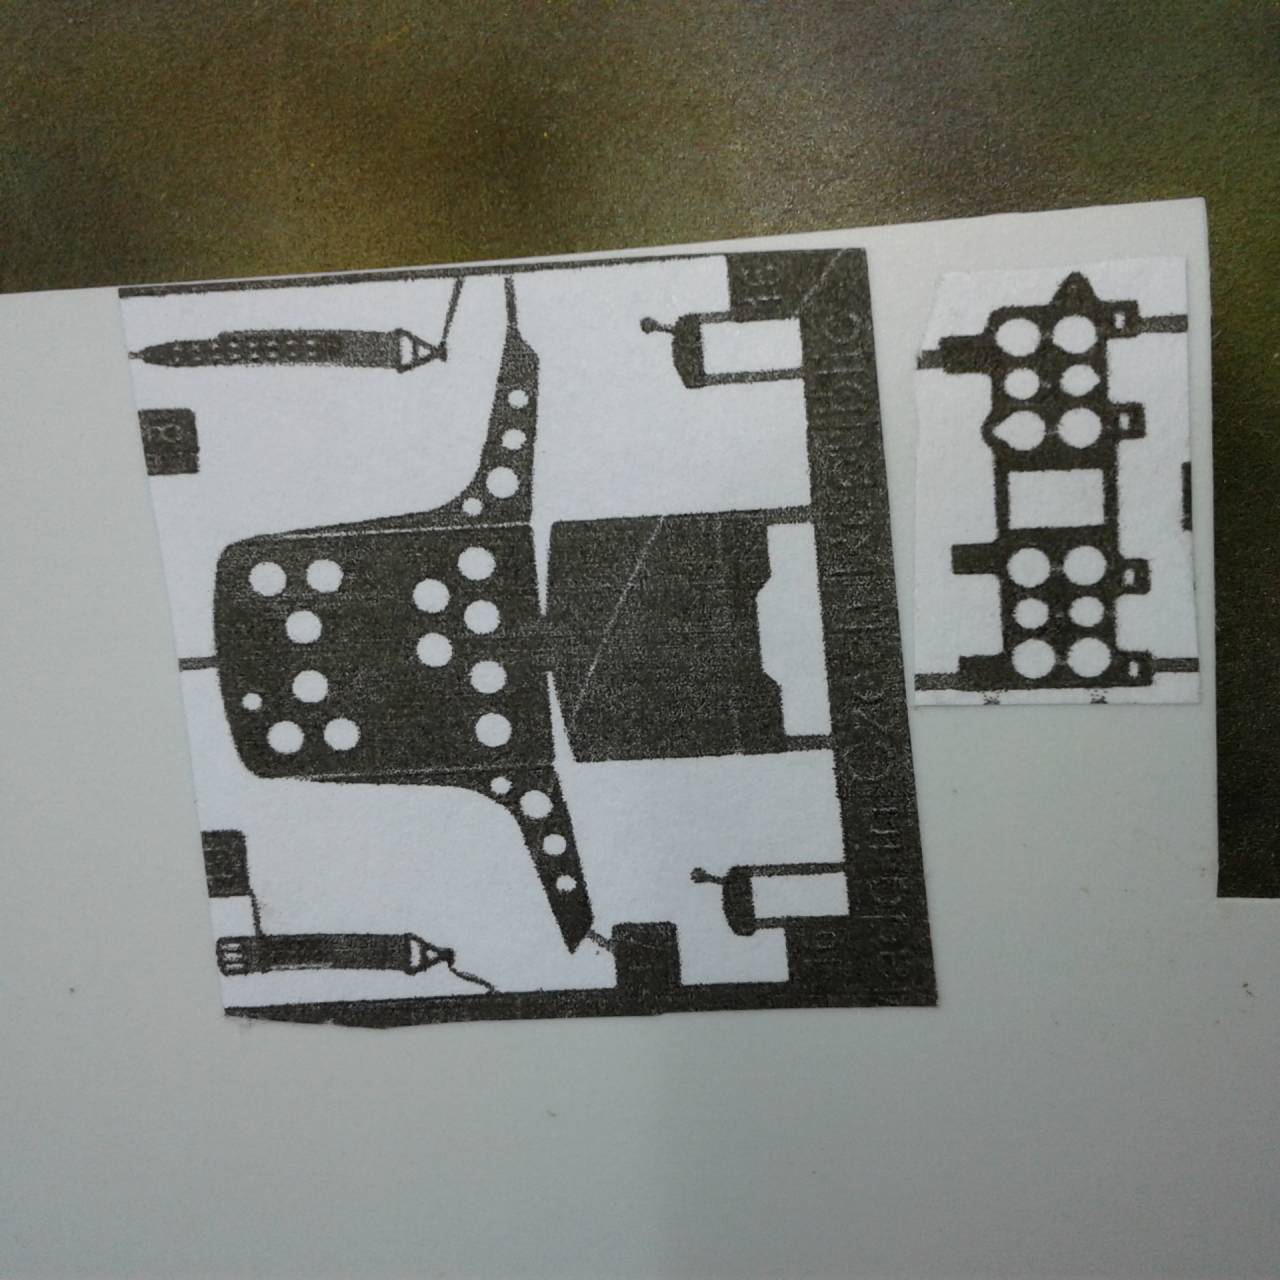
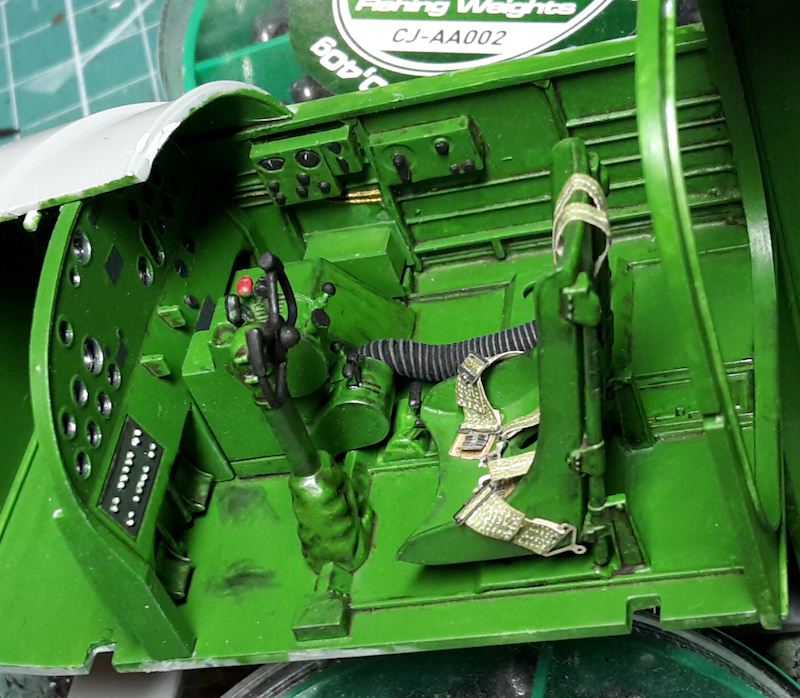
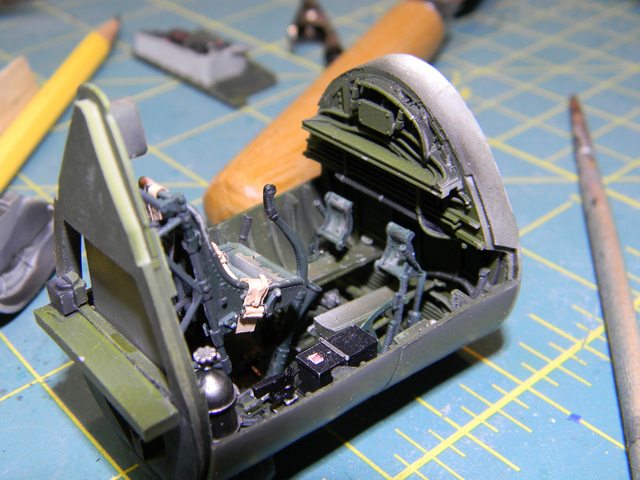
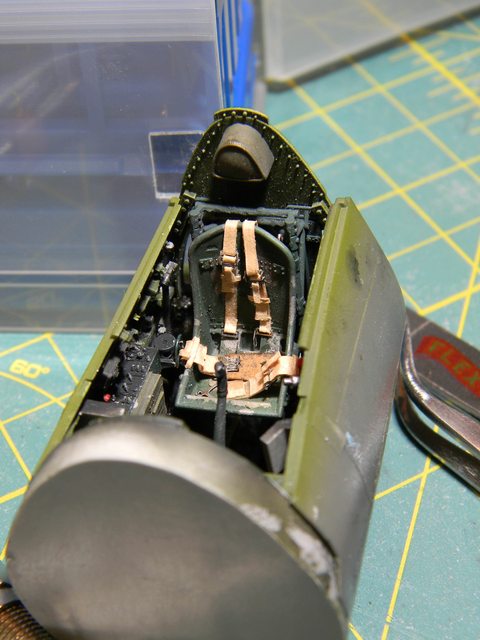
During this time I also took a photocopy of the PE set for the Hasegawa kit and cut out the portion for the seat, and instrument panel. Next I glued the copy to 1/10K thick plastic stock, using water soluble glue. Then I punched out the holes in the seat and for the instrument panel (twice for the panel!). I then made light scores on the seat after carefully cutting it from the pattern. I then folded the plastic as if it were PE. After a little work and sanding it seems to looking the part.

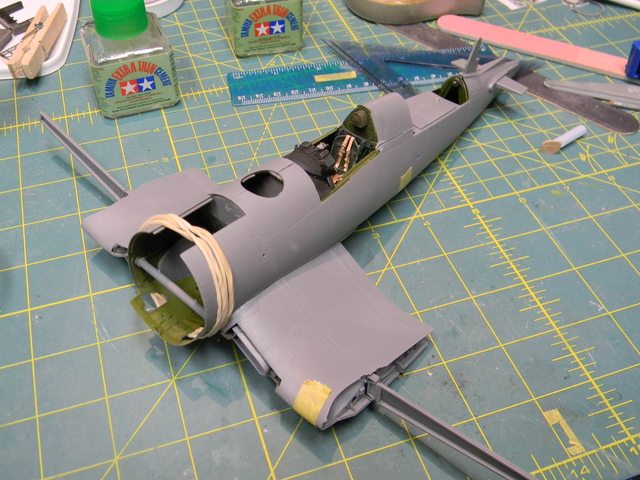
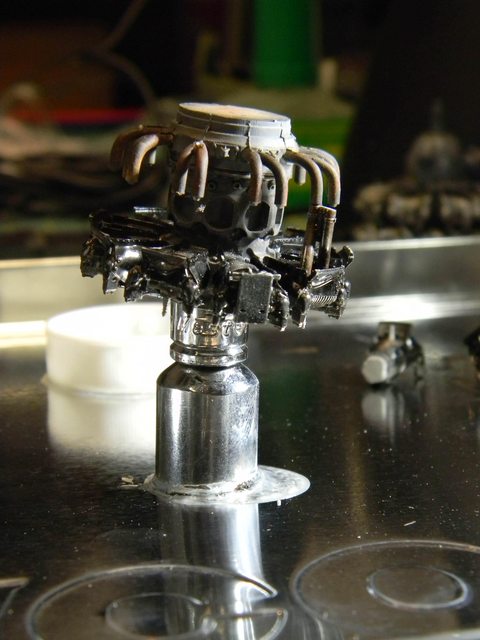
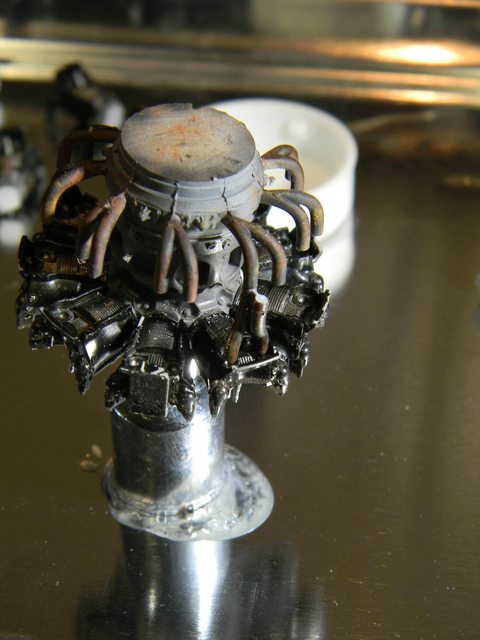
The second week was spent doing the engine and cowl, and test fitting the parts, and more clean up. In prior visits here I was smart as Ive been doing a little modelling and had purchased a few paints. And was able to give Tamiya Chrome aluminium a try, and it seems ok. Also had some Tamiya NATO black so a little wash was added.
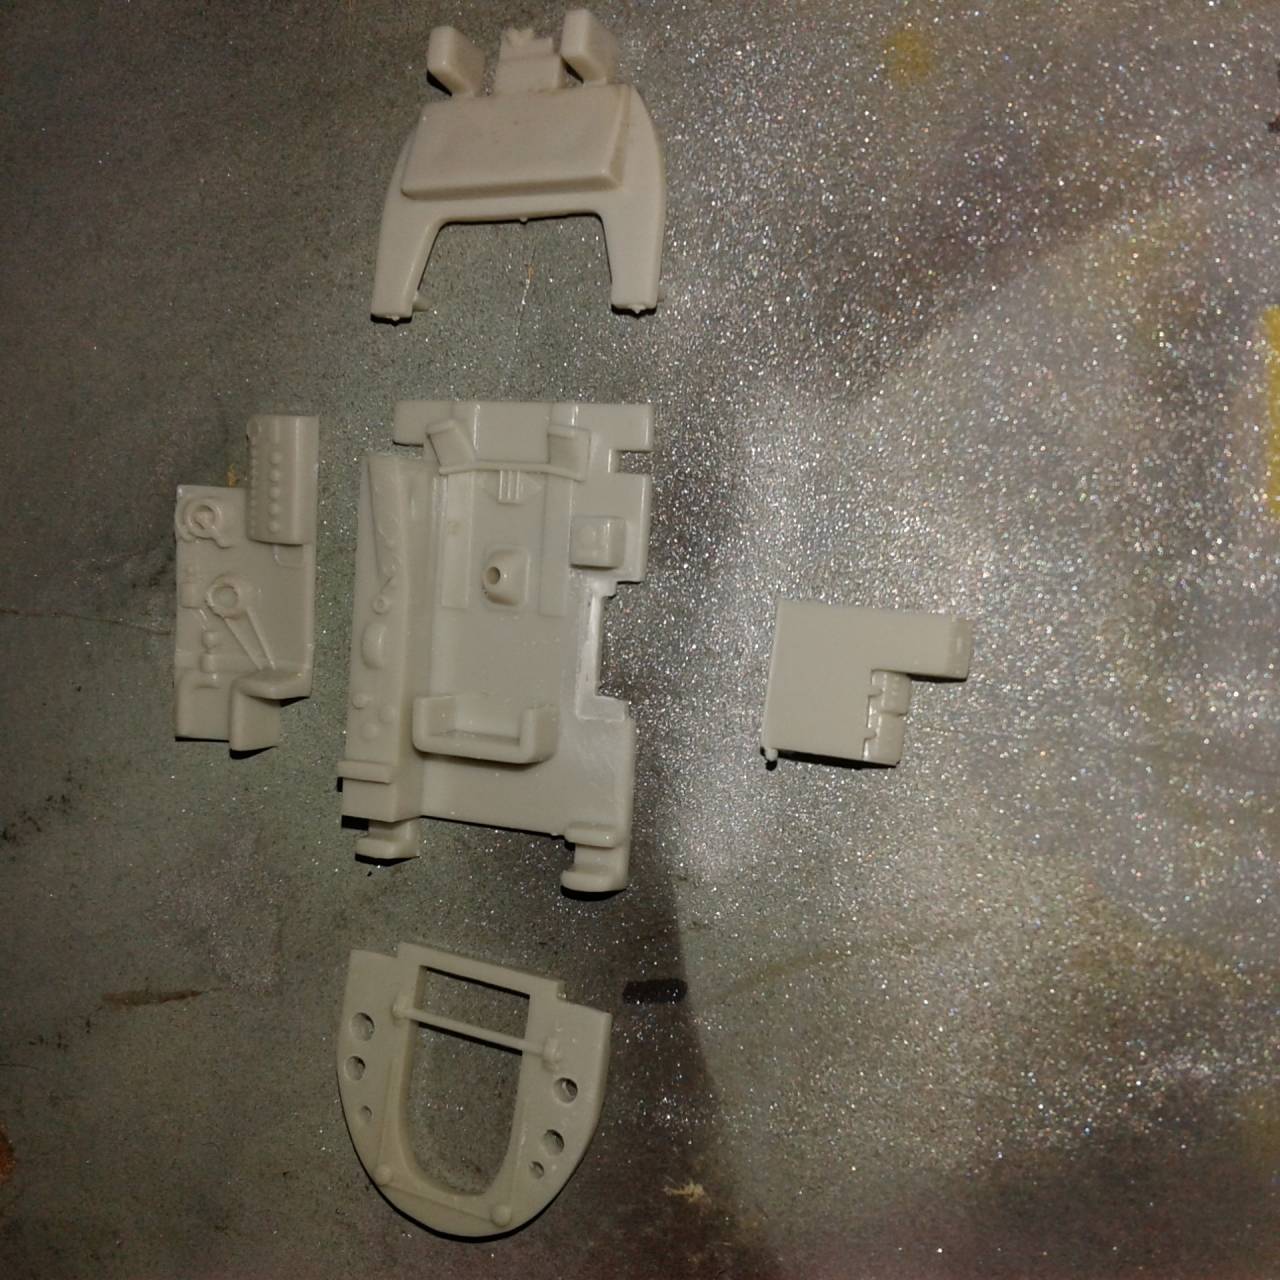
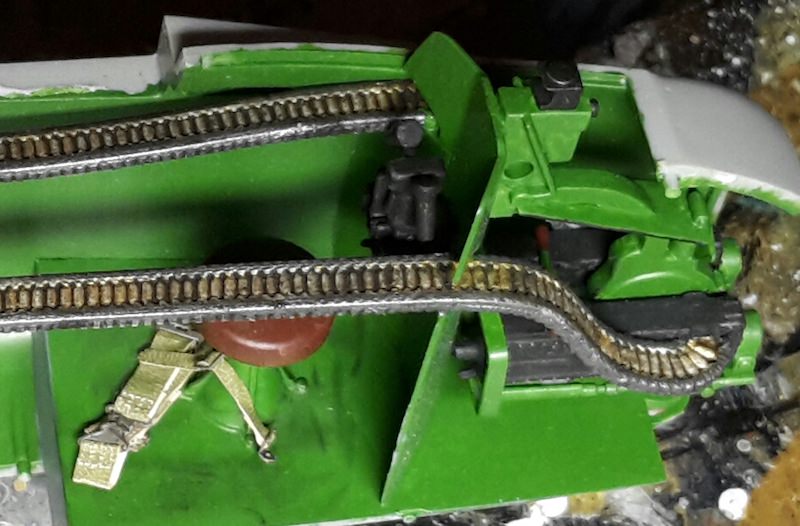
I started to play with the cockpit by sawing off the radio boxes from the cockpit floor. Not sure what they are representative of, Ive not seen them in a photo of any Zero cockpit. I plan to add a lever and handle for the seat height adjuster, although I doubt on this aircraft it was used very much.
I also added some weight to the nose of the float, and got that buttoned up.
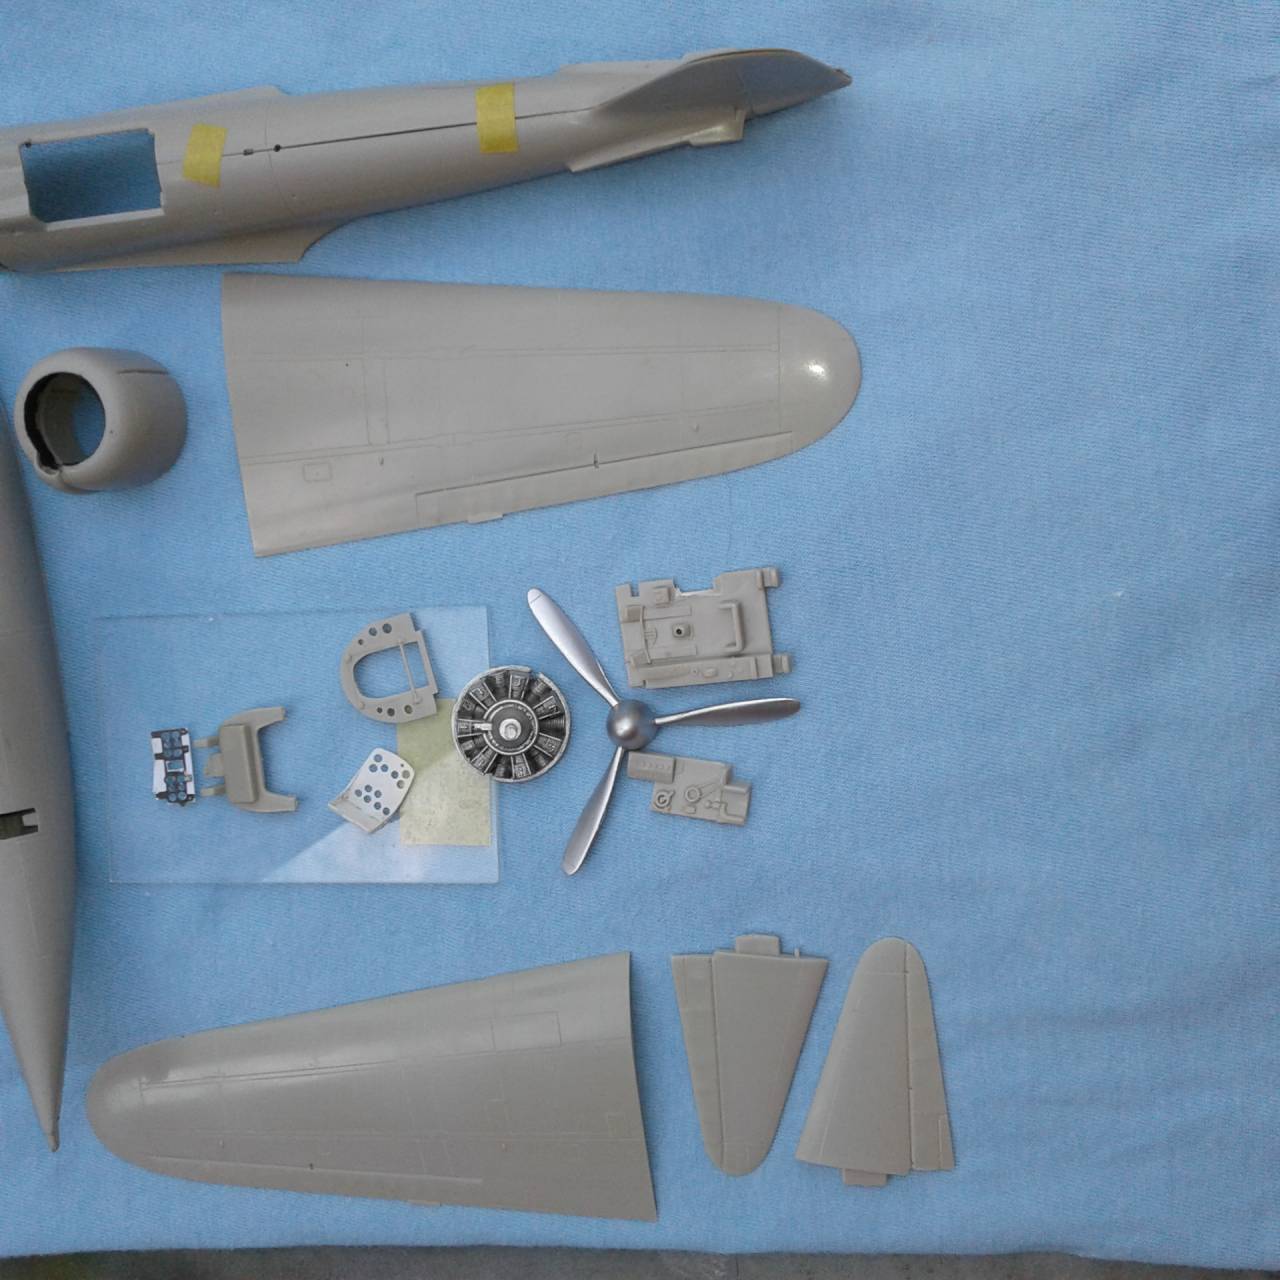
Next will be cleaning up and working with the wings. This is quite a fun little kit! More to follow, till then have fun! I am!
John


 DSC03684 by Ernest Roth, on Flickr
 DSC03686 by Ernest Roth, on Flickr
 DSC03685 by Ernest Roth, on Flickr


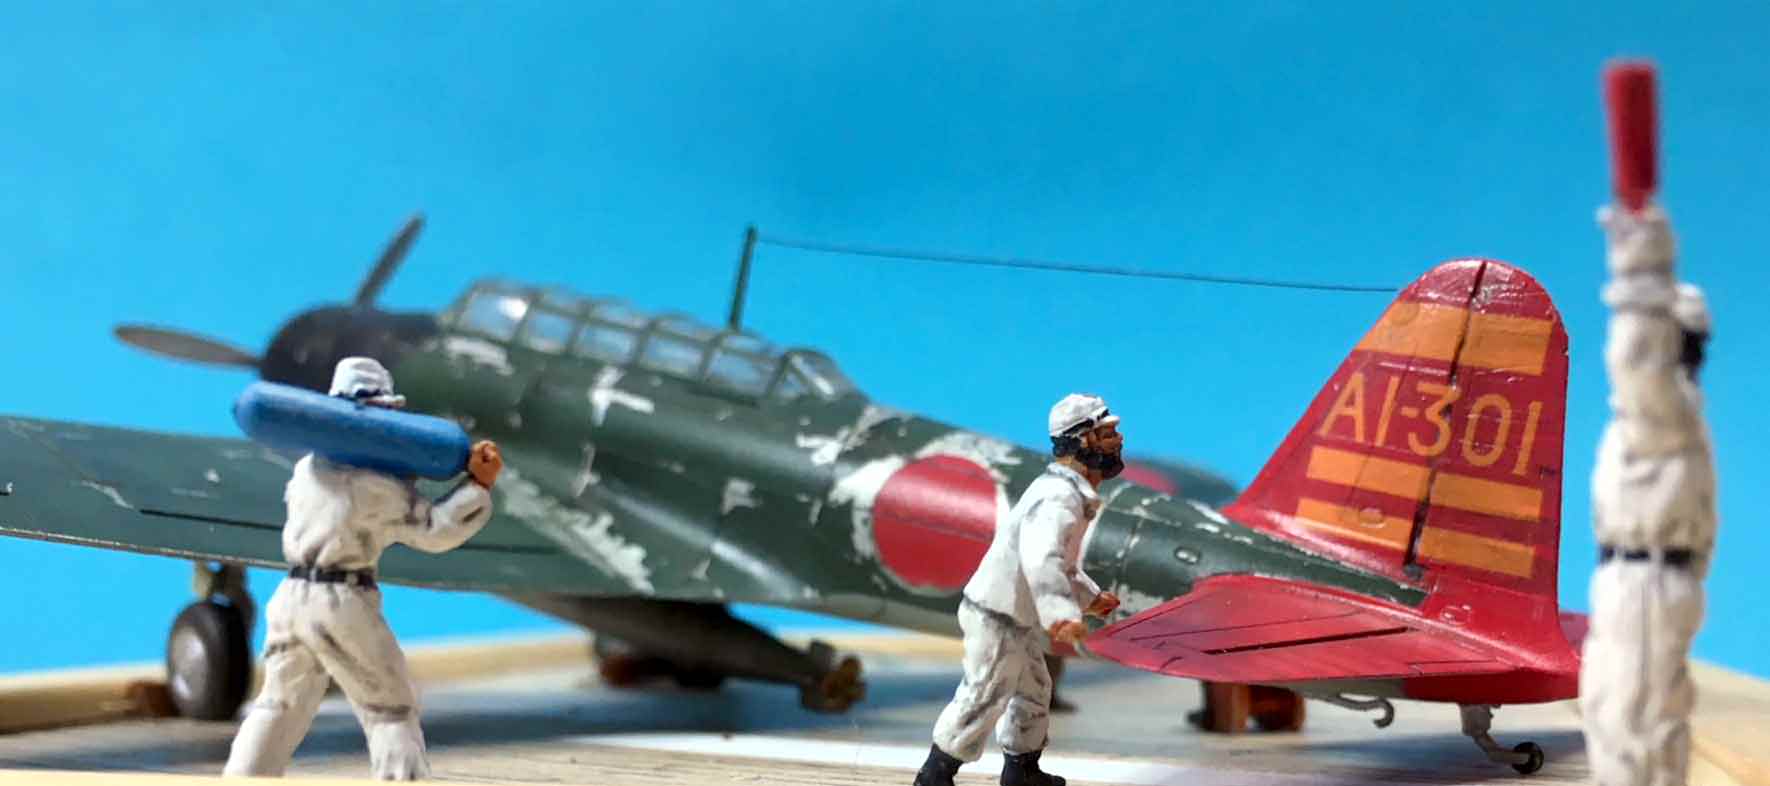
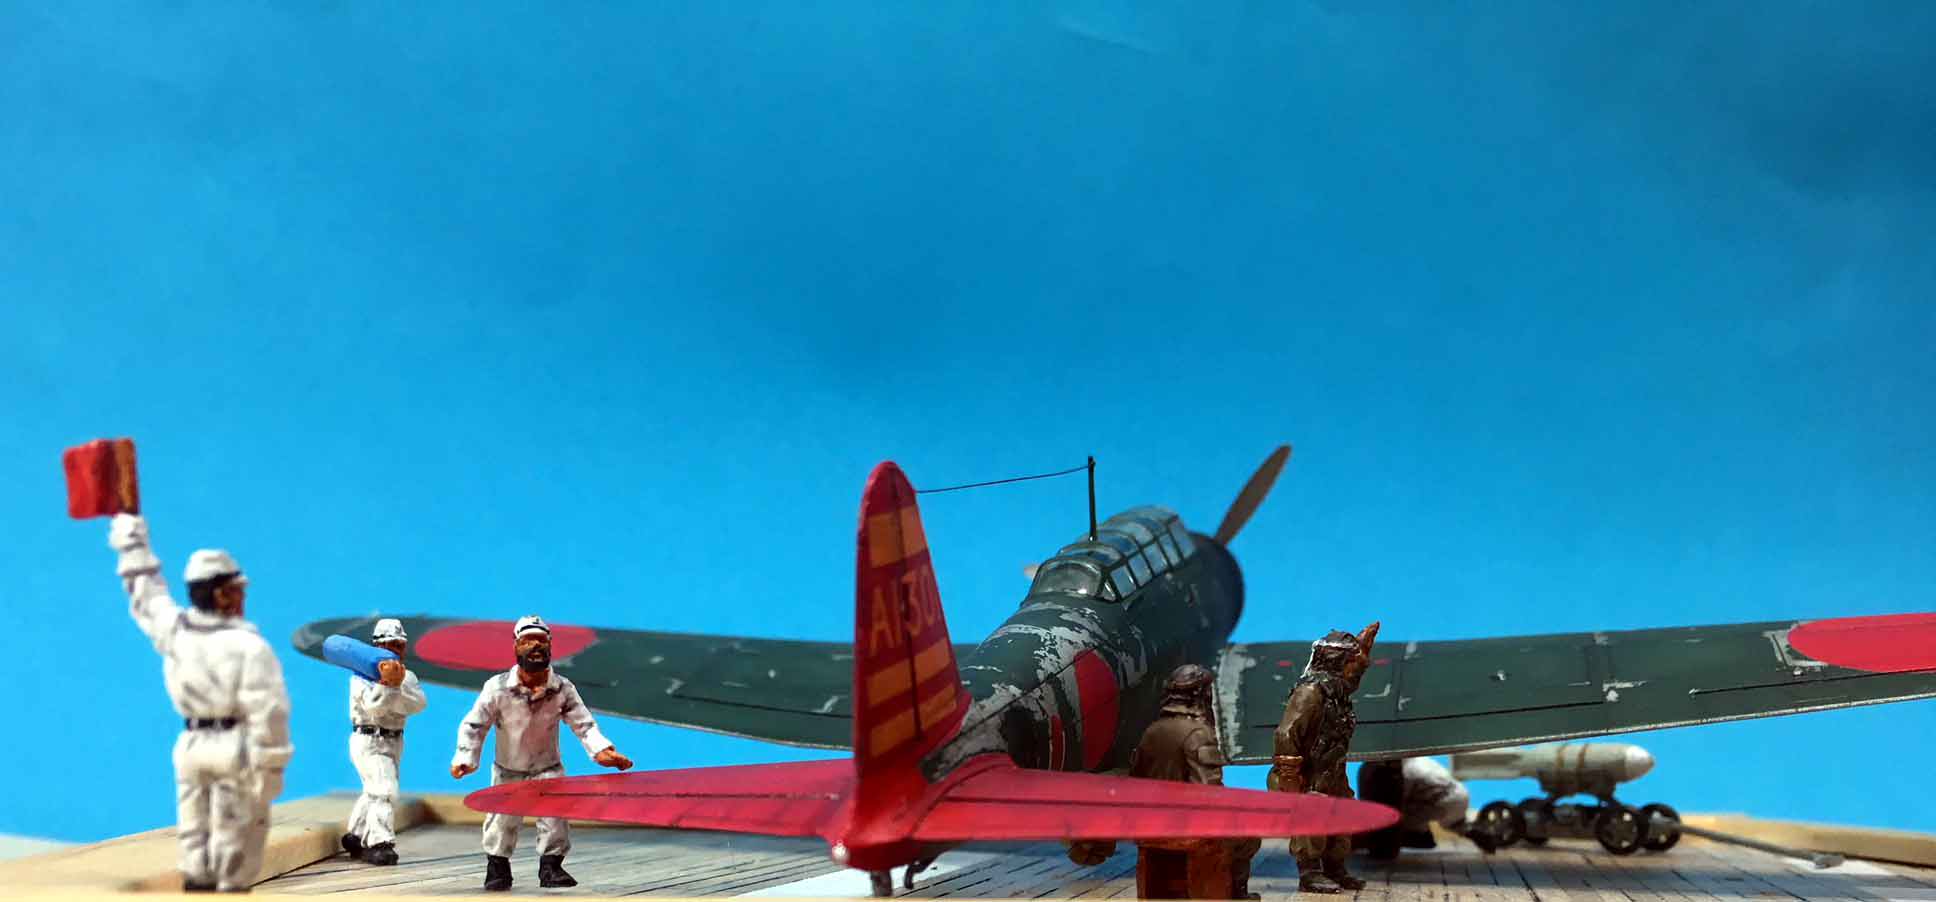
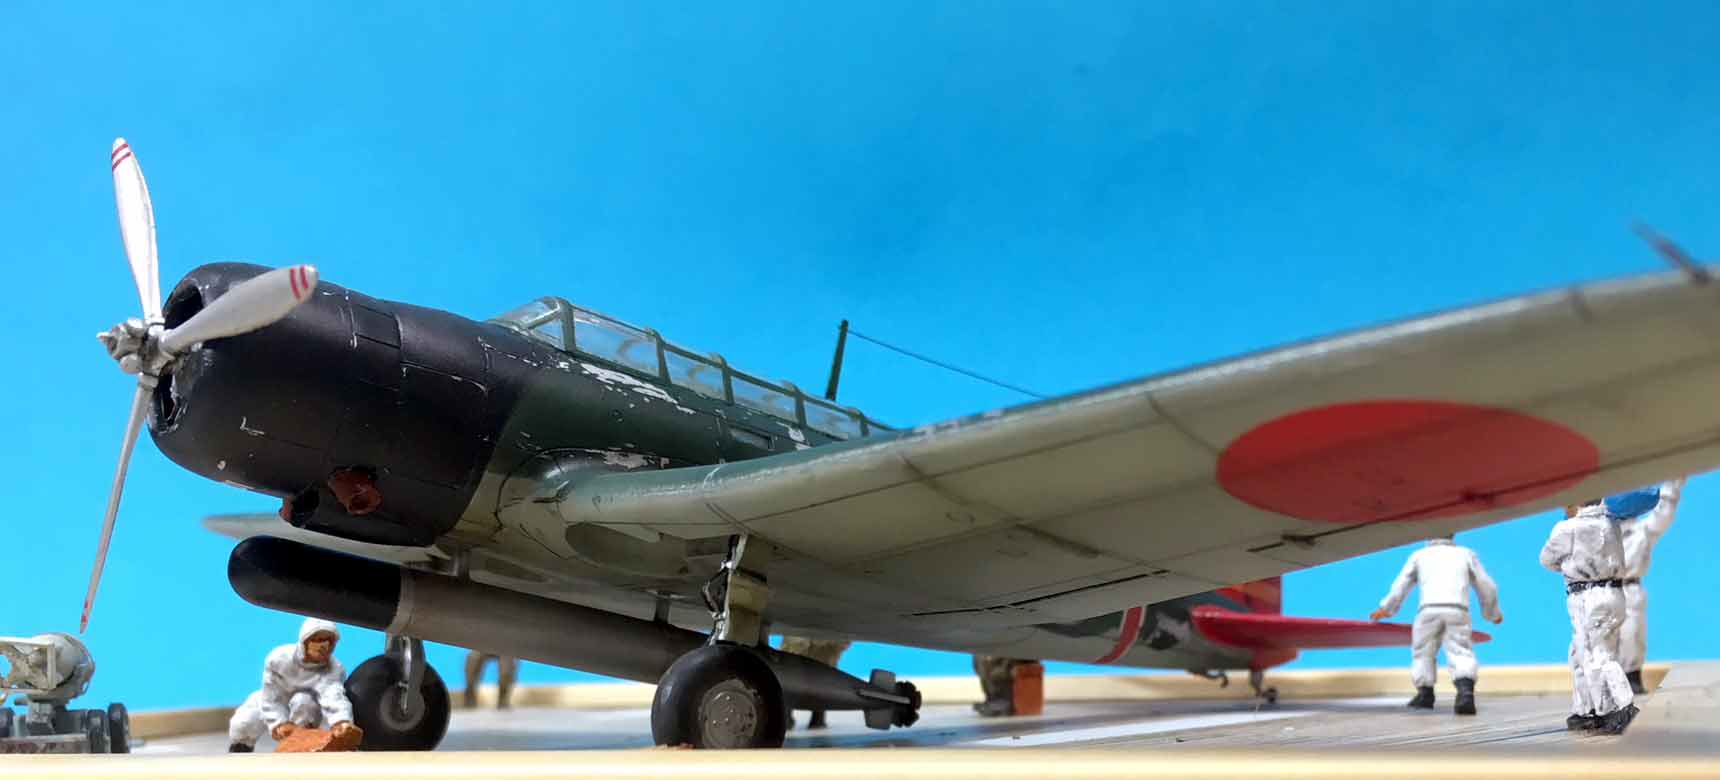
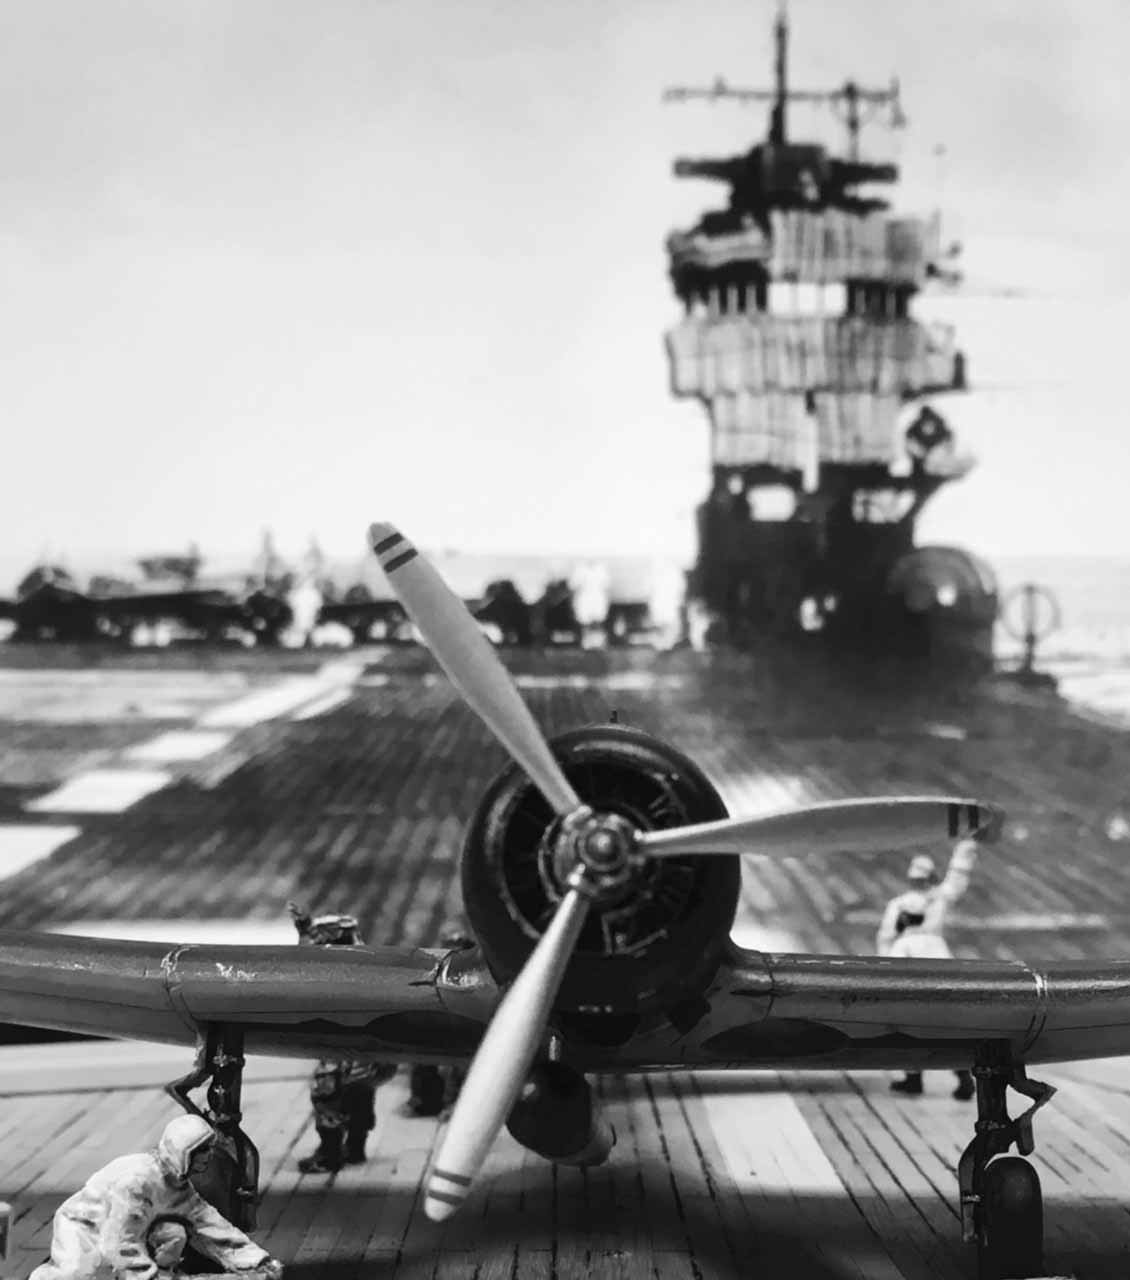
 . Too much chipping on the tires. I reckognize most flaws on my models on pictures of them and not on the model itself.


 " BORDER="0">
 DSC03687 by Ernest Roth, on Flickr
 DSC03688 by Ernest Roth, on Flickr
 DSC03689 by Ernest Roth, on Flickr
 DSC03703 by Ernest Roth, on Flickr
 DSC03691 by Ernest Roth, on Flickr
 DSC03695 by Ernest Roth, on Flickr
 DSC03694 by Ernest Roth, on Flickr
 DSC03698 by Ernest Roth, on Flickr
 DSC03707 by Ernest Roth, on Flickr


 !
!