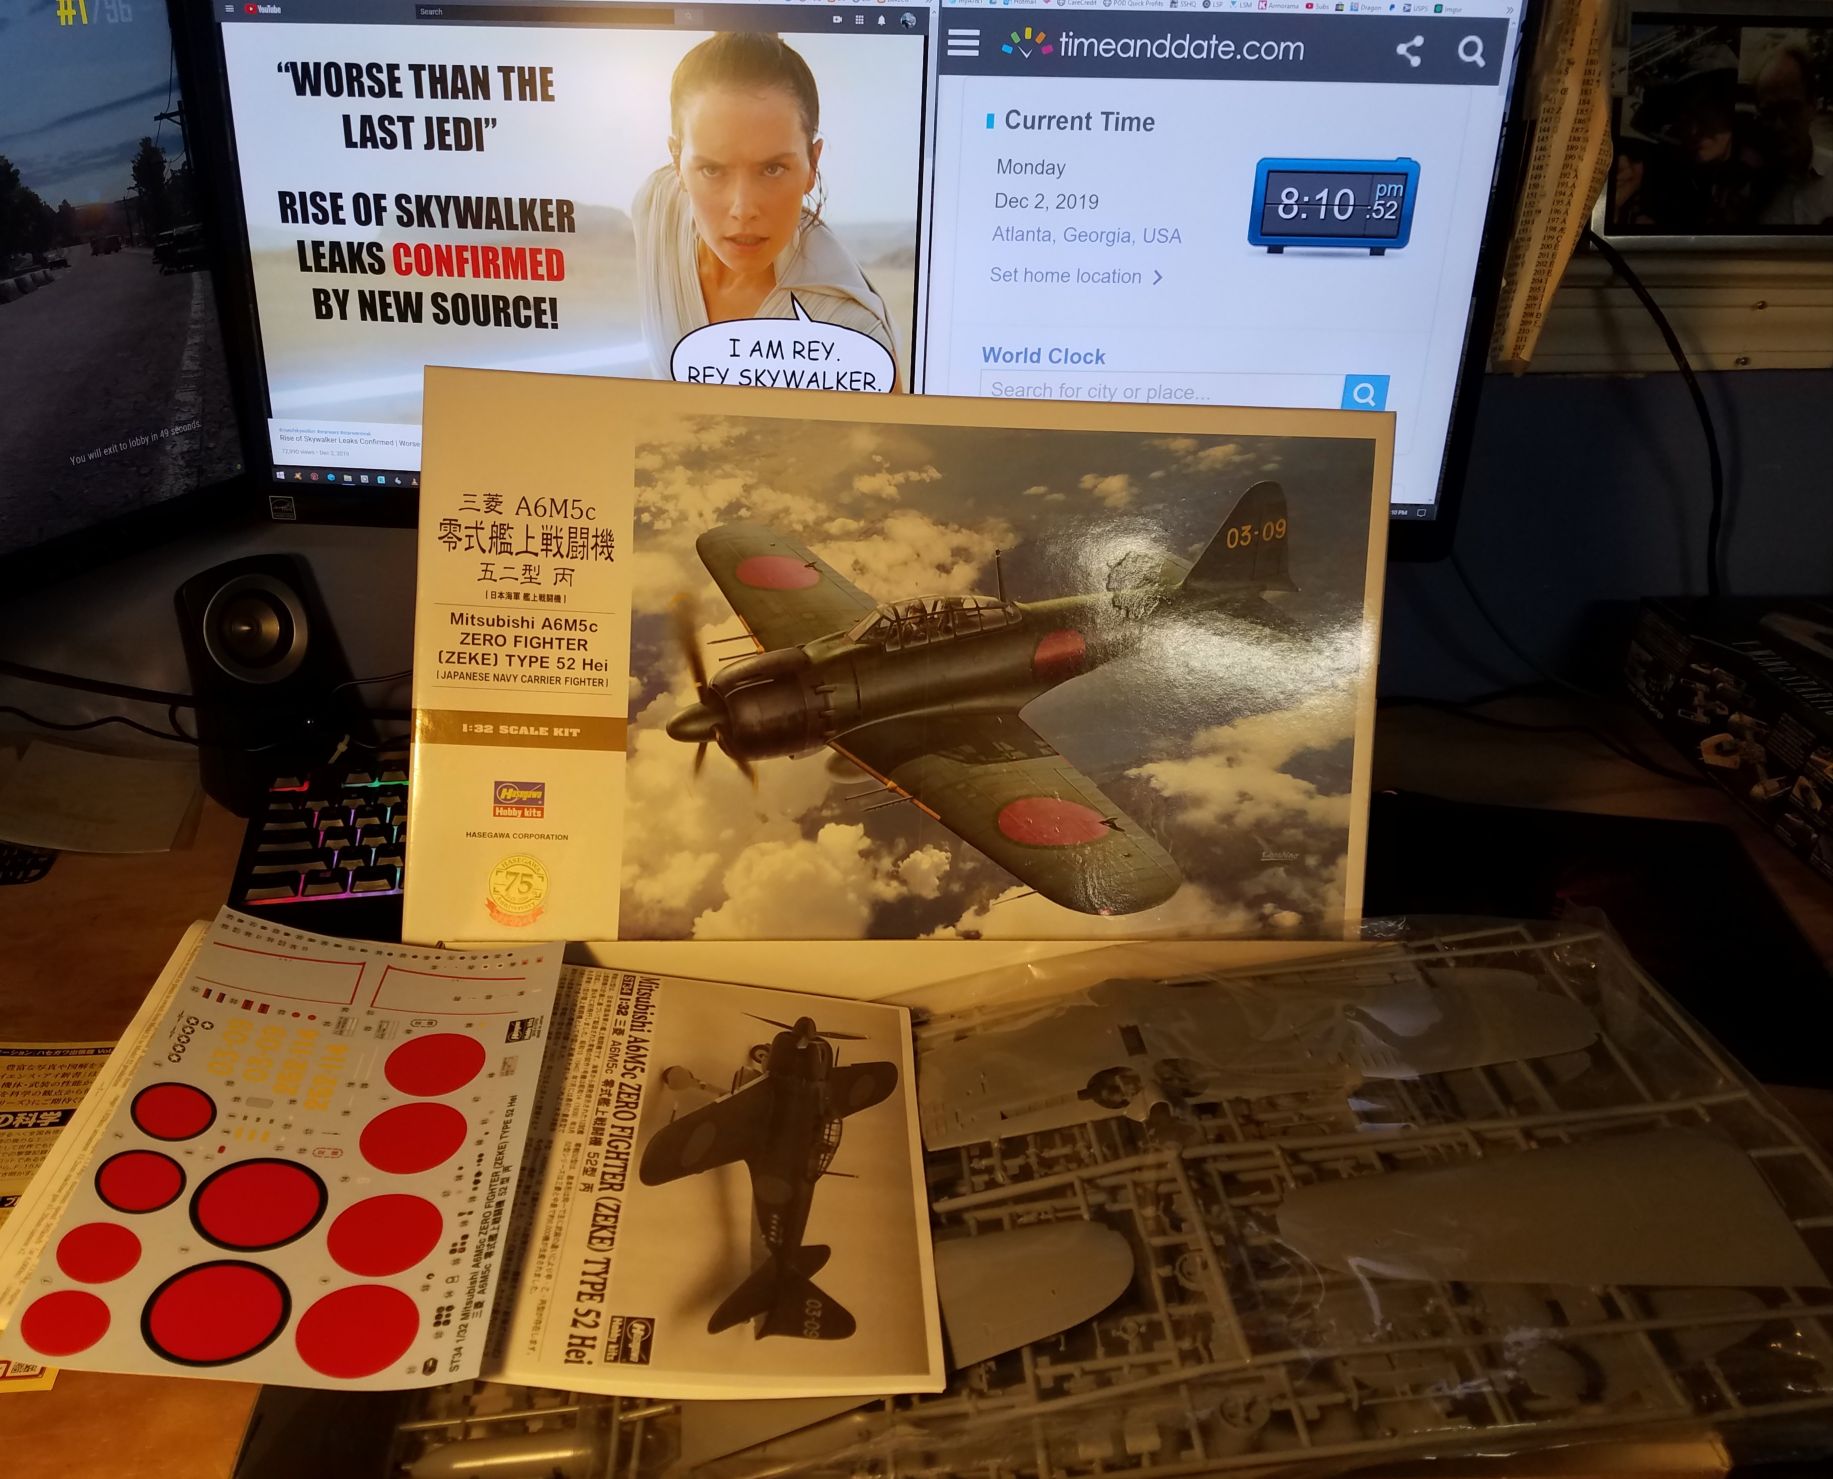
I am coming in with this, as it is stupid to have a Raiden, Tojo, Oscar, and George on my shelf but no Zeke.
It will be OOB.
Air Campaigns
Want to start or join a group build? This is where to start.
Hosted by Frederick Boucher, Michael Satin
OFFICIAL: Navy Boys on those Postage Stamps
brekinapez
Georgia, United States
Joined: July 26, 2013
KitMaker: 2,272 posts
AeroScale: 158 posts
Joined: July 26, 2013
KitMaker: 2,272 posts
AeroScale: 158 posts
Posted: Monday, December 02, 2019 - 01:50 PM UTC
Posted: Tuesday, December 03, 2019 - 06:47 AM UTC
Quoted Text
I am coming in with this, as it is stupid to have a Raiden, Tojo, Oscar, and George on my shelf but no Zeke.
It will be OOB.
These are really good kits!
steviecee
United States
Joined: September 01, 2011
KitMaker: 123 posts
AeroScale: 37 posts
Joined: September 01, 2011
KitMaker: 123 posts
AeroScale: 37 posts
Posted: Tuesday, December 03, 2019 - 02:17 PM UTC
I'm going to build the Akitsu Maru, an IJA transport that had a flight deck added in 1944 so it could be used as an escort carrier. The Japanese army flew Stellas carrying depth charges from it to try to keep US subs away from the convoys. It was sunk by the sub Queenfish.
Bigrip74
Texas, United States
Joined: February 22, 2008
KitMaker: 5,026 posts
AeroScale: 2,811 posts
Joined: February 22, 2008
KitMaker: 5,026 posts
AeroScale: 2,811 posts
Posted: Tuesday, December 03, 2019 - 02:49 PM UTC
Steve, who makes that kit? I would like to try and purchase one.
Bob
Bob
steviecee
United States
Joined: September 01, 2011
KitMaker: 123 posts
AeroScale: 37 posts
Joined: September 01, 2011
KitMaker: 123 posts
AeroScale: 37 posts
Posted: Wednesday, December 04, 2019 - 05:09 AM UTC
Aoshima and it's available here
https://www.hlj.com/1-700-scale-ija-hei-type-special-ship-akitsumaru-aos01229
and here
https://www.1999.co.jp/eng/10410741
there is a resin version that's 3-4 times the cost of the Aoshima kit
https://www.hlj.com/1-700-scale-ija-hei-type-special-ship-akitsumaru-aos01229
and here
https://www.1999.co.jp/eng/10410741
there is a resin version that's 3-4 times the cost of the Aoshima kit
Bigrip74
Texas, United States
Joined: February 22, 2008
KitMaker: 5,026 posts
AeroScale: 2,811 posts
Joined: February 22, 2008
KitMaker: 5,026 posts
AeroScale: 2,811 posts
Posted: Wednesday, December 04, 2019 - 07:13 AM UTC
Thanks, Steve
Posted: Tuesday, December 10, 2019 - 06:12 PM UTC
I wasn't surprised that when I scaled sown from 1/72 to 1/144, I'd have to use smaller tools to get things done. What totally surprised me was that the size of the gaps didn't scale at all.
Some progress, I've almost got the whole fuselage together. All I'm missing are the intakes.
Gotta start filling some gaps once I get the beaver tail finished up.
Some progress, I've almost got the whole fuselage together. All I'm missing are the intakes.
Gotta start filling some gaps once I get the beaver tail finished up.
Posted: Monday, December 16, 2019 - 01:47 AM UTC
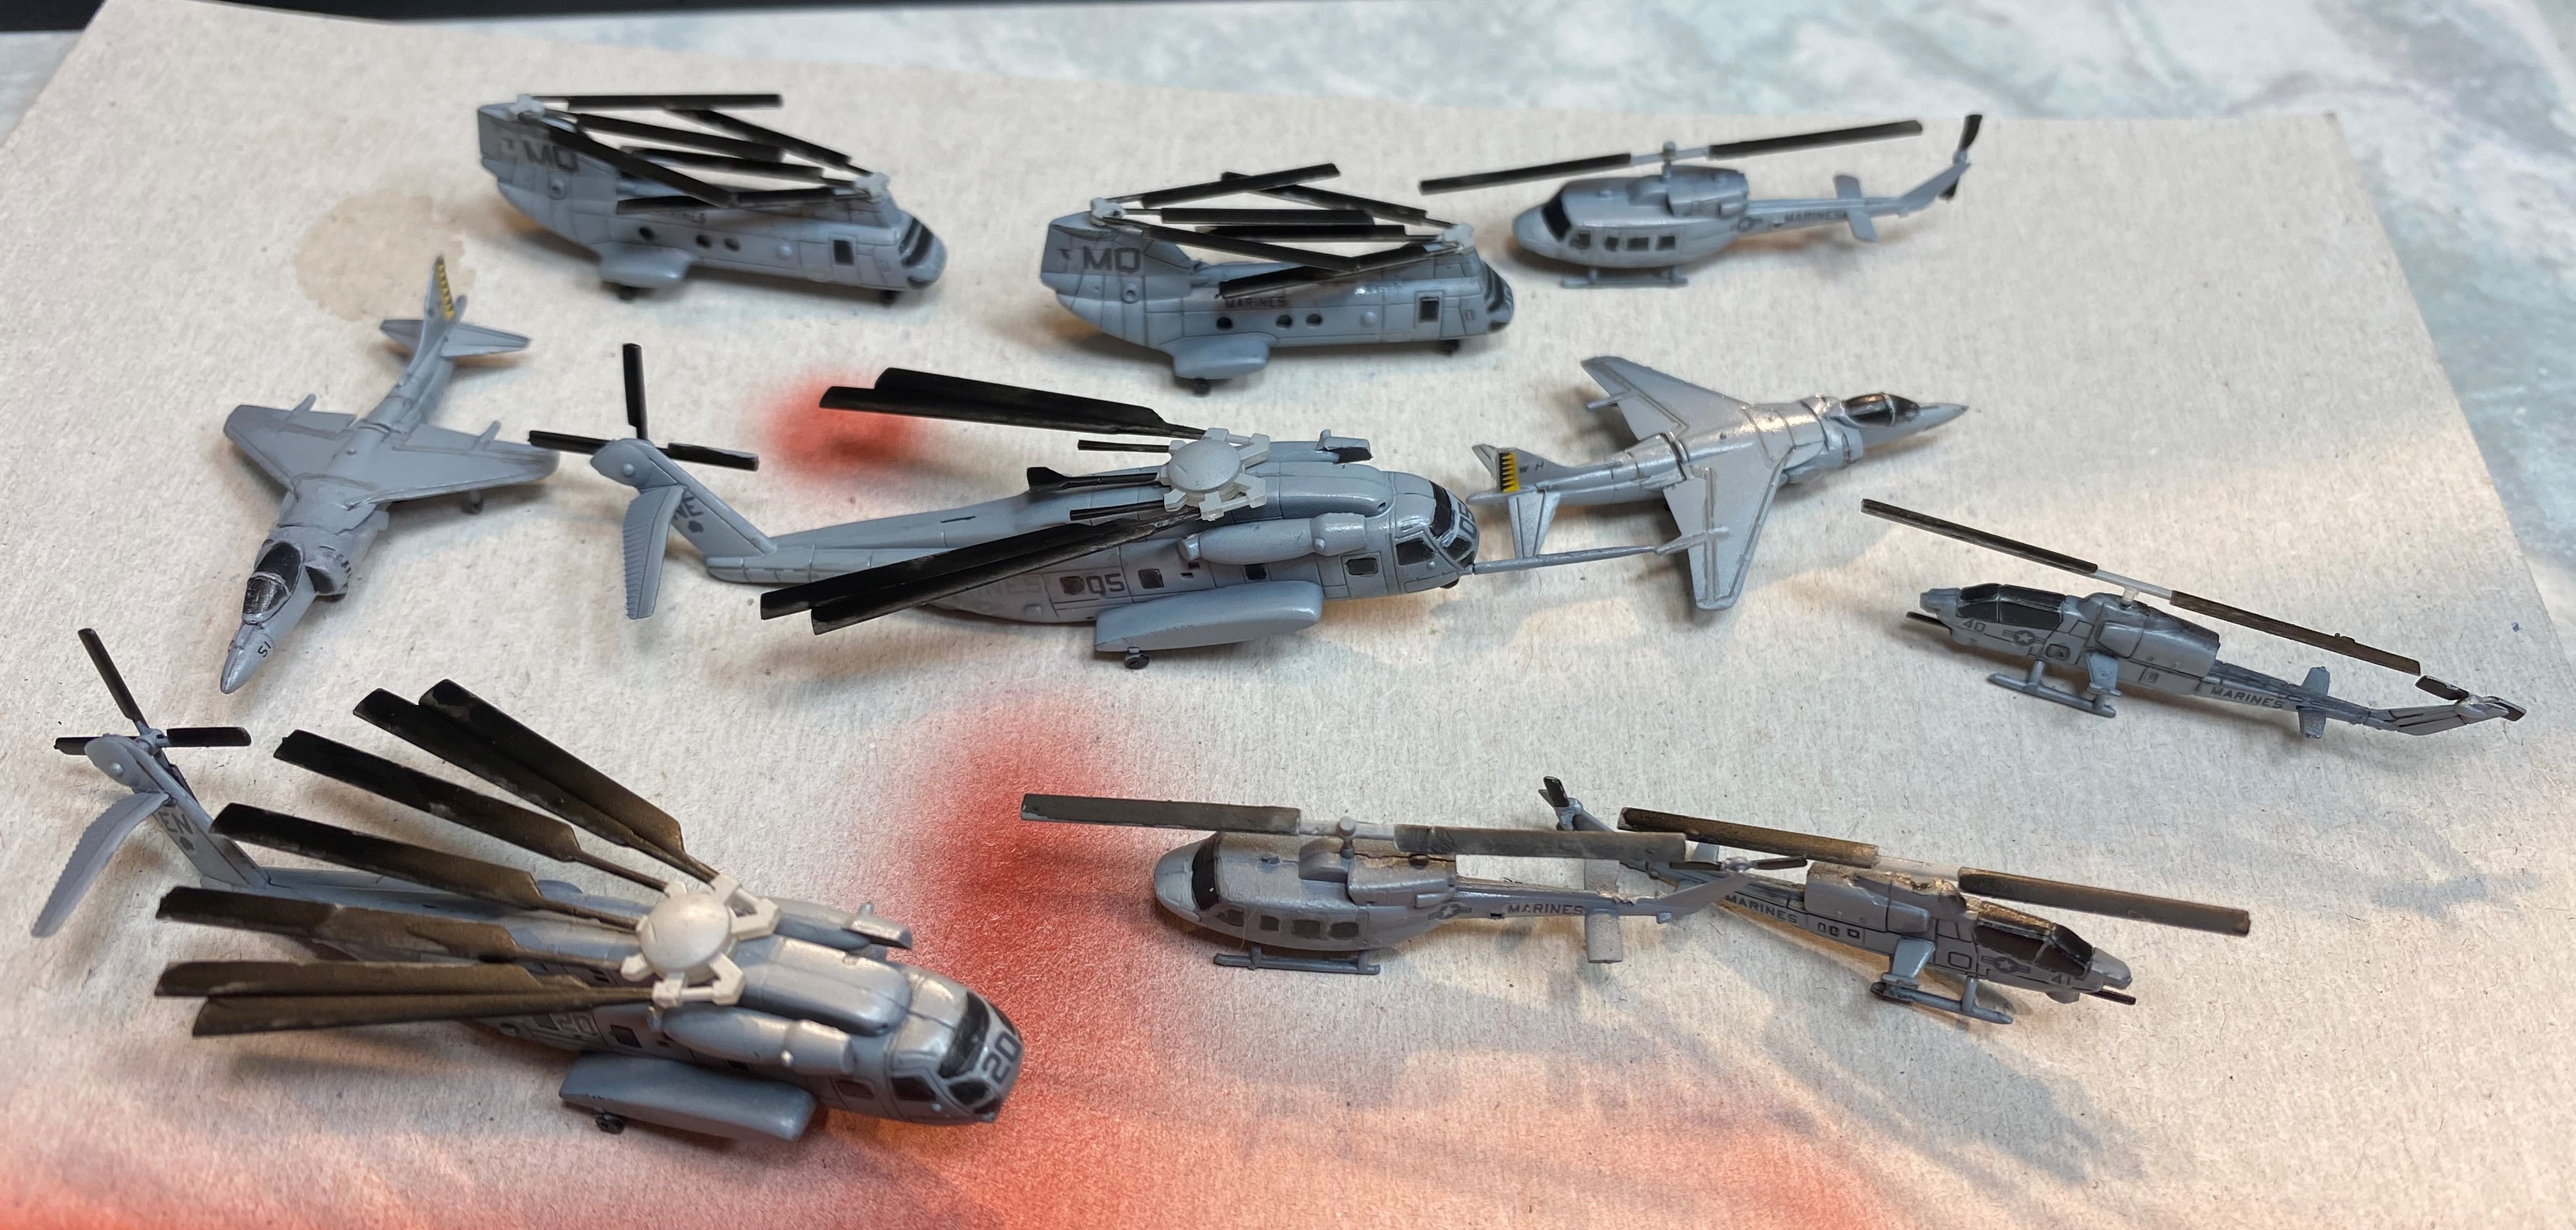
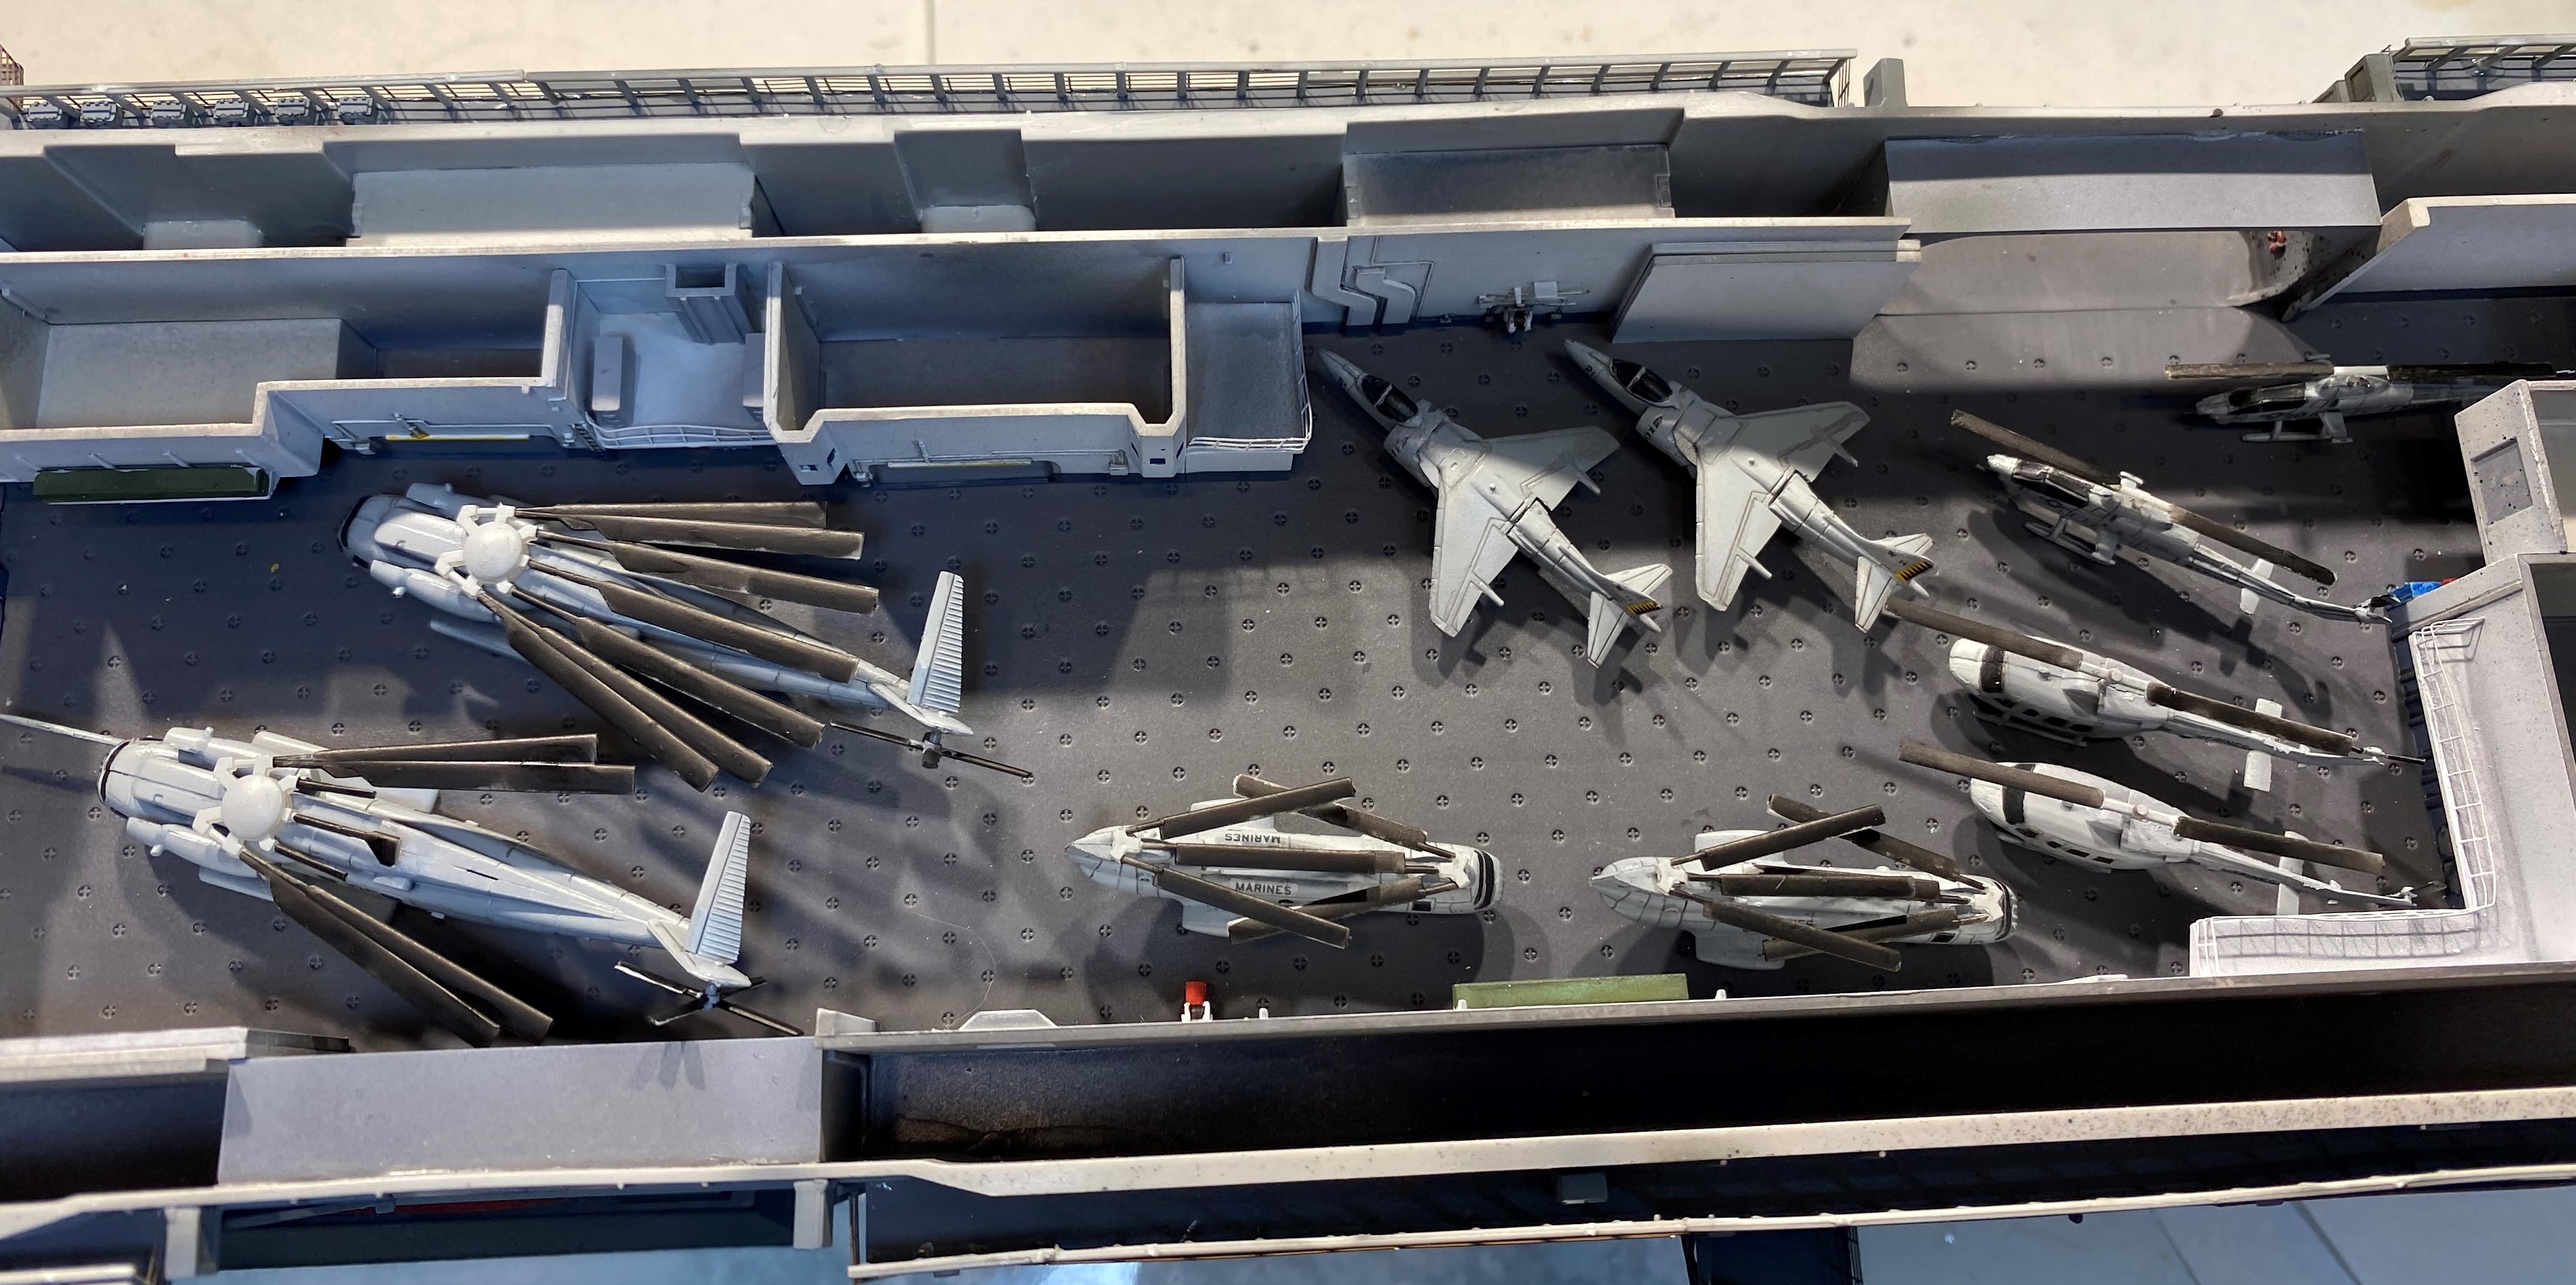
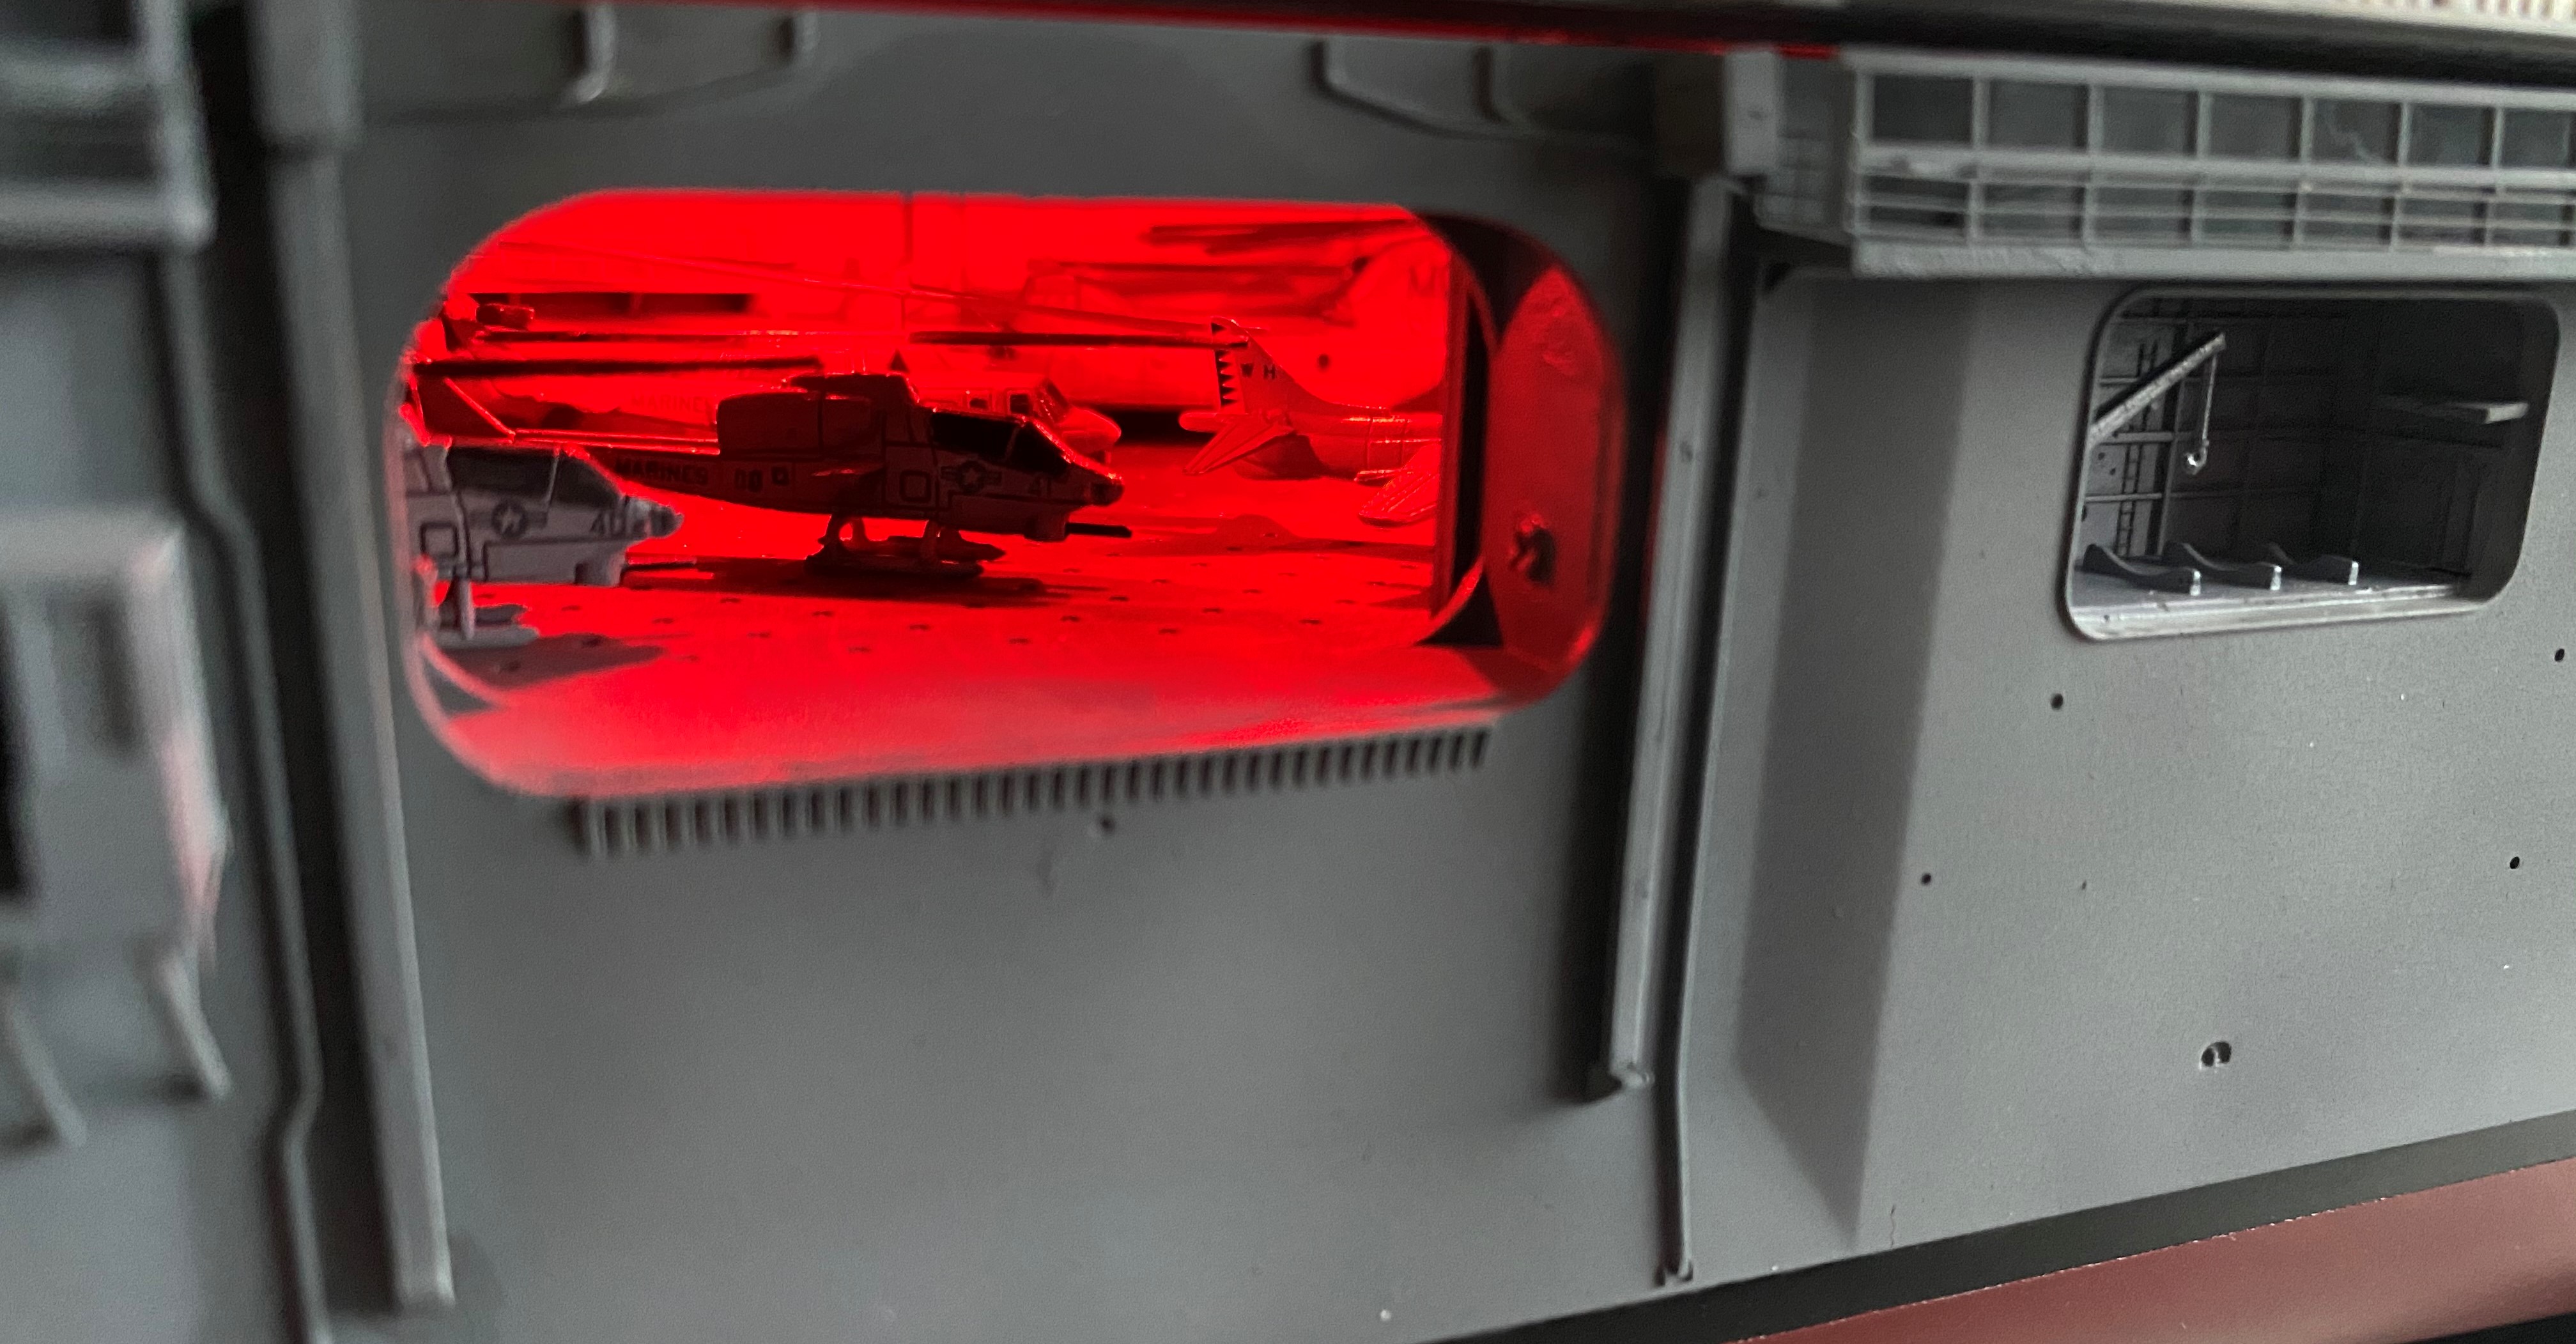
Update time. All the hanger deck aircraft are now complete. They very much fall into "Nice from Far, far from nice" category. This is due mainly to the aircraft being modeled in brittle clear plastic. Luckily, the dark hanger deck hides a multitude of sins and provided a way for me to do 'test' builds on them.
All ready for installation.
All nice and cozy in their new home. You can see some issues. Especially on the CH-53E's. Broken rotor blades and missing refueling probe on one. Luckily, none of that can be seen once the flight deck goes on.
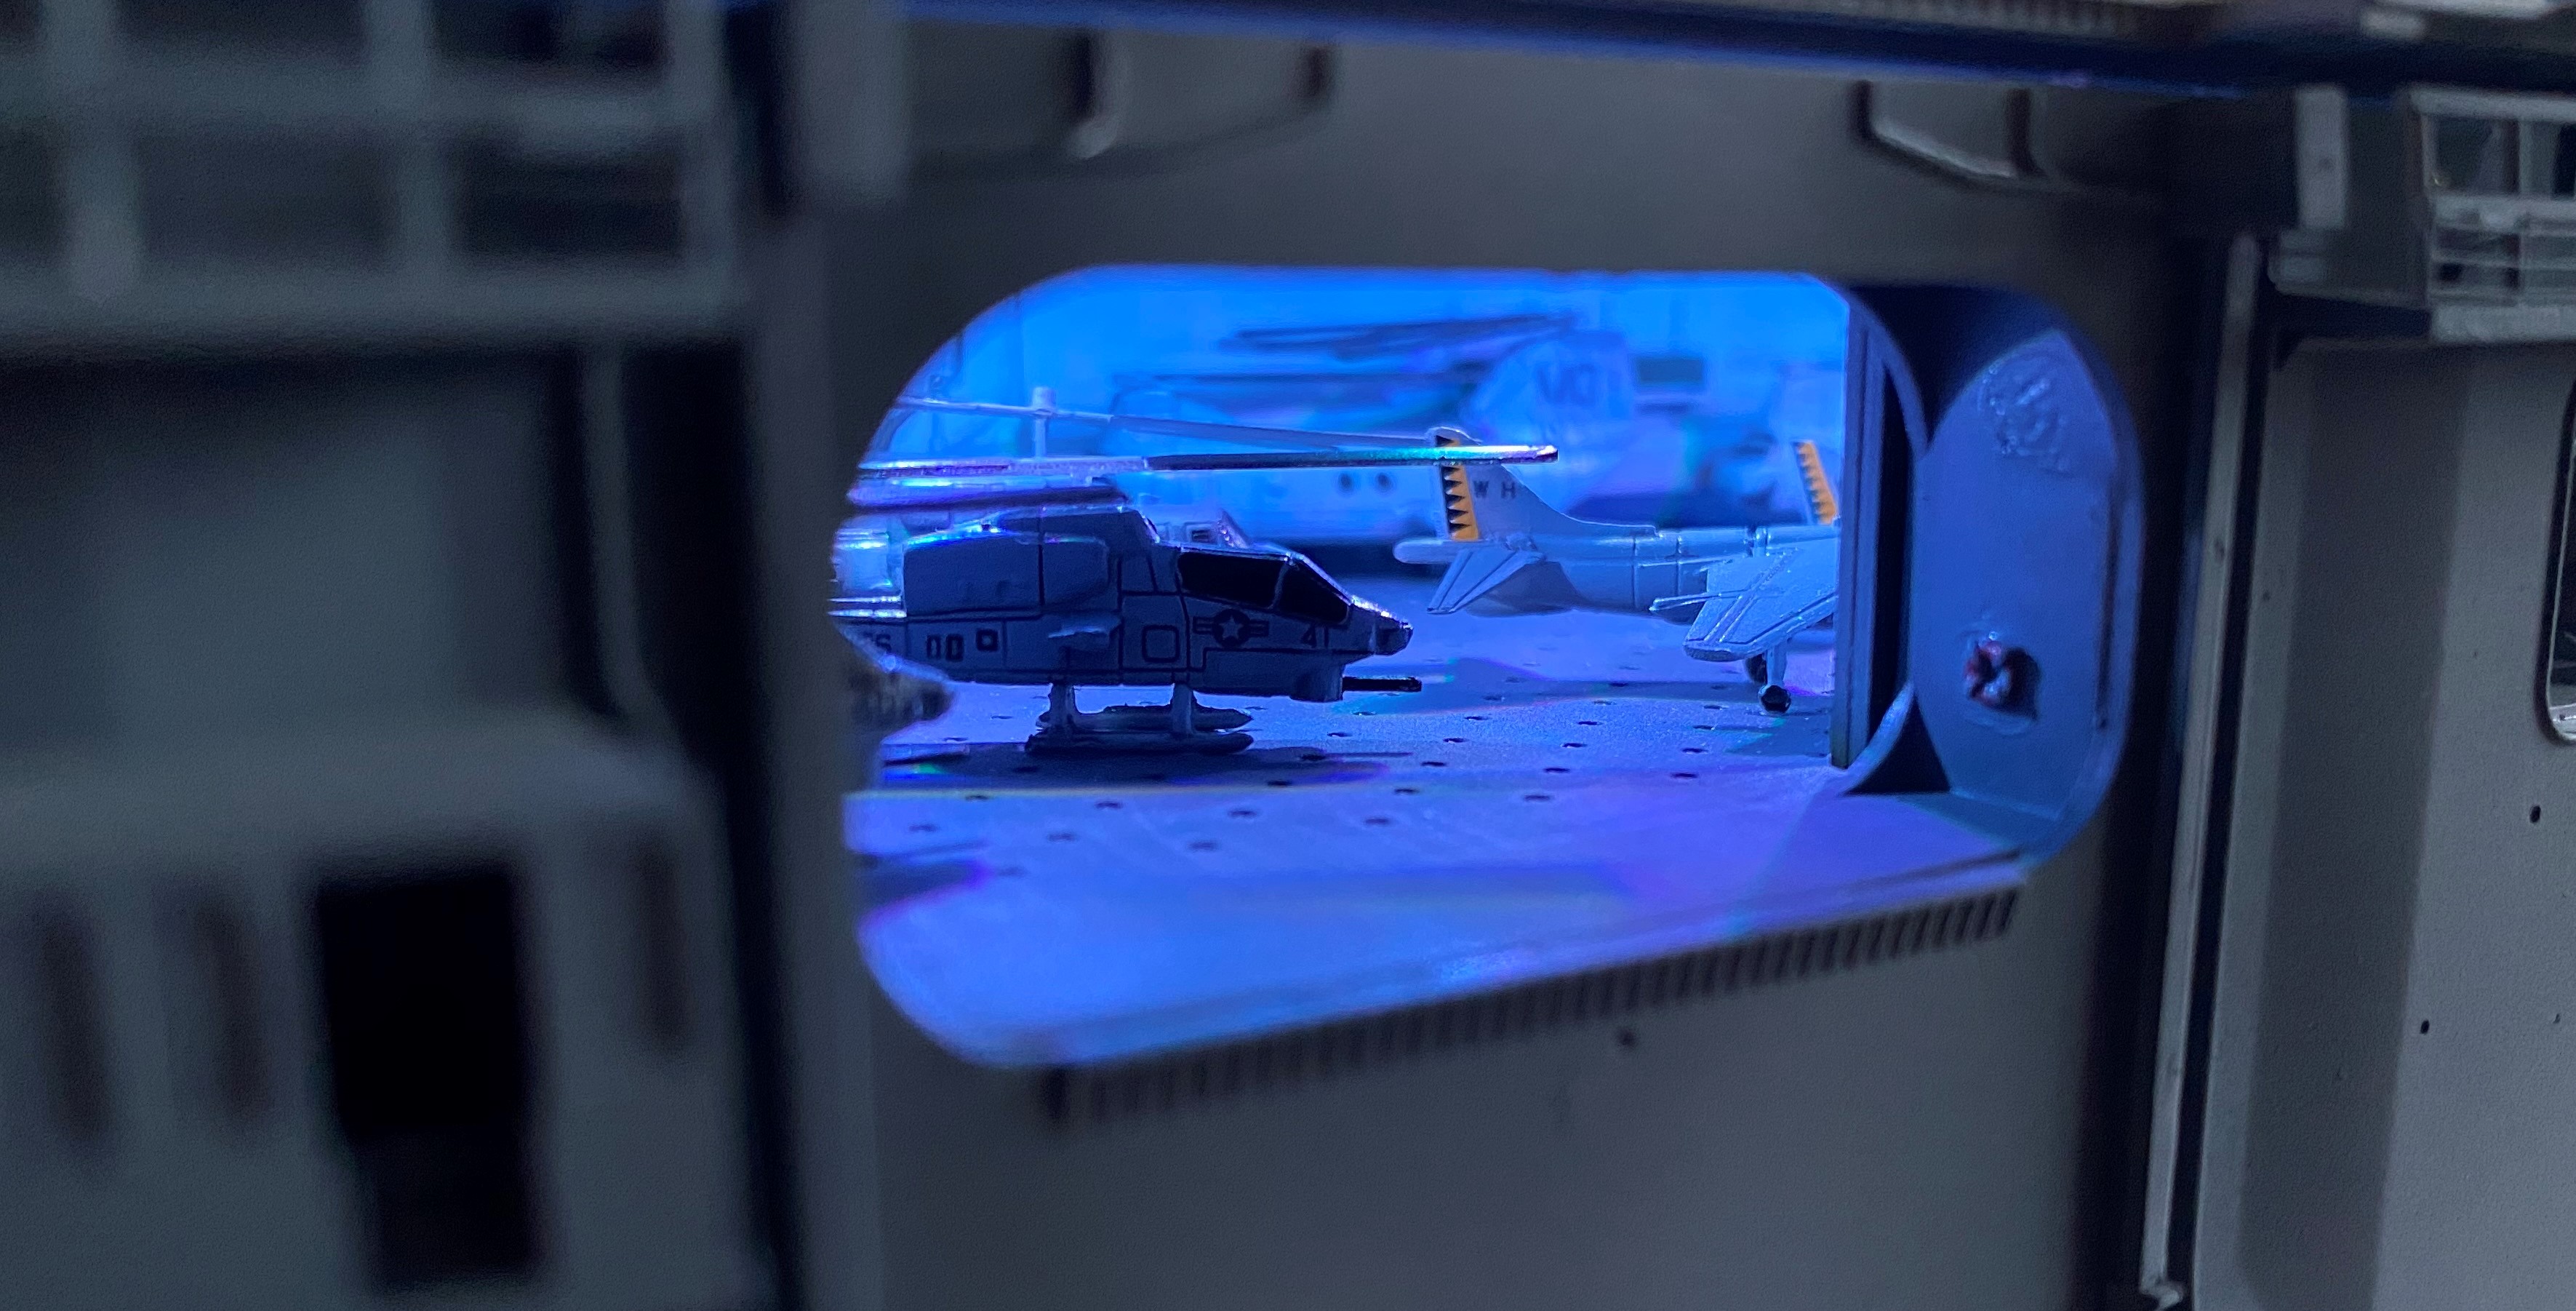
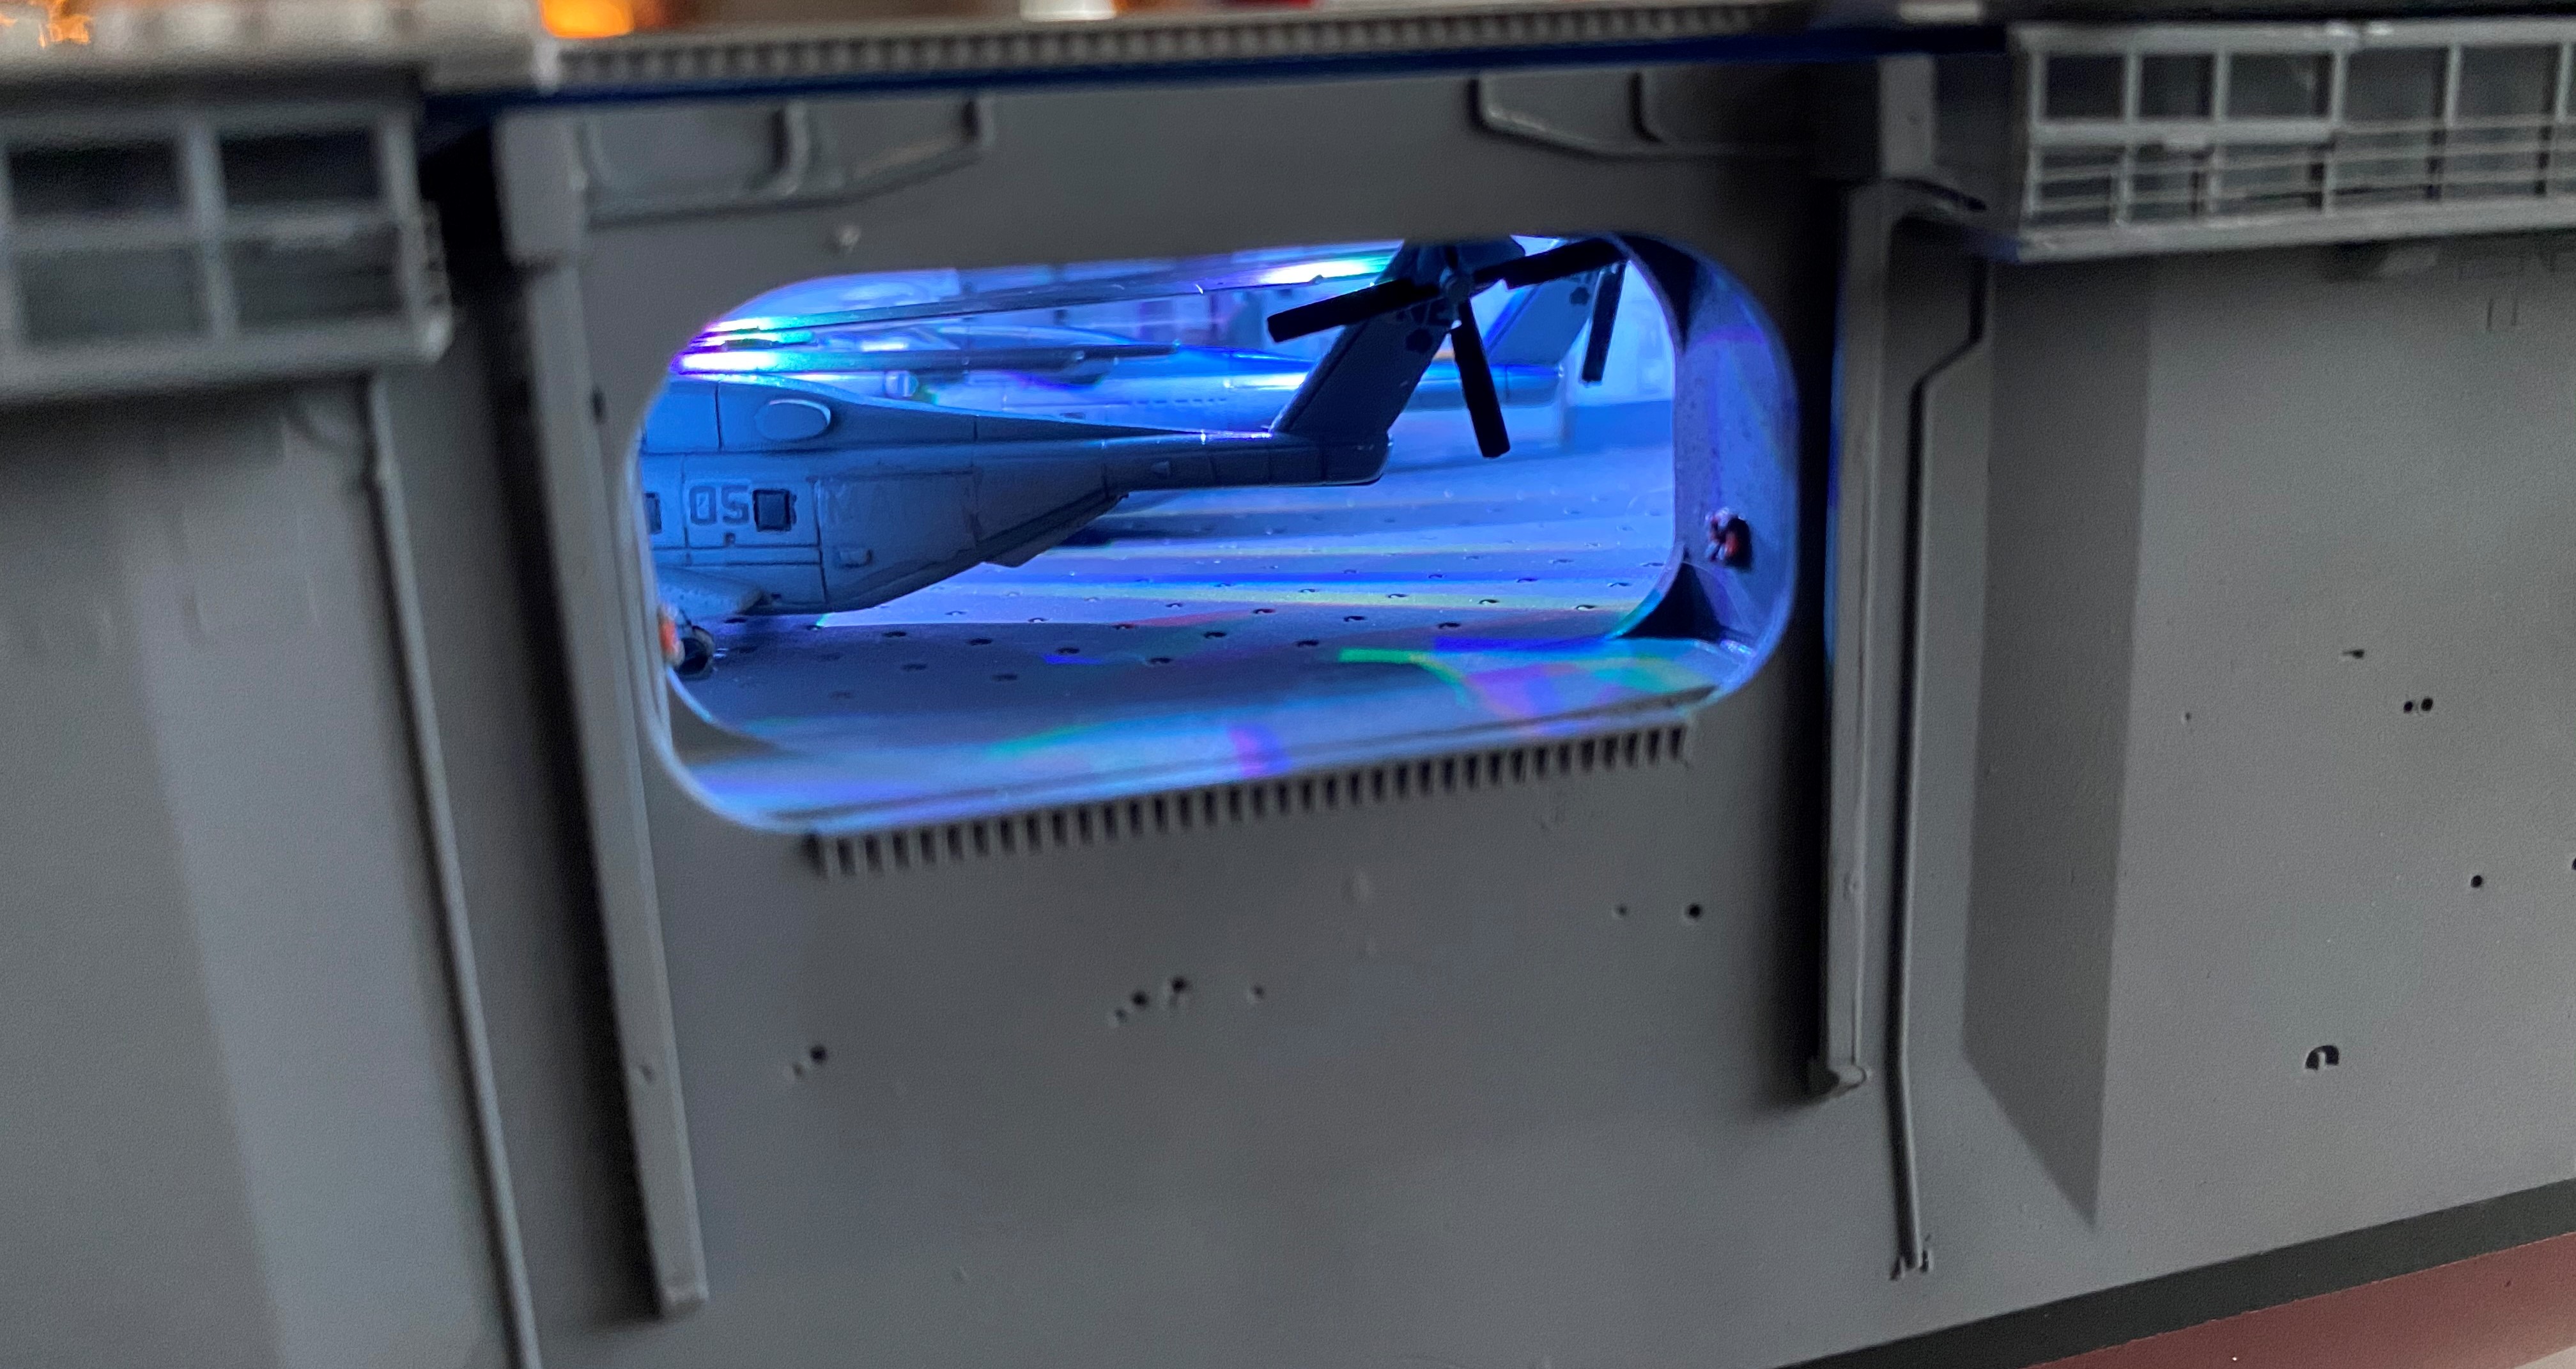
Peeking in
And Battlestations…
Lights went in really nicely but I have noticed they are somewhat blue tinted when set to white which is annoying. Still, she looks good so far. Flight deck is also on and glued down.
I will hopefully be able to take what I learned from these aircraft and apply them to the flight deck aircraft which will be very visible
steviecee
United States
Joined: September 01, 2011
KitMaker: 123 posts
AeroScale: 37 posts
Joined: September 01, 2011
KitMaker: 123 posts
AeroScale: 37 posts
Posted: Tuesday, December 31, 2019 - 03:02 PM UTC
all the sprues laid out
The main superstructure assembled and the main deck, hull halves and bottom cleaned up
Posted: Wednesday, January 01, 2020 - 09:48 PM UTC
Beautiful build, Rory! Love the lighting effects.
I am building an A-6E Intruder for this campaign. It is the 1/48 Revell kit. Looks good, but time when tell when I get started.
It will still be a bit of time until I get started. More to follow
I am building an A-6E Intruder for this campaign. It is the 1/48 Revell kit. Looks good, but time when tell when I get started.
It will still be a bit of time until I get started. More to follow
Illini
Colorado, United States
Joined: March 27, 2003
KitMaker: 345 posts
AeroScale: 17 posts
Joined: March 27, 2003
KitMaker: 345 posts
AeroScale: 17 posts
Posted: Tuesday, January 14, 2020 - 12:45 PM UTC
I am thinking of doing the 1/350 Merit Enterprise CV-6 and using a very extensive update set from a company I only learned of today called INFINI. Is anyone familiar with this company and the quality of its products?
http://shipmodels.info/mws_forum/viewtopic.php?f=16&t=164160
Thanks for any advise, Dave
http://shipmodels.info/mws_forum/viewtopic.php?f=16&t=164160
Thanks for any advise, Dave
Posted: Tuesday, January 14, 2020 - 04:50 PM UTC
Wow, that's a project. Best of luck with it.
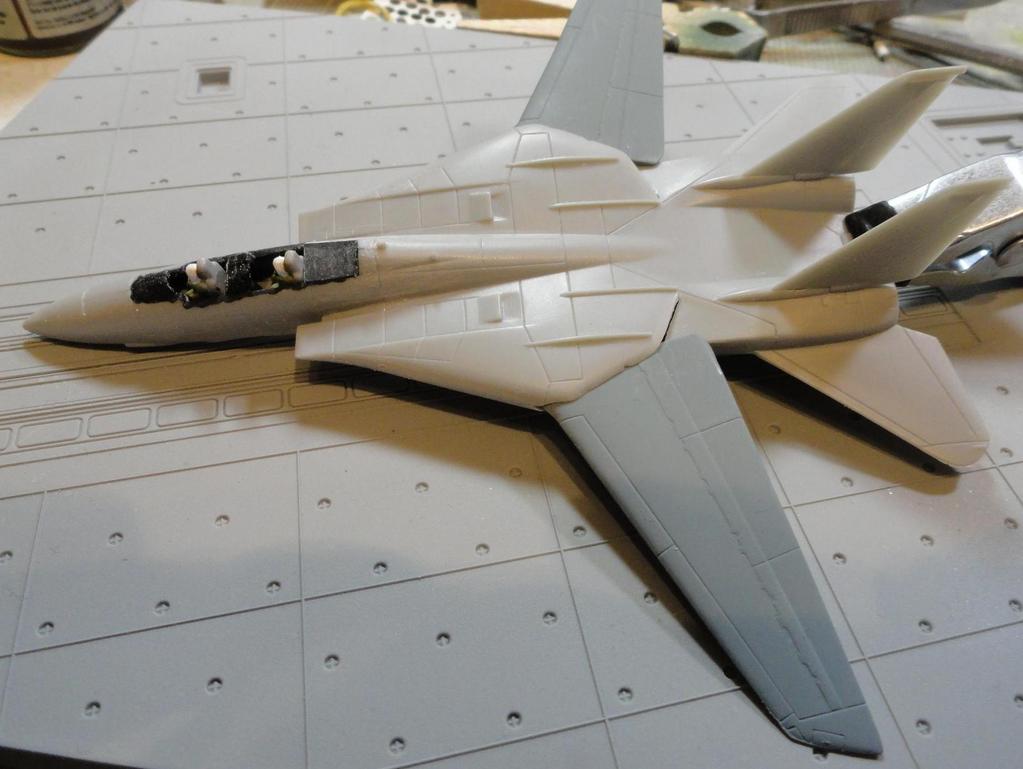
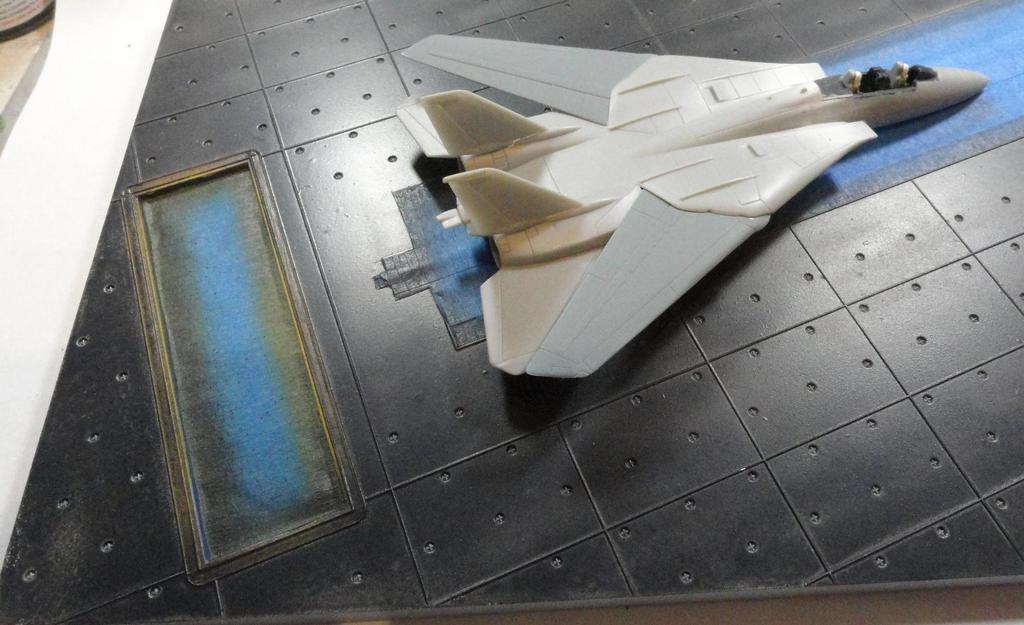
In Progress shot on the Dragon 1/144 Tomcat
Illini
Colorado, United States
Joined: March 27, 2003
KitMaker: 345 posts
AeroScale: 17 posts
Joined: March 27, 2003
KitMaker: 345 posts
AeroScale: 17 posts
Posted: Wednesday, January 15, 2020 - 09:43 AM UTC
After some sane thought, I concluded the CV-6 was too expensive and too long an project for this campaign.
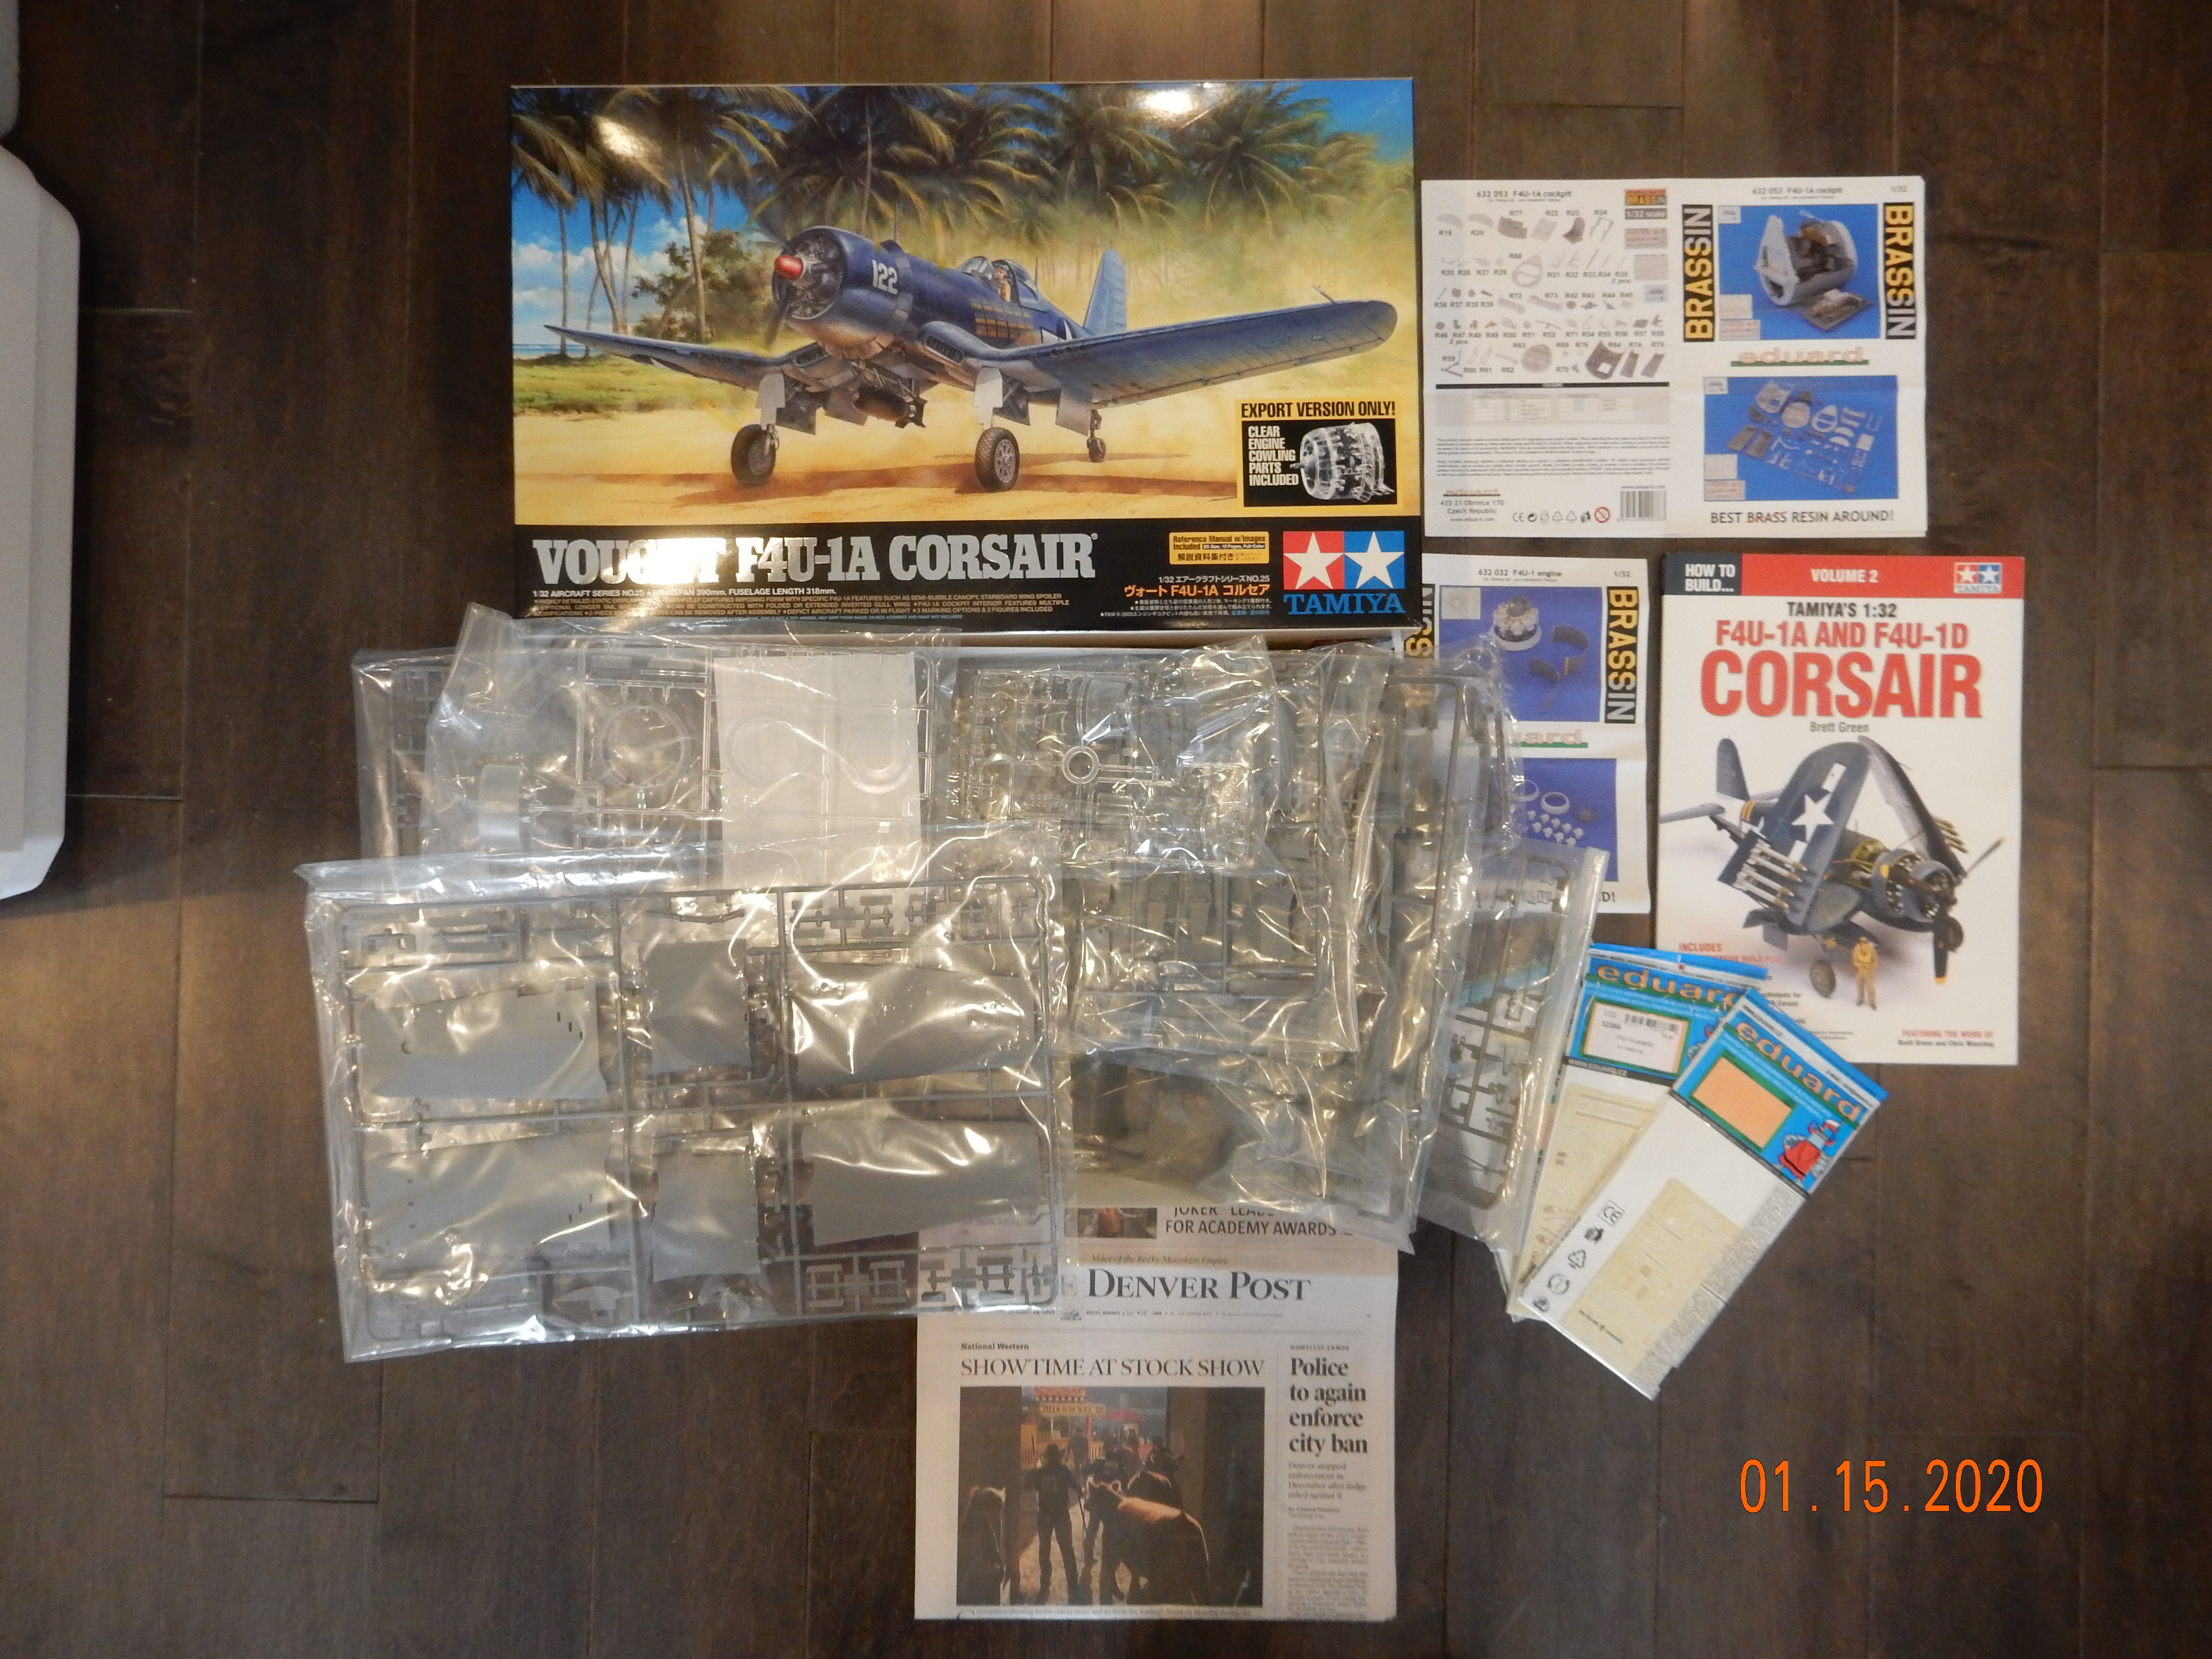
So, I decided to build the Tamiya 1/32 Vought F4U-1A Corsair with add on goodies. Still an ambitious endeavor. However, I can always scale back to the kit pats if the Brassen inteior and engine prove to be too much.
Posted: Sunday, January 19, 2020 - 09:11 AM UTC
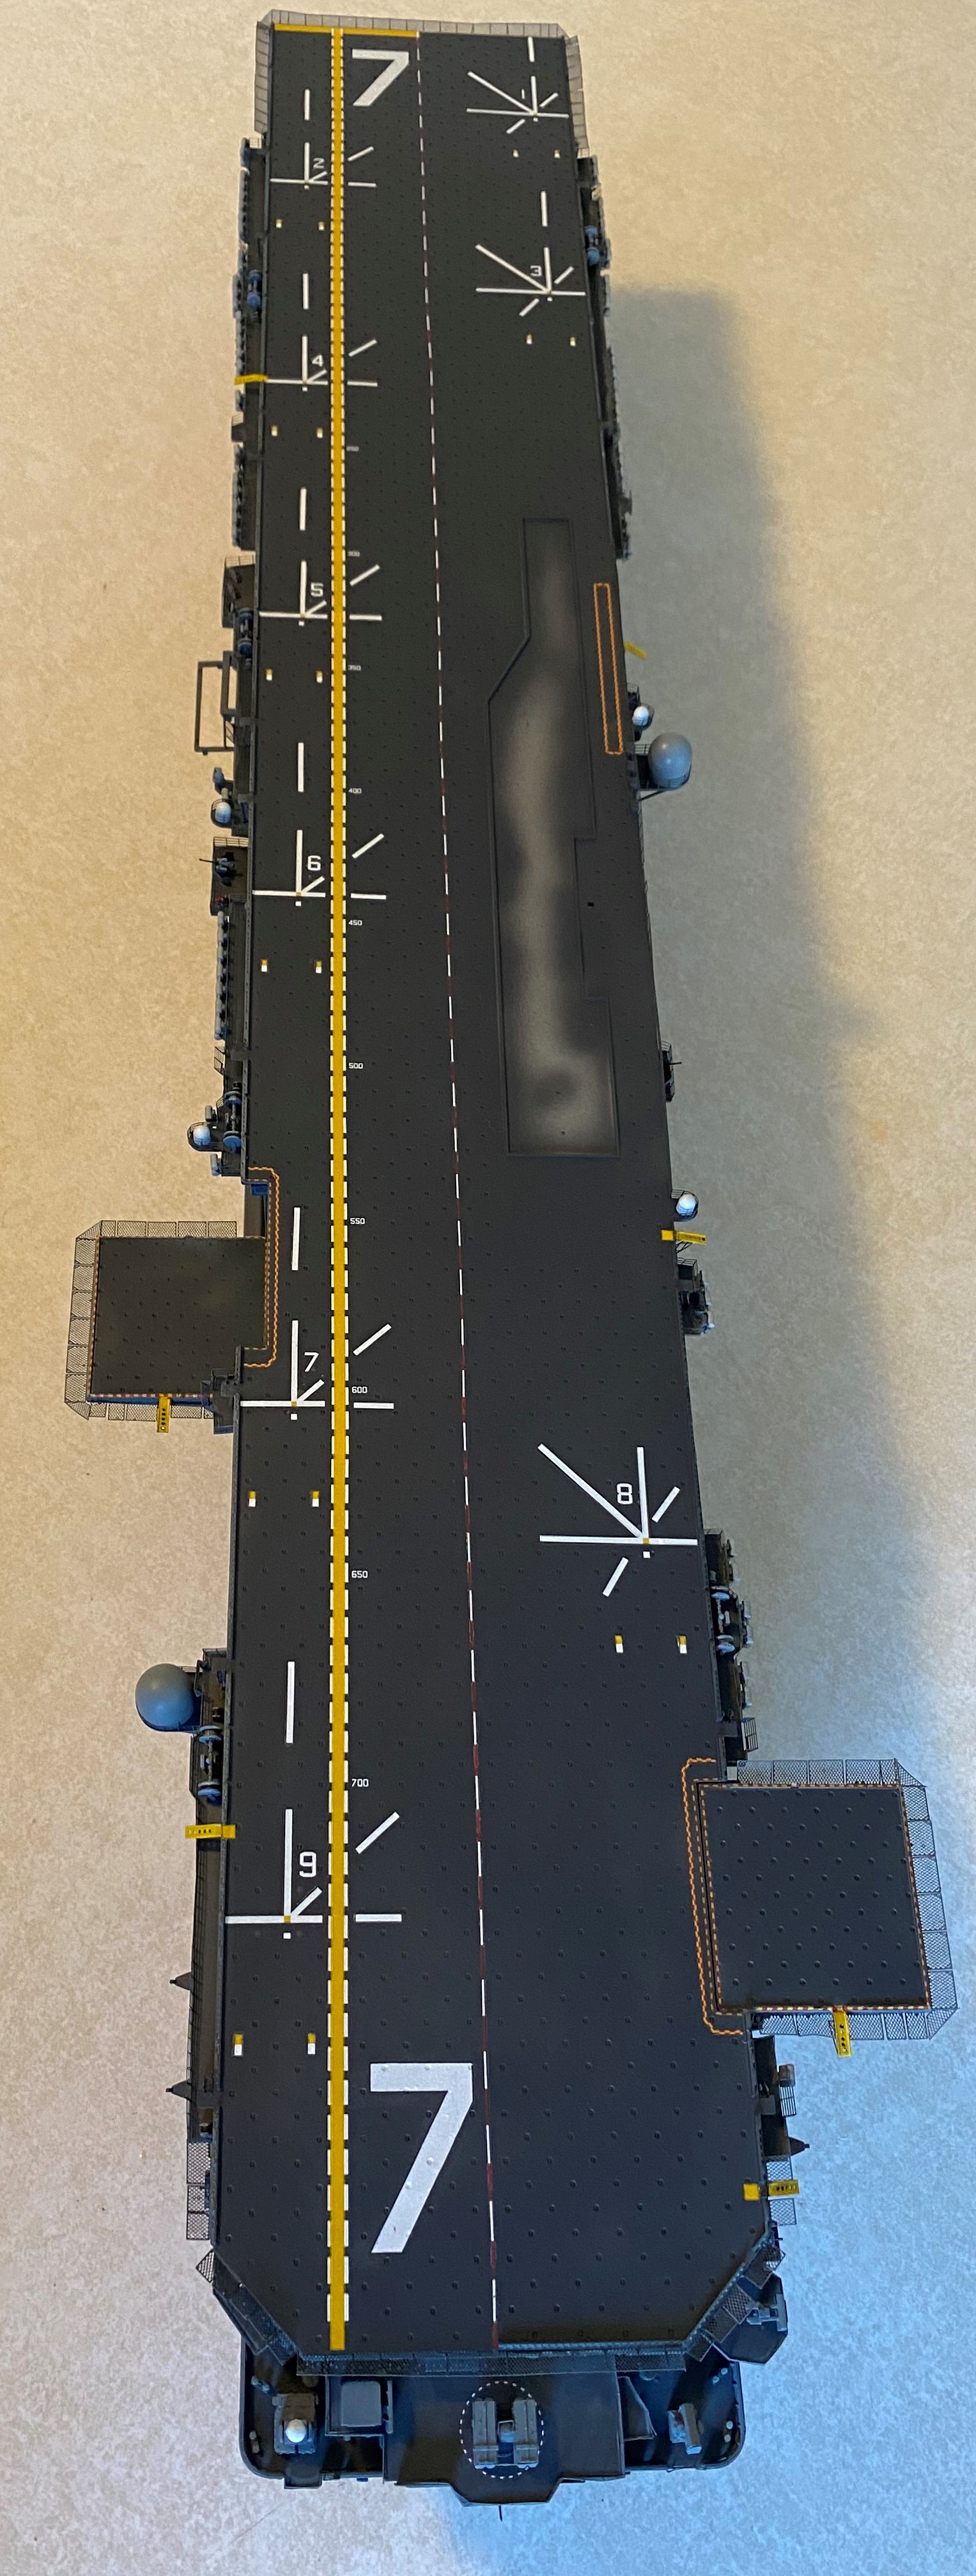
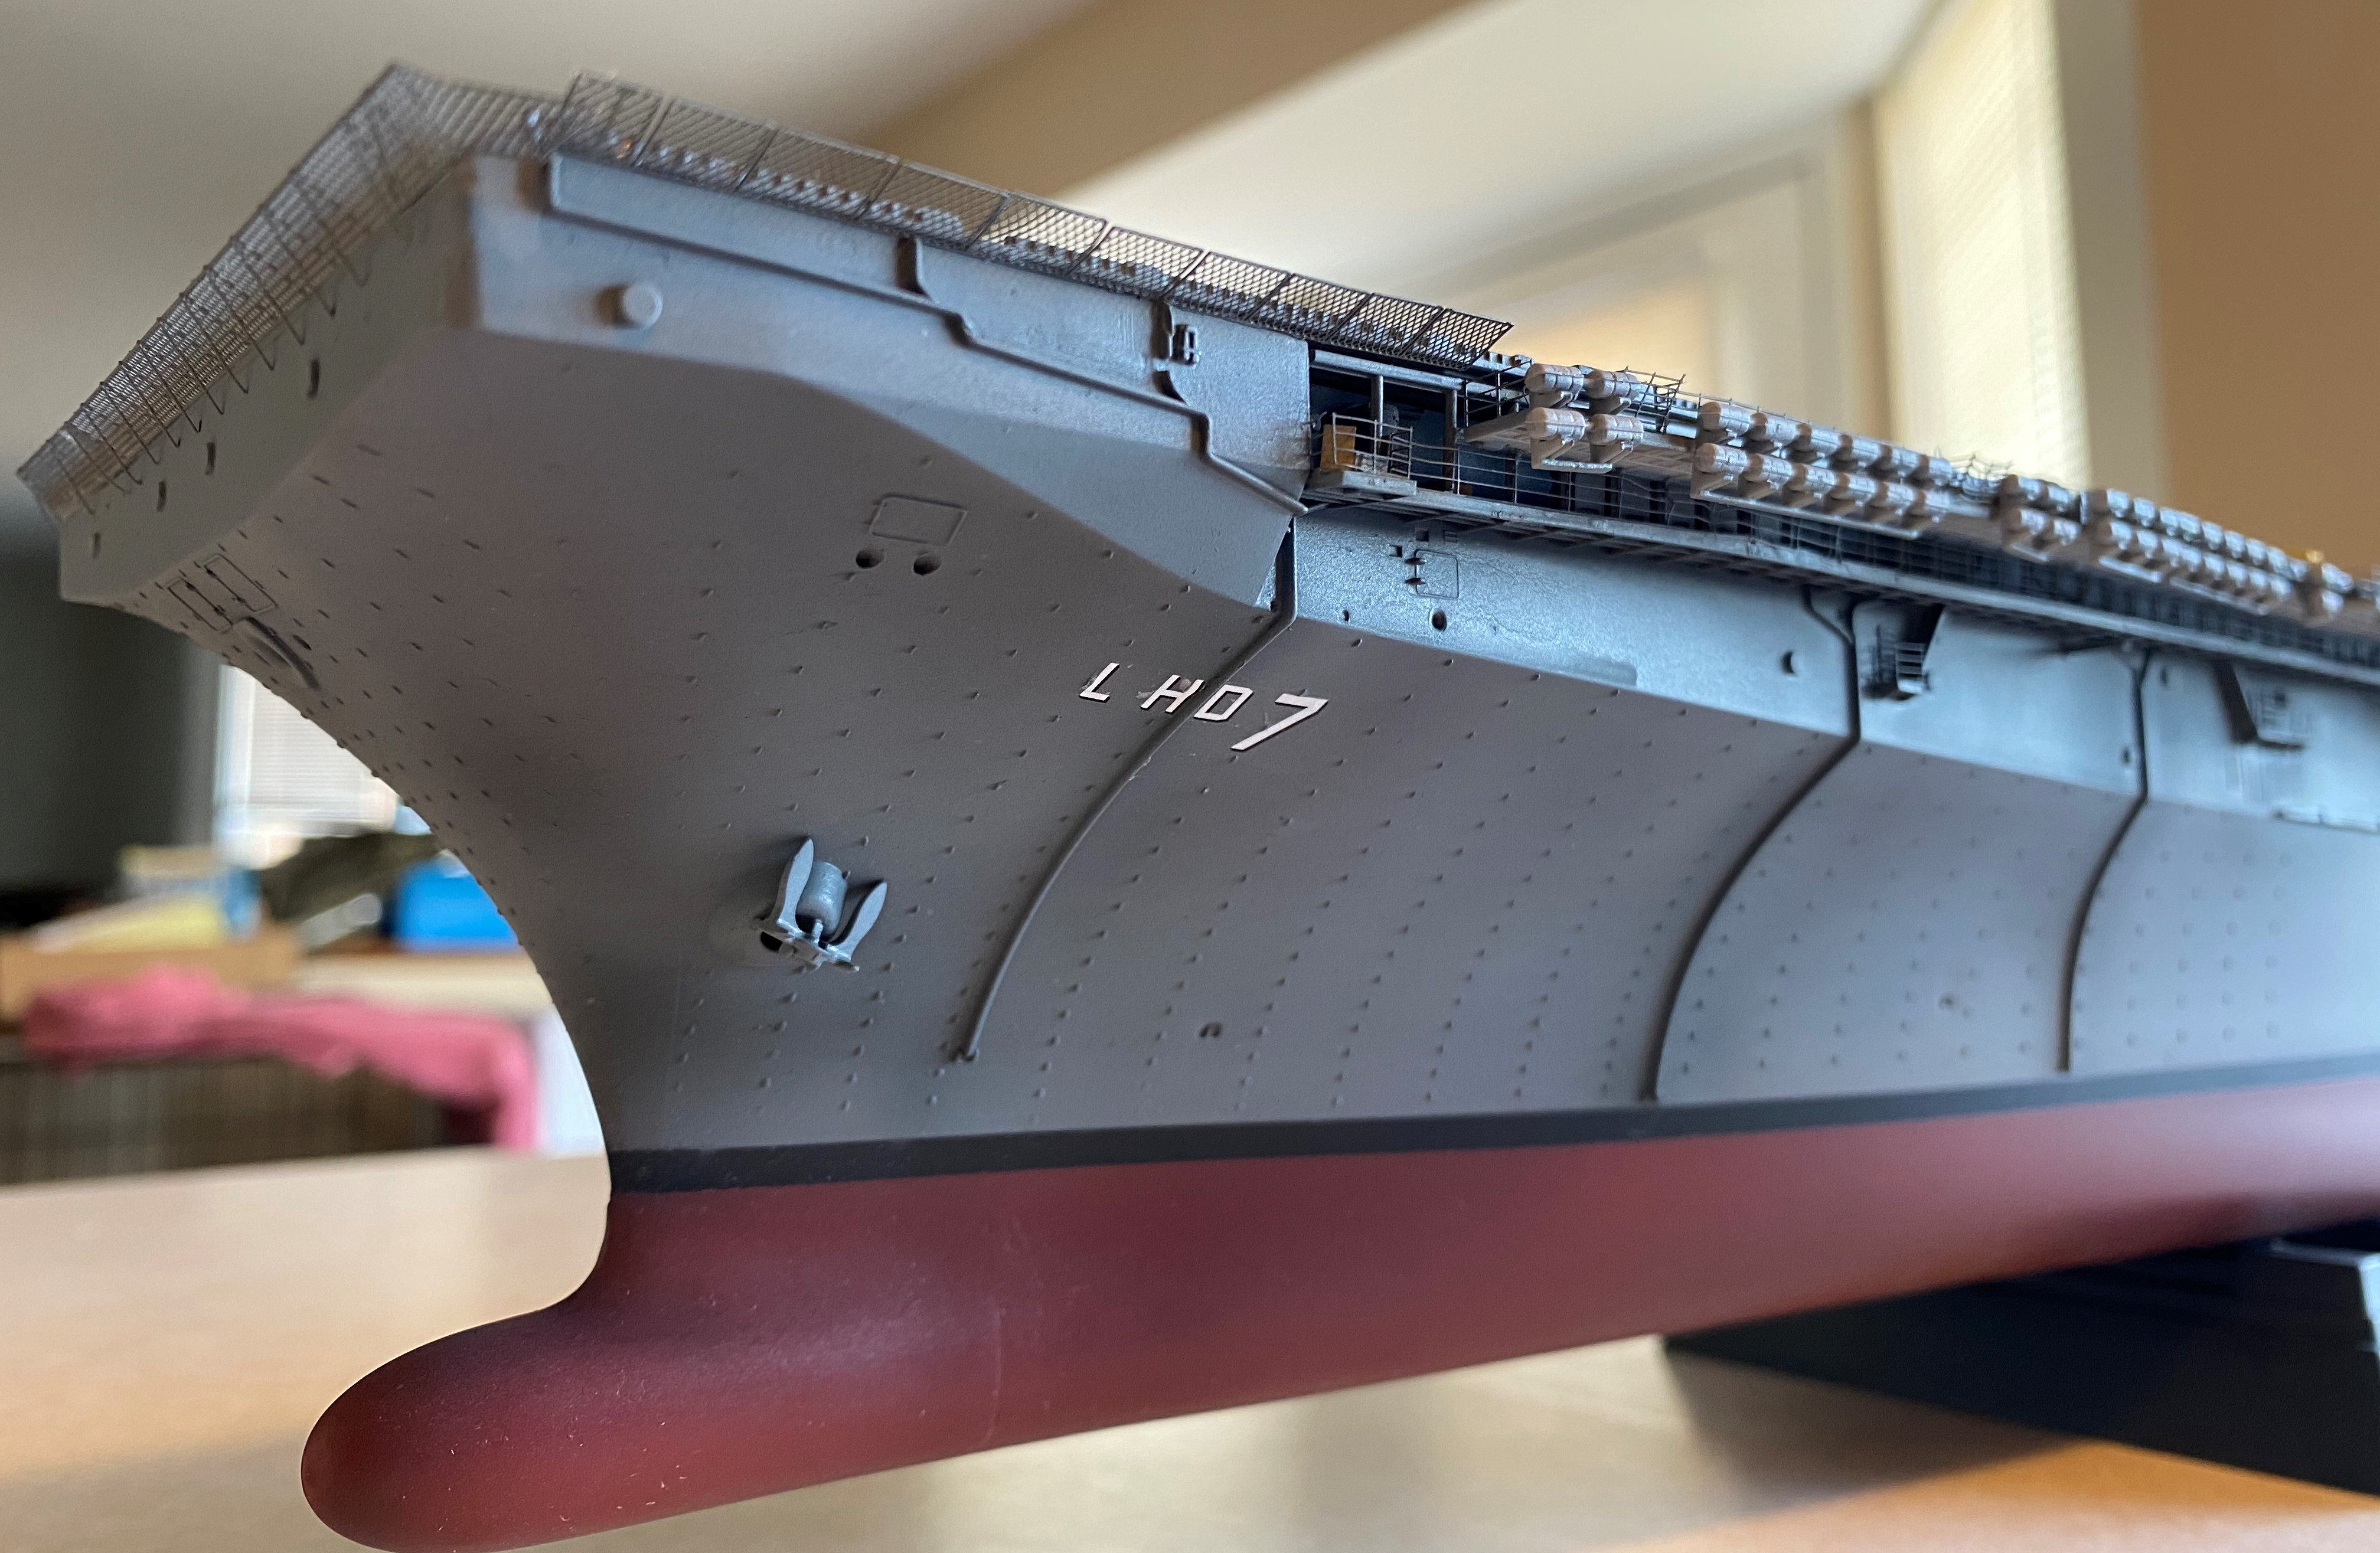
A month has gone by and I have finally fully completed the main hull. Just the superstructure and airwing to go.
Posted: Sunday, January 19, 2020 - 11:55 AM UTC
Rory,
Way to go. That's a sweet build. I like it, can't wait to see more.
Take care,
Don "Lakota"
Way to go. That's a sweet build. I like it, can't wait to see more.
Take care,
Don "Lakota"
Posted: Tuesday, January 21, 2020 - 07:14 AM UTC
Quoted Text
I am thinking of doing the 1/350 Merit Enterprise CV-6 and using a very extensive update set from a company I only learned of today called INFINI. Is anyone familiar with this company and the quality of its products?
http://shipmodels.info/mws_forum/viewtopic.php?f=16&t=164160
Thanks for any advise, Dave
Dave,
While I haven't actually used any of their products I do have some in the stash for future projects. What I can say is just from a visual perspective it looks good. Etch is very well defined and is a good thickness. Resin parts are also well cast and crisp.
Illini
Colorado, United States
Joined: March 27, 2003
KitMaker: 345 posts
AeroScale: 17 posts
Joined: March 27, 2003
KitMaker: 345 posts
AeroScale: 17 posts
Posted: Saturday, January 25, 2020 - 09:57 AM UTC
I was told by someone on Armorama that my pictures aren't visible, so I'm adding my original kit photo again now from a different source. Hope you can see it. Let me know if not.
I decided to not use the Brassin update sets, too much for my meager skills.
Posted: Wednesday, February 05, 2020 - 01:17 PM UTC
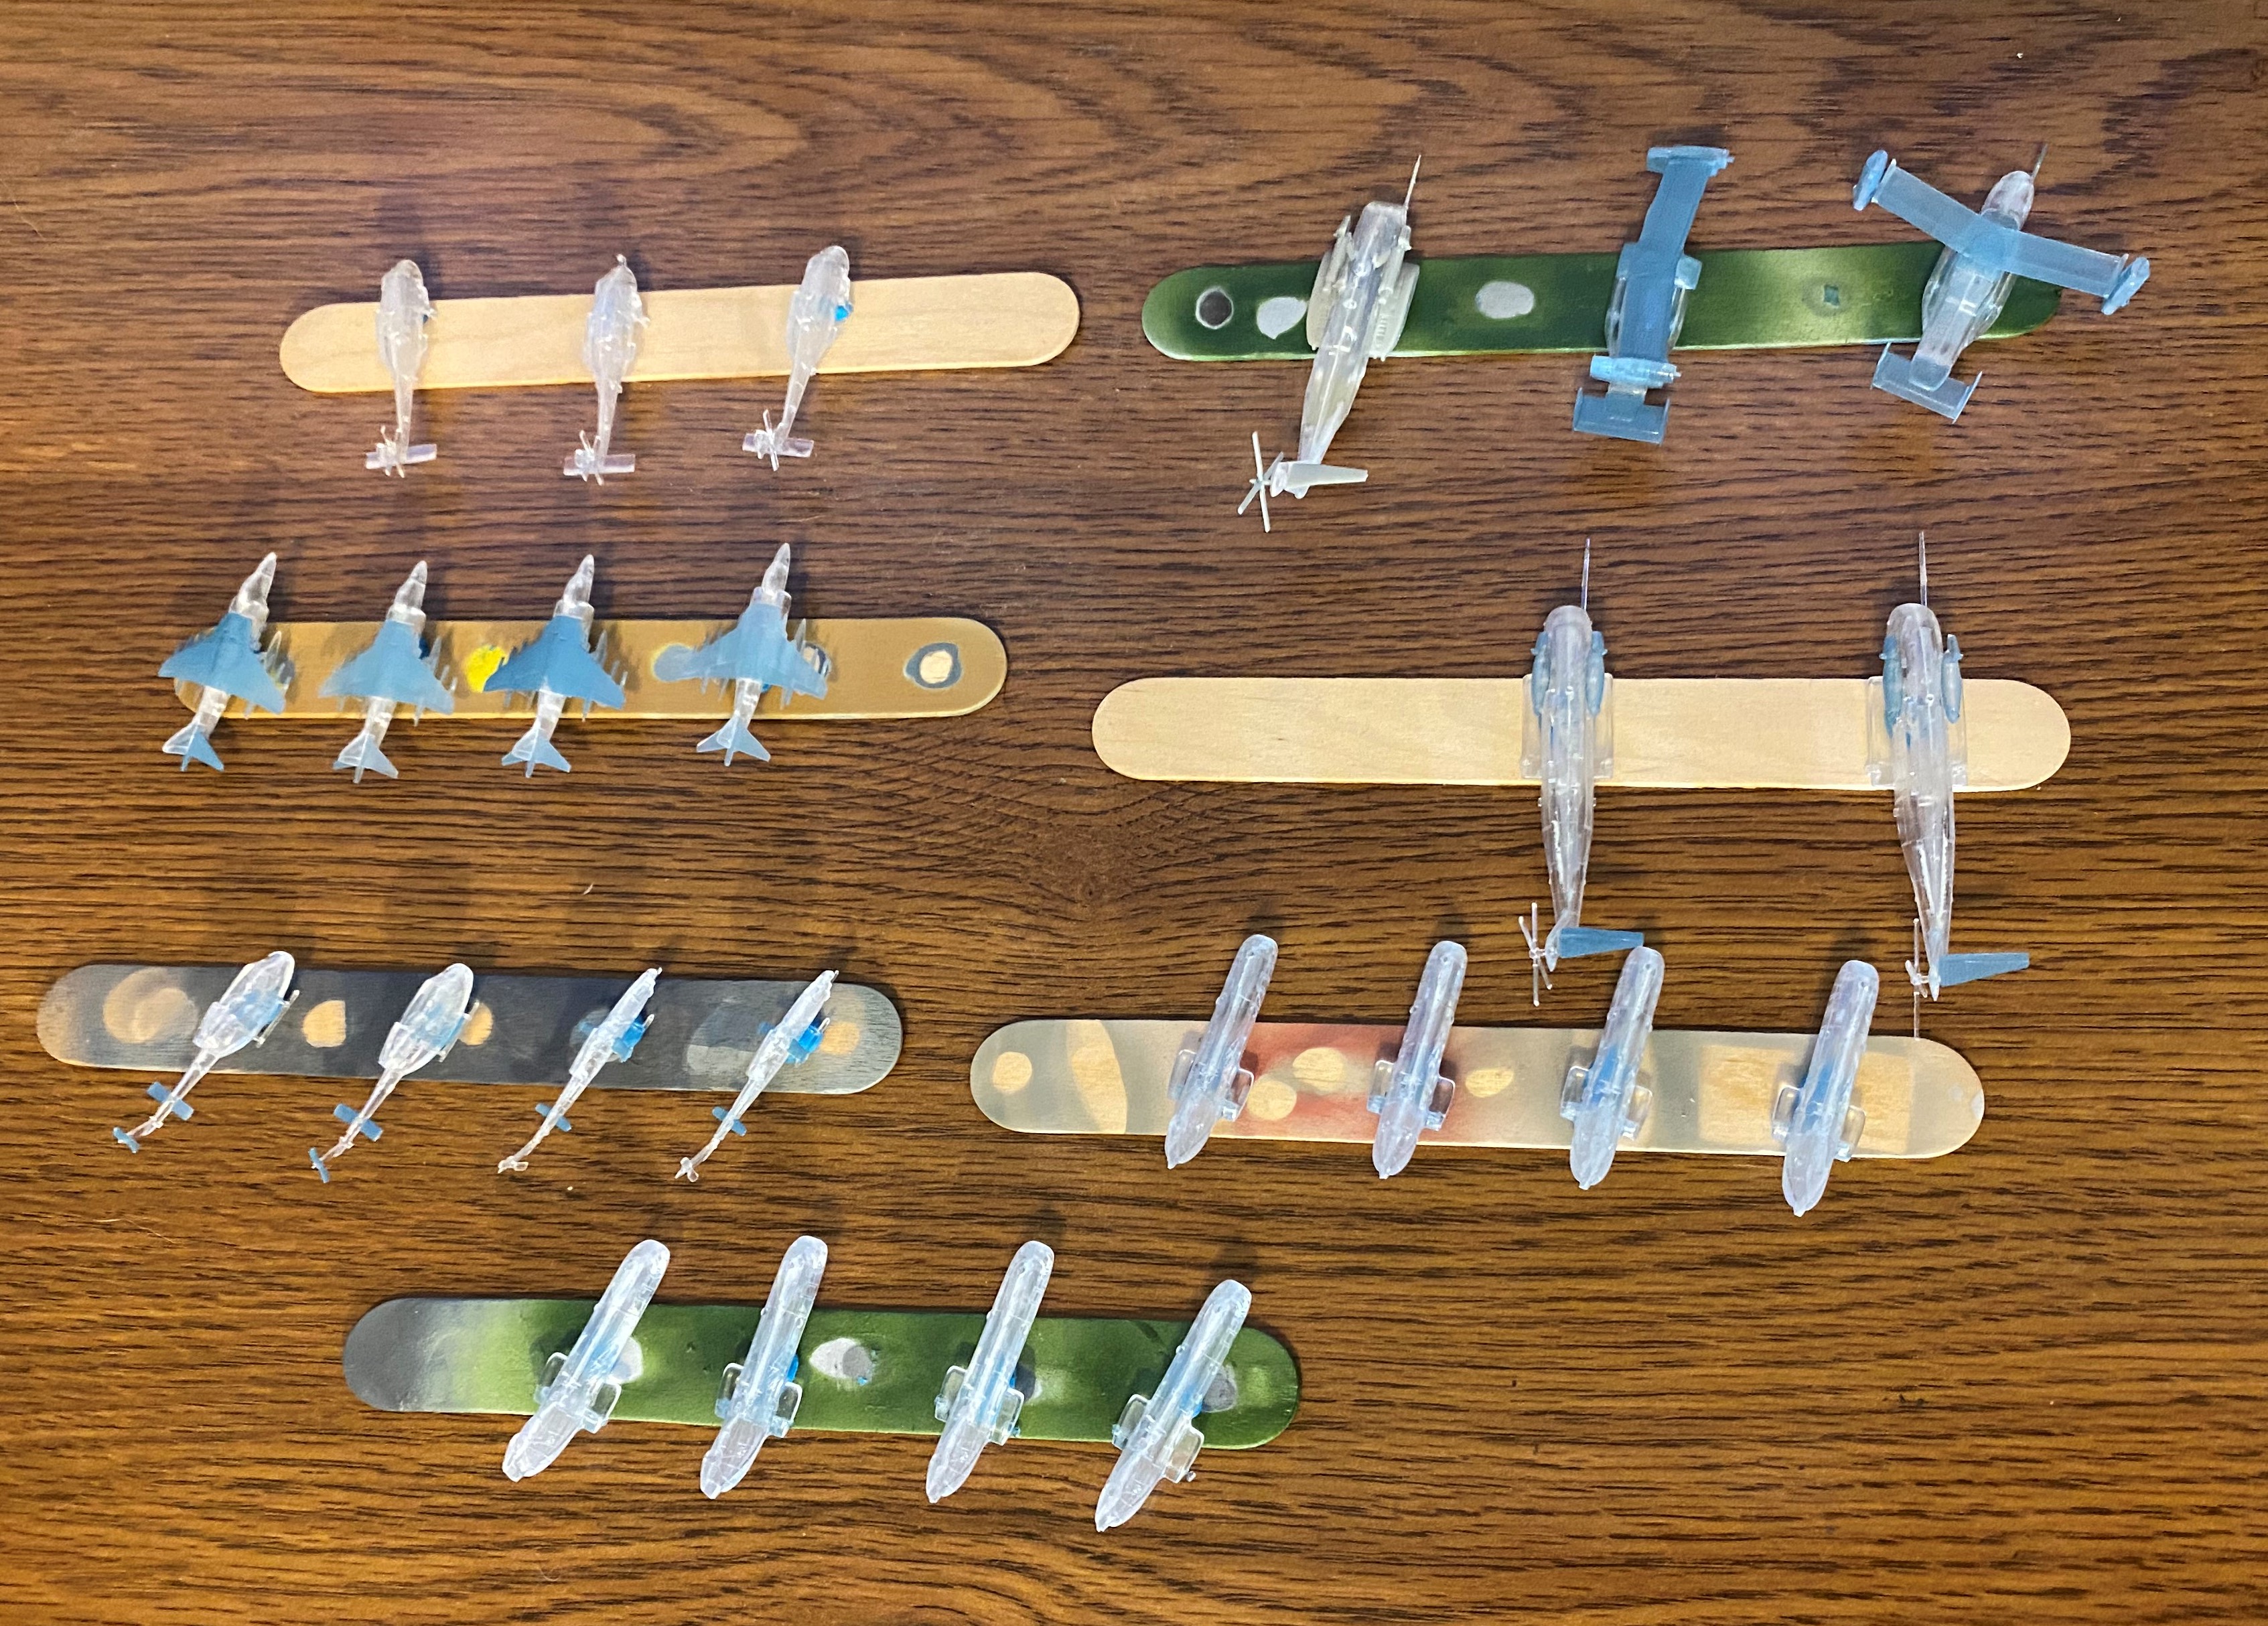
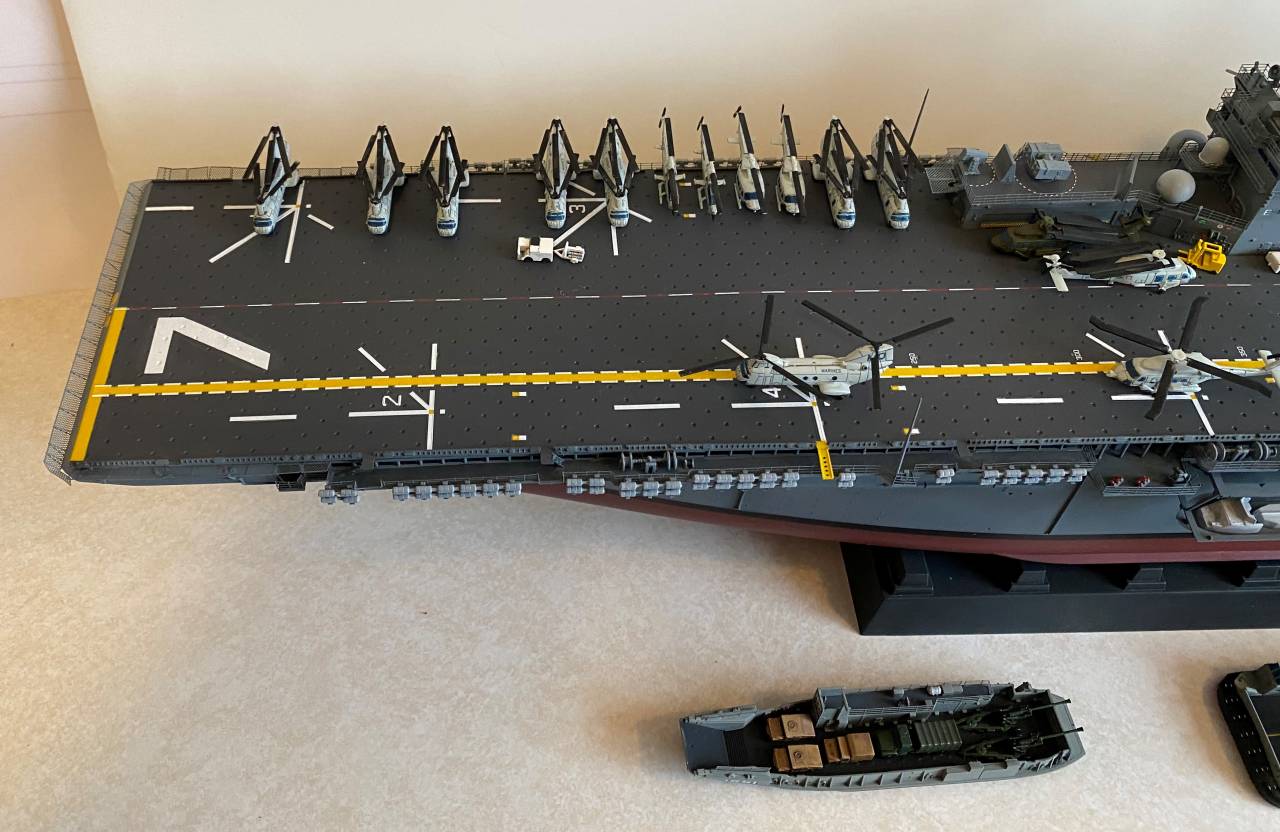
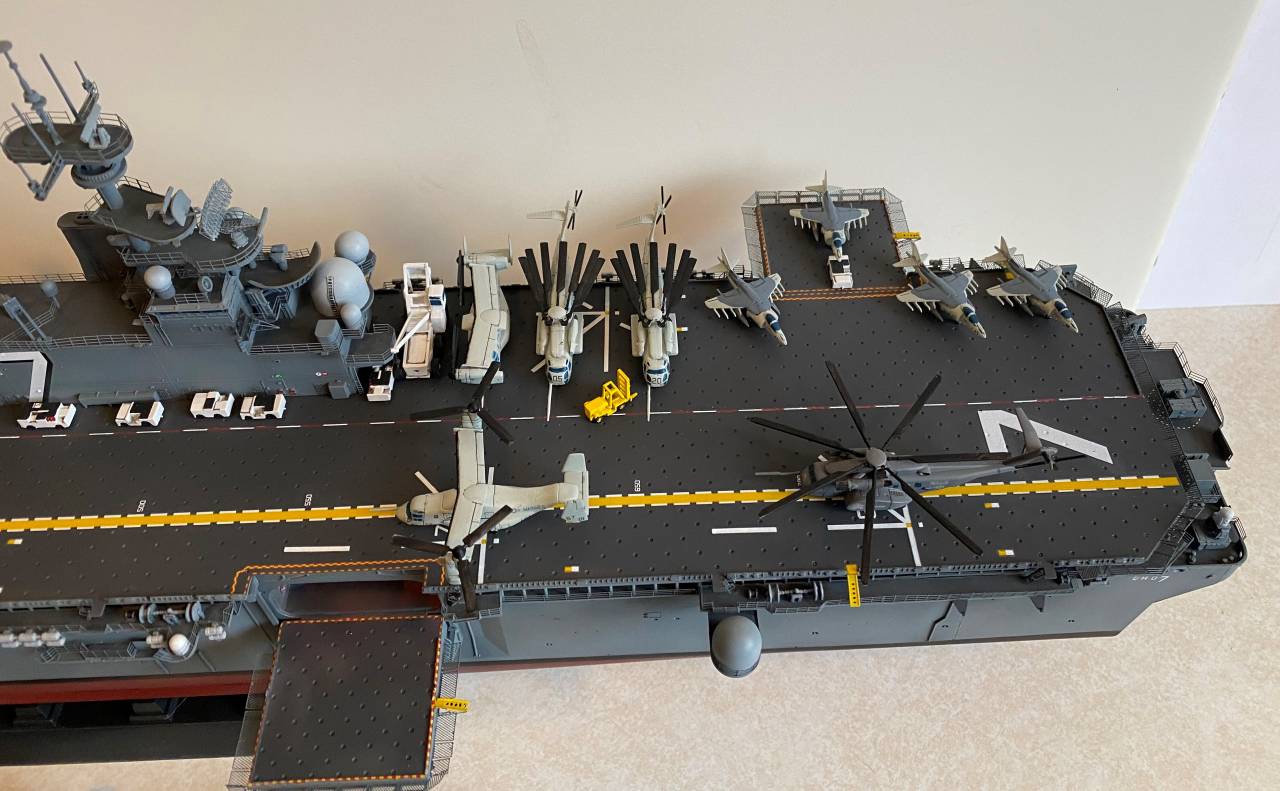
This will be my final update before the completed model is displayed. I have been working on the airwing.
The on deck airwing will consist of the following assigned aircraft:
4 Harriers
2 UH-1N's
2 Cobra attack helicopters
2 CH-53E's
8 CH-46's
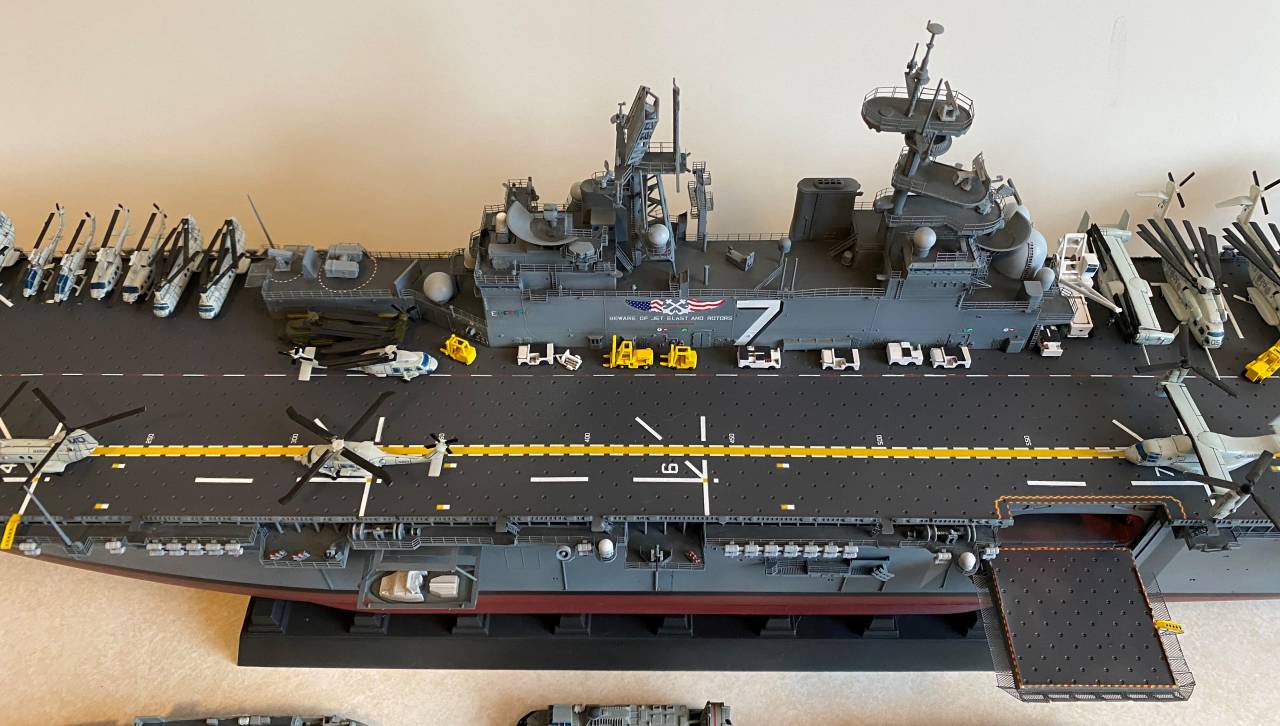
Other aircraft present. Not assigned so just visiting:
2 V-22 Osprey
1 MH-53E 'Sea Dragon'
2 SH-60F's
1 SH-60H Rescue Hawk
The on deck airwing will consist of the following assigned aircraft:
4 Harriers
2 UH-1N's
2 Cobra attack helicopters
2 CH-53E's
8 CH-46's
Other aircraft present. Not assigned so just visiting:
2 V-22 Osprey
1 MH-53E 'Sea Dragon'
2 SH-60F's
1 SH-60H Rescue Hawk
Posted: Sunday, February 09, 2020 - 05:22 AM UTC
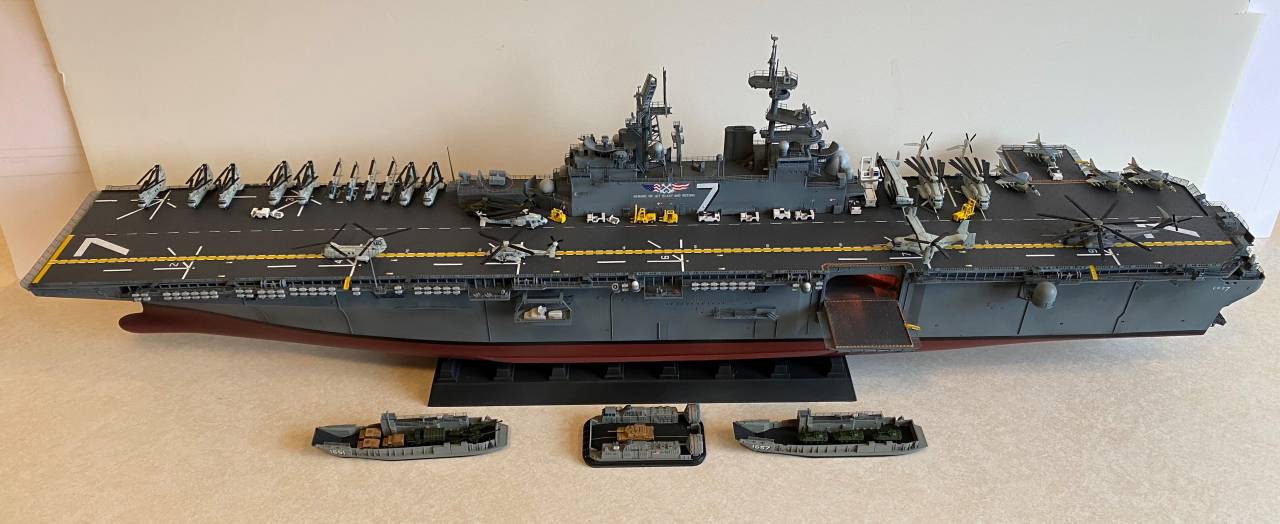
And completed. Took me just over 3 months which for me is a record. Really enjoyed this build but wont be doing a carrier again for quite some time! Images are up in the gallery.
Illini
Colorado, United States
Joined: March 27, 2003
KitMaker: 345 posts
AeroScale: 17 posts
Joined: March 27, 2003
KitMaker: 345 posts
AeroScale: 17 posts
Posted: Sunday, February 09, 2020 - 05:45 AM UTC
Really impressive build Rory
Illini
Colorado, United States
Joined: March 27, 2003
KitMaker: 345 posts
AeroScale: 17 posts
Joined: March 27, 2003
KitMaker: 345 posts
AeroScale: 17 posts
Posted: Thursday, February 13, 2020 - 05:58 AM UTC
Progress being made on the F4U-1A. I tend to jump around and do sub-assemblies so I don't get bored. Lots more painting and weathering on both
Posted: Tuesday, February 25, 2020 - 05:32 AM UTC
@Rory - Phantastic carrier, congrats! Super detailing and the birds and choppers look great!
I decided to take part now with this kit:
Pave-Hawk
Western Australia, Australia
Joined: May 05, 2006
KitMaker: 900 posts
AeroScale: 200 posts
Joined: May 05, 2006
KitMaker: 900 posts
AeroScale: 200 posts
Posted: Thursday, April 09, 2020 - 08:26 PM UTC
Ill be attempting this:
Have had a quick look today, and it's pretty basic, and I would prefer to put a bit of aftermarket stuff on, but the budget will not be extending to that sort of thing for a while so OOB it shall be.
Pave-Hawk
Western Australia, Australia
Joined: May 05, 2006
KitMaker: 900 posts
AeroScale: 200 posts
Joined: May 05, 2006
KitMaker: 900 posts
AeroScale: 200 posts
Posted: Tuesday, April 21, 2020 - 04:01 PM UTC
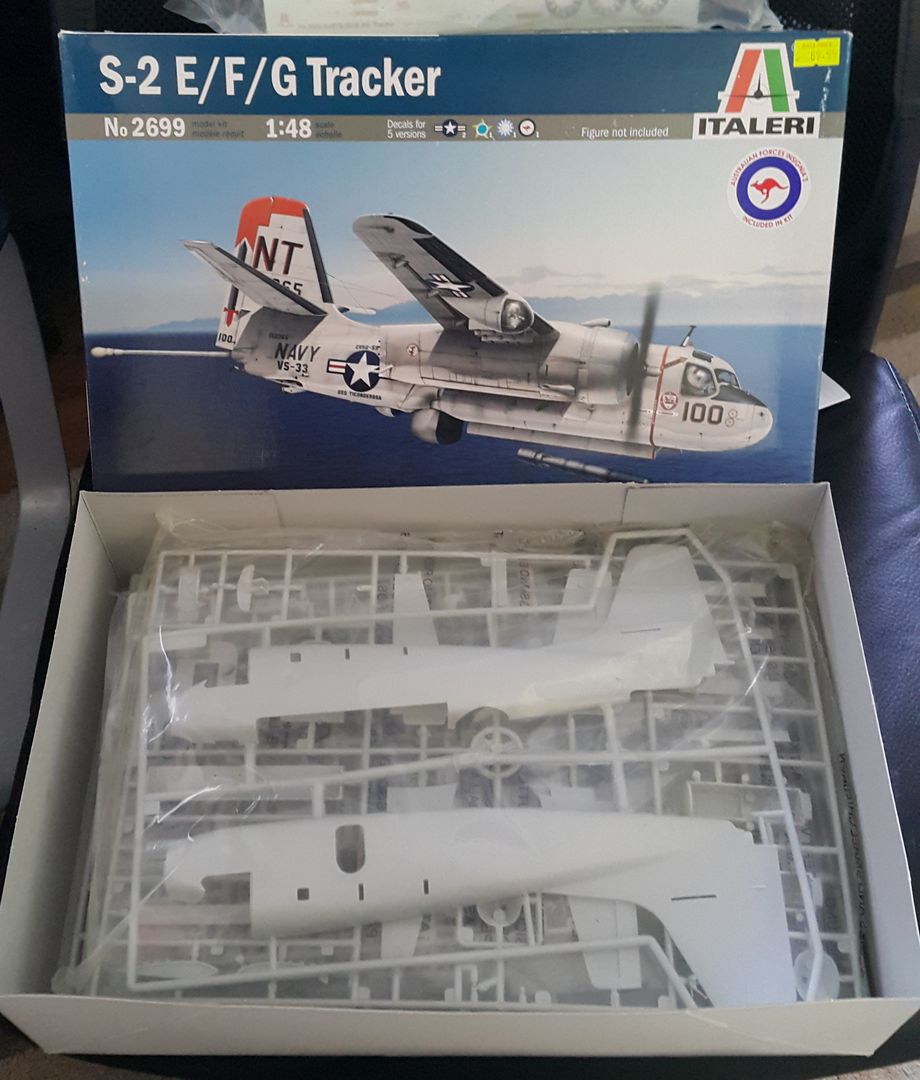
Work is well underway on my Tracker. There are quite a few corners that have been cut with this kit in terms of detail but hopefully I can turn it into something decent.
The cockpit is quite basic and rather dark once it's all closed up so it just got a quick and dirty paint job.
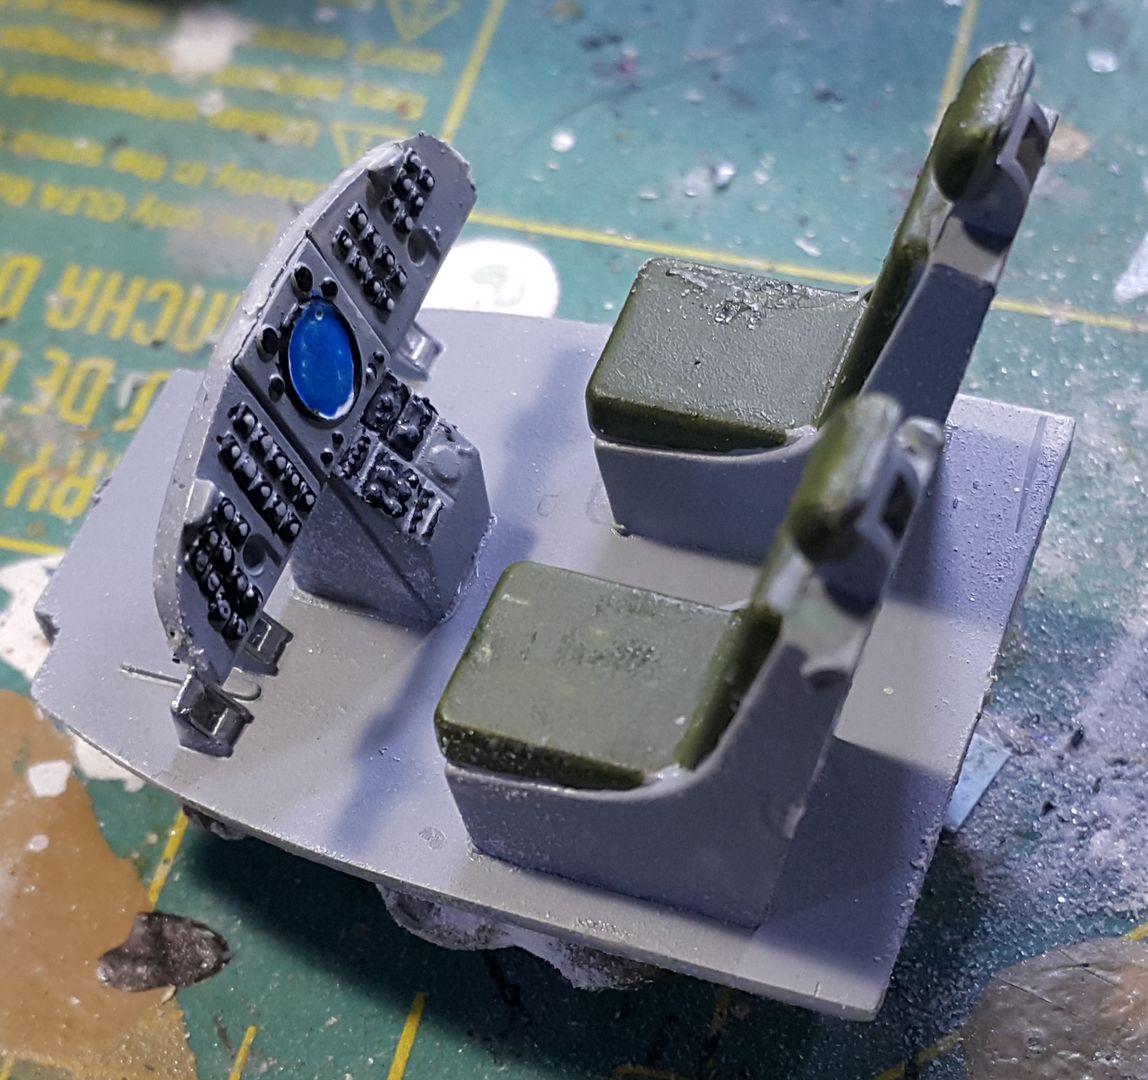
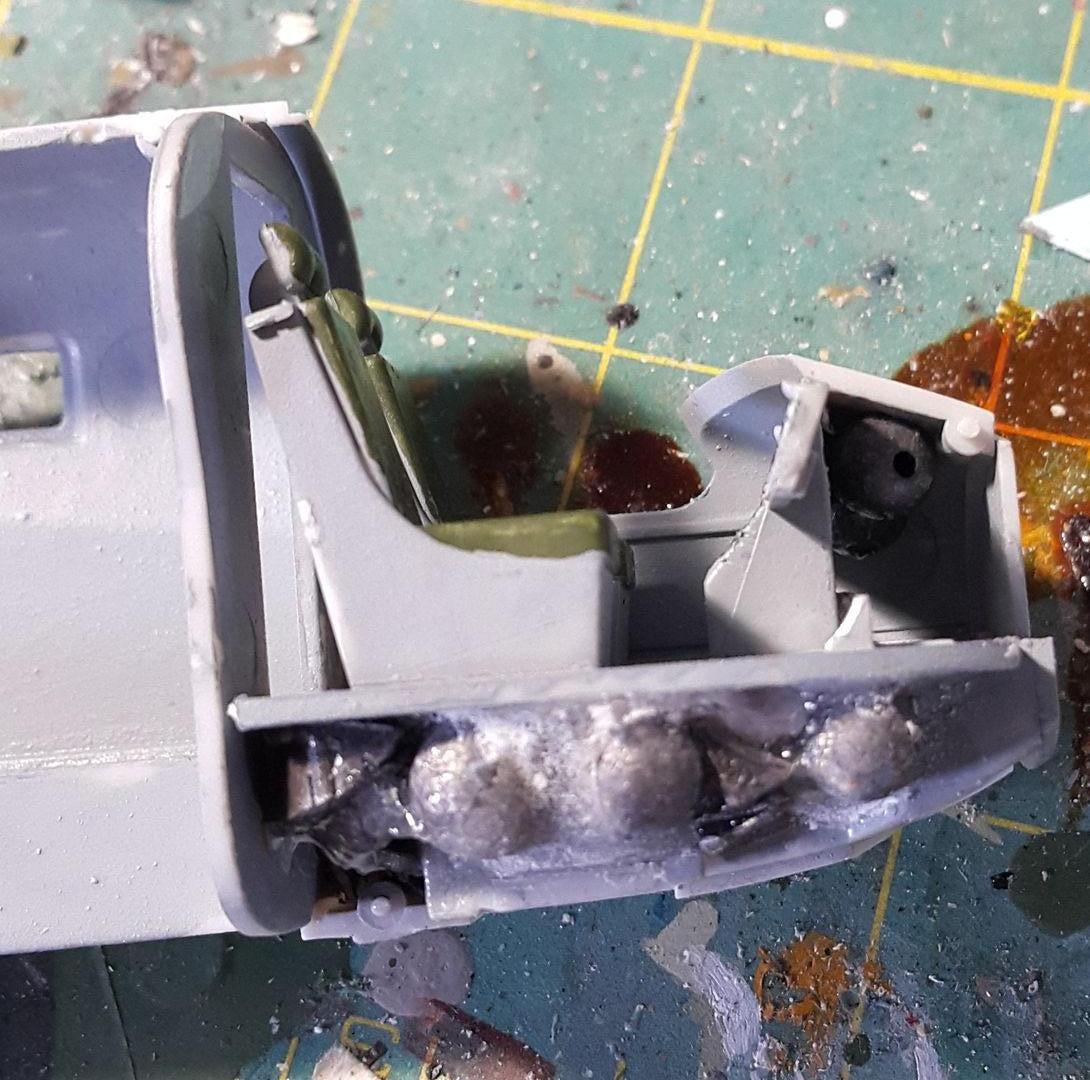
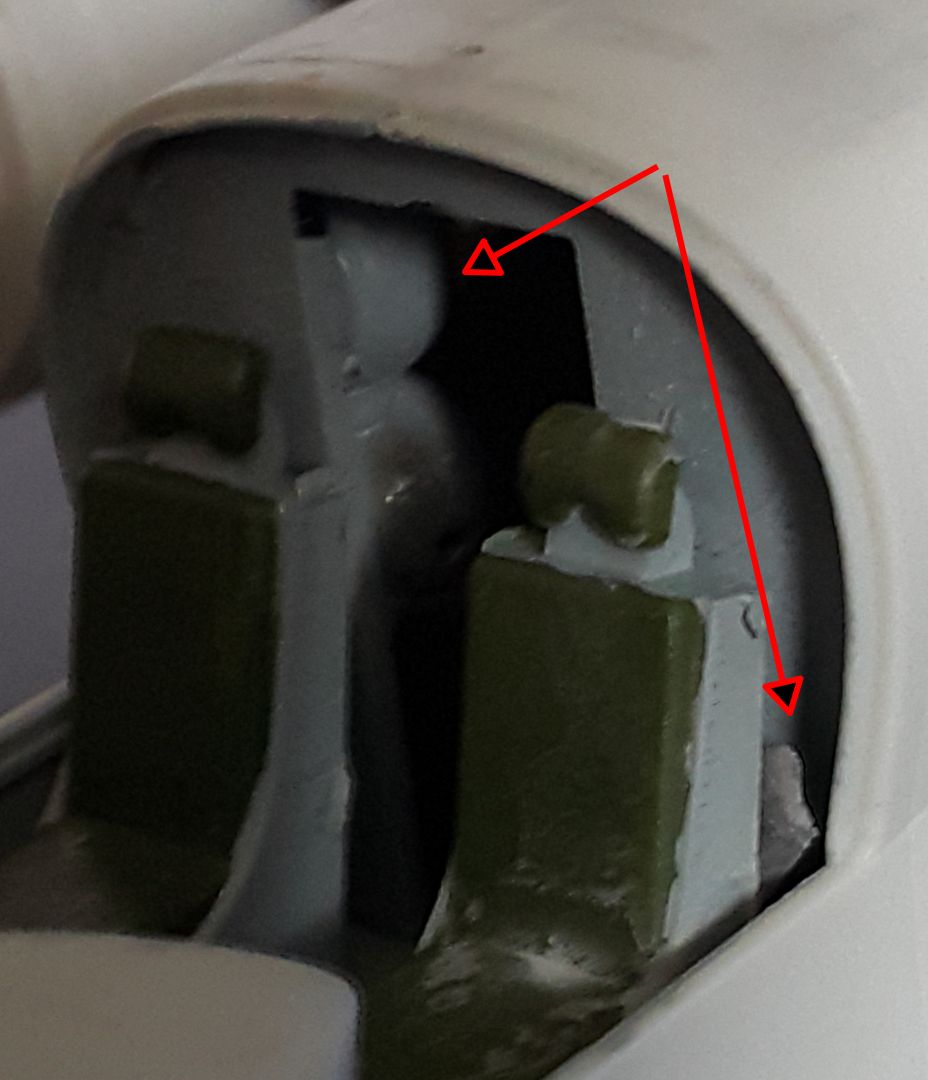
The instructions call for 50g of weight in the nose cap to prevent tail sitting but there is not nearly enough space in the nose for that much weight, so I started cramming lead sinkers wherever I could hide them, mostly under the cockpit floor around the nose gear bay, with a few behind the rear cockpit wall and even some bits inside the pilots seats and behind the instrument panel.
Even the engine got some weights
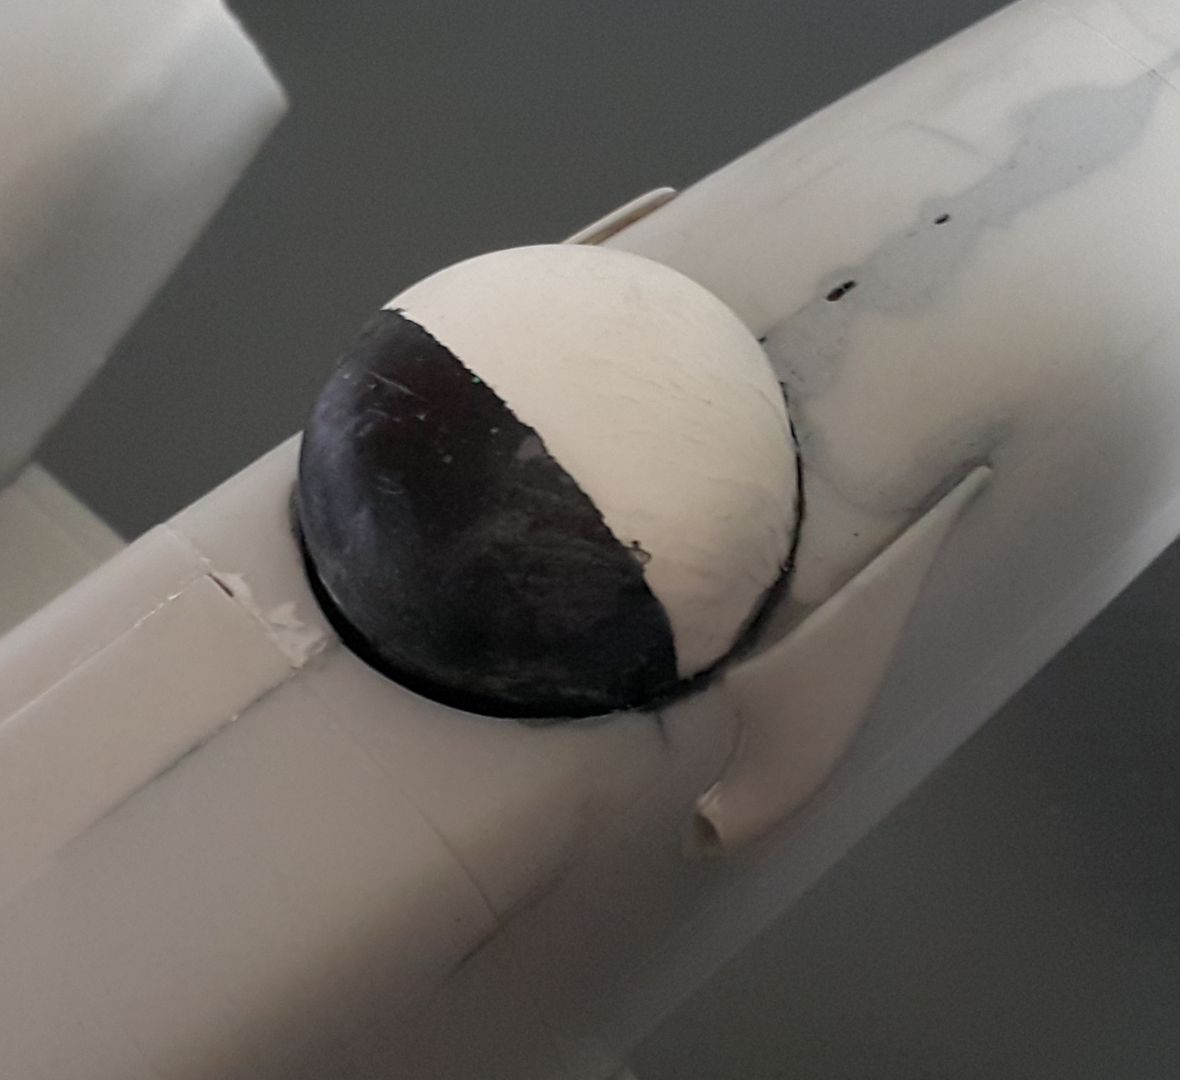
One challenge came with painting the deployable radome, as it's partially obscured. First problem was the hole was not large enough to fit it deployed, so careful sanding and test fitting got the hole fractionally larger than the radome. Then I painted it before assembly and covered it with stretchy masking film as that should be removable without leaving a residue once the fuselage is finished. Something that's apparent, even installed in the "deployed" position it still doesn't look like it extends far enough compared to photos of the real thing.
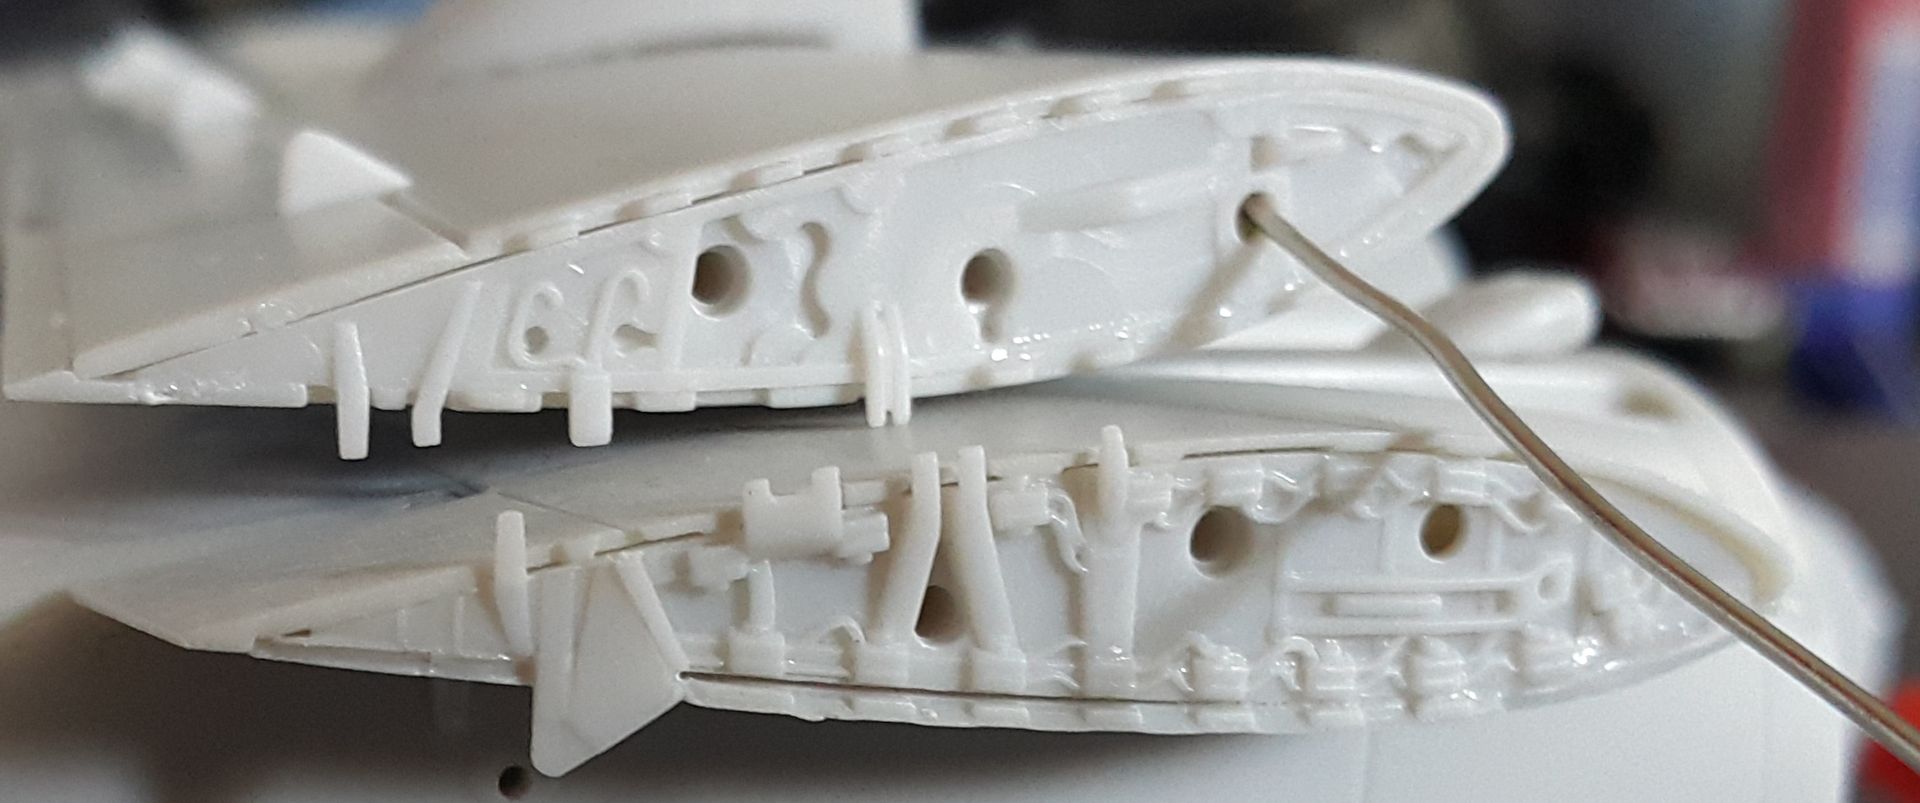
Since shelf space is at a premium I decided to go with the wings folded option, and while not perfect there is some detail provided for the wing fold mechanism.
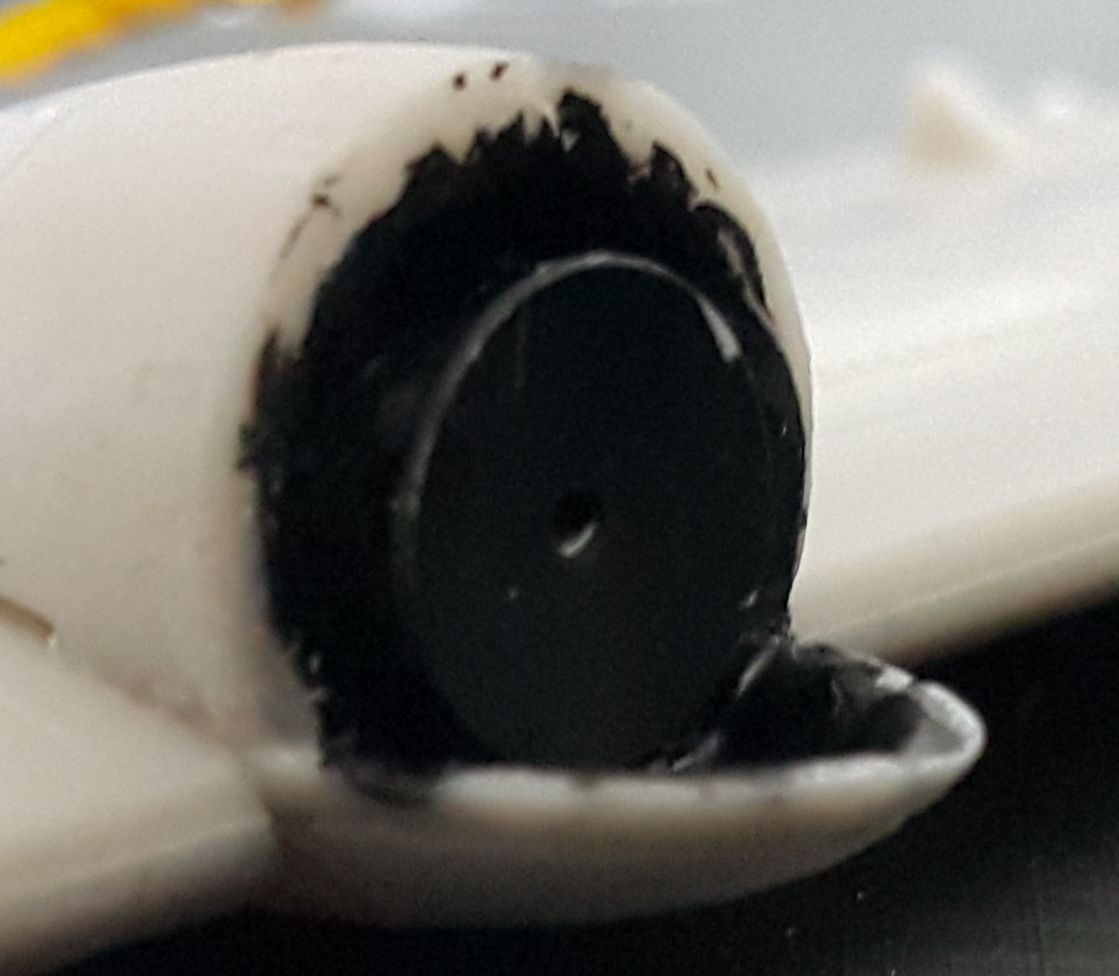
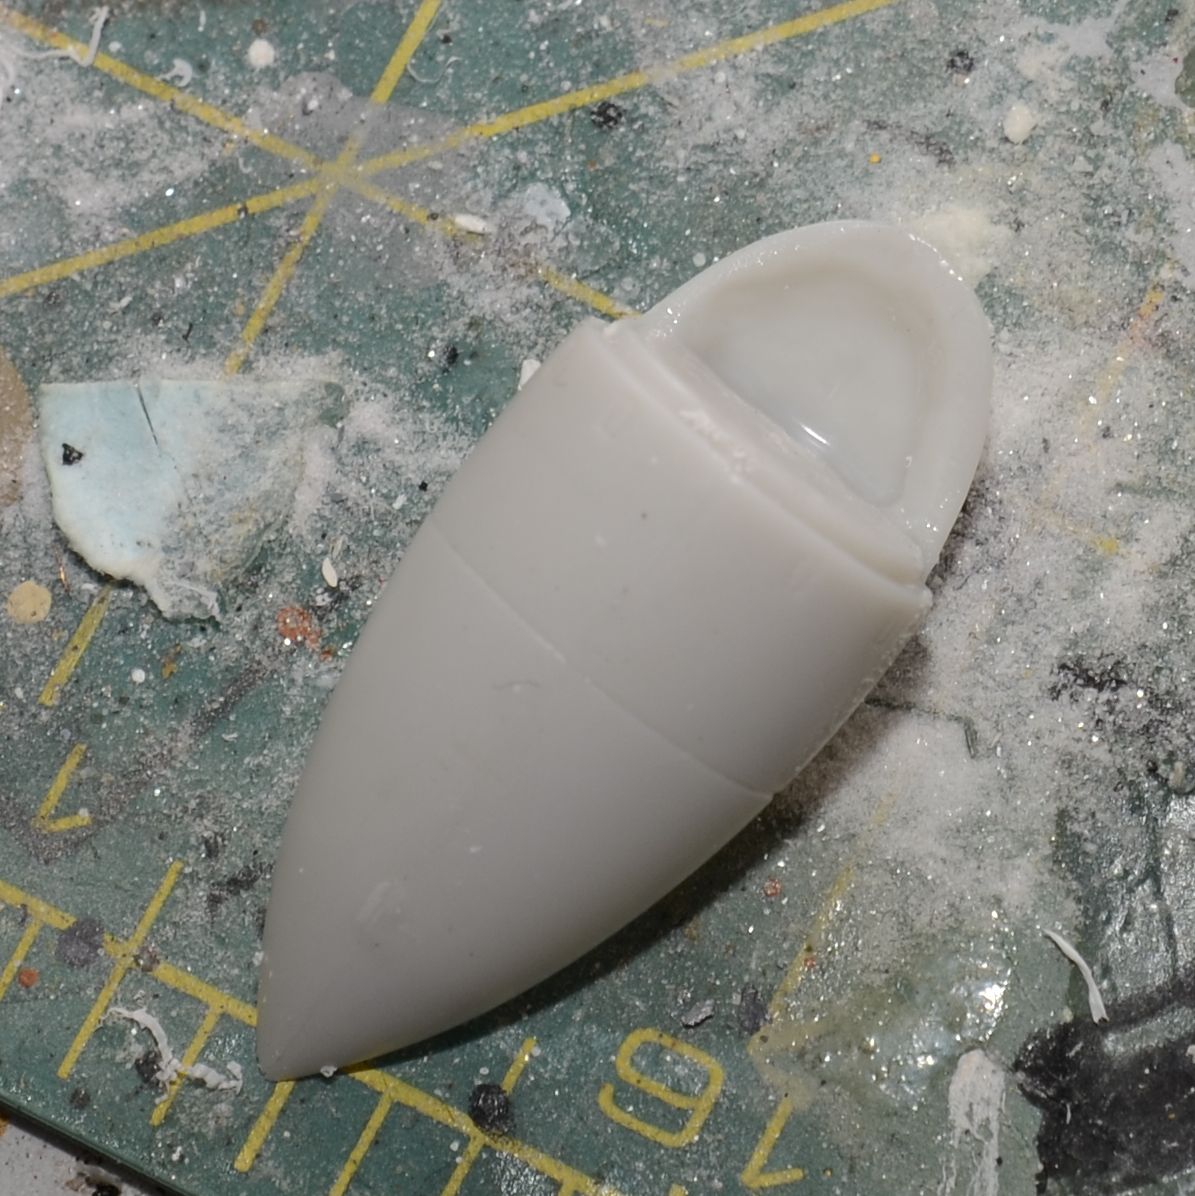
The wing mounted search light really stands out with its total absence of detail as it is just a flat panel with a clear dome over it. So this got some attention, first I dremeled it out to give it some depth
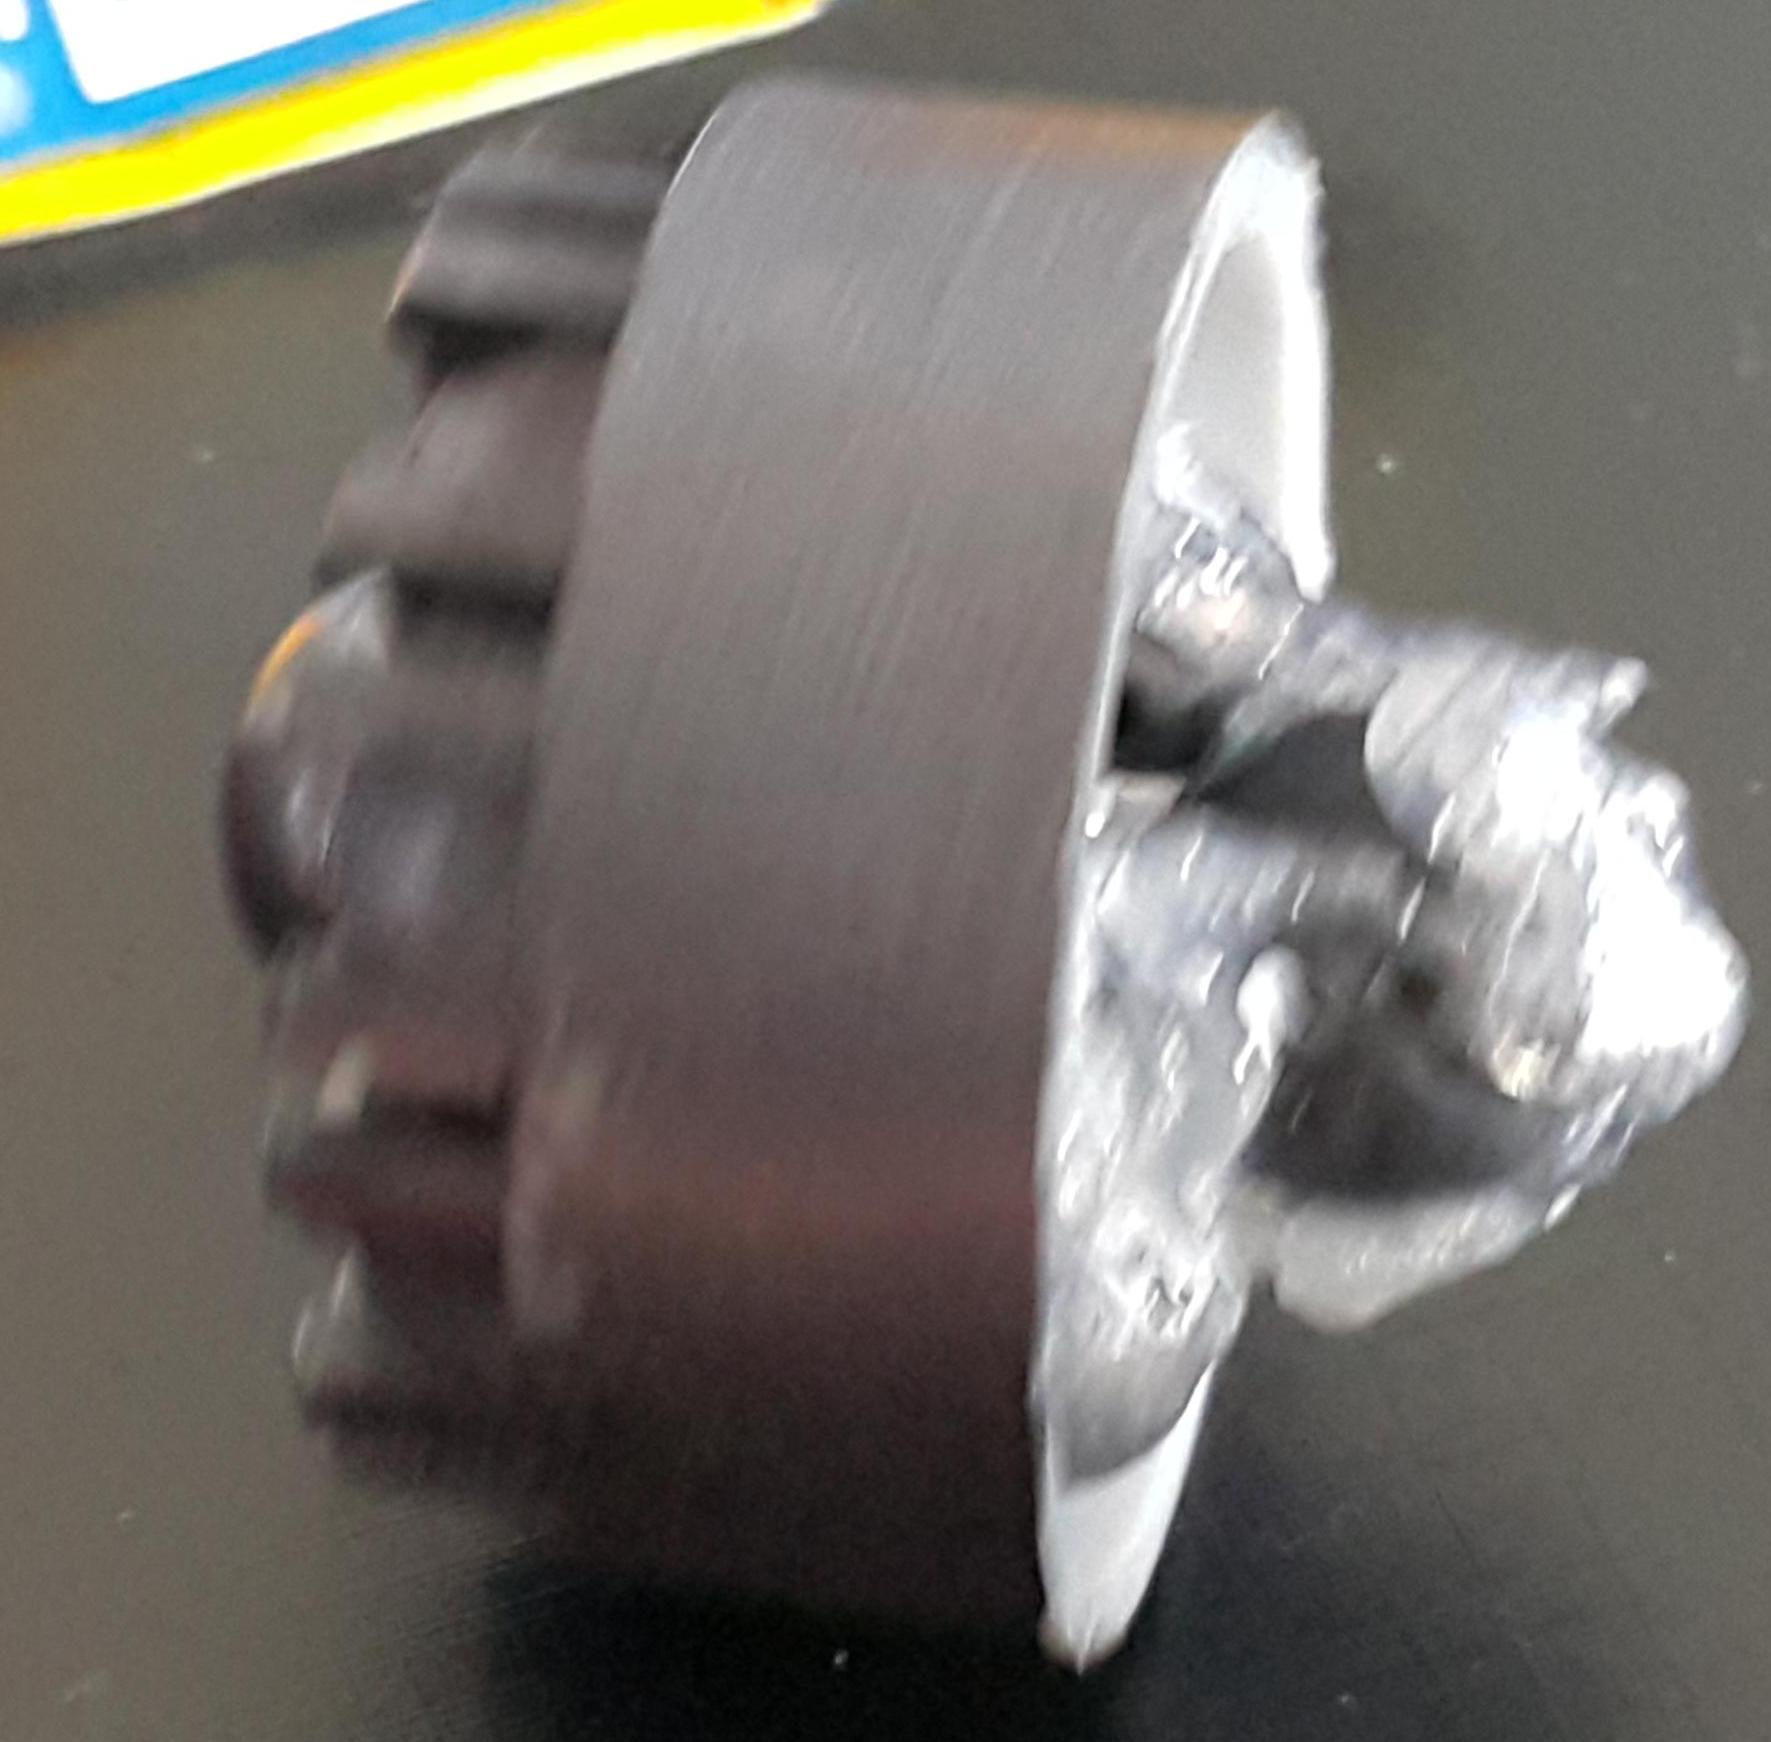
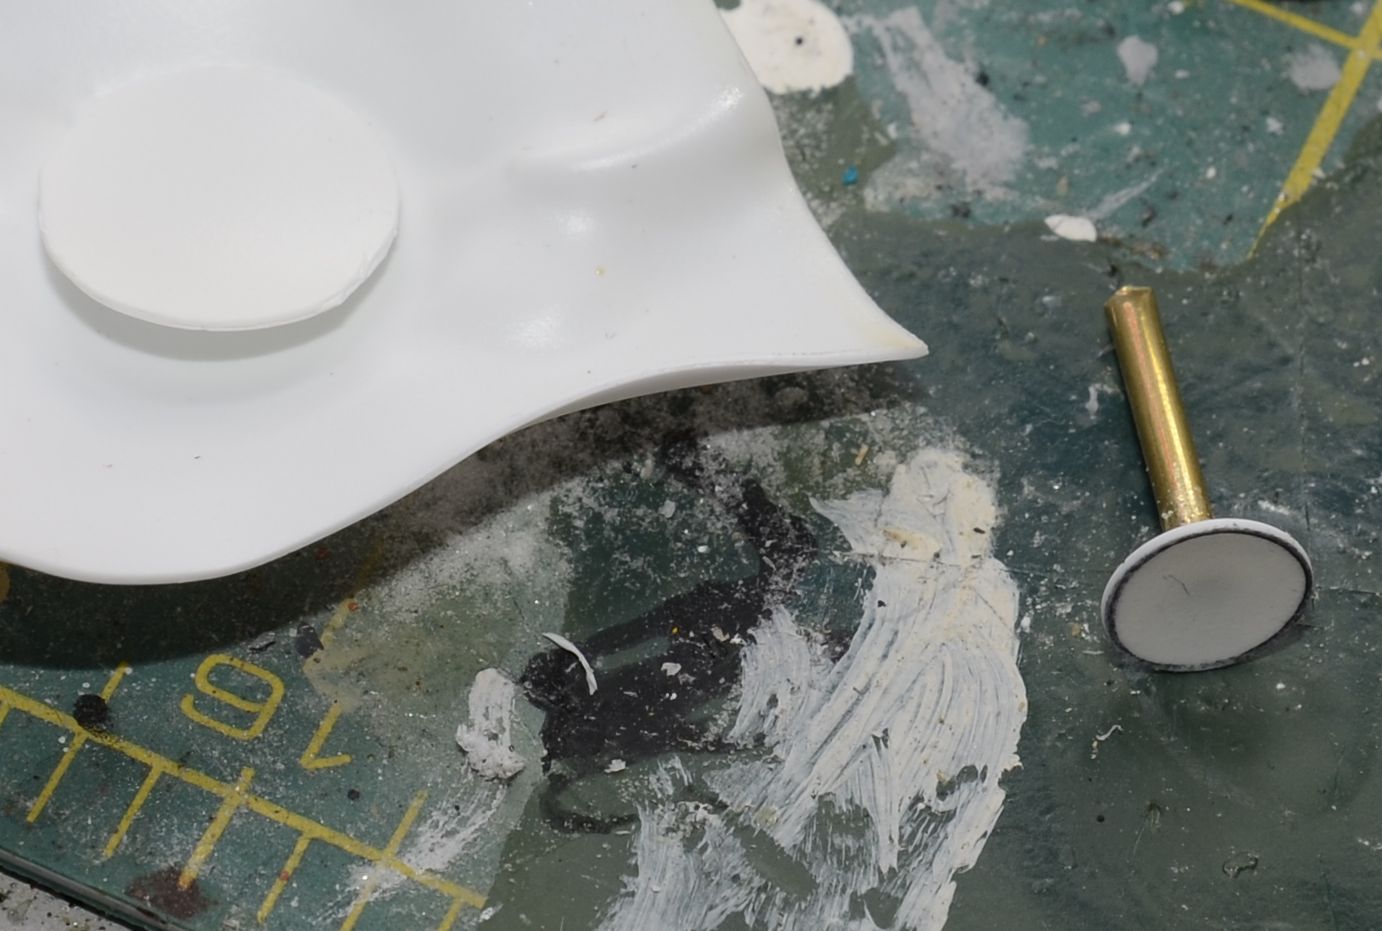
and using a domed head bolt, silicone putty, and a household iron I created a plastic dish for use as a reflector,
and the whole area was painted black to hide the crimes. The reflector will get a chrome silver coat once everything else is finished.
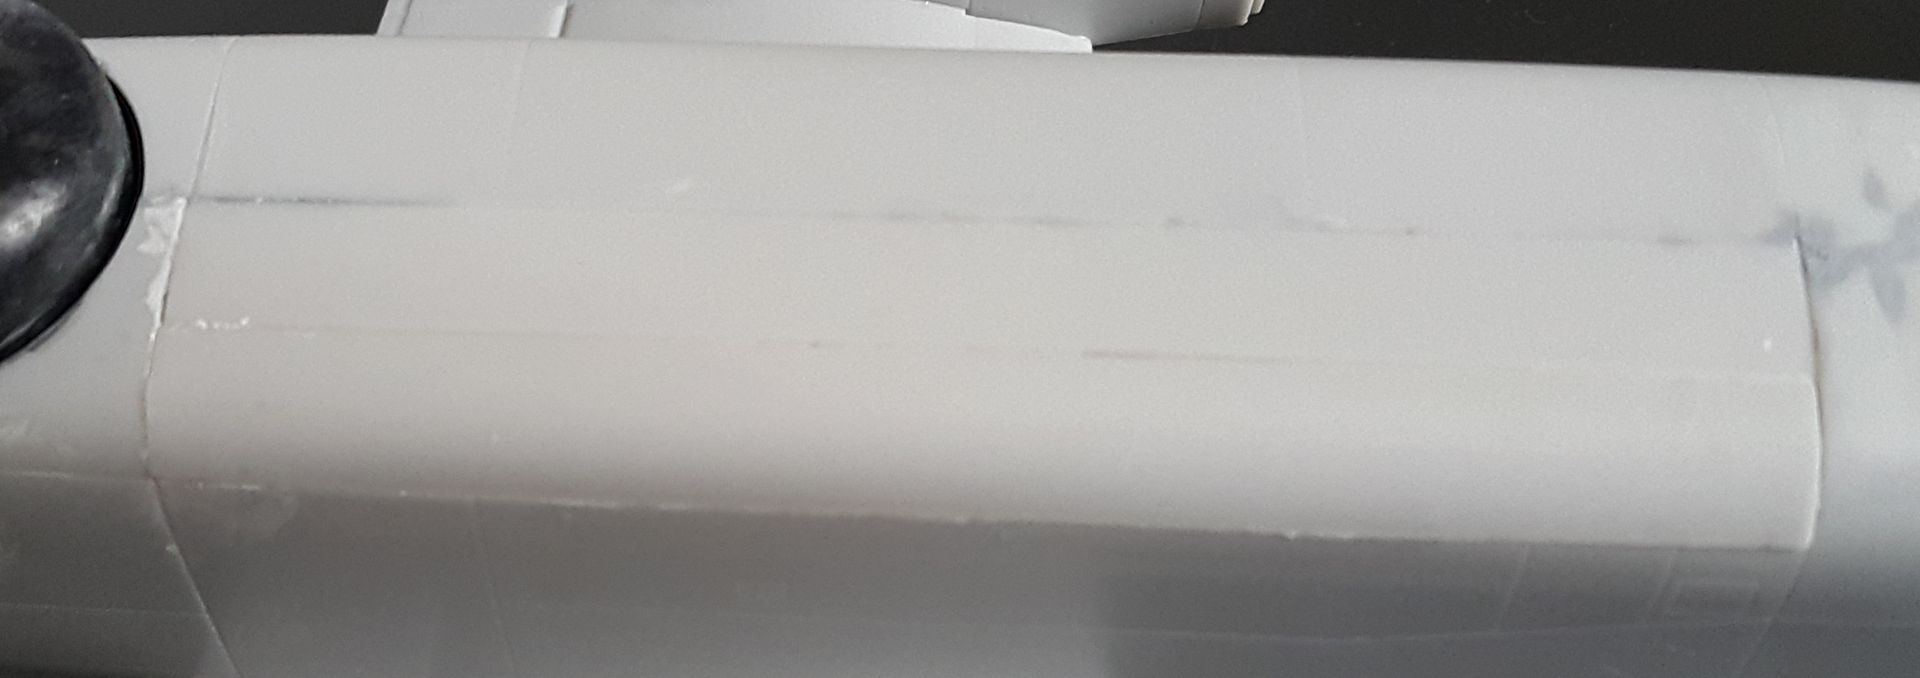
I would have liked to to leave the munitions bay open but there was zero detail in there and the torpedos are pretty lacking as well, so I sealed it up.
Currently in the process of adding the little detail pieces, and primer should go on soon.
The cockpit is quite basic and rather dark once it's all closed up so it just got a quick and dirty paint job.
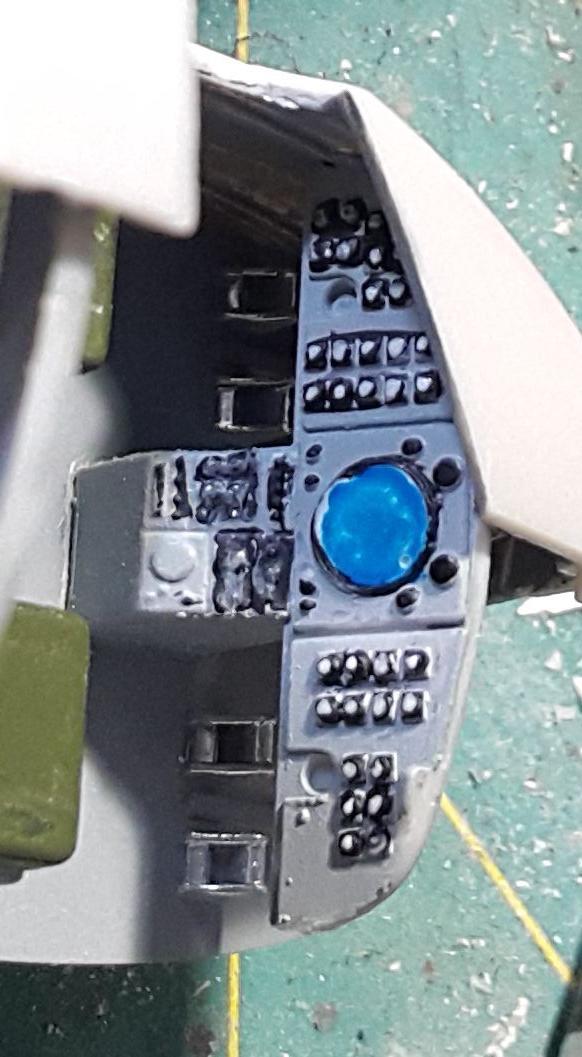
The instructions call for 50g of weight in the nose cap to prevent tail sitting but there is not nearly enough space in the nose for that much weight, so I started cramming lead sinkers wherever I could hide them, mostly under the cockpit floor around the nose gear bay, with a few behind the rear cockpit wall and even some bits inside the pilots seats and behind the instrument panel.
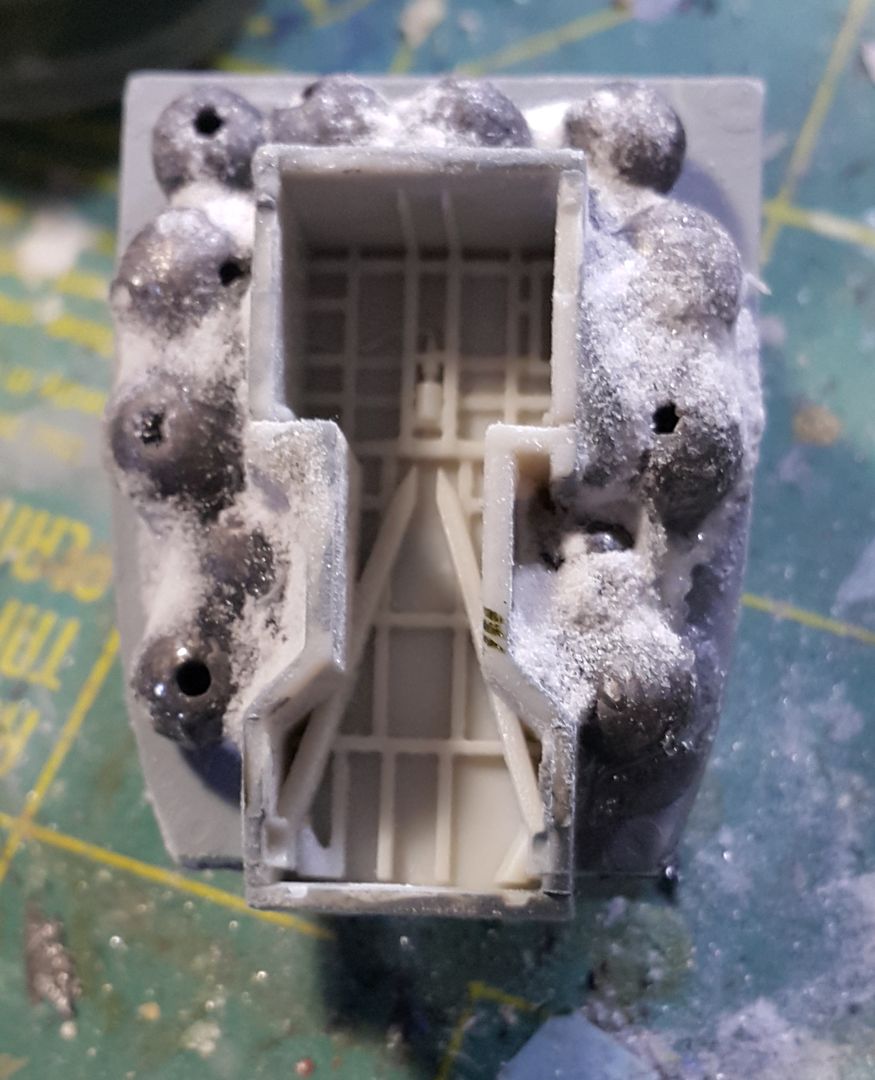
Even the engine got some weights
One challenge came with painting the deployable radome, as it's partially obscured. First problem was the hole was not large enough to fit it deployed, so careful sanding and test fitting got the hole fractionally larger than the radome. Then I painted it before assembly and covered it with stretchy masking film as that should be removable without leaving a residue once the fuselage is finished. Something that's apparent, even installed in the "deployed" position it still doesn't look like it extends far enough compared to photos of the real thing.
Since shelf space is at a premium I decided to go with the wings folded option, and while not perfect there is some detail provided for the wing fold mechanism.
The wing mounted search light really stands out with its total absence of detail as it is just a flat panel with a clear dome over it. So this got some attention, first I dremeled it out to give it some depth
and using a domed head bolt, silicone putty, and a household iron I created a plastic dish for use as a reflector,
and the whole area was painted black to hide the crimes. The reflector will get a chrome silver coat once everything else is finished.
I would have liked to to leave the munitions bay open but there was zero detail in there and the torpedos are pretty lacking as well, so I sealed it up.
Currently in the process of adding the little detail pieces, and primer should go on soon.
Torpon
Spain / España
Joined: February 28, 2012
KitMaker: 103 posts
AeroScale: 102 posts
Joined: February 28, 2012
KitMaker: 103 posts
AeroScale: 102 posts
Posted: Monday, May 04, 2020 - 02:06 AM UTC
@Rory, amazing carrier!
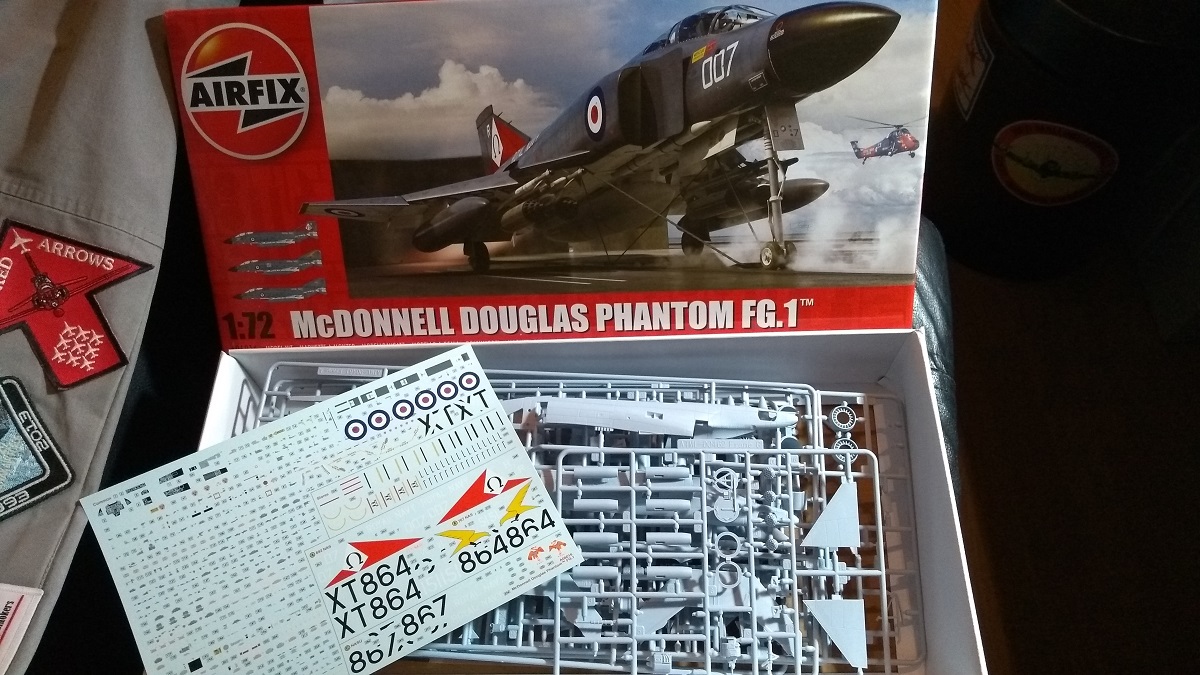
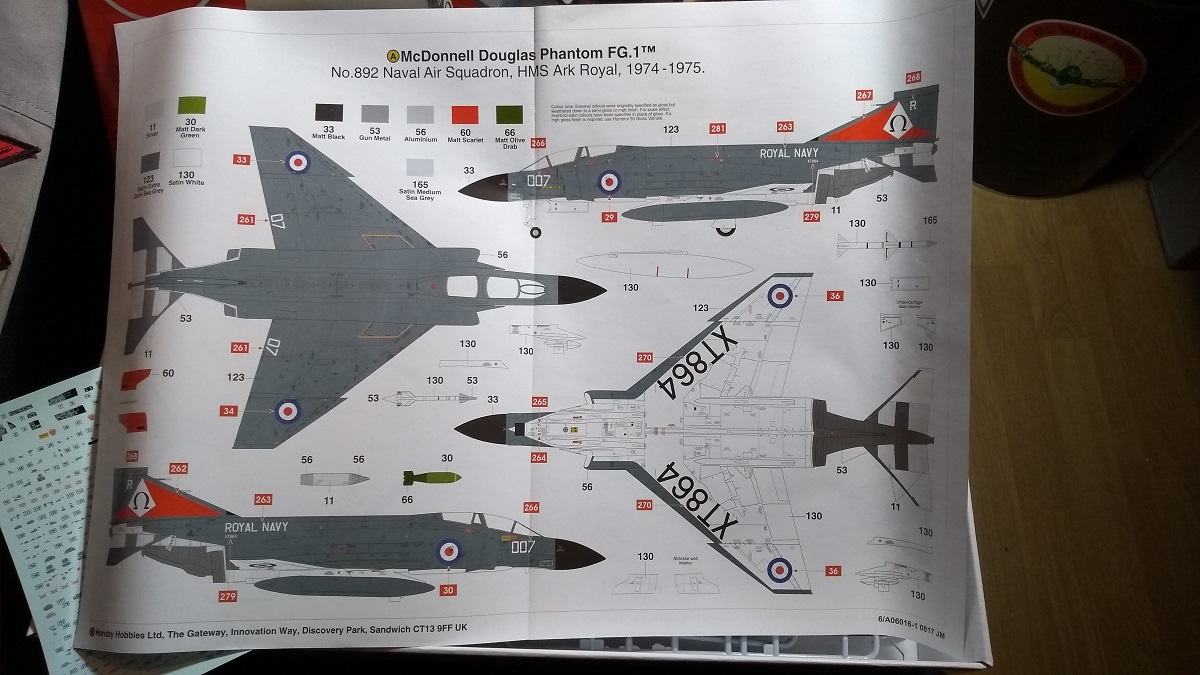
@Peter, the Airfix Phantom has been in my wish list for a long time. Looking forward to see how it looks.
@Iain, 50g! That's a lot of weight, well done fitting all that in.
I'm going to attempt a helicopter for this campaign. The SH-60B Seahawk of the US Navy.
I have started dry fitting the cabin. I does look OKish, perhaps a bit too simple.
I'm looking forward to more.
Carlos.