

Jesper, its nice to see an A6 here. I will eagerly follow your progress.
Jose, tell me about that Airfix kit. Are the panel lines raised or engraved?
Bob
Air Campaigns
Want to start or join a group build? This is where to start.
Want to start or join a group build? This is where to start.
Hosted by Frederick Boucher, Michael Satin
OFFICIAL: Navy Boys on those Postage Stamps

Bigrip74

Joined: February 22, 2008
KitMaker: 5,026 posts
AeroScale: 2,811 posts

Posted: Saturday, August 15, 2020 - 03:18 PM UTC
SGTJKJ

#041

Joined: July 20, 2006
KitMaker: 10,069 posts
AeroScale: 3,788 posts

Posted: Saturday, August 15, 2020 - 06:22 PM UTC
Thanks for the comment 
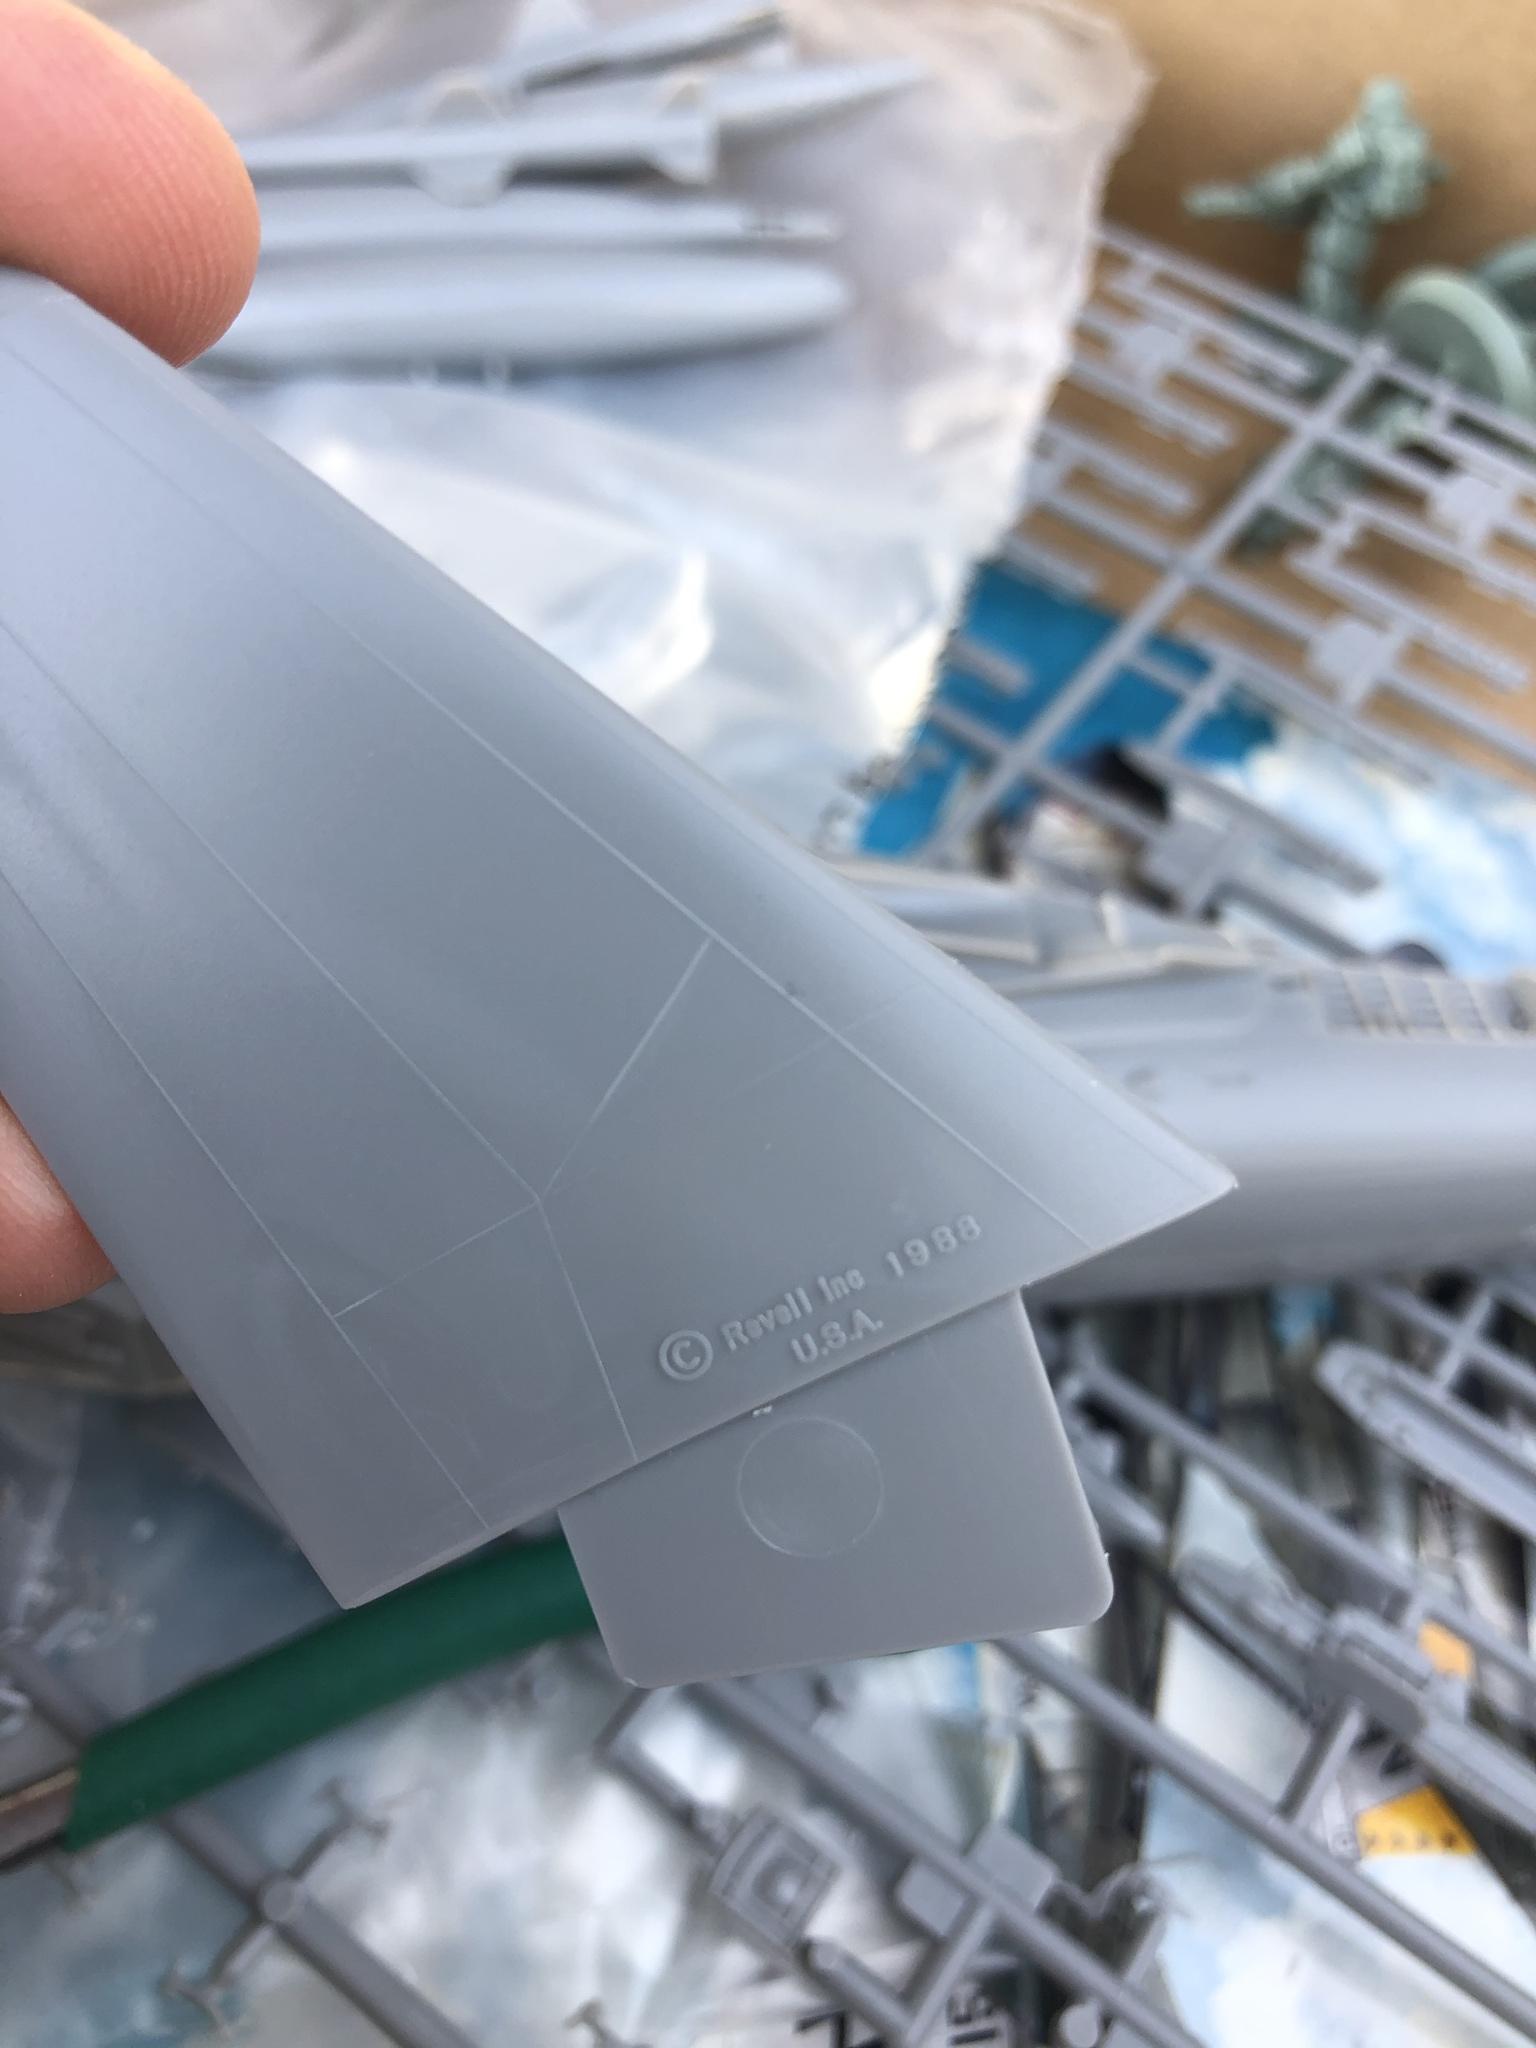
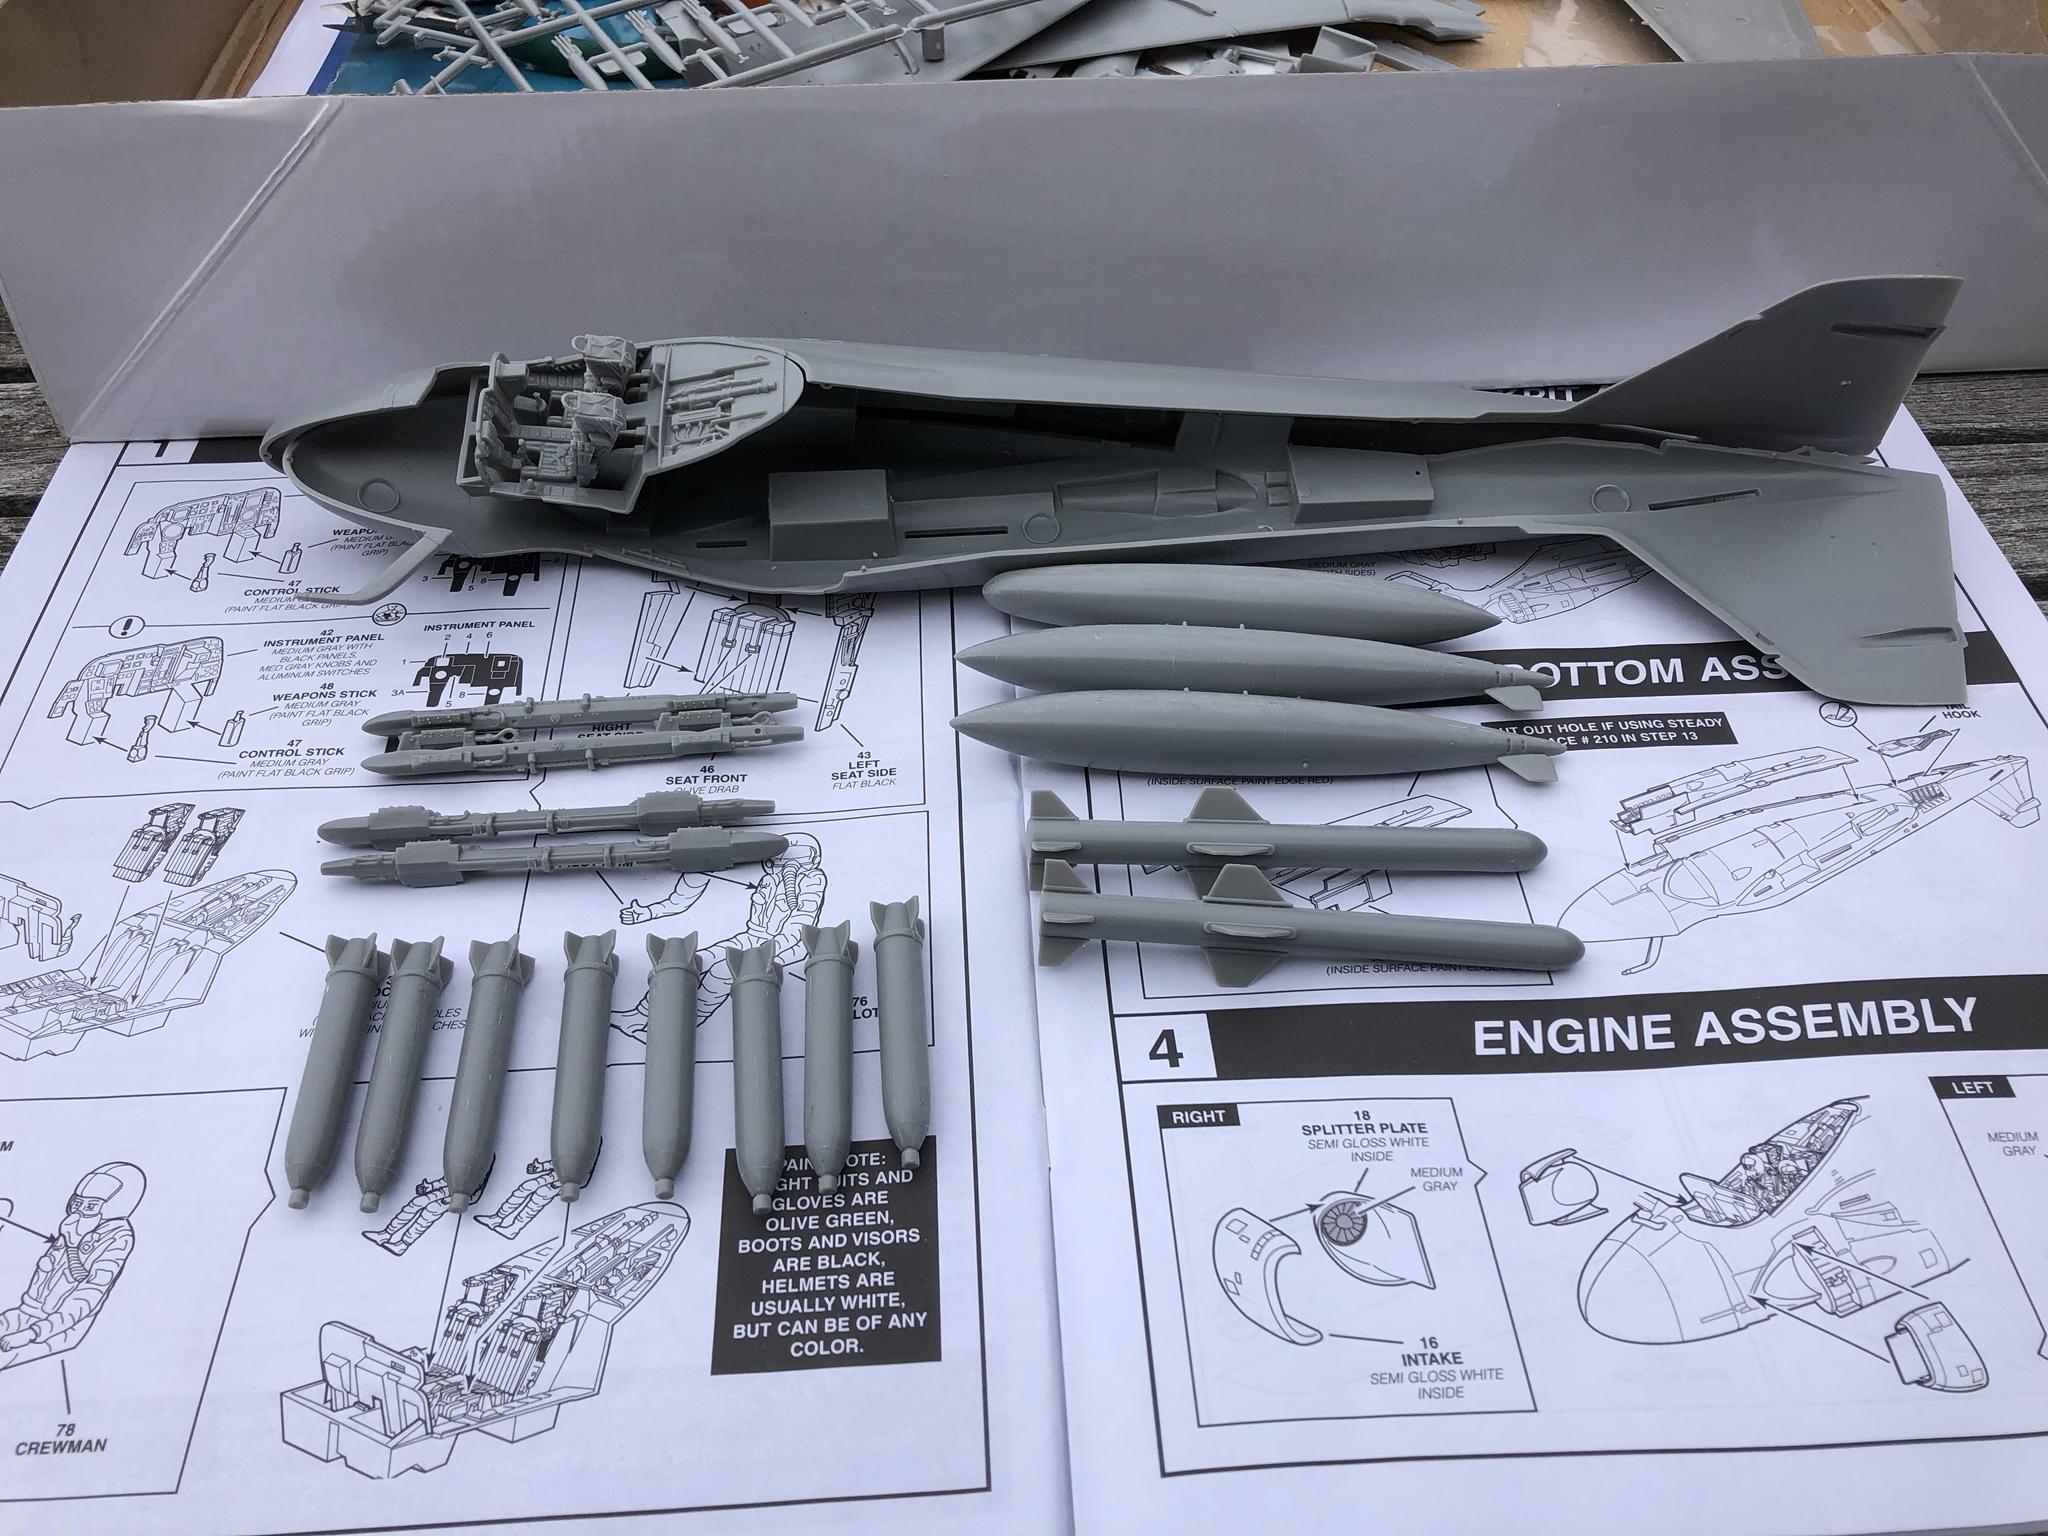
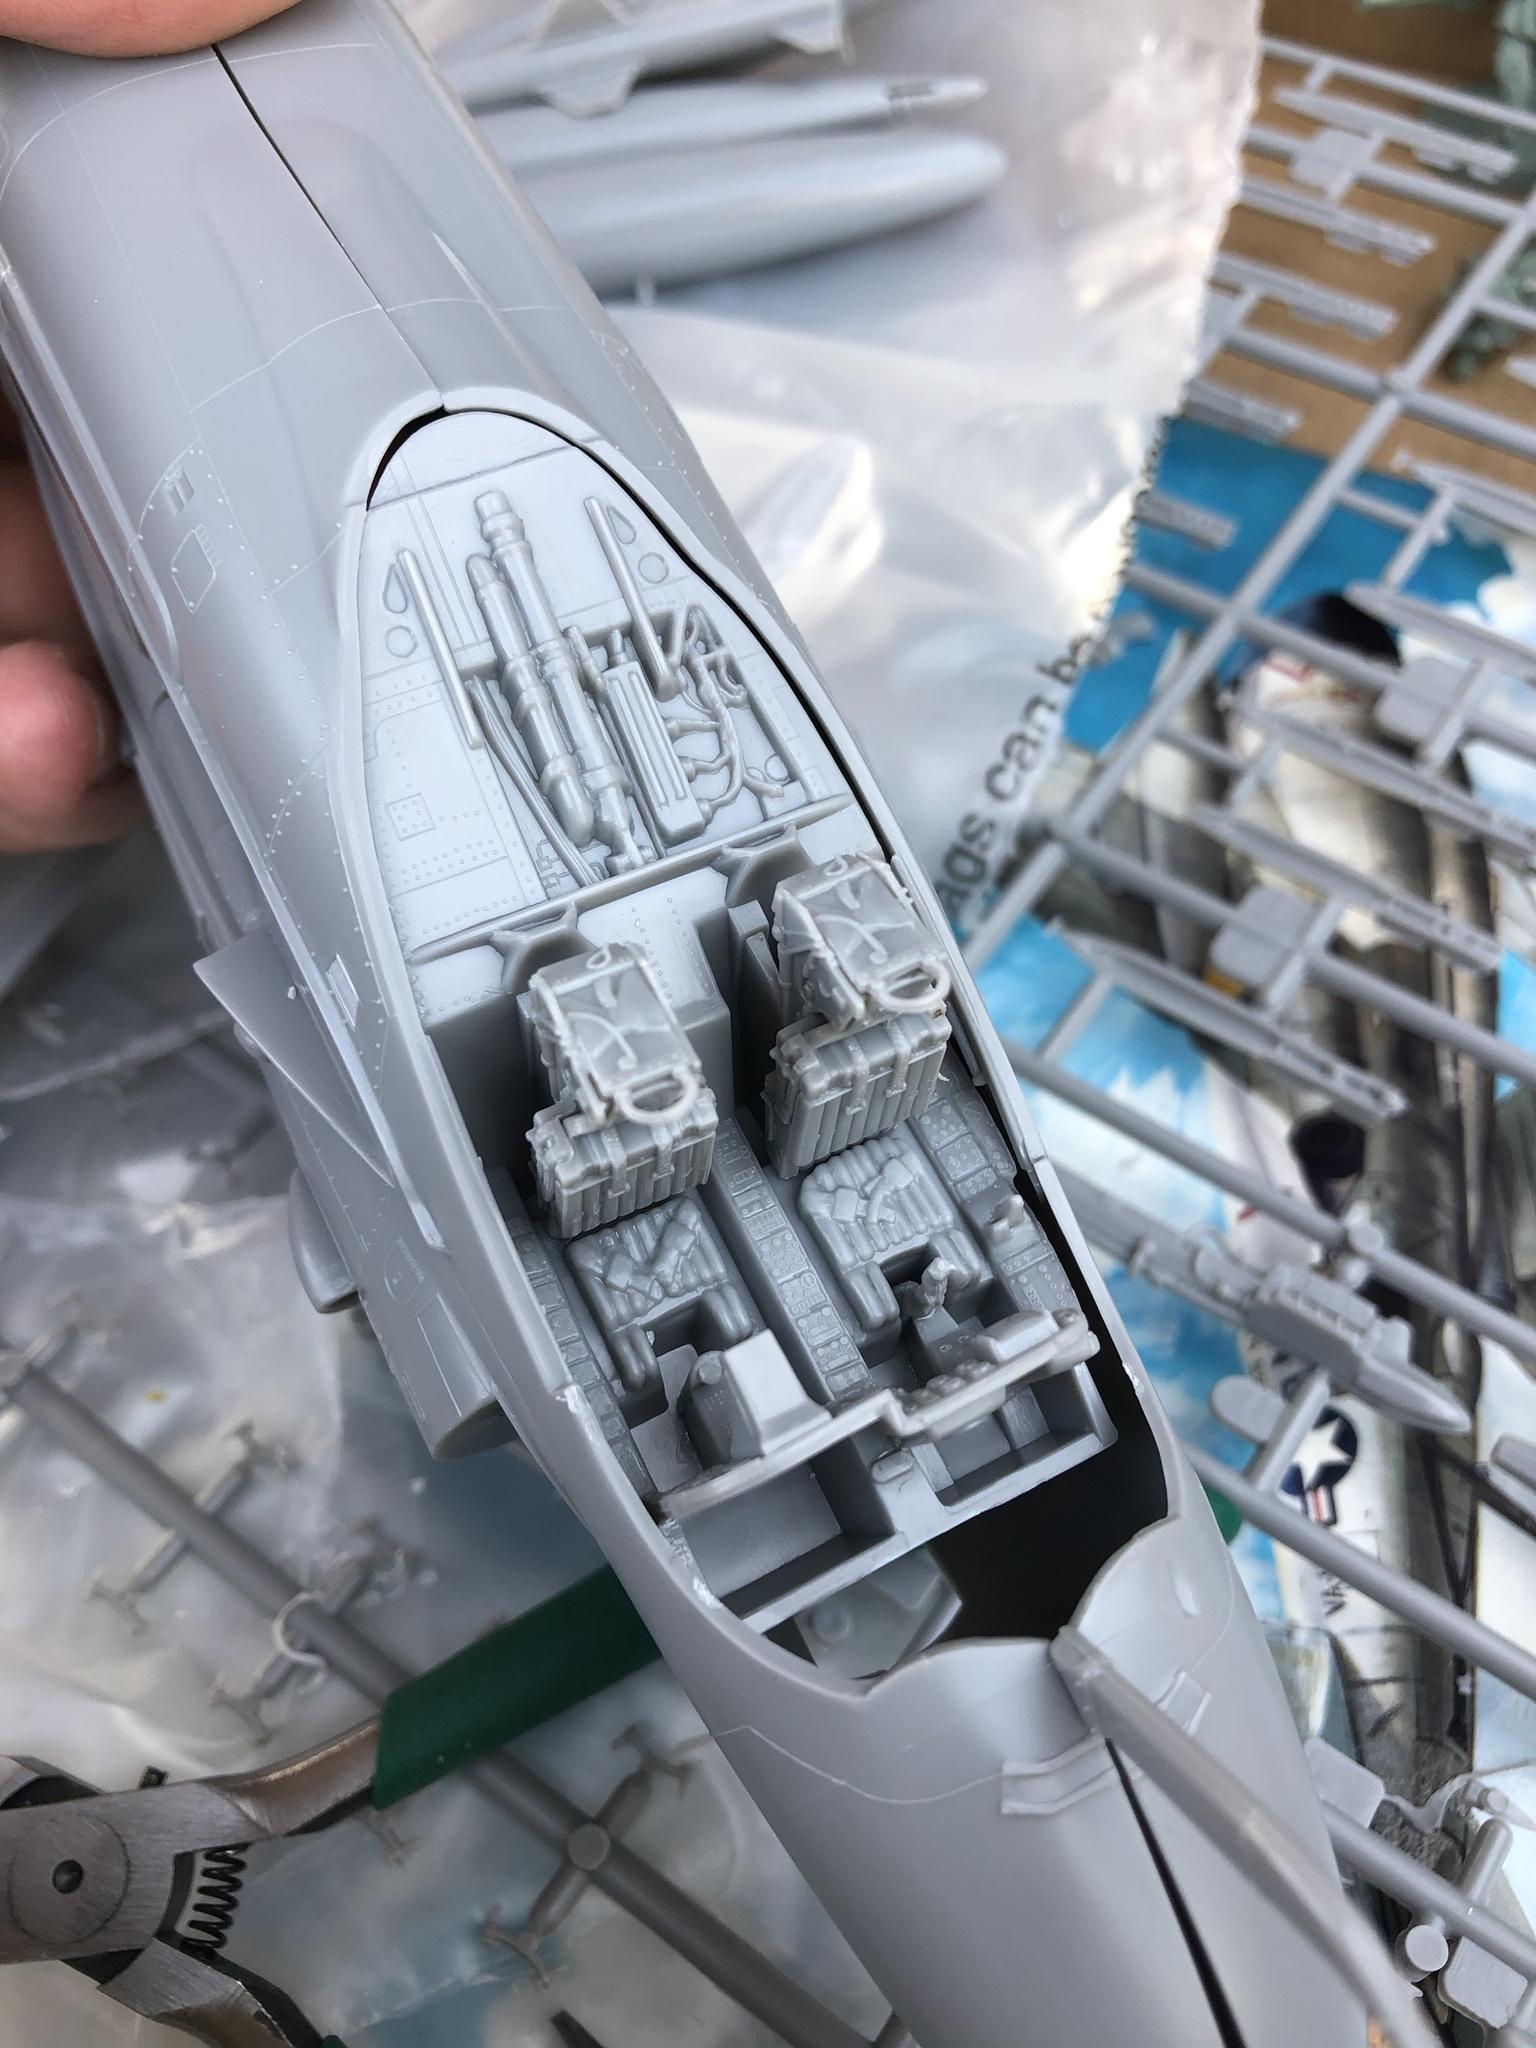
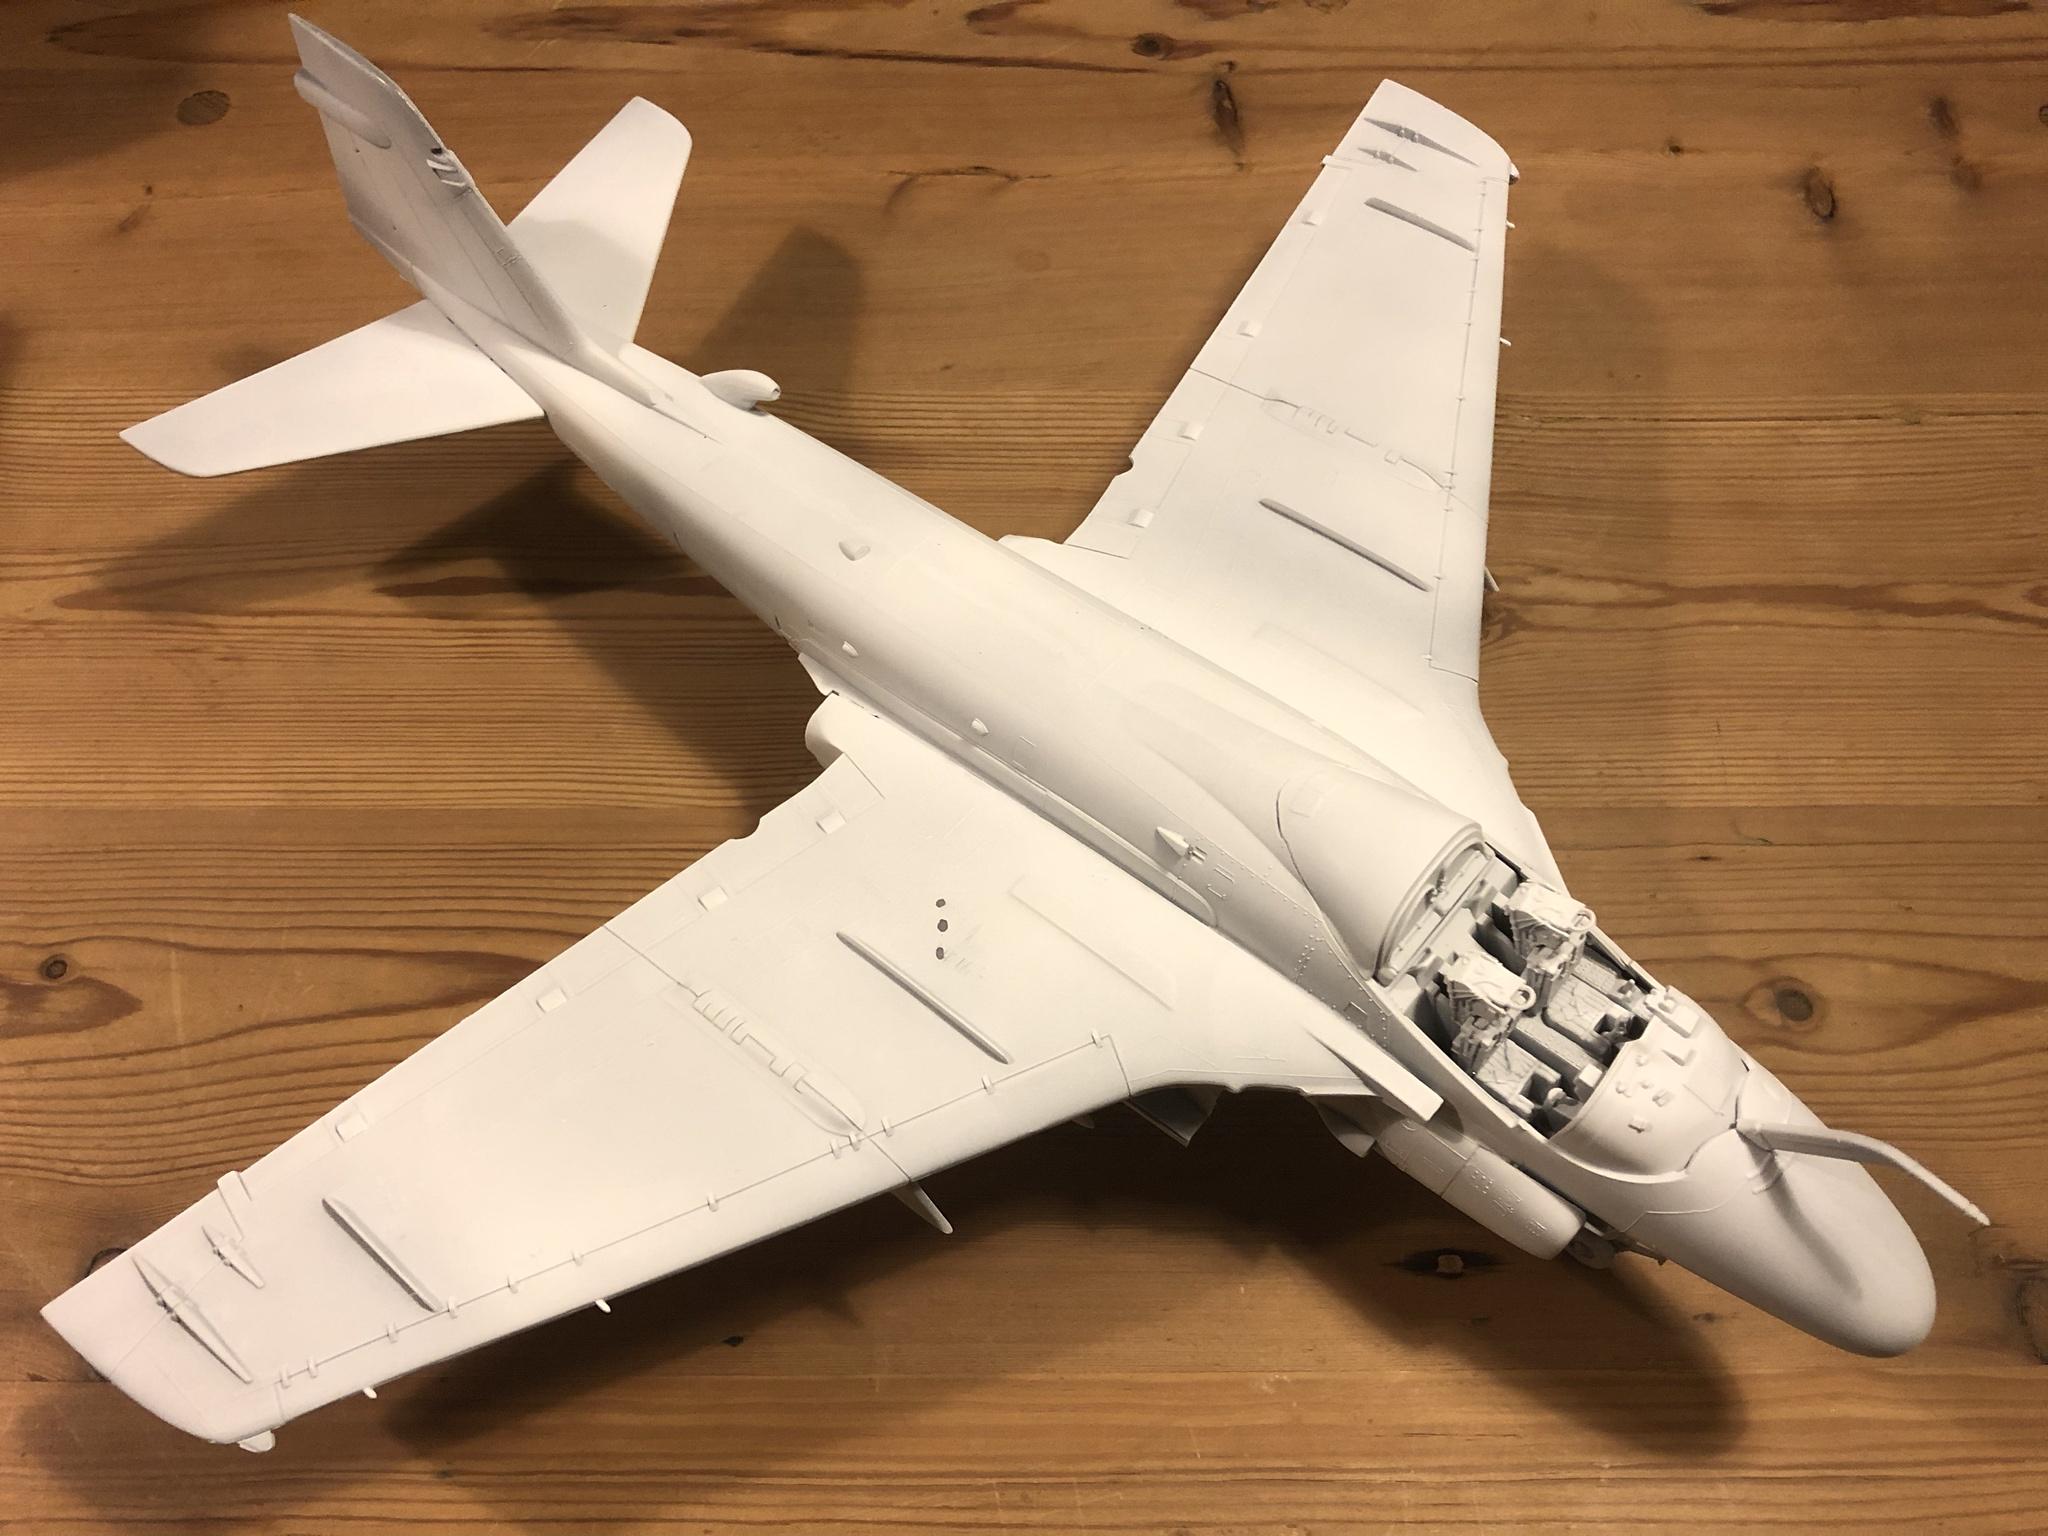
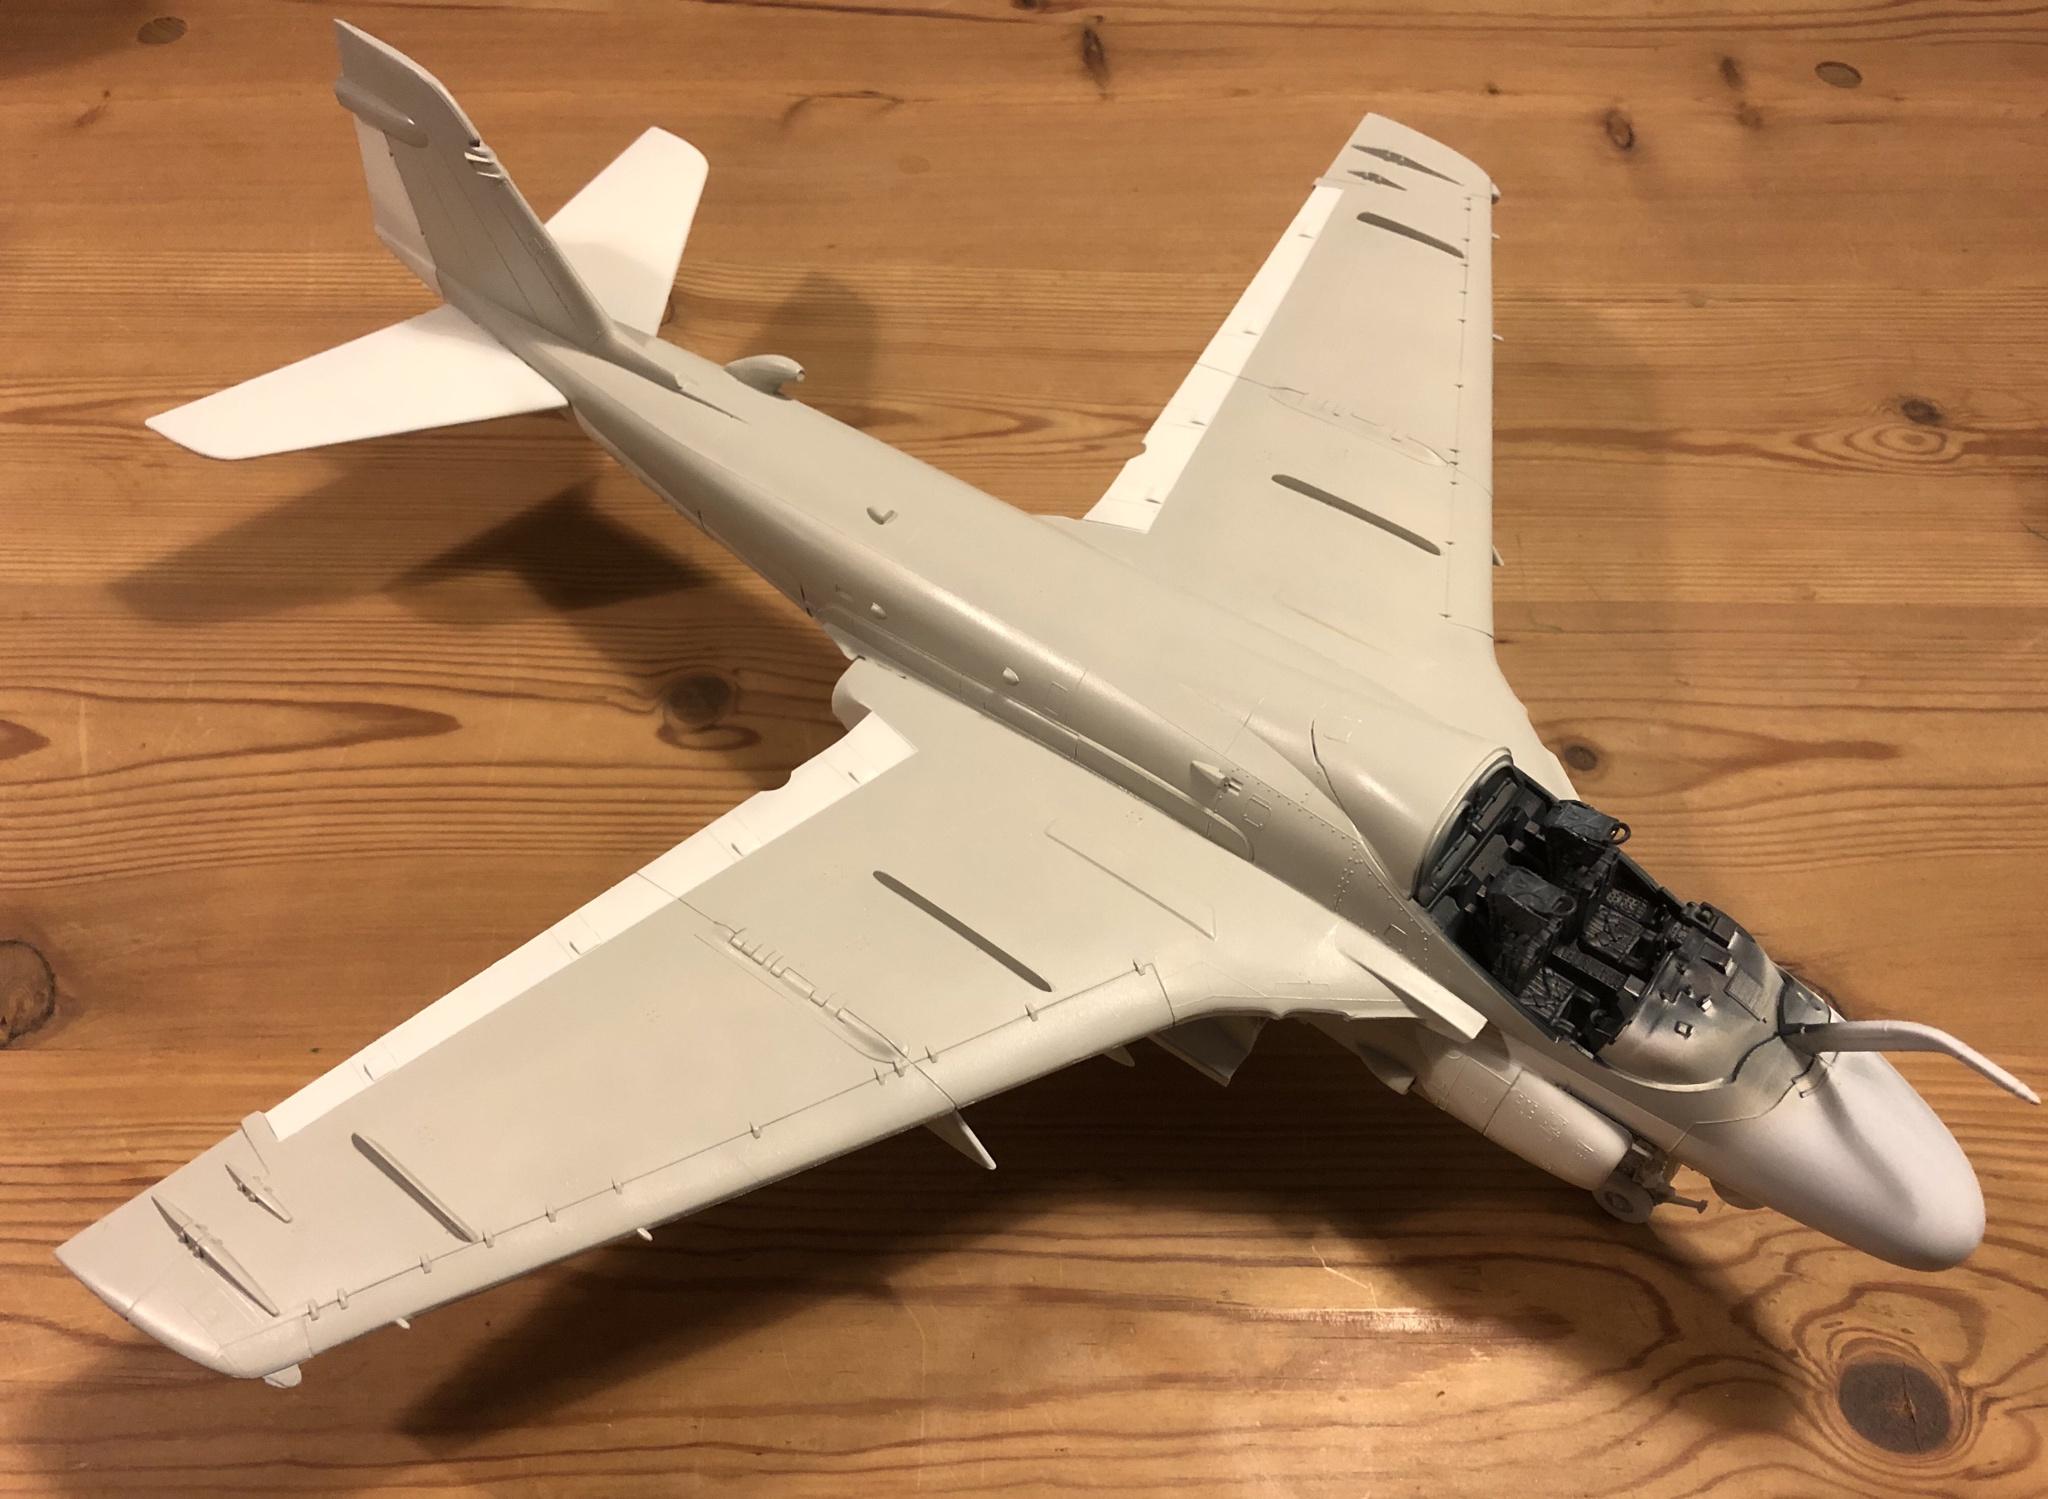
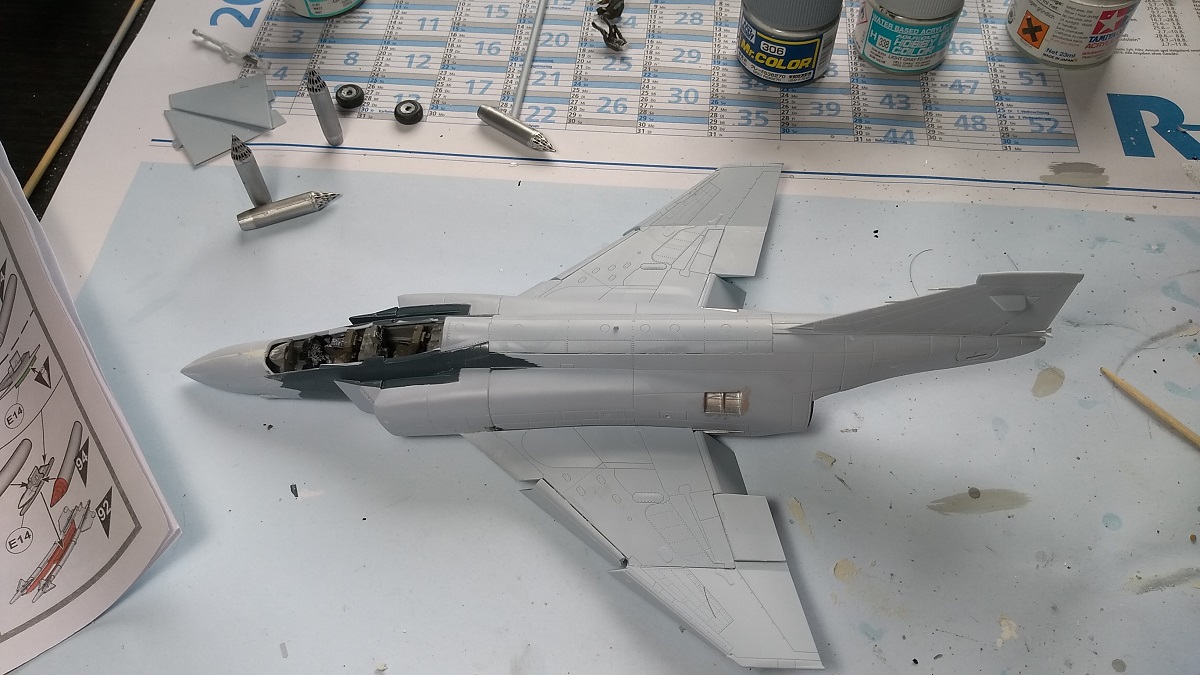
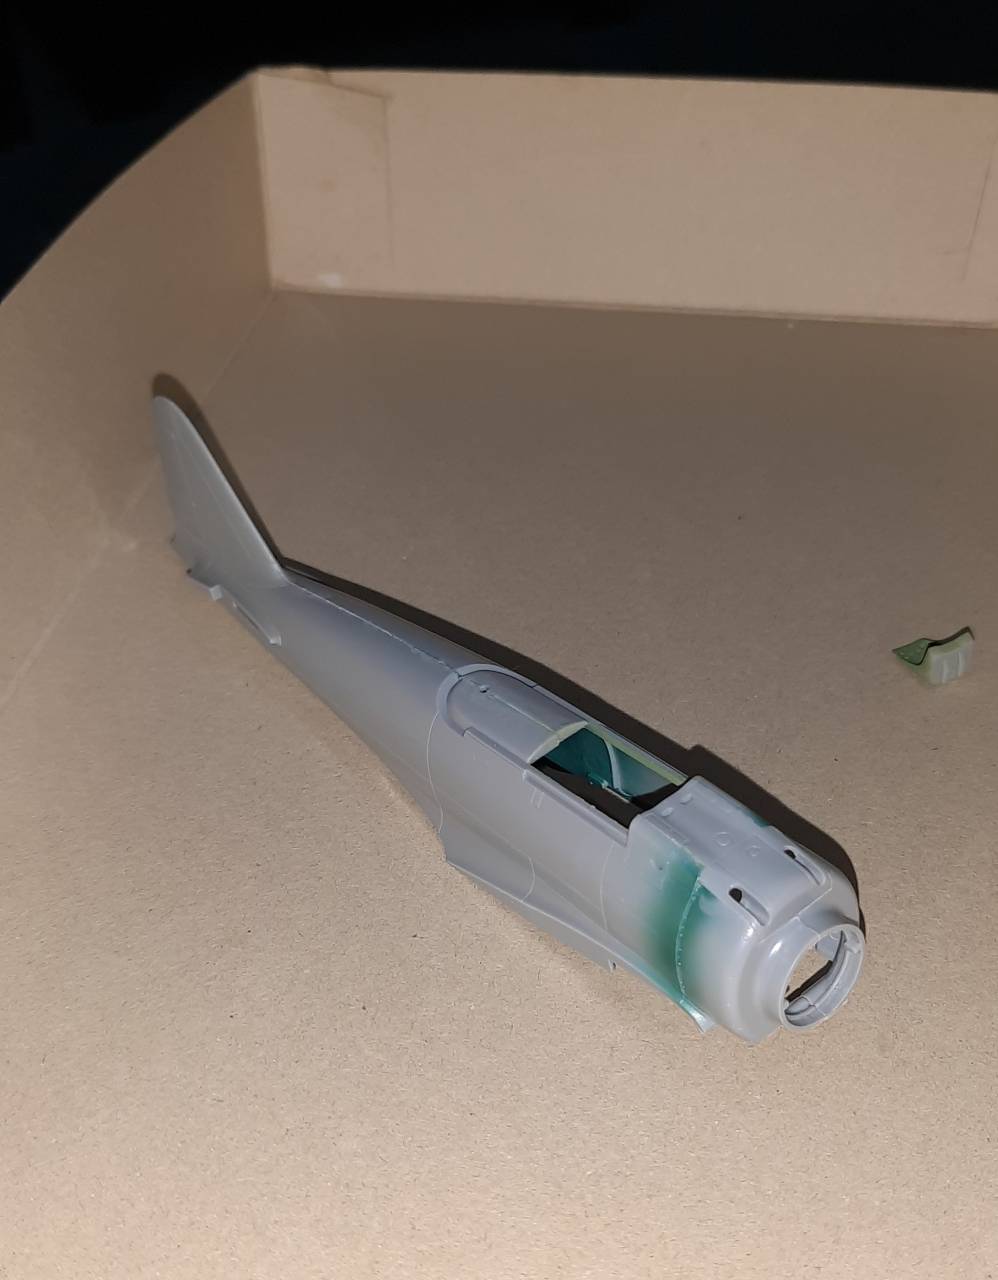
The kit is significantly older than I thought. Despite having a lot of raised detail, overall the detail is quite good. I can make something decent out of the cockpit straight out of the box.
Cockpit done and a lot of ordnance on the way. More to follow soon
The kit is significantly older than I thought. Despite having a lot of raised detail, overall the detail is quite good. I can make something decent out of the cockpit straight out of the box.
Cockpit done and a lot of ordnance on the way. More to follow soon


b17-peter

#392

Joined: January 09, 2013
KitMaker: 696 posts
AeroScale: 608 posts

Posted: Saturday, August 15, 2020 - 10:23 PM UTC
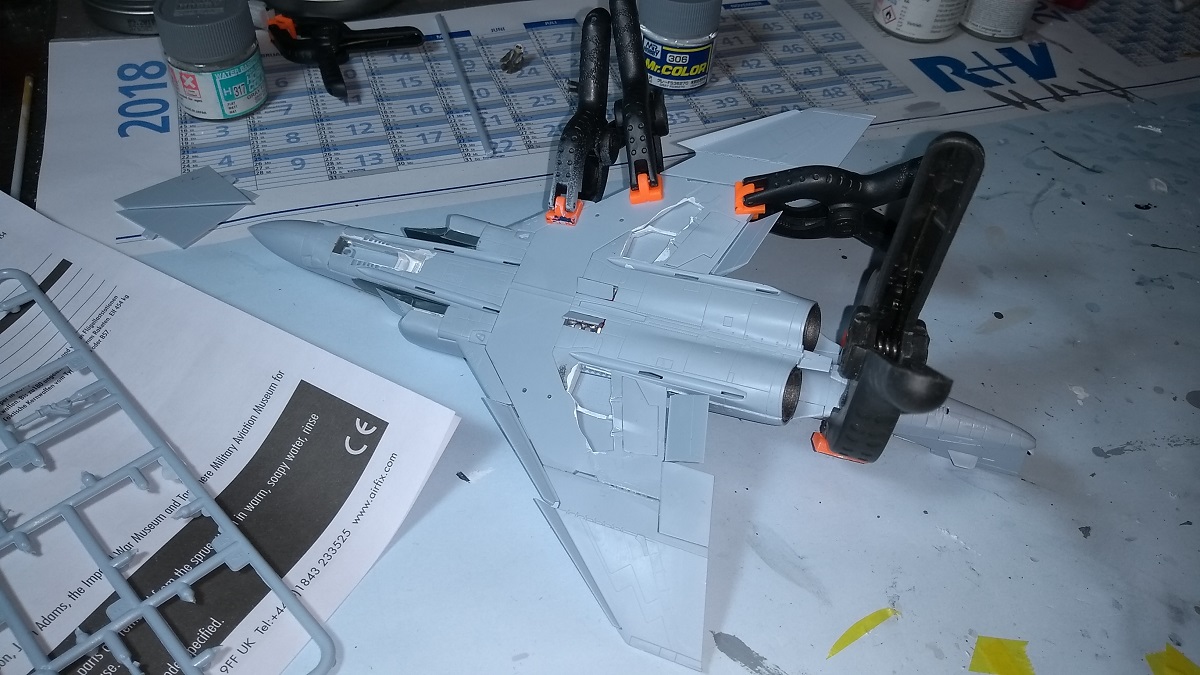
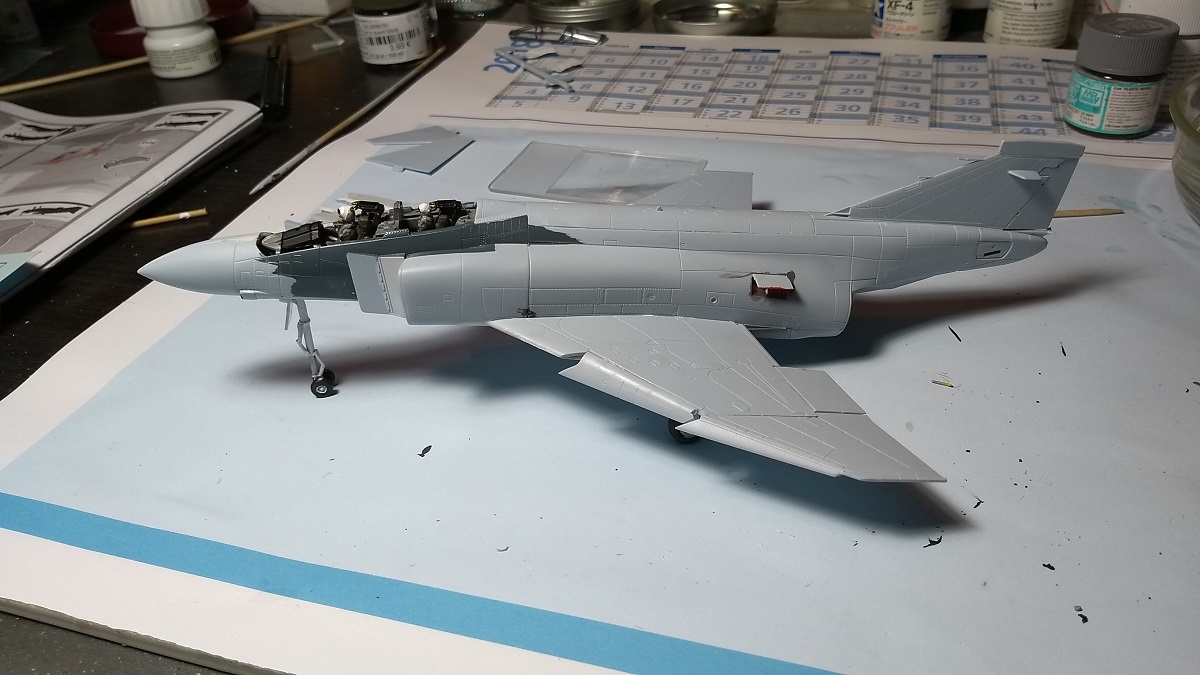
Well, at last I got underway with my Royal Navy Phantom FG1.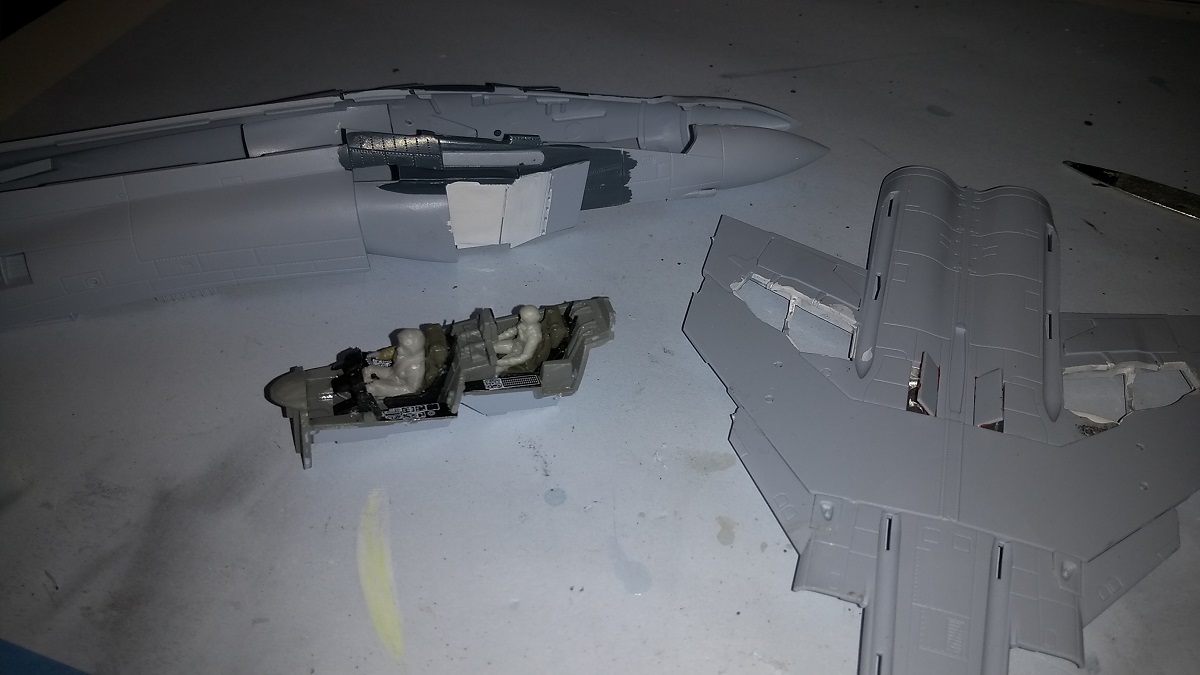
I built the Airfix FGR2 this year, so I hopefully still know where to take special care and avoid problems. All in all it's a fine kit.
Had to find volunteers to man the cockpit, as Airfix just missed to provide them in the new-tool Phantom kits
The WSO turned out to be a little on the small side, but at least he fitted into the rear seat quite good and didn't lose his legs....
Cheers
Peter
P.S. @Jesper - Your A-6 kit looks interesting, nice details in the cockpit area! Good luck!

SHAKY962

Joined: May 21, 2012
KitMaker: 765 posts
AeroScale: 316 posts

Posted: Saturday, August 15, 2020 - 11:49 PM UTC
@Bob,
The Airfoil kit is the new one. It has engraved panels.
Today I start building
Jose
Jose, tell me about that Airfix kit. Are the panel lines raised or engraved?
Bob[/quote]
The Airfoil kit is the new one. It has engraved panels.
Today I start building
Jose
Jose, tell me about that Airfix kit. Are the panel lines raised or engraved?
Bob[/quote]

TimReynaga
Joined: May 03, 2006
KitMaker: 2,500 posts
AeroScale: 318 posts
Posted: Friday, August 21, 2020 - 02:16 AM UTC
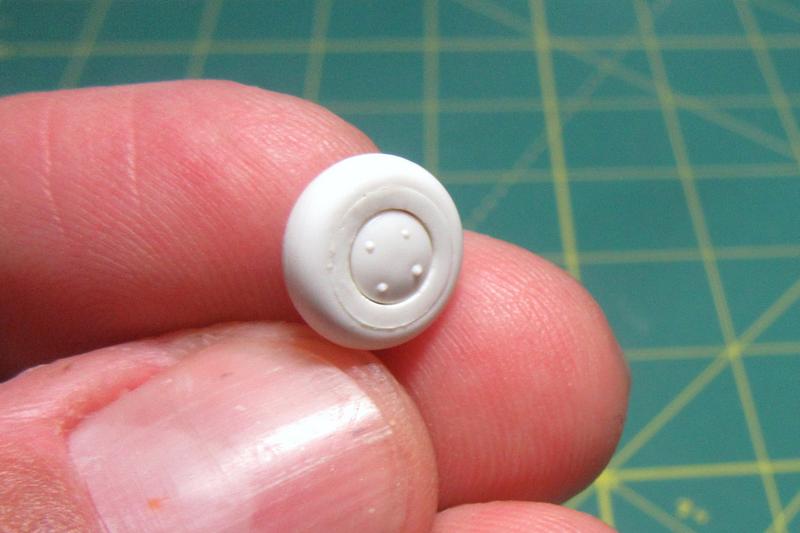
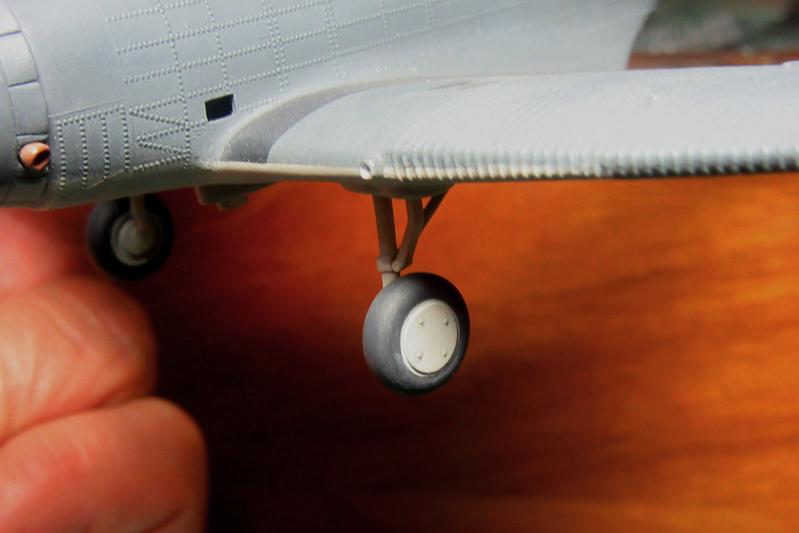
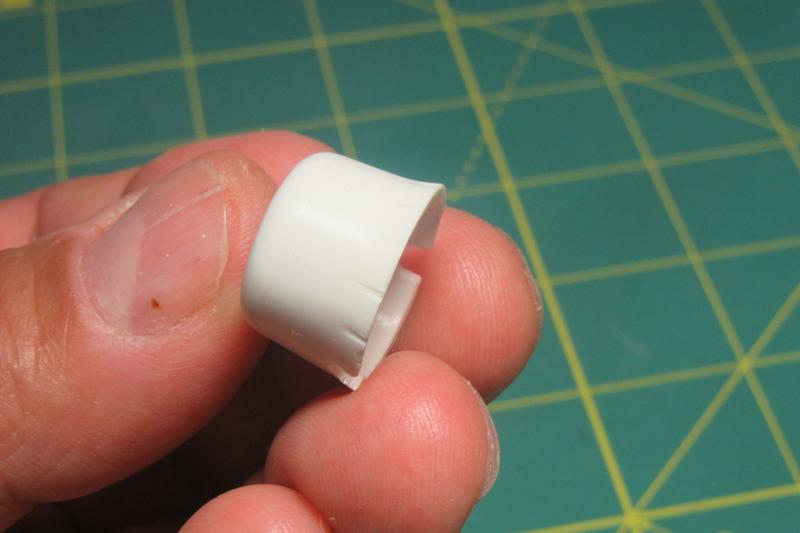
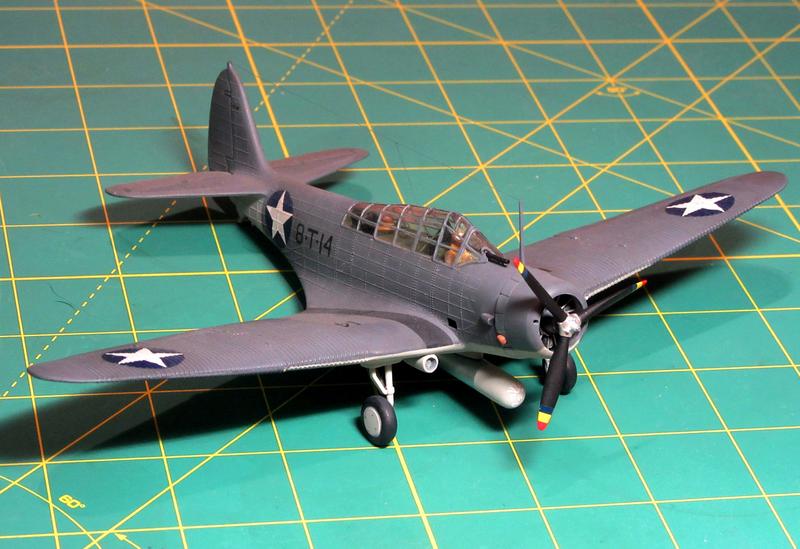
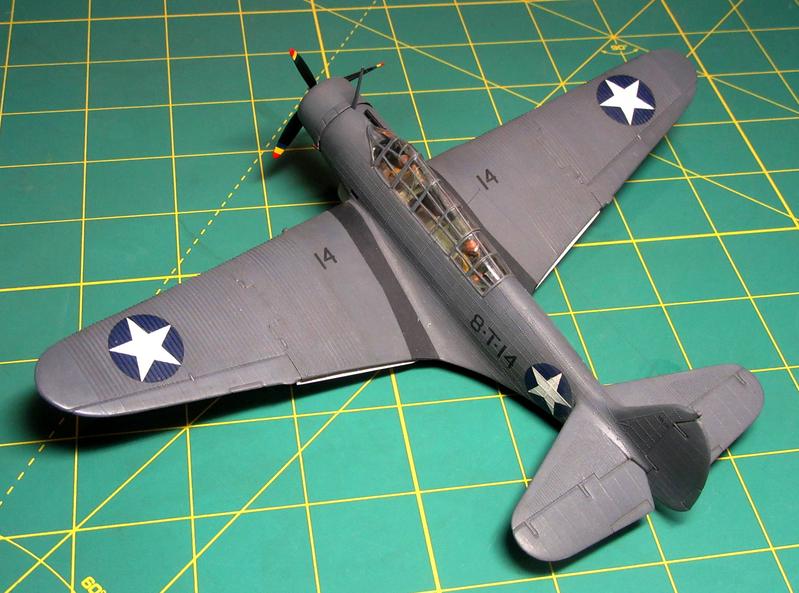
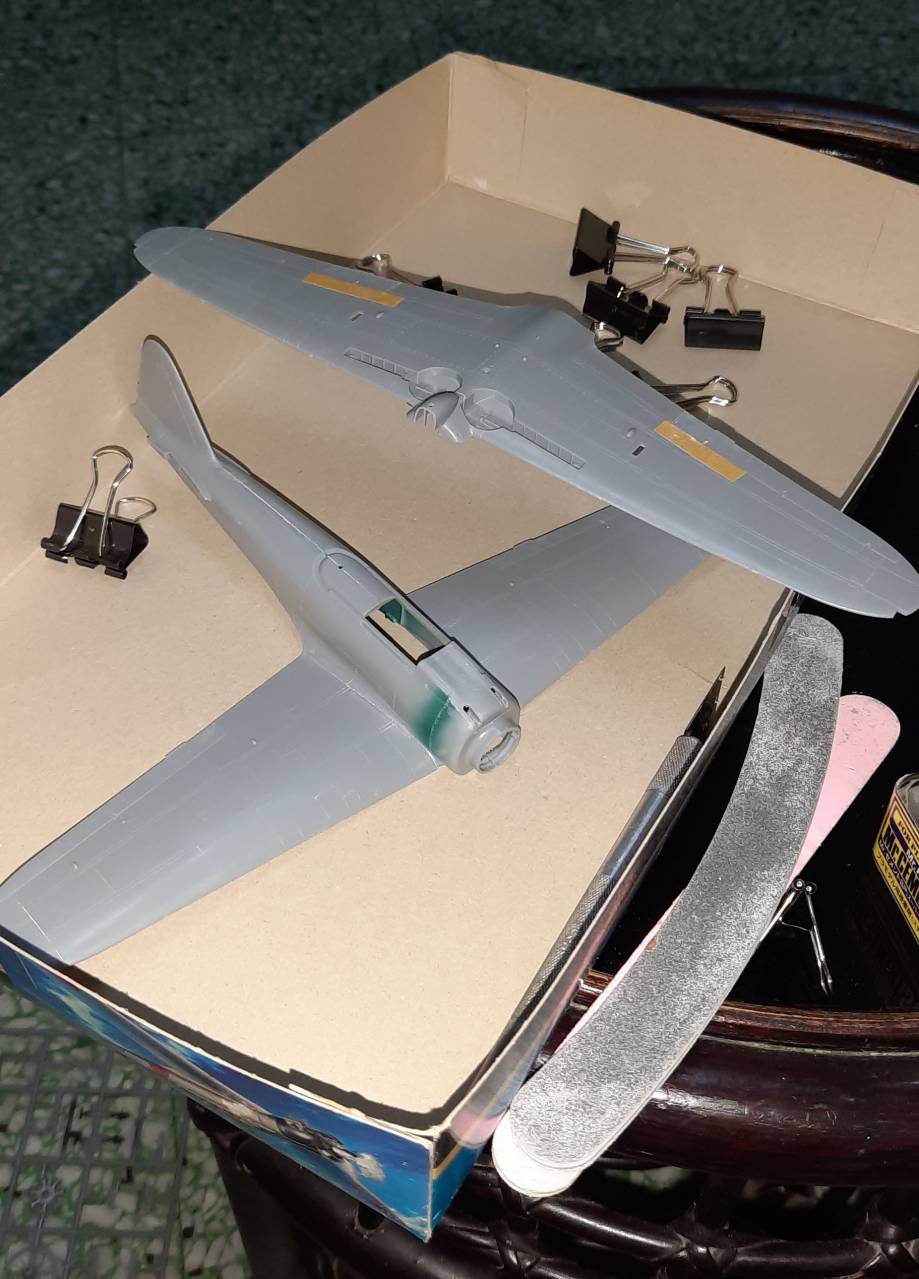
Chugging along with my Airfix Devastator, I managed to lose one of the wheels (the surviving Airfix one is in the top pic), so both were replaced with slightly altered parts from an old Heller Me-262.
I also added scratchbuilt flaps under the wings.


McRunty
#491
Joined: April 06, 2016
KitMaker: 602 posts
AeroScale: 43 posts

Posted: Friday, August 21, 2020 - 05:59 AM UTC
Jesper: That cockpit looks very good for an older kit.
Peter: Looking forward to seeing your Phantom built.
Tim: You would never have been able to tell the difference on those wheels, they really look the part of the originals.
Peter: Looking forward to seeing your Phantom built.
Tim: You would never have been able to tell the difference on those wheels, they really look the part of the originals.

md72
#439
Joined: November 05, 2005
KitMaker: 4,950 posts
AeroScale: 3,192 posts

Posted: Friday, August 21, 2020 - 06:46 AM UTC
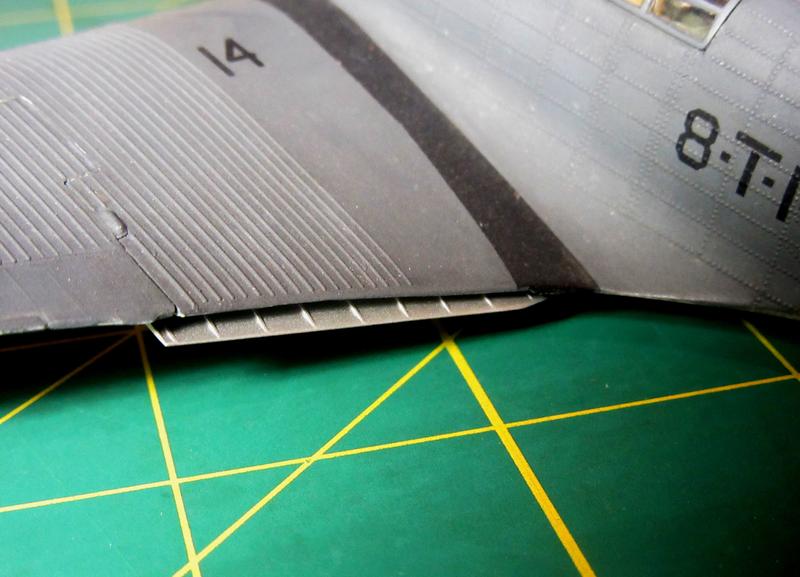
Tim, the wheels look great. However, I think the wing fold line looks even better, how did you do it? 

SGTJKJ
#041
Joined: July 20, 2006
KitMaker: 10,069 posts
AeroScale: 3,788 posts
Posted: Saturday, August 22, 2020 - 02:57 AM UTC
Looks nice, Tim!
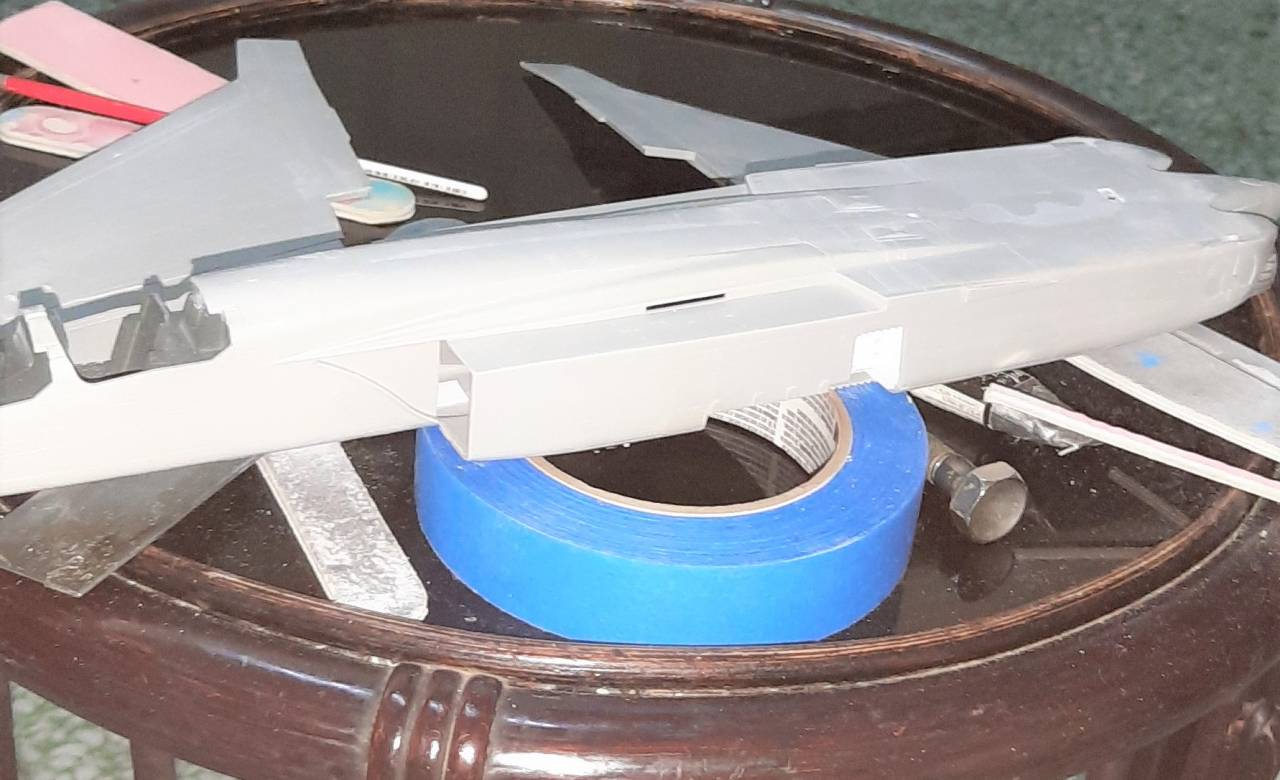
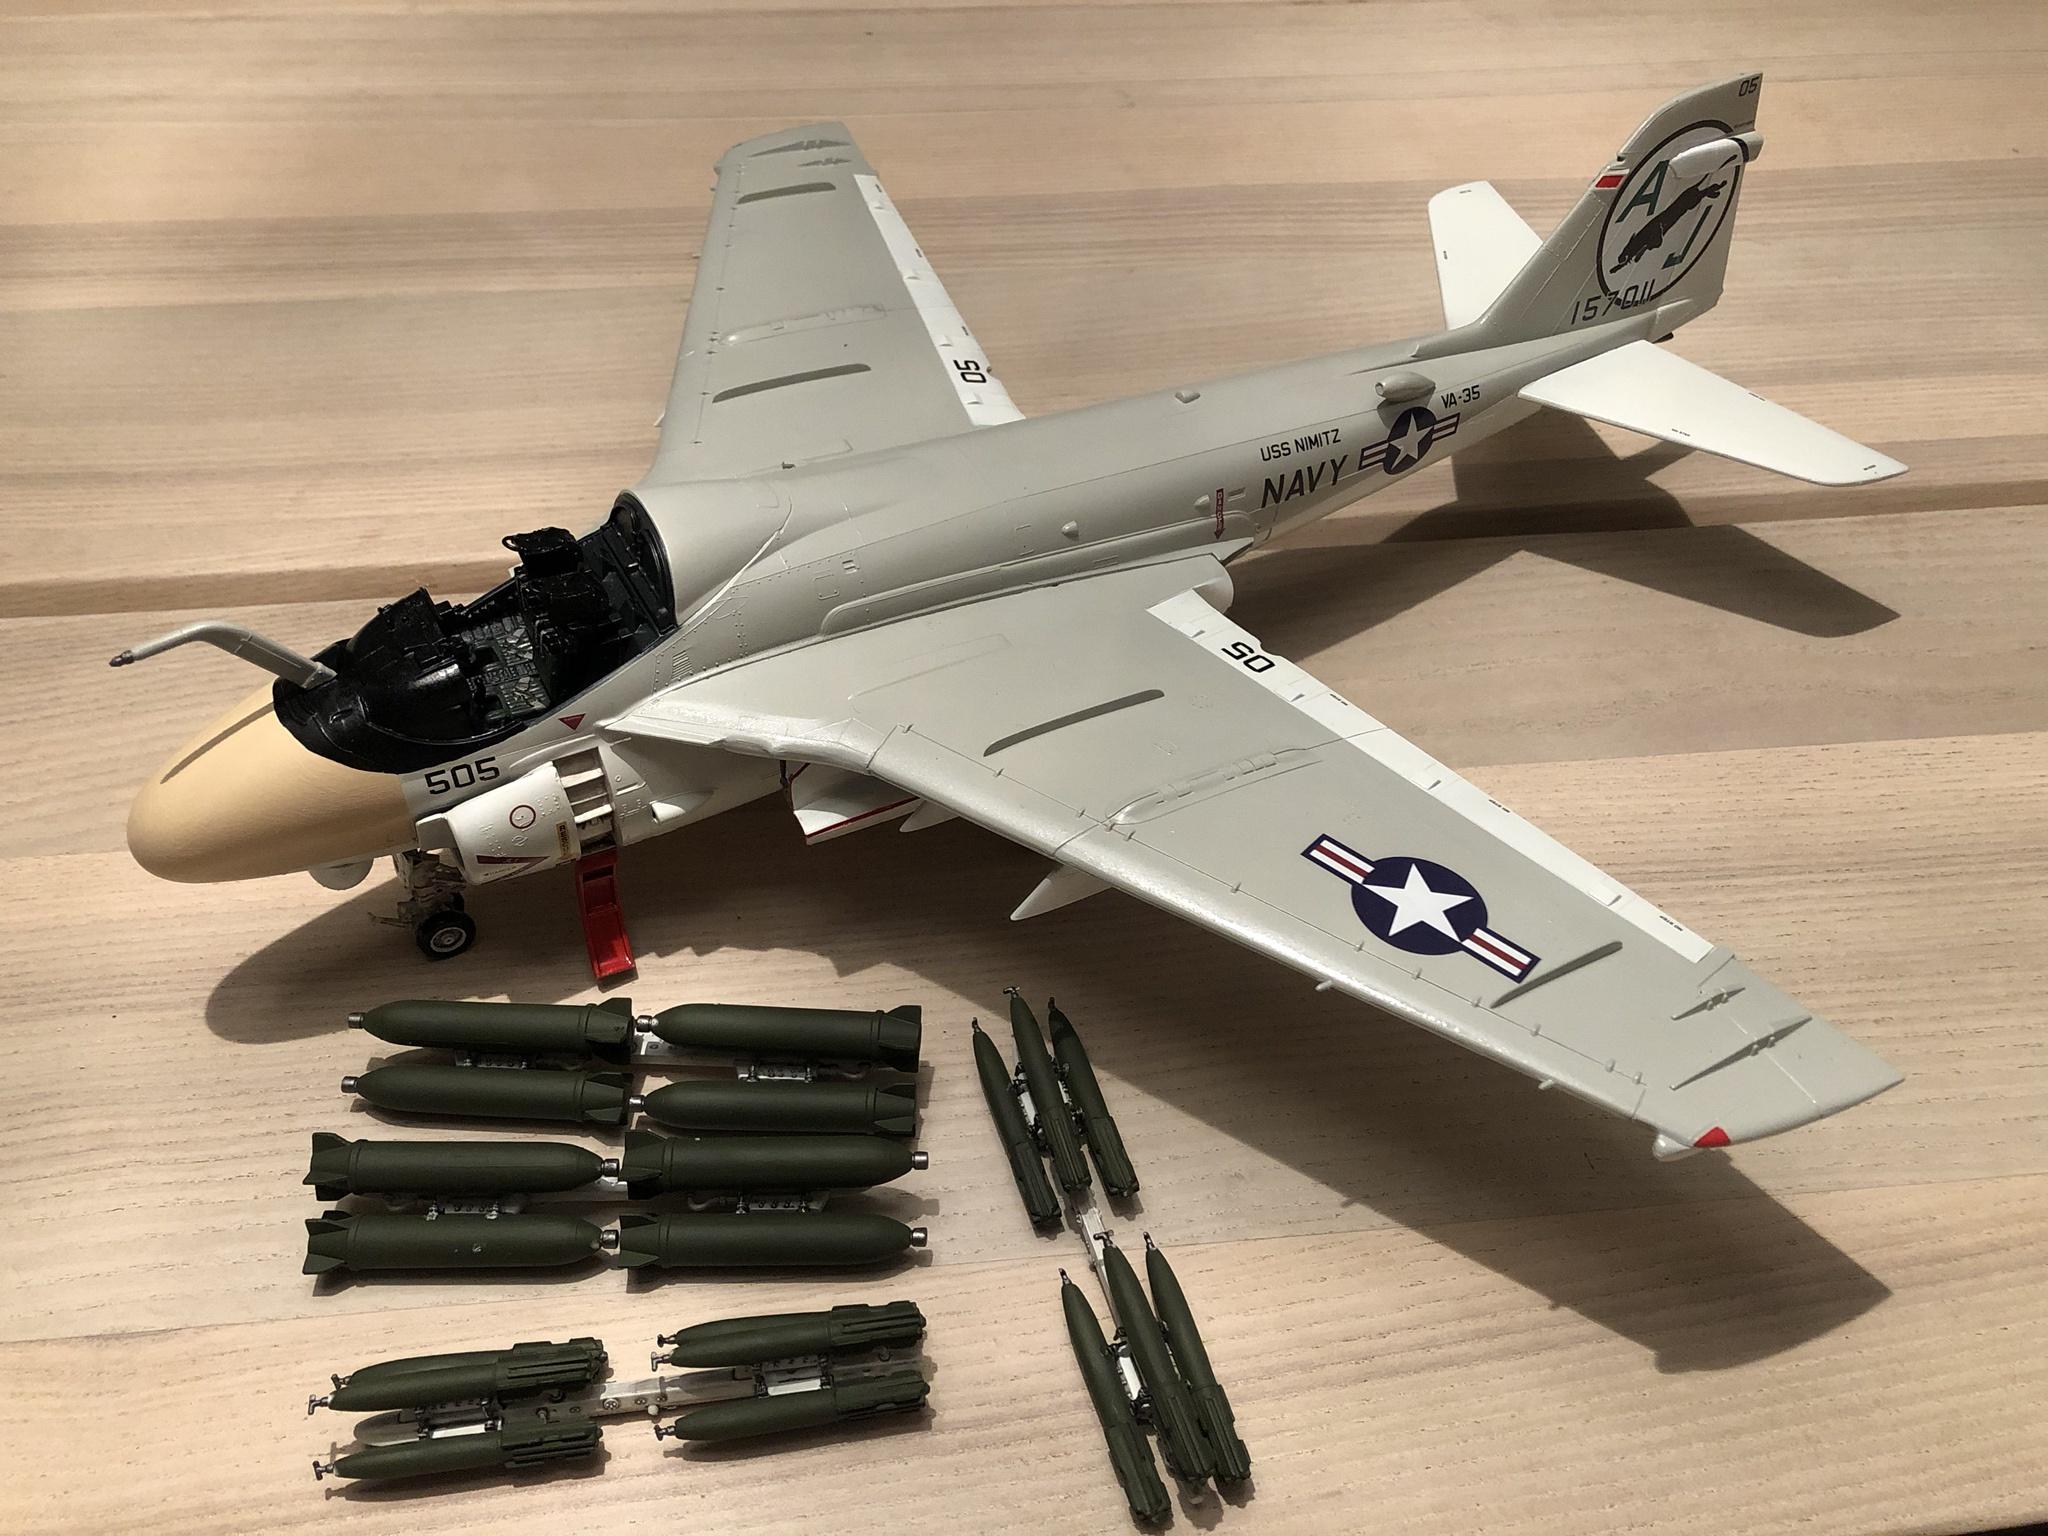
A bit more progress on my Intruder. Base color is on - next the ghost Grey and insignier White. I Will use AK true colors for this one.
More to follow 🙂
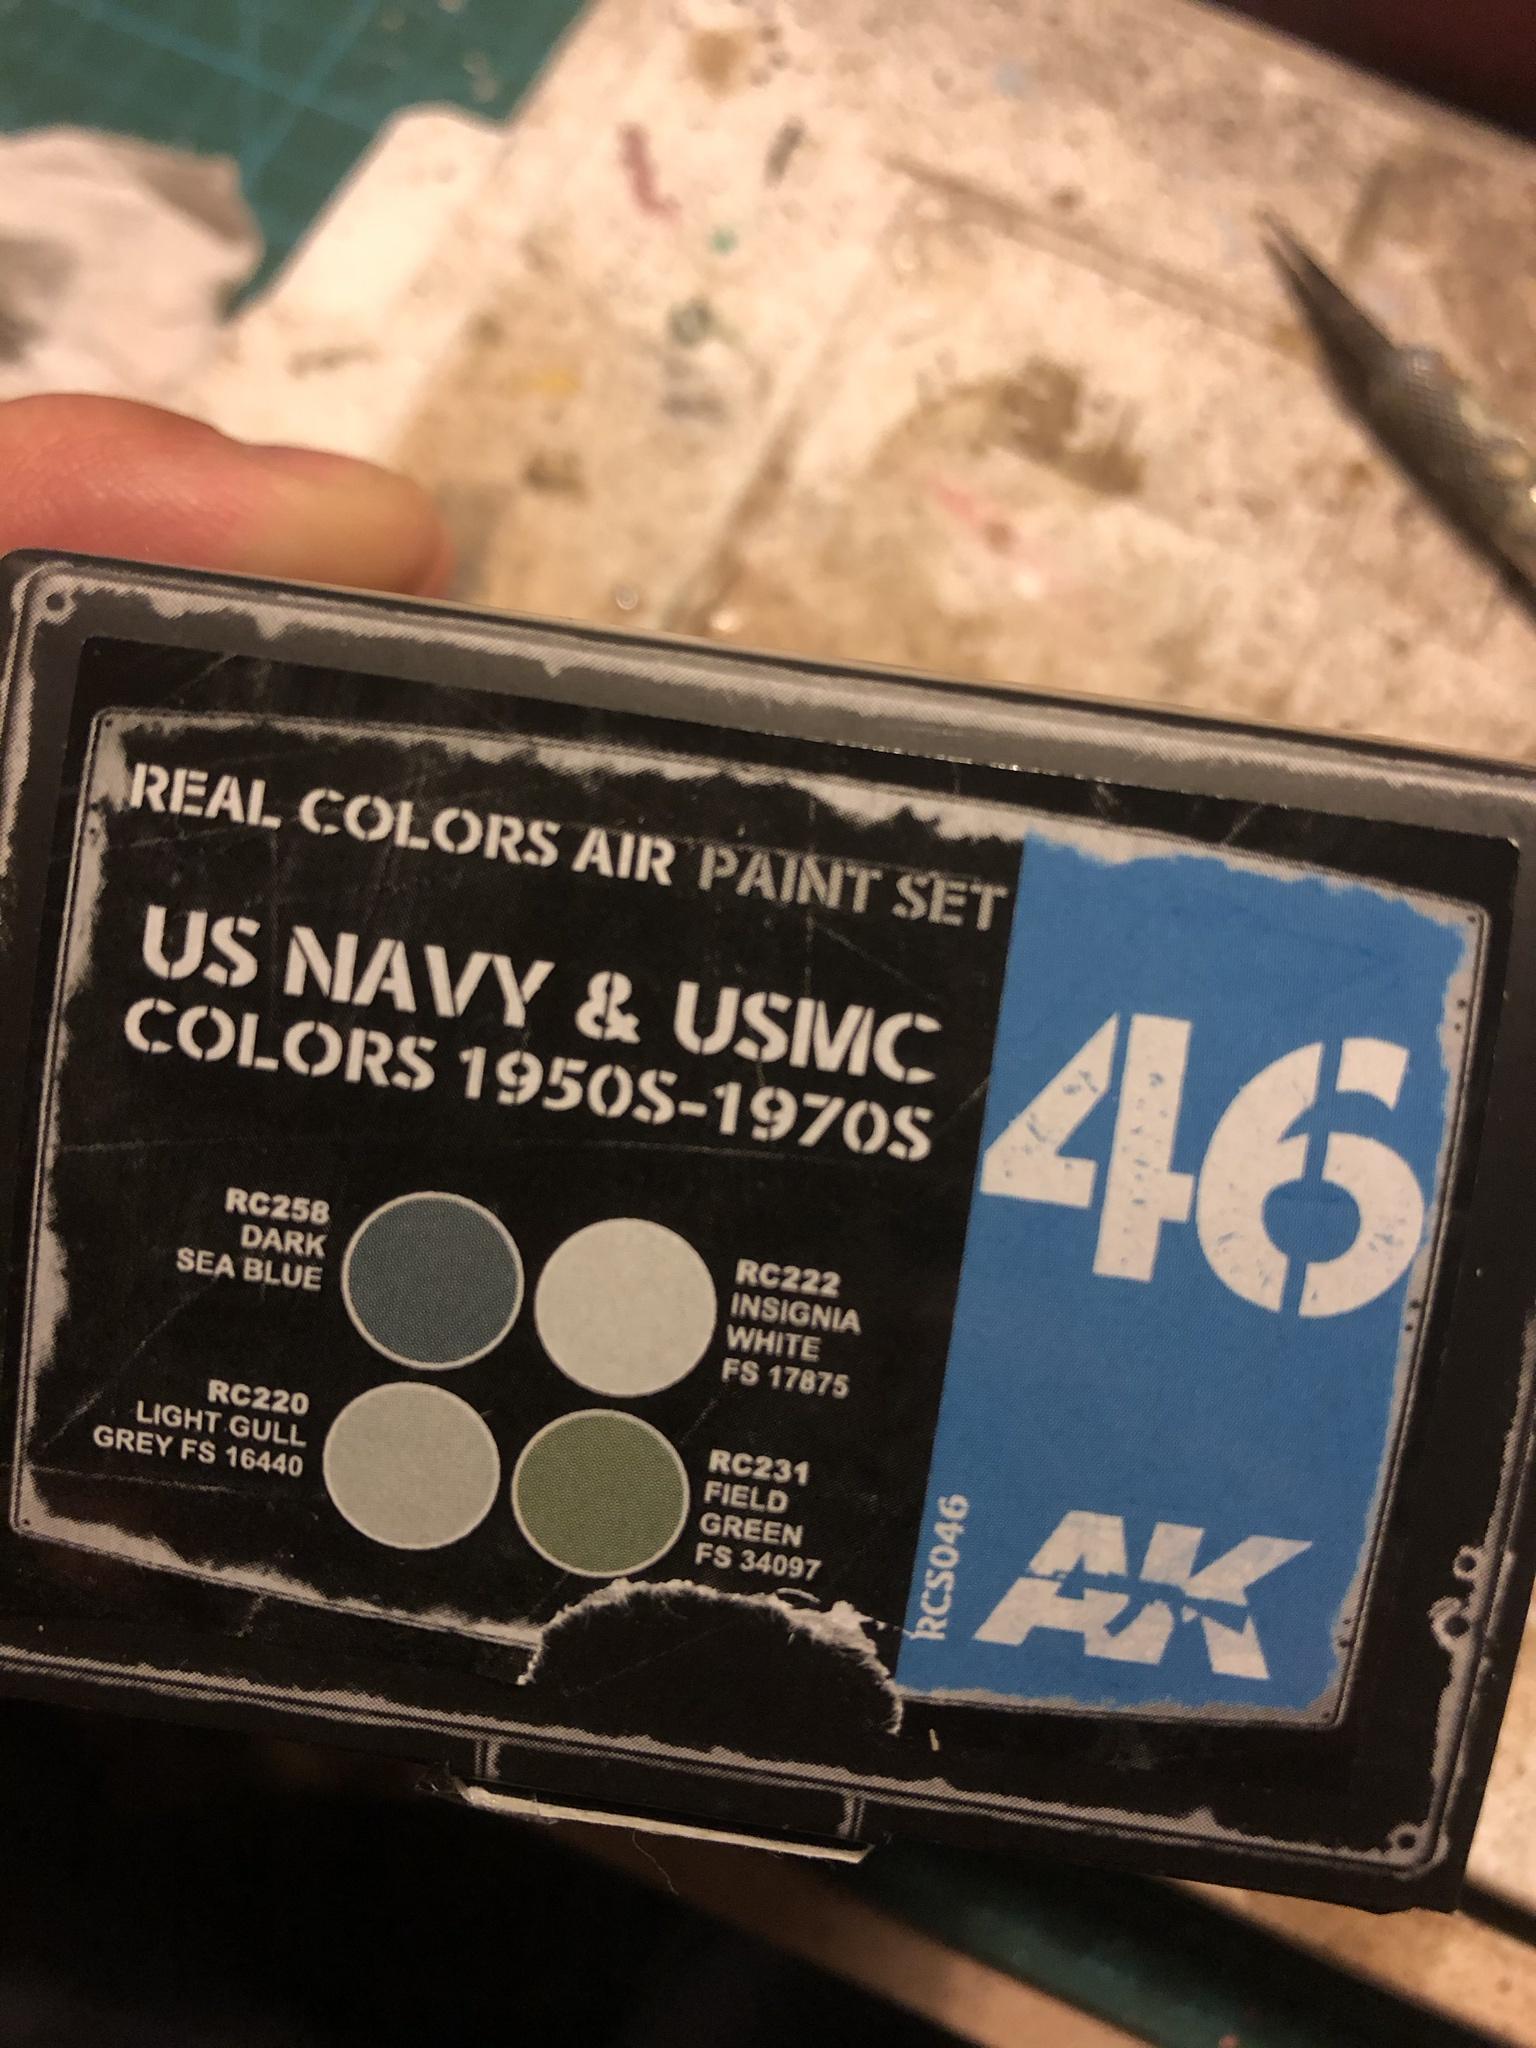
A bit more progress on my Intruder. Base color is on - next the ghost Grey and insignier White. I Will use AK true colors for this one.
More to follow 🙂
TimReynaga
Joined: May 03, 2006
KitMaker: 2,500 posts
AeroScale: 318 posts
Posted: Saturday, August 22, 2020 - 04:43 AM UTC
Quoted Text
Tim, the wheels look great. However, I think the wing fold line looks even better, how did you do it?
Rory, Mark, and Jasper, thanks!
The wing fold was actually not too bad as the corrugated surface makes the seam less noticeable. I just let the liquid cement flow along the seam and melt the wing into place.
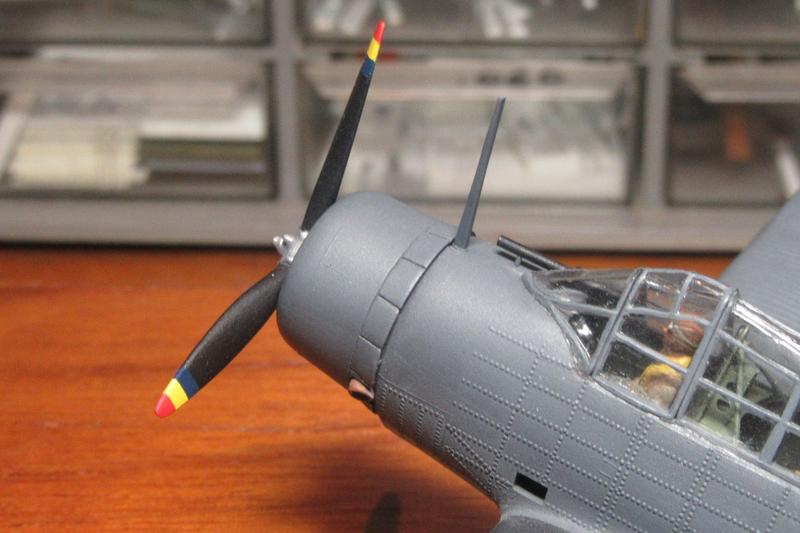
I wanted to build this thing out of the box, but the kit cowl flap details were so mushy I just had to scribe them in to make them sharper.
TimReynaga
Joined: May 03, 2006
KitMaker: 2,500 posts
AeroScale: 318 posts
Posted: Monday, August 24, 2020 - 05:38 AM UTC
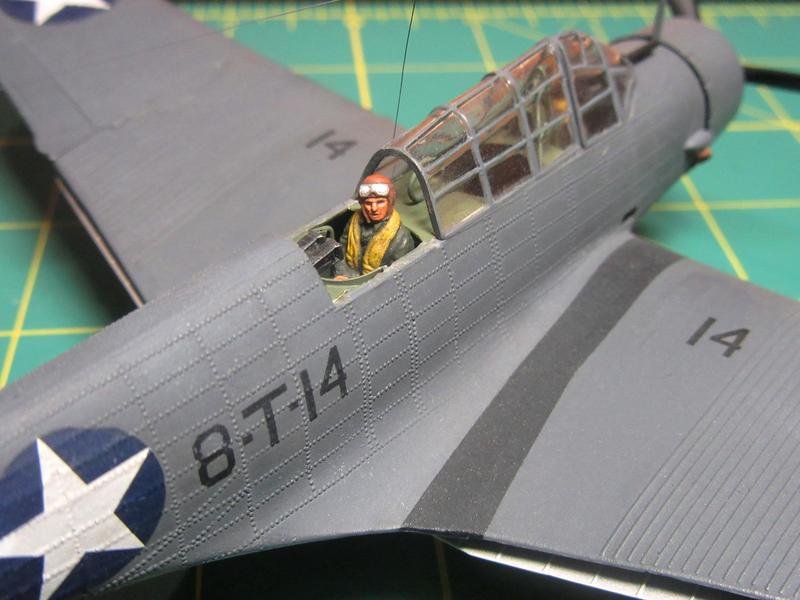
The kit boxtop showed colorful prewar markings, but I wanted to depict the aircraft of the sole survivor of the famous U.S.S. Hornets VT-8 attack on the Japanese fleet at Midway, Ensign George Gay.

This image of Ensign Gay and his rear gunner, ARM3c George Arthur Field (killed at Midway), was taken aboard Hornet. Note the decoration of the torpedo, which was common among the aircraft of VT-8.
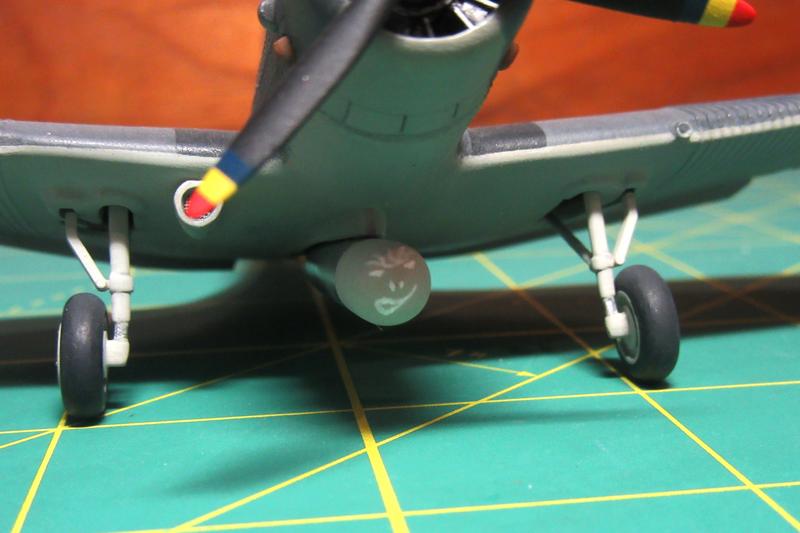
I did my best to replicate this marking in 1/72.
This image of Ensign Gay and his rear gunner, ARM3c George Arthur Field (killed at Midway), was taken aboard Hornet. Note the decoration of the torpedo, which was common among the aircraft of VT-8.
I did my best to replicate this marking in 1/72.
b17-peter
#392
Joined: January 09, 2013
KitMaker: 696 posts
AeroScale: 608 posts
Posted: Tuesday, August 25, 2020 - 04:23 AM UTC
@Jesper - Good progress!
@Tim - Torpedo looks great!
@Tim - Torpedo looks great!
TimReynaga
Joined: May 03, 2006
KitMaker: 2,500 posts
AeroScale: 318 posts
Posted: Tuesday, August 25, 2020 - 04:35 AM UTC
Quoted Text
Tim - Torpedo looks great!
Thanks Peter!
One of the nicer aspects of this kit is the crew.
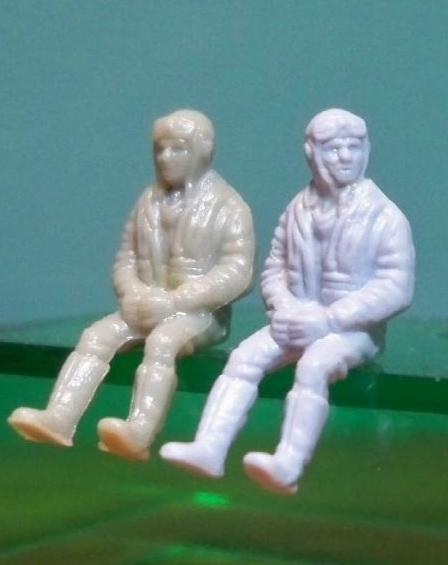
The figures in this picture, taken from other Airfix kits, are the same as those in the Devastator kit. As with the figure on the right, the only change I made to the TBD kit crew was to turn the head of the gunner. The pilot is unchanged.
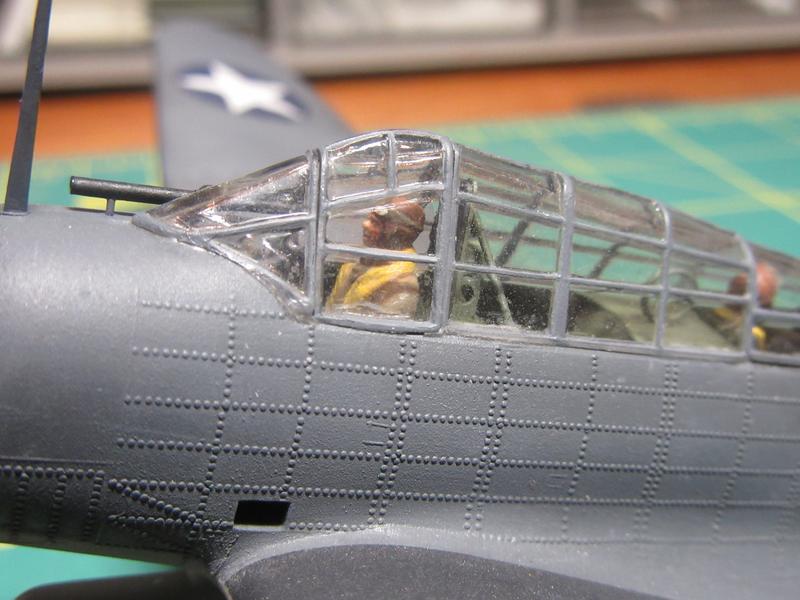
Painted up and installed, the forward-facing pilot adds a bit of life to the cockpit.
Im not normally a big fan of aircrew figures, but they can be useful to draw the viewers focus away from the simplified cockpits on older kits.
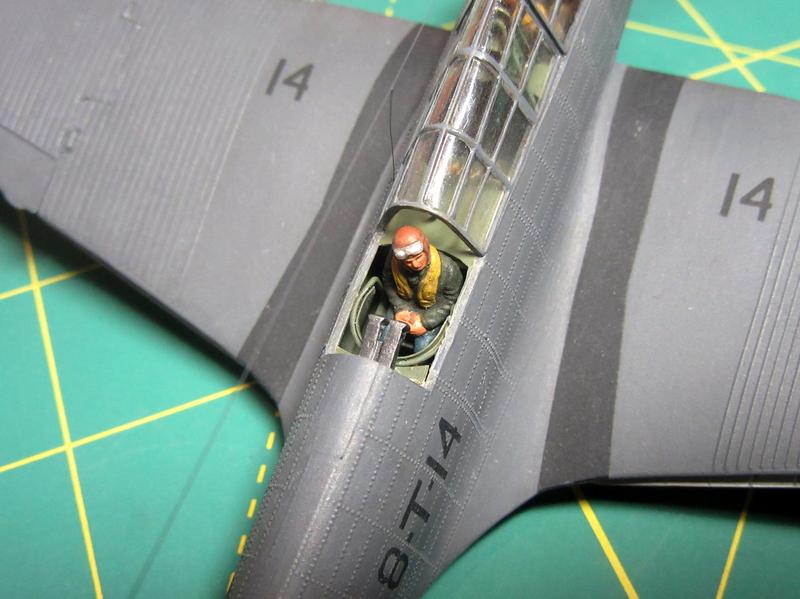
The only change to the gunners position was to add a simple scratchbuilt gun ring mount and a second .30 cal machine gun to reflect the defensive upgrade made after the Battle of the Coral Sea.
md72
#439
Joined: November 05, 2005
KitMaker: 4,950 posts
AeroScale: 3,192 posts
Posted: Tuesday, August 25, 2020 - 05:18 AM UTC
Yep, I refer to them as praying pilots. Mine are praying I do one half as good a job on them as you did.
TimReynaga
Joined: May 03, 2006
KitMaker: 2,500 posts
AeroScale: 318 posts
Posted: Tuesday, August 25, 2020 - 06:27 AM UTC
Quoted Text
Yep, I refer to them as praying pilots. Mine are praying I do one half as good a job on them as you did.
LOL! Recent 1/48 and larger aircrew are much better, but for those of us who like smaller scales, these 1960s vintage Airfix aircrew still aren't bad. And painting them up is a whole lot easier than superdetailing nonexistent kit cockpits!
Anyway, I'm calling this one finished.
McRunty
#491
Joined: April 06, 2016
KitMaker: 602 posts
AeroScale: 43 posts
Posted: Wednesday, August 26, 2020 - 06:10 AM UTC
Looks awesome Tim, congrats on making it to the finish line!
SGTJKJ
#041
Joined: July 20, 2006
KitMaker: 10,069 posts
AeroScale: 3,788 posts
Posted: Thursday, August 27, 2020 - 10:08 PM UTC
Beautiful build, Tim! Congrats on finishing!
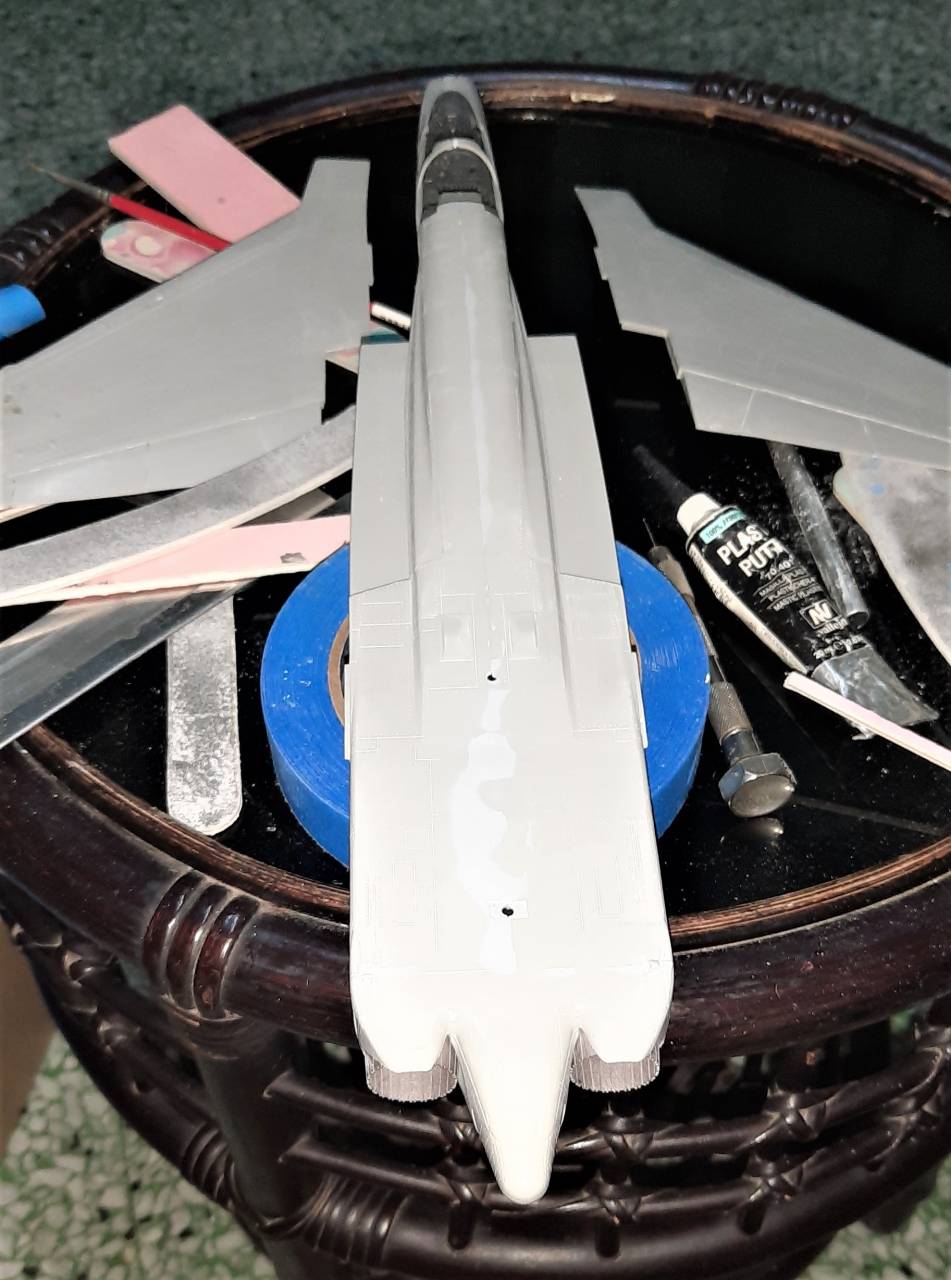
The main colors are on my A-6 Intruder. Next are detail painting and work on all the ordnance.
More to follow
The main colors are on my A-6 Intruder. Next are detail painting and work on all the ordnance.
More to follow
b17-peter
#392
Joined: January 09, 2013
KitMaker: 696 posts
AeroScale: 608 posts
Posted: Friday, August 28, 2020 - 09:50 AM UTC
Congrats, Tim, your Devastator came out excellent! 
@ Jesper - your build reminds me of "Flight of the Intruder".....gripping novel by Stephen Coonts, excellent writer and Ex-USN pilot. Looks very promising so far
I made some progress on my RN Phantom, too

Cheers mates
Peter
@ Jesper - your build reminds me of "Flight of the Intruder".....gripping novel by Stephen Coonts, excellent writer and Ex-USN pilot. Looks very promising so far
I made some progress on my RN Phantom, too
Cheers mates
Peter
SHAKY962
Joined: May 21, 2012
KitMaker: 765 posts
AeroScale: 316 posts
Posted: Saturday, August 29, 2020 - 06:38 AM UTC
Jesper: I love the intruder!!!
Oeter: Nice work in the Phantom
I´ll use my phantom for the specific campaign!!!
Oeter: Nice work in the Phantom
I´ll use my phantom for the specific campaign!!!
b17-peter
#392
Joined: January 09, 2013
KitMaker: 696 posts
AeroScale: 608 posts
Posted: Saturday, August 29, 2020 - 09:45 AM UTC
Quoted Text
Oeter: Nice work in the Phantom
I´ll use my phantom for the specific campaign!!!
See you there, Jose, I have some other Phantoms in my stash for that campaign
Still not decided which one to build yet...

john41492
#442

Joined: July 20, 2015
KitMaker: 363 posts
AeroScale: 335 posts
Posted: Sunday, August 30, 2020 - 08:17 PM UTC
Hi all,
Lots of really nice builds here, and lots of different kinds of things, this has been a great campaign so far!
I haven't made a post here in a while, so here goes.
I've been toiling away on Trumpeter's Vigilante, and all I can say is that you have to really want a 1/48th Vigilante to work on this kit. As an early Trumpeter kit, it shows how far a company can go when they set their minds to it. That said, there is no excuse for the totally poor fitting kit they did of the Vigilante, given all the technology at their disposal at the time.
I do want a 1/48th Vigilante, and I was one of those that voted for it for several years in a row. So I shall continue slugging it out with this one. Though, my heart isn't in it right now. I will say, that as I work through it, one can see a Vigilante in there. So, here's where I got.
The cockpit is ok, though the instrument panel should have been thinned to allow one to see the really nice film that they included, and it did a nice job of fitting into the fuselage. I did beef up the interior seam line with 0.2 inch strip to overcome the unsupported area. This is a must, otherwise it will twist and turn all on its own!
Since all the pics I've seen of flight ready Vigi's on the ground/deck have the flaps in a neutral position, I glued the front flaperons, and rear flaps onto each wing half, and then joined both halves. This made it much easier to sand down and begin filling all the rivet holes made by the "Mad Riveter". Still this work entailed hours of work along with 40g of super glue to date.
Once I got things close enough, I went ahead and put the wings on. The intakes on the other hand have the worst gaps yet!
It should be noted that this kit isn't really all that hard, things do kind of fit. Good basic modeling skills are really all that are needed to make an inaccurate, but nice oob build. The killer is the overall poor fit, and need for every seam to be worked on in some way or fashion. I guess that I've easily put close to 60 hours into it, and the end is still some way off.
That said, and looking at the calendar, I'm changing horses mid-stream, and will relegate this bird to the Hangar Queen builds. Sigh...
A good back-up plan, and fun little build, that should get me into the mood for a Pearl Harbor 80th anniversary. A good campaign idea if I say so myself! Anyway, I'll update you all soon on this one!
Take care, and have fun

eMan
#298

Joined: August 08, 2002
KitMaker: 1,182 posts
AeroScale: 351 posts

Posted: Wednesday, September 02, 2020 - 02:40 AM UTC
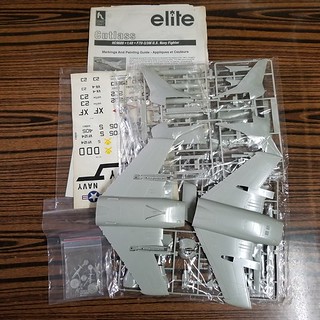
Here is my entry, Hobby Craft 1/48 Cutlass F7U-3 US Navy Fighter.
md72
#439
Joined: November 05, 2005
KitMaker: 4,950 posts
AeroScale: 3,192 posts
Posted: Thursday, September 03, 2020 - 07:11 PM UTC
Well,if you squint real hard you can see a tiny F-14 in there.
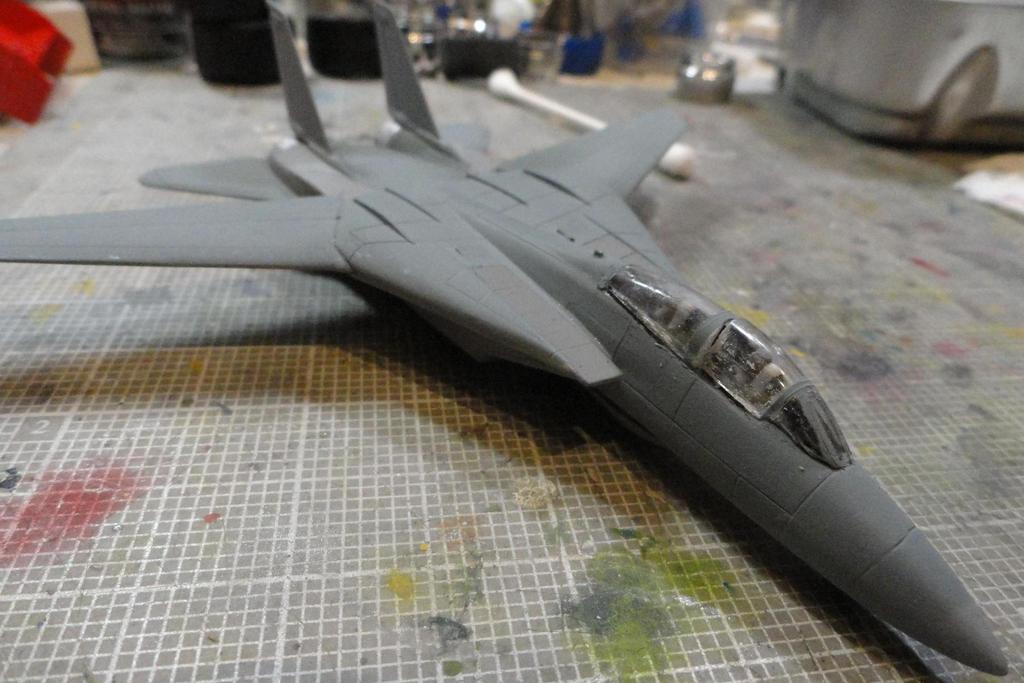
I might get this one finished.
I might get this one finished.
john41492
#442
Joined: July 20, 2015
KitMaker: 363 posts
AeroScale: 335 posts
Posted: Friday, September 04, 2020 - 03:31 AM UTC
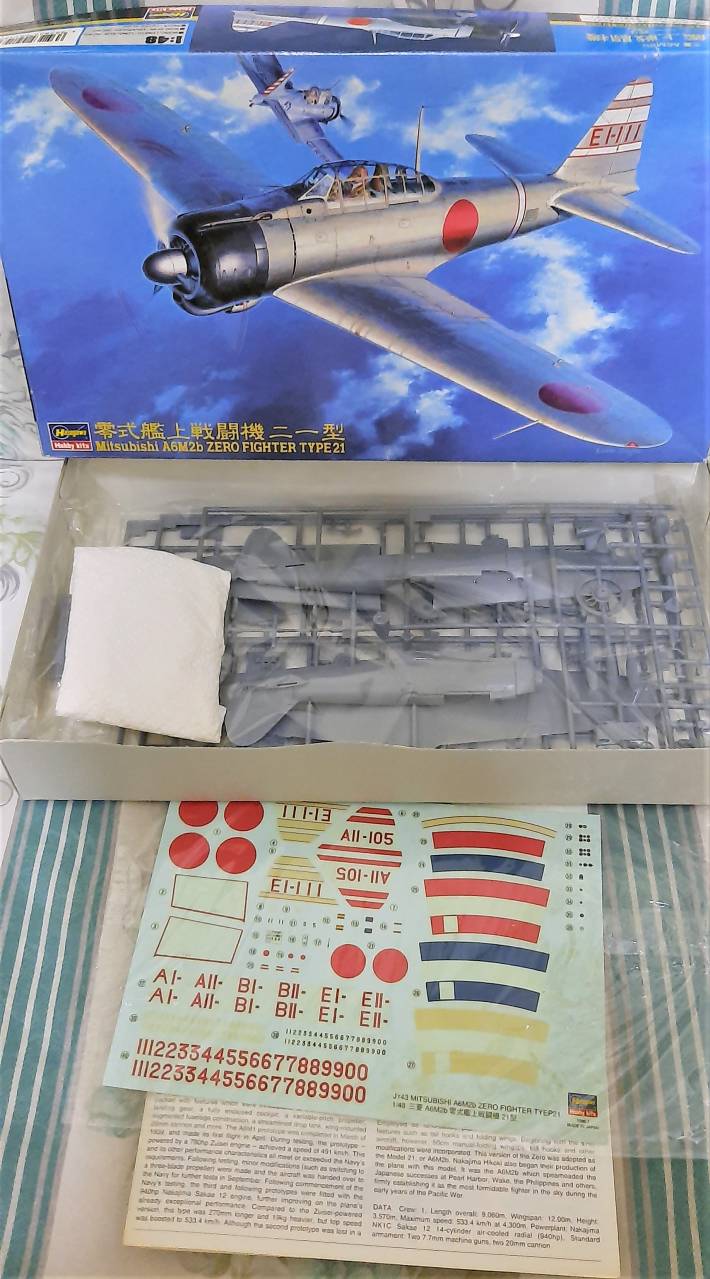
Hi All,
Well since making the change, I'd say it's quite a difference. I really do like the Hasegawa Zero series of kits in 1/48th. Mostly, I love how they fit and go together.
I have found that when I build these, I differ a bit from the instructions, mainly to save time on the build, and to avoid a lot of filling. First thing I did was paint a lot of the internal parts, and areas on the fuselage.
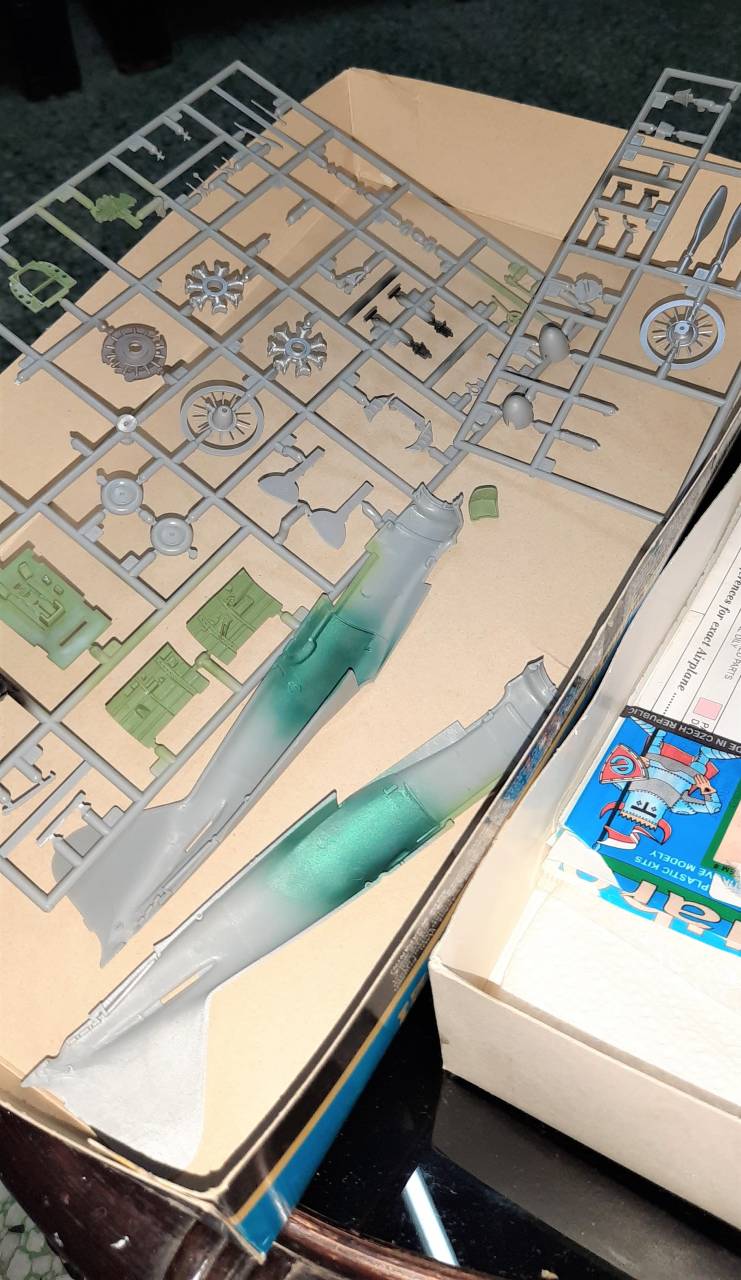
Next, I go ahead and close up the fuselage, and then add the front upper part. I found that the cockpit can be inserted from underneath, and this sets me up to have a near perfect fit for the wings.
Then the upper halves of the wings are attached using clamps. This is quite easy as there is internal mating parts on the fuselage and wings that allow for paper clamps to connect and allow for a near perfect fit!
I also glued in the wheel well attachment, and drilled out the lightening holes on the seat. By their engineering they are a fast build, this method I've found is even faster! Two evenings, about three hours so far, and this also includes some research on paint schemes! All that, and it's a fun kit to build.
Next up, some sanding of seams, and the cockpit. For this build I'll be adding a little bit of extra things, and so far having a blast!!
Well since making the change, I'd say it's quite a difference. I really do like the Hasegawa Zero series of kits in 1/48th. Mostly, I love how they fit and go together.
I have found that when I build these, I differ a bit from the instructions, mainly to save time on the build, and to avoid a lot of filling. First thing I did was paint a lot of the internal parts, and areas on the fuselage.
Next, I go ahead and close up the fuselage, and then add the front upper part. I found that the cockpit can be inserted from underneath, and this sets me up to have a near perfect fit for the wings.
Then the upper halves of the wings are attached using clamps. This is quite easy as there is internal mating parts on the fuselage and wings that allow for paper clamps to connect and allow for a near perfect fit!
I also glued in the wheel well attachment, and drilled out the lightening holes on the seat. By their engineering they are a fast build, this method I've found is even faster! Two evenings, about three hours so far, and this also includes some research on paint schemes! All that, and it's a fun kit to build.
Next up, some sanding of seams, and the cockpit. For this build I'll be adding a little bit of extra things, and so far having a blast!!
b17-peter
#392
Joined: January 09, 2013
KitMaker: 696 posts
AeroScale: 608 posts
Posted: Friday, September 04, 2020 - 05:59 AM UTC
@John - That sounds like a real fun build, good luck!
I made more progress with my Phantom
I made more progress with my Phantom
SGTJKJ
#041
Joined: July 20, 2006
KitMaker: 10,069 posts
AeroScale: 3,788 posts
Posted: Saturday, September 05, 2020 - 09:18 AM UTC
Nice progress, Peter.
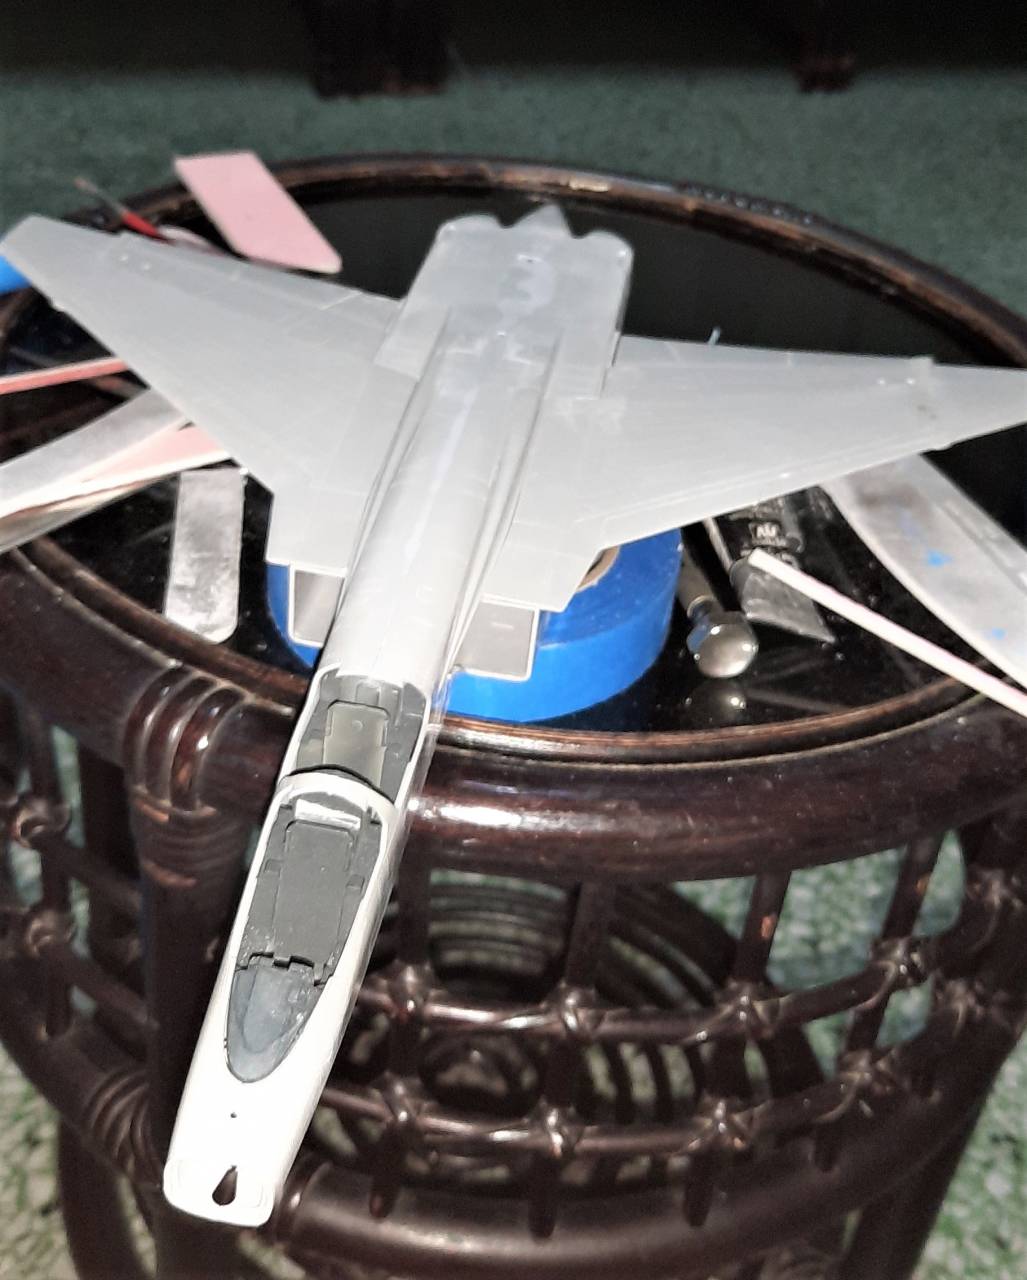
I have made some progress on my A-6 as Well. Still some detail painting and touch ups to be done. Then it is time for a light weathering 🙂
I have made some progress on my A-6 as Well. Still some detail painting and touch ups to be done. Then it is time for a light weathering 🙂
 |

WEB HOSTING BY


Copyright ©2021 AeroScale and Kitmaker Network, a subsidiary of Silver Star Enterprises
All Rights Reserved. Please read our Conditions of Use and Privacy Policy.
All Rights Reserved. Please read our Conditions of Use and Privacy Policy.