Hi all.
In order to keep the creative juices flowing and for something to show you all here is a copy of a recent build I did.
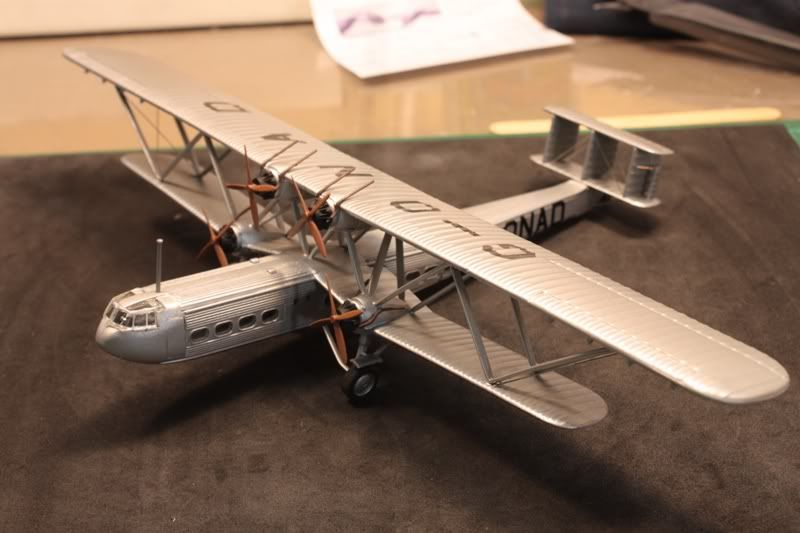
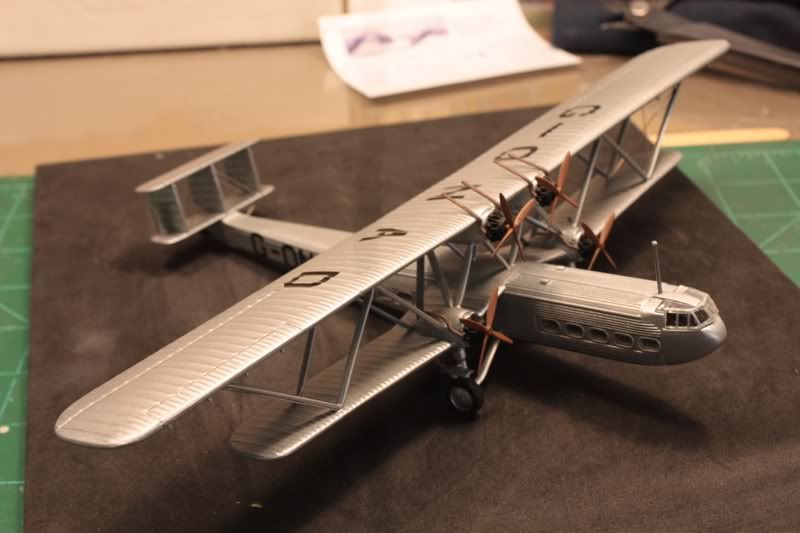
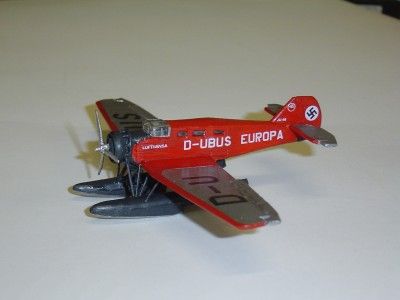
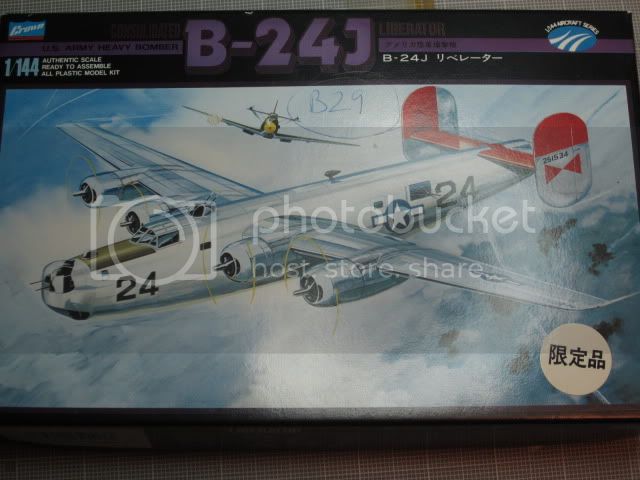
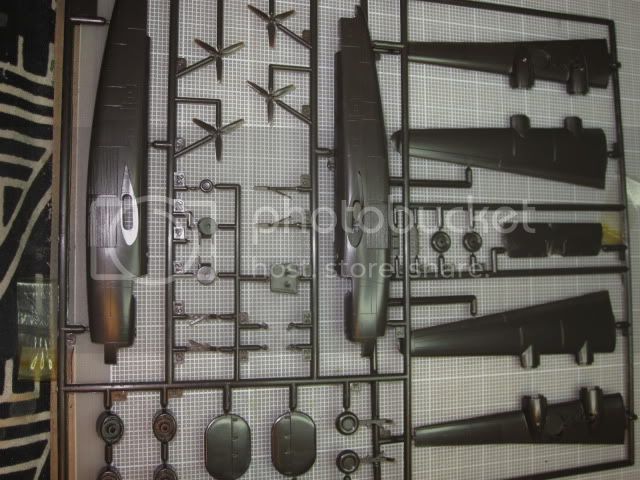
I will put some pics up here of my conversion from the Senworks Junkers W.34 to the Floatplane Ju.46 as used by Deusches LuftHansa (DLH) in 1932-1934 for their catapult ships 'Europa' and 'Bremen' to deliver mail faster to the USA on the Atlantic crossing.
This is part of my (slowly growing) collection of DLH catapult planes. So far I have completed the Do26 and Ha139, with the Do18 painted but not decaled and the Dornier Wal made but not painted. After the Ju46 it only leaves the Heinkel 12 and 58.
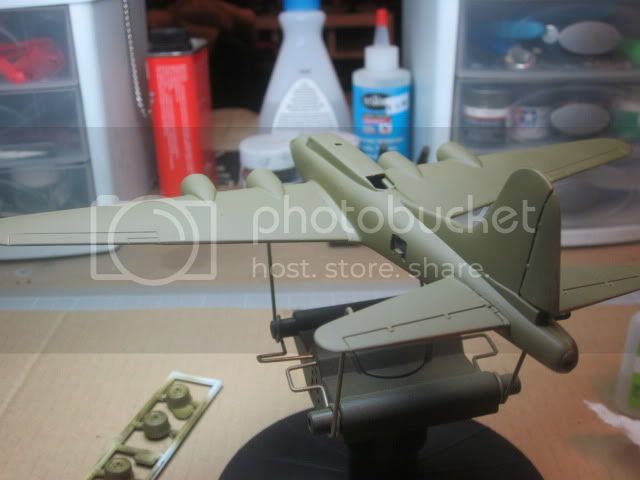
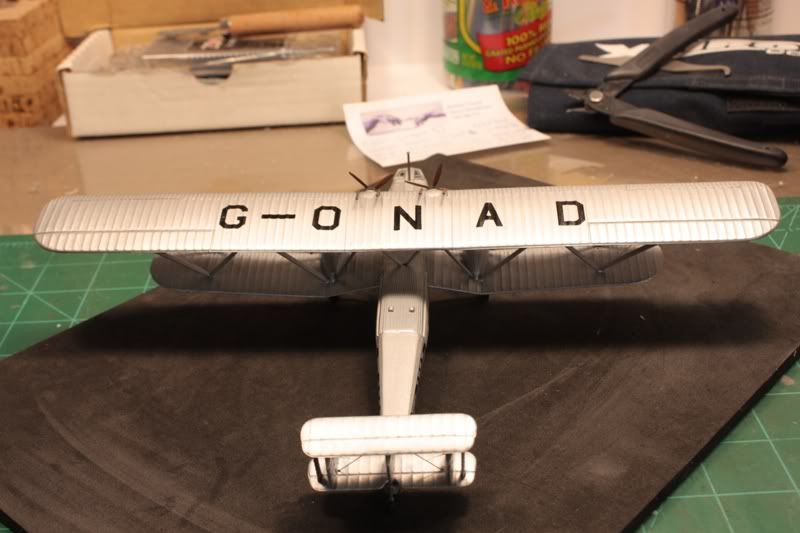
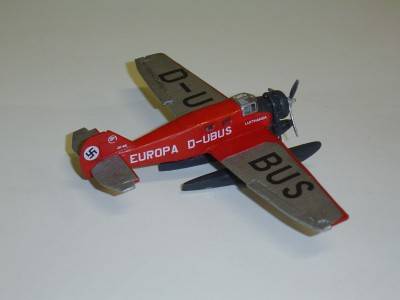
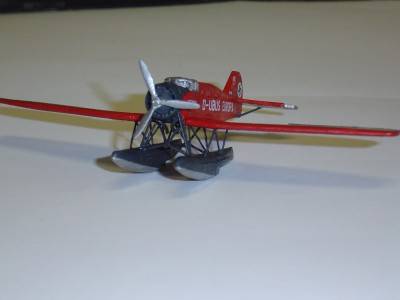
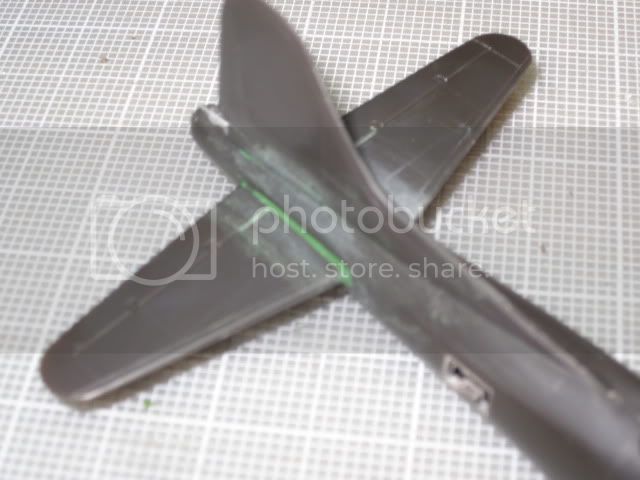
The main external differences are the extended tailplane and enlarged rudder. Of course the addition of floats rather than the wheels as supplied in the kit.
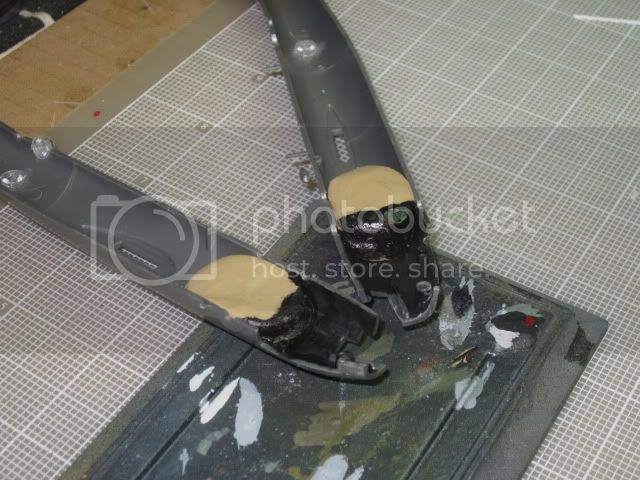
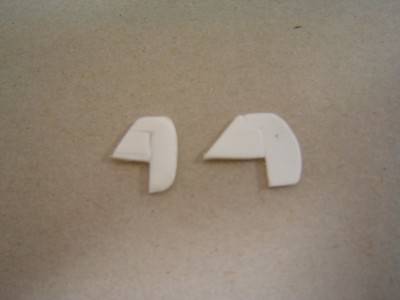
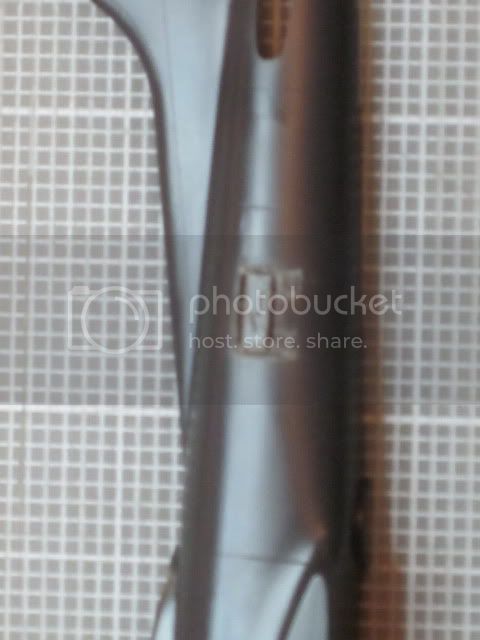
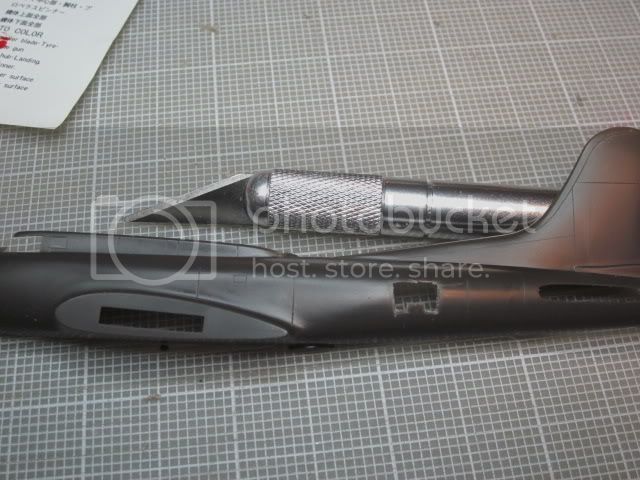
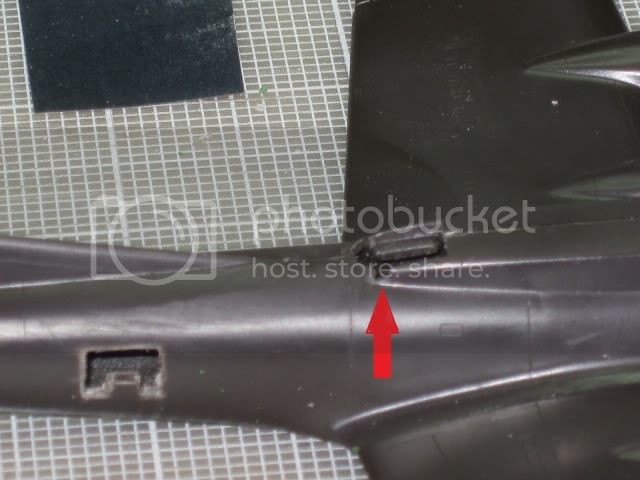
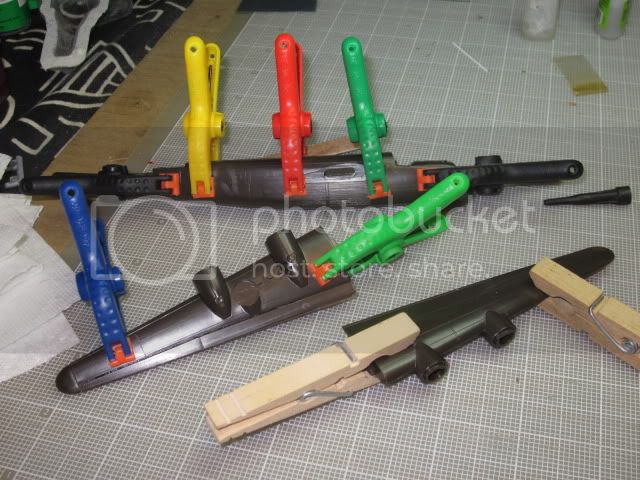
Here is the original W.34 rudder and my modification to it to better represent the Ju.46 version.
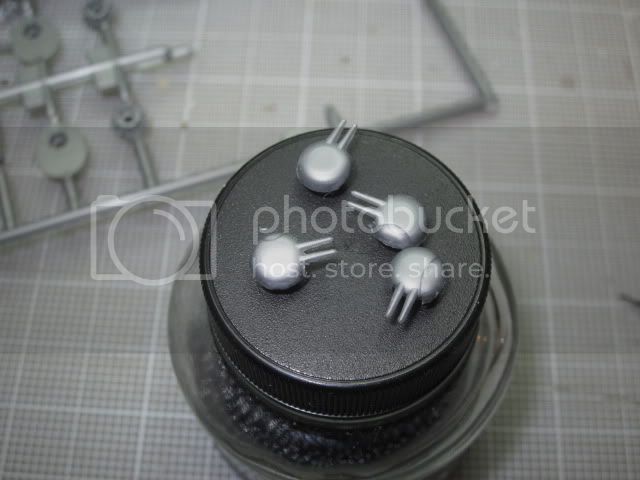
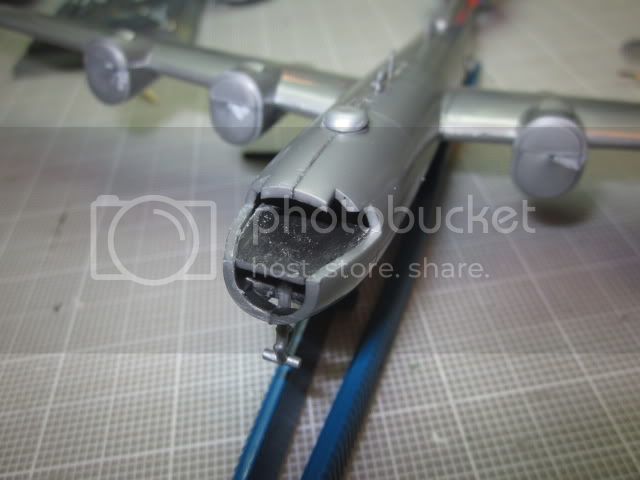
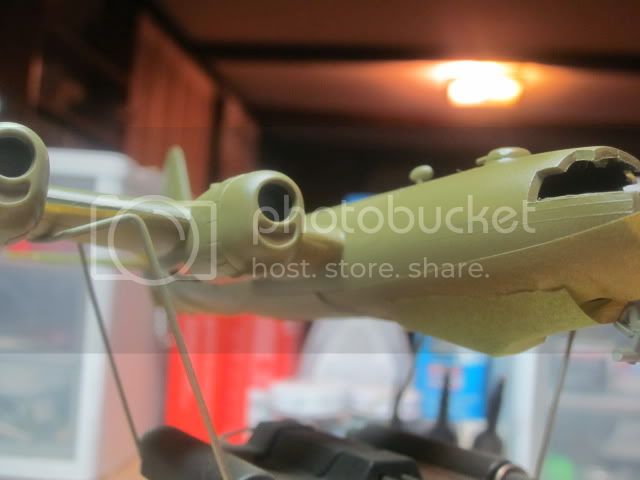
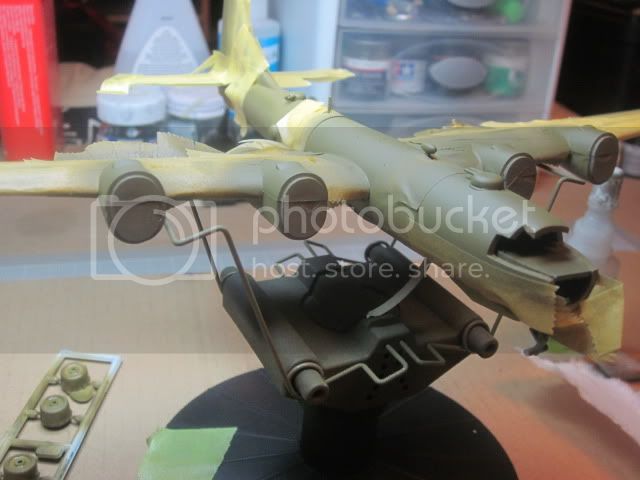
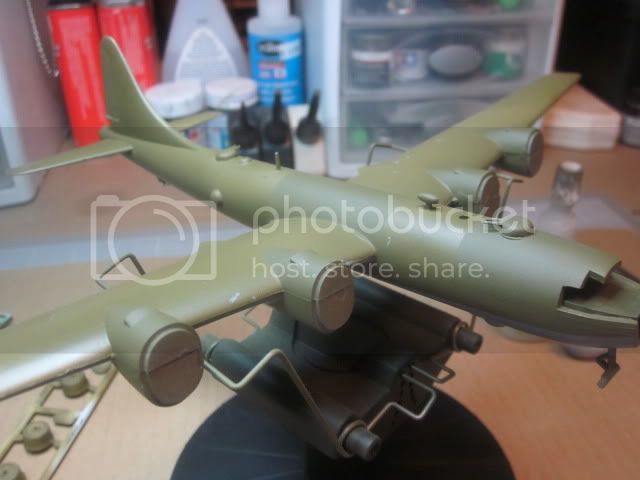
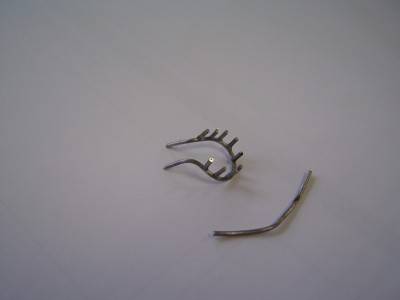
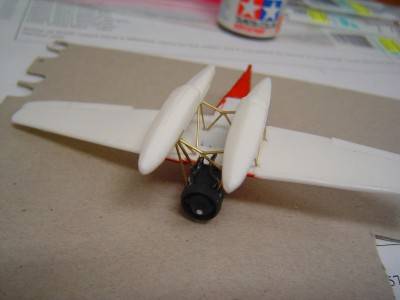
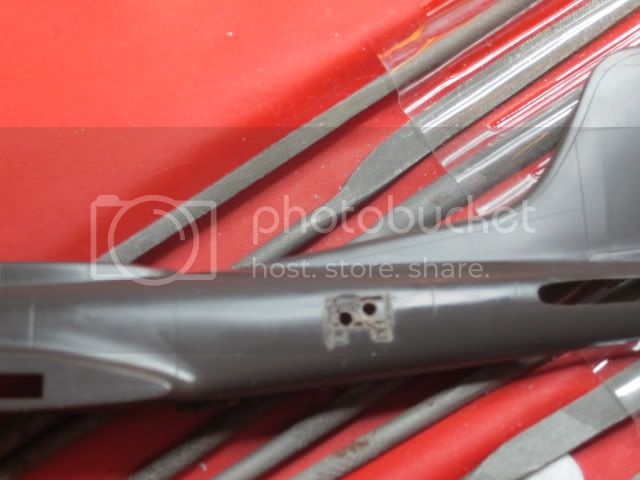
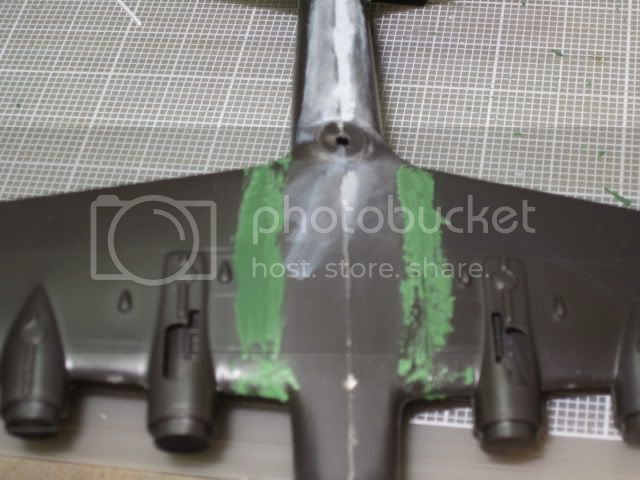
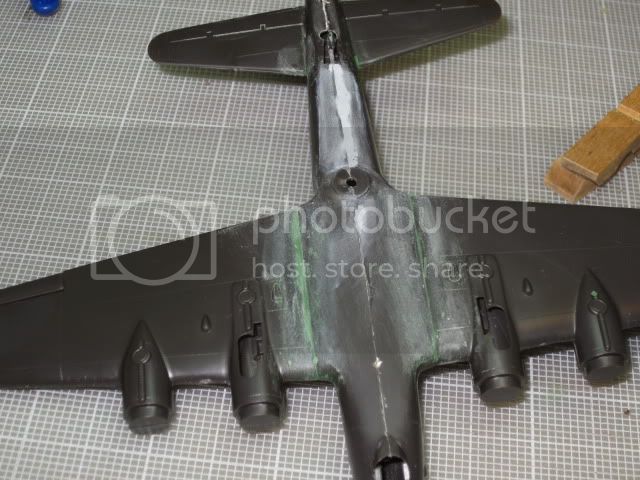
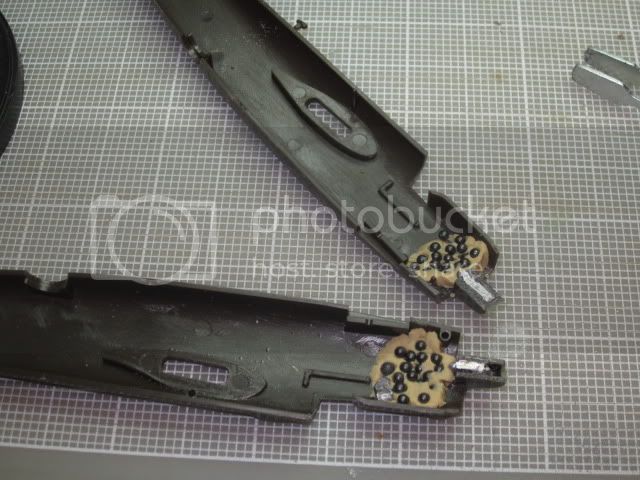
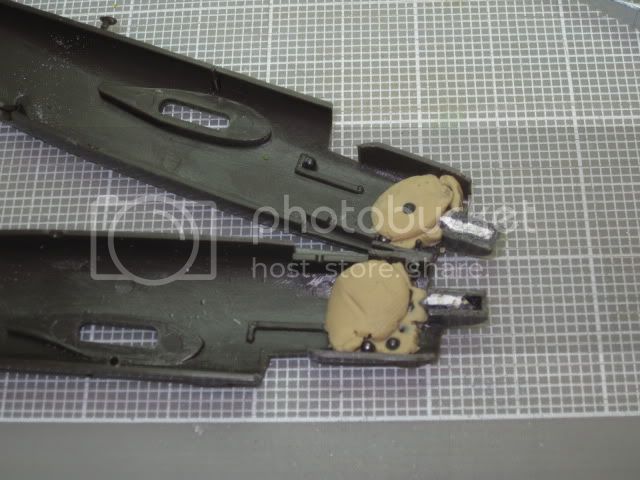
Here is the exhaust collecting ring that I made out of solder wire and formed around a suitable diameter round dowl and then CA'ed the individual cylinder exhausts onto it.
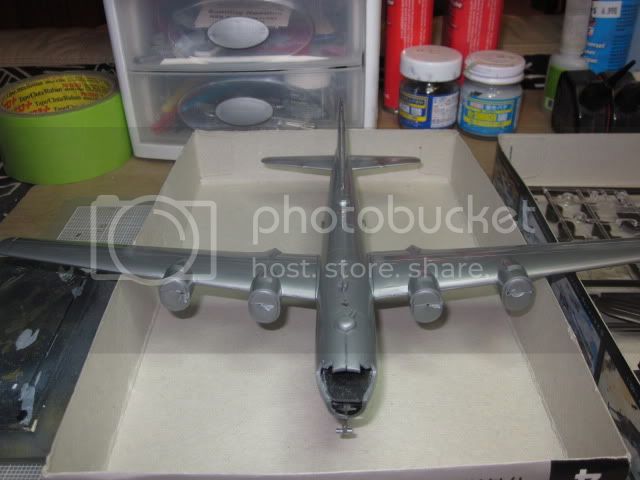
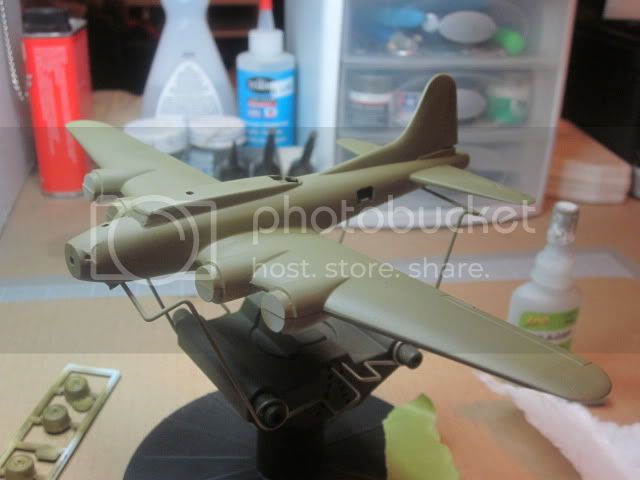
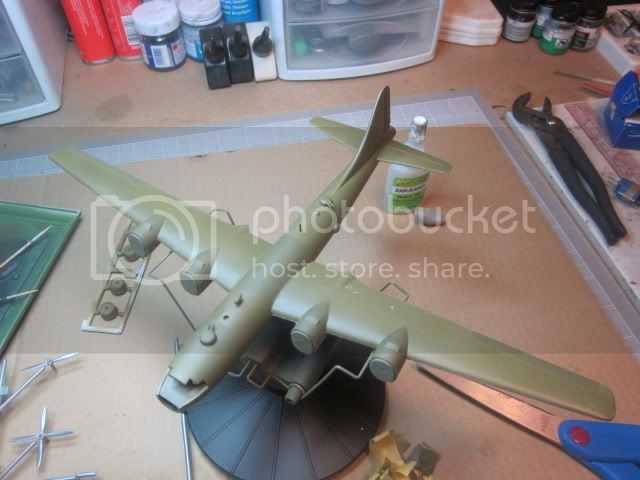
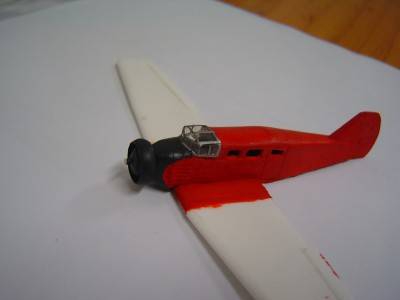
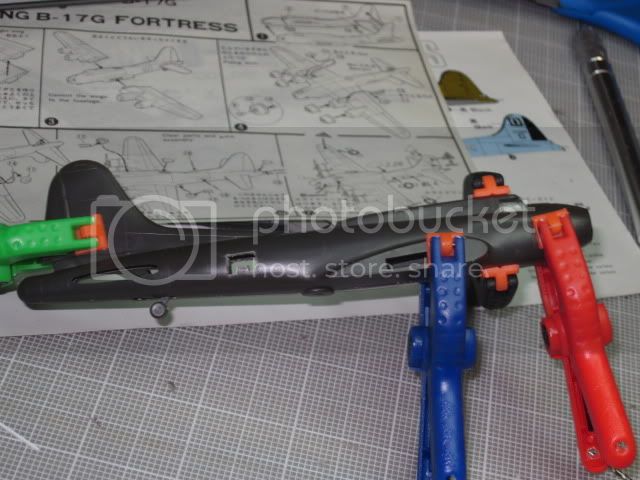
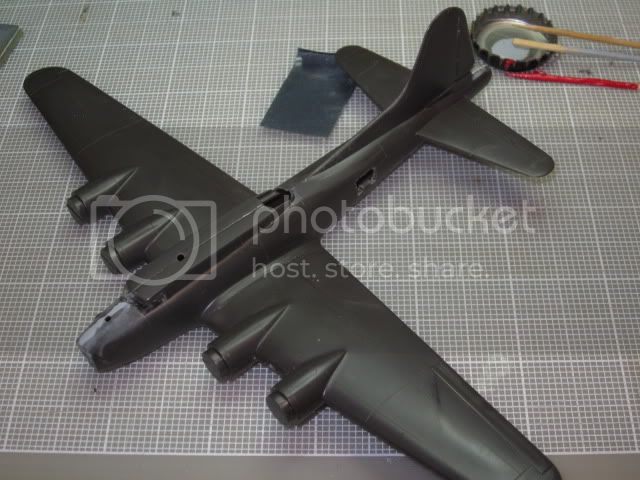
I painted the interior light Grey and put seats and control column in as well painting the fuselage Red (Tamiya). I then glued the cockpit wndow on and used 'Micro Kristal Clear' for the side windows. Next I glued the wing on with CA....OOOPS! Guess what the side windows ALL fogged up and the main cockpit window partially fogged too! I had not used Future on the cockpit window and this would have prevented this. So I have removed the side windows (easy done) and retouched up the paint.
This is the stage where this photo is taken.

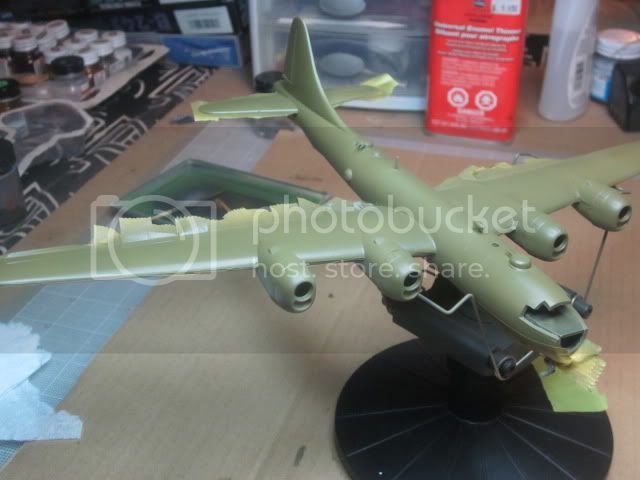
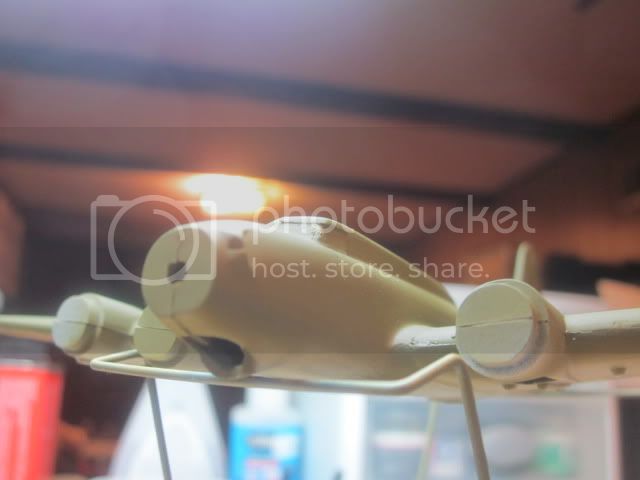
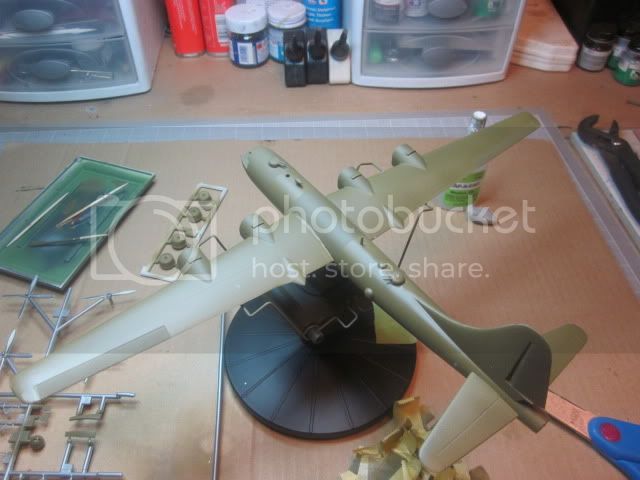
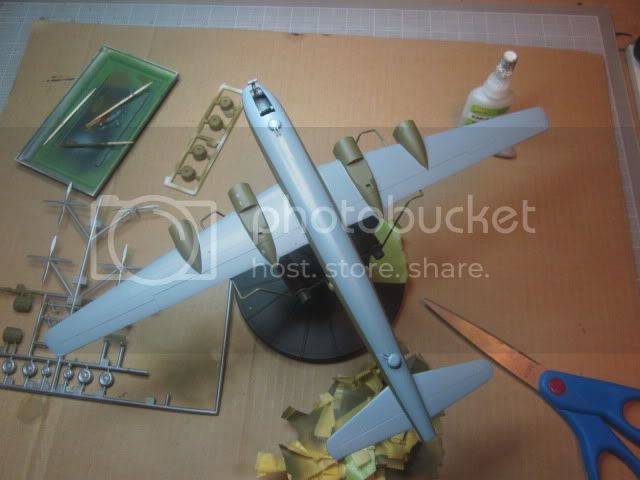
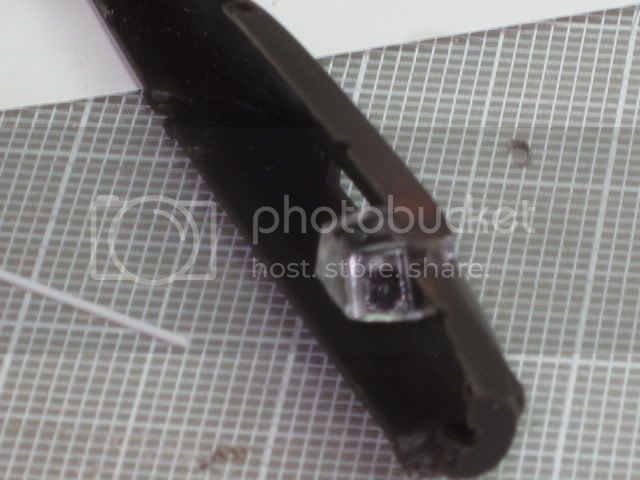
Here you can see the new cockpit vacform that is crystal clear (no nasty CA frosting) and dipped in Future. Also I have added the framing for the cockpit and the engine cowling.
Here you can see the 'Micro Kristal Klear' used for the side windows prior to drying clear.
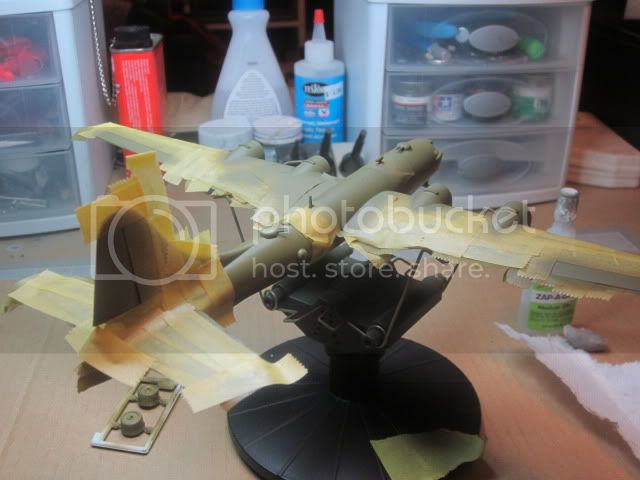
I have also added the exhaust ring and it can be seen here fitted.

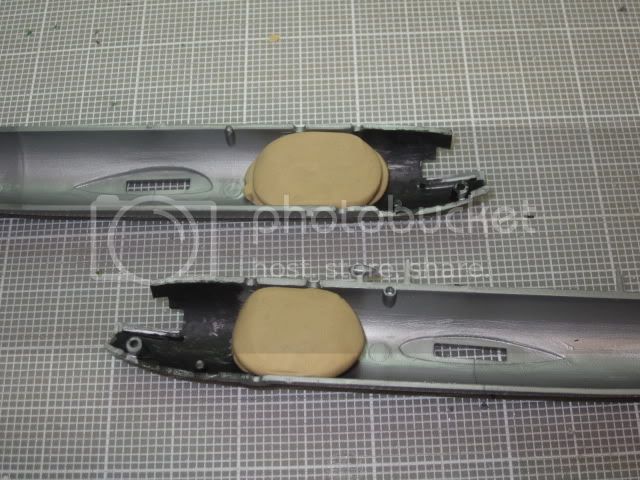
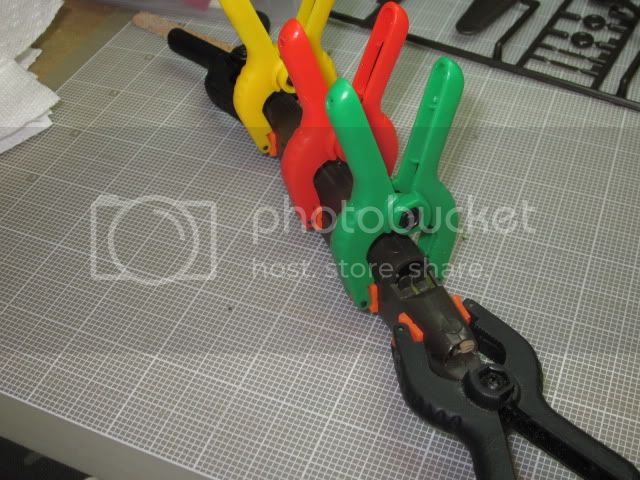
The floats I had were too short by about 5mm and so I made a mold and cast some duplicates and then cut out a section from the centre of two of them and will graft them into another pair of floats to increase the length.
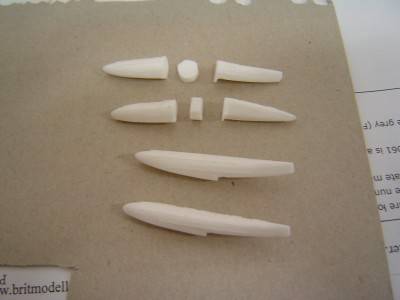
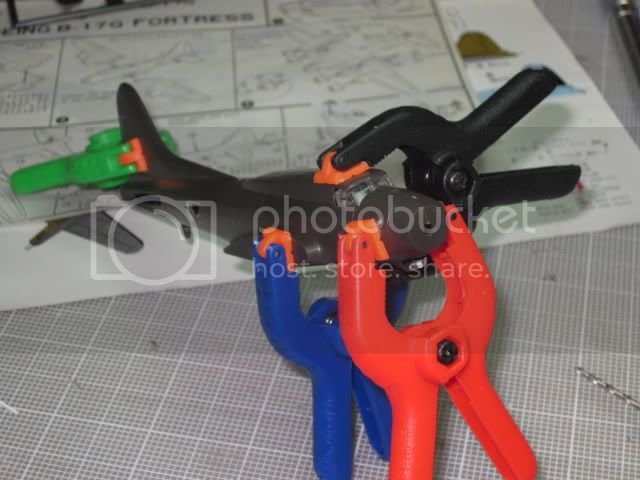
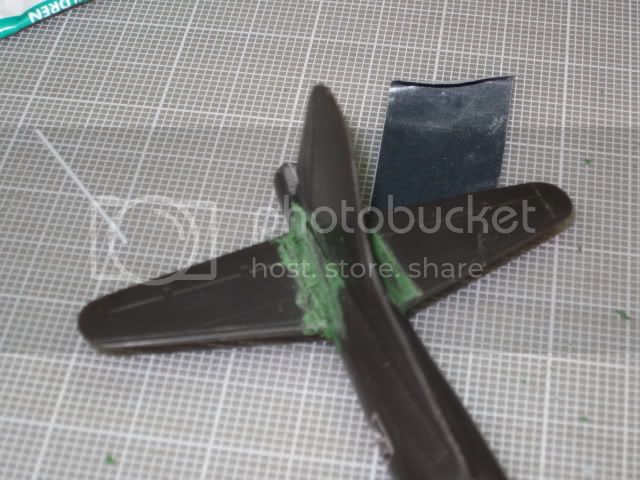
Here are the two finished floats extended 5mm by the grafted in piece. You can see the join and this will need some sanding to improve it. I also lost some of the detail I had added with 0.2mm wire to represent the raised ribs that the floats had. So I will have to add that back. You can see the two raised lines on the original floats prior to having the grafts added and some sanding done.

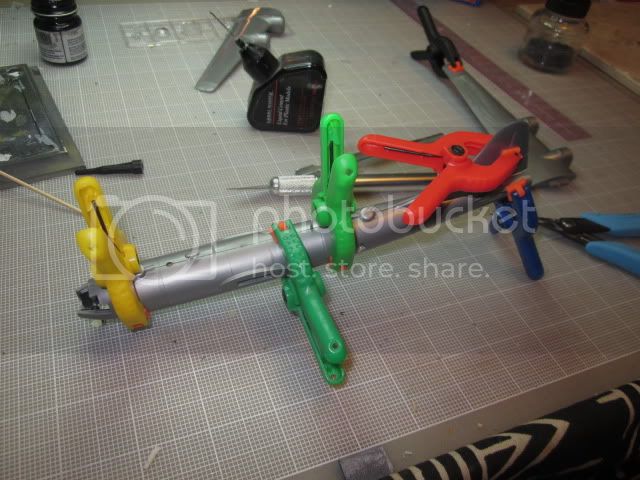
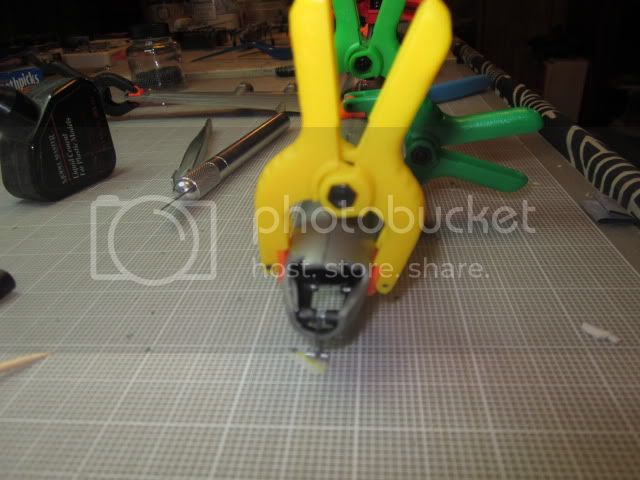
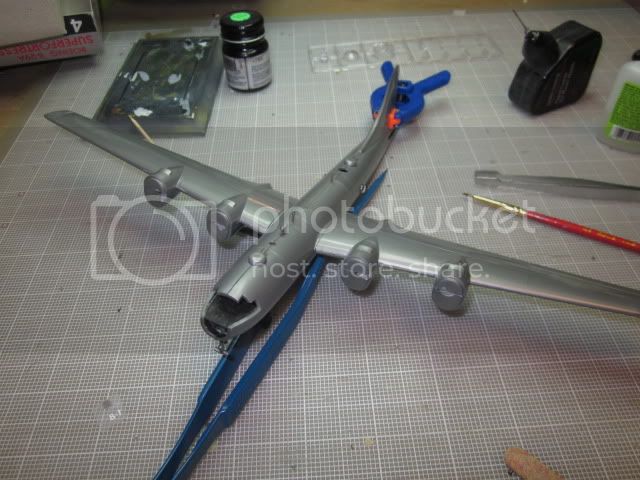
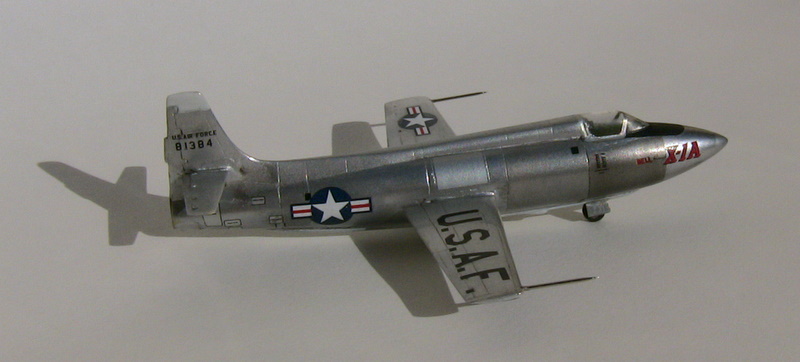
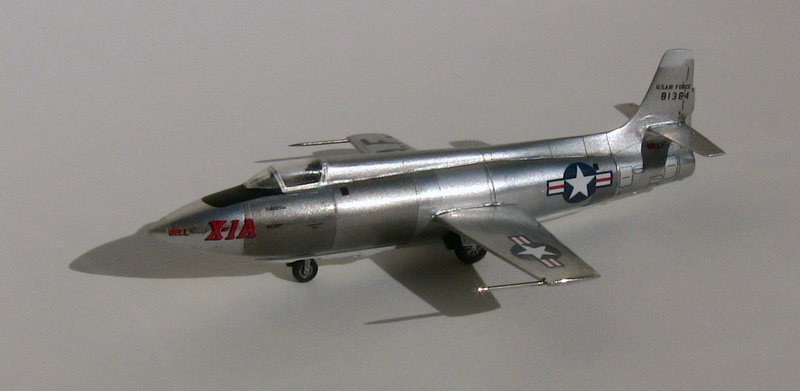
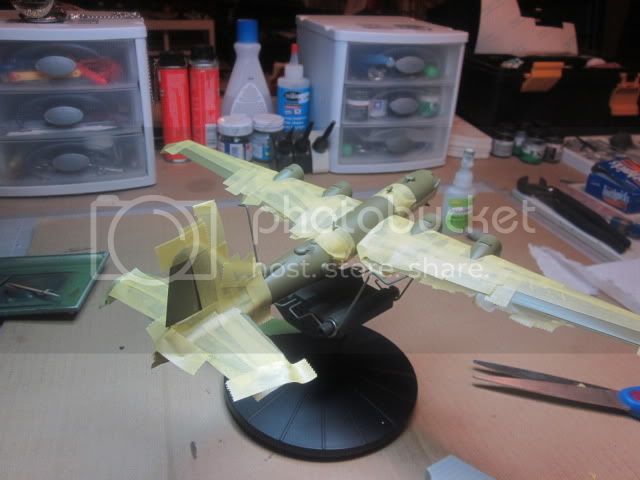
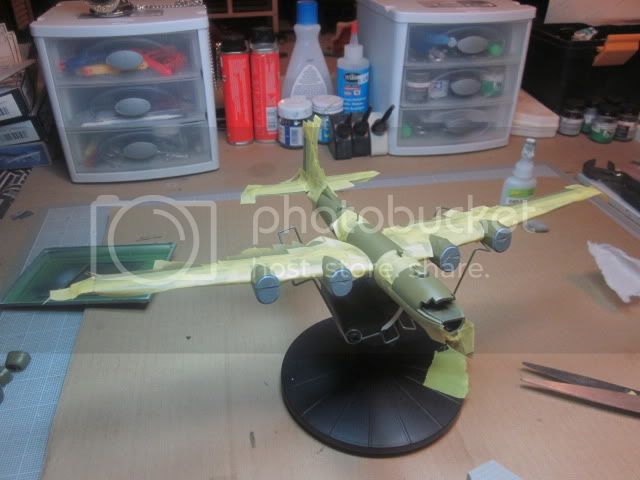
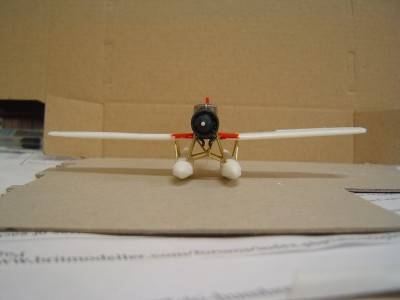
Here are the floats attached...finally!
It has taken 22 pieces of brass with one more to finish it, quite a bit of pipe work, thank goodness for the 2.5X eye glasses!
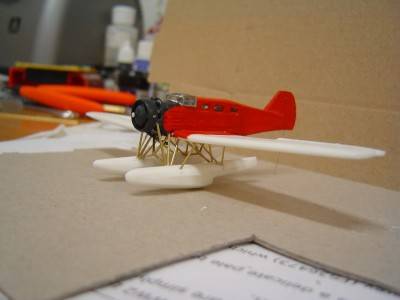
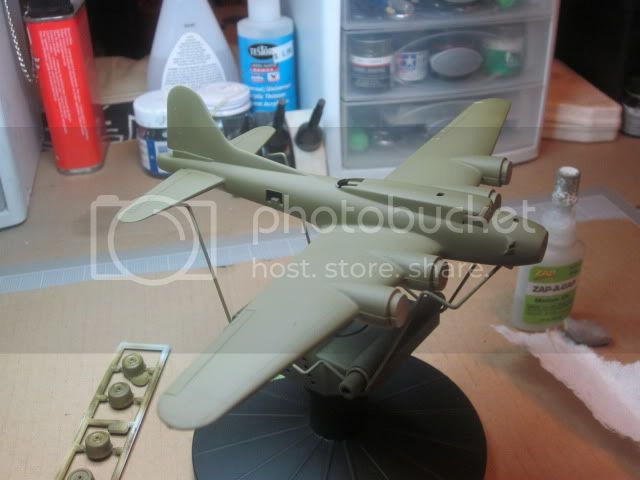
A couple of coats of Future and some Windsor and Newton Matt acrylic to tone it down and finished.

[
Regards
Peter
aussie made 1/144 planes


 [/i]
[/i]