Air Campaigns
Want to start or join a group build? This is where to start.
Want to start or join a group build? This is where to start.
Hosted by Frederick Boucher, Michael Satin
FW 190 Campaign. It will really be cool!
Blackwulf

Joined: April 20, 2004
KitMaker: 215 posts
AeroScale: 120 posts

Posted: Friday, March 20, 2009 - 04:30 AM UTC
Even though the Fw190 looks good without warpaint, I think the black nose really fits the plane. It gives it that lil bit of extra "You don't want any of this" .
thegirl

Joined: January 19, 2008
KitMaker: 6,743 posts
AeroScale: 6,151 posts

Posted: Friday, March 20, 2009 - 05:50 AM UTC
Yes the black nose has that attitude , don't mess with me !
Andrew , the stripes on the cowl look great !
Thanks Tony ! a plan is already being work out just will take some time to get it going !
keep up the great work guy's , I'm really tempted to unpack this kit and finish it for something to do . just have this fear of packing it up for shipping to texas once it's finished .
Posted: Saturday, March 21, 2009 - 01:12 AM UTC
Hi All
@Tony: that won't happen as I keep the stuff in their own boxes.
Today i was in the mood for some airbrushing, so I did some work on the last kit started (but also most advanced). Tamiyas Fw 190 F-8 got some paint.
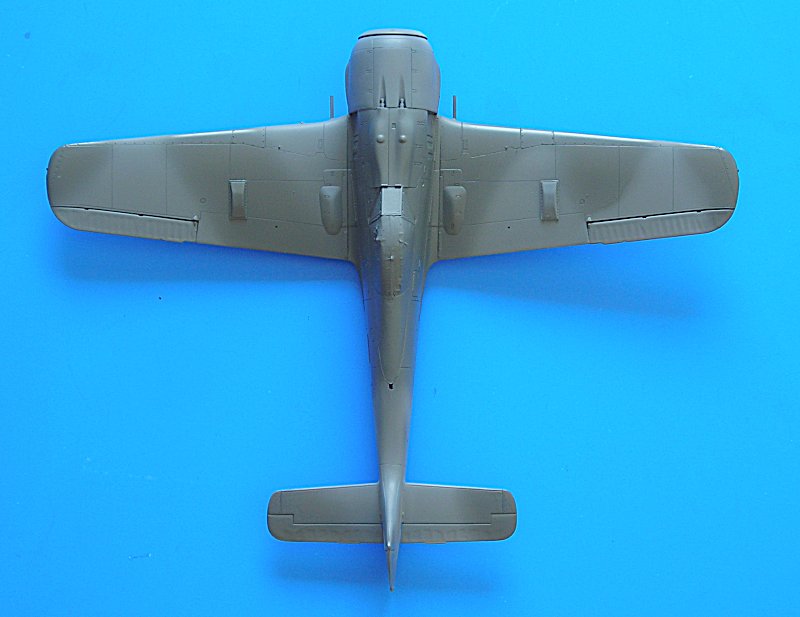
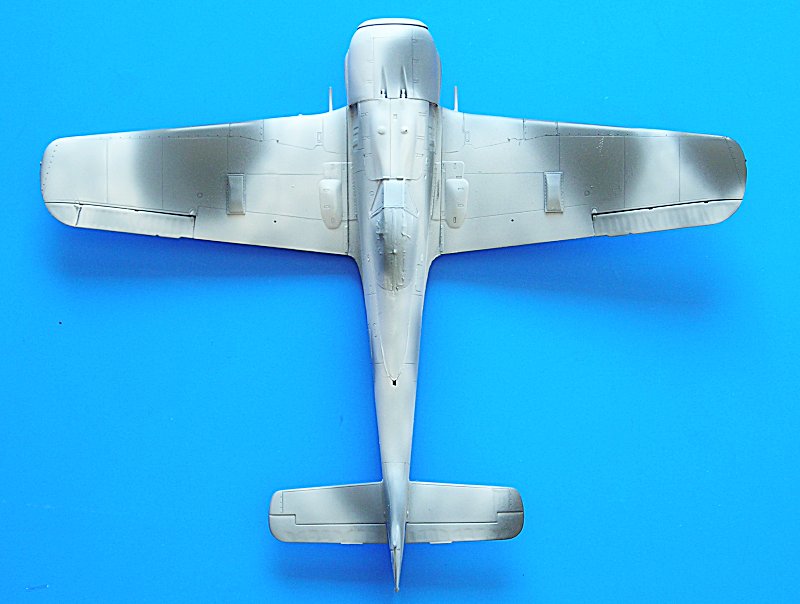
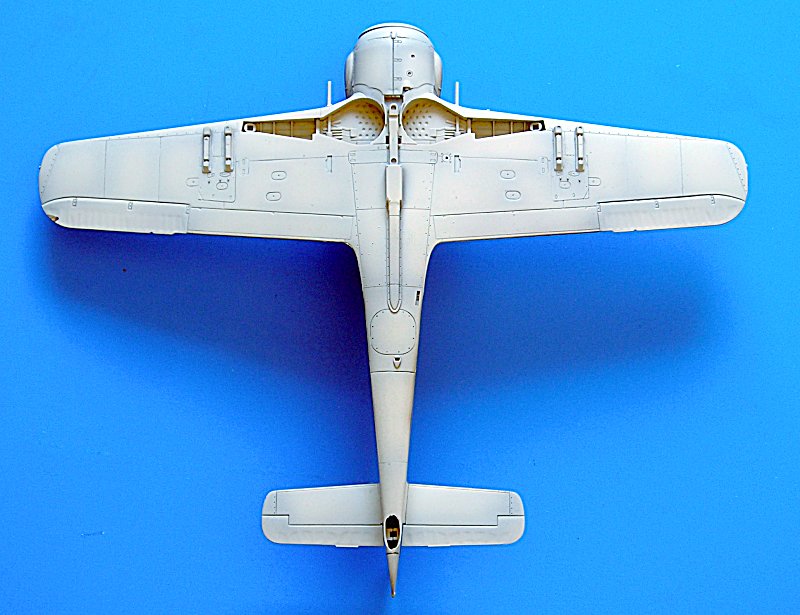
of course I sprayed 76 first and then topside colours. 76 is from Vallejo, as is the 75. I do not like their 74 so I used JPS. The white is from Gunze...
cheers
Steffen
@Tony: that won't happen as I keep the stuff in their own boxes.
Today i was in the mood for some airbrushing, so I did some work on the last kit started (but also most advanced). Tamiyas Fw 190 F-8 got some paint.


of course I sprayed 76 first and then topside colours. 76 is from Vallejo, as is the 75. I do not like their 74 so I used JPS. The white is from Gunze...
cheers
Steffen

Emeritus

Joined: March 30, 2004
KitMaker: 2,845 posts
AeroScale: 1,564 posts

Posted: Saturday, March 21, 2009 - 05:44 AM UTC
So, what was verdict on the case of Ta-152s, they're ok?


Yeti123

Joined: February 11, 2008
KitMaker: 311 posts
AeroScale: 278 posts

Posted: Saturday, March 21, 2009 - 04:20 PM UTC
Andrew:
That is really turning out nice. I love the black and white cowl.
Taylor
That is really turning out nice. I love the black and white cowl.

Taylor

CMOT70

Joined: August 23, 2007
KitMaker: 629 posts
AeroScale: 539 posts

Posted: Saturday, March 21, 2009 - 06:04 PM UTC
My second Fw190 for the year is finished. Probably more will come too. The Eduard kit is outstanding really. Several times i just looked at what had to be done, like the landing gear attachment and engine mount, and thought it's just not going to work. But credit to Eduard they engineered it very well. It all goes together with care. Next Eduard one i do (the A8R2) will have open cowl panels as well.
The only problem for Eduard is that the new Hasegawa kits are also excellent too. It really depends on if you want to build a closed up or open model. I'd choose the Hasegawa for a buttoned up Fw simply because it's easier to build that way than the Eduard. But the Eduard kit is a more impressive model kit.
The only negative aspect to the kit was that my decal sheet was damaged across 4 of the crosses (the ones i needed of course). Some paper had become stuck in the inks, maybe from being packed too soon after printing. Not to worry it's the only quality problem i've ever had with an Eduard kit. I used some crosses from a Leading Edge sheet for the upper wings and fuselage.


Andrew
The only problem for Eduard is that the new Hasegawa kits are also excellent too. It really depends on if you want to build a closed up or open model. I'd choose the Hasegawa for a buttoned up Fw simply because it's easier to build that way than the Eduard. But the Eduard kit is a more impressive model kit.
The only negative aspect to the kit was that my decal sheet was damaged across 4 of the crosses (the ones i needed of course). Some paper had become stuck in the inks, maybe from being packed too soon after printing. Not to worry it's the only quality problem i've ever had with an Eduard kit. I used some crosses from a Leading Edge sheet for the upper wings and fuselage.


Andrew
Posted: Saturday, March 21, 2009 - 08:46 PM UTC
got my brass tube guns fitted,and i don't think i'll ever use anything else again!
after lots of fiddling about trying to drill down plastic kit parts which can be an incredibly awkward thing to do, with this stuff, simply cut to length, and stick on kit- easy!


i still have to put the aerial wire in that i will do today, but my camera has been borrowed so as soon as it comes back i can take some finished pics.
after lots of fiddling about trying to drill down plastic kit parts which can be an incredibly awkward thing to do, with this stuff, simply cut to length, and stick on kit- easy!


i still have to put the aerial wire in that i will do today, but my camera has been borrowed so as soon as it comes back i can take some finished pics.
thegirl

Joined: January 19, 2008
KitMaker: 6,743 posts
AeroScale: 6,151 posts

Posted: Sunday, March 22, 2009 - 01:00 AM UTC
Andrew she is one beautiful build , most impessive ! I really like your weathering not to much , just the right amount to bring her to life ! This would make a great feature , hint , hint .......................
Phil , looking really great . can never go wrong with brass tubing it's handy for so may things ! looking forward to seeing her done .
Phil , looking really great . can never go wrong with brass tubing it's handy for so may things ! looking forward to seeing her done .
cinzano

Joined: January 13, 2009
KitMaker: 419 posts
AeroScale: 378 posts

Posted: Sunday, March 22, 2009 - 01:26 AM UTC
Top shelf Andrew!
I'll take your words about the Eduard vs. the Hasegawa kit to heart. I really enjoyed the Tamiya build but I'd really like to add an opened up Wuerger as well as a blown 109 to my finished collection in the next year or so. If there are enough products to support the Eduard kit out on the market, then your advice about sticking with the it seems to way to go. Is your kit a "Master Class" series FW 190?
I'll take your words about the Eduard vs. the Hasegawa kit to heart. I really enjoyed the Tamiya build but I'd really like to add an opened up Wuerger as well as a blown 109 to my finished collection in the next year or so. If there are enough products to support the Eduard kit out on the market, then your advice about sticking with the it seems to way to go. Is your kit a "Master Class" series FW 190?
Posted: Sunday, March 22, 2009 - 01:48 AM UTC
That's a wonderfuld model Andrew!!!
Agree on the Hasegawa kits being very nice too ... and Tamiya is not that bad either (when new AM wheels added).
all the best
Steffen
Agree on the Hasegawa kits being very nice too ... and Tamiya is not that bad either (when new AM wheels added).
all the best
Steffen

CMOT70

Joined: August 23, 2007
KitMaker: 629 posts
AeroScale: 539 posts

Posted: Sunday, March 22, 2009 - 02:22 AM UTC
Quoted Text
Top shelf Andrew!
I'll take your words about the Eduard vs. the Hasegawa kit to heart. I really enjoyed the Tamiya build but I'd really like to add an opened up Wuerger as well as a blown 109 to my finished collection in the next year or so. If there are enough products to support the Eduard kit out on the market, then your advice about sticking with the it seems to way to go. Is your kit a "Master Class" series FW 190?
Thanks!
The kit is just the standard Eduard orange box A5 (which has just been re-released actually). So it came with just the small colour etch fret, mainly for the cockpit. Though i'm now thinking that the Royal Class boxings are better value than initially i thought, assuming you really want to open up everything. To buy all the extra detail parts would actually cost a lot more than the Royal boxing.
Anyway i think i'll track down some of the Eduard brass sets before i begin the A8/R2 in the future.
Andrew

Yeti123

Joined: February 11, 2008
KitMaker: 311 posts
AeroScale: 278 posts

Posted: Sunday, March 22, 2009 - 02:32 PM UTC
Mike:
That crash molded caopy looks great. I tried to do that once on an SU 22 and I could not get it to work. That is going to be a great looking D
Andrew: That would be my vote for MOM. Great job
Phil:
I hope the camera comes back soon, I'm looking forward to seeing the finished product
Taylor
That crash molded caopy looks great. I tried to do that once on an SU 22 and I could not get it to work. That is going to be a great looking D
Andrew: That would be my vote for MOM. Great job
Phil:
I hope the camera comes back soon, I'm looking forward to seeing the finished product
Taylor

AirLedge

Joined: July 26, 2007
KitMaker: 292 posts
AeroScale: 265 posts

Posted: Sunday, March 22, 2009 - 09:17 PM UTC
Hi everyone,
Fantastic job on the Eduard kit Andrew.
It was an eventful weekend for me as I "attempted" to do mottling for the first time on Saturday, a complete disaster. I couldn't seem to get my head round it and almost flung the model at the wall. Left my bench till Sunday morning and decided to respray the RLM 76 on the sides to cover up Sat.'s disaster and start from scratch. I'm really glad I did. Sunday evening I took my time and experimented on different paint/thinner ratios, air pressure, airbrush nozzle cap on/off, distance from the model etc. until I think I hit a winning formula. Using Gunze Hobby color I thinned it to 50% paint, 50% thinner and shot it at between 8 to 10 psi with the airbrush nozzle cap off. I adjusted the back screw nut of the airbrush to allow only the minimum amount of paint out through the needle. As a result I needed to clean dry paint from the top of the needle occasionally with a cotton bud dipped in thinner. I then slowly built up the mottled effect by moving the airbrush closer and then further from the model until I got the following effect. I'm pretty happy with the result. I didn't take a photo of the first disaster, I wish I had, looking back it was funny ...
So here's where I'm at:


All the best,
Mike.
Fantastic job on the Eduard kit Andrew.
It was an eventful weekend for me as I "attempted" to do mottling for the first time on Saturday, a complete disaster. I couldn't seem to get my head round it and almost flung the model at the wall. Left my bench till Sunday morning and decided to respray the RLM 76 on the sides to cover up Sat.'s disaster and start from scratch. I'm really glad I did. Sunday evening I took my time and experimented on different paint/thinner ratios, air pressure, airbrush nozzle cap on/off, distance from the model etc. until I think I hit a winning formula. Using Gunze Hobby color I thinned it to 50% paint, 50% thinner and shot it at between 8 to 10 psi with the airbrush nozzle cap off. I adjusted the back screw nut of the airbrush to allow only the minimum amount of paint out through the needle. As a result I needed to clean dry paint from the top of the needle occasionally with a cotton bud dipped in thinner. I then slowly built up the mottled effect by moving the airbrush closer and then further from the model until I got the following effect. I'm pretty happy with the result. I didn't take a photo of the first disaster, I wish I had, looking back it was funny ...
So here's where I'm at:


All the best,
Mike.
thegirl

Joined: January 19, 2008
KitMaker: 6,743 posts
AeroScale: 6,151 posts

Posted: Monday, March 23, 2009 - 02:02 AM UTC
I like it Mike , turned out very well . looking forward to seeing the rest . 


LongKnife

Joined: April 25, 2006
KitMaker: 831 posts
AeroScale: 688 posts

Posted: Monday, March 23, 2009 - 03:17 AM UTC
Yup Mike, that really looks allright. What airbrush do you use? I'm quite used to wiping of the needle tip, but I'm not sure if removing the nozzle cap works on a Badger.
It's annoying though, that mottle schemes that are so cool shpuld be so hard to make. Quite pessimal, as an old friend use to say!
 Tony
Tony
It's annoying though, that mottle schemes that are so cool shpuld be so hard to make. Quite pessimal, as an old friend use to say!
 Tony
TonyPosted: Monday, March 23, 2009 - 04:49 AM UTC
Hi All
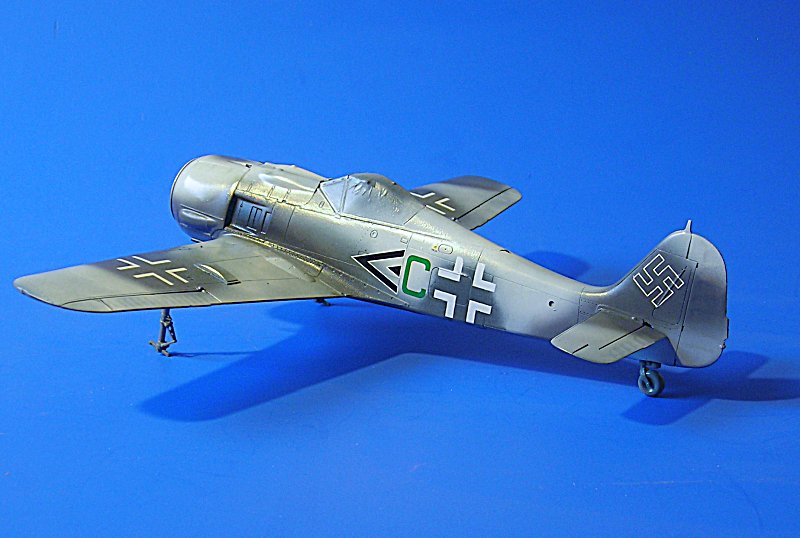
yesterday was the first decal session in which I added most of the larger markings. Just one photo as lighting conditions were really poor this evening:
cheers
Steffen
yesterday was the first decal session in which I added most of the larger markings. Just one photo as lighting conditions were really poor this evening:

cheers
Steffen
thegirl

Joined: January 19, 2008
KitMaker: 6,743 posts
AeroScale: 6,151 posts

Posted: Wednesday, March 25, 2009 - 01:35 AM UTC
Very nice looking so far Steffen . 

Posted: Wednesday, March 25, 2009 - 06:07 PM UTC
Hi Steffen,
Your Fw 190 looks very good indeed! It seems you found the way back to your workbench after the Toy Fair.
How's the Avia doing?
Jean-Luc
Your Fw 190 looks very good indeed!
 It seems you found the way back to your workbench after the Toy Fair.
How's the Avia doing?

Jean-Luc

Posted: Wednesday, March 25, 2009 - 06:15 PM UTC
Many thanks Terri and Jean-Luc!
J-L: you are sooooo mean..... what about your Bugatti or the Gö 9 weekend project
all the best
Steffen
J-L: you are sooooo mean..... what about your Bugatti or the Gö 9 weekend project

all the best
Steffen

Yeti123

Joined: February 11, 2008
KitMaker: 311 posts
AeroScale: 278 posts

Posted: Friday, March 27, 2009 - 02:34 PM UTC
Steffen:
The 190 is looking great. I promise not to ask about the Avia
Taylor
The 190 is looking great. I promise not to ask about the Avia

Taylor
romeo100

Joined: May 14, 2006
KitMaker: 38 posts
AeroScale: 27 posts

Posted: Saturday, March 28, 2009 - 01:18 AM UTC
Hey folks,
here my entry for the GB.
My ButcherBirds (2 X Fw 190 A-9) in progress :
One will built as a A-9/R2 (MG 151/20mm) and the other A-9/R8 (MK108) in the outerwing .
feel free and enjoy


here my entry for the GB.
My ButcherBirds (2 X Fw 190 A-9) in progress :
One will built as a A-9/R2 (MG 151/20mm) and the other A-9/R8 (MK108) in the outerwing .
feel free and enjoy


romeo100

Joined: May 14, 2006
KitMaker: 38 posts
AeroScale: 27 posts

Posted: Saturday, March 28, 2009 - 01:28 AM UTC
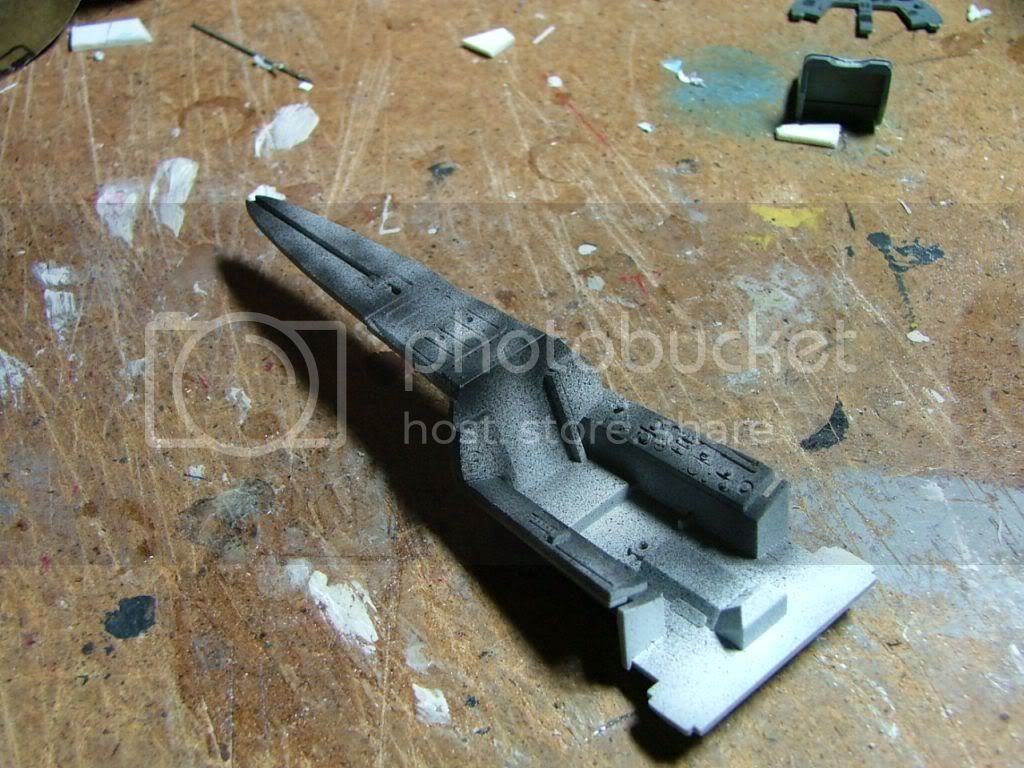
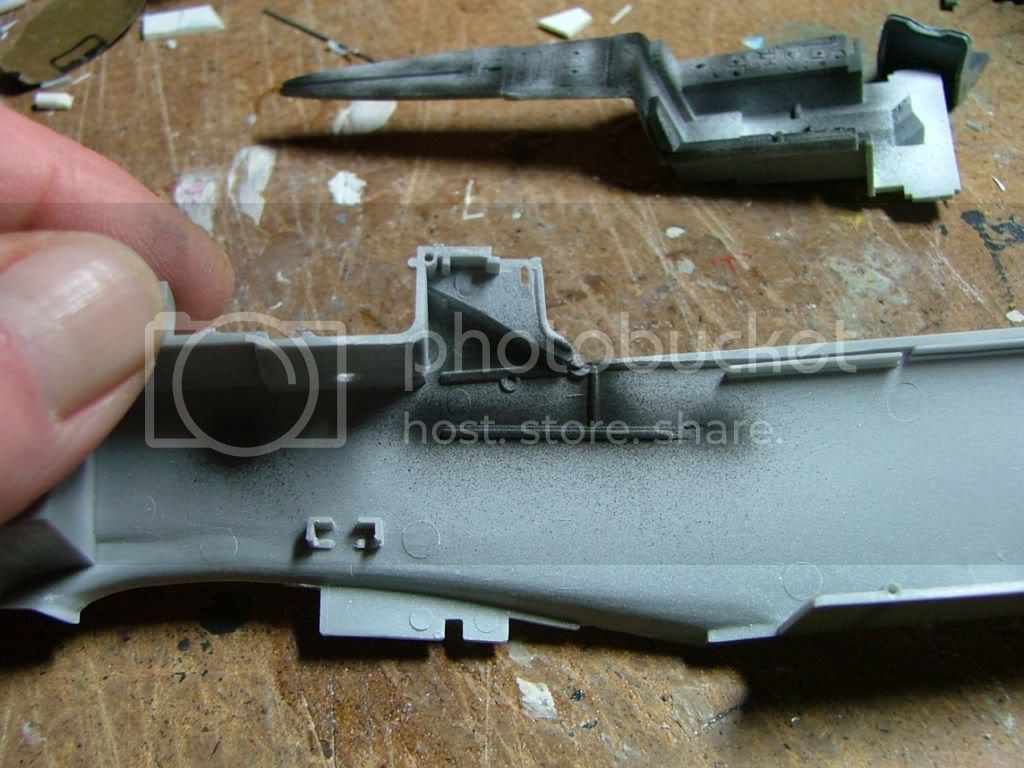
Here the 2nd part of my work :
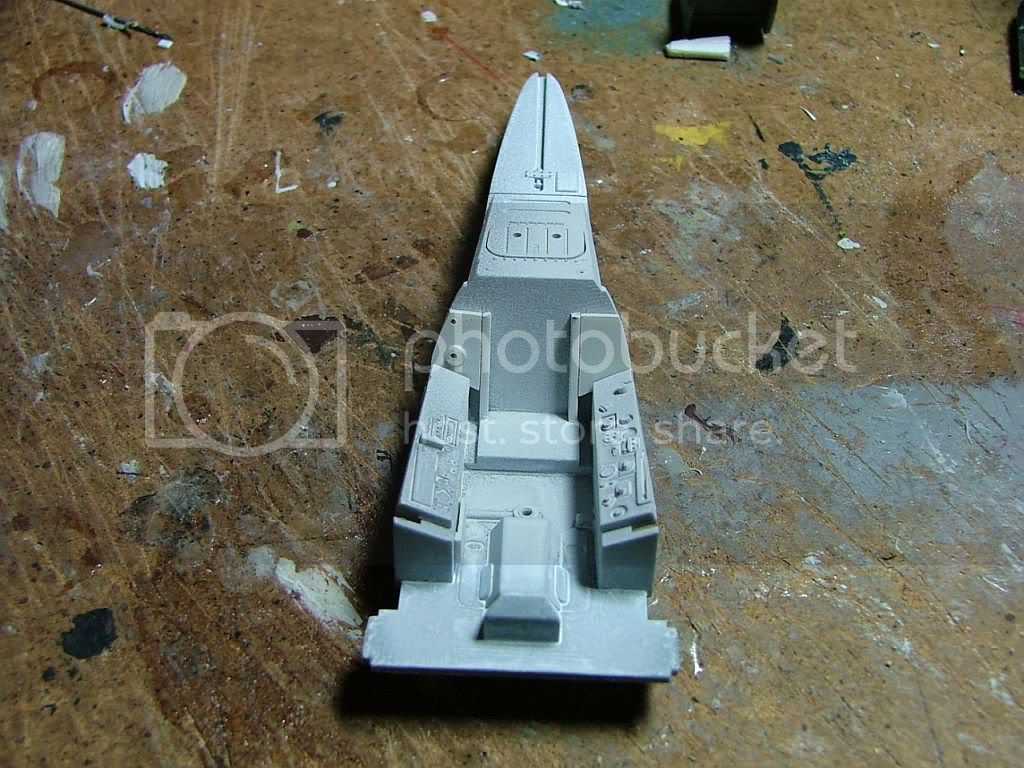
here a teaser from the finished engine :
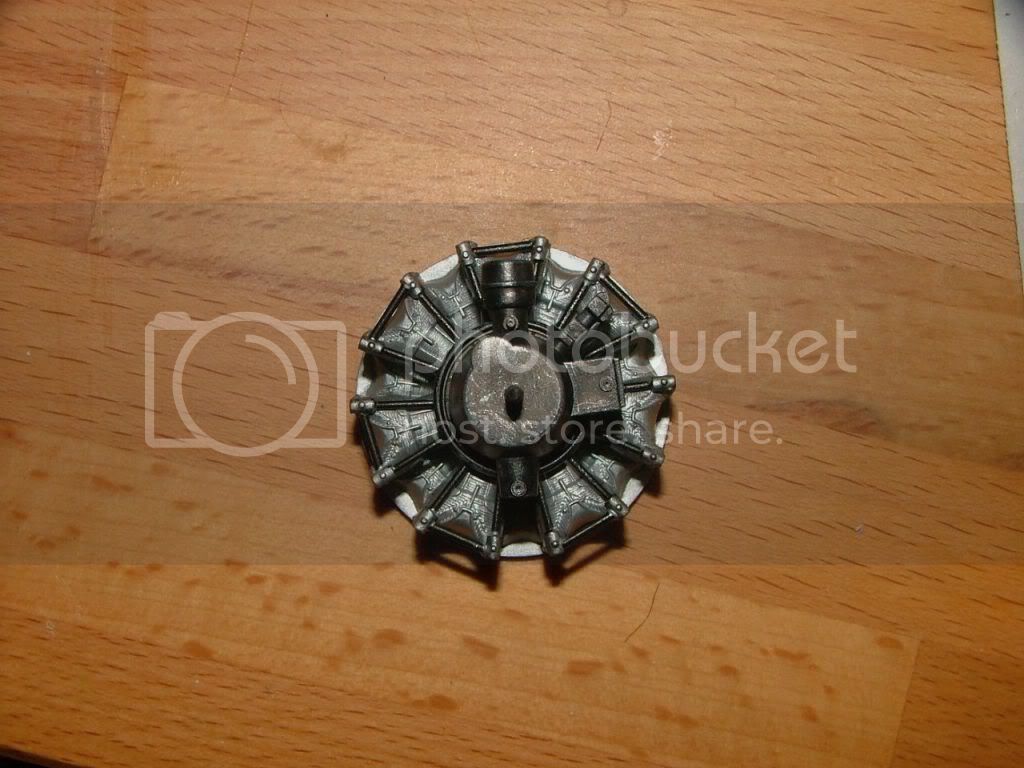


meanwhile the cockpit is weathered :
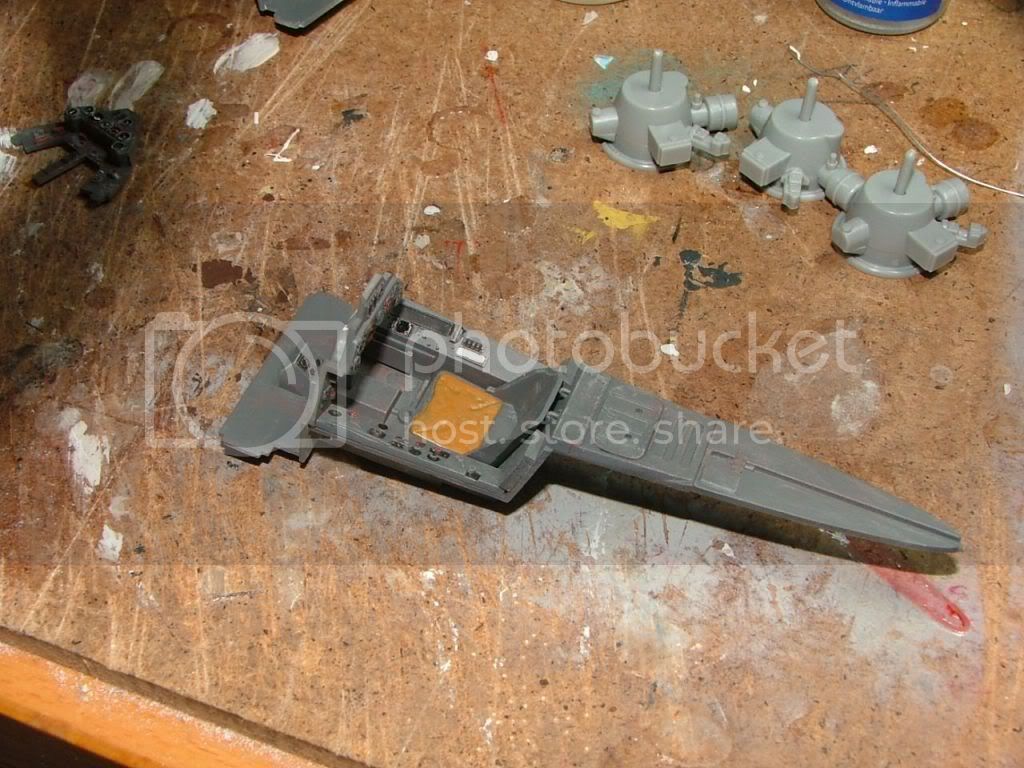


here a teaser from the finished engine :


meanwhile the cockpit is weathered :

romeo100

Joined: May 14, 2006
KitMaker: 38 posts
AeroScale: 27 posts

Posted: Saturday, March 28, 2009 - 01:33 AM UTC
Here the 3rd part :
the last images before the fuselage will be glued together :
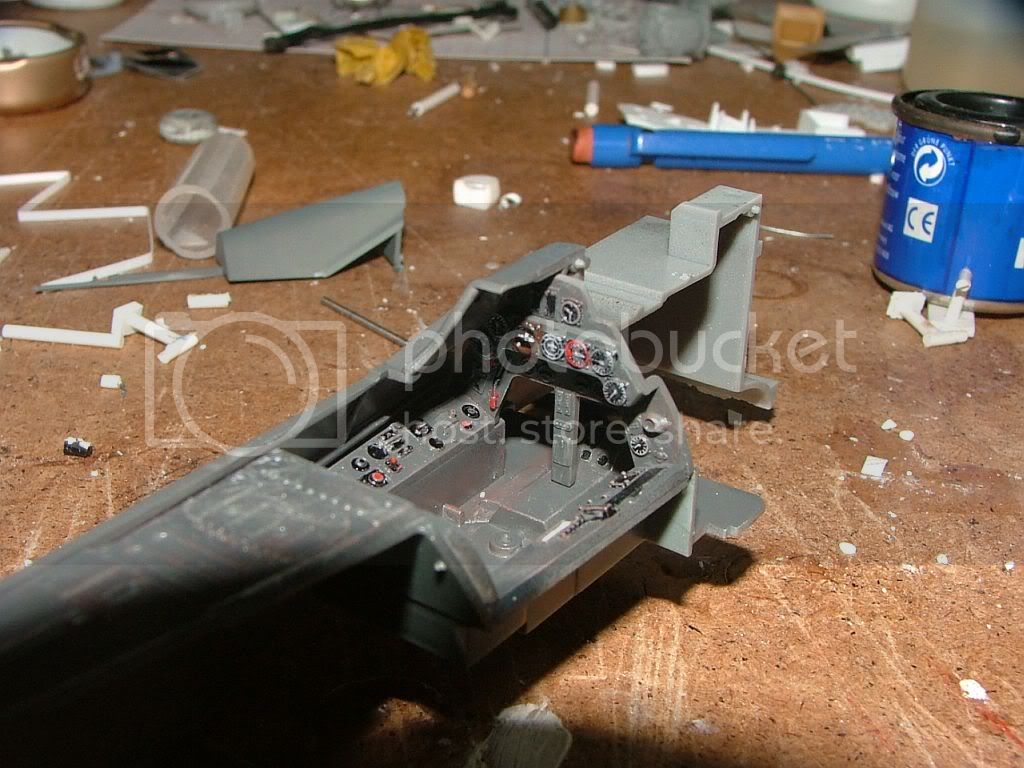
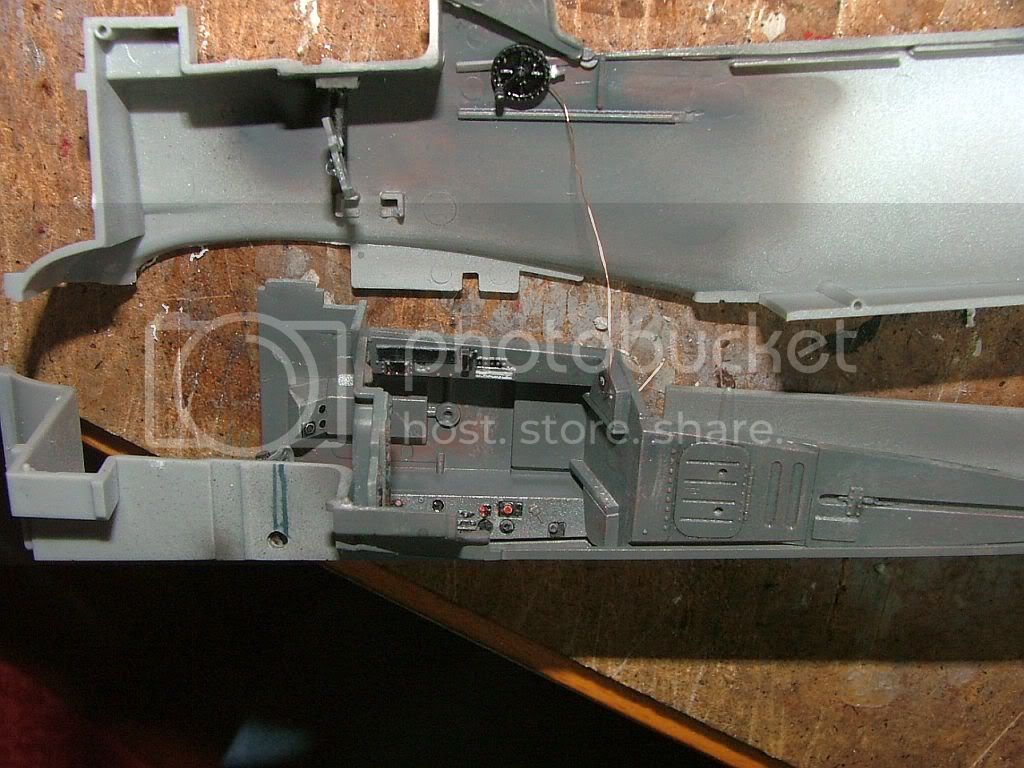
ok, now its time to glue ( and the result :

the last images before the fuselage will be glued together :


ok, now its time to glue ( and the result :

romeo100

Joined: May 14, 2006
KitMaker: 38 posts
AeroScale: 27 posts

Posted: Saturday, March 28, 2009 - 01:40 AM UTC
And last night i preshaded my birds a bit :

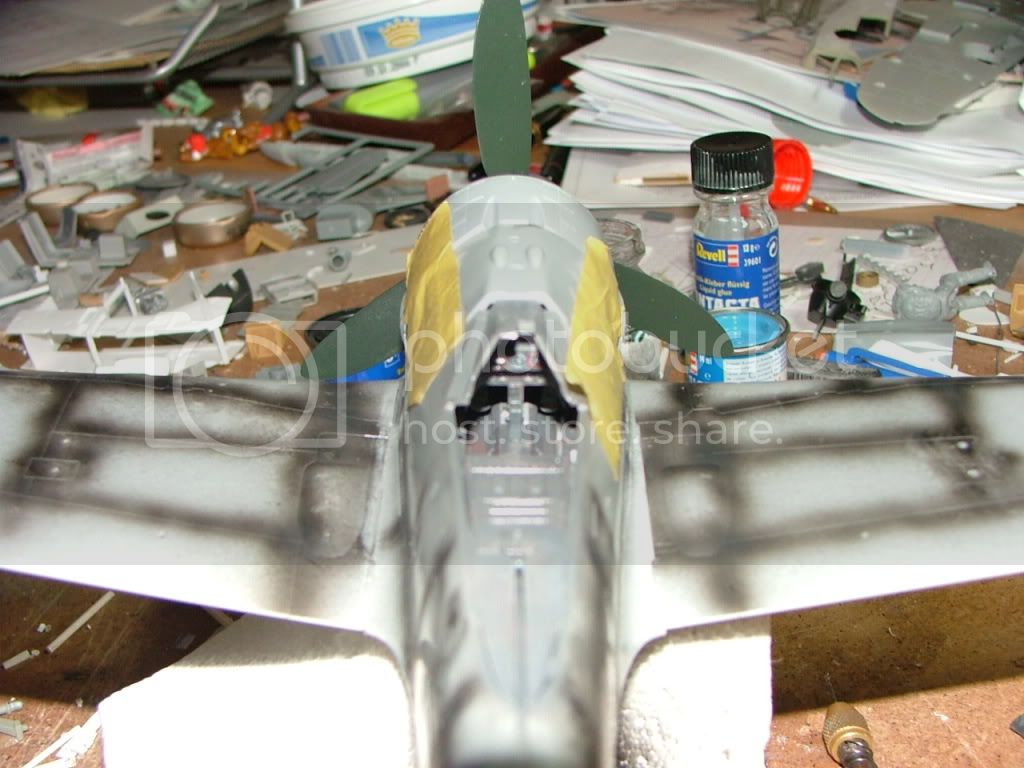
now some shots ( testfit with the engine ) :
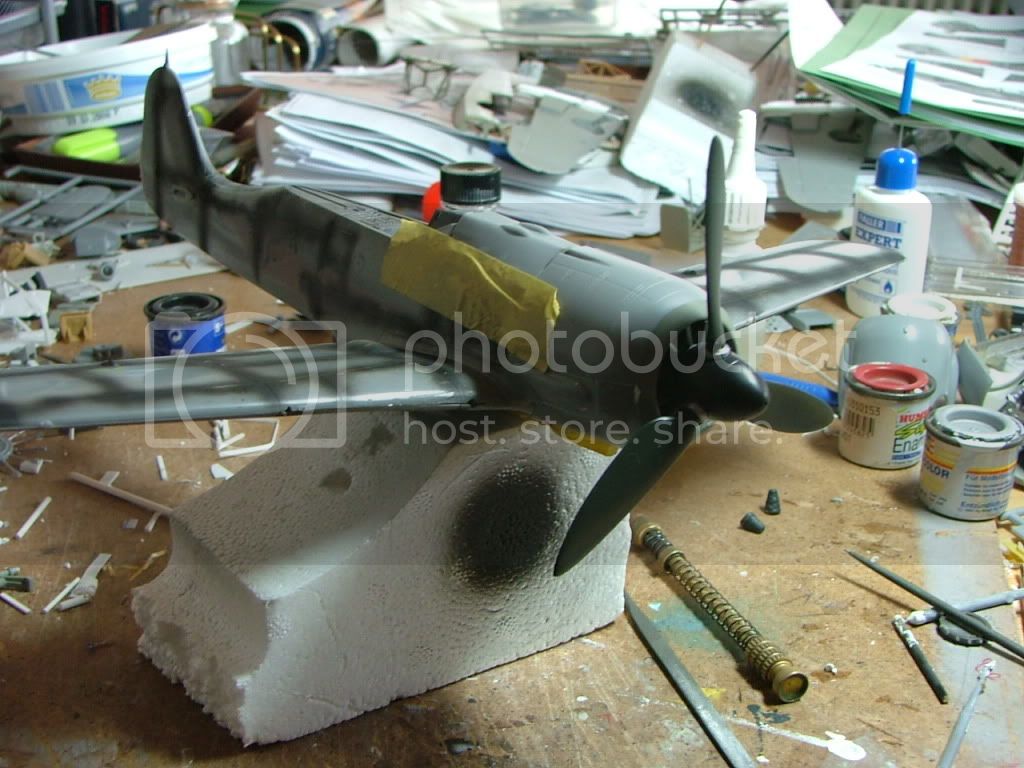
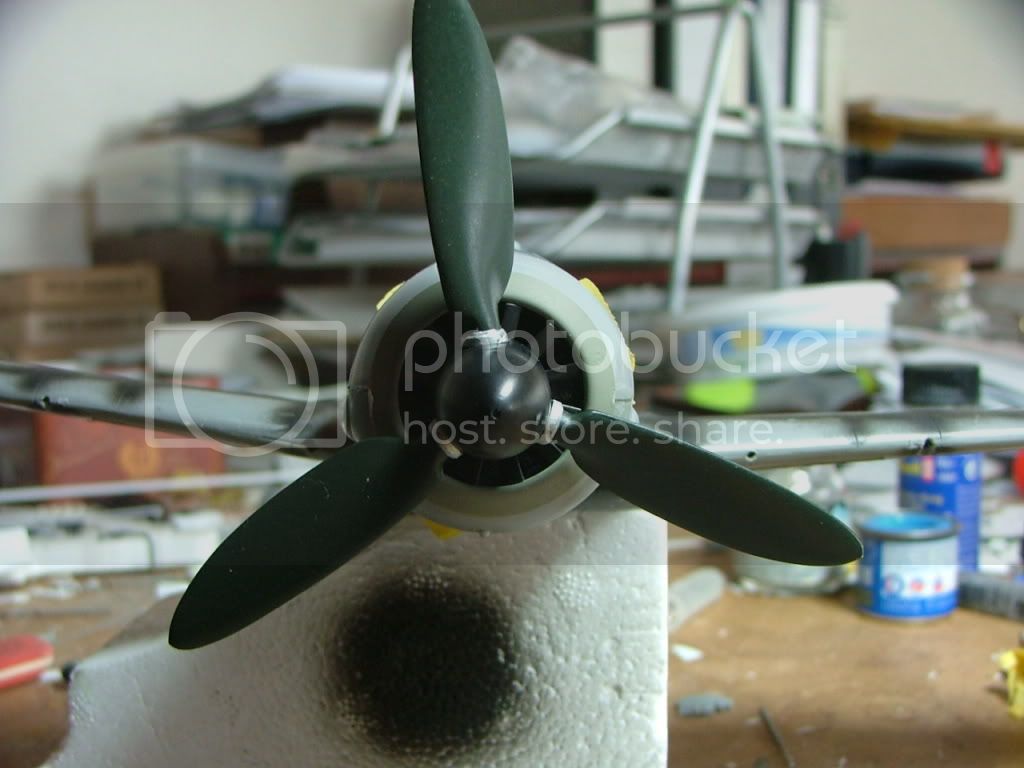
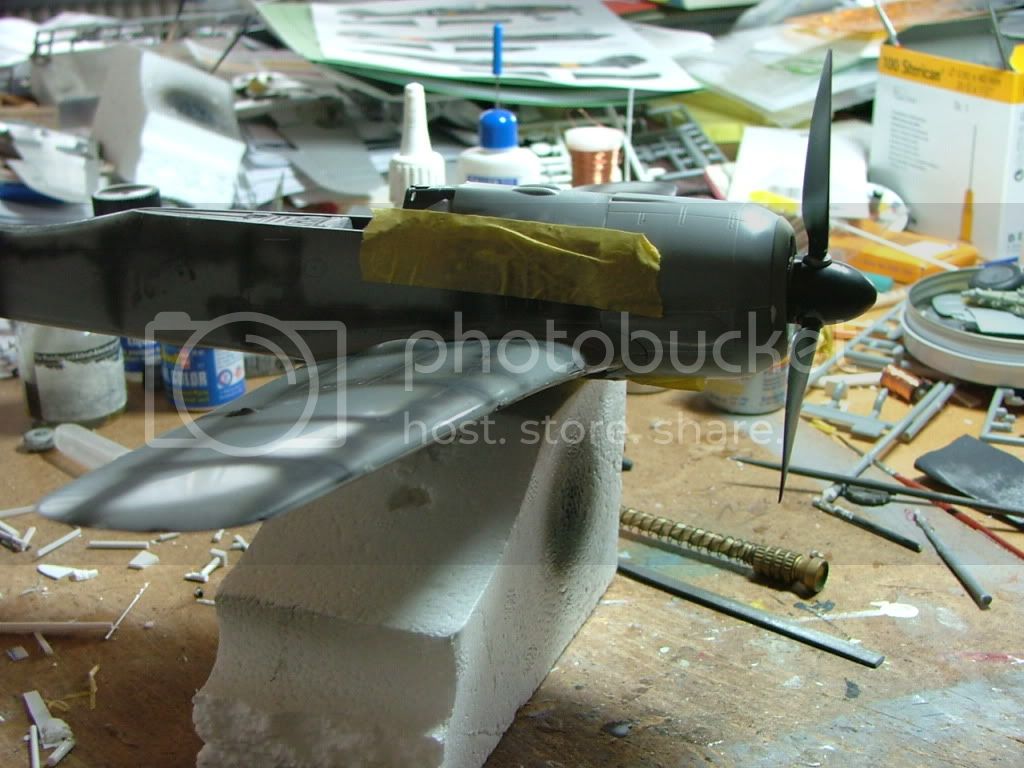


the last two with better light :
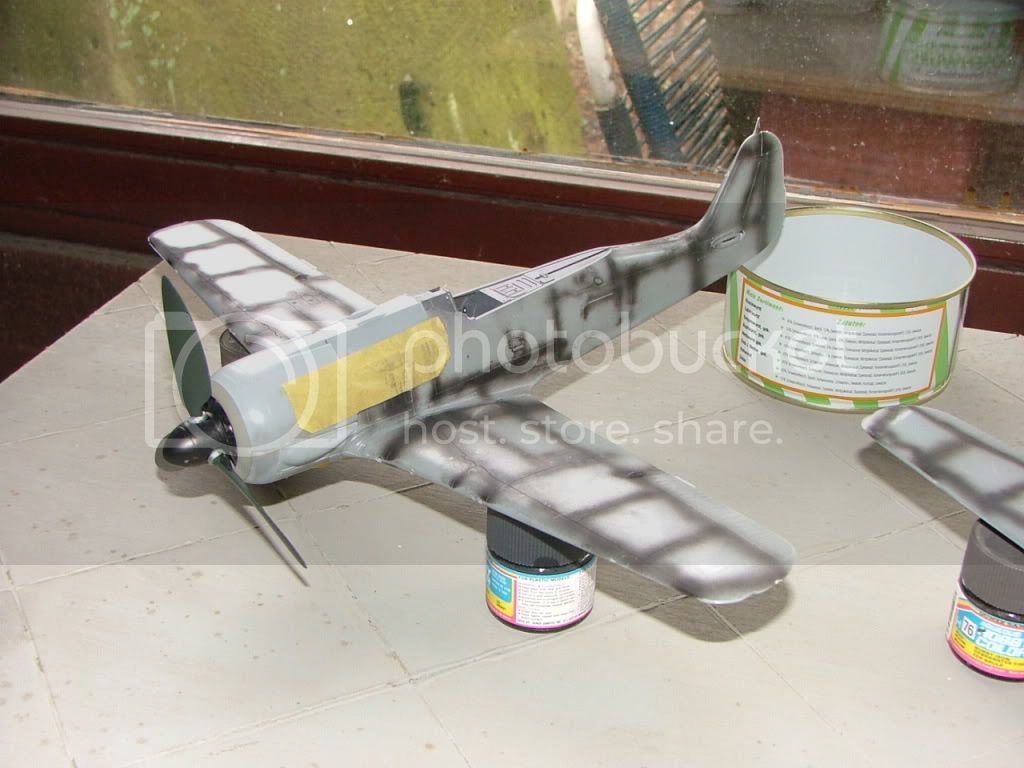
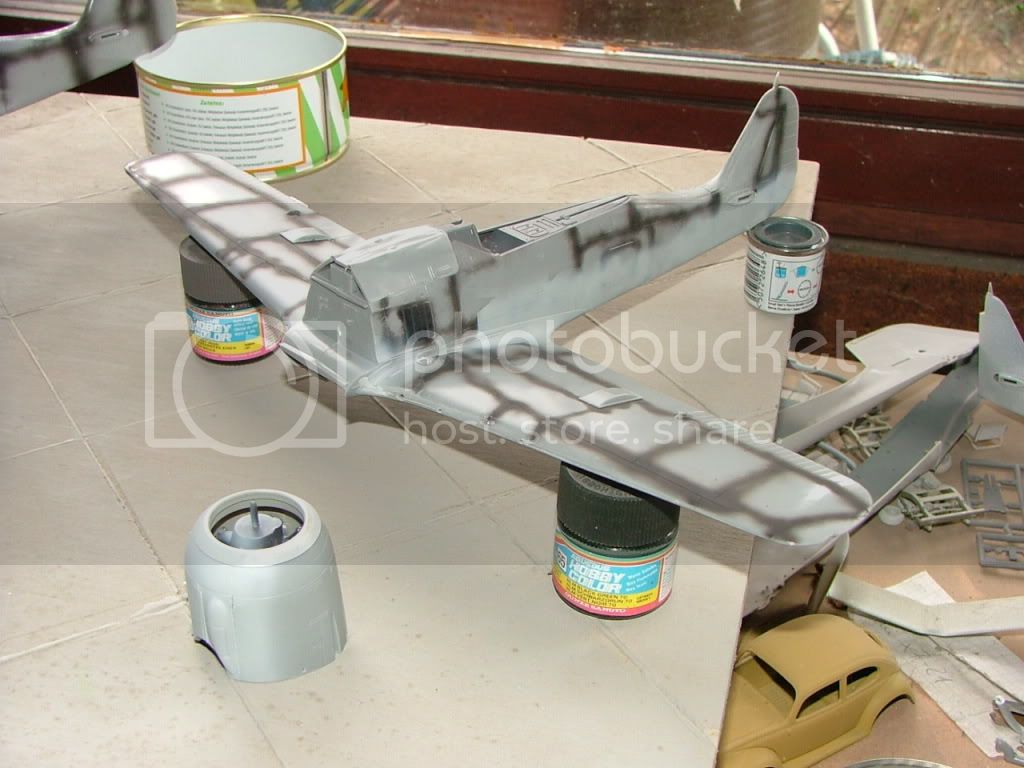
enjoy and feel free for comments
greets from the Home of the Butcherbirds
Thomas


now some shots ( testfit with the engine ) :


the last two with better light :


enjoy and feel free for comments
greets from the Home of the Butcherbirds
Thomas
Posted: Saturday, March 28, 2009 - 03:33 AM UTC
Hallo Thomas
very nice!
one remark though: Both Rüstsätze R2 and R8 Sturmjäger have 30mm (outer) wing armament!
I bet Neil can go into much more detail on this.
Many thanks Taylor, especially for not mentioning that cursed Avia
all the best
Steffen
very nice!
one remark though: Both Rüstsätze R2 and R8 Sturmjäger have 30mm (outer) wing armament!
I bet Neil can go into much more detail on this.
Many thanks Taylor, especially for not mentioning that cursed Avia

all the best
Steffen
 |


