Hi all!
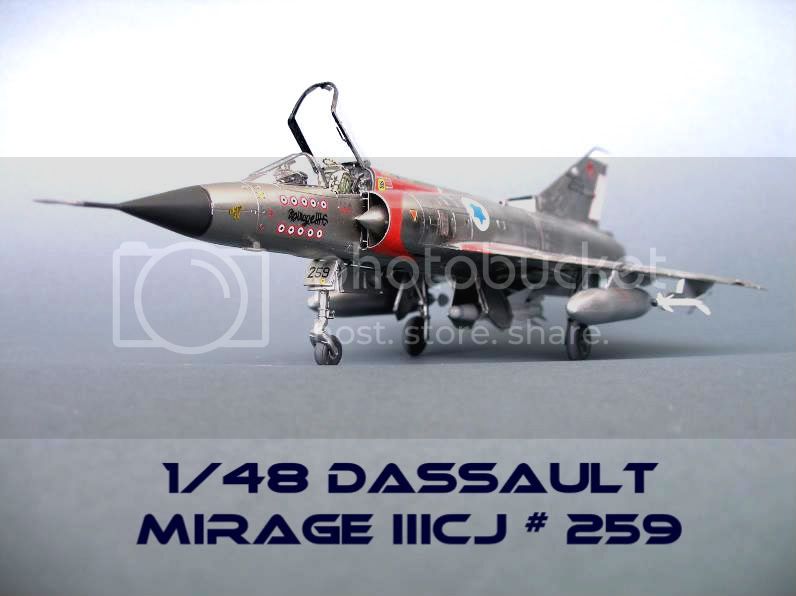
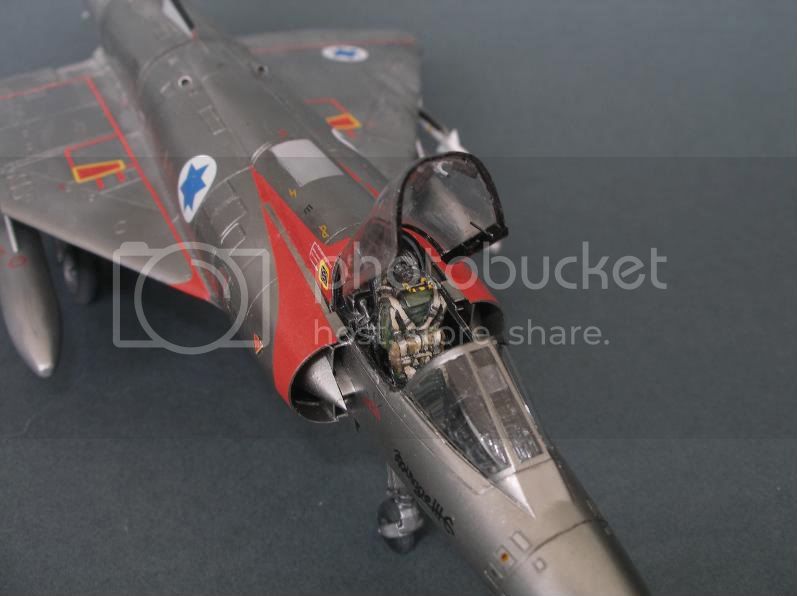
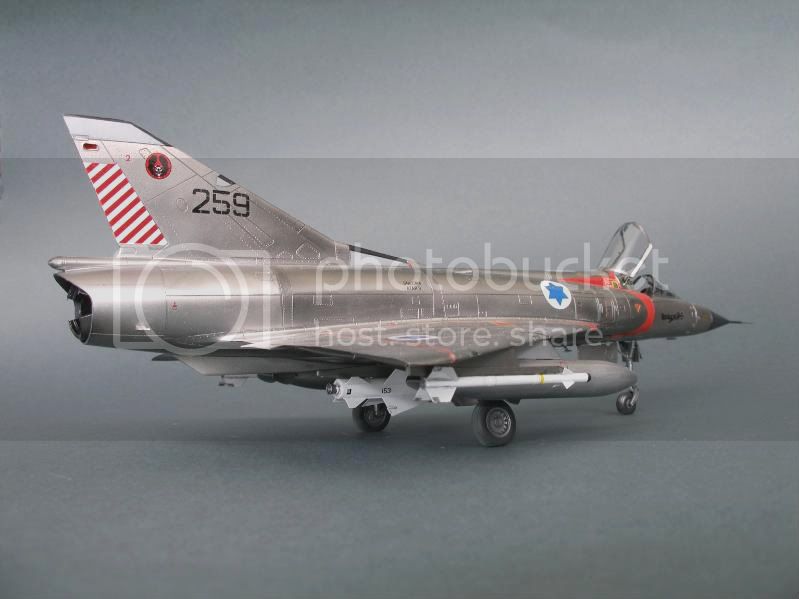
@Björn, det där är skitsnyggt, en superb Mirage!
Can´t believe how you can make sutch a fine finish!
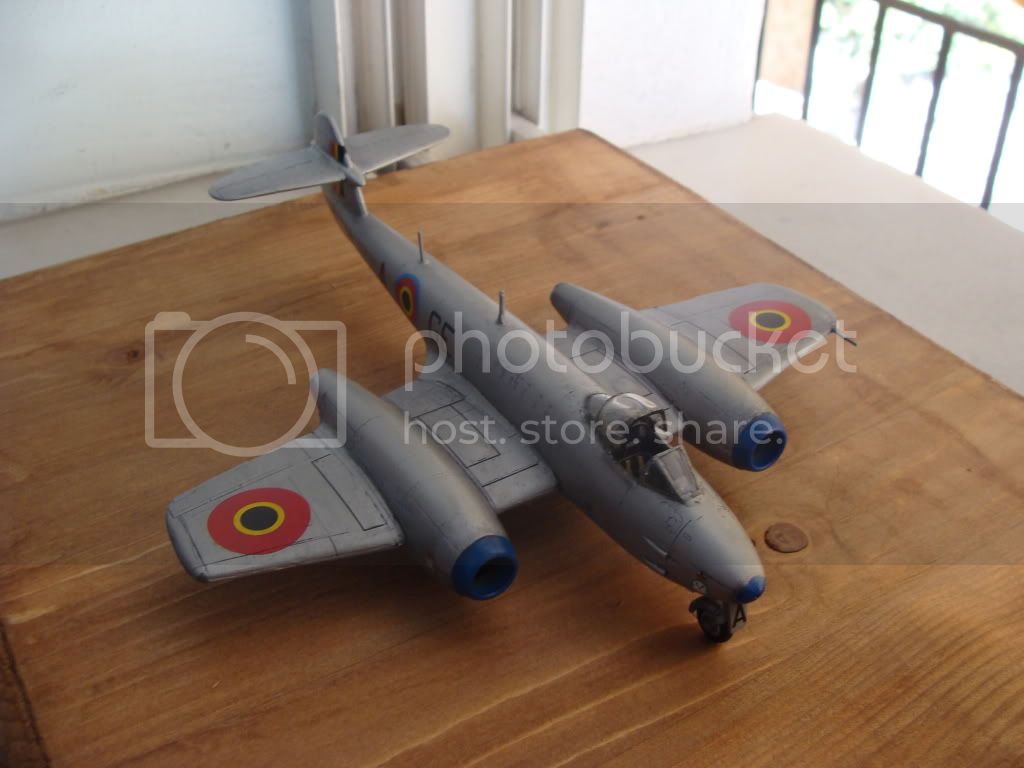
@Nick, That´s a very nice Meteor in a quite unusual livery (Belgium, right?)
Well done!

Time for an update on my F-100 again!
I have continued with my build, and I happily glued the HUD in place, and painted it matt black.
BUT, did you notice that the edges of the HUD were a bit high?

I didn’t, and the result was this;


The HUD is a fraction too high, not much but enough to displace the front screen and throws it completely out of alignment.
Add to this that the front screen is a bit too wide for the edges.
I took a sharp scalpel and shaved off some of the excess plastic, and repainted the part with black.
But I do recommend that anybody reading this, and building the kit to sand down the underside of the HUD.
Much easier, and remember, the edges on the HUD must be LEVEL with the edges!
I assembled the slats, flaps and ailerons to the wings.

Nothing but a perfect fit!
Flaps and ailerons fitted perfectly as is, but if you want the flaps in the “down” position, you have to cut off the small tabs on the flaps.

As on a P-51 Mustang the hydraulic power “bleeds off” as soon as the enginge is shut off.
This means that everything “falls out” (Flaps, airbrake) after a couple of hours when the aircraft is parked.
The slats should be out on a parked aircraft and this is correctly depicted.


The canopy comes in two parts, extremely clear and free from scratches and blemishes, and it’s very thin, so handle it carefully!
No moulding seam on this one, as Trumpeter already has taken care of that!
Thanks, Trumpy!


I used a yellow tape of Tamiya-type (kabuki) and a sharp scalpel to make my own masks.
Easy, and soon the canopy was done and masked!

I used a Resin seat from Avionix (former Black Box)
I painted the seat interior grey, with a leather brown cushion and the headrest red.
When dry, I gave it a silver dry-brushing, and finally, a black wash to bring out details.
The last thing was to glue the seat into the aircraft with some CA.

When the glue had set, I glued the windscreen in place with some White Glue
(PVA).
As the PVA dries, it becomes clear, I reinforced the seam with a little CA-glue, carefully applied from the outside.


I did the same way on the canopy, but as I will be able to remove it (if the need ever arises), I did not use any CA here.

The nose gear was a piece of cake to assemble.


Main gears were just as easy to assemble and mount.
The fit was excellent (almost sounds too good, I know!), as most parts of this kit.


That´s all Folks!
Cheers!
Stefan


