


As I said before, when I'll finish my 1/32 superdetailed p-39, I'll start my Tamiya 1/48 P-51B/C

Cheers Nick


 I still have not had time to play at the bench since this summer semester started
  last night I took the kit down from the shelf and looked at it as if it were a long lost freind
  Maybe when I take the final I will dive into the kit and do a mad build finish to complete this 51 for the campaign. WOW a lot of fantastic builds here, kudos to all.

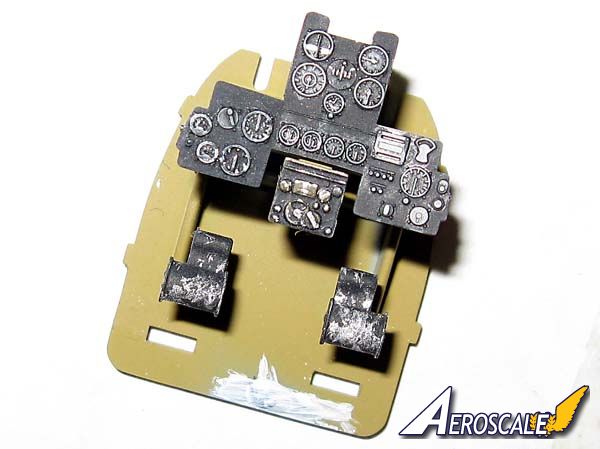
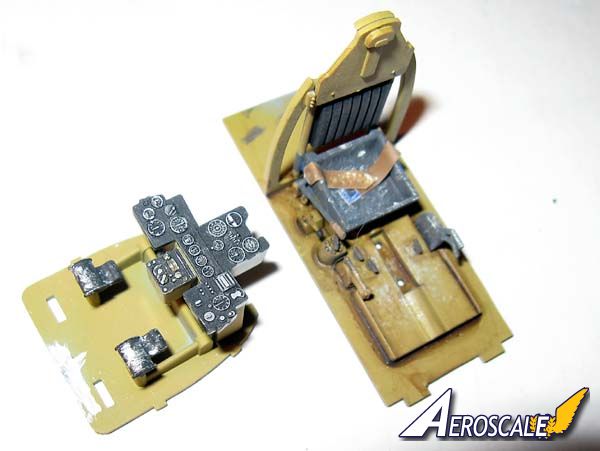
Was so excited to whip out the AB I even painted the wood floor Interior Green


 Any way nice looking green and I cannot wait to see the exterior when done.


Was so excited to whip out the AB I even painted the wood floor Interior Green.


 Giddy up!


Looks good Sam !
Just to let you guy's know I will be away for a few months and won't have access to the site . Justin will be taking over .
Thanks Terri
I was going to post some progress, but, now I'm sad, and I believe I'll wait till later.

Just to let you guy's know I will be away for a few months and won't have access to the site


 on top of other build right now

 |


