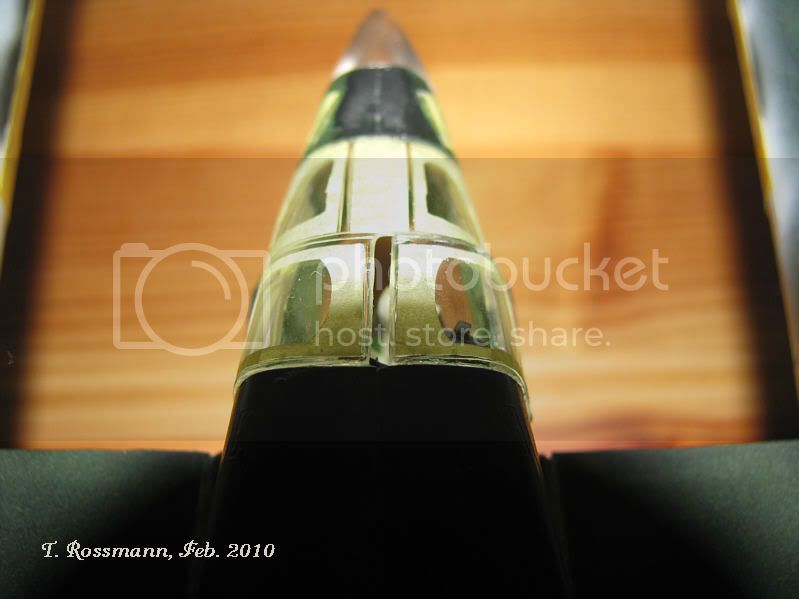
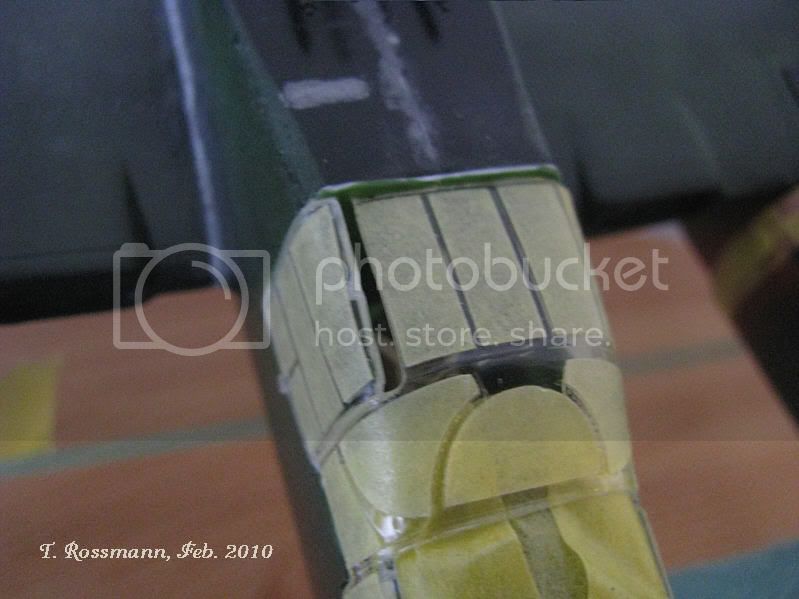
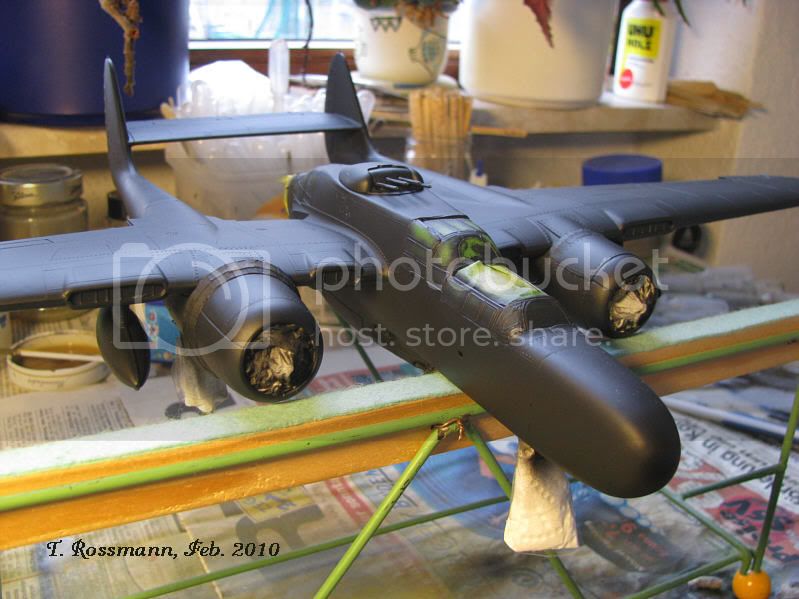
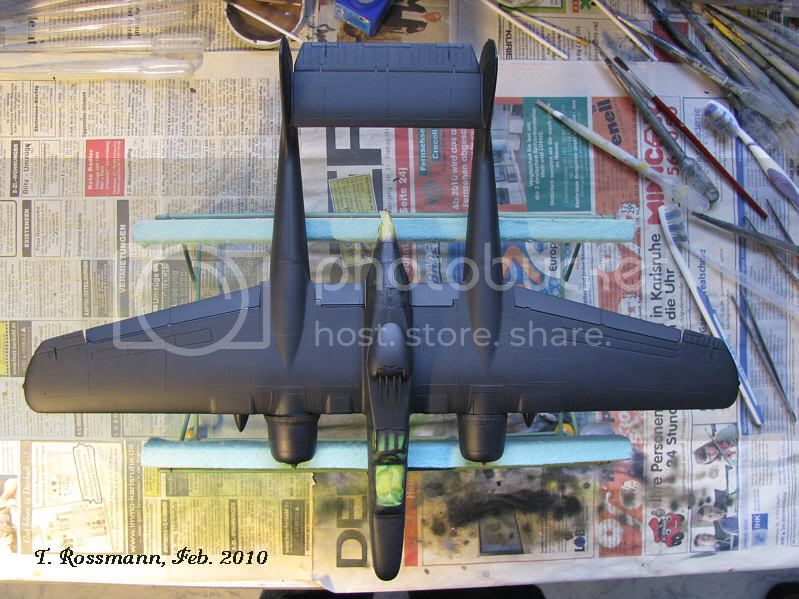
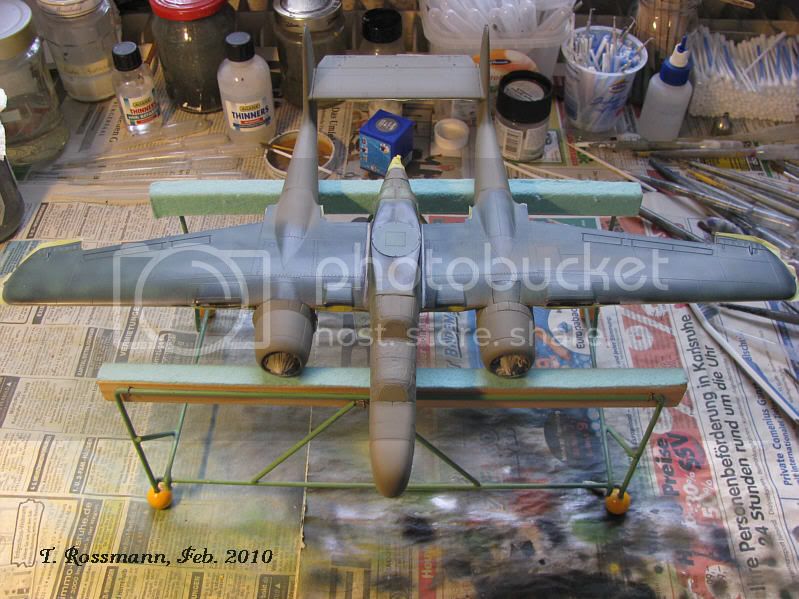
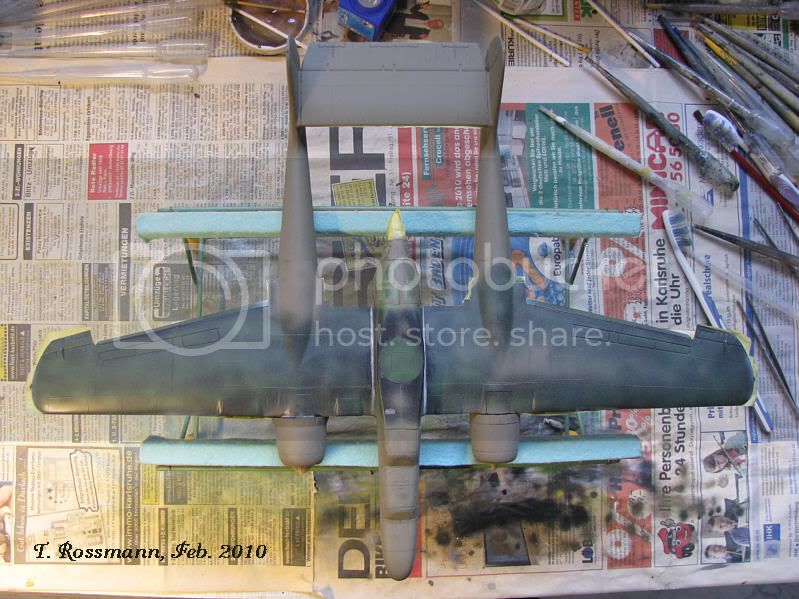
Torsten, your P-61 is coming along great, but I can't help but being concerned that you maybe enjoyed "tying up an old Widow in elastic bands"


Greg, that resin set looks very nice. I'm looking forward to more progress pics there for sure.
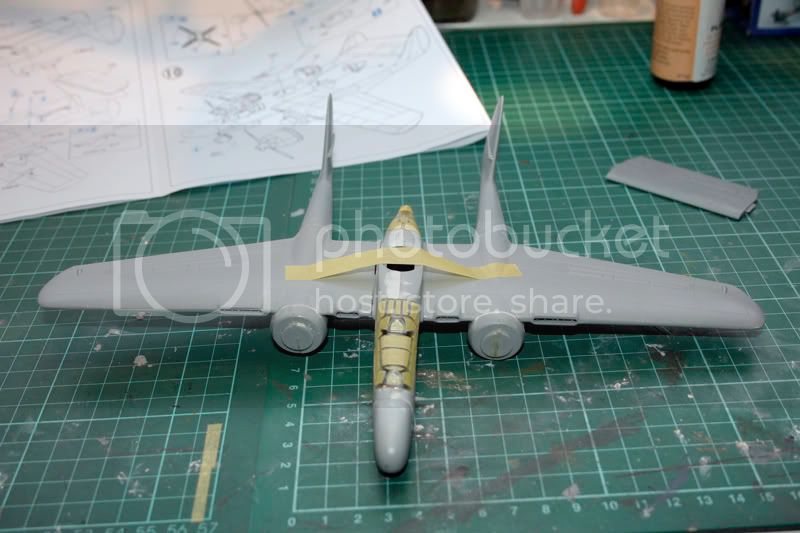
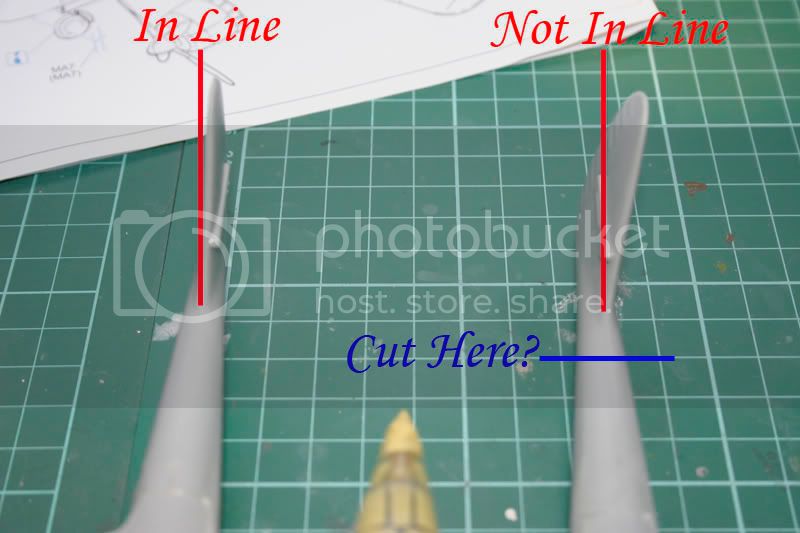
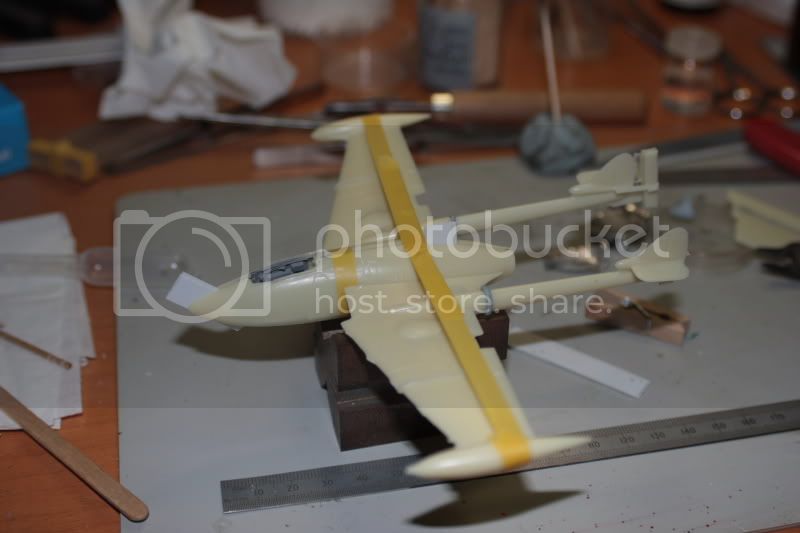
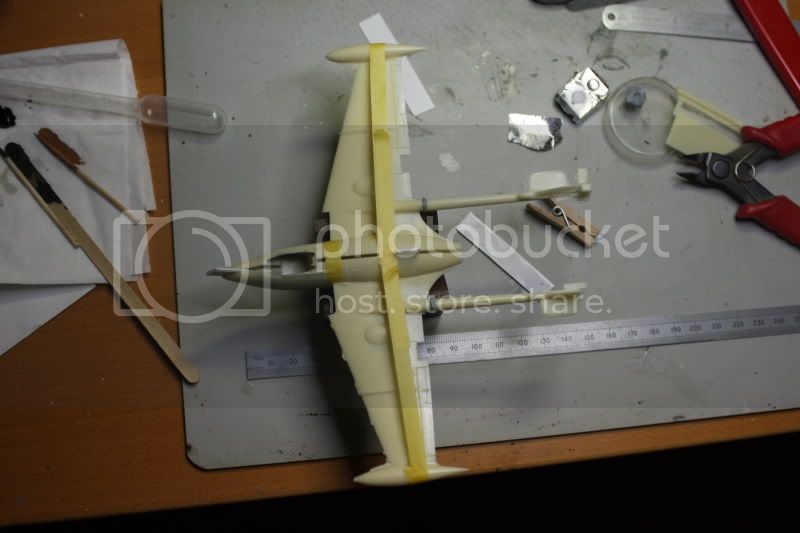
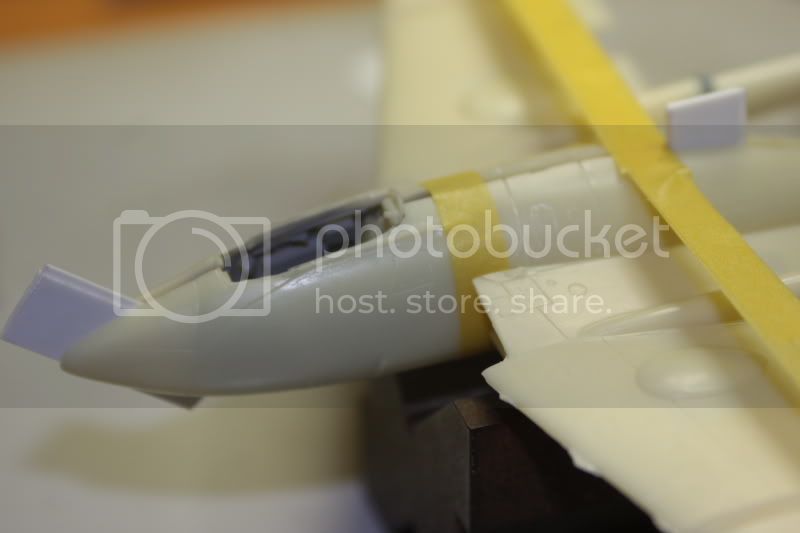
Brian, that looks like a sweet little Venom kit, especially with the PE goodies.
Andy, if Mrs Torch burns things in the kitchen like Mrs Reg does, she has absolutely NO reason to complain about the sweet fragrance of Lacquer Thinner !!!

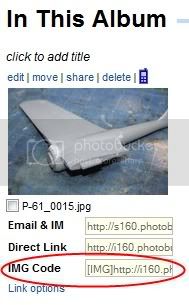
And lastly Simon, do you have an account with Photobucket ? You will find loading pics into the forums is a breeze once you are set up there, and organising your pics is SOOOO easy. Go to photobucket.com and do a search for user Reggie3003 (that's me) and take a look at how my shots are set up in folders.
Cheers, all, keep up the great work, and PLEEEEEZ keep posting those progress shots. You have no idea how much I am learning every time you guys drop in here.
Leader OUT . . . tssshhhht.