OFFICIAL: "Zerstorer!" Campaign Thread
Lisboa, Portugal
Joined: August 27, 2010
KitMaker: 679 posts
AeroScale: 669 posts
Posted: Tuesday, May 24, 2011 - 11:39 AM UTC
Hey Allen,
Seems you and Jack Sparrow got stranded by the wind..
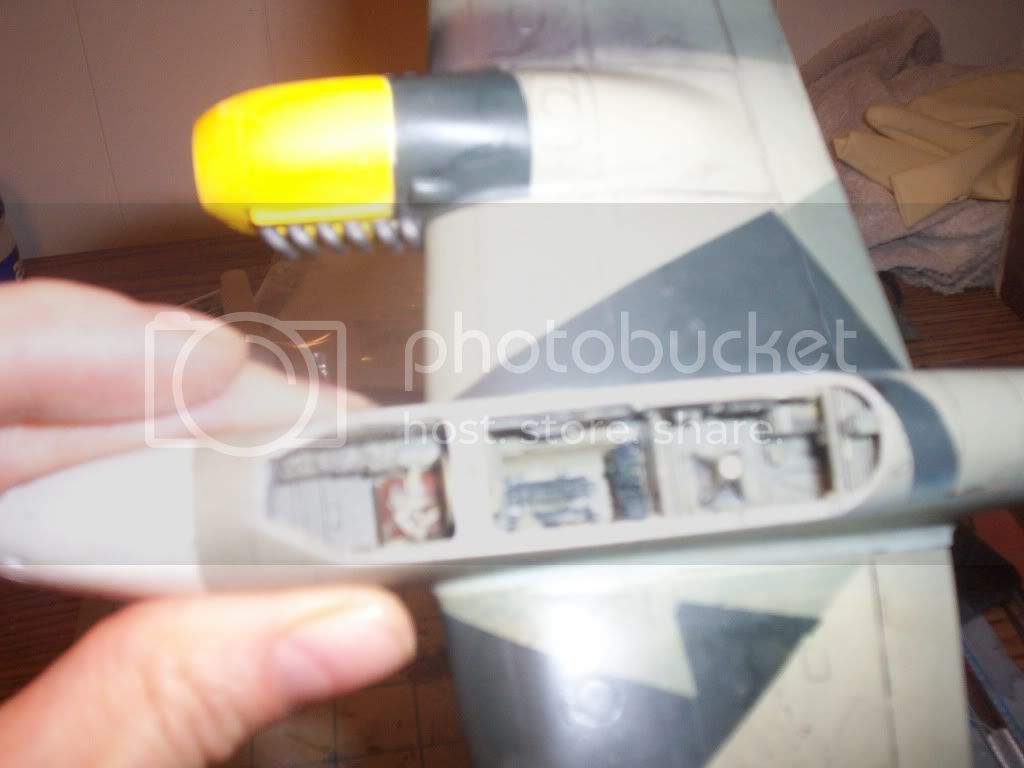
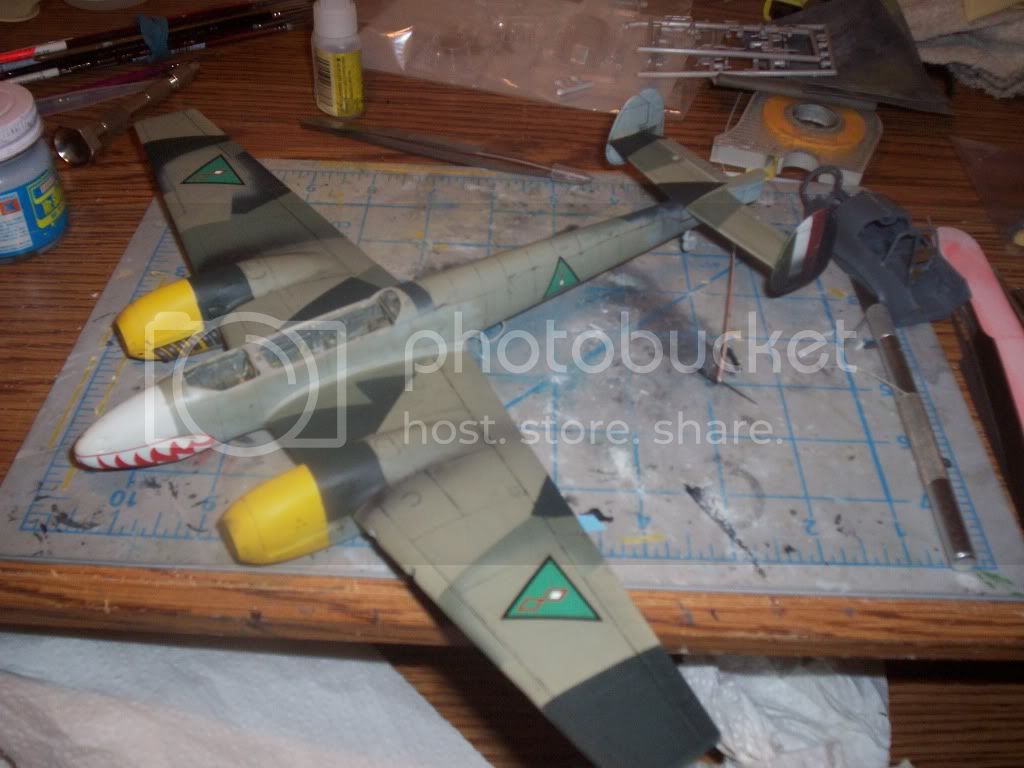
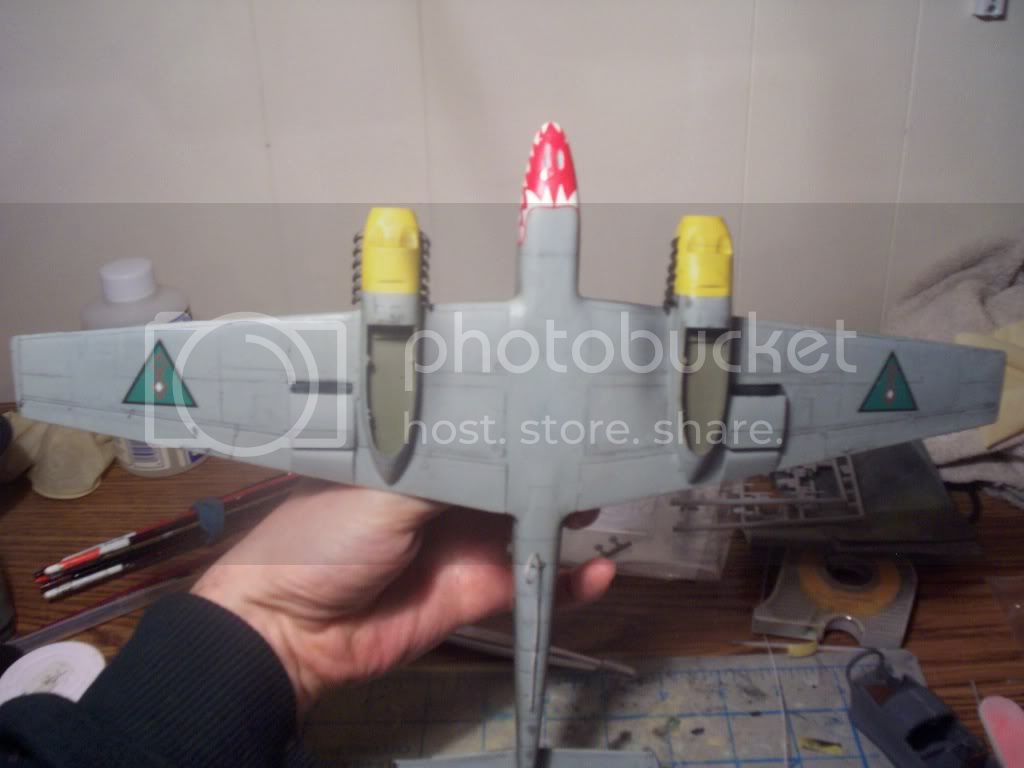
Good thing to see a Japanese "heavy" build up. Wonder how you tackle that overall green that most often becomes rather dull in some models?
By the looks of that cockpit this will not be the case!
Hope to see more of your build, keep it up

Ontario, Canada
Joined: March 25, 2010
KitMaker: 514 posts
AeroScale: 244 posts
Posted: Wednesday, May 25, 2011 - 05:29 AM UTC
Removed by original poster on 05/26/11 - 19:38:16 (GMT).
California, United States
Joined: May 20, 2011
KitMaker: 30 posts
AeroScale: 28 posts
Posted: Wednesday, June 08, 2011 - 05:28 PM UTC
Greetings everyone! this is my first post on kitmaker.net. My build will be the good old Revell/Monogram P-61:

I will build this kit OOB to be a P-61B as the box art shows. I enlisted this campaign yesterday and I hope it's not too late.
AussieReg
 Associate Editor
#007
Victoria, Australia
Joined: June 09, 2009
KitMaker: 8,156 posts
AeroScale: 3,756 posts
Posted: Thursday, June 09, 2011 - 05:01 PM UTC
Hi Jiang, and welcome aboard. Excellent choice also, the P-61 has long been my favourite aircraft. I look forward to watching your build progress, so please post lots of pictures for us !
Trevor your 110 is coming along really nicely, great work.
Allen, I'm glad to see that Cap'n Jack is holding tight to his jar of dirt ! The Gekko is taking shape very well now also.
Cheers, D
ON the bench
Revell 1/24 '53 Corvette (building as '54)
Revell 1/24 BMW 507 Coupe and Cabrio
Italeri 1/48 Me262 B-1a/U1 Nightfighter
Monogram 1/24 '57 Chevy Nomad
Dragon 1/350 USS Frank Knox DD-742
Ontario, Canada
Joined: November 14, 2009
KitMaker: 270 posts
AeroScale: 264 posts
Posted: Friday, June 10, 2011 - 04:18 AM UTC
Well, the canopy is masked & installed, I'll start painting as soon as it dries
 Airfix Mosquito NF.XIX 1/72
 by
mawz_models, on Flickr
Ontario, Canada
Joined: January 24, 2011
KitMaker: 470 posts
AeroScale: 99 posts
Posted: Friday, June 10, 2011 - 01:15 PM UTC
Well unfortunately I won't be able to finish the Italian Fighter. It only had a little weathering to go and the decals, but when some people were mucking around, it was knocked off the working cupboard it was on and the ensuing damage from the fall was very serious. It is unfixable so that project is dead. It wasn't a easy build and it was another learning experiment more than a piece for showing. But to say I am "put out" is something of an understatement.
I have a Me-410 from Finemolds to do which totally fits the build and I am going to try and build it in time for the final deadline.

#047
England - East Anglia, United Kingdom
Joined: September 13, 2005
KitMaker: 2,016 posts
AeroScale: 475 posts
Posted: Friday, June 10, 2011 - 07:21 PM UTC
Hi all

progress has been a tad slow lately but after a visit to the De Havilland heritage centre where you can get up close,ie inside bomb bays,wheel wells to get lots of lovely pics,I'm know starting to get back into it!
dry fitted all the big bits,no filler needed ,perfect fit,hats off to Airfix,but its toooo big for the bench


The landing gear are seperate models in their own right, I've added the cable rollers(Parragon ) for the gear door operating system as these are missing from the kit and in this scale, very noticable


I've got the week end off so I'm try and get the A/B out an do the cockpit
more pics soon
Andy
Major Caryle,
"Shall we have a go at the far end now,sir?"
Lt Colonel "Johnny" Frost,
"Having a go,is hardly text book terminology Harry"
Major Caryle,
"But you'll let us try sir?"
A Bridge Too Far
Lottery Campaign "Oh de Vichy"
Nordrhein-Westfalen, Germany
Joined: May 26, 2008
KitMaker: 1,168 posts
AeroScale: 199 posts
Posted: Friday, June 10, 2011 - 11:22 PM UTC
Gentlemen- I've been frequently lurking around in this thread and I must say that I am very impressed by the great work and overall high level of quality modelling. Well done, gentlemen!
Cheers,
Guido
AKA "Tailor" -VMF'06 - German Gamblers
http://www.youtube.com/channel/UCk8zhb1sc4Pe3BRLqq3d-SQ
California, United States
Joined: May 20, 2011
KitMaker: 30 posts
AeroScale: 28 posts
Posted: Saturday, June 11, 2011 - 08:12 PM UTC
I have finished the front and rear cockpits and here is some progress:
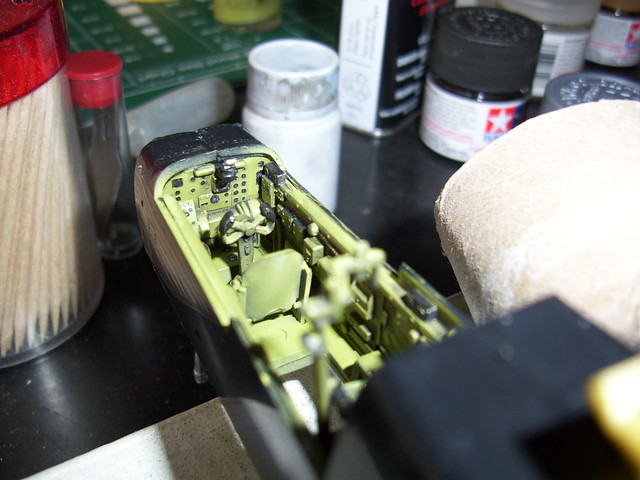

Among the few kits I have built this one has the most detailed cockpit.
Slovakia
Joined: October 15, 2010
KitMaker: 825 posts
AeroScale: 476 posts
Posted: Wednesday, June 15, 2011 - 07:44 PM UTC
@ Aaron: Sorry to hear that the cute little italian fighter is a goner. Dont give up on this campaign do the Me-410 instead !
@Jiang: The cockpit looks nice, I didnt know Monogram made such fine cockpits back then.
Singapore / 新加坡
Joined: April 05, 2009
KitMaker: 120 posts
AeroScale: 26 posts
Posted: Friday, June 17, 2011 - 05:58 AM UTC
Alright I finally finished my build... here is my dragon-slayer!


The kit is completed OOTB. Base color is Gunze's grey-green (mr hobby 128) and camo color is Tamiya's dark green. The white bands were sprayed on, while the red discs were from the decal set provided. All in all, it was quite an enjoyable build!
Cheers
Lawrence

Lisboa, Portugal
Joined: August 27, 2010
KitMaker: 679 posts
AeroScale: 669 posts
Posted: Friday, June 17, 2011 - 07:21 AM UTC
Lawrence,
Great finish +++
I suspect those green camouflage blotches were hand painted, just like the real thing, am I right ?
Currently I am half way through the cockpit & wings of my 2nd Eduard Bf 110 for this campaign (this one the C version from BoB period), so new pics are due latter next week hopefully...
Cheers
European Union
Joined: August 09, 2009
KitMaker: 1,732 posts
AeroScale: 1,336 posts
Posted: Friday, June 17, 2011 - 08:31 AM UTC
Congrats on that fine Dragonkiller, Lawrence! That finish is really stunning! And I know what I'm taking about. I can see Isamu Kashiide smile from the clouds above when he sees your kit!
The only thing I don't understand is, why do the model comanpies always only present this aircraft of Kashiide? This was more or less his "training aircraft" where he practised his attacks on the B-29s. The aircraft in which he scored most of his kills was a Ki-45 Kai Hei with a 37 mm canon in the nose and a 20 mm canon under the fuselage. This is a Ki 45 Kai Koh with 2 x 12,7 mm machine guns in the nose and the 20 mm canon under the fuselage.
Fortunatly I have Hasegawa's limited edition of a Kai Hei in 1:48 in my stash.
Again congrats for your built, mate! You did a perfect job!
Happy modelling!
Torsten

My campaigns for 2020:
MiGs - Done !
The Big Three - Done !
65 years Bundeswehr - Done !
40 years Leopard 2 - Done !
Land Lease - Done !
AussieReg
 Associate Editor
#007
Victoria, Australia
Joined: June 09, 2009
KitMaker: 8,156 posts
AeroScale: 3,756 posts
Posted: Friday, June 17, 2011 - 12:47 PM UTC
Lawrence I am in total agreement with the others here, your build is stunning ! Beautiful paintwork and a very clean finish, congratulations !
Aaron, a real shame about your build, I was enjoying your progress and looking forward to seeing it done. Is it really beyond repair ? If so, I'd love to see another 410 in the mix here anyway.
Adam, your Mossie is progressing well, I'm looking forward to seeing it with the colour scheme applied soon.
Jiang, excellent job on the office of your Widow. You are right about the detail also, for the age of the kit it is really nice.
Torchy, beautiful work on the big Mossie mate, the detail on the landing gear is superb.
As for me, I'm ashamed to say that I still have nothing to show. Work is really busy and unfortunately real life has to take precedence at times !
Carry on chaps, D
ON the bench
Revell 1/24 '53 Corvette (building as '54)
Revell 1/24 BMW 507 Coupe and Cabrio
Italeri 1/48 Me262 B-1a/U1 Nightfighter
Monogram 1/24 '57 Chevy Nomad
Dragon 1/350 USS Frank Knox DD-742
Queensland, Australia
Joined: August 13, 2010
KitMaker: 188 posts
AeroScale: 62 posts
Posted: Sunday, June 19, 2011 - 12:26 AM UTC
yeh very nice Lawrence that looks great.
everybodys doin good stuff keep it up.
cheers,
Graham
if at first you don't succeed try it again
my model page http://s756.photobucket.com/home/Kiwi_Modeller/index
Istanbul, Turkey / Türkçe
Joined: December 16, 2004
KitMaker: 1,163 posts
AeroScale: 255 posts
Posted: Wednesday, June 22, 2011 - 09:47 AM UTC
Okay, I've officially begun my project. I should say that this cockpit will take as much time as an ordinary kit!
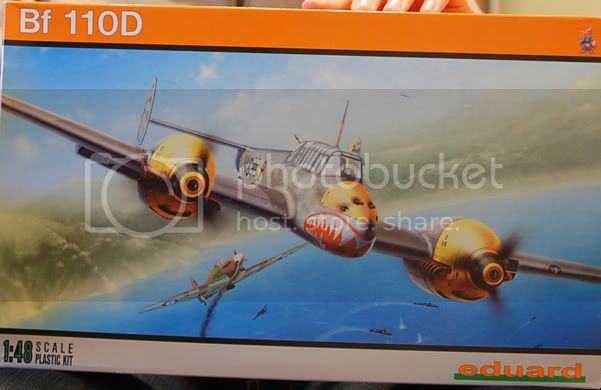
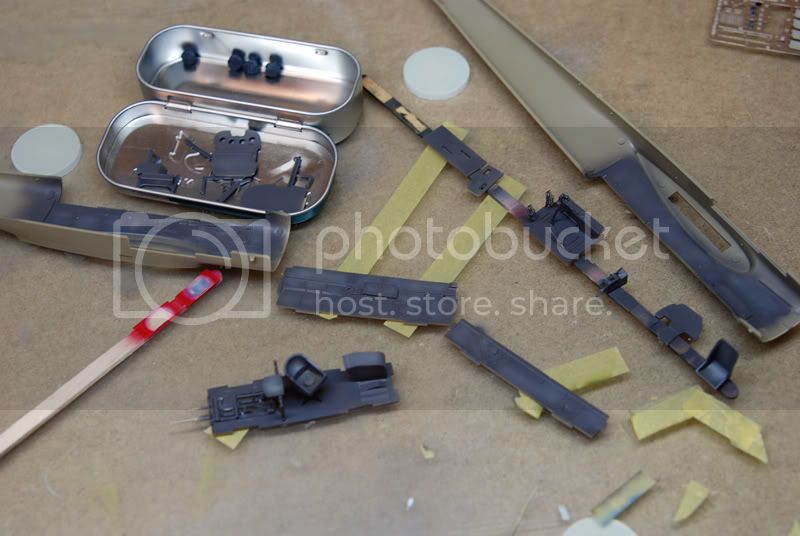
Took me two days to separate all fiddly bits and get them ready for a coat of RLM 66 paint. Now they are all painted and ready, I will start attaching PE parts and then paint the details.
Onwards I go!
Proud Supporter of Armorama Campaigns
Texas, United States
Joined: February 22, 2008
KitMaker: 5,026 posts
AeroScale: 2,811 posts
Posted: Wednesday, June 22, 2011 - 10:41 AM UTC
Quoted Text
Okay, I've officially begun my project. I should say that this cockpit will take as much time as an ordinary kit!
Took me two days to separate all fiddly bits and get them ready for a coat of RLM 66 paint. Now they are all painted and ready, I will start attaching PE parts and then paint the details.
Onwards I go!
Emre, you can do it buddy

Bob
If it aint broke dont fix it.
England - South East, United Kingdom
Joined: January 19, 2009
KitMaker: 158 posts
AeroScale: 155 posts
Posted: Wednesday, June 22, 2011 - 08:07 PM UTC
I managed to start my BF110 this week aswell. Just a coat of RLM 02 to begin with but its a start.
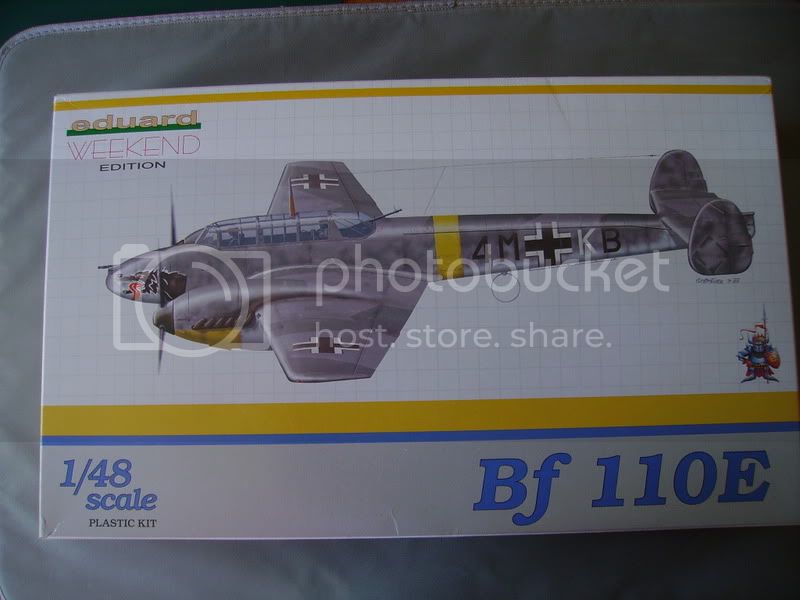
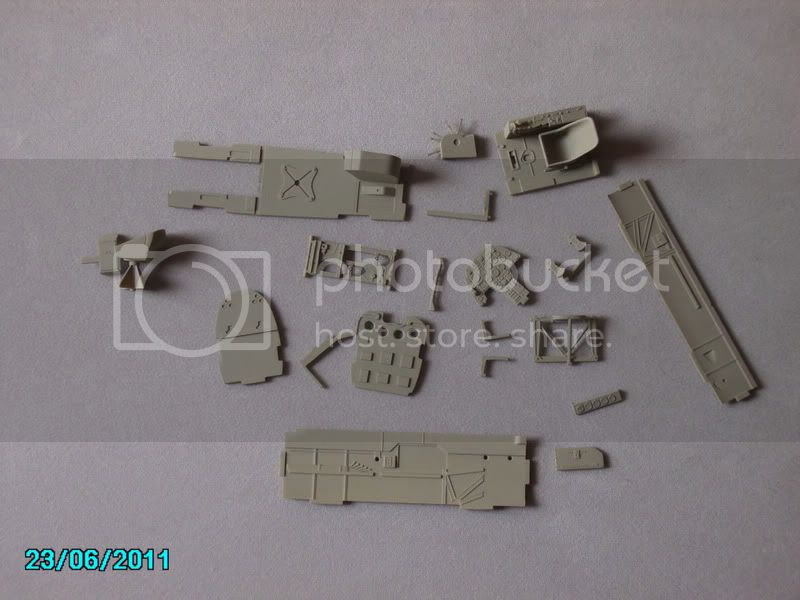
Martin
AussieReg
 Associate Editor
#007
Victoria, Australia
Joined: June 09, 2009
KitMaker: 8,156 posts
AeroScale: 3,756 posts
Posted: Wednesday, June 22, 2011 - 09:23 PM UTC
Emre and Martin, great to see you guys firing up your builds, a pair of Eduard 110's that will be great to follow as they progress.
I have updated the Roll Call/Build Status post on page 1, and in summary we have 46 enlisted, 5 completed and 13 in progress. Unfortunately Aaron's little IMAM crashed on take-off and was written off, a tragic accident indeed!
Thank you all for for your contributions in making this Campaign a great success so far !
Cheers, D
ON the bench
Revell 1/24 '53 Corvette (building as '54)
Revell 1/24 BMW 507 Coupe and Cabrio
Italeri 1/48 Me262 B-1a/U1 Nightfighter
Monogram 1/24 '57 Chevy Nomad
Dragon 1/350 USS Frank Knox DD-742
Istanbul, Turkey / Türkçe
Joined: December 16, 2004
KitMaker: 1,163 posts
AeroScale: 255 posts
Posted: Thursday, June 23, 2011 - 12:22 AM UTC
It seems I've run into a puzzling problem.
Eduard instructions show the cockpit color of my kit as RLM 66. The kit supplied colored photo-etch parts are also RLM 66 for the cockpit.
Here's the interesting part. Eduard's Bf 110E kits have RLM 02 cockpits in the instructions and their colored PE is RLM 02. Also, all other manufacturers give RLM 02 as the cockpit color for Bf 110C-D and Es.
As far as I know, RLM 66 was used mid to late war. The aircraft I'm building was already flying late 1940... which is early war, where the standard German cockpit color was RLM 02, not RLM 66. On the other hand, Eduard has provided very detailed instructions for painting each version included in the box, so it's strange for them to make such an error.
What do you guys think? Should I repaint the cockpit and convert it back to RLM 02?
Proud Supporter of Armorama Campaigns
Lisboa, Portugal
Joined: August 27, 2010
KitMaker: 679 posts
AeroScale: 669 posts
Posted: Friday, June 24, 2011 - 01:06 PM UTC
Hi Emre,
Just like you are having doubts at this stage, I also run adrift for few days ago on that issue.
While building 2 bf.110 from Eduard for this thread, only when I started tackling a C-version were the pre-painted PE parts noted ( the first one is a G-2 version, way late war...).
From what i know, indeed cockpit main colour for a C version should be 02. D or E version also should be 02, but is possible that some were already 66 painted. In fact, the E version was built until mid 1941, by that time being phased out production lines for the 210. So there is room for some personal judgement without offense to any one

My resource here was painting 02, including some can't-do-without PE parts, and using plastic ones for the greater choice. Hope to post some pics of this cockpit by Sunday.
Here goes a well know photo taken from the radio/gunner position that clearly shows that 02 was pretty much overall, including canopy frame, and exception being the radio & instrument panels facing his position.
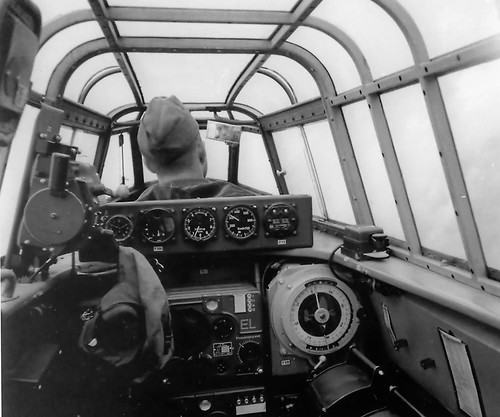 Sem título
 por
rochaped38Hope this helps,
Pedro

AussieReg
 Associate Editor
#007
Victoria, Australia
Joined: June 09, 2009
KitMaker: 8,156 posts
AeroScale: 3,756 posts
Posted: Friday, June 24, 2011 - 01:19 PM UTC
That is a superb photo Pedro, and it will no doubt help quite a few here with their builds (including me). Thanks for posting.
Cheers, D
ON the bench
Revell 1/24 '53 Corvette (building as '54)
Revell 1/24 BMW 507 Coupe and Cabrio
Italeri 1/48 Me262 B-1a/U1 Nightfighter
Monogram 1/24 '57 Chevy Nomad
Dragon 1/350 USS Frank Knox DD-742
Istanbul, Turkey / Türkçe
Joined: December 16, 2004
KitMaker: 1,163 posts
AeroScale: 255 posts
Posted: Saturday, June 25, 2011 - 01:46 AM UTC
Thanks Pedro!
The aircraft I want to build belongs to the II./ZG 76. According to both Eduard's notes and a Bf 110 book my friend owns, this group first participated in the invasion of France, then was moved to the Mediterranean. Eduard gave the aircraft was it was in April 1941. Since this was a well used D at that time, I don't think it could have been painted RLM 66, which means the cockpit color should be changed.
I've already converted the color back to RLM 02 last night. Today, I plan to attach the remaining photo-etch and start painting the details. If I can get sufficient bench-time, I might close up the cockpit this weekend.
Proud Supporter of Armorama Campaigns
England - South East, United Kingdom
Joined: January 19, 2009
KitMaker: 158 posts
AeroScale: 155 posts
Posted: Saturday, June 25, 2011 - 08:44 PM UTC
Glad you resolved your problem Emre , I've made some more progress with my BF 110E which thankfully Eduard seem to have got the colours right .

As my example is the Weekend version and comes with no photo-etch I've had to breakout the paint brushes and the magnifying glass but have added some Eduard seatbelts I had in the spares box.
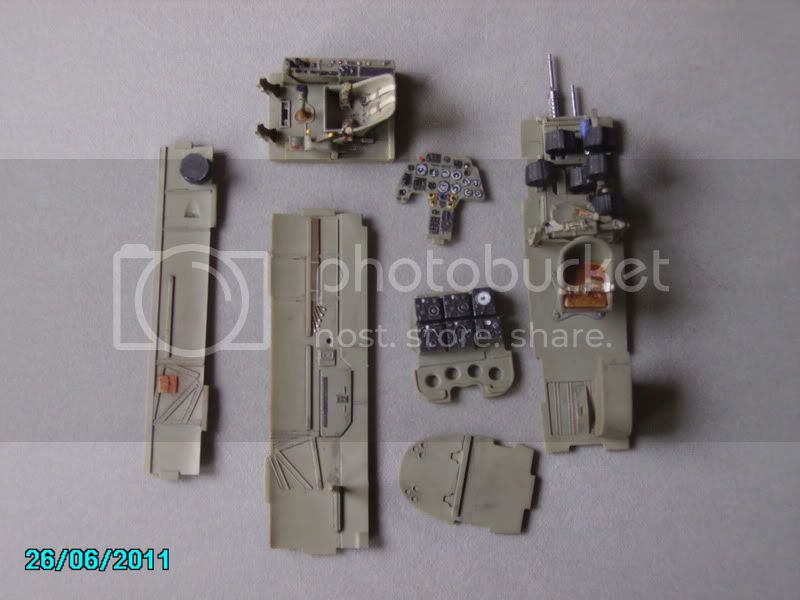
After painting I added a light oil wash to weather .

I'm really happy with the result sofar and hope to close up the fuselage later today.
Thanks for looking
Martin


