

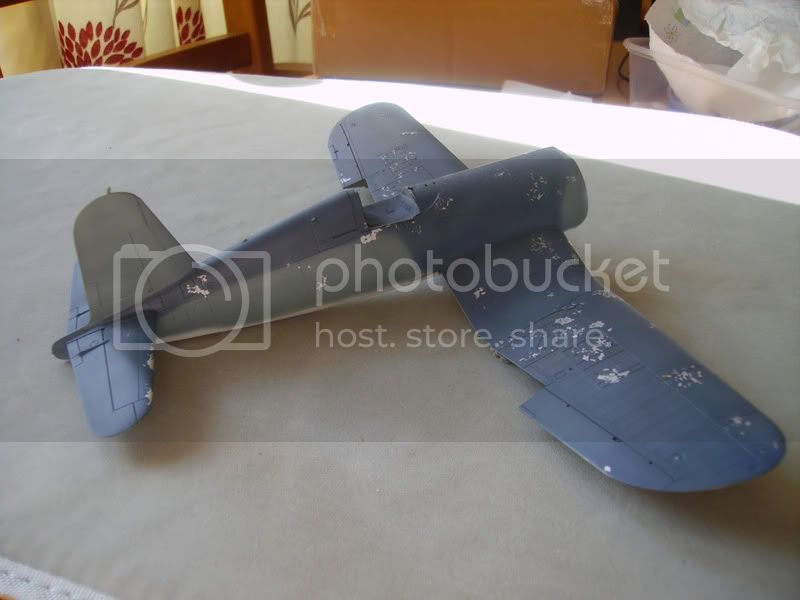
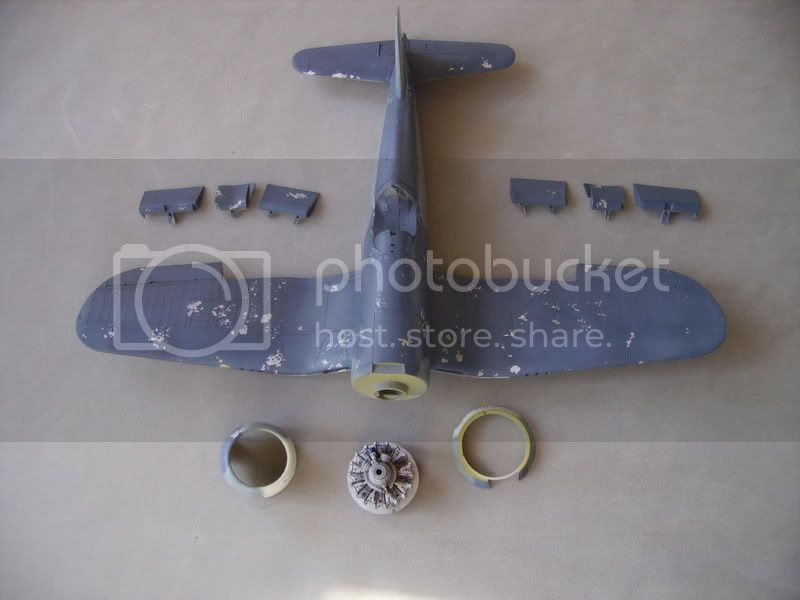
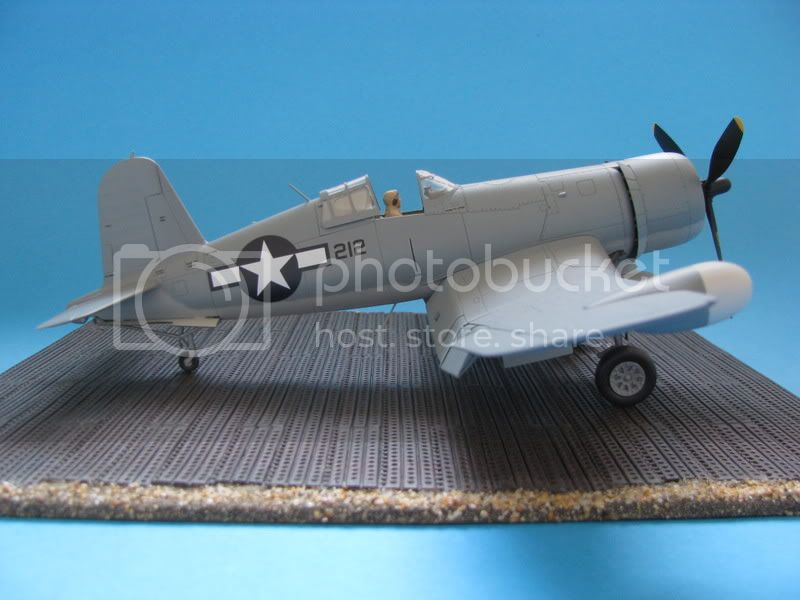
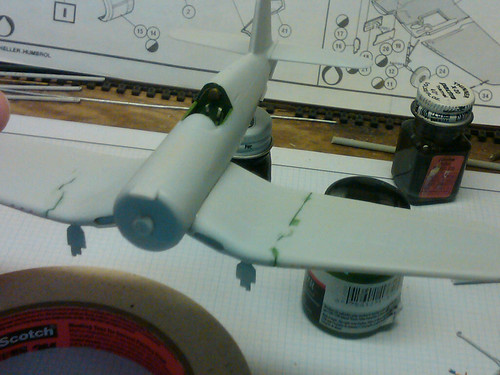
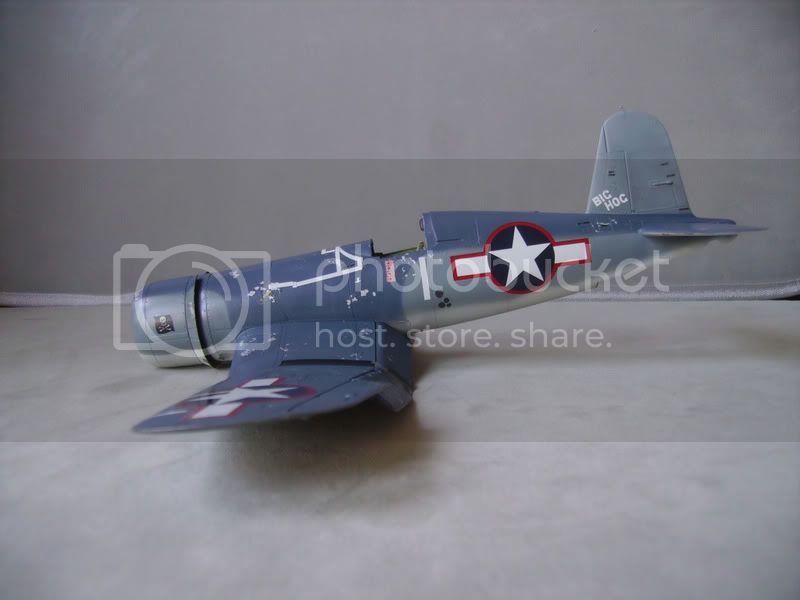
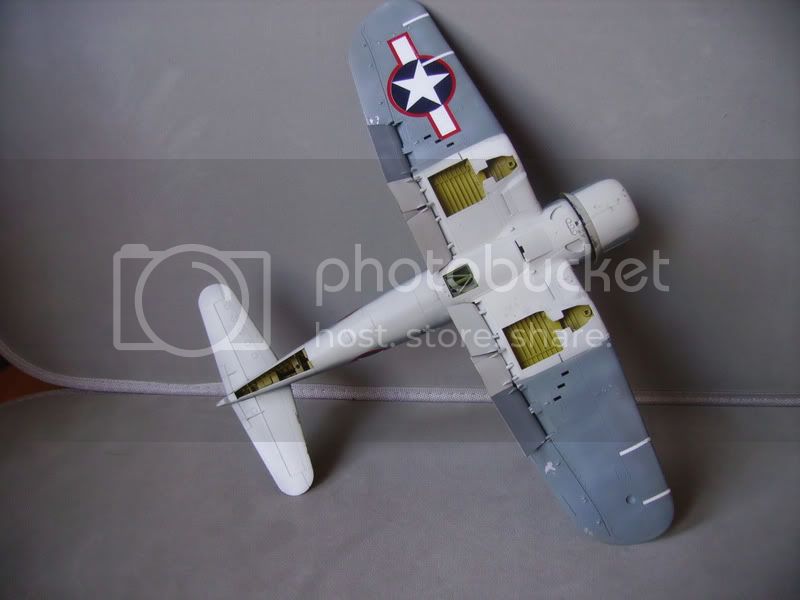
Tried some chipping by using some masking liquid and i'm quite happy with the result.
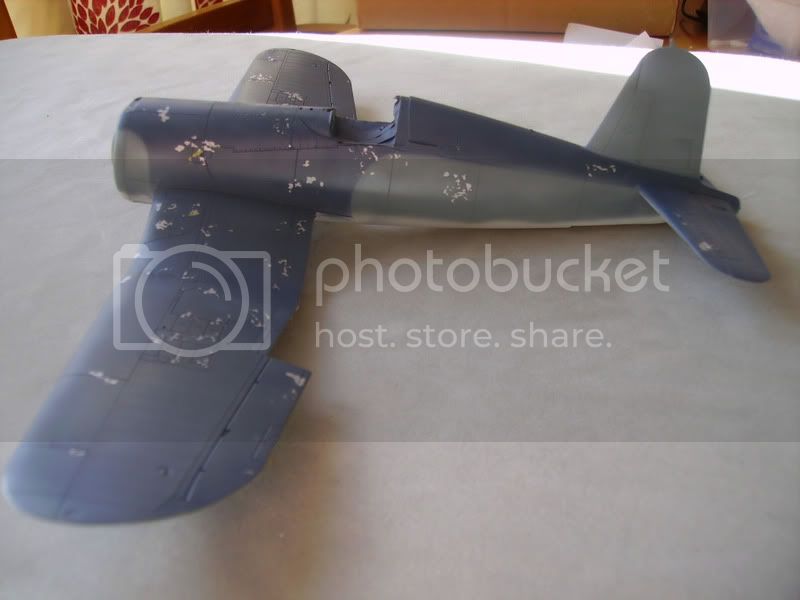
Ready for some decals now , just going to use the ones supplied with the kit.
Thanks for looking
Martin


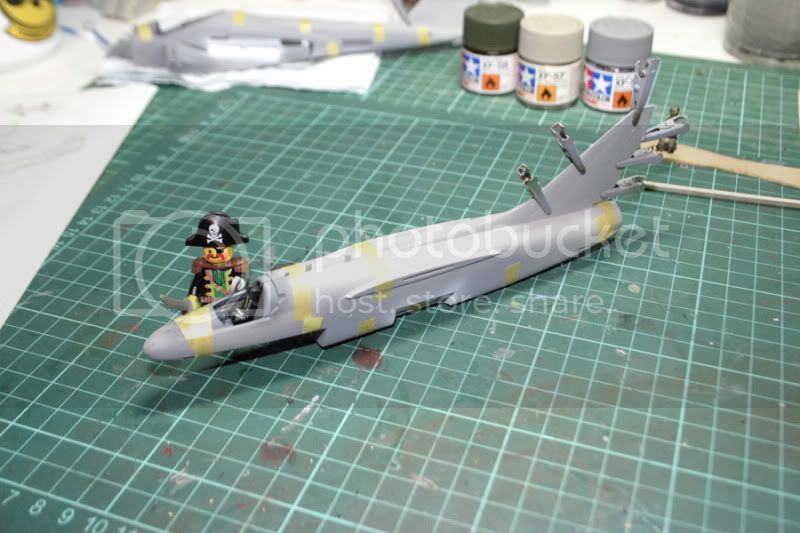
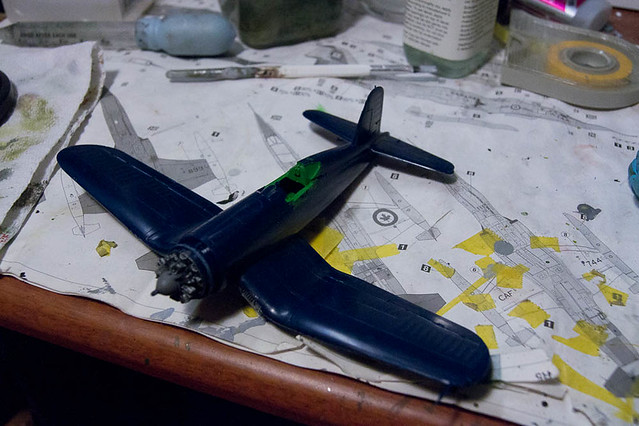
Emre, the ground crew need to be fired! They've installed that poor airplane's control stick backwards!


 Hopefully not Sea Blue FS 35042. That's too dark ....
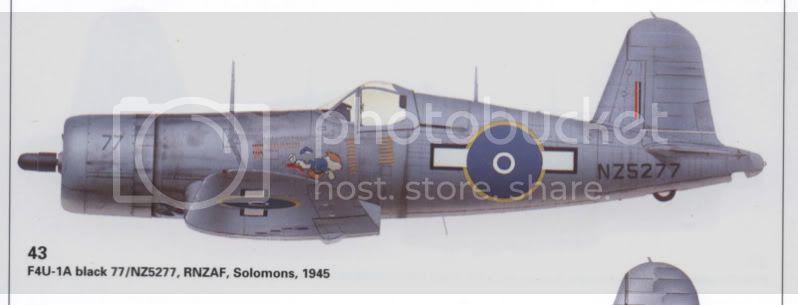


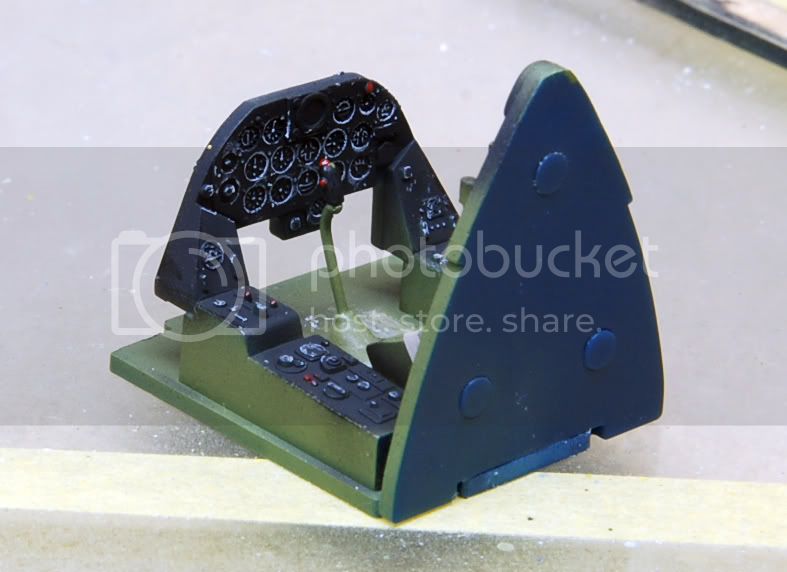


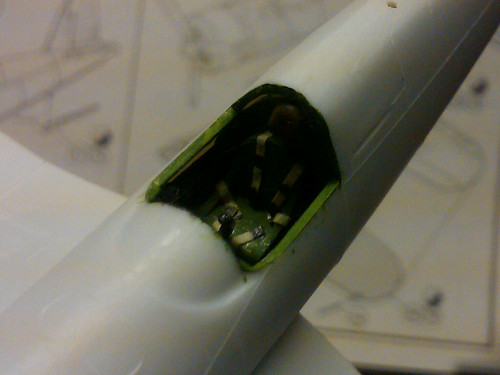
 That's a lovely job done with the instruments.
Hey, that's not fair... Allen's getting help from actual pirates!


 I know it isn't Corsair related, but I saw the dismay over the eduard kits. Needless to say I also had one that gave me fits. I almost let my cats have at it... The Fw-190 A-5 kit... Definate fit issues, and general rage. But, I also did their P-39, and that went together just fine.


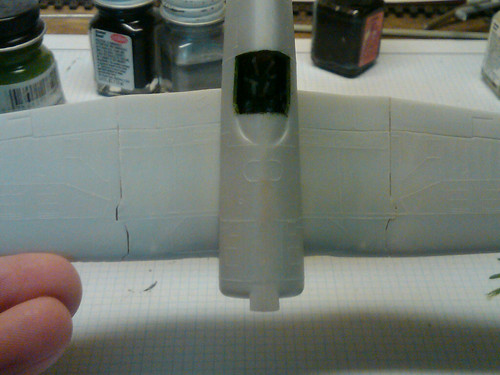

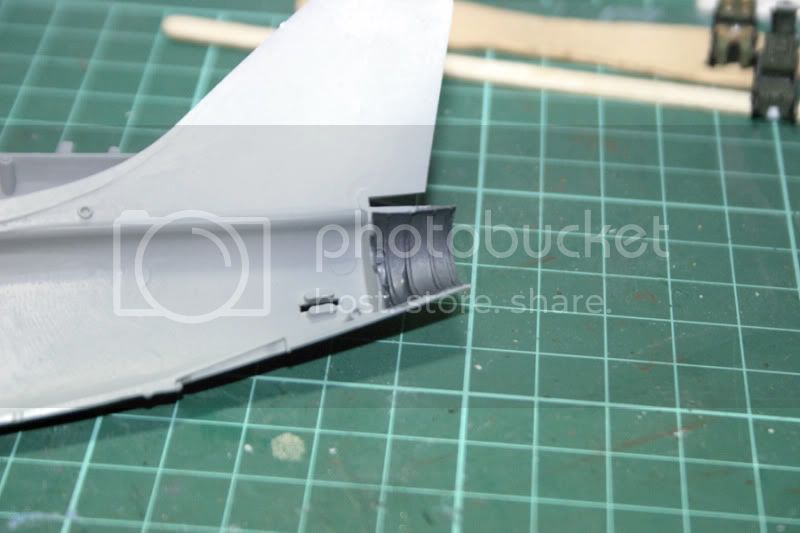
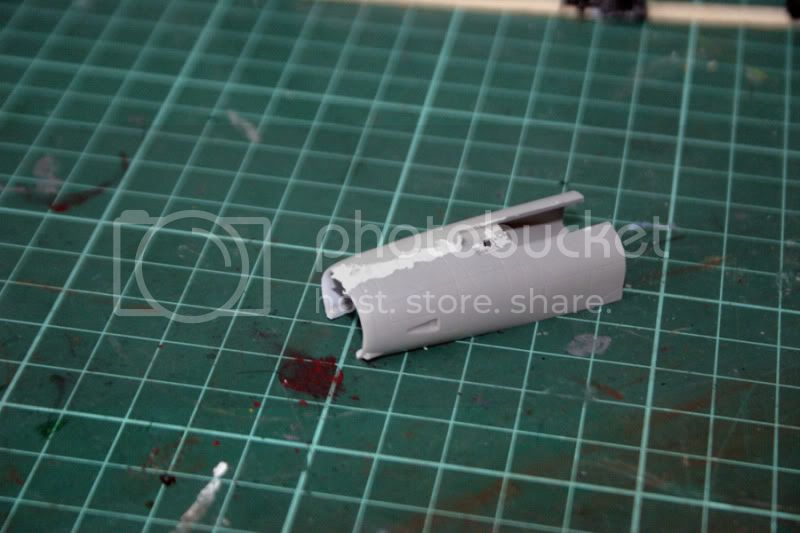
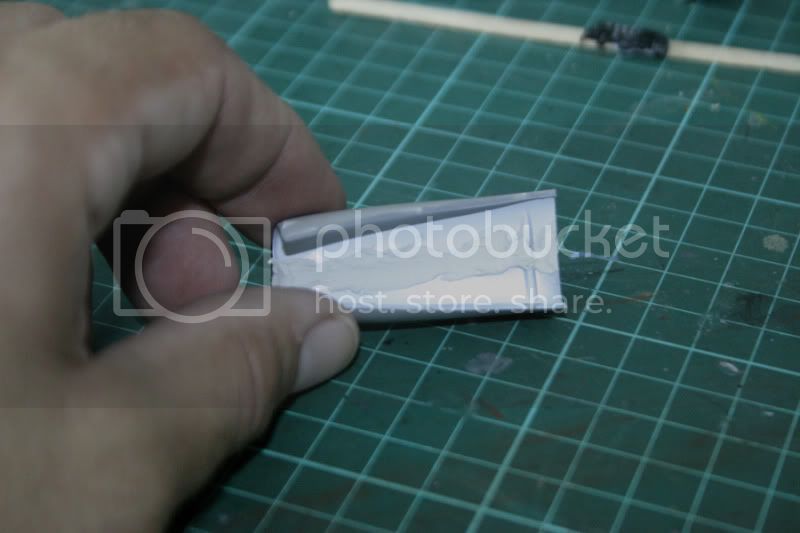
Sean, try the nail polish remover trick. Mask a thin strip on either side off the fold lines, apply putty and immediately wipe it off with nail polish remover. You'll smooth the putty down and preserve the raised lines at the same time.
 )
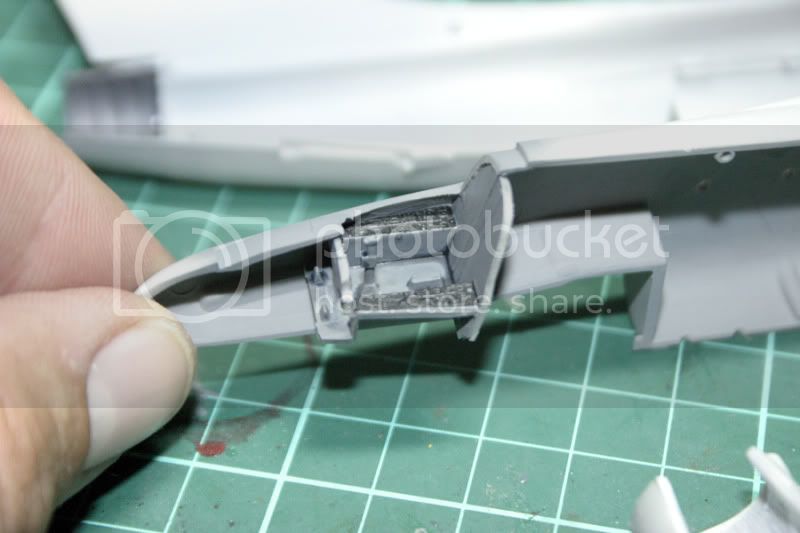
) I couldn't decide whether to paint it black or zinc chromate, so I made the top black just to see how it would look like. I think I will make all of it black, similar to the side walls, then apply a wash to everything before closing the cockpit.


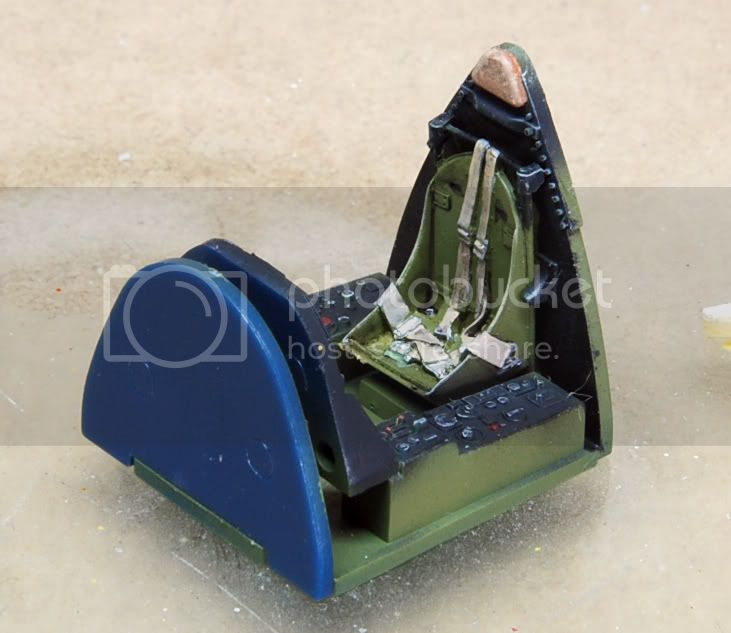


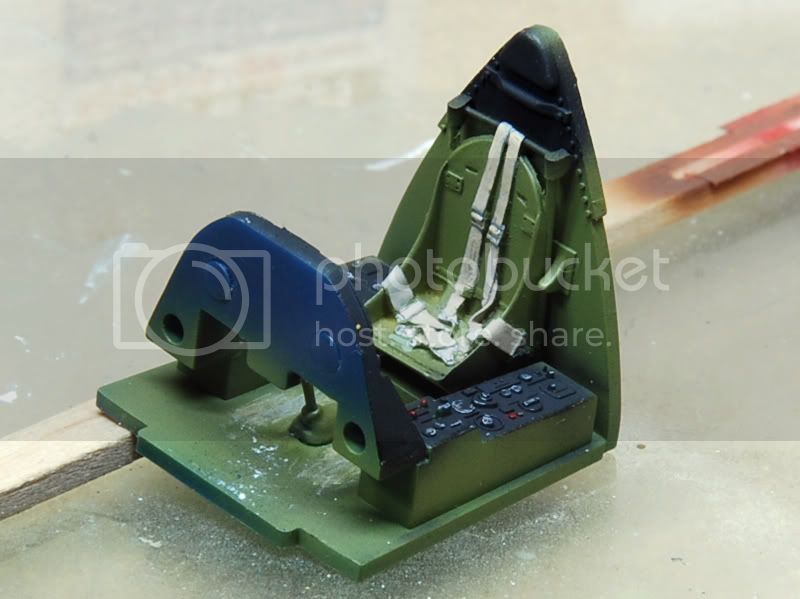
 I wish mine was that good. If I followed the conversation correctly, the black is postwar or late war, and my green cockpit is correct for an earlier 3-tone-camo Corsair? Anyway, very nice work!
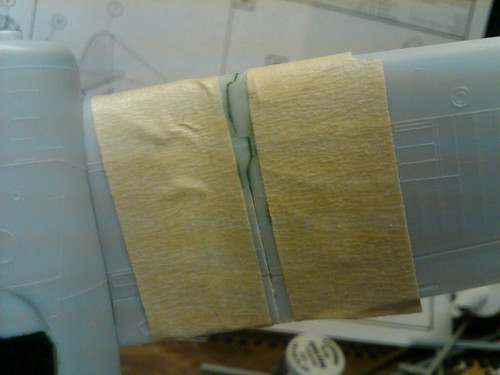
 (BTW, resin seats are hazardous... they get you addicted and then you start spending all your money on them!)
(BTW, resin seats are hazardous... they get you addicted and then you start spending all your money on them!)


Can you explain me haw can Do the enlistment ?
 |


