Air Campaigns
Want to start or join a group build? This is where to start.
Corsair's the Sky Pirates Campaign
windysean
_VISITCOMMUNITY
Wisconsin, United States
Joined: September 11, 2009
KitMaker: 1,917 posts
AeroScale: 563 posts
Posted: Friday, October 07, 2011 - 04:58 PM UTC
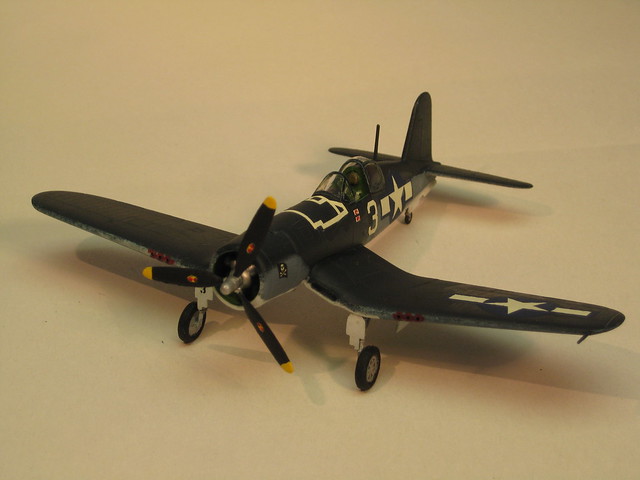
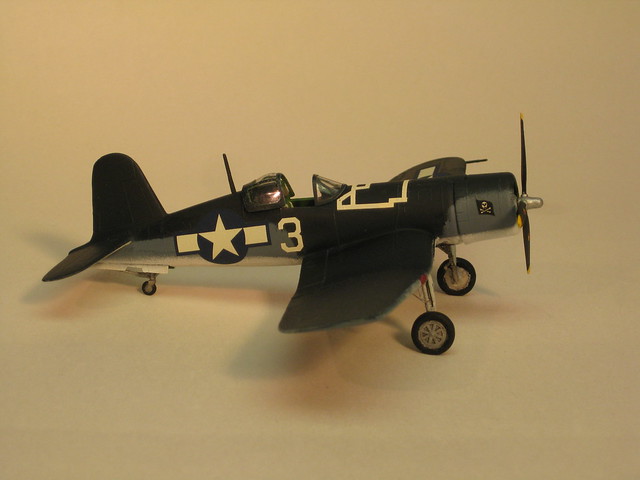
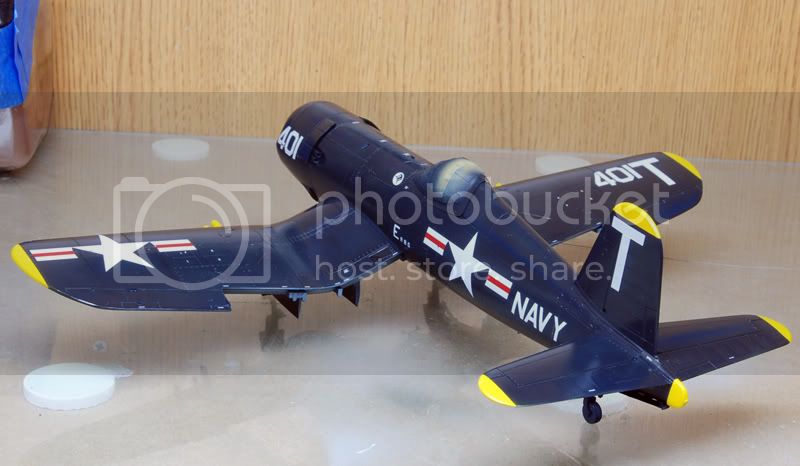
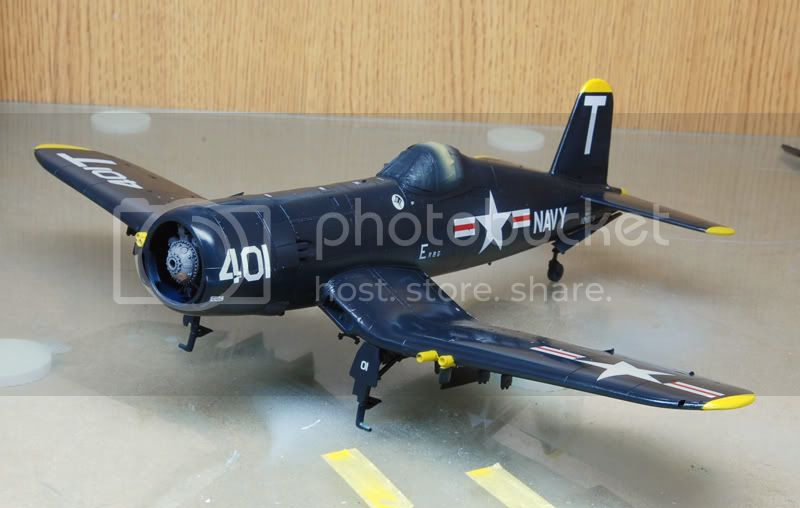
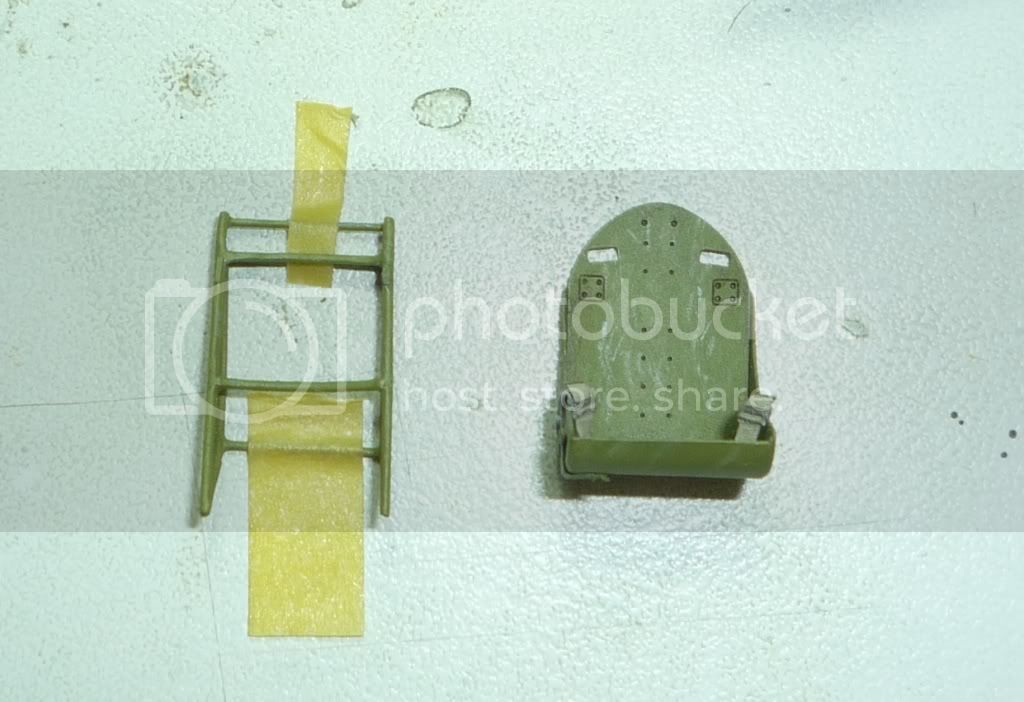
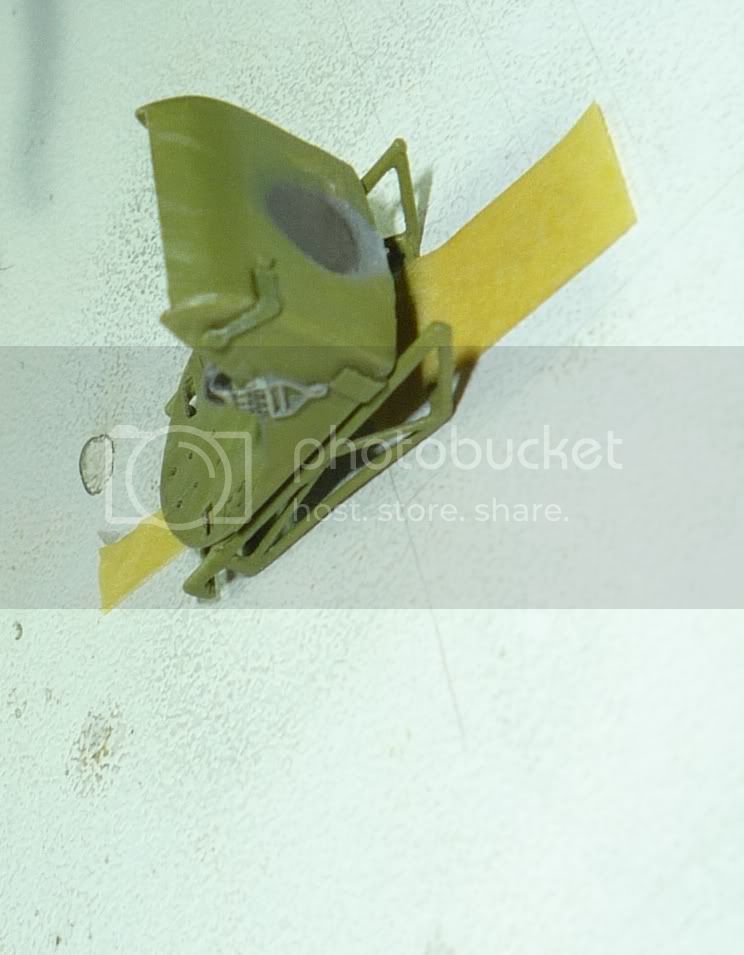
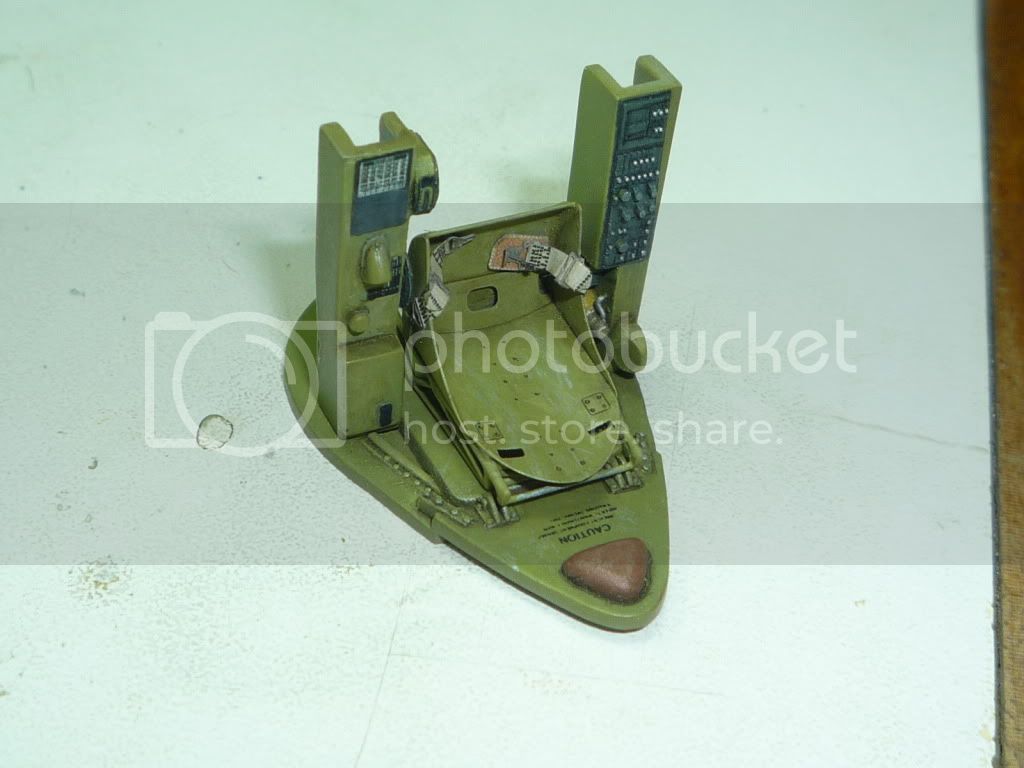
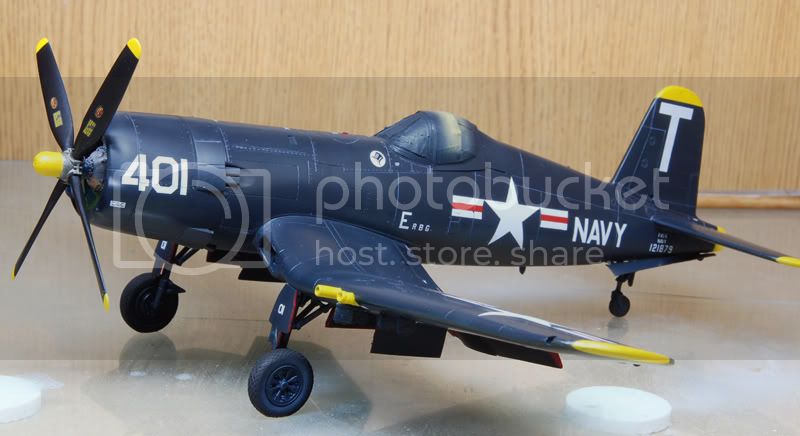
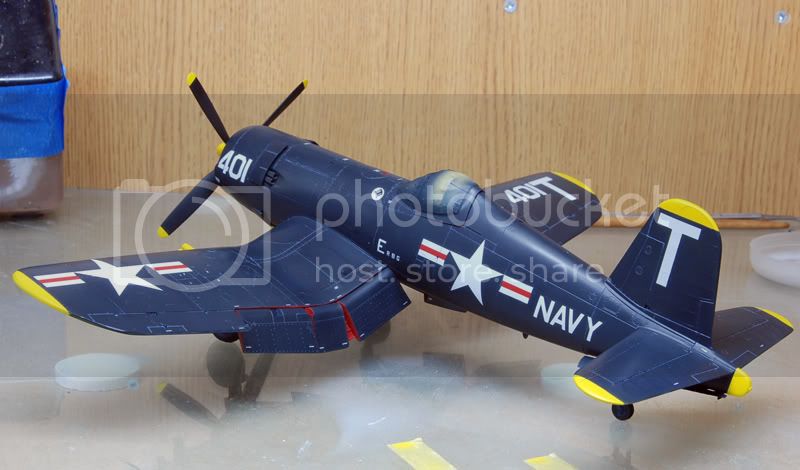
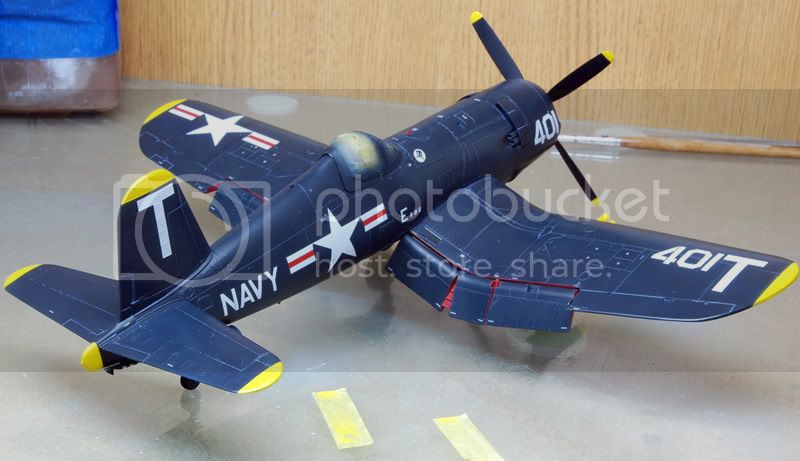
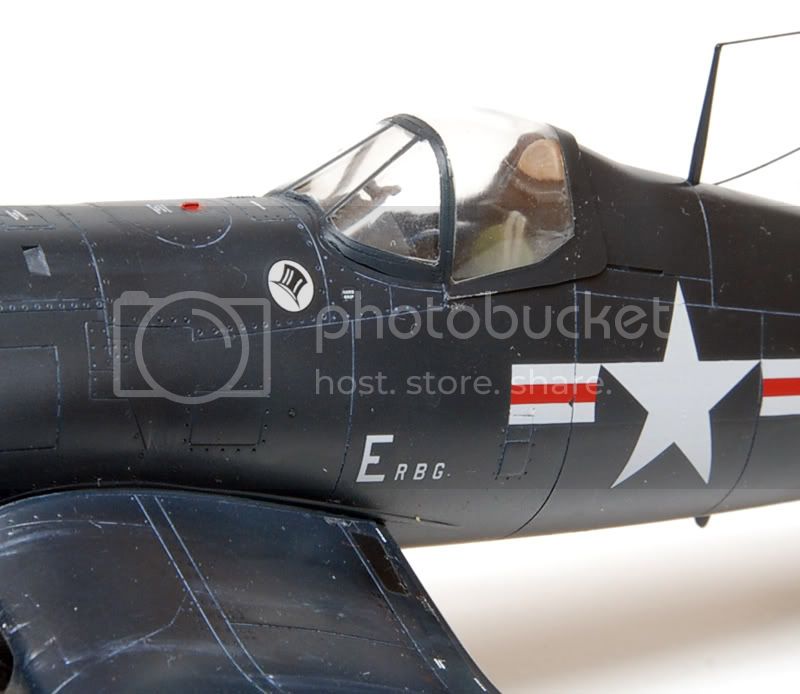
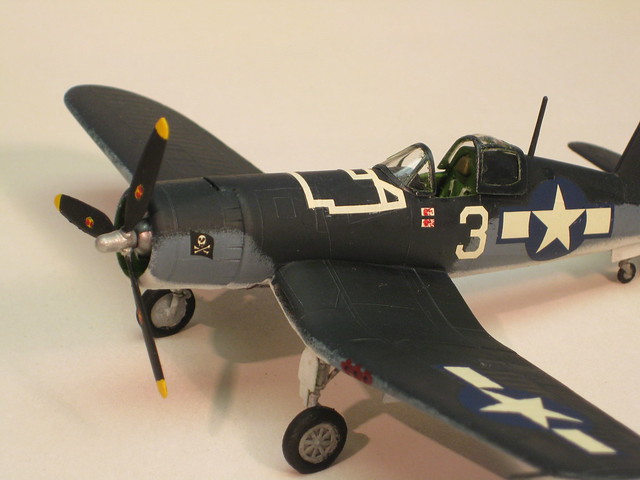
Ah ha! I stole that tape decal from a second F4U that I had waiting on the shelf (for the Aeroscale What If? Campaign), and I think it worked. I coated it with very diluted Elmer's glue to make sure the cowl decal stays in place for good this time!
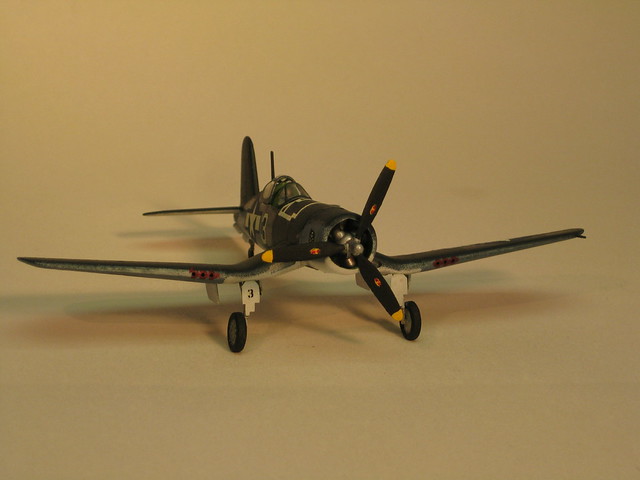
I'm also proud of the "3" decal on the wheel cover that I split down the center to portray a stenciled number.
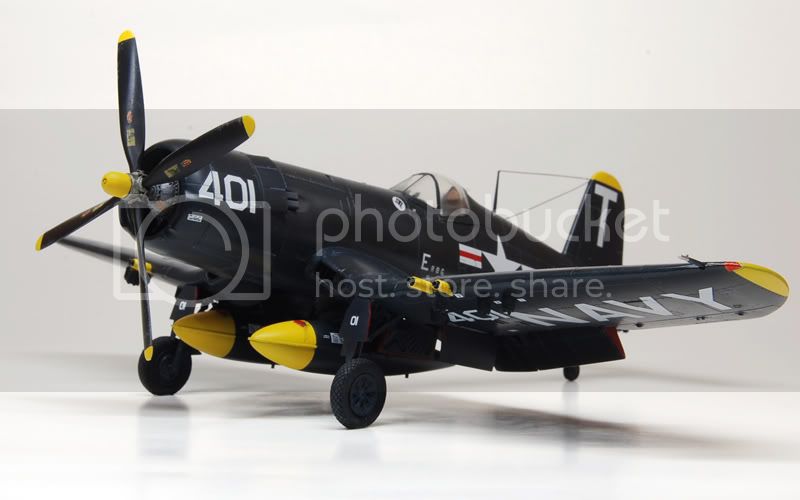
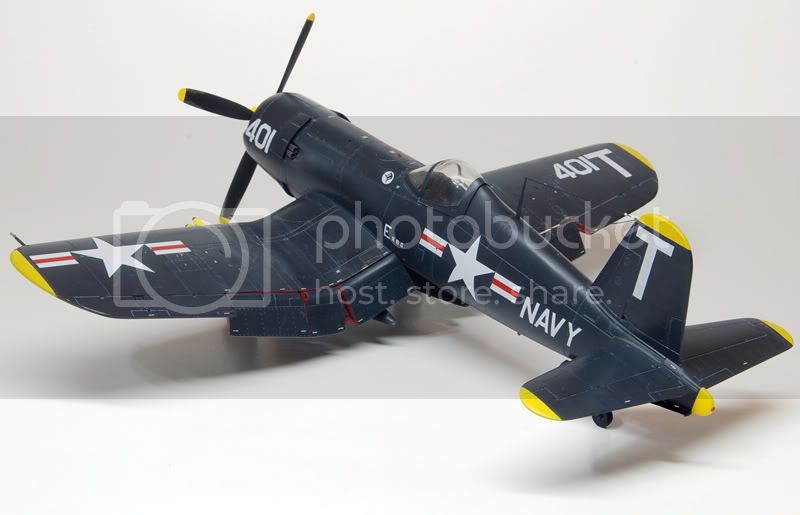
Here's my latest baby...
IMG_1255
IMG_1258
IMG_1253
IMG_1251
Wrap this build up with a bow, and I'm on to the next one!
Cheers, everyone!
-Sean H.
BlackWidow
_VISITCOMMUNITY
European Union
Joined: August 09, 2009
KitMaker: 1,732 posts
AeroScale: 1,336 posts
Posted: Saturday, October 08, 2011 - 05:04 AM UTC
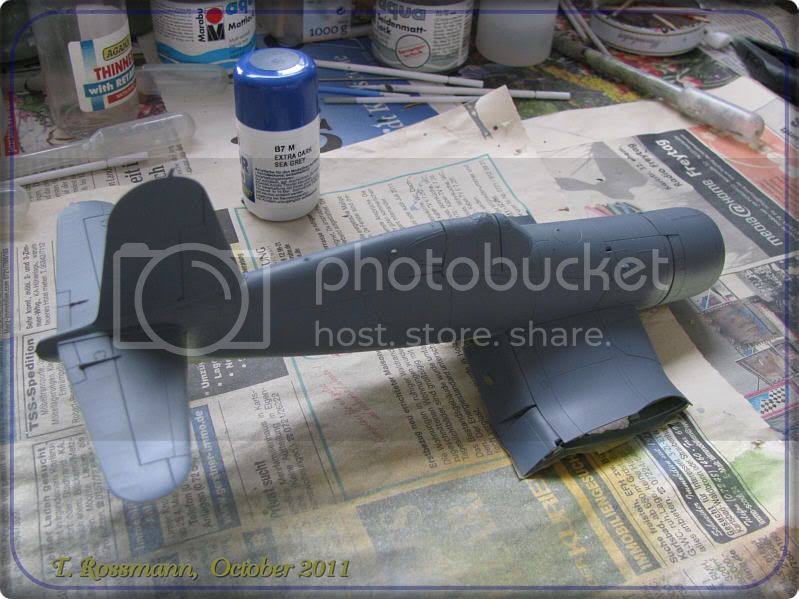
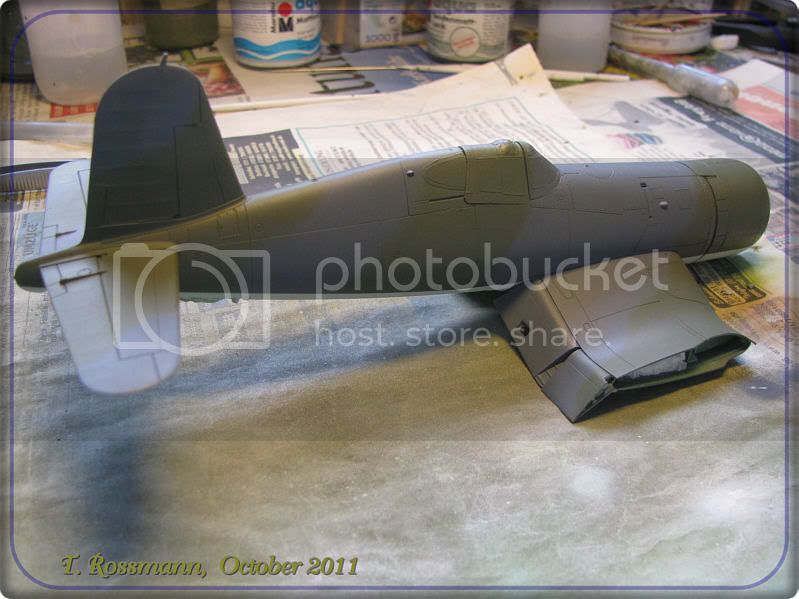
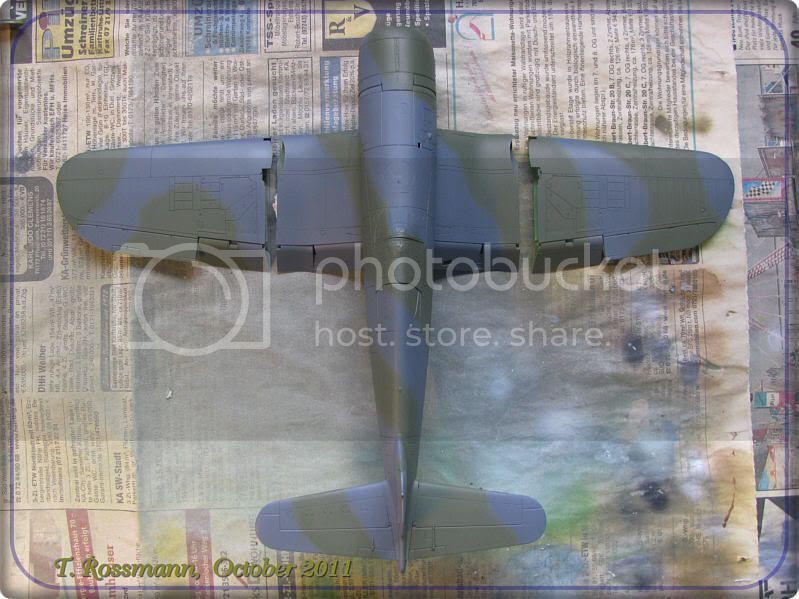
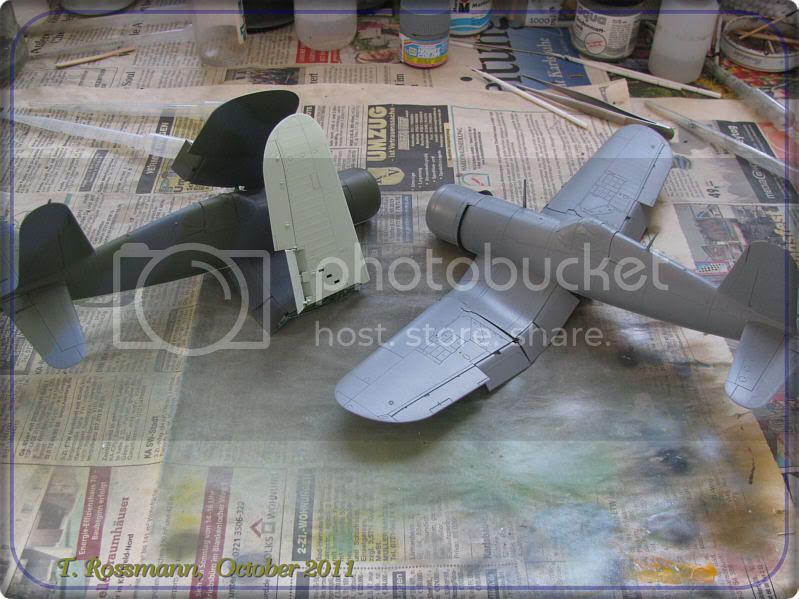
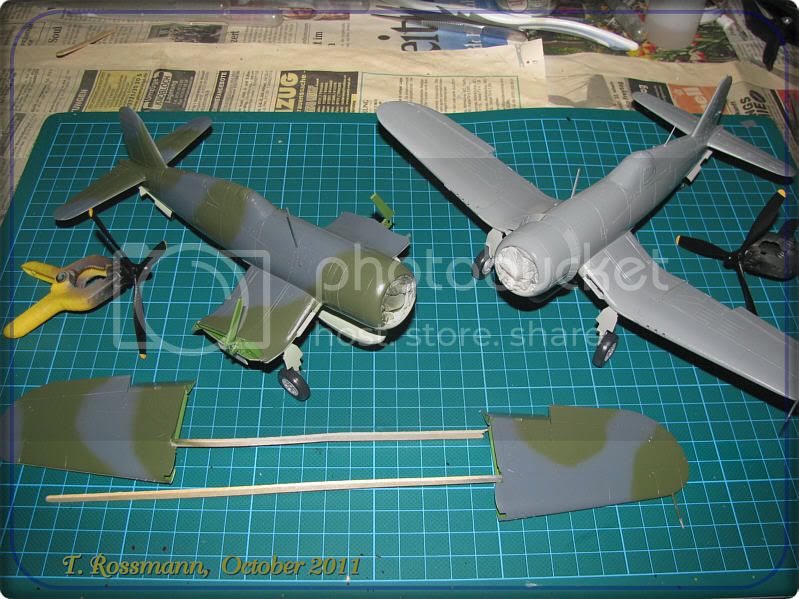
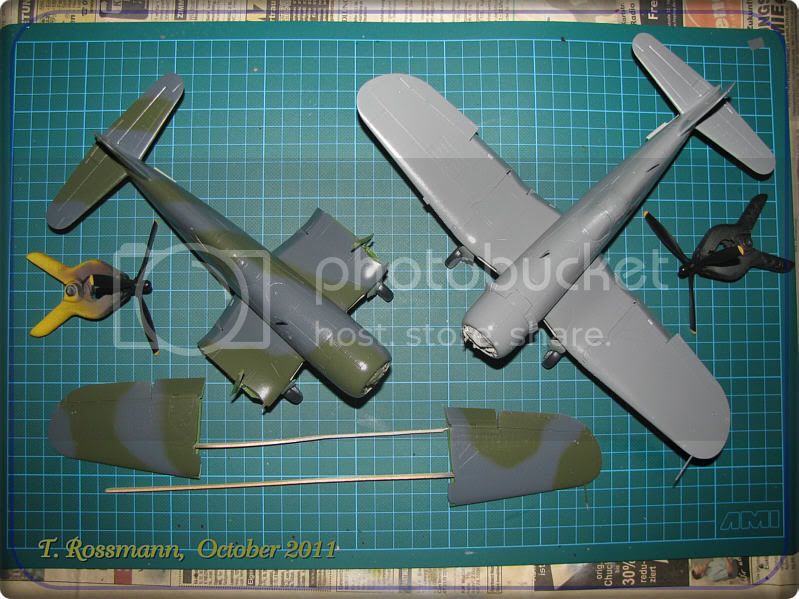
This is how far I got with the FAA-Birdcage. My work on Friday evening .....
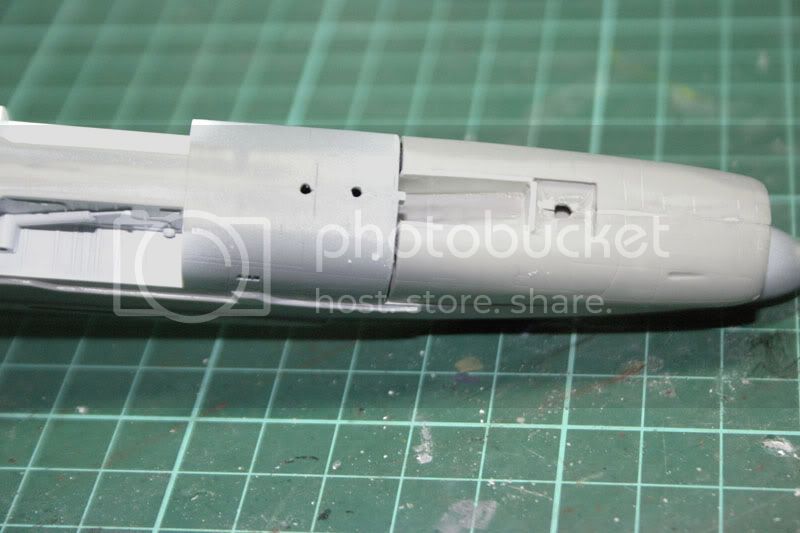

and from today afternoon ......


This camo looks easier than it was to bring on but I'm really satisfied with my work. I hope I have enough time tomorrow to throw some paint on the Kiwi

Happy modelling
Torsten
BlackWidow
_VISITCOMMUNITY
European Union
Joined: August 09, 2009
KitMaker: 1,732 posts
AeroScale: 1,336 posts
Posted: Sunday, October 09, 2011 - 04:53 AM UTC
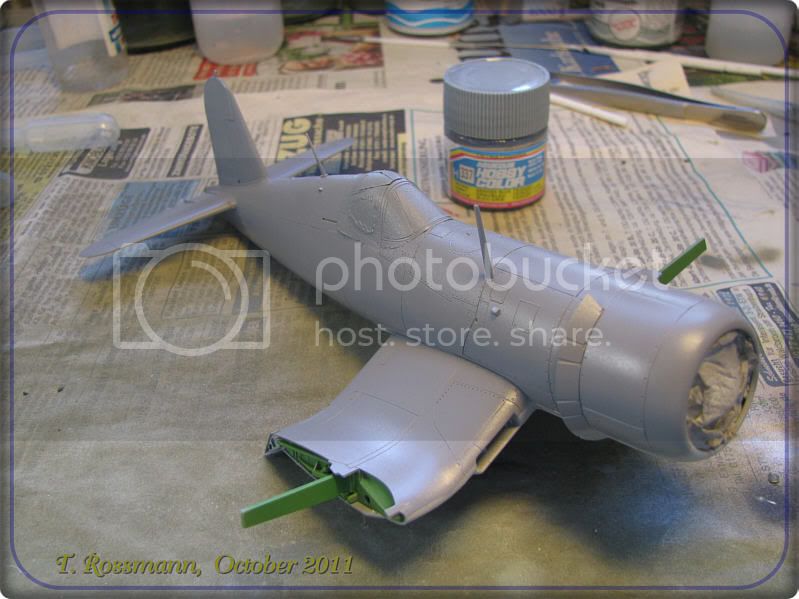
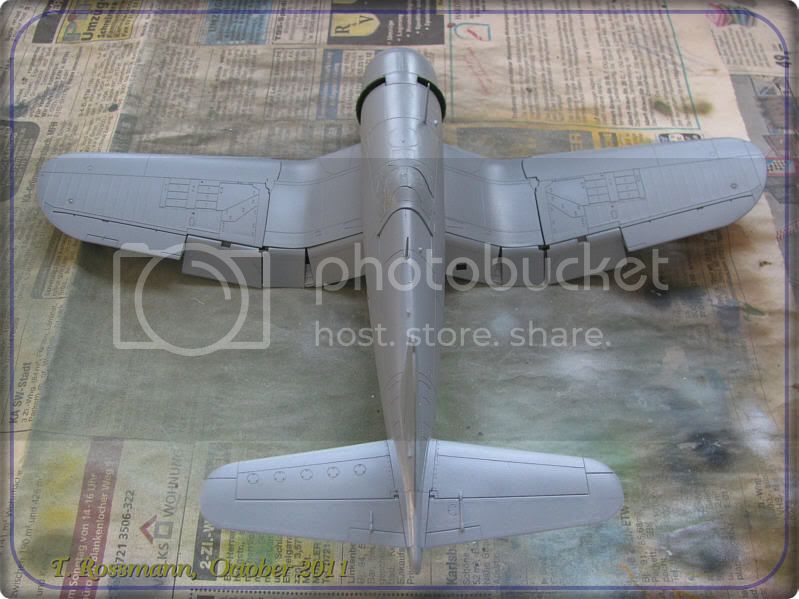
The New Zealander was in the paint shop today.....


Just test fitting. I will glue the wings to the fuselage tonight ....

Another test fitting .....

Not too bad, isn't it? All major paint work ist done on both. Next week follow the landing gears and the propellers .....


Happy modelling!
Torsten
Tomcat31
#042
_VISITCOMMUNITY
England - North East, United Kingdom
Joined: November 18, 2006
KitMaker: 2,828 posts
AeroScale: 1,720 posts
Posted: Sunday, October 09, 2011 - 09:11 AM UTC
The SLUFF is nearly ready for the paint shop

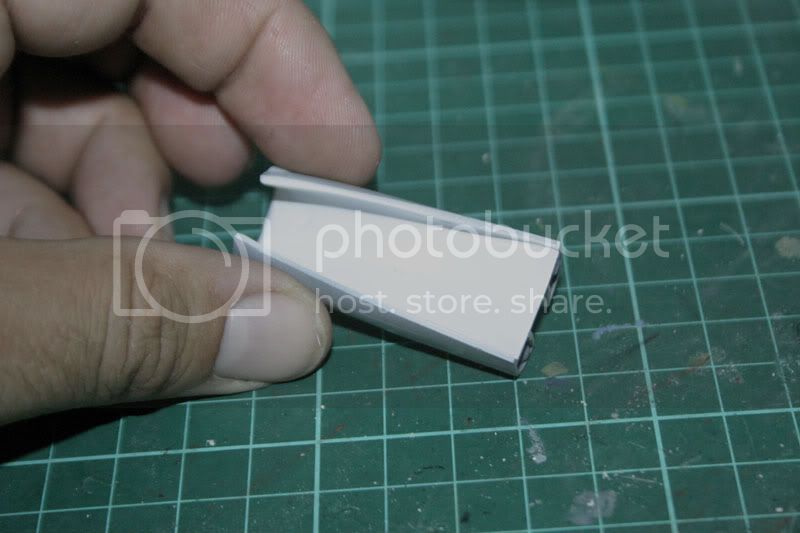
The intake was smoothed out and painted white


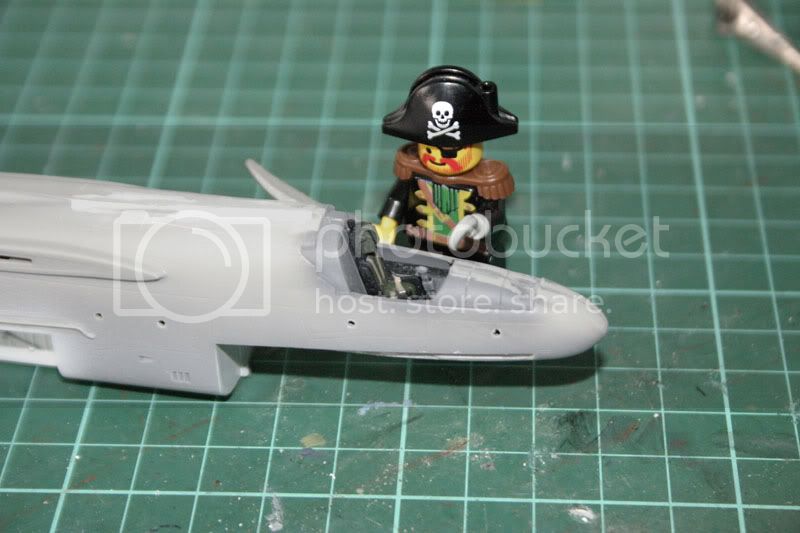
Fitted the seat


And fitted the intake


Fit is not the best but while fitting the intake I boxed in the front undercarriage so i could cram some more lead shot in the spaces in the intake


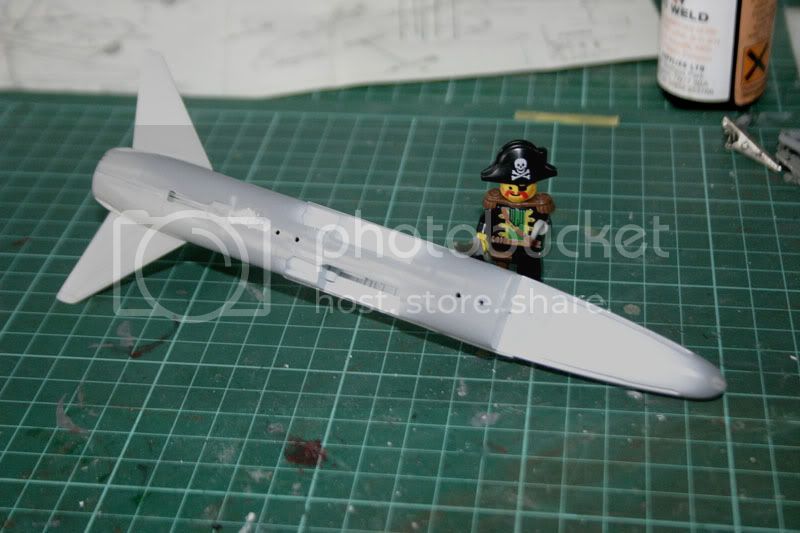
Stuck some more bits on and then primed the plane


Hopefully the some paint will be applied over the next week once any flaws have been identified and corrected

As always comments, suggestions and critique is always welcomed
emroglan
_VISITCOMMUNITY
Istanbul, Turkey / Türkçe
Joined: December 16, 2004
KitMaker: 1,163 posts
AeroScale: 255 posts
Posted: Sunday, October 09, 2011 - 05:25 PM UTC
Decalling is done with my Corsair. Except a piece of the 410 ripping off on the left side, no problems so far. Hopefully I'll get another gloss coat on her today. Tomorrow I'll have a minor eye surgery, so I don't know when I will be able to continue. They say I'll be okay by Wednesday, but I might not be able to use irritants such as thinner for a week or two. Well, we will see.


tmccall
_VISITCOMMUNITY
Hawaii, United States
Joined: February 16, 2009
KitMaker: 43 posts
AeroScale: 15 posts
Posted: Sunday, October 09, 2011 - 07:45 PM UTC


Future applied, on to the decals. I'll be using the outstanding BarracudaCals F4U-1 Corsair Part 1, representing White 422 "Palpatatin Pauli" flown by then Capt. Floyd Kirkpatrick in Okinawa during April 1945.
GhostHawk
_VISITCOMMUNITY
Cordoba, Argentina
Joined: January 27, 2011
KitMaker: 268 posts
AeroScale: 264 posts
Posted: Monday, October 10, 2011 - 03:21 PM UTC
Hello everybody, I´m still here... Late, but here...

What a NICE selections of Builts...! Congrats for All...!!!

Some small advances on my F4U-1d


The seat ready to glue whit the tube (strechet sprue) back-seat structure...


Superglued...


And dry-fit whit the armor-plate...

Bye, it´s late...
tmccall
_VISITCOMMUNITY
Hawaii, United States
Joined: February 16, 2009
KitMaker: 43 posts
AeroScale: 15 posts
Posted: Monday, October 10, 2011 - 08:30 PM UTC
Calling this one complete.


Pics posted in campaign gallery.
emroglan
_VISITCOMMUNITY
Istanbul, Turkey / Türkçe
Joined: December 16, 2004
KitMaker: 1,163 posts
AeroScale: 255 posts
Posted: Tuesday, October 18, 2011 - 10:05 AM UTC
Okay, very close to the finish with this one. But I need some suggestions...


Since the Sea Blue color is like a black hole (it swallows every color thrown at it), I cheated with my wash. Even black would have disappeared, so I mixed Payne's Grey oil color with white to create a very light bluish grey. The wash was applied with that color and made the details more prominent. Don't know how realistic this is, but it's impossible to make this thing look attractive otherwise.

Now, here's where I need some advice... Should I try to give some more movement (and a more weathered look) by making streaks with lighter colors on the wings, in the direction of movement? Or maybe prepare a very light blue/grey and apply this with an airbrush in the direction of flight, as if the wings were worn with flight? Or should I leave it as it is?

By the way, I decided to use the fuel tanks but scrap the rockets. Their fit is not so good, their level of detail is mediocre and they all have two punch holes that need to be filled and sanded smooth. I don't think they are worth the trouble.
GVoakes
_VISITCOMMUNITY
Manitoba, Canada
Joined: September 04, 2007
KitMaker: 193 posts
AeroScale: 32 posts
Posted: Tuesday, October 18, 2011 - 10:12 AM UTC
I've got paint onto mine, and most of the various bits attached. Finally got around to glossing it up last night, so here's hoping the decals should be on it by the weekend.


I used Tamiya Sea Blue for the first time, as my supply of Gunze was out and the LHS no longer carries it. I ended up mixing some white in and post-shaded it, just to provide some contrast. It's hard to tell from the pictures, but it's there!
Jessie_C
_VISITCOMMUNITY
British Columbia, Canada
Joined: September 03, 2009
KitMaker: 6,965 posts
AeroScale: 6,247 posts
Posted: Tuesday, October 18, 2011 - 11:45 AM UTC

Quoted Text

Now, here's where I need some advice... Should I try to give some more movement (and a more weathered look) by making streaks with lighter colors on the wings, in the direction of movement? Or maybe prepare a very light blue/grey and apply this with an airbrush in the direction of flight, as if the wings were worn with flight? Or should I leave it as it is?


I think that just a very little bit of streaking would make it look good. You could also do exhaust streaks in light grey with a hint of brown. I used chalk on mine. The anti-glare panel was painted in flat rather than glossy blue. That would also add some visual interest.
GhostHawk
_VISITCOMMUNITY
Cordoba, Argentina
Joined: January 27, 2011
KitMaker: 268 posts
AeroScale: 264 posts
Posted: Tuesday, October 18, 2011 - 02:25 PM UTC
Hello Everybody...!

Emre, I agree whit Jessica... Some Straeking in the direction of flight and the exhaust stain will help a lot to bring your model to a life...

But, on my small experience, mix and thin the color whit clear first, you can use Gloss or Satin or Mate... Or mix it... To make diferent textures... and colors... where you need glossy surface... or where you need opaque tones more than color

Thanks..!!!

And I´m sorry for my English...
emroglan
_VISITCOMMUNITY
Istanbul, Turkey / Türkçe
Joined: December 16, 2004
KitMaker: 1,163 posts
AeroScale: 255 posts
Posted: Tuesday, October 18, 2011 - 09:16 PM UTC
Oh my...there are exhaust stains on my model in those photos! I guess I should add more grey, they disappeared on the navy blue again.

Okay then, I'll try to add streaking and more movement tonight. Then I'll install the gun barrels and the antenna and call it done!

Jessica, is the anti-glare panel the area to the forward of the cockpit? If so I think I can use more matt varnish or a very light coat of navy blue mixed with grey to make it duller.
Jessie_C
_VISITCOMMUNITY
British Columbia, Canada
Joined: September 03, 2009
KitMaker: 6,965 posts
AeroScale: 6,247 posts
Posted: Wednesday, October 19, 2011 - 03:17 AM UTC

Quoted Text

Jessica, is the anti-glare panel the area to the forward of the cockpit? If so I think I can use more matt varnish or a very light coat of navy blue mixed with grey to make it duller.


Yes. The whole nose from the bottom edges of the windscreen forward was matte rather than gloss. Matte varnish would work very well.
BlackWidow
_VISITCOMMUNITY
European Union
Joined: August 09, 2009
KitMaker: 1,732 posts
AeroScale: 1,336 posts
Posted: Wednesday, October 19, 2011 - 11:21 PM UTC
There's some great work going on here, folks!
Both my Corsairs see already the end of the assembly line. Everything is painted and put together - just the wings for the FAA-Corsair and the props are not yet at the right place. Future is on and the birds are now waiting for the decals. I hope to finish by end of next week .....


Happy modelling!
Torsten
emroglan
_VISITCOMMUNITY
Istanbul, Turkey / Türkçe
Joined: December 16, 2004
KitMaker: 1,163 posts
AeroScale: 255 posts
Posted: Sunday, October 23, 2011 - 09:44 AM UTC
Hello everyone,

I'm calling my Corsair done. Ready to fly and reporting for duty!

Special thanks to everyone here who helped my build with sharing information, comments and ideas. Now, onto the what-if campaign!


warreni
_VISITCOMMUNITY
South Australia, Australia
Joined: August 14, 2007
KitMaker: 5,926 posts
AeroScale: 2,201 posts
Posted: Sunday, October 23, 2011 - 01:20 PM UTC
I go with the easy solution, put soem FOD covers over them.. the intakes that is!
shorty53
#330
_VISITCOMMUNITY
Queensland, Australia
Joined: July 15, 2011
KitMaker: 175 posts
AeroScale: 103 posts
Posted: Sunday, October 23, 2011 - 10:25 PM UTC

Emre, your Corsair looks fantastic! The light grey panel lines have worked really well. Nice work.
emroglan
_VISITCOMMUNITY
Istanbul, Turkey / Türkçe
Joined: December 16, 2004
KitMaker: 1,163 posts
AeroScale: 255 posts
Posted: Sunday, October 23, 2011 - 11:35 PM UTC
Thank you John! It actually turned out better than I expected, so I'm happy with it.
windysean
_VISITCOMMUNITY
Wisconsin, United States
Joined: September 11, 2009
KitMaker: 1,917 posts
AeroScale: 563 posts
Posted: Monday, October 24, 2011 - 01:39 AM UTC
Nice builds going.
Nice finish Emre! Well done.
-Sean.
SGTJKJ
#041
_VISITCOMMUNITY
Kobenhavn, Denmark
Joined: July 20, 2006
KitMaker: 10,069 posts
AeroScale: 3,788 posts
Posted: Monday, October 24, 2011 - 09:40 AM UTC
Very nice build, Emre! Cool looking Corsair.
GhostHawk
_VISITCOMMUNITY
Cordoba, Argentina
Joined: January 27, 2011
KitMaker: 268 posts
AeroScale: 264 posts
Posted: Thursday, October 27, 2011 - 04:29 AM UTC
Yes, like many others... I Like your Corsair Emre...!!!

Congrats & BTW on "what if"

Bye...
emroglan
_VISITCOMMUNITY
Istanbul, Turkey / Türkçe
Joined: December 16, 2004
KitMaker: 1,163 posts
AeroScale: 255 posts
Posted: Thursday, October 27, 2011 - 07:56 PM UTC
Thank you people! It's good to have such positive feedback
BlackWidow
_VISITCOMMUNITY
European Union
Joined: August 09, 2009
KitMaker: 1,732 posts
AeroScale: 1,336 posts
Posted: Saturday, October 29, 2011 - 08:46 AM UTC
That's realy a great campaign build, Emre. I like that all blue Corsair. Just finished my Corsairs Will try to make some photos tomorrow to show them soon.

Happy modelling!
Torsten
vanize
_VISITCOMMUNITY
Texas, United States
Joined: January 30, 2006
KitMaker: 1,954 posts
AeroScale: 1,163 posts
Posted: Saturday, October 29, 2011 - 03:28 PM UTC
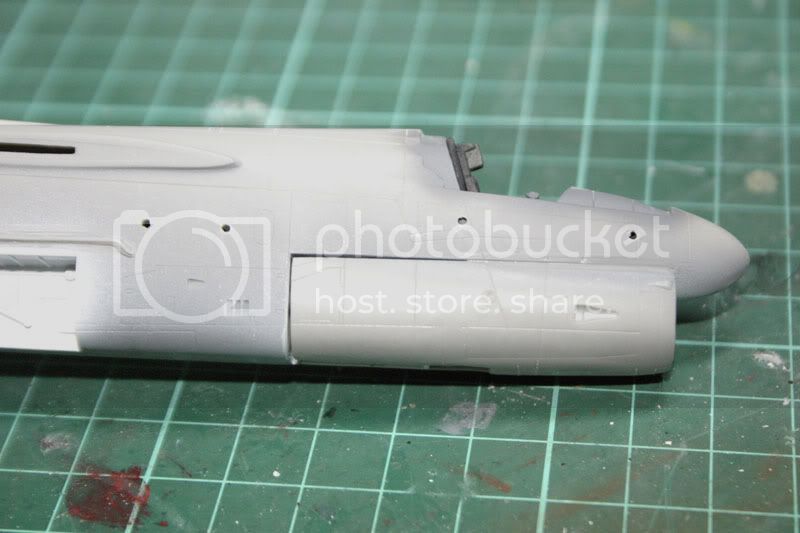
Since some interest was expressed in how I dealt with the intake trunk of my A-7E, I'll post about that.

Below is series photo of the progress, which took quite a bit of effort really:

- upper left: The worst of the best I was able to manage during raw assembly

- upper right: After the application of CA filler roughly sanded down and then topped with fine grit epoxy putty which was shaped using water and and small dowels of various diameters while still setting and then smoothed out, mostly using circular files, once it cured.

- lower left: priming reveals a few minor flaws remaining that were again dealt with using fine tooth files. I had to repeat this step several times, and cleaning out the sanding dust before each primer application was an ordeal in itself.

- lower right: Finished with the intake. Passed the primer test and ready to move on (finally!)


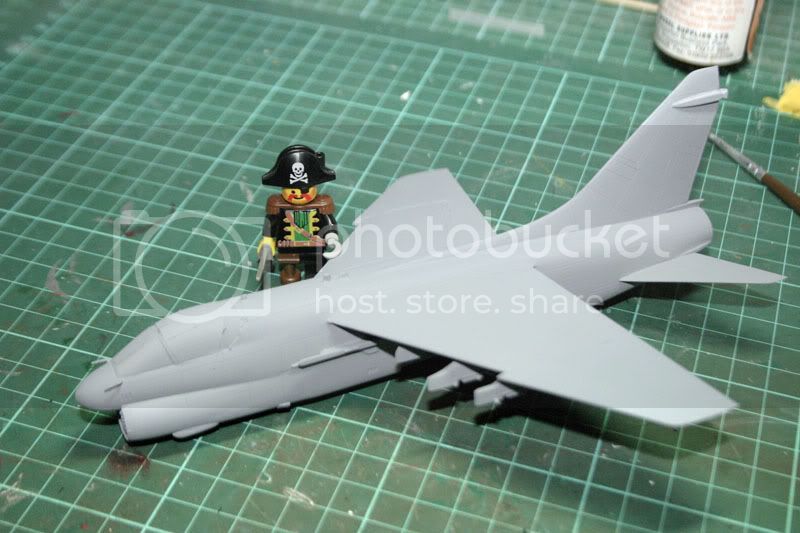
Here is the current state of the build:


you'll notice i have left the bulk of the cockpit work till later, which is not my usual order of things, but this kit seems to leave plenty of room for that when the fuselage halves are mated.

I've decided to do the wings in the folded position. I may regret that decision, but I figured it was worth a try.