Corsair's the Sky Pirates Campaign
European Union
Joined: August 09, 2009
KitMaker: 1,732 posts
AeroScale: 1,336 posts
Posted: Monday, October 31, 2011 - 10:58 PM UTC
My campaigns for 2020:
MiGs - Done !
The Big Three - Done !
65 years Bundeswehr - Done !
40 years Leopard 2 - Done !
Land Lease - Done !
European Union
Joined: August 09, 2009
KitMaker: 1,732 posts
AeroScale: 1,336 posts
Posted: Monday, October 31, 2011 - 11:07 PM UTC
My campaigns for 2020:
MiGs - Done !
The Big Three - Done !
65 years Bundeswehr - Done !
40 years Leopard 2 - Done !
Land Lease - Done !
Cordoba, Argentina
Joined: January 27, 2011
KitMaker: 268 posts
AeroScale: 264 posts
Posted: Tuesday, November 01, 2011 - 01:11 AM UTC
Hi,
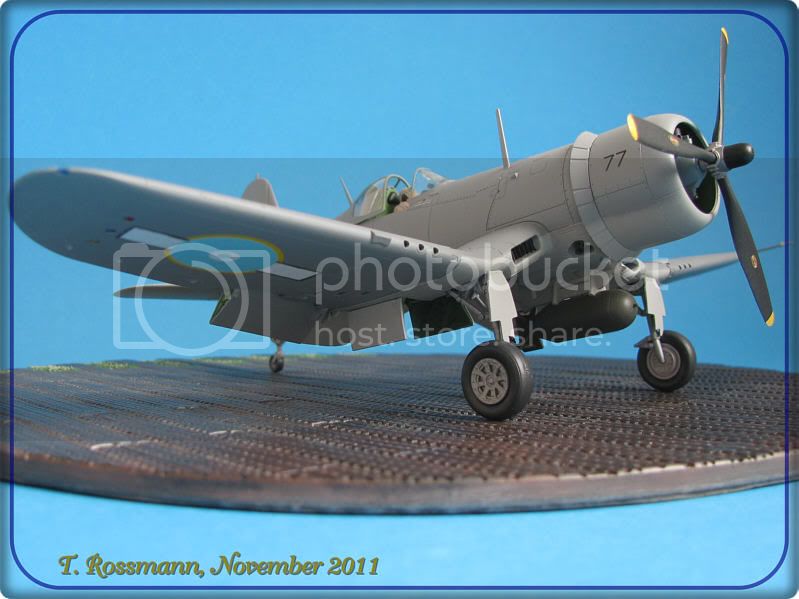
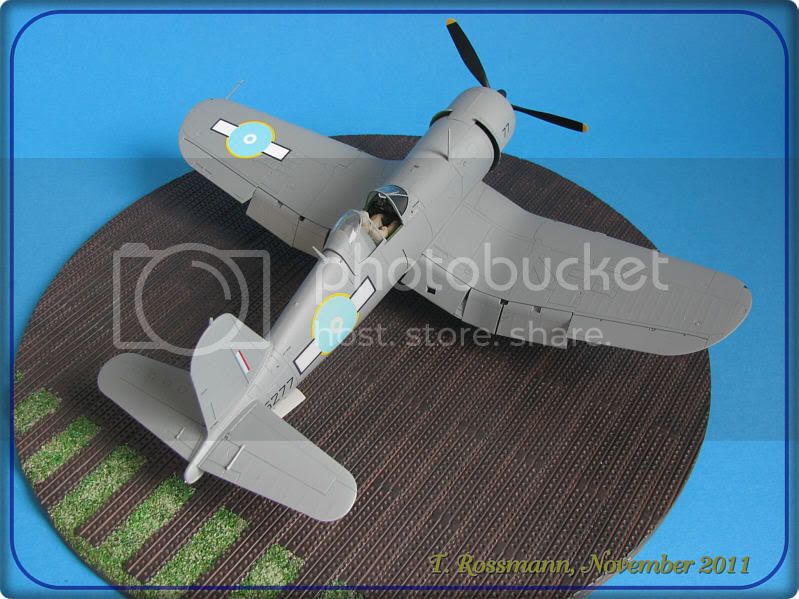
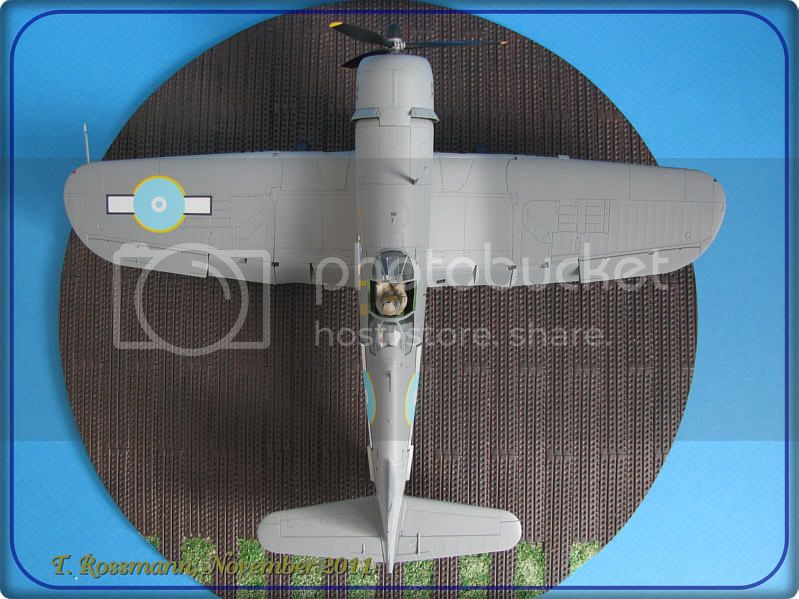
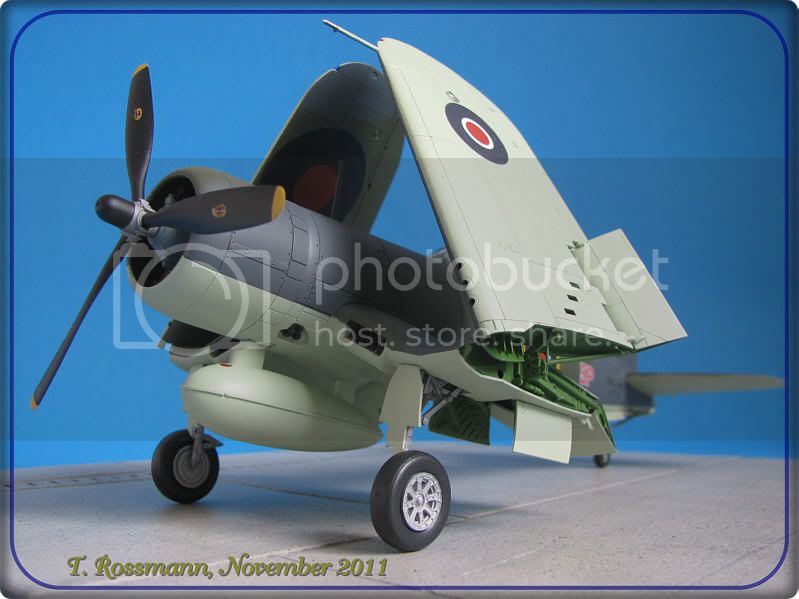
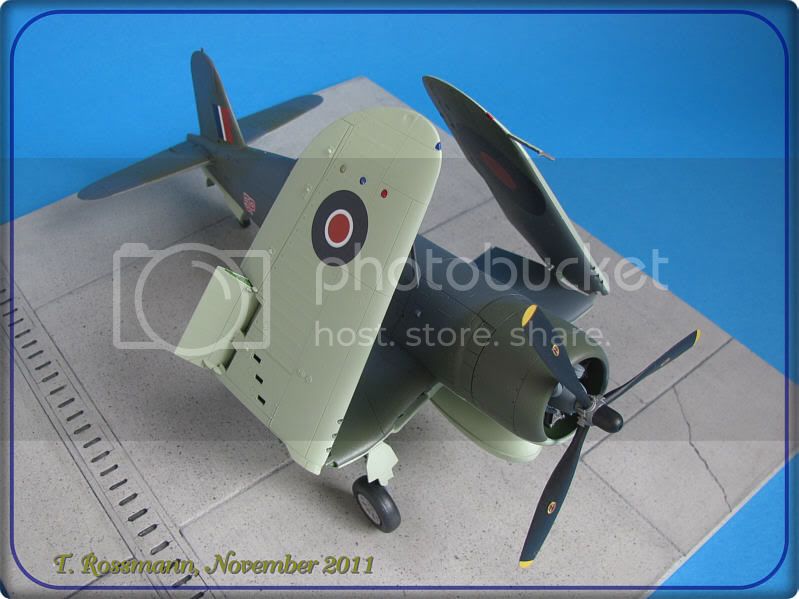
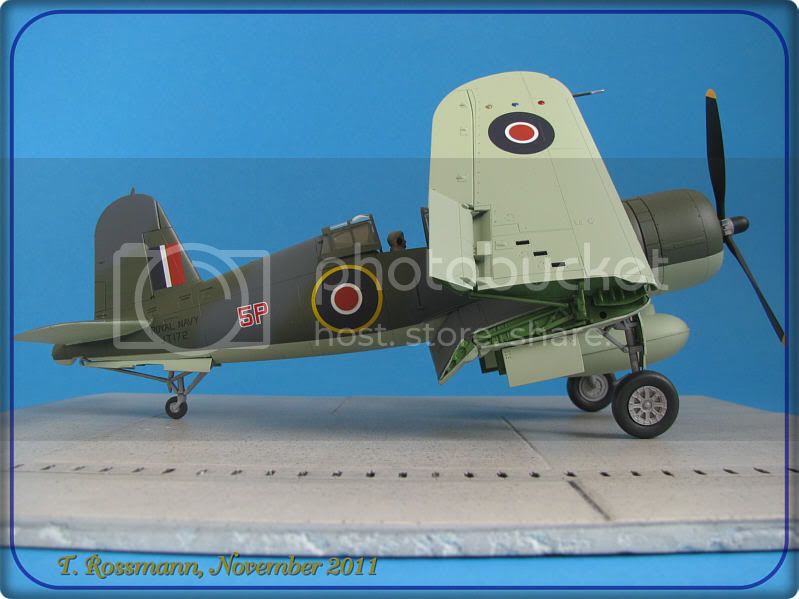
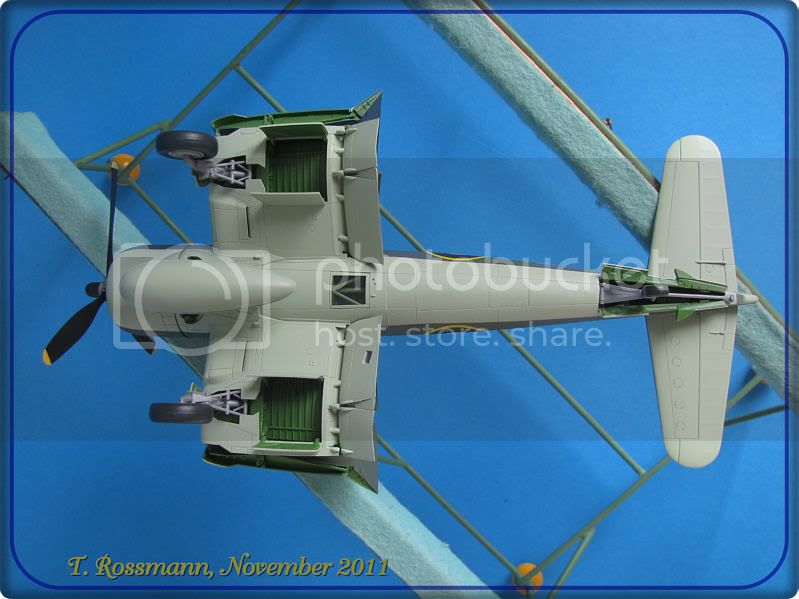
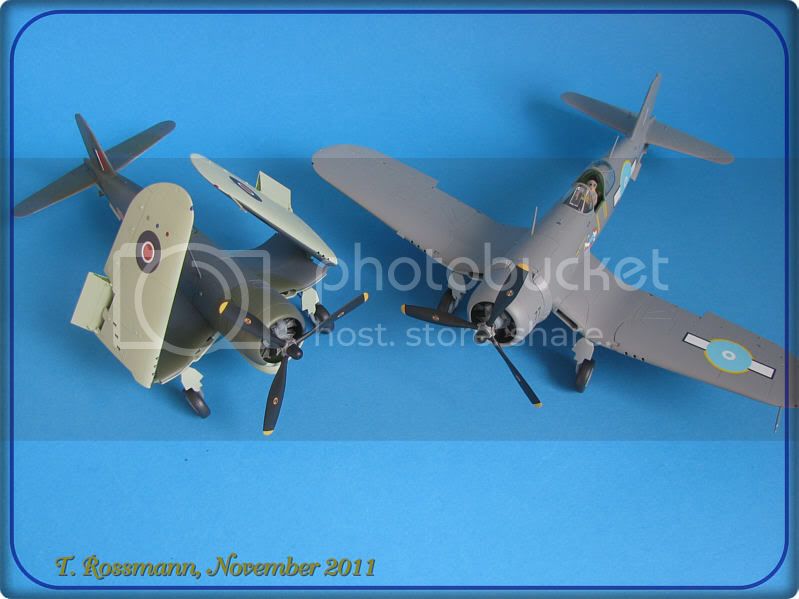
I love your Corsairs Torsten...! Pritty nice ones...

Thanks for share...!
Diego

Istanbul, Turkey / Türkçe
Joined: December 16, 2004
KitMaker: 1,163 posts
AeroScale: 255 posts
Posted: Wednesday, November 02, 2011 - 03:15 AM UTC
Nice ones Torsten!
Vance, which kit was that you are working on?
Proud Supporter of Armorama Campaigns
Texas, United States
Joined: January 30, 2006
KitMaker: 1,954 posts
AeroScale: 1,163 posts
Posted: Wednesday, November 02, 2011 - 03:28 AM UTC
Quoted Text
Vance, which kit was that you are working on?
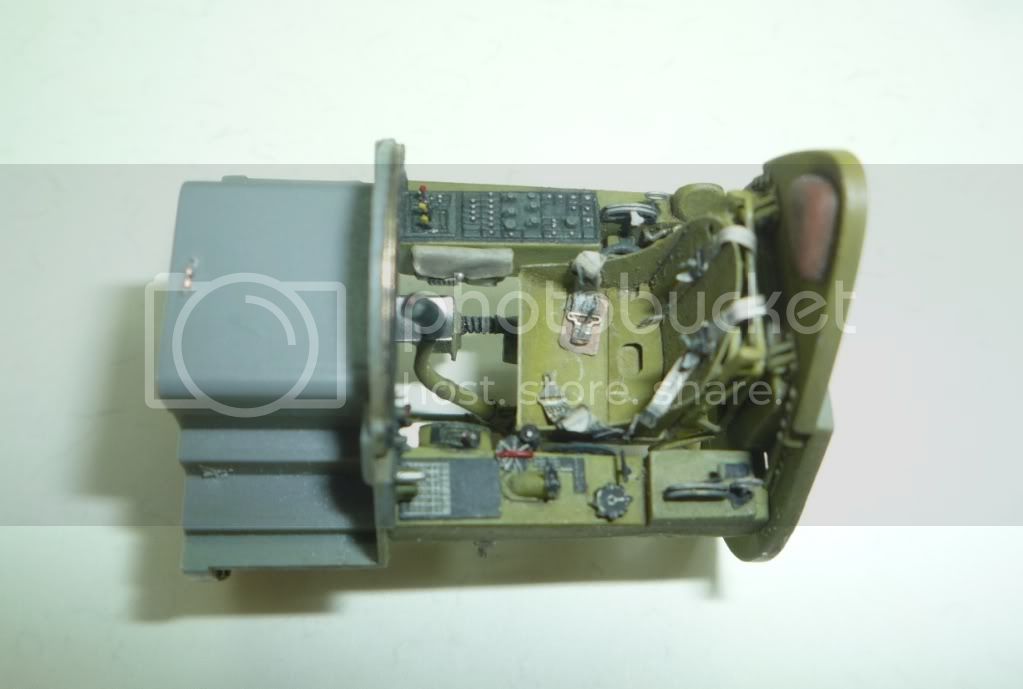
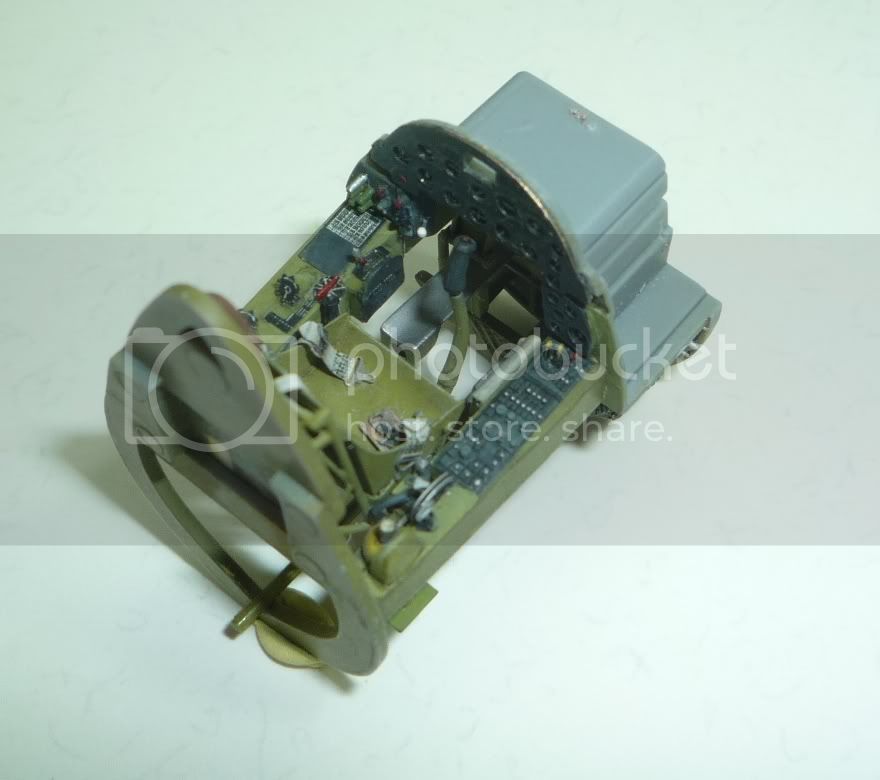
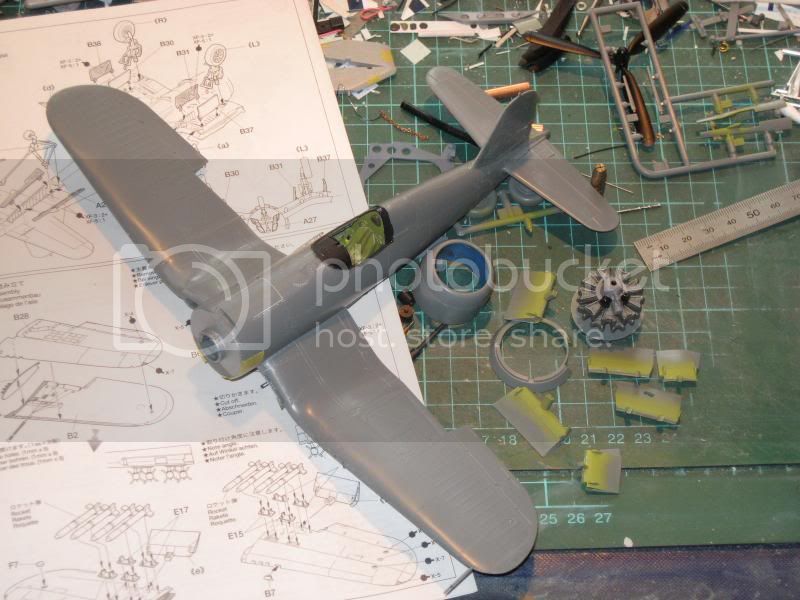
Hasegawa A-7E (1/48)
Istanbul, Turkey / Türkçe
Joined: December 16, 2004
KitMaker: 1,163 posts
AeroScale: 255 posts
Posted: Wednesday, November 02, 2011 - 07:24 AM UTC
Uh oh, that was what I was afraid of. I have that kit also in the stash, I hope that intake doesn't really make me sorry...
Proud Supporter of Armorama Campaigns
Cork, Ireland
Joined: April 30, 2010
KitMaker: 232 posts
AeroScale: 66 posts
Posted: Sunday, November 06, 2011 - 02:10 AM UTC
Hi folks,
Some great builds so far!
A Kiwi Corsair? I guess I learn something new every day- great build by the way.
Anywho, I'm entering the fray with a Tamiya 1/72 kit:
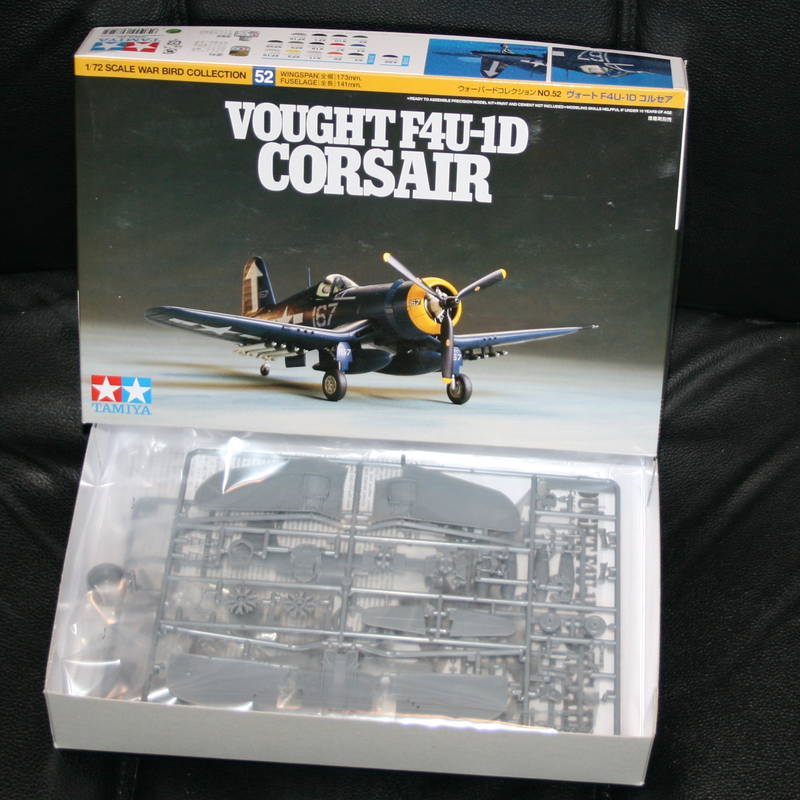
Kit looks awesome for 1/72.
Back to building!
Eoin
You don't learn nothing unless you make mistakes
Wisconsin, United States
Joined: March 17, 2009
KitMaker: 156 posts
AeroScale: 153 posts
Posted: Tuesday, November 08, 2011 - 05:06 PM UTC
Hello all-
I spent a few minutes paging back a few to see progress. There's some good work being done (as usual).
@Torsten - That's a nice pair of clean build Corsairs there. I like seeing the choice of non-US livery.
@Emre - Fantastic build, as always.
I've started my Hasegawa 1:48 F4U-5N. I'll be using Eagle Strike decals - "Corsairs Over Korea Part 1" - for the decal option shown below - "Kleenex" from VC-3 on the USS Bon Homme Richard in 1951. Just wanted to do that bird because....I make Kleenex!

So far it's a nice, simple kit...just what I needed.
Regards,
Tom
On the workbench:
WNW 1/32 Fokker E.II for Canvas Falcons III
Trumpeter 1/32 MiG-21F-13 for 2nd Gen Jets Campaign
Wisconsin, United States
Joined: September 11, 2009
KitMaker: 1,917 posts
AeroScale: 563 posts
Posted: Wednesday, November 09, 2011 - 04:25 AM UTC
Quoted Text
Hello all-
I spent a few minutes paging back a few to see progress. There's some good work being done (as usual).
@Torsten - That's a nice pair of clean build Corsairs there. I like seeing the choice of non-US livery.
@Emre - Fantastic build, as always.
I've started my Hasegawa 1:48 F4U-5N. I'll be using Eagle Strike decals - "Corsairs Over Korea Part 1" - for the decal option shown below - "Kleenex" from VC-3 on the USS Bon Homme Richard in 1951. Just wanted to do that bird because....I make Kleenex!
So far it's a nice, simple kit...just what I needed.
Regards,
Tom
Yes, excellent work being done here, and nice to build a nice, simple kit once in a while to recharge the batteries.

That, and I always wondered who made Kleenex. I have a few allergies, so I appreciate such a quality product.

Thanks for posting!
-Sean H.
Current: model railroad layout
Stalled a while ago:
. 1950's Chrome, WW II Twins
Last completed: Police Car

#259
Massachusetts, United States
Joined: October 23, 2011
KitMaker: 2,265 posts
AeroScale: 1,715 posts
Posted: Friday, November 18, 2011 - 08:31 AM UTC
Hello folks, amazing work in this campaign so far !
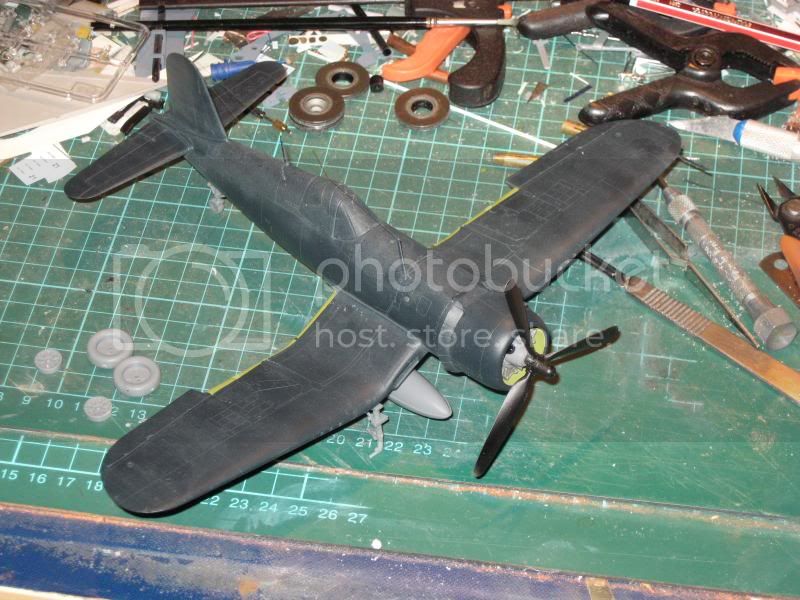
I see no one has entered a 144th Corsair yet, so Im in with this little kit.
17 parts including the canopy ! two nights shifts should be enough to get it get it ready for decals.
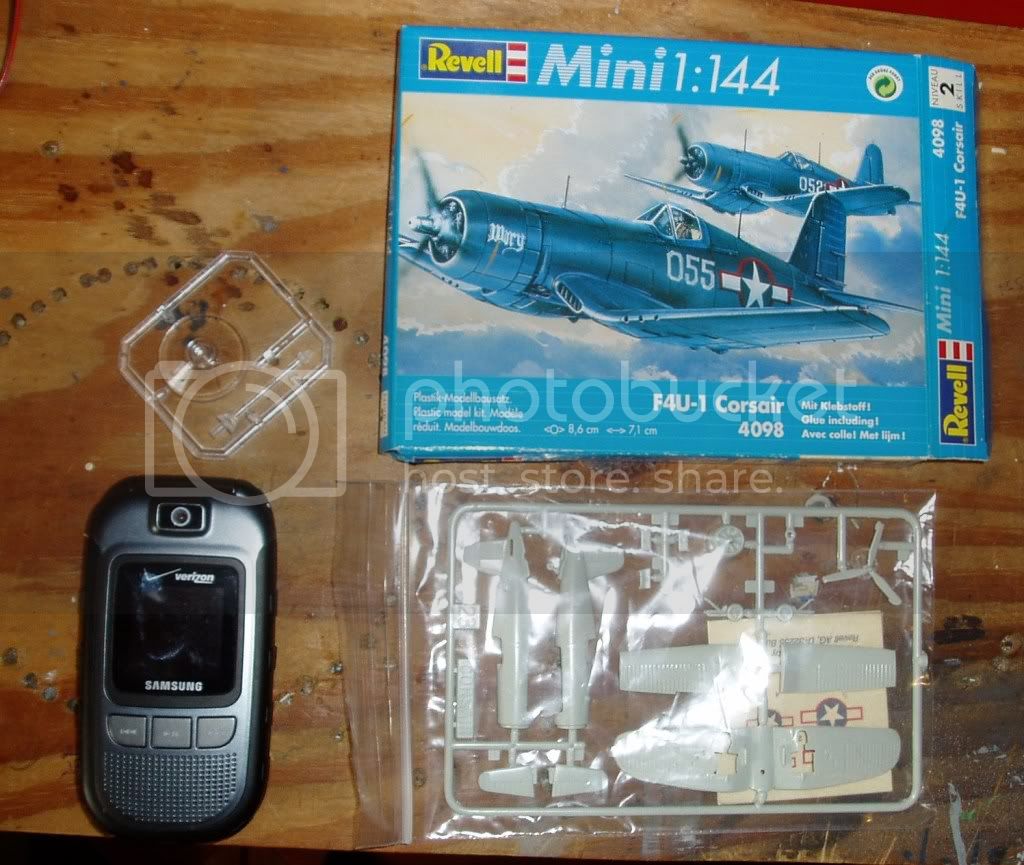
Im going to do a post war solid Sea Blue scheme, to fit in with a group of other planes Im working on, however unlikely this particular model of the plane was to have survived the war.
#259
Massachusetts, United States
Joined: October 23, 2011
KitMaker: 2,265 posts
AeroScale: 1,715 posts
Posted: Sunday, November 20, 2011 - 12:03 PM UTC
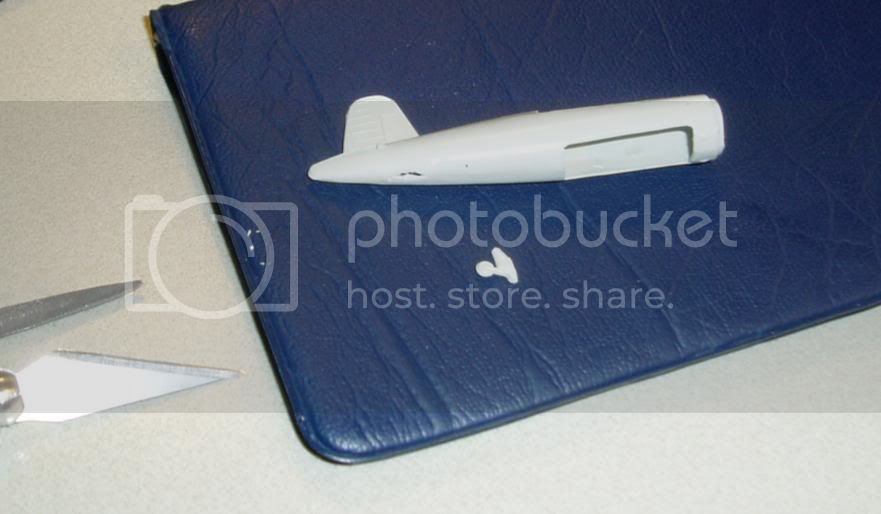
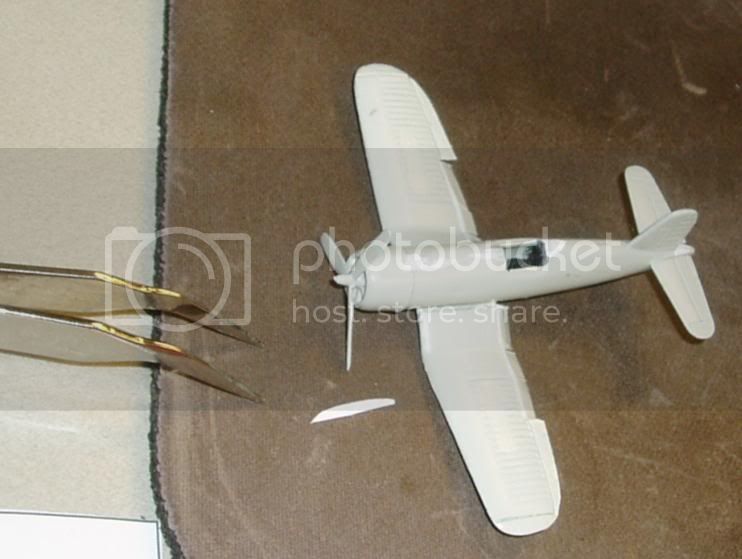
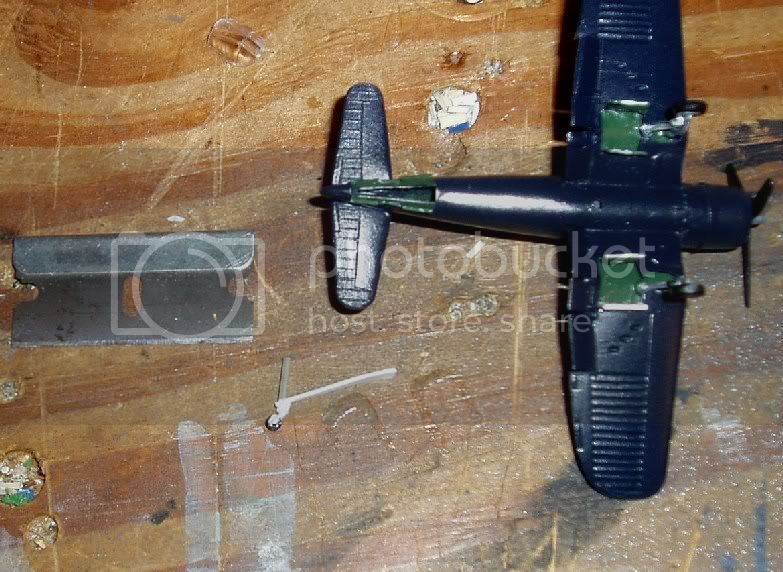
So I got this 144th Corsair out of the bag today.
Ugh - flash - flash everywhere !

I put the fuselage halves together, now I'm looking at this tail wheel treatment.

I cant stand it.
Im going to have to cut that all off and scratch a decent well, set of doors, and wheel strut.
#259
Massachusetts, United States
Joined: October 23, 2011
KitMaker: 2,265 posts
AeroScale: 1,715 posts
Posted: Sunday, November 20, 2011 - 07:29 PM UTC
fortunately there are many excellent pictures in this thread of what the tail wheel well and doors should look.
I was able to save the wheel together with a substantial stump
the well cut and doors fab-ed.
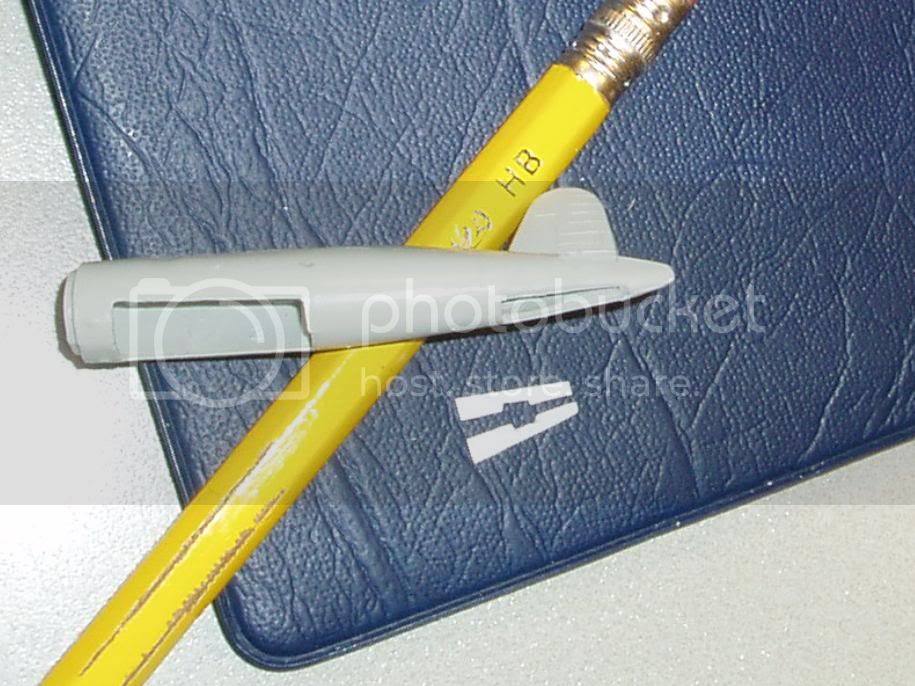
I'm feeling alot better about this kit now.
#259
Massachusetts, United States
Joined: October 23, 2011
KitMaker: 2,265 posts
AeroScale: 1,715 posts
Posted: Monday, November 21, 2011 - 11:34 AM UTC
no cockpit in the kit
Revell skill level 2 = no detail parts

After seeing whats going on in this thread, I decided I would have to scratch up something.

Installing the cockpit after gluing the fuselage halfs together is bass ackwards, but thats how I roll.
the parts count is now up to 26.
I also noticed that most of the planes in here are shown with their flaps down. Im going to have to go at that wing with a saw. Tomorrow.
#259
Massachusetts, United States
Joined: October 23, 2011
KitMaker: 2,265 posts
AeroScale: 1,715 posts
Posted: Tuesday, November 22, 2011 - 06:26 AM UTC
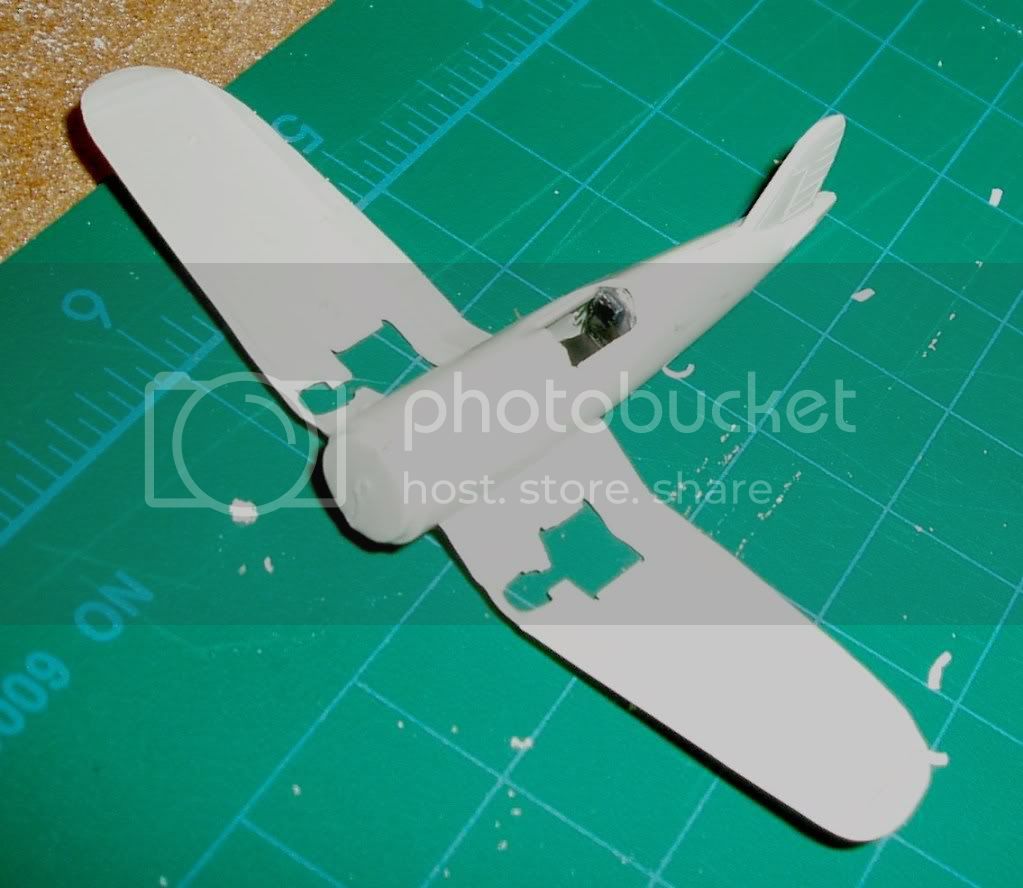
cut the flaps loose with the razor blade, and some strips of .040 half round to dress up the gaps.

Applying the magic of Pro-weld

That worked out pretty well in my estimation.
Wisconsin, United States
Joined: September 11, 2009
KitMaker: 1,917 posts
AeroScale: 563 posts
Posted: Tuesday, November 22, 2011 - 06:58 AM UTC
Jonathan! Having done mine in 1/72, I told myself that was the best that could be done at such a small scale-- now I see you come along at half that and do some excellent mods on the tailwheel and flaps. Bravo!
-Sean H.

Current: model railroad layout
Stalled a while ago:
. 1950's Chrome, WW II Twins
Last completed: Police Car
Istanbul, Turkey / Türkçe
Joined: December 16, 2004
KitMaker: 1,163 posts
AeroScale: 255 posts
Posted: Tuesday, November 22, 2011 - 08:19 AM UTC
Wow... Having switched to 1/48th scale as 1/72 seemed too small after 1/35th tanks, I can only say Wow to your efforts in 1/144 scale Jonathan!
Proud Supporter of Armorama Campaigns
#259
Massachusetts, United States
Joined: October 23, 2011
KitMaker: 2,265 posts
AeroScale: 1,715 posts
Posted: Tuesday, November 22, 2011 - 08:58 AM UTC
Thanks gents, for your kind comments.
I have been deeply involved in N scale trains (which is 1:160 here in the States), for many years, so 1:144 just comes naturally.
One learns to work in thousandths, and get comfortable with 5x optics all the time.
Also ,

I love little tiny things..!
#259
Massachusetts, United States
Joined: October 23, 2011
KitMaker: 2,265 posts
AeroScale: 1,715 posts
Posted: Tuesday, November 22, 2011 - 11:46 AM UTC
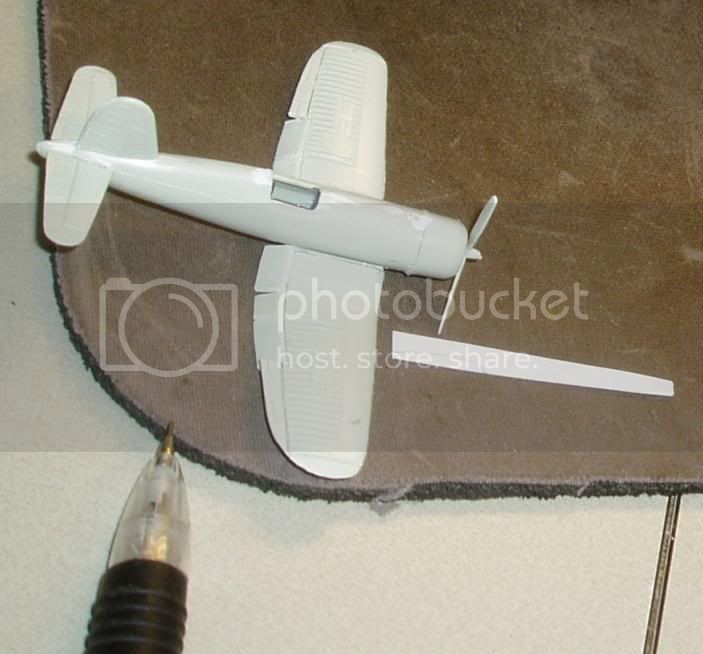
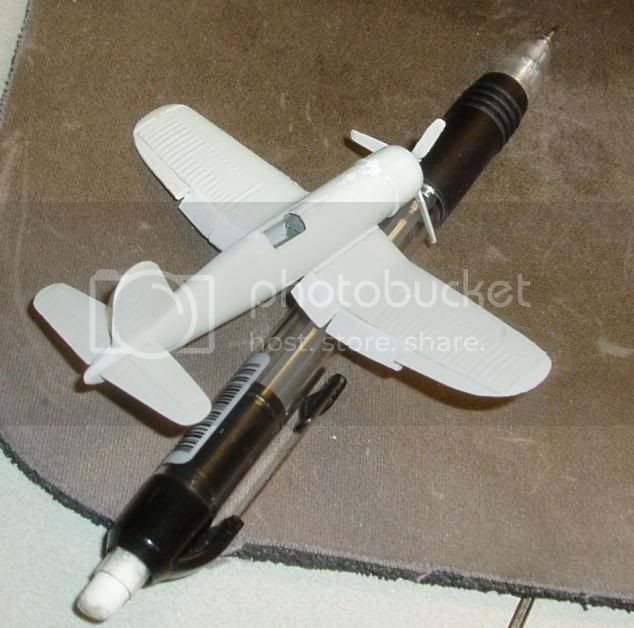
I've assembled the wing to the fuselage. some pretty big gaps to be filled.

the airframe is now complete with most filling and fairing done.
Still need to do something with the wing roots and cooler air intakes, but not tonight.
Here it is posed with another work in progress, an Anigrand resin model of the SB2C Helldiver.

#259
Massachusetts, United States
Joined: October 23, 2011
KitMaker: 2,265 posts
AeroScale: 1,715 posts
Posted: Thursday, November 24, 2011 - 08:01 AM UTC
this really is a crappy kit. there is a gap of .030" between the fuselage and the inside ends of the upper wing panels.
I scribed shims from stock to fill the gaps and then fared over those, didnt work out very well though, or at least, Im not going back to make them better.
Onward.
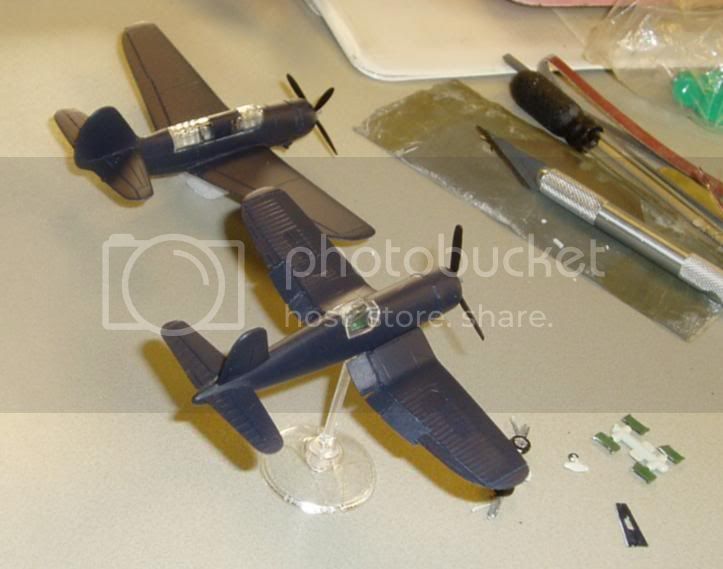
She's blue now, and Ive done some detail painting.
The cockpit Canopy is pretty homely also, oh well.
I think thats all on the Corsair til next week when Ill have time to shoot gloss lacquer on these planes, then I can get started on the decals.
#259
Massachusetts, United States
Joined: October 23, 2011
KitMaker: 2,265 posts
AeroScale: 1,715 posts
Posted: Saturday, November 26, 2011 - 09:42 AM UTC
I stole a few minutes today to shoot gloss lacquer on these.
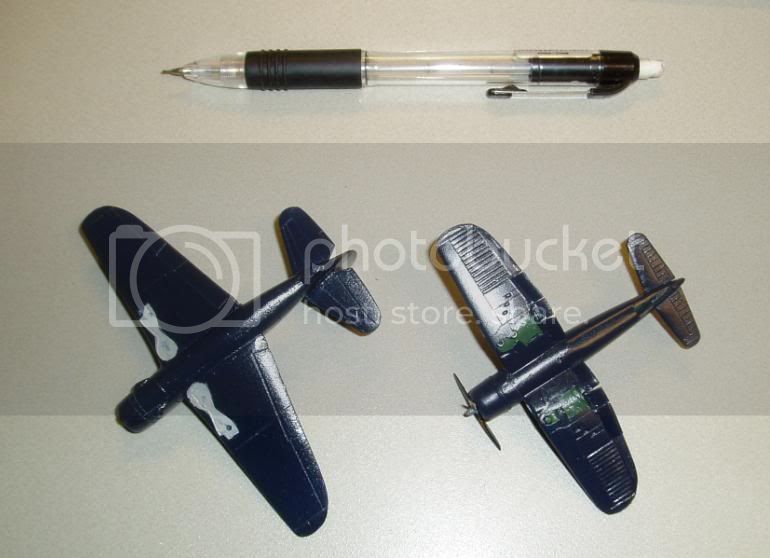
I notice that the sockets for the wheel struts inside the wing do not line up with the door openings. That means I will have to remove and replace them.

more parts to fab. I have now fabricated more parts than came in the box.
I see I will have to drill out those gun shell discharge holes, and engine exhausts.
Victoria, Australia
Joined: September 19, 2003
KitMaker: 708 posts
AeroScale: 674 posts
Posted: Friday, December 02, 2011 - 01:51 AM UTC
Hi All,
Some interesting builds have been progressing [in the past couple of months of my absence, as I had been helping look after my mother], though I have progressed on my Corsair whenever I could in between what free time I had.
A few touch up's are needed here and there, the under carriage legs and wheel hubs are yet to be painted, in the aluminium finish {thinking of using the Alcladd II on these items} and the rockets have to be added.
More to follow.
President:- Southern Model Club.
Those who never learn from history will always repeat it.
"When you go home tell them of us and say.
For your tomorrow we gave our today."
Texas, United States
Joined: June 02, 2008
KitMaker: 232 posts
AeroScale: 155 posts
Posted: Friday, December 02, 2011 - 03:52 AM UTC
Nice Corsair Rob! I like your Aussie F-16 too.
A couple of months back I went on a Corsair kit buying spree...I'm prone to those kinds of fits. So this campaign is the perfect excuse to start building a corsair.
So, 1/48 or 1/32...hmmmmmmmm.
"So it goes"
Kurt Vonnegut
#259
Massachusetts, United States
Joined: October 23, 2011
KitMaker: 2,265 posts
AeroScale: 1,715 posts
Posted: Saturday, December 10, 2011 - 11:41 AM UTC
I got the main landing gear in place, next was a challenge to scratch up a decent tail strut assembly. I distilled the design down to two pieces, and the stump of the wheel that came in the kit.
the wheel attached to the two pieces, prior to insertion.
hard to get focus just right in this scale. fabricated tailhook visible, attached to strut.
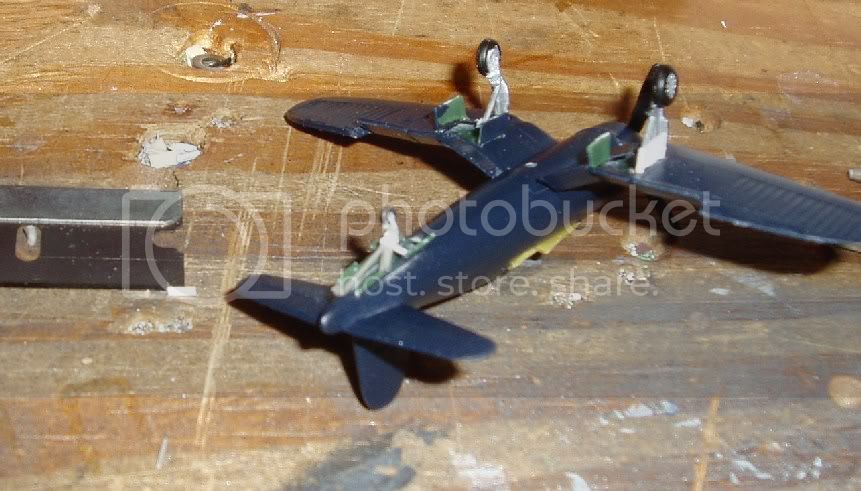
On its wheels !

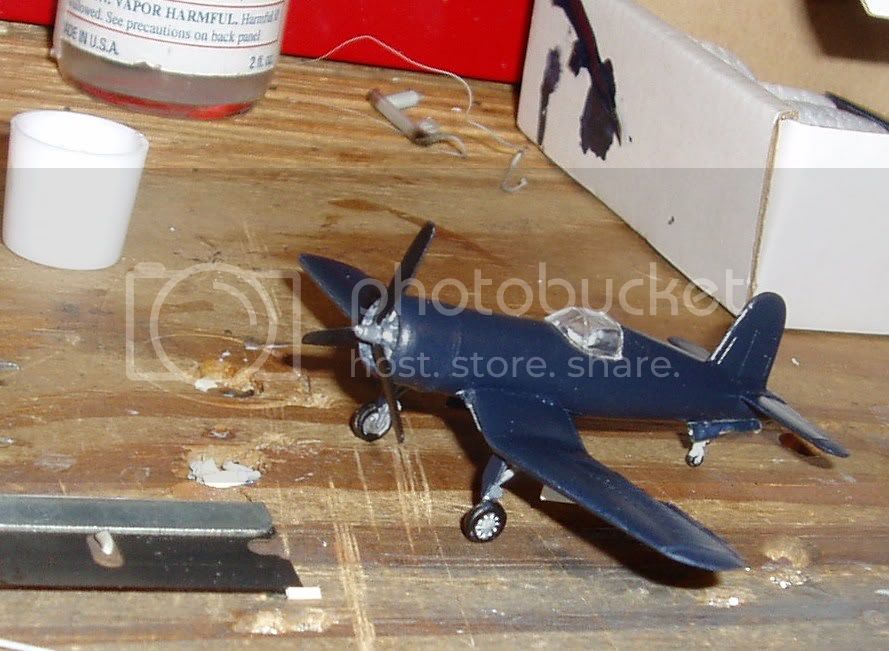
next quite a bit of touch up painting
Cordoba, Argentina
Joined: January 27, 2011
KitMaker: 268 posts
AeroScale: 264 posts
Posted: Wednesday, December 14, 2011 - 06:27 AM UTC
Wisconsin, United States
Joined: September 11, 2009
KitMaker: 1,917 posts
AeroScale: 563 posts
Posted: Wednesday, December 14, 2011 - 01:05 PM UTC
Wow, Diego! That's a really detailed, thorough job you've done! Fantastic!
-Sean H.
Current: model railroad layout
Stalled a while ago:
. 1950's Chrome, WW II Twins
Last completed: Police Car