Dave, good luck with the SU-30. Beautiful plane but that kit is a beast. Watch the intake trunks underneath the fuselage. They do not fit very well, to say the least.
Best wishes, Ian
Air Campaigns
Want to start or join a group build? This is where to start.
Want to start or join a group build? This is where to start.
Hosted by Frederick Boucher, Michael Satin
OFFICIAL: Super Sukhois Campaign

SaxonTheShiba

Joined: February 01, 2009
KitMaker: 1,233 posts
AeroScale: 663 posts

Posted: Tuesday, October 30, 2012 - 01:49 PM UTC
Nito74

Joined: March 04, 2008
KitMaker: 5,386 posts
AeroScale: 635 posts

Posted: Saturday, November 03, 2012 - 01:17 PM UTC
Hi guys,
I haven't touched a "bird" kit in a few years.. so a Sukhoi Campaign is a good excuse to get one back to the bench.
I only have Sukhoi's & Tupolev's in stash so..
I might no make it to the deadline, but why not give it a try ?
I haven't touched a "bird" kit in a few years.. so a Sukhoi Campaign is a good excuse to get one back to the bench.
I only have Sukhoi's & Tupolev's in stash so..
I might no make it to the deadline, but why not give it a try ?
Grenadier37

Joined: June 02, 2008
KitMaker: 232 posts
AeroScale: 155 posts

Posted: Thursday, November 08, 2012 - 05:14 AM UTC
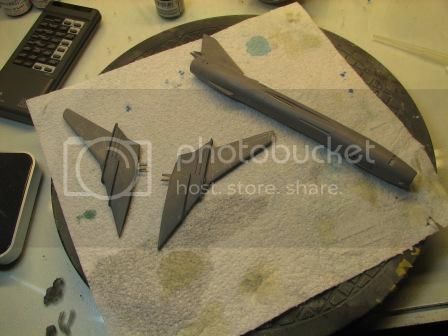
Progress on the Don't-Fitter continues. The fuselage and wings are rescribed and the cockpit is in and painted...and by "cockpit" I mean the rectangular shaped box devoid of any detail that fills the space below the canopies and between the fuselage halves. And by "painted" I mean it's a solid turquoise color.
Weeeeeeeeeeeeeeeeeeeeeeeeeeeeeeeee!
Pics are forthcoming.
Weeeeeeeeeeeeeeeeeeeeeeeeeeeeeeeee!
Pics are forthcoming.

Grenadier37

Joined: June 02, 2008
KitMaker: 232 posts
AeroScale: 155 posts

Posted: Sunday, November 11, 2012 - 03:06 PM UTC
As promised, pics of the Don't_Fitter. Note the nonexistent cockpit detail.


didgeboy

Joined: September 21, 2010
KitMaker: 1,846 posts
AeroScale: 103 posts

Posted: Monday, November 12, 2012 - 12:37 PM UTC
Managed to get a few more items taken care of on the Su 34. Gear struts assembled, tires painted. Gear bay doors painted inside and out, although I noted too late that the gear bay doors inside should be white, and not grey. Joy. All of the ordinance rails are on. The under side has received a first coat of the blue and the initial grey areas, along the wing leading edge and radome are all grey. The area aound the cockpit has been sprayed a dark olive. All of these areas will need to be taped (I so love taping things off) and the over all colours applied. I am hoping to get the gear bay doors on soon and then begin the upper paint work, or I might get the bottom finished and then seal the lower side off and do the top work. I am not really sure which is going to be the better way. Any suggestions on this are welcome.
Cheers.


Cheers.


gconterio

Joined: June 24, 2010
KitMaker: 66 posts
AeroScale: 39 posts

Posted: Tuesday, November 13, 2012 - 11:21 AM UTC
And we're off!
Finally finished off the Bf-109 that had been languishing on my bench, and hauled-out not one, but two Sukhois, an Su-9 and an Su-11, both from Amodel. I figured so long as I'm building one, I might as well build both!
they are typical Amodel kits, white plastic, somewhat rough in the molding department, but pretty darned accurate as far as I can tell. In the pics, I included a couple shots of the wings and fuselage of the Su-11.

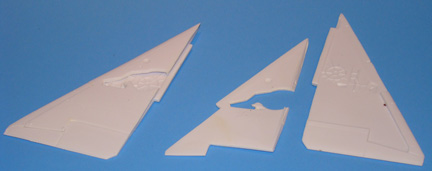
I already started on the "9" and did things a bit differently by assembling the wings, and attaching them to the fuselage halves on the theory that it will be easier to work on the joints, which will need to be pretty close to perfect, as these are natural metal birds. Close examination will show where I had to use a short piece of plastic rod to fill the gap behind the wheel well on the bottom of each wing.

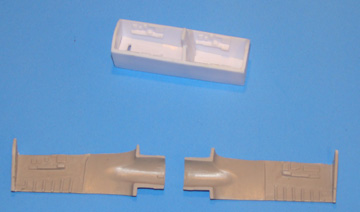
I also included the cockpits sections (already assembled for the Su-9) which are actually different. You can see Amodel provided for the two-seat trainer version in the "9"
Finally, here is a shot of the Neomega KS-4 seat I will be using, with a Testors pint bottle for scale.
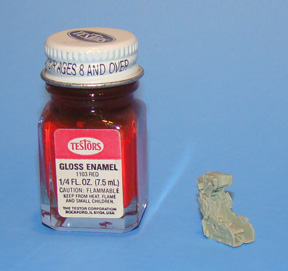
So far, that is all in the way of aftermarket I have. There is just about nothing specific available for the Sukhoi deltas anyway. While working on the cockpits, I'll next be giving the fuselave interiors the Alclad treatment so they will be ready to close-up. More to come!
Finally finished off the Bf-109 that had been languishing on my bench, and hauled-out not one, but two Sukhois, an Su-9 and an Su-11, both from Amodel. I figured so long as I'm building one, I might as well build both!
they are typical Amodel kits, white plastic, somewhat rough in the molding department, but pretty darned accurate as far as I can tell. In the pics, I included a couple shots of the wings and fuselage of the Su-11.


I already started on the "9" and did things a bit differently by assembling the wings, and attaching them to the fuselage halves on the theory that it will be easier to work on the joints, which will need to be pretty close to perfect, as these are natural metal birds. Close examination will show where I had to use a short piece of plastic rod to fill the gap behind the wheel well on the bottom of each wing.

I also included the cockpits sections (already assembled for the Su-9) which are actually different. You can see Amodel provided for the two-seat trainer version in the "9"

Finally, here is a shot of the Neomega KS-4 seat I will be using, with a Testors pint bottle for scale.

So far, that is all in the way of aftermarket I have. There is just about nothing specific available for the Sukhoi deltas anyway. While working on the cockpits, I'll next be giving the fuselave interiors the Alclad treatment so they will be ready to close-up. More to come!
Nito74

Joined: March 04, 2008
KitMaker: 5,386 posts
AeroScale: 635 posts

Posted: Friday, November 16, 2012 - 01:34 AM UTC
I'm in with one of these

or / and
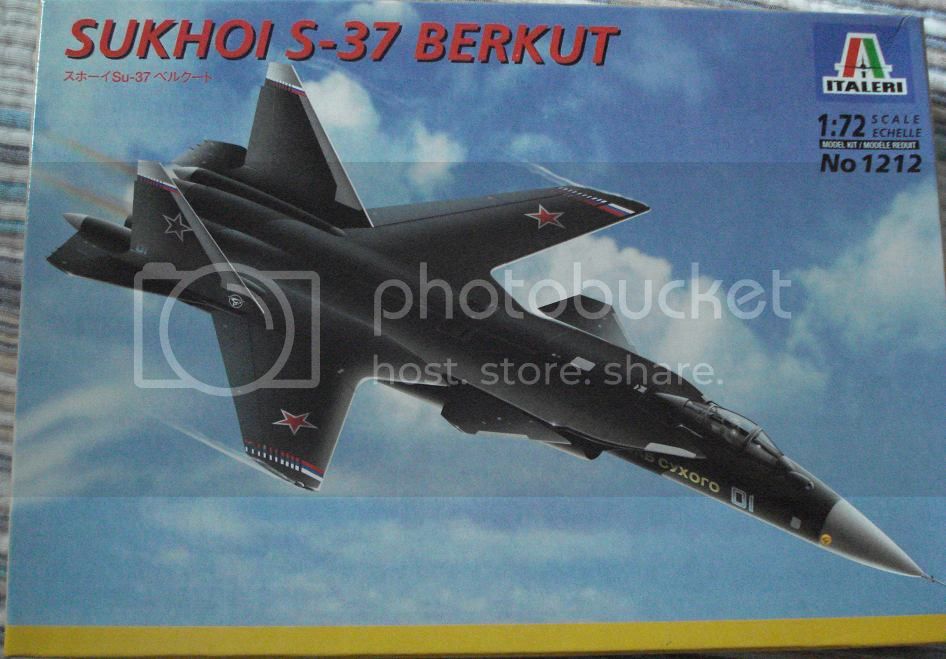
..mmhh Let's go with the S-37
Cleaning up..
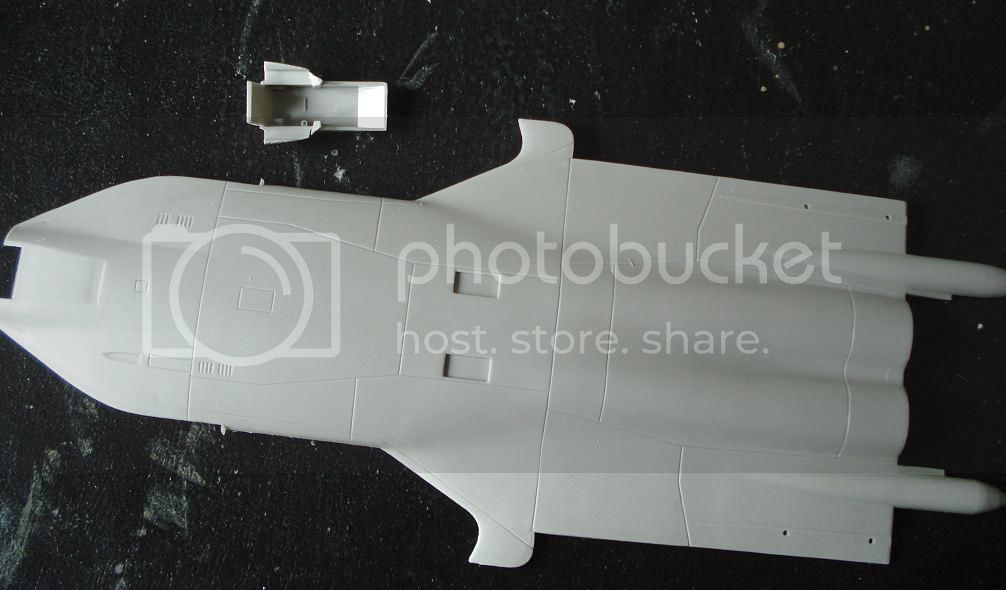

or / and

..mmhh Let's go with the S-37
Cleaning up..


Siderius

Joined: September 20, 2005
KitMaker: 1,747 posts
AeroScale: 1,673 posts

Posted: Friday, November 16, 2012 - 06:24 AM UTC
Glad to have you onboard John with your Su-25 or Berkut! Russell
mykroft

Joined: November 14, 2009
KitMaker: 270 posts
AeroScale: 264 posts

Posted: Saturday, November 17, 2012 - 02:25 AM UTC
Nice to see another Berkut in the build, and nice to see Italieri picked a better plastic colour than the black that the Zvezda boxing contains, I'm going to have fun painting the white bits on mine.
Nito74

Joined: March 04, 2008
KitMaker: 5,386 posts
AeroScale: 635 posts

Posted: Saturday, November 17, 2012 - 06:04 AM UTC
Quoted Text
Glad to have you onboard John with your Su-25 or Berkut! Russell
Thanks Russell !!
Almost 5 yrs without putting a bird on my workbench, it feels everything is new...
@Adam
I'll follow your build carefully !

gconterio

Joined: June 24, 2010
KitMaker: 66 posts
AeroScale: 39 posts

Posted: Sunday, November 18, 2012 - 03:16 AM UTC
A bit more progress.
Here's a shot of one of my ejection seats painted-up.

Sukhoi didn't have the same interior color as you commonly saw on MiGs and Tupolevs of the period, but it was still an odd sort-of blue-green-grey shade. I elected to take the easy way out, and just use RLM 65, since you're not going to see much of the cockpit interior once it's closed-up.
if you are familiar with Amodel, you know the quality of their molding is really rough. It's common to find parts that are short-shot, as well as lots of other little blemishes and artifacts. This poses a problem when it comes to mounting the conical center body in the intake. The method Amodel chose in designing the kit it too much for the molding quality to reproduce, and the result is having the cone cock-eyed and off-center. I decided to get rid of the mounting braces altogether, and instead elected to cut a length of plastic rod, which will be butt-joined against the front of the cockpit tub. Come time for final assembly, I can mount the cone using slow-setting epoxy, and make sure it is aligned and centered properly.

Here's a shot of one of my ejection seats painted-up.

Sukhoi didn't have the same interior color as you commonly saw on MiGs and Tupolevs of the period, but it was still an odd sort-of blue-green-grey shade. I elected to take the easy way out, and just use RLM 65, since you're not going to see much of the cockpit interior once it's closed-up.
if you are familiar with Amodel, you know the quality of their molding is really rough. It's common to find parts that are short-shot, as well as lots of other little blemishes and artifacts. This poses a problem when it comes to mounting the conical center body in the intake. The method Amodel chose in designing the kit it too much for the molding quality to reproduce, and the result is having the cone cock-eyed and off-center. I decided to get rid of the mounting braces altogether, and instead elected to cut a length of plastic rod, which will be butt-joined against the front of the cockpit tub. Come time for final assembly, I can mount the cone using slow-setting epoxy, and make sure it is aligned and centered properly.

Nito74

Joined: March 04, 2008
KitMaker: 5,386 posts
AeroScale: 635 posts

Posted: Sunday, November 18, 2012 - 05:51 AM UTC
Worked on the cockpit & jet exhausts this weekend.
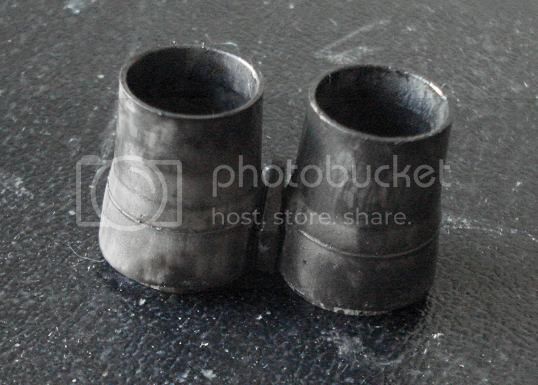
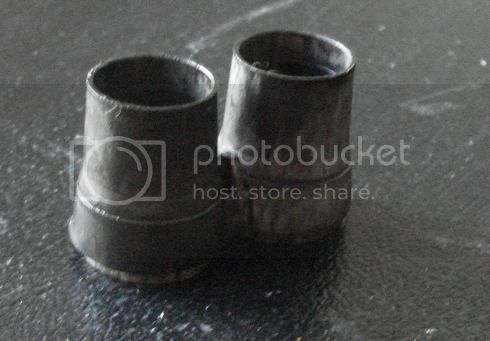
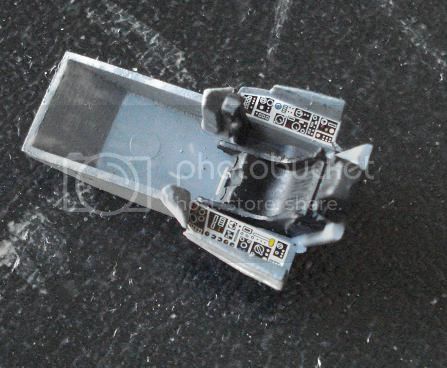
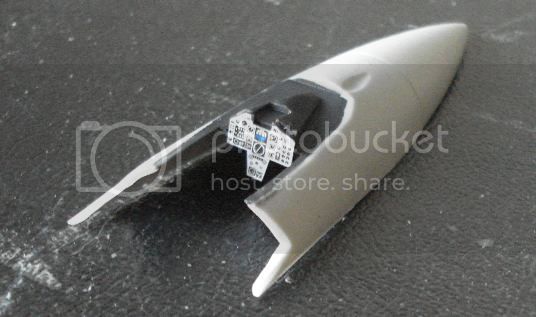
The jet exhaust was painted with Alclad paint, I put several layers in but I'm still not sure about the look


The jet exhaust was painted with Alclad paint, I put several layers in but I'm still not sure about the look
Nito74

Joined: March 04, 2008
KitMaker: 5,386 posts
AeroScale: 635 posts

Posted: Saturday, November 24, 2012 - 04:24 AM UTC
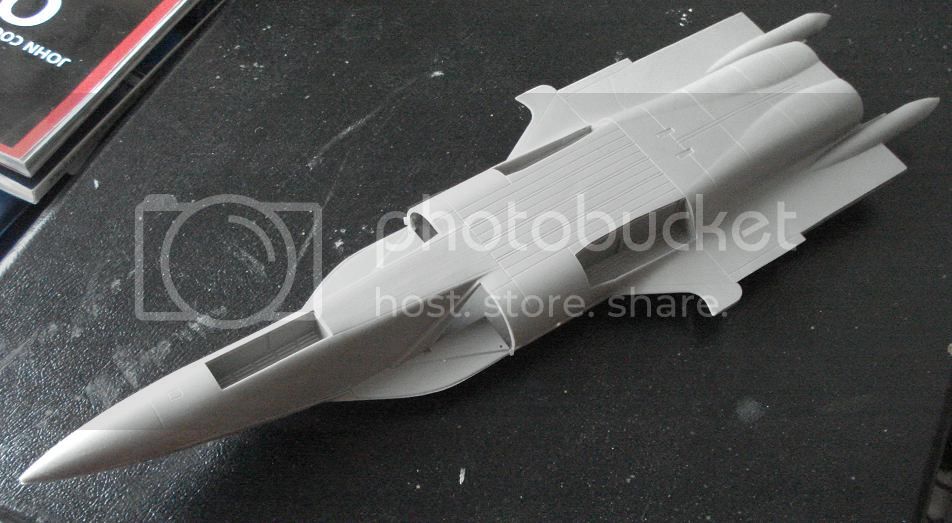
That's it so far. Still a lot to be done.
mykroft

Joined: November 14, 2009
KitMaker: 270 posts
AeroScale: 264 posts

Posted: Sunday, November 25, 2012 - 03:34 AM UTC
And here's the other Berkut in the build.

Zvezda Sukhoi Su-47 Berkut 1/72 by mawz_models, on Flickr
I went with the traditional cockpit colour as I had no good callouts

Zvezda Sukhoi Su-47 Berkut 1/72 by mawz_models, on Flickr
I went with the traditional cockpit colour as I had no good callouts

SaxonTheShiba

Joined: February 01, 2009
KitMaker: 1,233 posts
AeroScale: 663 posts

Posted: Monday, November 26, 2012 - 02:35 AM UTC
Great looking Sukhoi projects, so far, everybody. I have not posted in several weeks because I was finishing up some November campaigns. Anyway, I worked on my Monogram 1/48th SU-25 weekend and here are some shots.


Construction has been very smooth so far and a fun build. A classic Monogram kit in all respects.
Best wishes, Ian


Construction has been very smooth so far and a fun build. A classic Monogram kit in all respects.
Best wishes, Ian
Removed by original poster on 11/27/12 - 00:36:03 (GMT).

Grenadier37

Joined: June 02, 2008
KitMaker: 232 posts
AeroScale: 155 posts

Posted: Monday, November 26, 2012 - 12:39 PM UTC
I've made some progress on the Don't-Fitter. She's wearing Mr. Surfacer and Vallejo putty, panel lines are scribed and the wing folds work.


Siderius

Joined: September 20, 2005
KitMaker: 1,747 posts
AeroScale: 1,673 posts

Posted: Monday, November 26, 2012 - 04:53 PM UTC
Grenadier, the Fitter is looking quite fit! LOL Everyone looks good. I need to start on my Su-15 soon. Classes end in two weeks, so over the Christmas break I think I will get going on her. Still not sure what colors to use. It was an interceptor so natural metal would be common enough; however, the camoflauged Flagons have a certain appeal to me. Now to order some colors that I need to do the job!! Russell 

Posted: Wednesday, November 28, 2012 - 01:14 PM UTC
Nice progress on the Fitter, grenadier. Fantastic what you get from the kit. Your efforts are really showing.
Looking forward to see more
Looking forward to see more

gconterio

Joined: June 24, 2010
KitMaker: 66 posts
AeroScale: 39 posts

Posted: Sunday, December 02, 2012 - 06:10 AM UTC
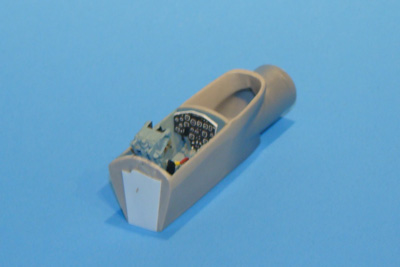
More progress on the pair of Fishpots. Here are a couple shots of the cockpit tub assembly for the Su-11. For the instrument panel, I just applied the kit decal to a piece of white sheet plastic, carefully cut the edges, and mounted it to the front of the tub with a short section of styrene tube, so that it was positioned correctly. I didn't go crazy with the cockpit, and really only added enough detail to make it passable, as you will be able to see nearly nothing once it has the canopy in place, and the model is done.

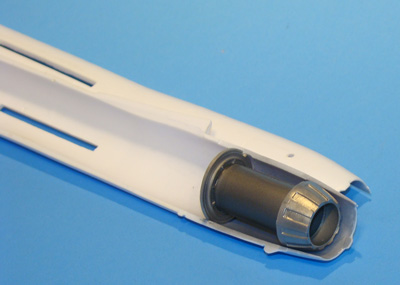
On the other hand, I was not happy at all with the arrangement of the jet exhaust section. After spending a god bit of time sanding & trimming to get the nozzle and blanking plate to fit properly inside the closed fuselage, I elected to manufacture a tube to represent the inside of the engine, instead of just leaving a big open space inside the nozzle. Again, I didn't go too crazy, but it looks much better I think.

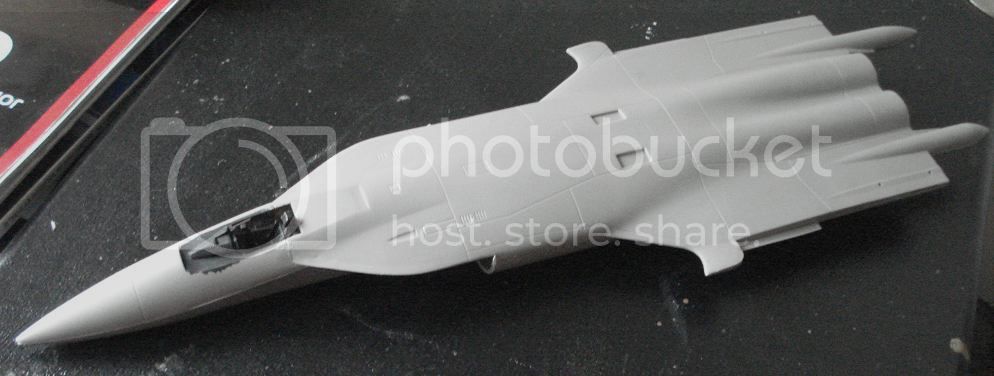
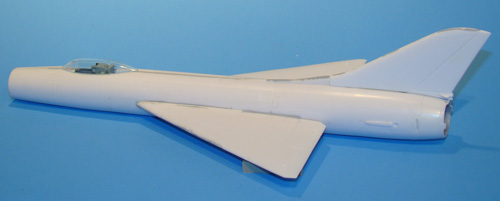
In the mean time, I've closed-up the fuselage of the Su-9, and started fixing seams and sprucing-up panel lines and such. you can also see the effect of the burner can on the tail.
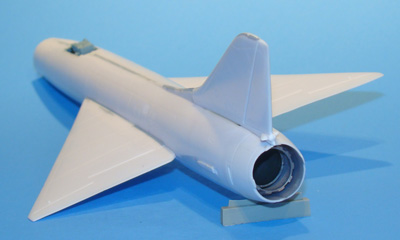

All in all, some good progress I think. Much as I love the big tailed delta Sukhois, I'm making a deliberate attempt to not go all Magnum opus on them, and so far I'm enjoying the building process!


On the other hand, I was not happy at all with the arrangement of the jet exhaust section. After spending a god bit of time sanding & trimming to get the nozzle and blanking plate to fit properly inside the closed fuselage, I elected to manufacture a tube to represent the inside of the engine, instead of just leaving a big open space inside the nozzle. Again, I didn't go too crazy, but it looks much better I think.


In the mean time, I've closed-up the fuselage of the Su-9, and started fixing seams and sprucing-up panel lines and such. you can also see the effect of the burner can on the tail.


All in all, some good progress I think. Much as I love the big tailed delta Sukhois, I'm making a deliberate attempt to not go all Magnum opus on them, and so far I'm enjoying the building process!
Nito74

Joined: March 04, 2008
KitMaker: 5,386 posts
AeroScale: 635 posts

Posted: Monday, December 03, 2012 - 05:39 AM UTC
Those A-model kits require a lot of work ! They're looking great so far !
My update looks like the Rolling Stones song, Paint it Black
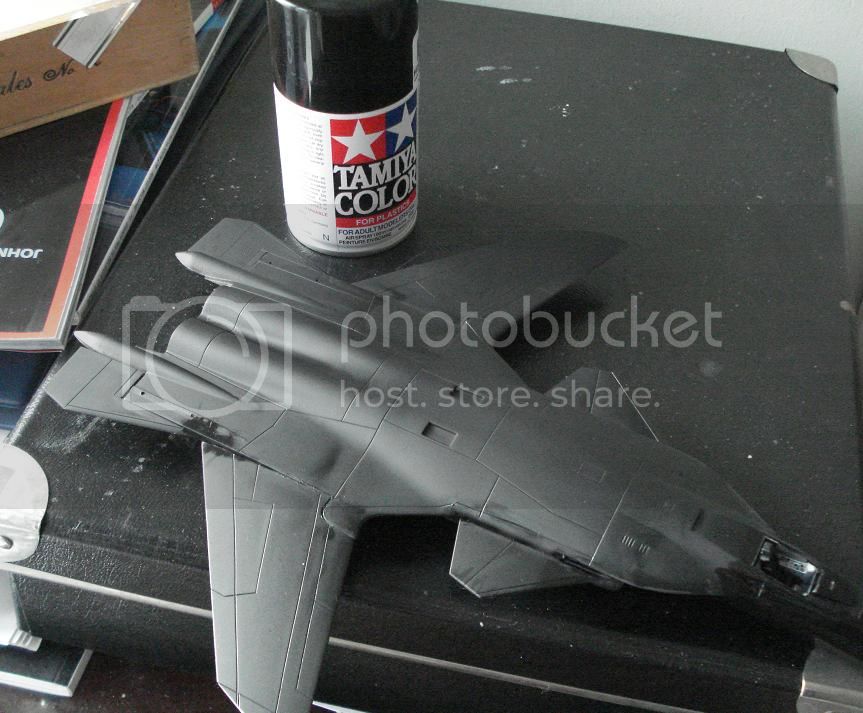
My update looks like the Rolling Stones song, Paint it Black

gconterio

Joined: June 24, 2010
KitMaker: 66 posts
AeroScale: 39 posts

Posted: Wednesday, December 05, 2012 - 03:32 PM UTC
Yep, that's sort-of what you get with Amodel, John! They do seem to turn out some pretty accurate models at the end, but boy do they require some work, especially if you're going to do a NMF like you typically see on Soviet Cold War interceptors. And for lots of their subjects, they're the only game in town!
Your Berkut is coming along nicely I see!
Your Berkut is coming along nicely I see!
Nito74

Joined: March 04, 2008
KitMaker: 5,386 posts
AeroScale: 635 posts

Posted: Monday, December 10, 2012 - 05:18 AM UTC
This afternoon's work
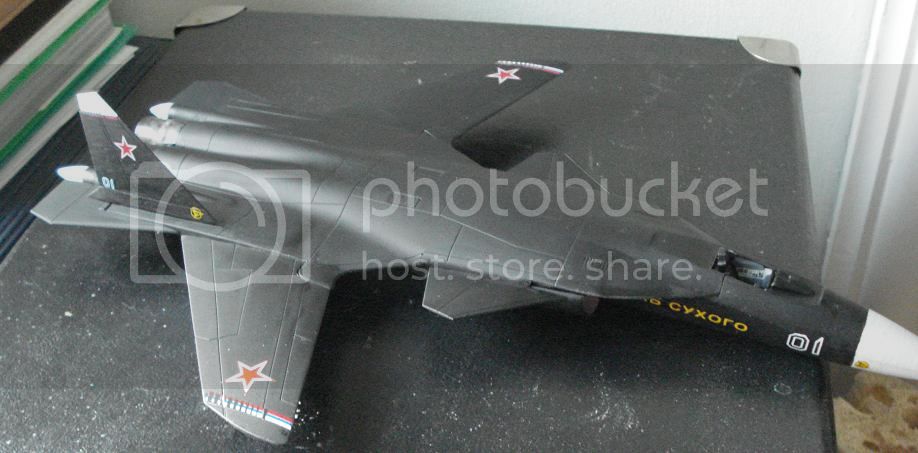
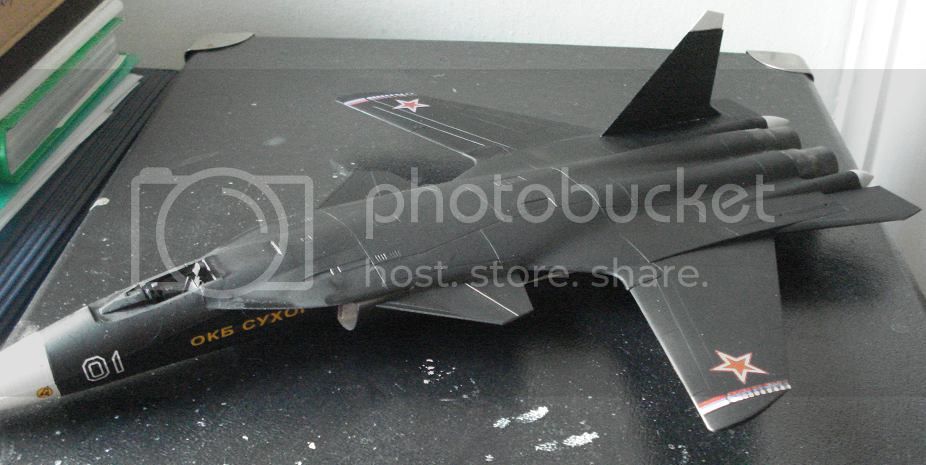
I noticed some mistakes along the way, poor fitting, bad masking, bad decals... I guess the best way to learn is making mistakes and trying to correct them
Still a lot to do.
I hope the next Sukhoi will turn out better!!


I noticed some mistakes along the way, poor fitting, bad masking, bad decals... I guess the best way to learn is making mistakes and trying to correct them

Still a lot to do.
I hope the next Sukhoi will turn out better!!

Grenadier37

Joined: June 02, 2008
KitMaker: 232 posts
AeroScale: 155 posts

Posted: Monday, December 10, 2012 - 04:30 PM UTC
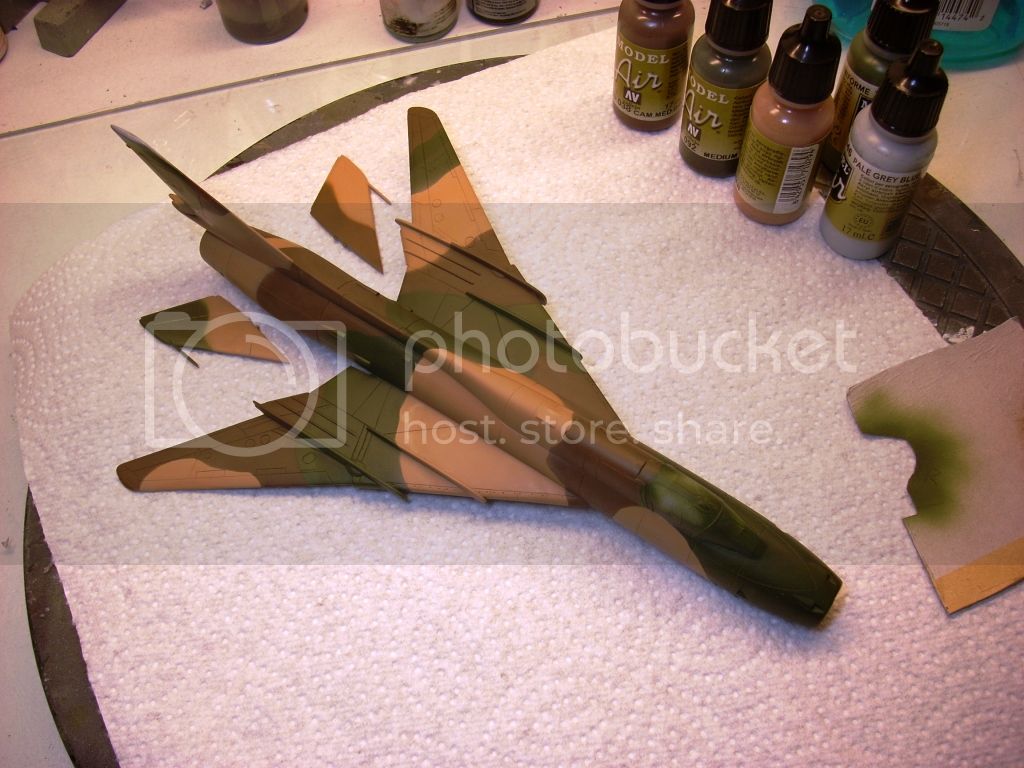
The Don't-Fitter took a trip to the paint booth. I love the Vallejo Model Air line of paints. I'm a sloppy painter who dislikes acrylics, but these are so forgiving I thinkI'm hooked on them.


Siderius

Joined: September 20, 2005
KitMaker: 1,747 posts
AeroScale: 1,673 posts

Posted: Monday, December 10, 2012 - 04:34 PM UTC
Grenadier, your Fitter looks awesome! Love the colors. The Berkut looks good too, no problems there that I can see! Everyone is doing well. School is about over and it is about time for me to start my Flagon. Although I still have not decided what colors to paint it yet. I like the camoflauge colors on the box art. Take care everyone, keep building. Russell
 |


