OFFICIAL: Hangar Queen III Campaign

#275
Alberta, Canada
Joined: March 01, 2006
KitMaker: 174 posts
AeroScale: 19 posts
Posted: Wednesday, October 16, 2013 - 07:46 AM UTC
Finally finished my Mirage III by Eduard and took a quick pic of it before I broke off the pitot tube on the nose (again).


I never did find the front gear door and had to build that bbut the kit went together well, looks good from 3 feet but thats not the kits fault.
Tasmania, Australia
Joined: November 06, 2009
KitMaker: 368 posts
AeroScale: 27 posts
Posted: Wednesday, October 16, 2013 - 09:45 AM UTC
Great Job, nice clean paint job, nice panel lines

Lisboa, Portugal
Joined: August 27, 2010
KitMaker: 679 posts
AeroScale: 669 posts
Posted: Sunday, October 20, 2013 - 09:53 PM UTC
That's a wonderful Mirage, love that camouflage scheme.
almost finished the main paint job and started applying decals.
The ones you see in these photos are from Kagero book, but for the german crosses i dig an old Aeromaster sheet, and by old i mean 20 years old.
Funny never thought decals lasted so long without yellowing, but this sheet is still in mint condition. They are a bit hard to blend in panel lines thou


now comes the small parts like u/c, flaps, spinner and drop tank, before i plunge into weathering.
Cheers
Pedro

#439
Washington, United States
Joined: November 05, 2005
KitMaker: 4,950 posts
AeroScale: 3,192 posts
Posted: Monday, October 21, 2013 - 06:58 PM UTC
I'm declaring victory over the decals and going home. Well, at least onto the remaining fiddly bits..


Hanger Queens in Waiting:
Monogram 1/72 F8F-1
Corsair the Sky Pirate - 1/72 Ace A-7D
Century Series - Airfix 1/72 F-105G
Anti Shipping - Academy 1/72 PBJ-1D
Academy 1/72 F-84E
South Australia, Australia
Joined: August 14, 2007
KitMaker: 5,926 posts
AeroScale: 2,201 posts
Posted: Monday, October 21, 2013 - 08:29 PM UTC
Quoted Text
That's a wonderful Mirage, love that camouflage scheme.
almost finished the main paint job and started applying decals.
The ones you see in these photos are from Kagero book, but for the german crosses i dig an old Aeromaster sheet, and by old i mean 20 years old.
Funny never thought decals lasted so long without yellowing, but this sheet is still in mint condition. They are a bit hard to blend in panel lines thou
I have decals here that are about 40 years old and they are still fine. Just need to keep them is a dry place in a cardboard box, well tha is where mine have been stored anyway. And they have followed me all over Australia while I was in the RAAF.

All the builds are looking fine to my eyes.
You may be right, I may be crazy.
Holdfast
 President
#056
England - South West, United Kingdom
Joined: September 30, 2002
KitMaker: 8,581 posts
AeroScale: 4,913 posts
Posted: Monday, October 21, 2013 - 08:49 PM UTC
My 1/32 scale Spitfire MkV is finished. The pictures are posted in a separate thread
HERE MAL the MASK
BULLDOG # 6 (President)
BEWARE OF THE FEW
Sappers: First in, last out. (UBIQUE)
It's not the same, better, but not the same.
Texas, United States
Joined: February 22, 2008
KitMaker: 5,026 posts
AeroScale: 2,811 posts
Posted: Tuesday, October 22, 2013 - 10:03 AM UTC
@ CAM: well done!!
@ Mark: come on, you can finish it on time.
@ Pedro: love your 109 and your photos look especially fine, what type of camera are you using?
@ Mal: your method on the prop hub gave me an idea for a couple of my rubber powered airplanes thanks for the pictorial.
@ Warren: I used some decals from an old Aurora kit dated 1955 on a build in 1998 and they went on fine after fishing them out of the water. The decals took 15 minutes to soften up and another 10 to seperate from the backing sheet.
Bob
If it aint broke dont fix it.

#439
Washington, United States
Joined: November 05, 2005
KitMaker: 4,950 posts
AeroScale: 3,192 posts
Posted: Tuesday, October 22, 2013 - 10:09 AM UTC
There's no guide to where the reaming decals go. They're all stencils, at 1/72 hardly any of the letters are legible, so I'm gonna get onto things that can be seen. Lite the two 'formation' light on the rear of the fuselage. Hasegawa molded nice holes there and then just ignored them. The top one is red, the bottom one may be white. I've got drops of paint in there, next up is a couple of drops of clear..
Then on to the missiles!

Hanger Queens in Waiting:
Monogram 1/72 F8F-1
Corsair the Sky Pirate - 1/72 Ace A-7D
Century Series - Airfix 1/72 F-105G
Anti Shipping - Academy 1/72 PBJ-1D
Academy 1/72 F-84E
Tennessee, United States
Joined: September 20, 2005
KitMaker: 1,747 posts
AeroScale: 1,673 posts
Posted: Tuesday, October 22, 2013 - 01:11 PM UTC
Mark, great work there! Really like your 102! Cam, the Mirage III looks great in Israeli markings too! Well done. Russell
To Thine Own Self Be True
Siderius
A.K.A., RTA
Lisboa, Portugal
Joined: August 27, 2010
KitMaker: 679 posts
AeroScale: 669 posts
Posted: Tuesday, October 29, 2013 - 03:23 AM UTC
Hi,
Here's how my Emil is right now


Some decals & stencil to finish plus a bit more weathering.
Managed to snap the rudder off so best leave it for last.
hope to post the end result this weekend or so.
@ Bob- using my new pocket camera, a samsung WB30F model, nothing fancy
@Warren- still find decals lasting 40 or 20 years amazing, even in good storing conditions. Apparently having them hide inside an old business travel case somewhere in the loft pays off

Cheers
Pedro

#439
Washington, United States
Joined: November 05, 2005
KitMaker: 4,950 posts
AeroScale: 3,192 posts
Posted: Tuesday, October 29, 2013 - 06:03 PM UTC
Almost done with the missile racks!

Hanger Queens in Waiting:
Monogram 1/72 F8F-1
Corsair the Sky Pirate - 1/72 Ace A-7D
Century Series - Airfix 1/72 F-105G
Anti Shipping - Academy 1/72 PBJ-1D
Academy 1/72 F-84E
British Columbia, Canada
Joined: September 03, 2009
KitMaker: 6,965 posts
AeroScale: 6,247 posts
Posted: Wednesday, October 30, 2013 - 05:53 PM UTC
Blue trim on the noses
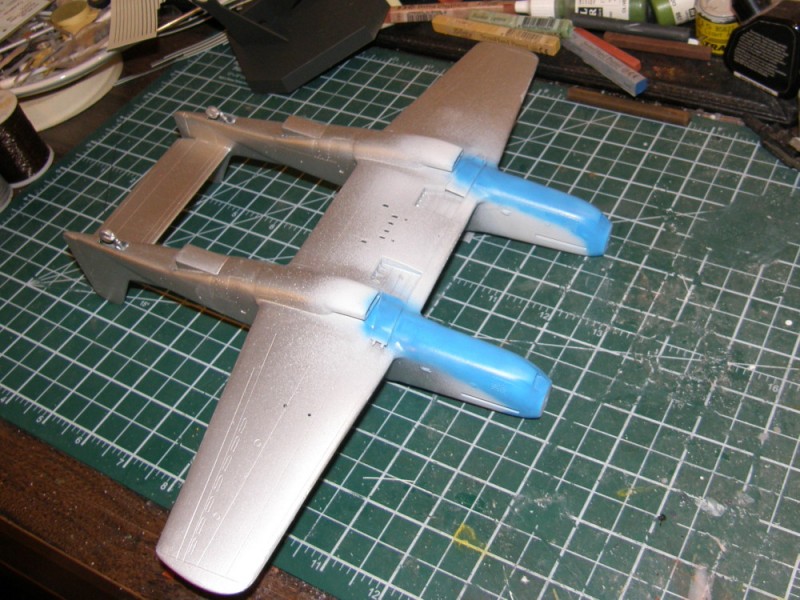
This will be masked later and the edges tidied up.
When once you have tasted flight you will walk the Earth with your eyes turned skyward.
For there you have been, and there you will always long to return.
-Leonardo Da Vinci
New Jersey, United States
Joined: May 01, 2013
KitMaker: 60 posts
AeroScale: 56 posts
Posted: Thursday, October 31, 2013 - 11:02 AM UTC
Hey everybody, I've got two kits I'd like to enter!

Czechoslovak Avia B-534

Soviet Polikarpov I-16
Both are Eduard 1:48 scale kits, I've had them lying around for about two years at this point, with intermittent work happening in spurts. Hopefully I can finish both by the end of the year!
On the Bench:
Eduard 1/48 F6F-5 Hellcat
Tamiya 1/48 A6M3 Zero
British Columbia, Canada
Joined: September 03, 2009
KitMaker: 6,965 posts
AeroScale: 6,247 posts
Posted: Thursday, October 31, 2013 - 11:11 AM UTC
Those look as though they'll be excellent

Here's a little photo posting tip: Your pictures turned out small because you've linked to the thumbnails in the gallery rather than the actual picture. When you paste the URL of the picture into your post, edit out the part which says "/thumbs" to get the full size version.
When once you have tasted flight you will walk the Earth with your eyes turned skyward.
For there you have been, and there you will always long to return.
-Leonardo Da Vinci
New Jersey, United States
Joined: May 01, 2013
KitMaker: 60 posts
AeroScale: 56 posts
Posted: Thursday, October 31, 2013 - 11:30 AM UTC
Quoted Text
Those look as though they'll be excellent 
Here's a little photo posting tip: Your pictures turned out small because you've linked to the thumbnails in the gallery rather than the actual picture. When you paste the URL of the picture into your post, edit out the part which says "/thumbs" to get the full size version.
Thanks for the tip! I was trying to figure out how to do that haha
On the Bench:
Eduard 1/48 F6F-5 Hellcat
Tamiya 1/48 A6M3 Zero
Texas, United States
Joined: February 22, 2008
KitMaker: 5,026 posts
AeroScale: 2,811 posts
Posted: Thursday, October 31, 2013 - 12:25 PM UTC
@ Pedro: thanks for the info. on the camera your photos turned out really good.
@ Mark: now I know what all the fuss was about after looking at those launch cradlel.
@ Jessie: I am looking forward to the finished airplane, I have started several P-82's in the past, but never seemed to be able to finish any.
@ Kevin: Jessica knows what she is talking about and great subjects by the way.
Bob
If it aint broke dont fix it.

#439
Washington, United States
Joined: November 05, 2005
KitMaker: 4,950 posts
AeroScale: 3,192 posts
Posted: Thursday, October 31, 2013 - 12:55 PM UTC
@Rob: Got the last one installed last night. THe mount is simply engineered, but the fwd bulkhead interferes with all of the leading edge of the trapeze, simple enough to sand to fit. But the trapeze are so simple, butt joints, that the sanding can break the whole assy. Tamiya thick glue really helped.
@Kevin: New, bigger pics are great.
Hanger Queens in Waiting:
Monogram 1/72 F8F-1
Corsair the Sky Pirate - 1/72 Ace A-7D
Century Series - Airfix 1/72 F-105G
Anti Shipping - Academy 1/72 PBJ-1D
Academy 1/72 F-84E
Vermont, United States
Joined: July 21, 2002
KitMaker: 3,569 posts
AeroScale: 419 posts
Posted: Saturday, November 02, 2013 - 05:06 AM UTC
Going to call this one done. With a bunch more hangar queens still sitting..
I tried to make the rear, black, portion a matt and leave the front grey part glossy with limited success.
The kit is typical Bandai sci-fi. All but press-together fit, wonderful engineering and detail, interesting subject matter and abysmal thick unresponsive decals. As evidenced by the decals on the rear portion. That's AFTER a heavy gloss coat, decals, ANOTHER gloss coat, and then the matt.
The helos and the Macross birds are still on the bench (or next to it) as is the Atlantic crossing Lockeed Vega for Amelia Earhart, and a couple of Su 27's
I may get back in before the close of the campaign, but this one it done.


nevermind.. figured it out, 2 pics are in the gallery..
If you can keep your head when all about you are losing theirs,
perhaps you've misunderstood the situation.

#439
Washington, United States
Joined: November 05, 2005
KitMaker: 4,950 posts
AeroScale: 3,192 posts
Posted: Sunday, November 03, 2013 - 06:37 PM UTC
Hanger Queens in Waiting:
Monogram 1/72 F8F-1
Corsair the Sky Pirate - 1/72 Ace A-7D
Century Series - Airfix 1/72 F-105G
Anti Shipping - Academy 1/72 PBJ-1D
Academy 1/72 F-84E
Victoria, Australia
Joined: September 19, 2003
KitMaker: 708 posts
AeroScale: 674 posts
Posted: Sunday, November 03, 2013 - 10:59 PM UTC
Greetings All,
I've been flat out over the past months putting the annual club model comp together, {which is less than 2 weeks away} and I hope to dullcoat and add some weathering to the Black cat, for entry in the club comp.
I'll post up dated pix in the next day or so.
President:- Southern Model Club.
Those who never learn from history will always repeat it.
"When you go home tell them of us and say.
For your tomorrow we gave our today."

#439
Washington, United States
Joined: November 05, 2005
KitMaker: 4,950 posts
AeroScale: 3,192 posts
Posted: Wednesday, November 06, 2013 - 06:32 PM UTC
i n c h i n g towards the finish line. Got the drop tanks installed. Just gotta finish the nose gear light, install it and the NLG door and add the pitot tube to the nose....


Hanger Queens in Waiting:
Monogram 1/72 F8F-1
Corsair the Sky Pirate - 1/72 Ace A-7D
Century Series - Airfix 1/72 F-105G
Anti Shipping - Academy 1/72 PBJ-1D
Academy 1/72 F-84E
Texas, United States
Joined: February 22, 2008
KitMaker: 5,026 posts
AeroScale: 2,811 posts
Posted: Thursday, November 07, 2013 - 02:12 PM UTC
@ Rob: welcome back.
@ Mark: I hear some use a syringe needle so they are prone to breakage in that area.
Bob
If it aint broke dont fix it.

#439
Washington, United States
Joined: November 05, 2005
KitMaker: 4,950 posts
AeroScale: 3,192 posts
Posted: Thursday, November 07, 2013 - 07:26 PM UTC
OK, sadly, I have a small supply of very small diameter hypodermic needles. How to I cut them up to make a pitot tube???

Hanger Queens in Waiting:
Monogram 1/72 F8F-1
Corsair the Sky Pirate - 1/72 Ace A-7D
Century Series - Airfix 1/72 F-105G
Anti Shipping - Academy 1/72 PBJ-1D
Academy 1/72 F-84E
Lisboa, Portugal
Joined: August 27, 2010
KitMaker: 679 posts
AeroScale: 669 posts
Posted: Thursday, November 07, 2013 - 08:10 PM UTC
Mark,
Use a fine lime that has a straight edge (triangular per example) and sand half way . The rest will snap under pressure. Sand to trim after.
There are various tools to achieve the same method & result
Cheers
Pedro
British Columbia, Canada
Joined: September 03, 2009
KitMaker: 6,965 posts
AeroScale: 6,247 posts
Posted: Thursday, November 07, 2013 - 08:31 PM UTC
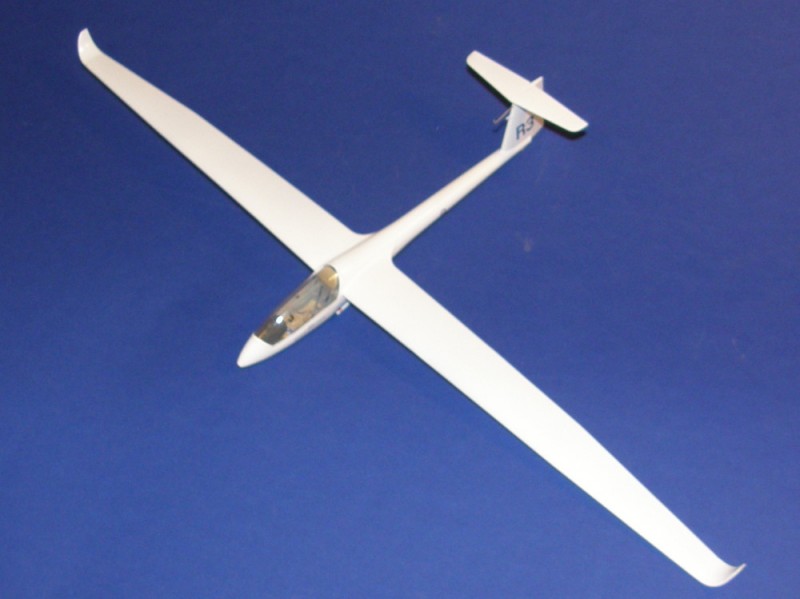
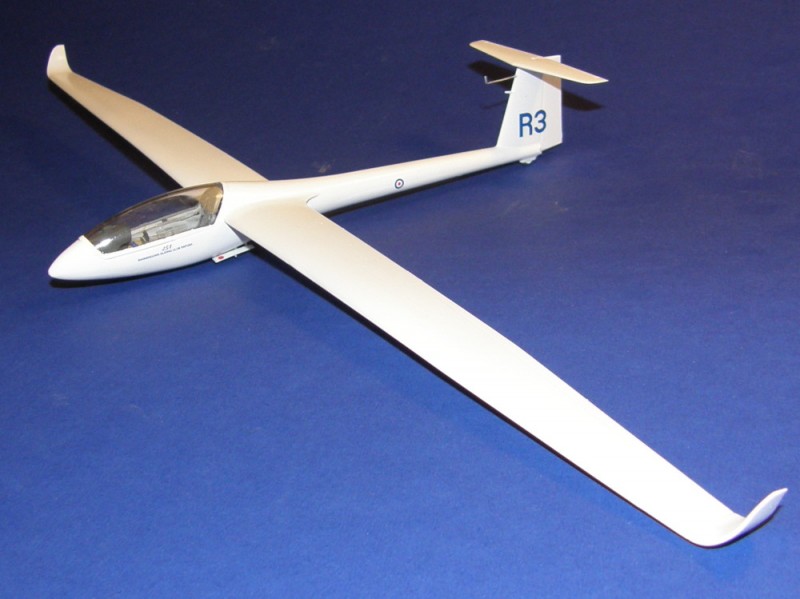
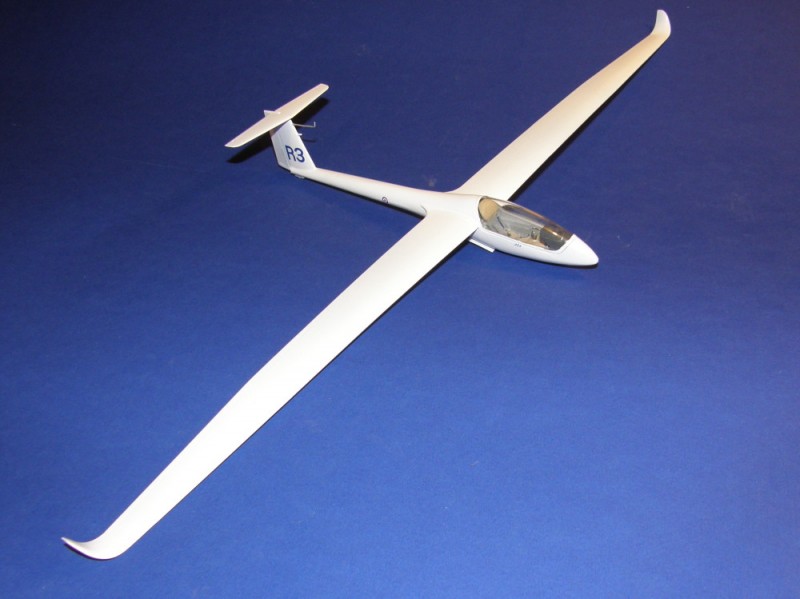
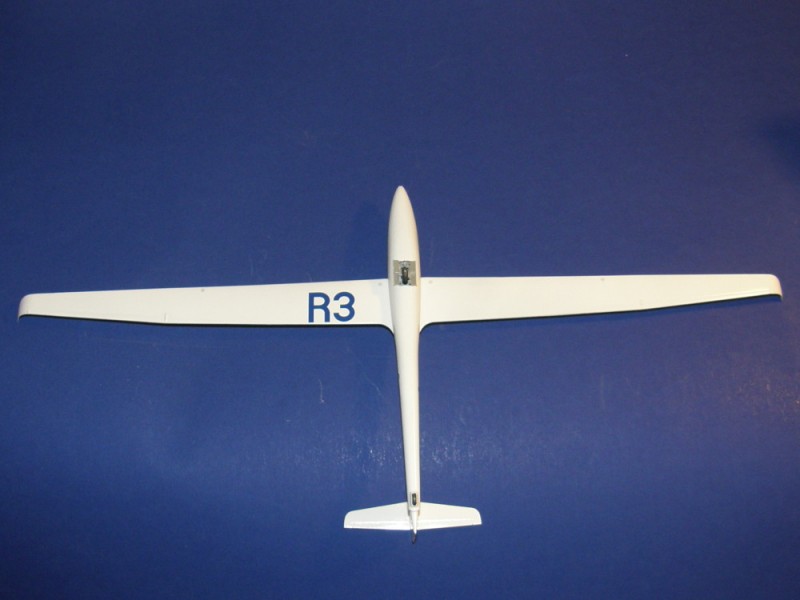
When once you have tasted flight you will walk the Earth with your eyes turned skyward.
For there you have been, and there you will always long to return.
-Leonardo Da Vinci


