Air Campaigns
Want to start or join a group build? This is where to start.
Want to start or join a group build? This is where to start.
Hosted by Frederick Boucher, Michael Satin
OFFICIAL: Anything Goes Campaign
Posted: Saturday, May 18, 2013 - 05:56 AM UTC
Murdo, I am in awe! If I didn't know I would have guessed your work was at 1/72. How you painted those tiny figures I would love to know.
Posted: Saturday, May 18, 2013 - 06:25 AM UTC
Awesome Tornado Murdo !!! 

Posted: Saturday, May 18, 2013 - 06:35 AM UTC
Really nice work Murdo on that Tornado. You managed to get a superb result. Love those figures. They fit with it brilliantly.
Nito74

Joined: March 04, 2008
KitMaker: 5,386 posts
AeroScale: 635 posts

Posted: Saturday, May 18, 2013 - 07:09 AM UTC
Well.. here the A-model update

But I have to be honest, I'm running out of patience with this kit...
If the Campaign Manager allows it... can I change into this one ?


If I'm allowed, I'll keep working on it.
If not ... I might keep trying working on that kit
kit

But I have to be honest, I'm running out of patience with this kit...
If the Campaign Manager allows it... can I change into this one ?


If I'm allowed, I'll keep working on it.
If not ... I might keep trying working on that
 kit
kit
Emeritus

Joined: March 30, 2004
KitMaker: 2,845 posts
AeroScale: 1,564 posts

Posted: Sunday, May 19, 2013 - 12:12 PM UTC
First WIP pics. Been working with the resin cockpit. Here I've started removing the instrument panel coaming from the upper fuselage half. The instructions of the Aires cockpit are typical. In addition to not having any kind of info on painting (guess they reason that people buying resin accessories tend to know their kit subjects?), they also don't point out any modifications required to the kit parts, apart from a brief mention of the need of "trimming of plastic parts and dry-fitting."

It's interesting to note the parts break-down of the spine - you could have pretty much bet your money on Hasegawa releasing two-seater trainer variants. Except that they never did. Well, at least it's an easier platform for conversion sets than the 1:48 kits.
As the Aires cockpit instructions didn't tell how to trim the kit parts and where to fit the resin replacement, I had to resort to reference photos to determnine the front of the spine had to be carved out, with the resin part going under it. Despite trying to be careful, I carved too much styrene out of the spine and had to glue in a shim of styrene sheet.

There's still some gaps that will need putty, but still much better than without the shim. As trimming away the front of the spine also removed the locating pin in the front, I dry-fitted the cockpit tub in place while gluing the spine in place to ensure it's aligned properly.
Another modular feature of the kit, the separately molded rear fuselage. Again, while there hasn't been many other variants released to take advantage of this part break-down, aftermarket conversion sets have been released.

Unlike the newer 1:48 scale kit, this 1:72 scale one doesn't have a proper exhaust pipe between the afterburner nozzle and the turbine plate part. I wonder if it would be worth it to build a pipe there?


It's interesting to note the parts break-down of the spine - you could have pretty much bet your money on Hasegawa releasing two-seater trainer variants. Except that they never did. Well, at least it's an easier platform for conversion sets than the 1:48 kits.
As the Aires cockpit instructions didn't tell how to trim the kit parts and where to fit the resin replacement, I had to resort to reference photos to determnine the front of the spine had to be carved out, with the resin part going under it. Despite trying to be careful, I carved too much styrene out of the spine and had to glue in a shim of styrene sheet.

There's still some gaps that will need putty, but still much better than without the shim. As trimming away the front of the spine also removed the locating pin in the front, I dry-fitted the cockpit tub in place while gluing the spine in place to ensure it's aligned properly.
Another modular feature of the kit, the separately molded rear fuselage. Again, while there hasn't been many other variants released to take advantage of this part break-down, aftermarket conversion sets have been released.

Unlike the newer 1:48 scale kit, this 1:72 scale one doesn't have a proper exhaust pipe between the afterburner nozzle and the turbine plate part. I wonder if it would be worth it to build a pipe there?


JollyRoger

Joined: December 22, 2004
KitMaker: 1,241 posts
AeroScale: 616 posts

Posted: Monday, May 20, 2013 - 01:52 PM UTC

Cockpit done and...


Bodywork ok. There is a slight problem on the air intake but I'll meddle with it if it still shows after the initial metalic cote...I know it will but I am pushing my luck. Drilled some holes for the rocket mounts which I niked from a Revell P-47M I built earlier. To be honest I shot these photos last week but didn't have time to upload them. Canopy is placed and masking is ready. Why am I not painting it...who knows...


Jessie_C


Joined: September 03, 2009
KitMaker: 6,965 posts
AeroScale: 6,247 posts

Posted: Tuesday, May 21, 2013 - 11:08 AM UTC
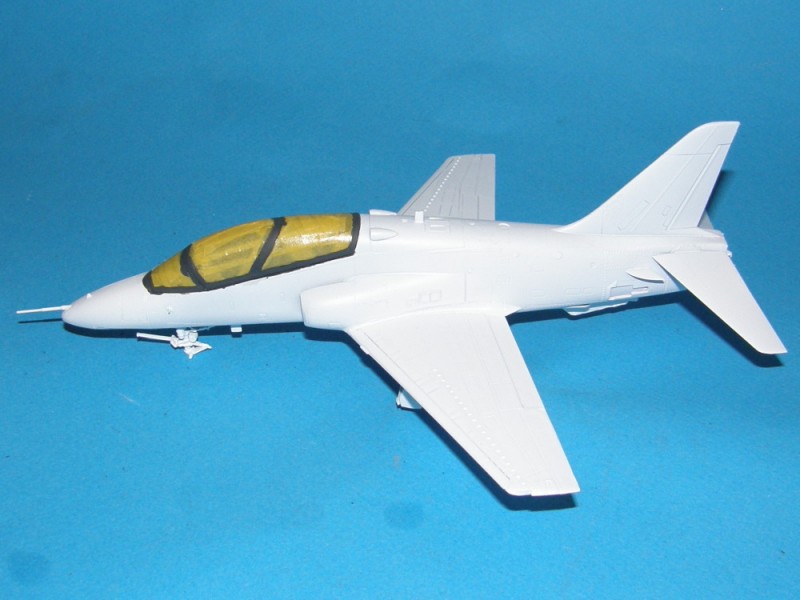
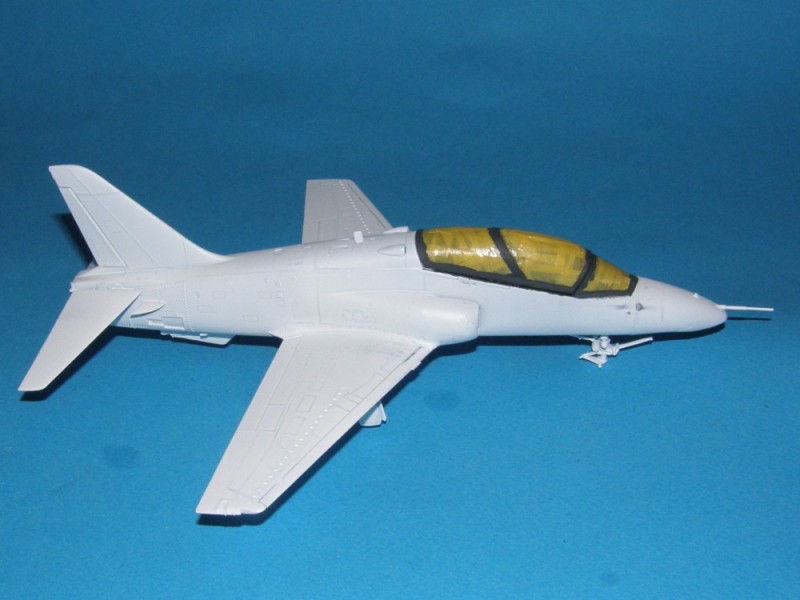
Inching closer to completion. The lid's on and the interior framework colour painted.


Nito74

Joined: March 04, 2008
KitMaker: 5,386 posts
AeroScale: 635 posts

Posted: Wednesday, May 22, 2013 - 05:09 AM UTC
Nice work Jessica !
Still working on the Su-15


But then I noticed the radar cone was not how it should be, so I got it right as the instructions told... damn it looked like a crooked nose, like Alain Prost's nose, anyway...
I got mad, this kit is a real nightmare..

Just kept the decals.. rest is plastic trash.
I really like that aircraft..

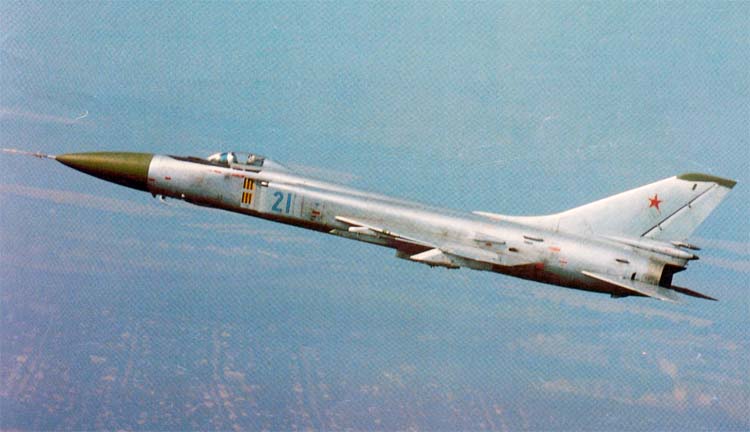
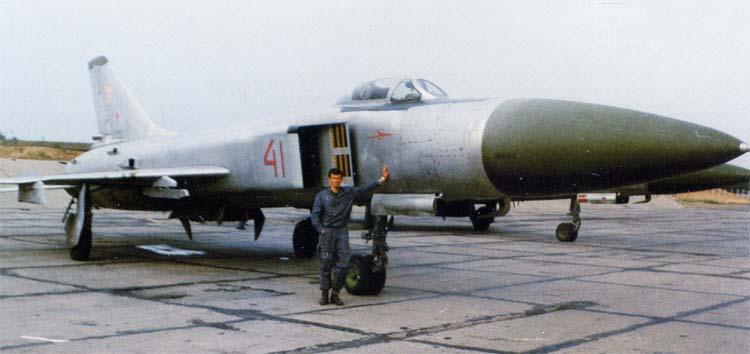


A slim, fast cold war interceptor.
Not like my Amodel kit

So I kepr working on my plan B, the Mighty Mustang

Still working on the Su-15


But then I noticed the radar cone was not how it should be, so I got it right as the instructions told... damn it looked like a crooked nose, like Alain Prost's nose, anyway...
I got mad, this kit is a real nightmare..

Just kept the decals.. rest is plastic trash.
I really like that aircraft..


A slim, fast cold war interceptor.
Not like my Amodel kit

So I kepr working on my plan B, the Mighty Mustang

Posted: Wednesday, May 22, 2013 - 06:42 AM UTC
Quoted Text
Not like my Amodel kit
Maybe you could enter it into the Groundforce diorama campaign? Your half way there already.
We've all been there with these crappy kits. Been there myself with a PM Mirage. Ended up being more milliput than plastic. Only good that came from it was practice rescribing panel lines.
If you don't mind me asking, what do you plan on doing with the weapons set?
Nito74

Joined: March 04, 2008
KitMaker: 5,386 posts
AeroScale: 635 posts

Posted: Wednesday, May 22, 2013 - 07:03 AM UTC
Well nothing much.. it would follow the rest of the kit.. 
Do you want it ?


Do you want it ?


Jessie_C


Joined: September 03, 2009
KitMaker: 6,965 posts
AeroScale: 6,247 posts

Posted: Wednesday, May 22, 2013 - 07:26 AM UTC
Don't worry John. Now you've got 1/3 of the dead models needed to do this 

Posted: Wednesday, May 22, 2013 - 07:39 AM UTC
Now that is cool!
John I did feel a little cheeky for asking, but if they're going and if your offering, I can make use of some of the bits. Thanks

John I did feel a little cheeky for asking, but if they're going and if your offering, I can make use of some of the bits. Thanks


Jessie_C


Joined: September 03, 2009
KitMaker: 6,965 posts
AeroScale: 6,247 posts

Posted: Wednesday, May 22, 2013 - 05:41 PM UTC
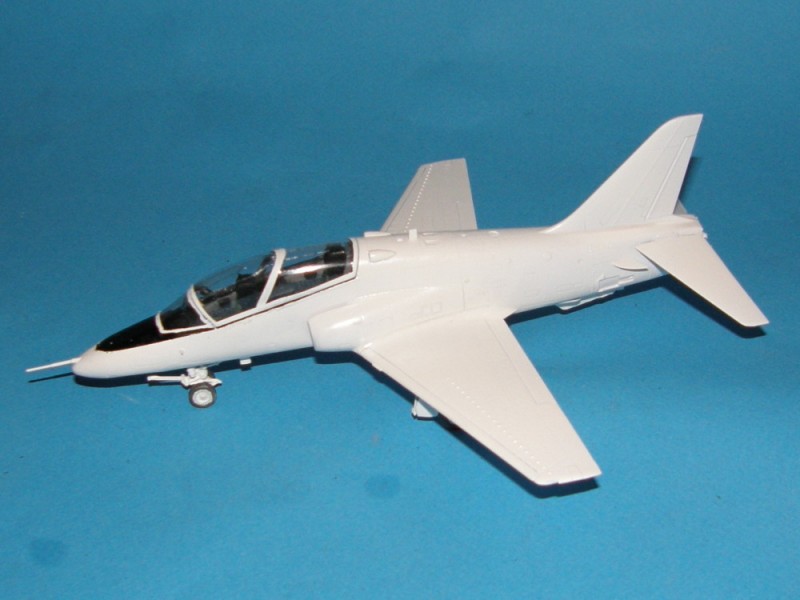
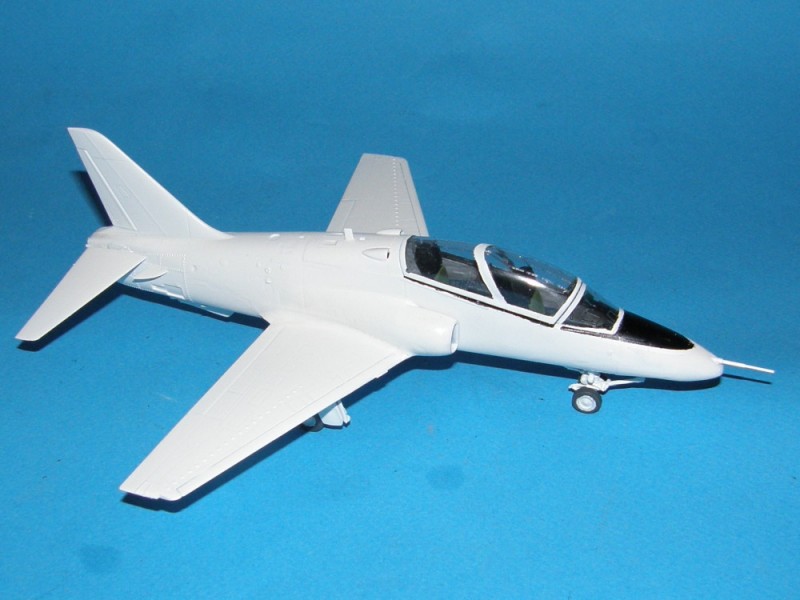
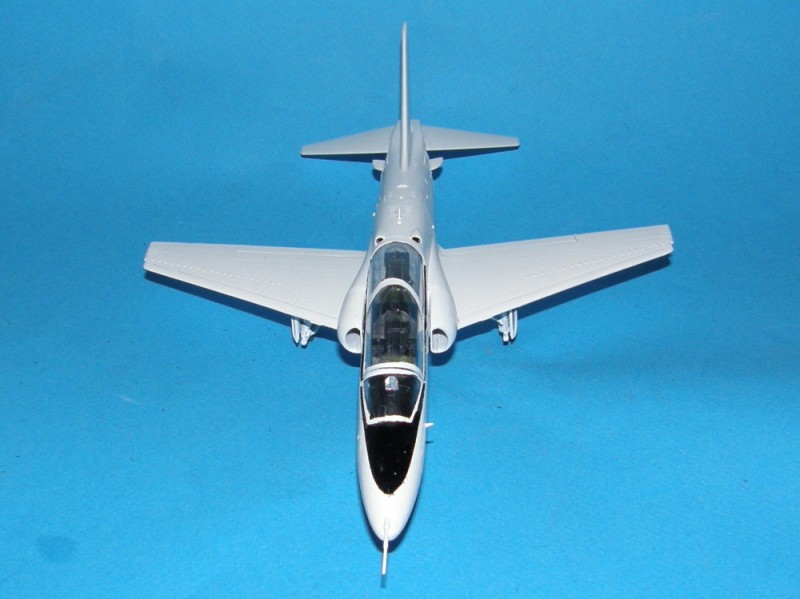
Some more progress. It's obvious that the canopy will not fit closed very well. Good thing I want to display it open 


drabslab

Joined: September 28, 2004
KitMaker: 2,186 posts
AeroScale: 1,587 posts

Posted: Thursday, May 23, 2013 - 03:27 AM UTC
Quoted Text
Well...
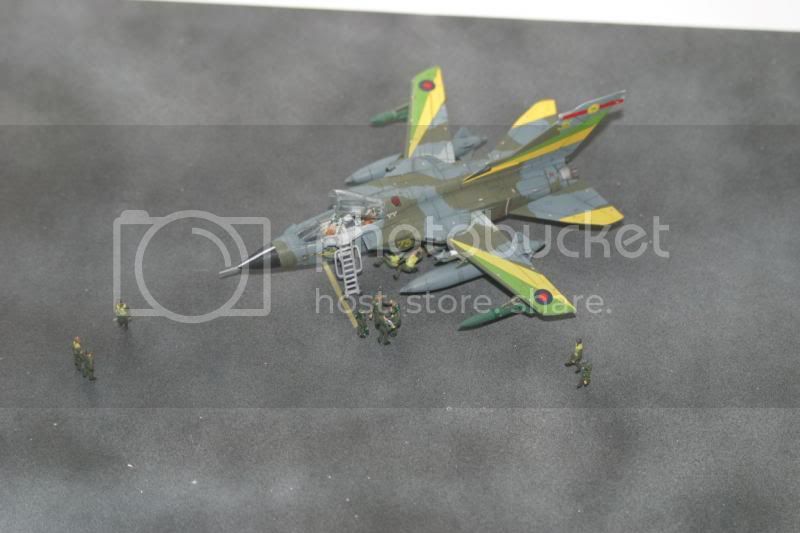
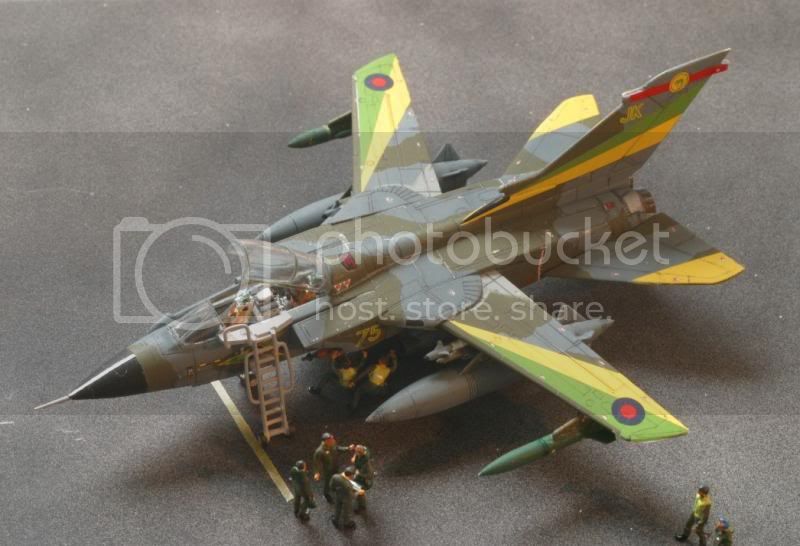
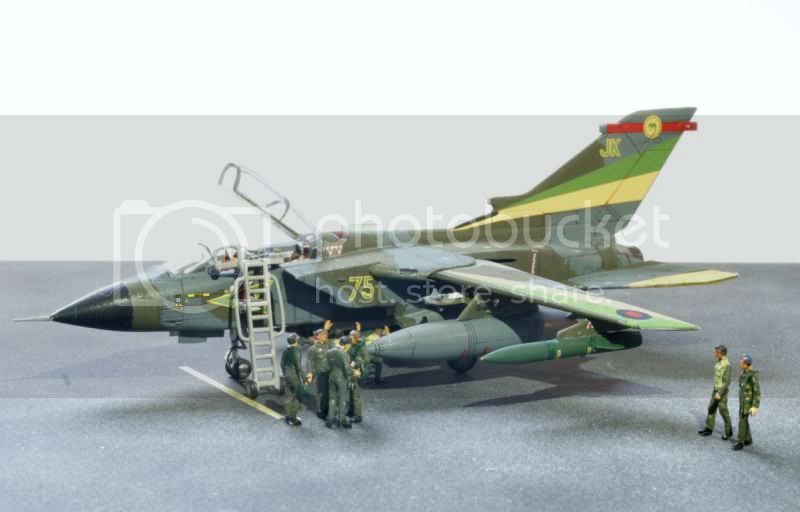
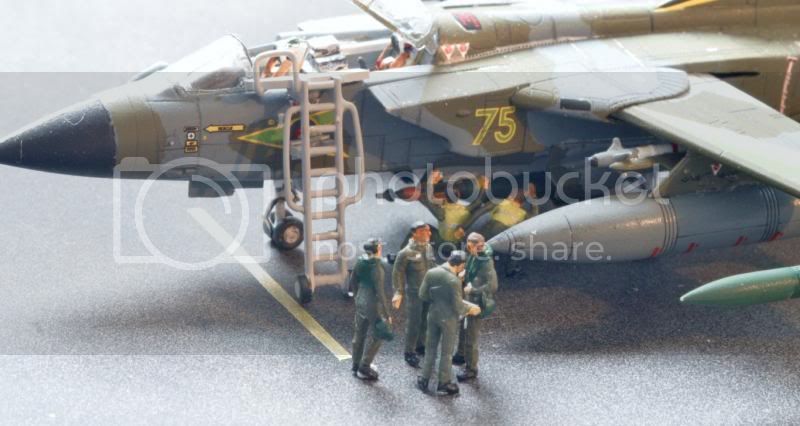
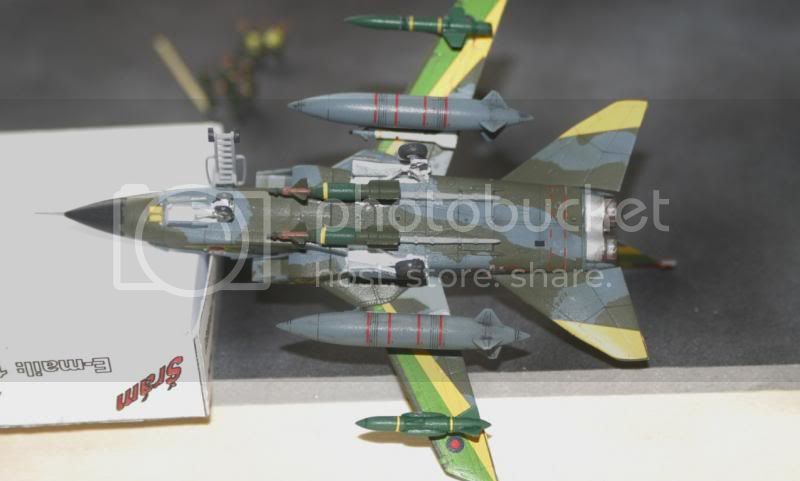
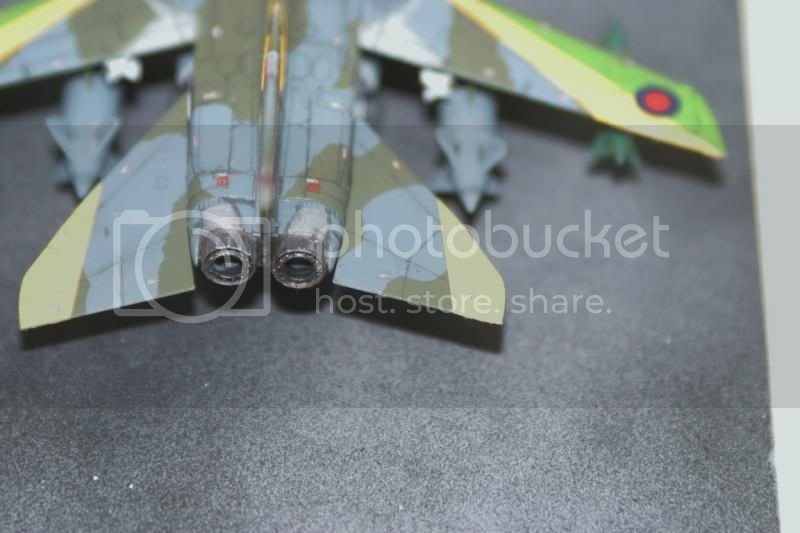
Finally got this wee Revell 1/144 Tornado Gr.Mk.1 finished. I scratchbuilt the crew ladder and decided to add some 1/144 NATO figures from Preiser. I think these are actually "N" Scale figures for model Railway bods but it's possible they're actually for model kits. They certainly make a difference anyway, even if they are pretty tiny!
Hope you like it:
This first pic looks about scale size accurate for 1:144.
I don't understand how it is posible to achieve such marvellous results in such a tiny scale


Jessie_C


Joined: September 03, 2009
KitMaker: 6,965 posts
AeroScale: 6,247 posts

Posted: Thursday, May 23, 2013 - 08:19 AM UTC
Colour!
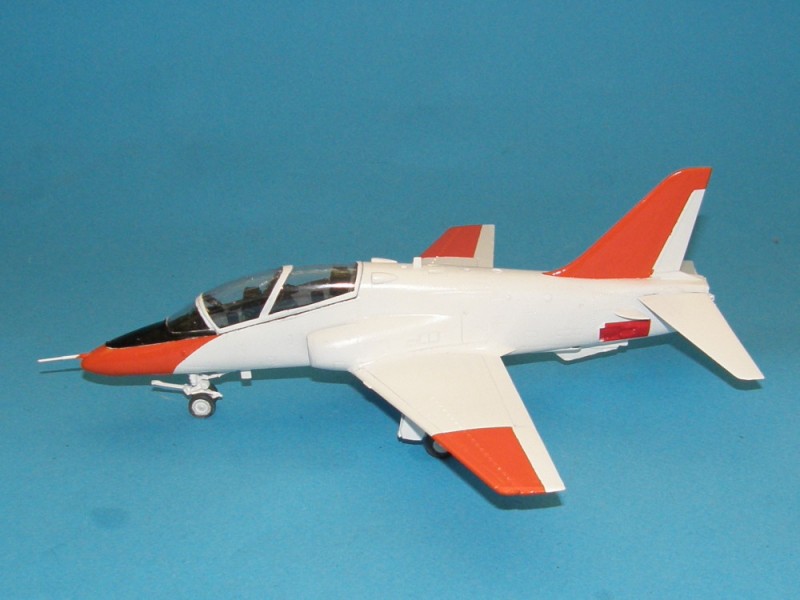
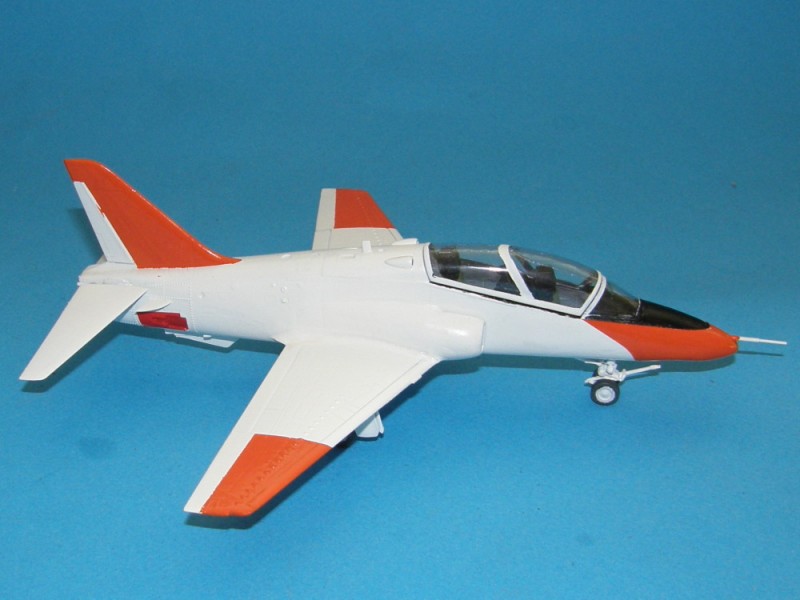
Still some tidying up to do before I pronounce the paint job complete.


Still some tidying up to do before I pronounce the paint job complete.
mojo72

Joined: September 05, 2010
KitMaker: 160 posts
AeroScale: 15 posts

Posted: Friday, May 24, 2013 - 05:25 AM UTC
Hi everyone
It's been a while since I posted any progress on my build(which is rather slow), but thanks to all those for the comments.
Dryfitted for size

Base coat of dark green and highlighted with yellow green, together with a black wash


Nice to see more photos of other builds. Keep up the good work guys. More to follow soon (hopefully)
It's been a while since I posted any progress on my build(which is rather slow), but thanks to all those for the comments.
Dryfitted for size

Base coat of dark green and highlighted with yellow green, together with a black wash


Nice to see more photos of other builds. Keep up the good work guys. More to follow soon (hopefully)

scribbles101

Joined: May 25, 2013
KitMaker: 137 posts
AeroScale: 103 posts
Posted: Saturday, May 25, 2013 - 01:26 AM UTC
If it is not too late i would love to jump into this campaign, since i have not done any models for several months i thought perhaps something simple like the hawker typhoon 1b in 1:72 from airfix
Posted: Saturday, May 25, 2013 - 01:59 AM UTC
Hello Simon, you can certainly enlist in this campaign, it runs to the end of July. Its up to you whether its too late to finish in that time. 
here is the campaign page with all the details, click on the ENLIST button to add yourself to the roster.

here is the campaign page with all the details, click on the ENLIST button to add yourself to the roster.
Posted: Saturday, May 25, 2013 - 05:46 AM UTC
I had to go back six pages to find out I havent touched my entry in this campaign for six weeks! 
So I just ordered Alclad paint, three different shades, so next week I will be back with shiny metal planes!

So I just ordered Alclad paint, three different shades, so next week I will be back with shiny metal planes!

Nito74

Joined: March 04, 2008
KitMaker: 5,386 posts
AeroScale: 635 posts

Posted: Sunday, May 26, 2013 - 03:31 AM UTC
Update

Cockpit will be next..

Cockpit will be next..

scribbles101

Joined: May 25, 2013
KitMaker: 137 posts
AeroScale: 103 posts
Posted: Sunday, May 26, 2013 - 05:46 AM UTC
Ok well i made a start on the typhoon today. Well i say that but in reality i looked at what is supposedly the cockpit in this kit and thought i can do better. Man i am stupid, why did i do it?

the sprues

my slightly make shift attempt at a cockpit and bucket seat


yeah there are reasons why I normally avoid scratchbuilding and yeah the paint colour is very very wrong. Its going to take some work but this will eventually start to look atleast half decent!!

the sprues

my slightly make shift attempt at a cockpit and bucket seat


yeah there are reasons why I normally avoid scratchbuilding and yeah the paint colour is very very wrong. Its going to take some work but this will eventually start to look atleast half decent!!
Posted: Sunday, May 26, 2013 - 06:18 AM UTC
That's a fine tiny cockpit detail. The smaller scales are quite forgiving, that'll look great when its closed up.
Nito74

Joined: March 04, 2008
KitMaker: 5,386 posts
AeroScale: 635 posts

Posted: Monday, May 27, 2013 - 05:21 AM UTC


SaxonTheShiba

Joined: February 01, 2009
KitMaker: 1,233 posts
AeroScale: 663 posts

Posted: Monday, May 27, 2013 - 06:41 AM UTC
scribbles101

Joined: May 25, 2013
KitMaker: 137 posts
AeroScale: 103 posts
Posted: Monday, May 27, 2013 - 07:48 AM UTC
Hi all I know this is a little off topic but would any of you happen to know where I could get hold of some silver city air lines decals for a 1:72 Bristol Mk 32 superfreighter because my grand father used to fly one for silver city so I thought it would be good to do one in silver city colours. Of anyone can help please let me know that would be great, thanks
 |


