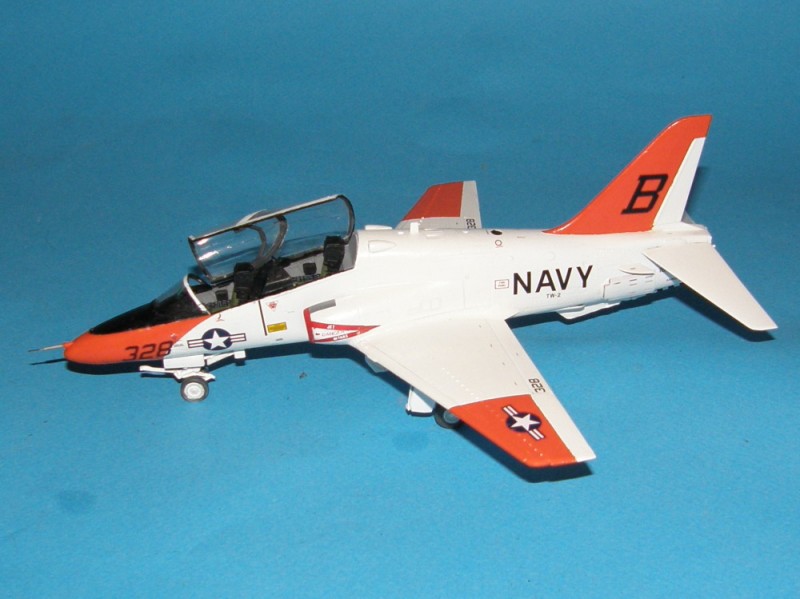
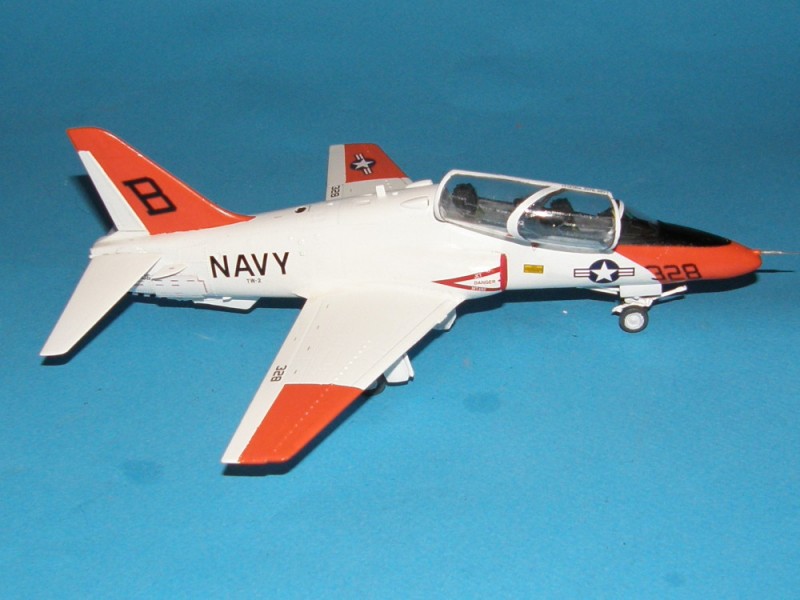
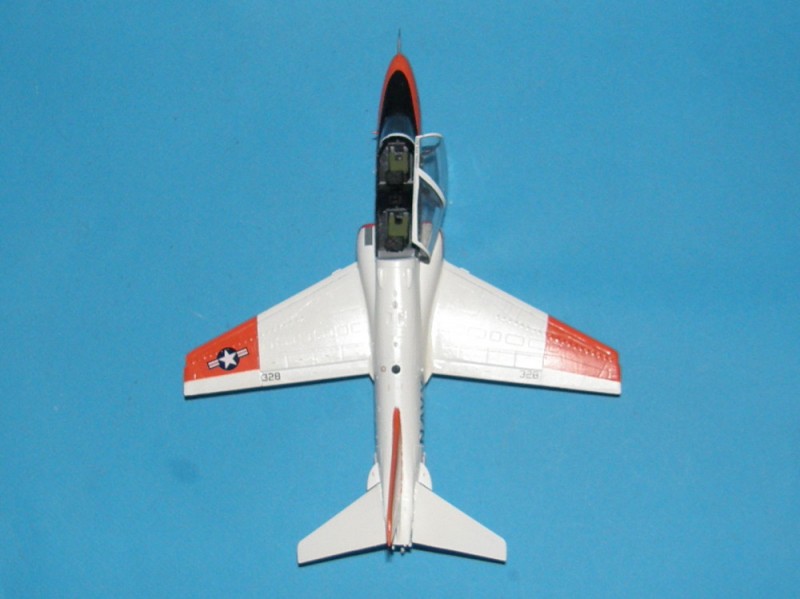
OFFICIAL: Anything Goes Campaign

#259
Massachusetts, United States
Joined: October 23, 2011
KitMaker: 2,265 posts
AeroScale: 1,715 posts
Posted: Monday, May 27, 2013 - 09:24 AM UTC
Quoted Text
Hi all I know this is a little off topic but would any of you happen to know where I could get hold of some silver city air lines decals for a 1:72 Bristol Mk 32 superfreighter because my grand father used to fly one for silver city so I thought it would be good to do one in silver city colours. Of anyone can help please let me know that would be great, thanks
voila
SM72-04 B.170 Mk.32 Silver City (G-AMWA) £8.99
http://www.tahs.com/Kits/S&M%20DECS.htmUnited Kingdom
Joined: May 25, 2013
KitMaker: 137 posts
AeroScale: 103 posts
Posted: Monday, May 27, 2013 - 09:46 AM UTC
thanks a lot I will order those, who knows if i get the typhoon finished soon i might even put this up as a secondary build in this campaign
England - West Midlands, United Kingdom
Joined: August 01, 2012
KitMaker: 960 posts
AeroScale: 391 posts
Posted: Monday, May 27, 2013 - 02:35 PM UTC
England - West Midlands, United Kingdom
Joined: August 01, 2012
KitMaker: 960 posts
AeroScale: 391 posts
Posted: Tuesday, May 28, 2013 - 01:20 AM UTC
A Memorial Day weekend enabled me to do some modeling. I was able to do most of the assembly on the MS406. The fit was not bad at all and there was minimum flash except for one part. I did do quite a bit of sanding to the glue seams. The canopy is a flash monster and will take careful finishing work. The cockpit needs a new seat and instrument panel. I'll borrow some decals from another kit and paint this for a Finnish MS406. One nice bonus to these old kits are the stands. This stand is a very elegant clear deco style oval shape that gives a period feel to the display.


England - South East, United Kingdom
Joined: March 13, 2007
KitMaker: 182 posts
AeroScale: 65 posts
Posted: Tuesday, May 28, 2013 - 06:52 AM UTC
Bit of a late comer but i'm in for this group build with this kit:

Thanks,
Philip.
Currently working on:
1:700 Tamiya IJN I-58 Diorama
1:72 Italeri Westland Wessex HAS.3
Lisboa, Portugal
Joined: March 04, 2008
KitMaker: 5,386 posts
AeroScale: 635 posts
Posted: Wednesday, May 29, 2013 - 03:28 AM UTC
Active Builds: 0
Active Campaigns: 0
British Columbia, Canada
Joined: September 03, 2009
KitMaker: 6,965 posts
AeroScale: 6,247 posts
Posted: Wednesday, May 29, 2013 - 01:47 PM UTC
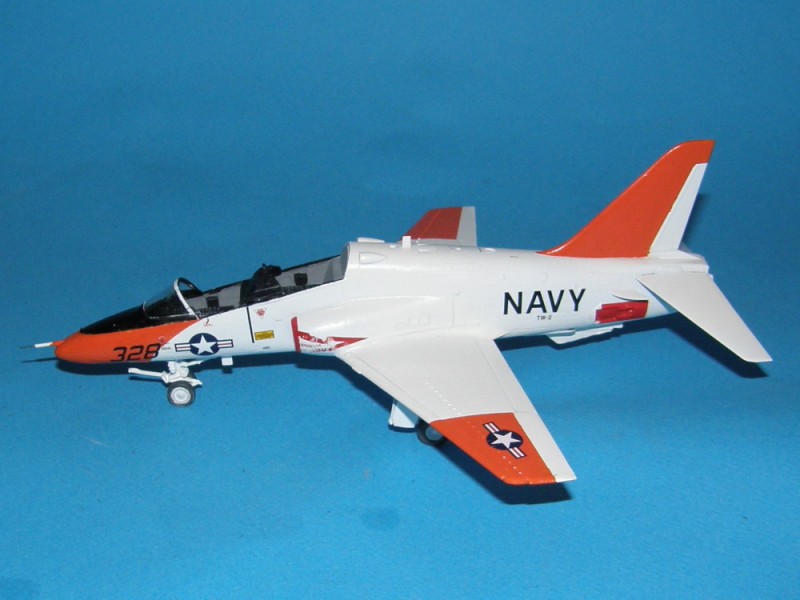
This is why you shouldn't rush decals. I picked the model up to put on a ridiculously tiny stencil and
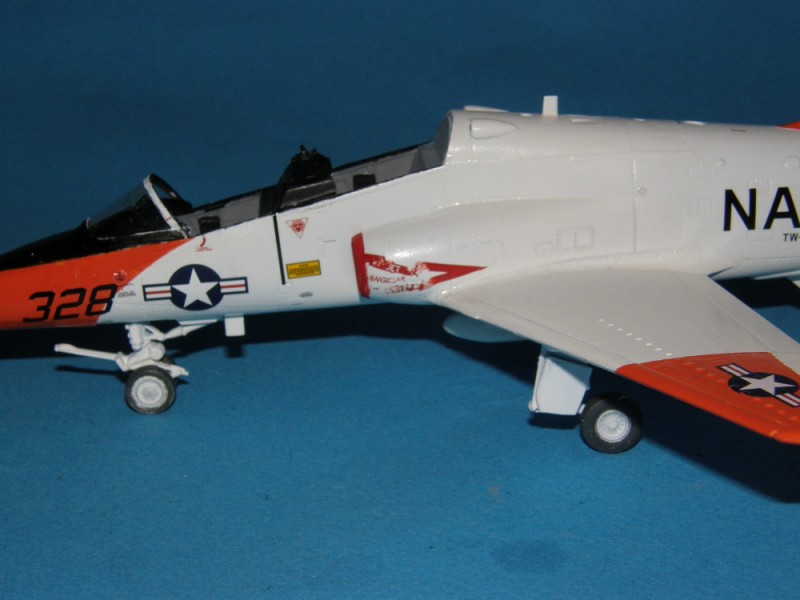
It's not an inconspicuous marking. I'm going to have to trawl through the decal dungeon to try and find something I can cobble together to replace it.
When once you have tasted flight you will walk the Earth with your eyes turned skyward.
For there you have been, and there you will always long to return.
-Leonardo Da Vinci
England - East Anglia, United Kingdom
Joined: May 06, 2009
KitMaker: 32 posts
AeroScale: 31 posts
Posted: Wednesday, May 29, 2013 - 05:19 PM UTC
@Jessie_C Ouch! But I'm sure we've all been there...
I'm about to start a new build, so I thought I might include it here.
The Revell 1/72nd scale P-51B Mustang.

Nice easy little kit, should be fairly straight forward


Current builds:
Airfix Spitfire PR XIX in 1/72nd
Airfix Douglas TBD-1 Devastator in 1/72nd
Airfix RAF Refuelling Set
Uusimaa, Finland
Joined: March 30, 2004
KitMaker: 2,845 posts
AeroScale: 1,564 posts
Posted: Wednesday, May 29, 2013 - 08:04 PM UTC
Nothing major to show yet, as I've yet to start painting the cockpit. It's been mostly de-sprueing and cleaning up parts so far. And consulting references, as I've learned to be vary of Revell's instructions.
Unlike the separately molded rear fuselage with open intake scoops, those going to the fuselage spine and the one in the fin were molded solid and needed some work to look good.

The fin was a bit trickier than just drilling and carving a hole, as on the real thing there's four slats in the intake. So I glued in strips of the thinnest styrene sheet I had. I didn't get them 100% evenly spaced, but far better than a flat solid surface, IMHO.

Dryfitting the drop tank halves revealed a gap over the fins, as if the cutout for the fins in the other half was made too deep and no one bothered to check it. Easily fixed with some styrene sheet.

I think I'll be painting the cockpit in my next update.

United States
Joined: February 01, 2009
KitMaker: 1,233 posts
AeroScale: 663 posts
Posted: Friday, May 31, 2013 - 01:00 PM UTC
A little progress on the Super Fox-------Furball Decals are on, flat coat to follow.
Best wishes,
Ian


It is a fact that under equal conditions, large-scale battles and whole wars are won by troops which have a strong will for victory, clear goals before them, high moral standards, and devotion to the banner under which they go into battle.
-Georgy Zhukov
British Columbia, Canada
Joined: September 03, 2009
KitMaker: 6,965 posts
AeroScale: 6,247 posts
Posted: Friday, May 31, 2013 - 05:12 PM UTC
When once you have tasted flight you will walk the Earth with your eyes turned skyward.
For there you have been, and there you will always long to return.
-Leonardo Da Vinci
England - East Midlands, United Kingdom
Joined: February 07, 2004
KitMaker: 911 posts
AeroScale: 415 posts
Posted: Friday, May 31, 2013 - 09:19 PM UTC
Ian - that's one dirty scooter!
Jessie - nice job. Seems the kit is quite a struggle though? I was thinking of picking one up and whiffing it into an aggressor.
"Nelson be damned.......Lets get the hell out of here!"
United States
Joined: February 01, 2009
KitMaker: 1,233 posts
AeroScale: 663 posts
Posted: Saturday, June 01, 2013 - 03:38 AM UTC
Jessica----Good looking Goshawk. Glad you could repair the intake decal.
And yes--------------low viz Scooters tended to get a little grimy.
Regards,
Ian
Quoted Text
Ian - that's one dirty scooter!
Jessie - nice job. Seems the kit is quite a struggle though? I was thinking of picking one up and whiffing it into an aggressor.
It is a fact that under equal conditions, large-scale battles and whole wars are won by troops which have a strong will for victory, clear goals before them, high moral standards, and devotion to the banner under which they go into battle.
-Georgy Zhukov
Lisboa, Portugal
Joined: March 04, 2008
KitMaker: 5,386 posts
AeroScale: 635 posts
Posted: Saturday, June 01, 2013 - 05:39 AM UTC
Very nice work Jessica !!
looking great Ian !
I'm still working on some details,

Active Builds: 0
Active Campaigns: 0
Ontario, Canada
Joined: November 14, 2009
KitMaker: 270 posts
AeroScale: 264 posts
Posted: Saturday, June 01, 2013 - 05:44 AM UTC
The Spitfire is coming along slowly but surely
 AZModel Spitfire IXc 1/72
 by
mawz_models, on Flickr
Lisboa, Portugal
Joined: March 04, 2008
KitMaker: 5,386 posts
AeroScale: 635 posts
Posted: Sunday, June 02, 2013 - 05:45 AM UTC
Small update.

Active Builds: 0
Active Campaigns: 0
United Kingdom
Joined: May 25, 2013
KitMaker: 137 posts
AeroScale: 103 posts
Posted: Monday, June 03, 2013 - 12:24 AM UTC
Ok well I have made lots of progress with the typhoon so there are quite a lot of pics, firstly i have mostly finished assembly and im most of the way there with the painting, just a few smaller parts to go because it is easier to paint those when they are not attached
assembly pics


painting (so far)

not much more to do now, there is a light at the end of the tinnel!!!
Ontario, Canada
Joined: October 17, 2002
KitMaker: 448 posts
AeroScale: 34 posts
Posted: Monday, June 03, 2013 - 01:37 AM UTC
Hi.
Been really busy with work and chasing a 1 year old so model time has really taken a hit. I was previously building a 1/48 tamiya mustang, but I recently got a hold of a 1/32 Revell He-162 and decided to try building it since I've heard its one of the easiest assembling 1/32 kits around.

That was back in May and here is where I am now.


I'm usually a armour guy, but I have to admit this has been a fun change of scenery so far.
Take care and great work all around so far.
Jeff
Go Green! Go White!
On the bench
1/32 BF-109 G-6
1/24 1968 Dodge Dart
Lisboa, Portugal
Joined: March 04, 2008
KitMaker: 5,386 posts
AeroScale: 635 posts
Posted: Monday, June 03, 2013 - 09:25 AM UTC
Update


Active Builds: 0
Active Campaigns: 0
England - East Anglia, United Kingdom
Joined: May 06, 2009
KitMaker: 32 posts
AeroScale: 31 posts
Posted: Tuesday, June 04, 2013 - 08:21 AM UTC
Revell P-51B update. Well with some sidewall detail, decal for the dash and even moulded on shoulder straps there really wasn't much for me to add to the interior, so I just painted it up and started putting this baby together. Initial impressions were VERY good. Everything was fitting together really well. Until it came to fitting the wing upper halves. This left a nasty gap and 'hump' right at the root. I've had a go at fixing it, but I do feel like my repairs look even worse than the problem!

Well, onwards and upwards

Current builds:
Airfix Spitfire PR XIX in 1/72nd
Airfix Douglas TBD-1 Devastator in 1/72nd
Airfix RAF Refuelling Set
England - West Midlands, United Kingdom
Joined: August 01, 2012
KitMaker: 960 posts
AeroScale: 391 posts
Posted: Tuesday, June 04, 2013 - 04:36 PM UTC
I'll post pictures of the MS406 in it's primer coat tomorrow.
Lisboa, Portugal
Joined: March 04, 2008
KitMaker: 5,386 posts
AeroScale: 635 posts
Posted: Thursday, June 06, 2013 - 04:09 AM UTC
Active Builds: 0
Active Campaigns: 0
England - West Midlands, United Kingdom
Joined: August 01, 2012
KitMaker: 960 posts
AeroScale: 391 posts
Posted: Thursday, June 06, 2013 - 06:33 AM UTC
Here is the Airlines-Frog 1966 vintage kit of the MS406. I managed to get this far yesterday. I spray outside here in Kentucky, weather permitting. Its rainy season and pollen season here so I'm dodging thunderstorms. Primer is discount store enamel gray. The paint is thin and dries quickly in the hot humid climate here during the late spring and summer.


England - West Midlands, United Kingdom
Joined: August 01, 2012
KitMaker: 960 posts
AeroScale: 391 posts
Posted: Thursday, June 06, 2013 - 06:38 AM UTC
I feel really heroic and have decided to go with a French paint scheme for the MS406. I have the original decals or the set from Hasegawa for their version of the MS406. More to come.
Lisboa, Portugal
Joined: March 04, 2008
KitMaker: 5,386 posts
AeroScale: 635 posts
Posted: Thursday, June 06, 2013 - 07:54 AM UTC
Decals are done.
Drop tanks too.
Canopy's missing.


Active Builds: 0
Active Campaigns: 0


