Air Campaigns
Want to start or join a group build? This is where to start.
OFFICIAL: China-Burma-India Campaign
bomber14
_VISITCOMMUNITY
New Jersey, United States
Joined: February 02, 2015
KitMaker: 330 posts
AeroScale: 286 posts
Posted: Saturday, April 15, 2017 - 09:41 AM UTC

Quoted Text


Quoted Text

i didn't get a response so if i may i will repeat my request
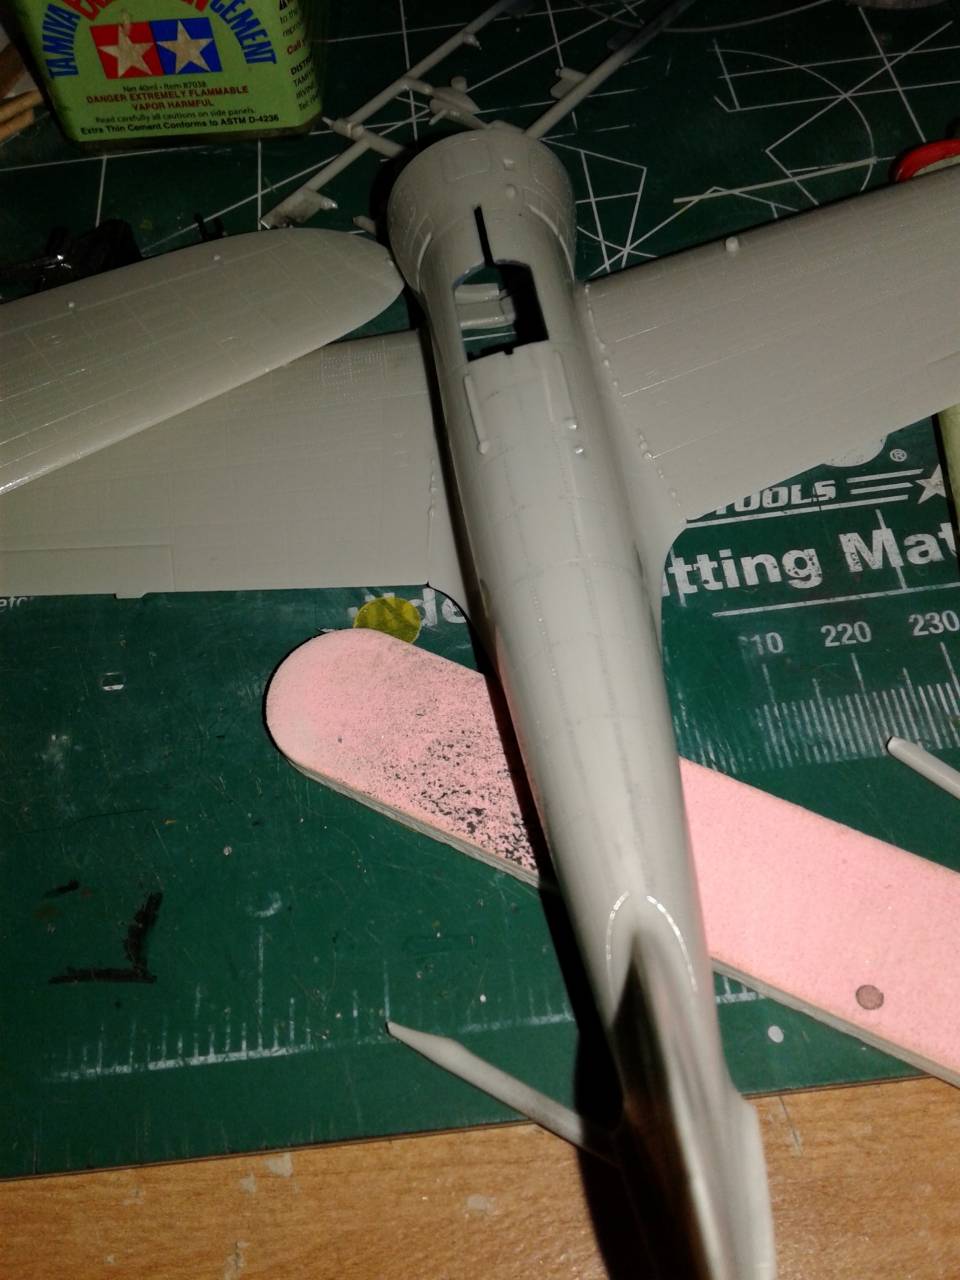
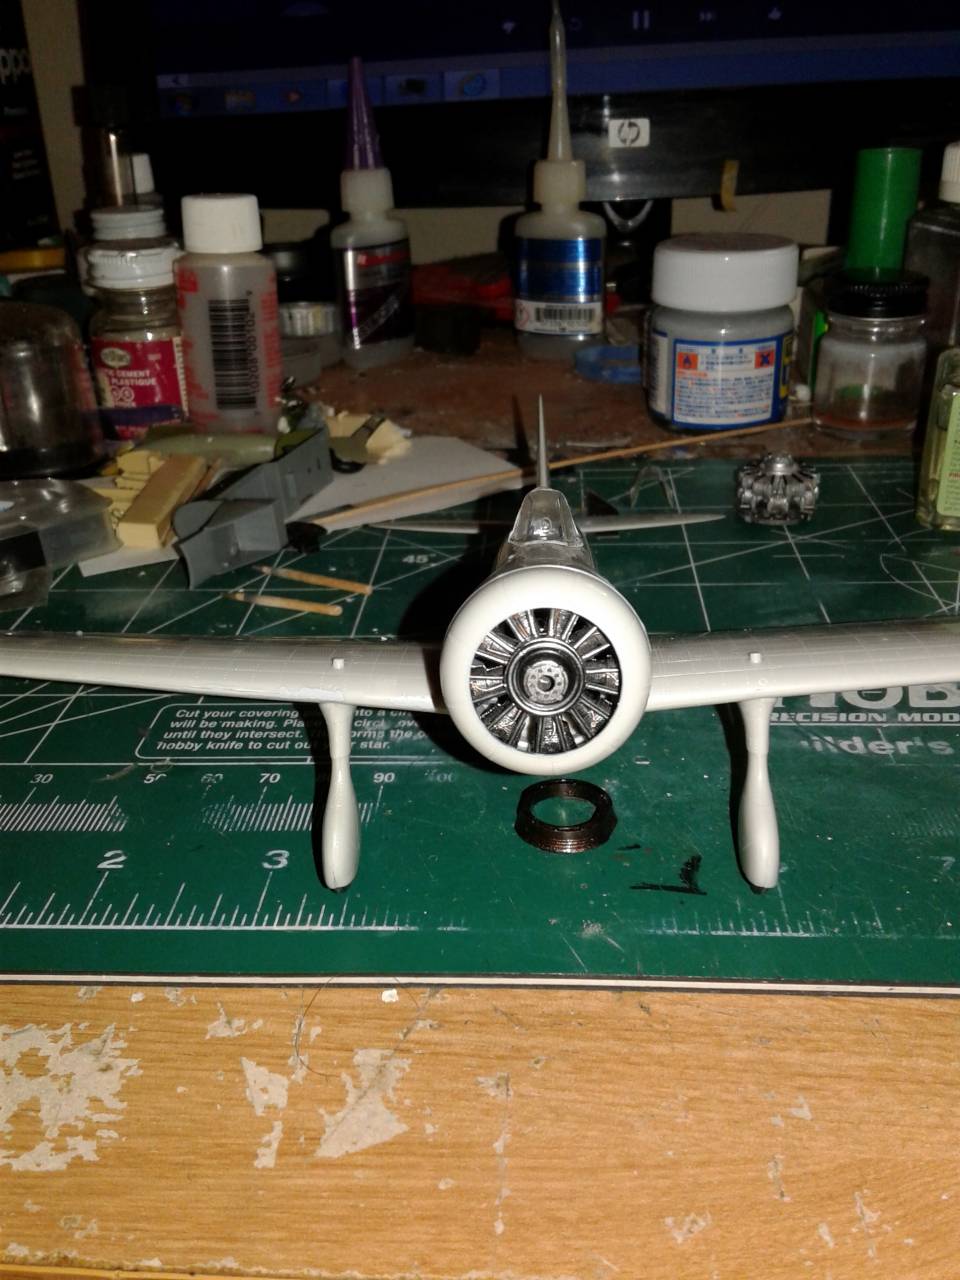
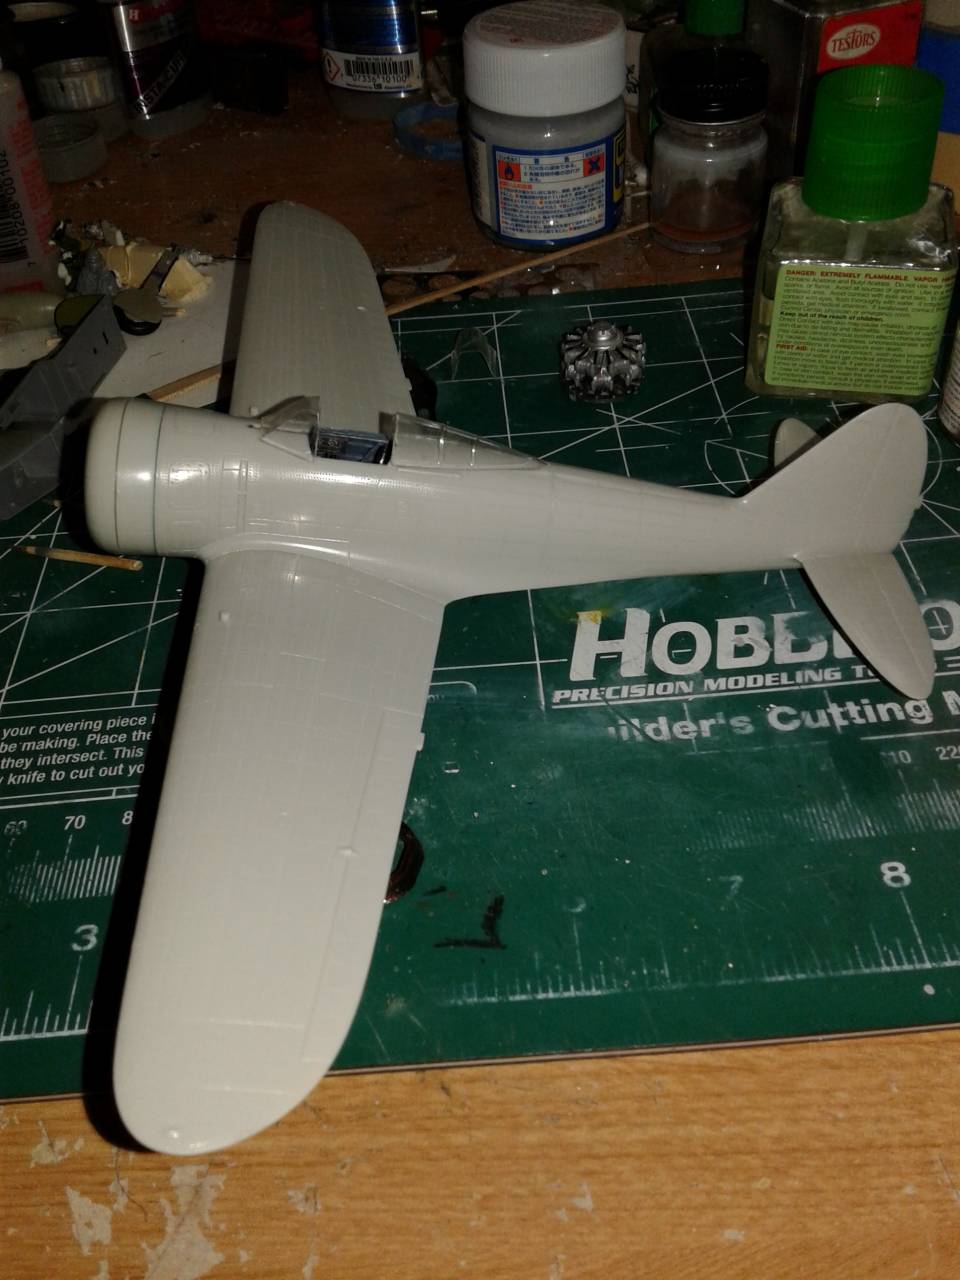
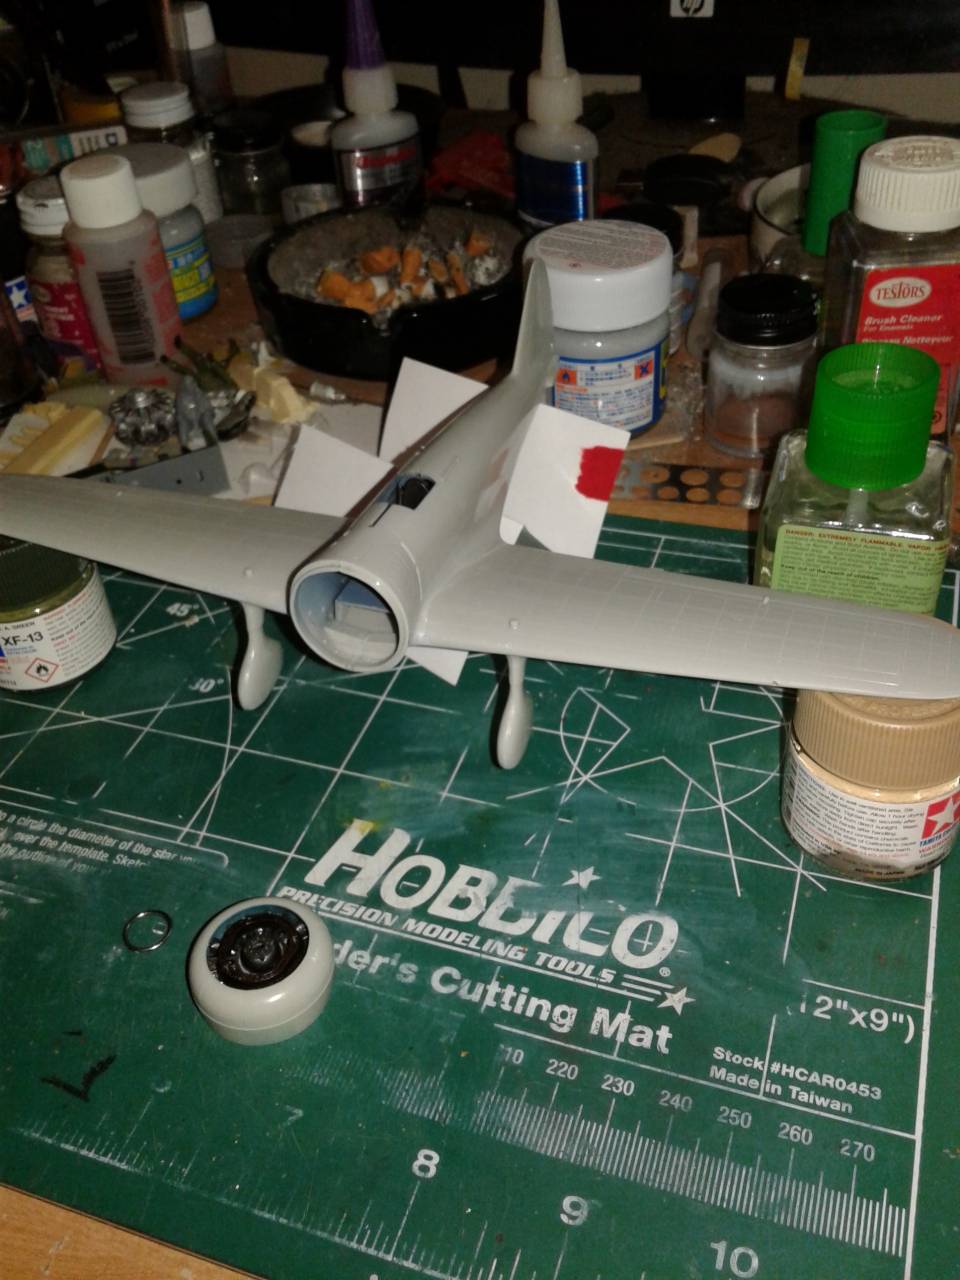
first does anyone know what color should the AVG p-40b wheel wells should be? can't find any photos or documentation. also if any of you out there use mr dissolved putty or mr surfacer 500 to fill wing roots and seams what do you use to clean up the excess around the join with out damage to the plastic? i tried nailpolish remover and rubbing alcohol.

thanks- joe


Joe, try enamel/laquer thinner (while it is fresh) - but once the putty/surfacer dried hard normally it's impossible to remove with a solvent. For the wheel wells of a P-40 I'm not sure but should be the same color as the whole underside/-carriage.
Thomas

btw: nice work on that ancient kit, you are going to overcome the issues...


thanks Thomas. i have made some more progress since i last posted. do you mean plain enamel thinner? lacquer would melt the plastic. i have wedged some plastic strip in the wing/fuselage gap i just need to sand it smooth and fill any holes with the dissolved putty. i will try the enamel thinner.
the underside will be light grey, the monogram directions call for interior green wheel wells and the academy kit i have says chromate yellow.not sure what british aircraft were painted
joe
c4willy
#305
_VISITCOMMUNITY
Christchurch, New Zealand
Joined: February 01, 2006
KitMaker: 1,673 posts
AeroScale: 1,517 posts
Posted: Saturday, April 15, 2017 - 10:39 AM UTC
Joe lend lease aircraft for the RAF were painted in American equivalent RAF colours so the wheel wells should be RAF interior green, which is similar to chromate green I believe.
TmHippo
_VISITCOMMUNITY
United States
Joined: July 28, 2016
KitMaker: 42 posts
AeroScale: 42 posts
Posted: Saturday, April 15, 2017 - 08:30 PM UTC
Lots of awesome planes being worked on in this campaign !!! Well i have gotten my parts trees washed and hope to start work this week on my Ki 43 I


BoiseBlade
#523
_VISITCOMMUNITY
Idaho, United States
Joined: February 28, 2014
KitMaker: 342 posts
AeroScale: 250 posts
Posted: Saturday, April 15, 2017 - 11:06 PM UTC
Chris,

Excellent weathering on that Zero.
That looks really nice.
MichaelSatin
Staff MemberCampaigns Administrator
AEROSCALE
_VISITCOMMUNITY
Colorado, United States
Joined: January 19, 2008
KitMaker: 3,909 posts
AeroScale: 2,904 posts
Posted: Sunday, April 16, 2017 - 01:27 AM UTC
Joe,

I've used lacquer thinner on a cotton swab (Q-tip) to clean off Mr. Surface even after it's dry. If you're careful not to over do it, the plastic should be fine.

Michael
Antilles
_VISITCOMMUNITY
Nordrhein-Westfalen, Germany
Joined: March 22, 2015
KitMaker: 671 posts
AeroScale: 614 posts
Posted: Tuesday, April 18, 2017 - 01:23 AM UTC
Robert Jan: Outstanding finish of Your built. I just love the weathered look of it!

Nicolas: Your Hawk comes along very nice! Your Camo seems to be spot on.

Joe: Very tiny and sublte work in the cockpit. Truly eyecatching!

Chris: Congrats on your finished built. The weathering looks real cool! Nice Zero!

Oliver
john41492
#442
_VISITCOMMUNITY
Malacca, Malaysia
Joined: July 20, 2015
KitMaker: 363 posts
AeroScale: 335 posts
Posted: Wednesday, April 19, 2017 - 07:28 AM UTC
Greetings all,

Wow what a lot of really nice looking builds here! Robert, nice looking Ki-84, and really like the work done on Oliver's build. Rodney, followed your Tamiya Raiden and Ki-84 builds, look forward to this one as well.

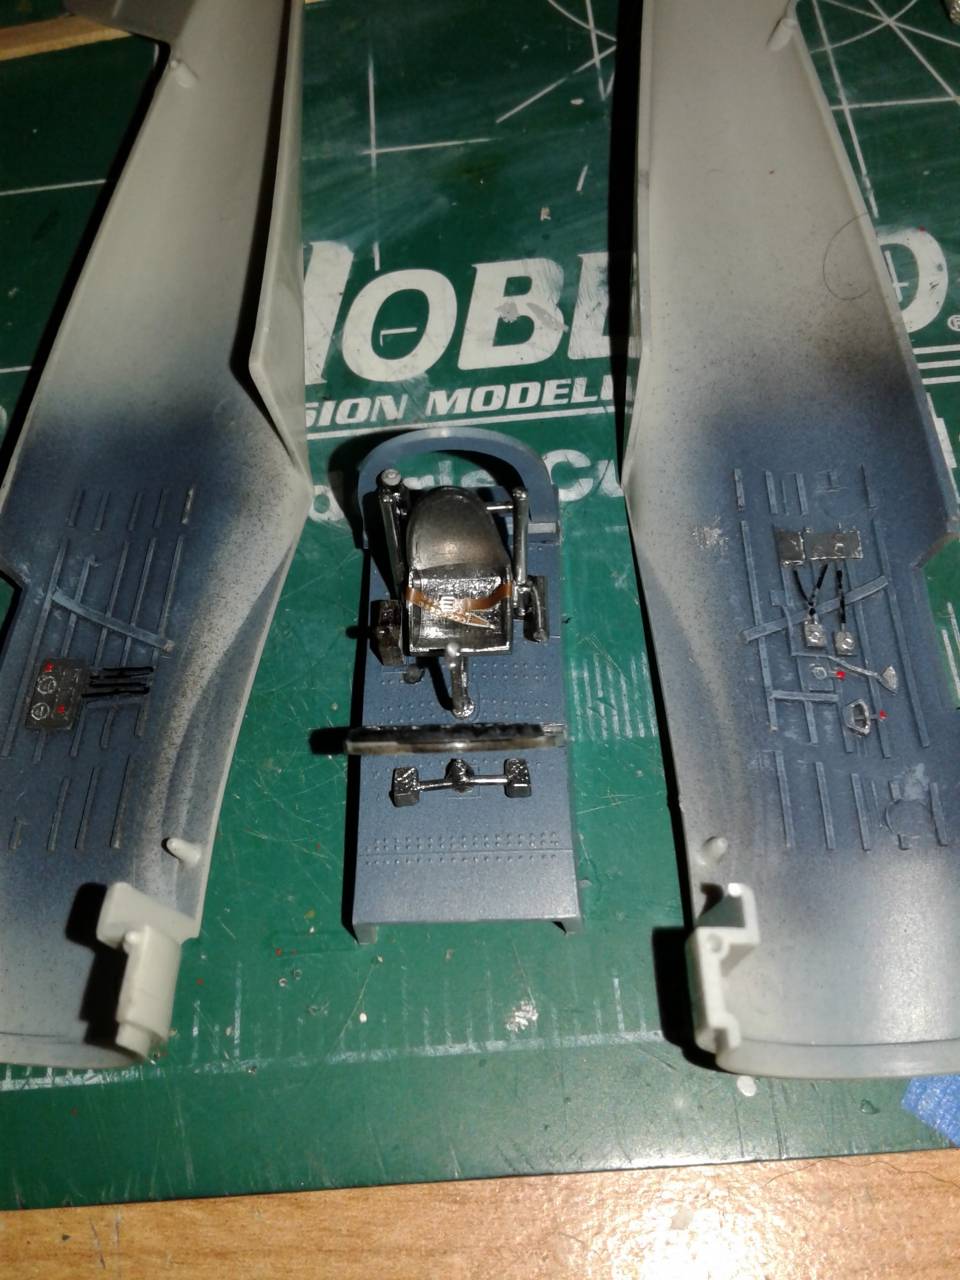
So I've been a little busy myself. After looking through the kit and test fitting it, which is quite nice, I opted to go with the kits cockpit and save the True Details for another build.

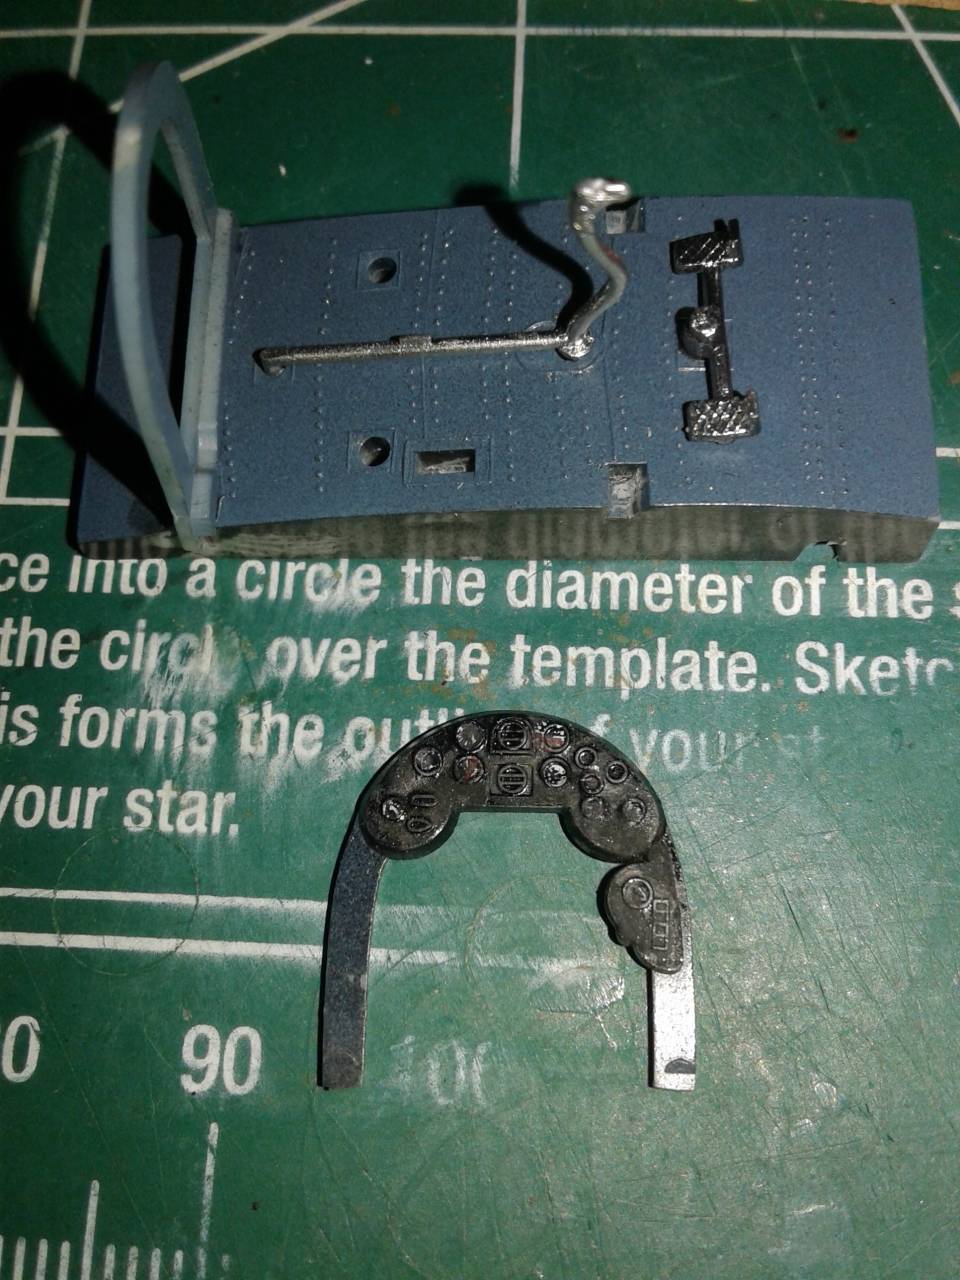
First up was to get the interior base color to match a restored Ki-27 pictures, sort of a dark grey blue color. Many put around an intermediate blue to hull grey. I chose to black base the parts and then using intermediate blue got to a color I thought was right. Had to hit it twice with the blue to get there, but I'm happy with it. Next I got use some Airscale Japanese instrument decals cut out using a Waldron punch. Two birds, one stone thing for me as I've really not put the punch set to use much, and have really wanted to try the decals. These look first rate when snuggled down.


So excited was I that I got out the dull coat and brushed over them to dull the panel. As this reddish color began to spread over the instrument panel I realized my error. Always seal your decals!


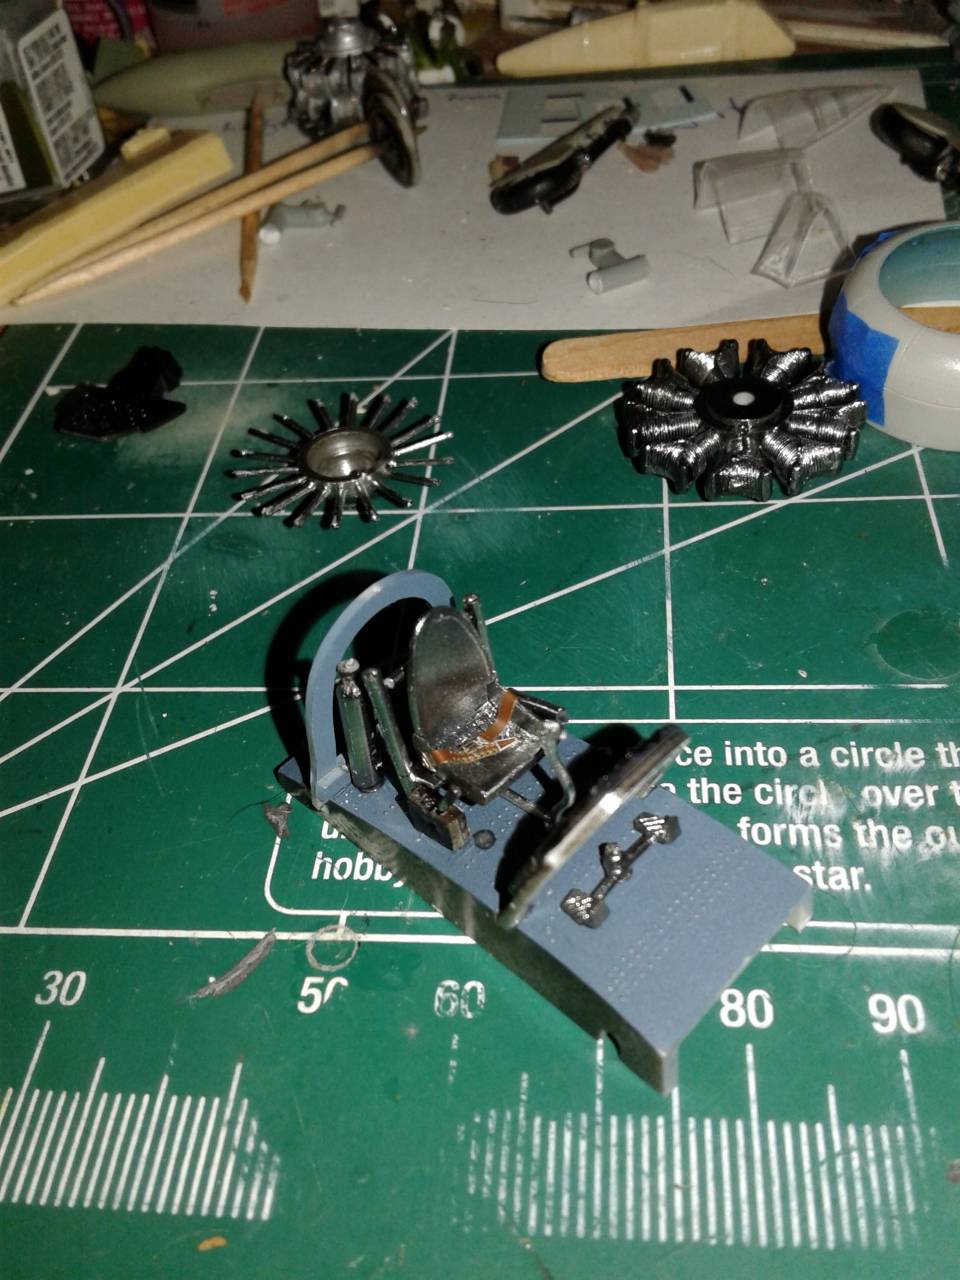
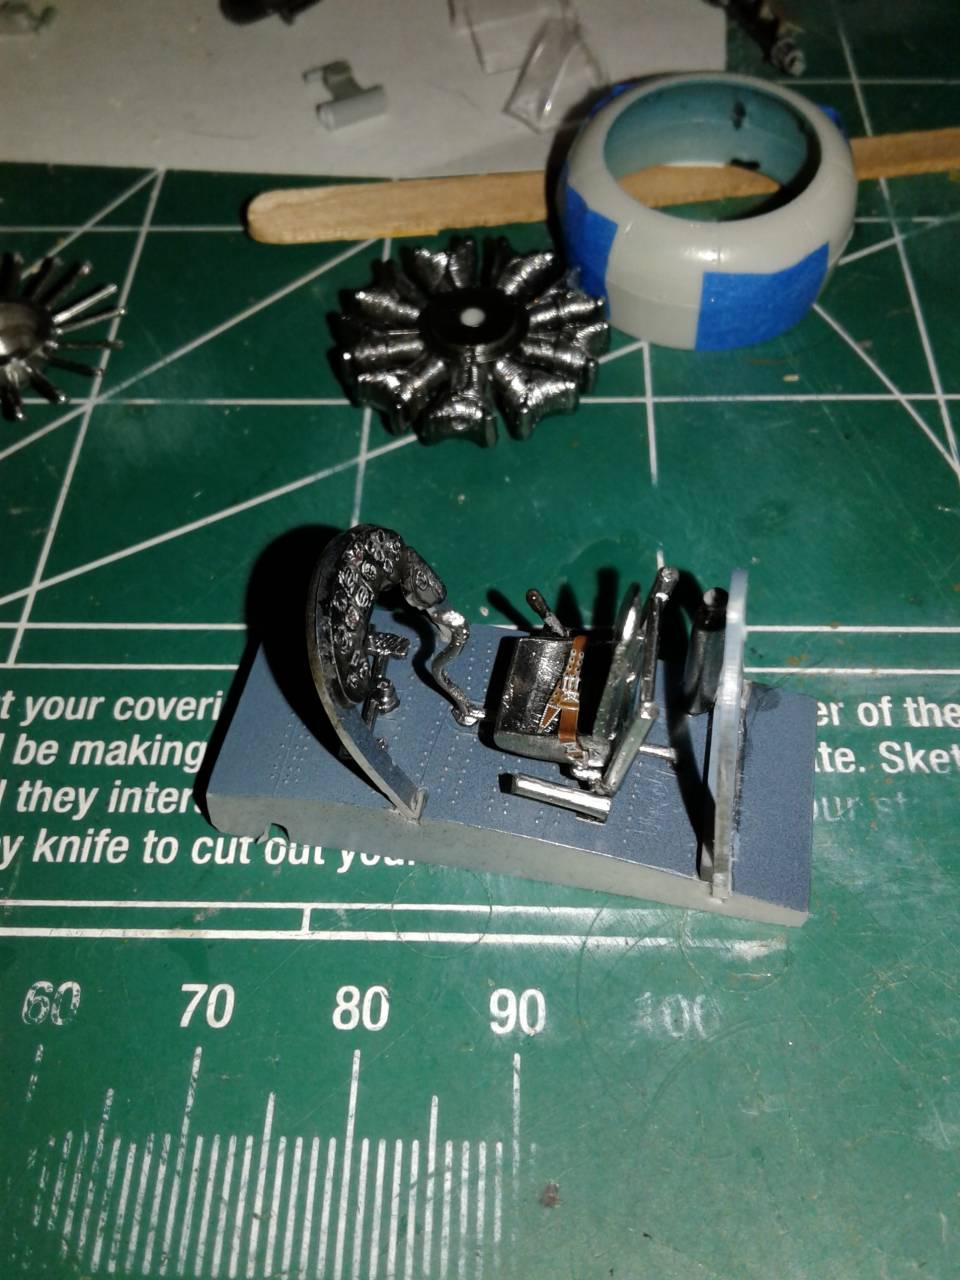
Ah the short lived joy. Undaunted, I got my Prismacolor cream pencil and reworked the panel. I wasn't to upset as once in the fuselage it will barely be seen. The rest of the cockpit parts were done in black and then sprayed with Alclad polished aluminum. A bit shinny, but I think it'll bounce the light around to better see the inside. To wrap up the cockpit I used some Eduard belts fastened with some five minute epoxy. Spartan, overall yet convincing.


I got the remaining parts painted for the bird except the wheels. The canopy came away well, though while trying a new technique I read about here, I scratched the back. Fortunately the sliding portion will cover it up. I'll stick with my old way of removing a vac-u-formed canopy, but the technique has a lot of promise for mold applications.


More to follow soon. Thoughts, comments, critiques are always welcome! Enjoy

John
john41492
#442
_VISITCOMMUNITY
Malacca, Malaysia
Joined: July 20, 2015
KitMaker: 363 posts
AeroScale: 335 posts
Posted: Wednesday, April 19, 2017 - 07:43 AM UTC
Joe,

Looked through my P-40 "In WWII color" book of an AVG bird, and the interior of the wheel wells look to be either interior green or a dirty chromate green.

Regarding Mr Surfacer 500. I've used lacquer thinner after it has dried more than sanding. I use a real "Q-tip" plain label ones don't seem to hold up too well for some reason. I dip in the lacquer thinner and then wick off the excess on an old shirt rag. Then work about a half inch (1.5 cm) section of the dried putty. I use the opposite side of the Q-tip to act kind like sand paper. I tend to go over the entire area this way until you can see where it needs work and where not. If you have concerns about the plastic, as I did while learning, you can always mask off the area. Take care not to let the lacquer thinner go under the tape! If it does, remove, wipe and continue. Takes time but well worth it. Be sure to do this in a well ventilated area, or with a respirator, or both! Safety first!!

There is also a good video on using Mr. Surfacer on You Tube. There is a gap filled on Tamiya's Betty that is very good at this technique.

Hope this helps. I do like the cockpit!

John
c4willy
#305
_VISITCOMMUNITY
Christchurch, New Zealand
Joined: February 01, 2006
KitMaker: 1,673 posts
AeroScale: 1,517 posts
Posted: Friday, April 21, 2017 - 09:18 AM UTC
Jeff, Oliver my thanks gents for your kind appraisal of my work. It was a really fun build that required me to think about how I was going to use the aftermarket parts as they weren't made for this kit. It should come in handy in the future if I need to modify aftermarket parts to fit a particular kit.
bomber14
_VISITCOMMUNITY
New Jersey, United States
Joined: February 02, 2015
KitMaker: 330 posts
AeroScale: 286 posts
Posted: Sunday, April 30, 2017 - 11:17 PM UTC

Quoted Text

Joe,

Looked through my P-40 "In WWII color" book of an AVG bird, and the interior of the wheel wells look to be either interior green or a dirty chromate green.

Regarding Mr Surfacer 500. I've used lacquer thinner after it has dried more than sanding. I use a real "Q-tip" plain label ones don't seem to hold up too well for some reason. I dip in the lacquer thinner and then wick off the excess on an old shirt rag. Then work about a half inch (1.5 cm) section of the dried putty. I use the opposite side of the Q-tip to act kind like sand paper. I tend to go over the entire area this way until you can see where it needs work and where not. If you have concerns about the plastic, as I did while learning, you can always mask off the area. Take care not to let the lacquer thinner go under the tape! If it does, remove, wipe and continue. Takes time but well worth it. Be sure to do this in a well ventilated area, or with a respirator, or both! Safety first!!

There is also a good video on using Mr. Surfacer on You Tube. There is a gap filled on Tamiya's Betty that is very good at this technique.

Hope this helps. I do like the cockpit!

John


john, michael:thanks for the help. i will give it a try on a test body first for practice.john when you say int green do you mean raf int green? because i painted the wheel wells raf int green which is a light gray/green. i like the look of the usa int green better but i'll see how it looks after a wash.

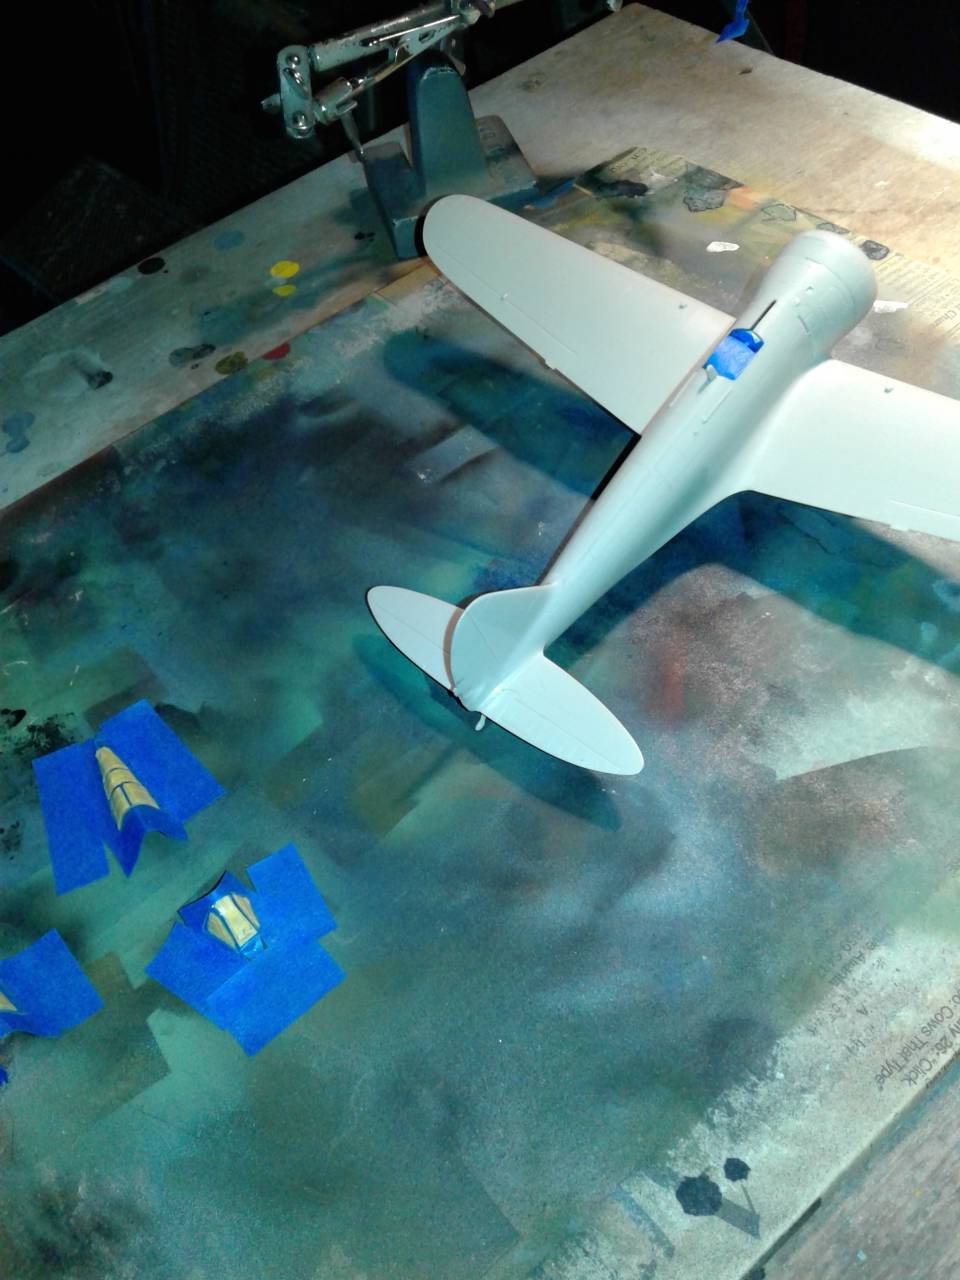
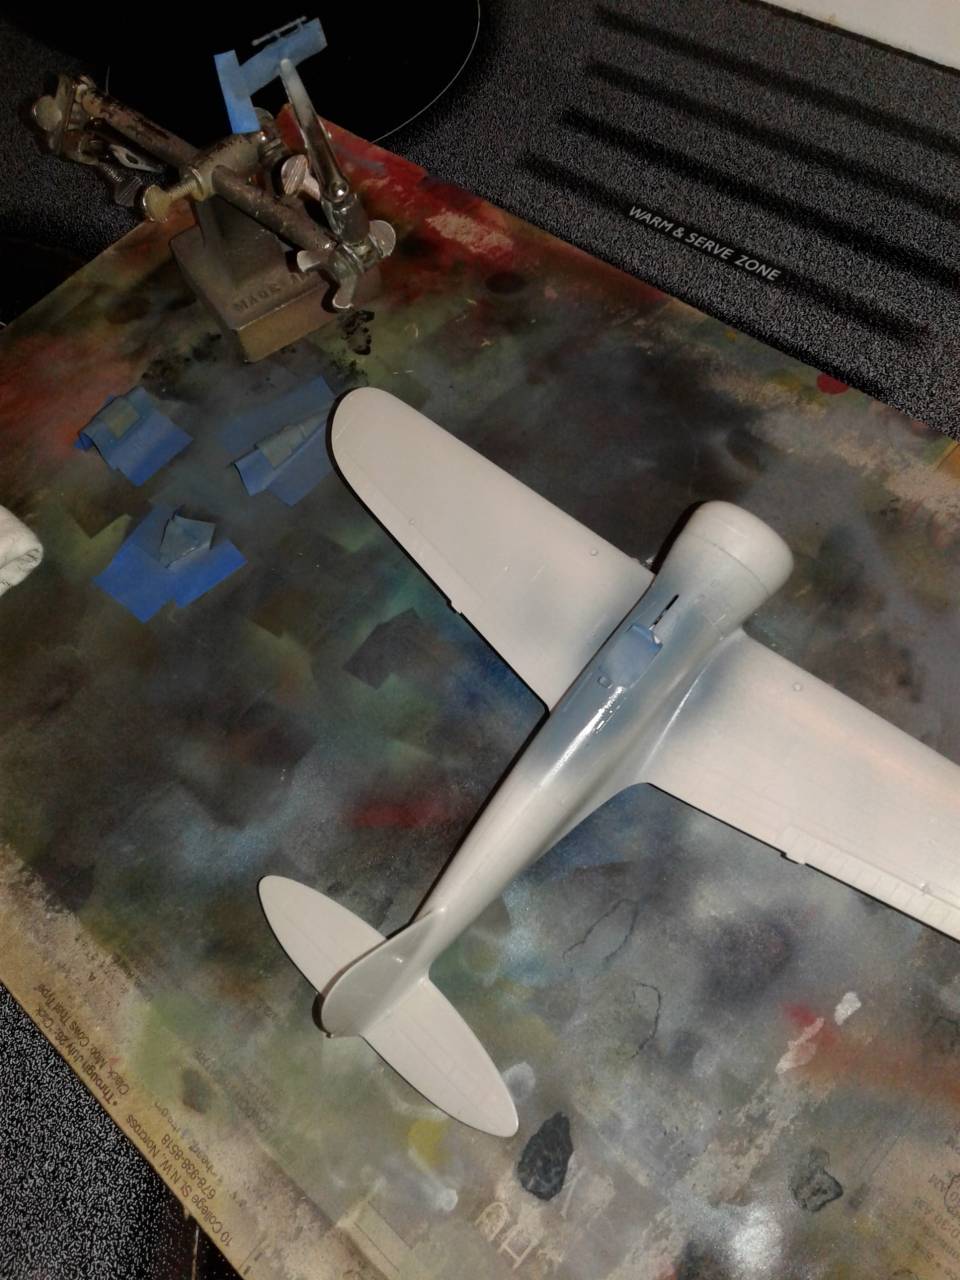
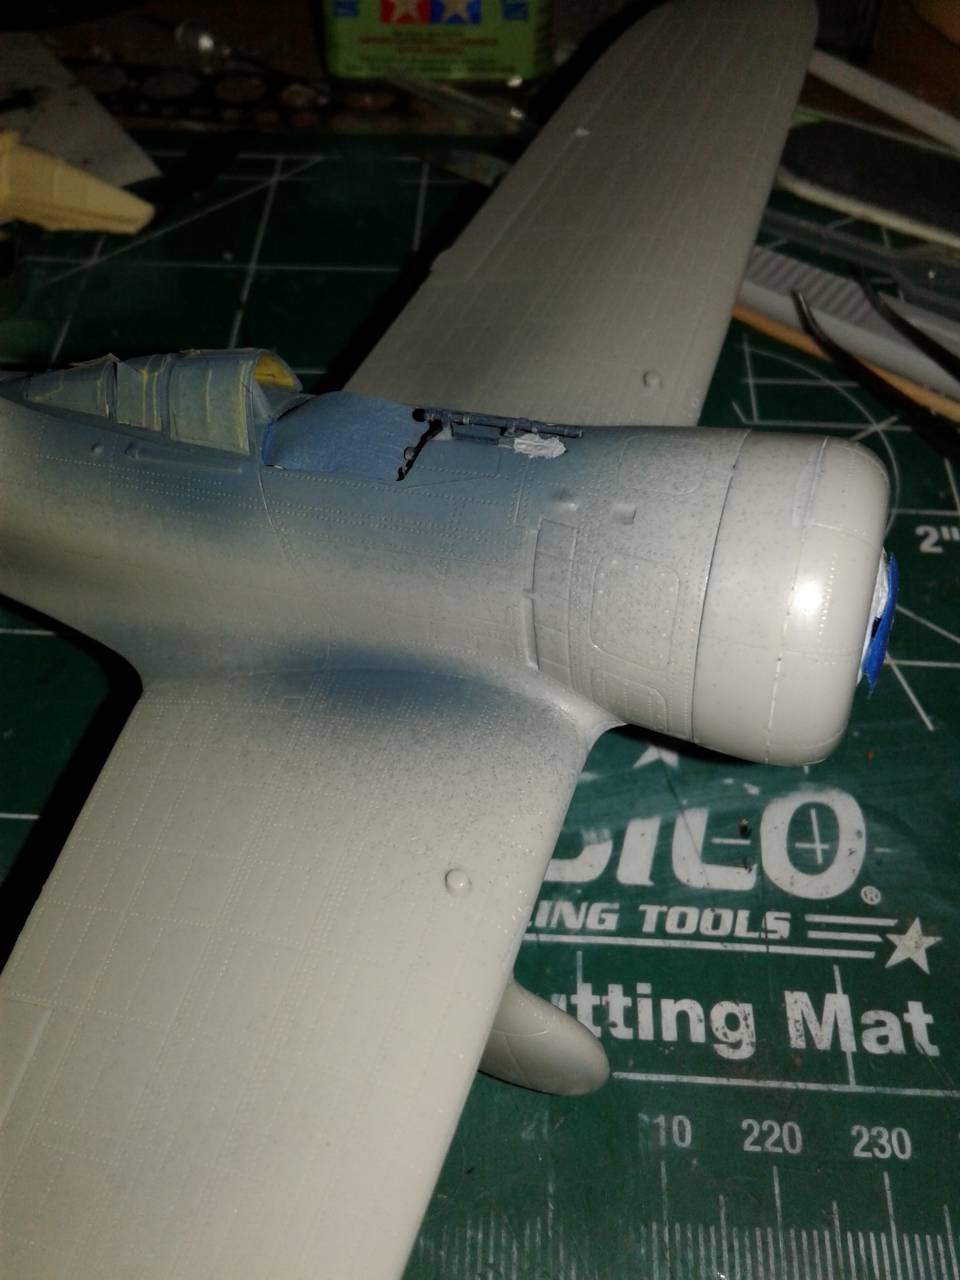
i am ready to start painting my bird. i pre shaded last night and i hope to get the light grey underside done tonight. may be tough though with stanley cup playoffs going.

joe
john41492
#442
_VISITCOMMUNITY
Malacca, Malaysia
Joined: July 20, 2015
KitMaker: 363 posts
AeroScale: 335 posts
Posted: Monday, May 01, 2017 - 09:32 AM UTC
Hi Joe,

Sorry not thinking internationally! The greens I refer to are US interior green and chromate green. Shouldn't alter your build too much if you opt to go with these colors at this point. Personally, the US interior green looks "right" regardless of what was really used, in my humble opinion. Hope this helps. I do look forward to your paint job.

John
bomber14
_VISITCOMMUNITY
New Jersey, United States
Joined: February 02, 2015
KitMaker: 330 posts
AeroScale: 286 posts
Posted: Tuesday, May 02, 2017 - 09:38 PM UTC

Quoted Text

Hi Joe,

Sorry not thinking internationally! The greens I refer to are US interior green and chromate green. Shouldn't alter your build too much if you opt to go with these colors at this point. Personally, the US interior green looks "right" regardless of what was really used, in my humble opinion. Hope this helps. I do look forward to your paint job.

John


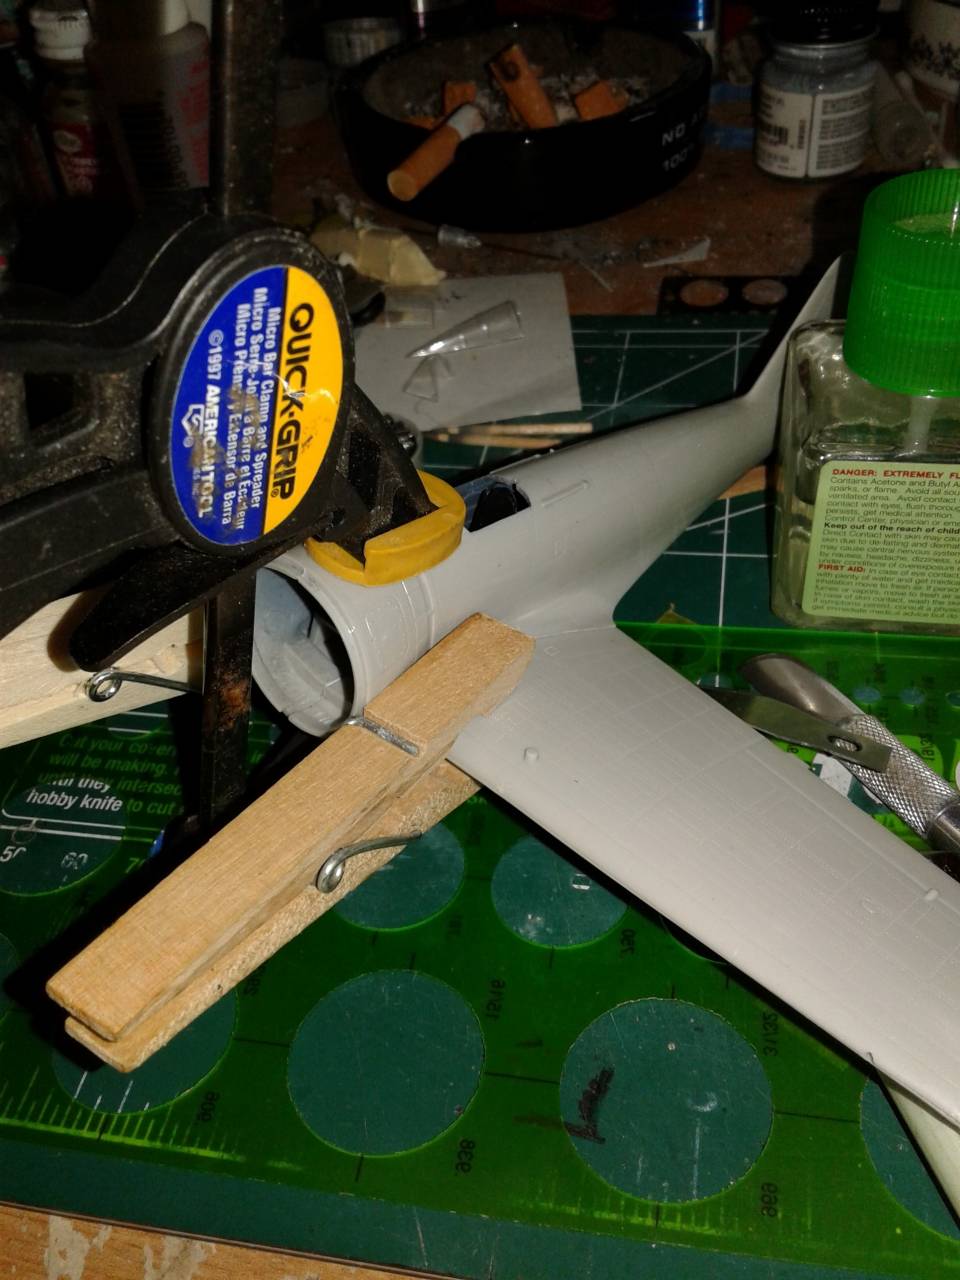
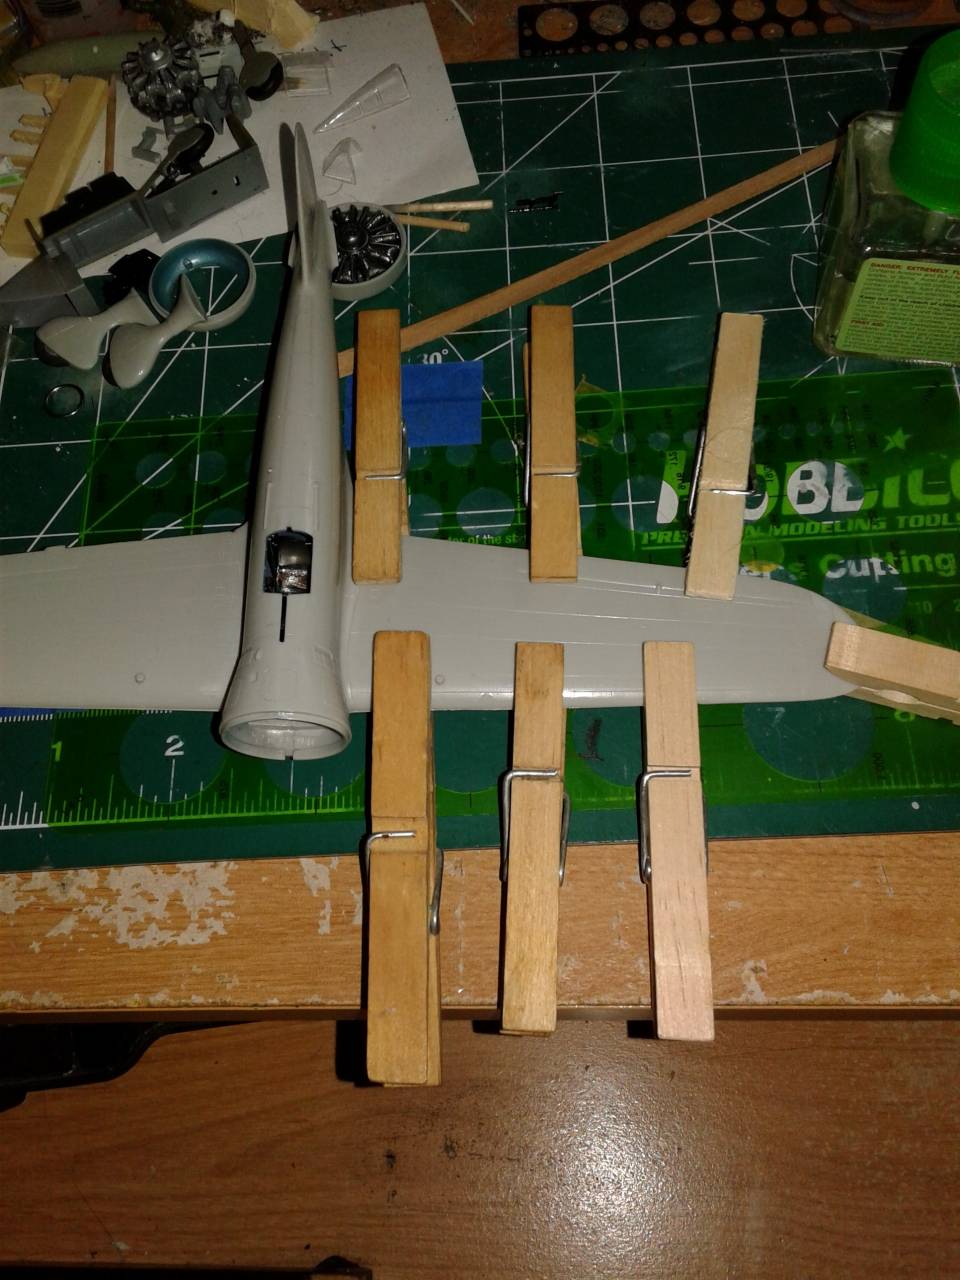
thanks john. i actually came across some photos cybermodeler.com that shows a p-40b in avg colors and the wheel wells and cockpit look somewhere in between raf interior green and us interior green.i think i will add some black to the raf green to try to match it.
i got the lt grey underside painted monday but i think i will have to go over it again. i put too thin a coat down and too much of the preshade is showing through. i am haveing the toughest time airbrushing the vallejo acrylics. cant seem to get the ratio right. either it is spraying a splotchy coat that looks like little spots of paint or it is too thin and spider webs on me.

joe
RhinoSpit
_VISITCOMMUNITY
Bas-Rhin, France
Joined: September 22, 2016
KitMaker: 224 posts
AeroScale: 191 posts
Posted: Monday, May 08, 2017 - 01:15 PM UTC
Bad news for my P-47.

Last night i had a big problem when i spray the alclad primer: two of my airbrush nozzles are splitted so this project is on standby until i got new nozzles.

I'll now focus on the i-16 type 10, i'll post tonight a starting photo for this model.
RhinoSpit
_VISITCOMMUNITY
Bas-Rhin, France
Joined: September 22, 2016
KitMaker: 224 posts
AeroScale: 191 posts
Posted: Monday, May 08, 2017 - 11:38 PM UTC
As promised:


And for the airbrush, i'll do my best with the large nozzle
john41492
#442
_VISITCOMMUNITY
Malacca, Malaysia
Joined: July 20, 2015
KitMaker: 363 posts
AeroScale: 335 posts
Posted: Tuesday, May 09, 2017 - 01:42 PM UTC
Greetings all,

Stopped by the gallery, and notice there are some nice builds there. Hope to see some more! Been busy at it and thought an update would be in order.

Despite it's age, this kit has a lot of good things going for it, namely fit. Barely any filler needed. Figured a way to install the cockpit with the fuselage together, which would allow me to put the wings on different than the instructions would have you do. So I closed up the fuselage and got her looking like a plane!

Ready to mate.


I opted to do one top wing at a time to minimize any gaps topside.


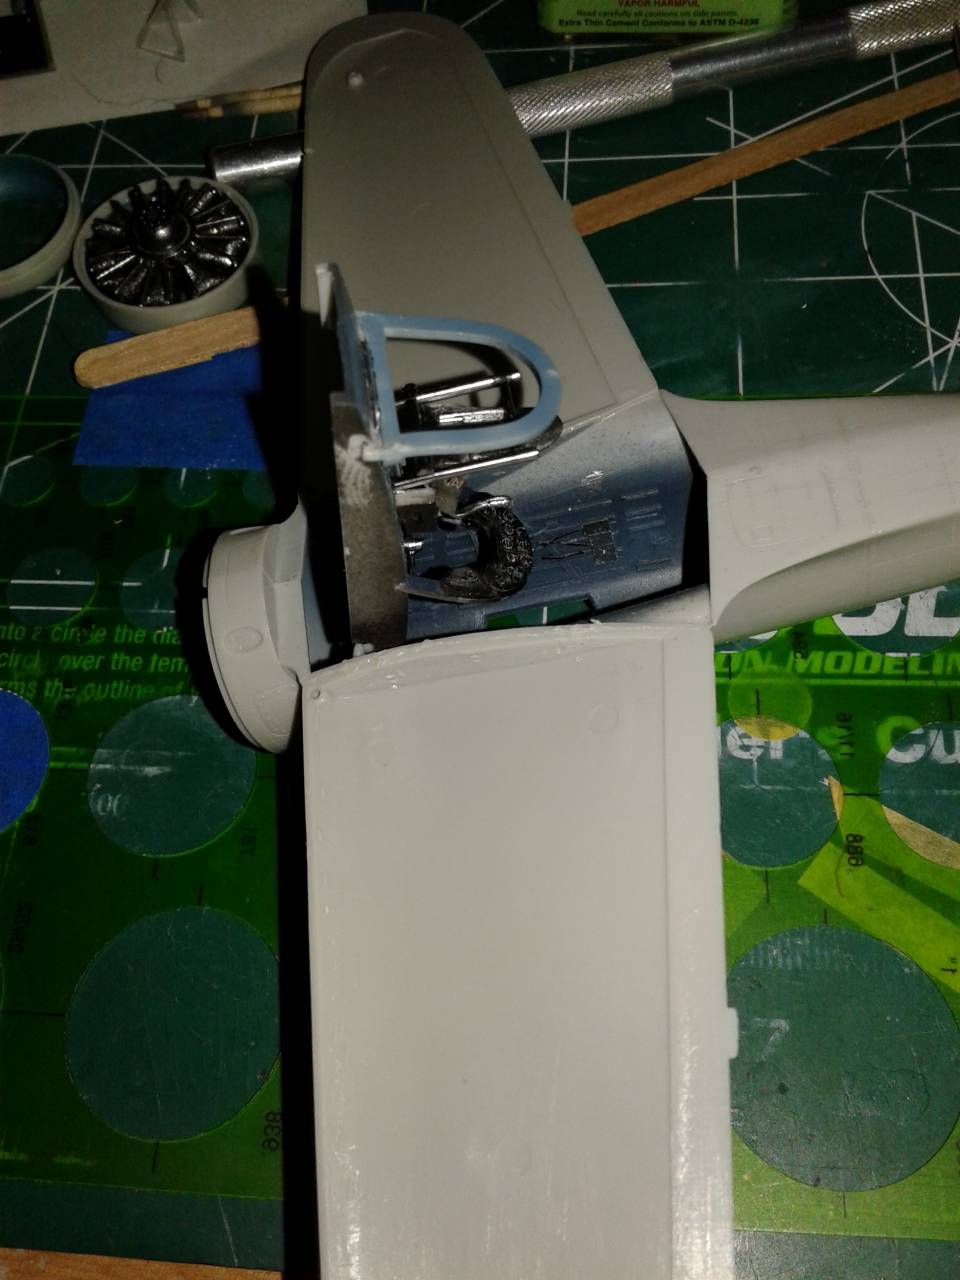
Once this was all dry, I added the cockpit in a flip sort of fashion and secured it.


Happy with that, I added the lower wing, beginning with the center join.


Next was to complete the mating process using my high tech clamps!


At this point things looked pretty darned good, so some seam cleaning was order, there wasn't much at all. I was able to replace any lost detail with a RB rivet tool (nice but not necessary, a pin can do the same relatively easily. Sorry the photo's are out of order here, poor editing on my part, but you get the gist.


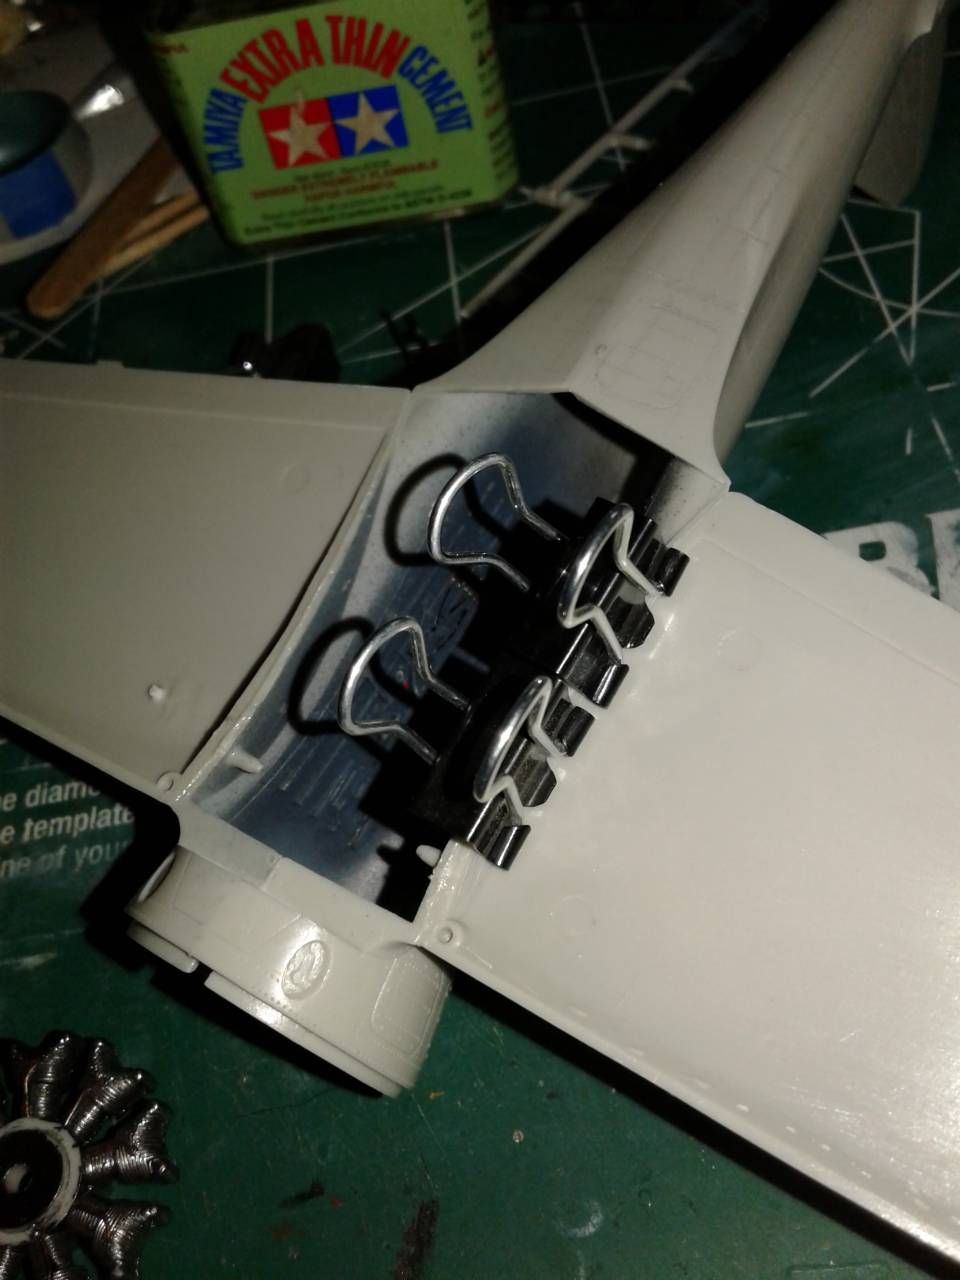
Next came the landing gear, note they are molded specific to side. I've read others having issue but the instructions show it, and once added align correctly.


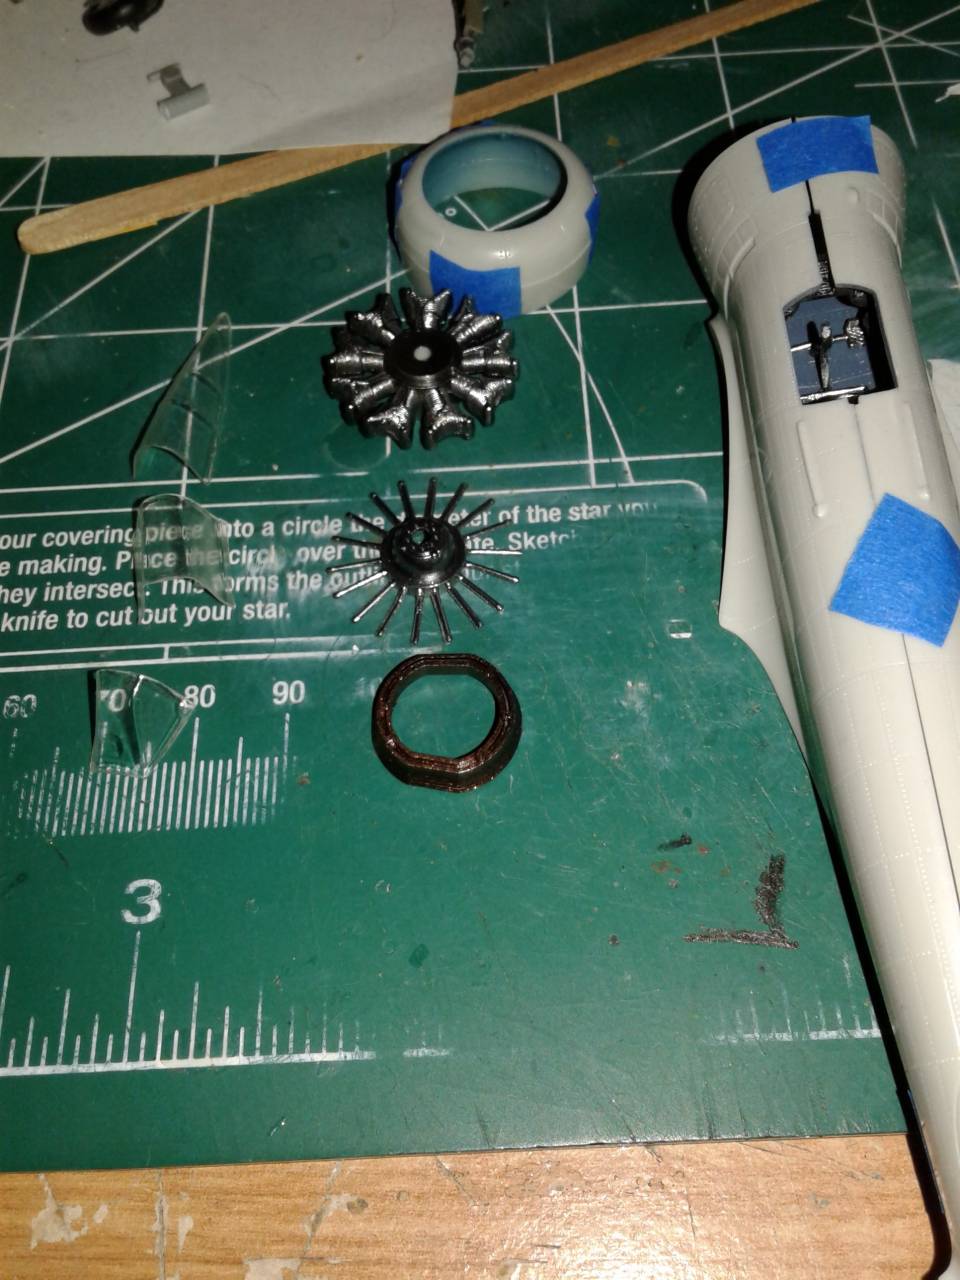
Onto the engine mounting, and the stabilizers.


Onto checking alignment and the addition of the canopy.


Painting is underway and I hope to have some more updates soon. Hope you enjoy!

John
SHAKY962
_VISITCOMMUNITY
Buenos Aires, Argentina
Joined: May 21, 2012
KitMaker: 765 posts
AeroScale: 316 posts
Posted: Thursday, May 11, 2017 - 04:23 AM UTC
@John,

thats a nice aircraft.... I still waiting a good model in 1/72
A few advance..... painting finish

MichaelSatin
Staff MemberCampaigns Administrator
AEROSCALE
_VISITCOMMUNITY
Colorado, United States
Joined: January 19, 2008
KitMaker: 3,909 posts
AeroScale: 2,904 posts
Posted: Thursday, May 11, 2017 - 04:32 PM UTC
Very nice, guys! I do believe you'll get there!

Michael
john41492
#442
_VISITCOMMUNITY
Malacca, Malaysia
Joined: July 20, 2015
KitMaker: 363 posts
AeroScale: 335 posts
Posted: Monday, May 15, 2017 - 07:09 AM UTC
Greetings all,

Jose, thanks! Yours is looking pretty good, I'm not a 1/72'd person but on this build I'm gaining some new respect, it's got some tight places!

Like I said painting is underway, and so far seems pretty good to my eyes. Here's how the undersides went...

I began by getting everything ready, and wanted the canopy front and back to be in place during painting. I've found that with vac-u-formed canopies it helps to keep them better affixed. So I did a lightened version of the interior color for the anti-glare and panes of the glass.


While it looks a bit glossy in this shot all the colors flattened out fine. I then went for what is most likely the hardest part of the build. Placing the gun sight on and mounting the windscreen. One has to drill a hole in the windscreen and remove a part of the gun sight to accomplish this. Good thing I've got a magnifying visor!


It worked out ok, and I was then able to take a bit of the step out of the canopy joins with some white glue and cleaned it with a wet Q-tip (ear bud).

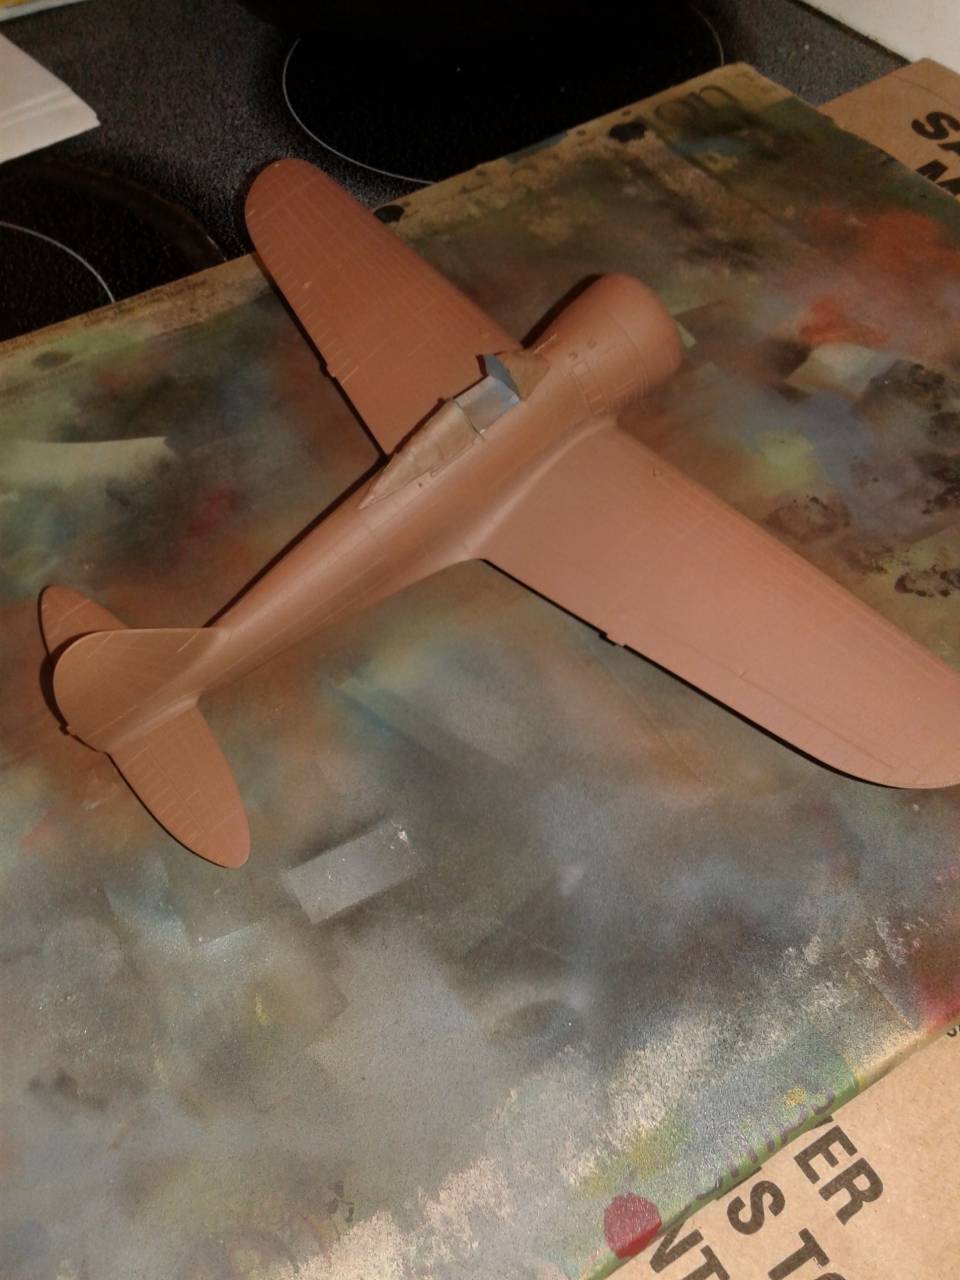
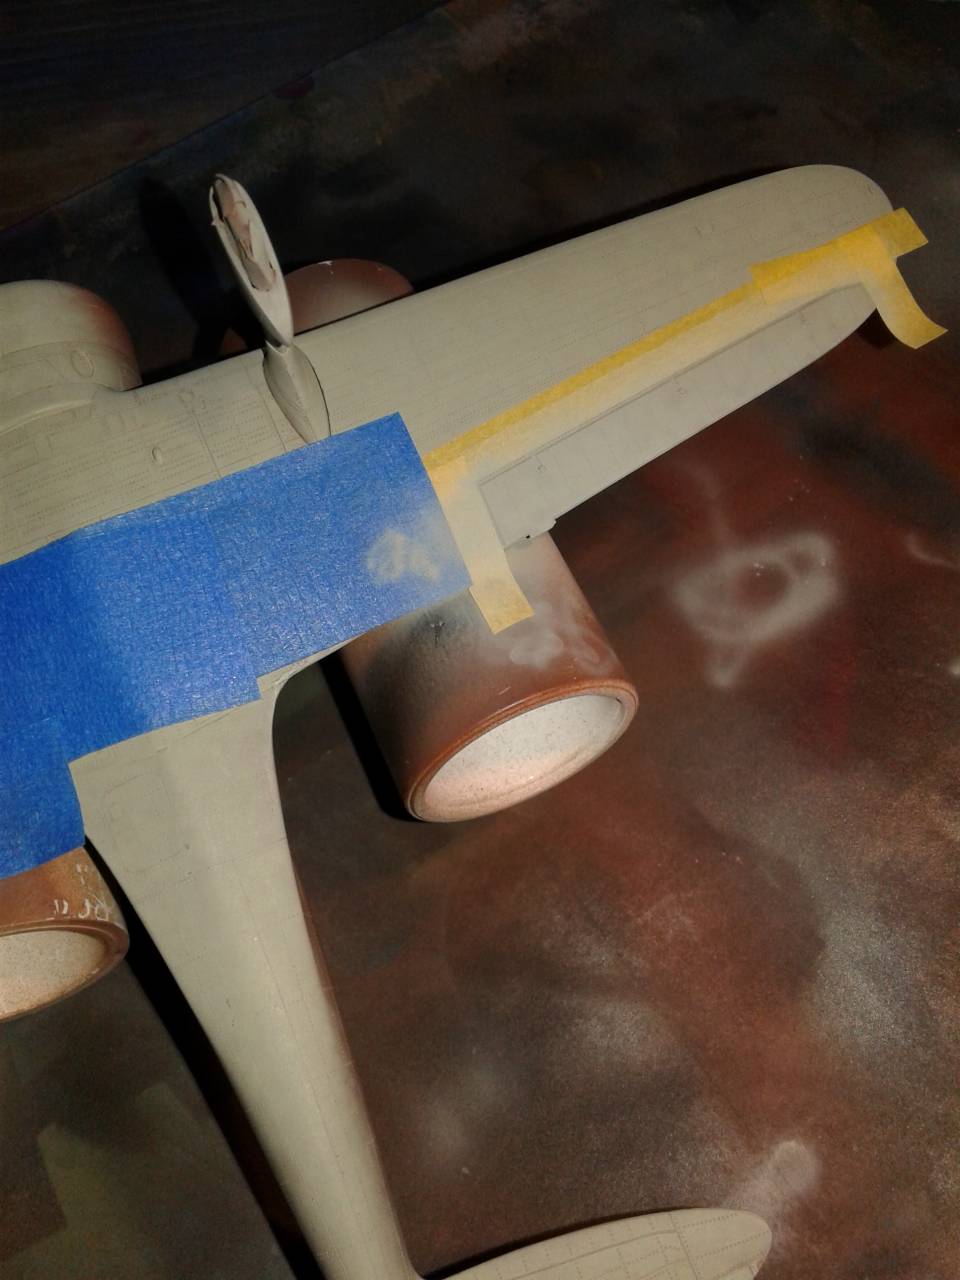
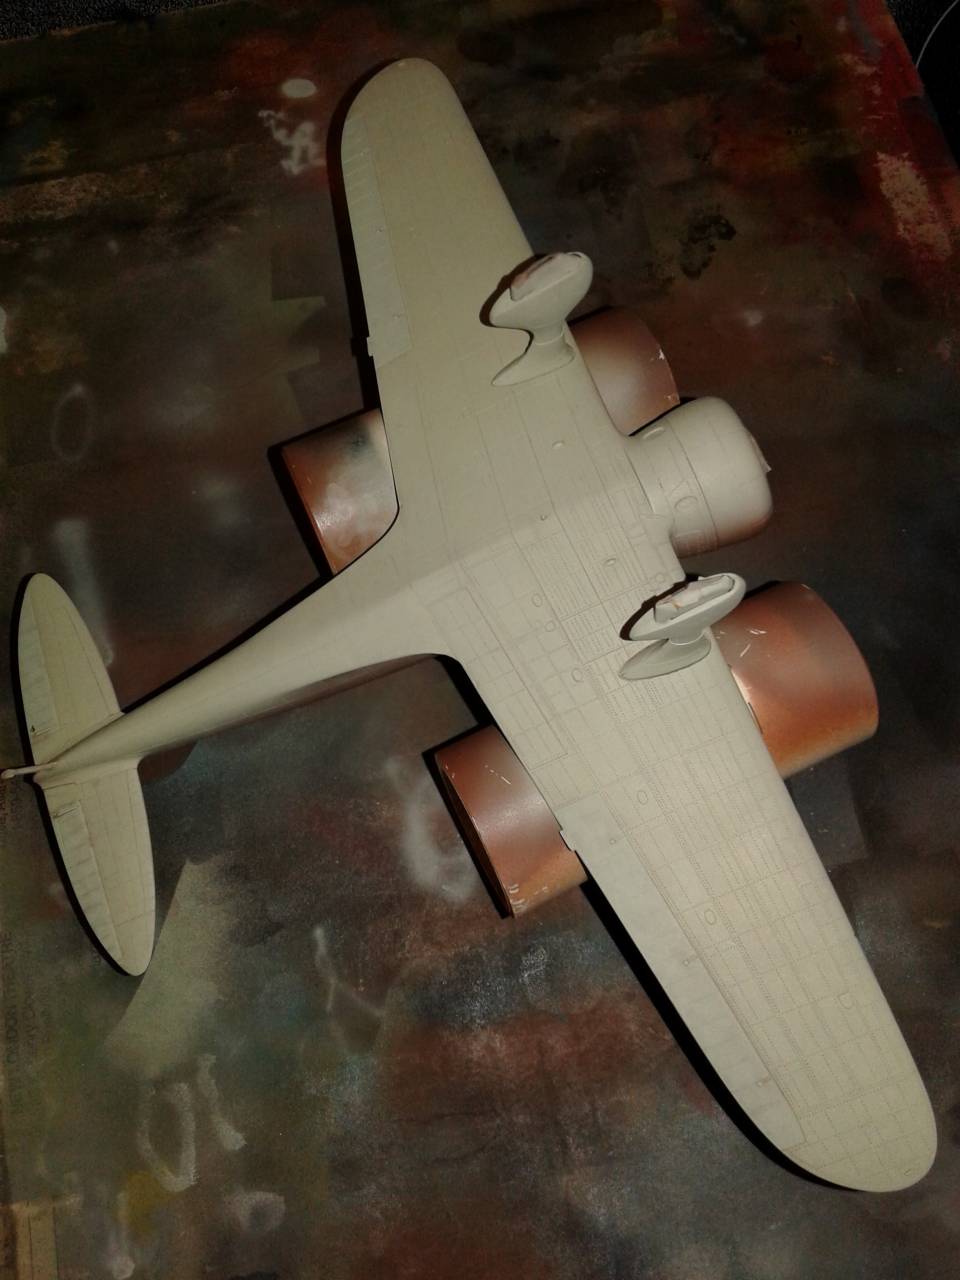
I'm a big fan of black basing, though I did an experiment on a zero and found that for the Japanese grey-greens an undercoat of red-brown seems to give a pretty neat result. This started with me trying to mimic how the zero was painted at the factory, and using the same black basing technique (mottle and thin paints to shade it in). I'm not sure if the Ki-27 was primed with this color, but at least on the underside it looks good, and also reduces weathering down the road.

Here's the base of Tamiya Red-Brown.


Granted it doesn't look as cool as all black!

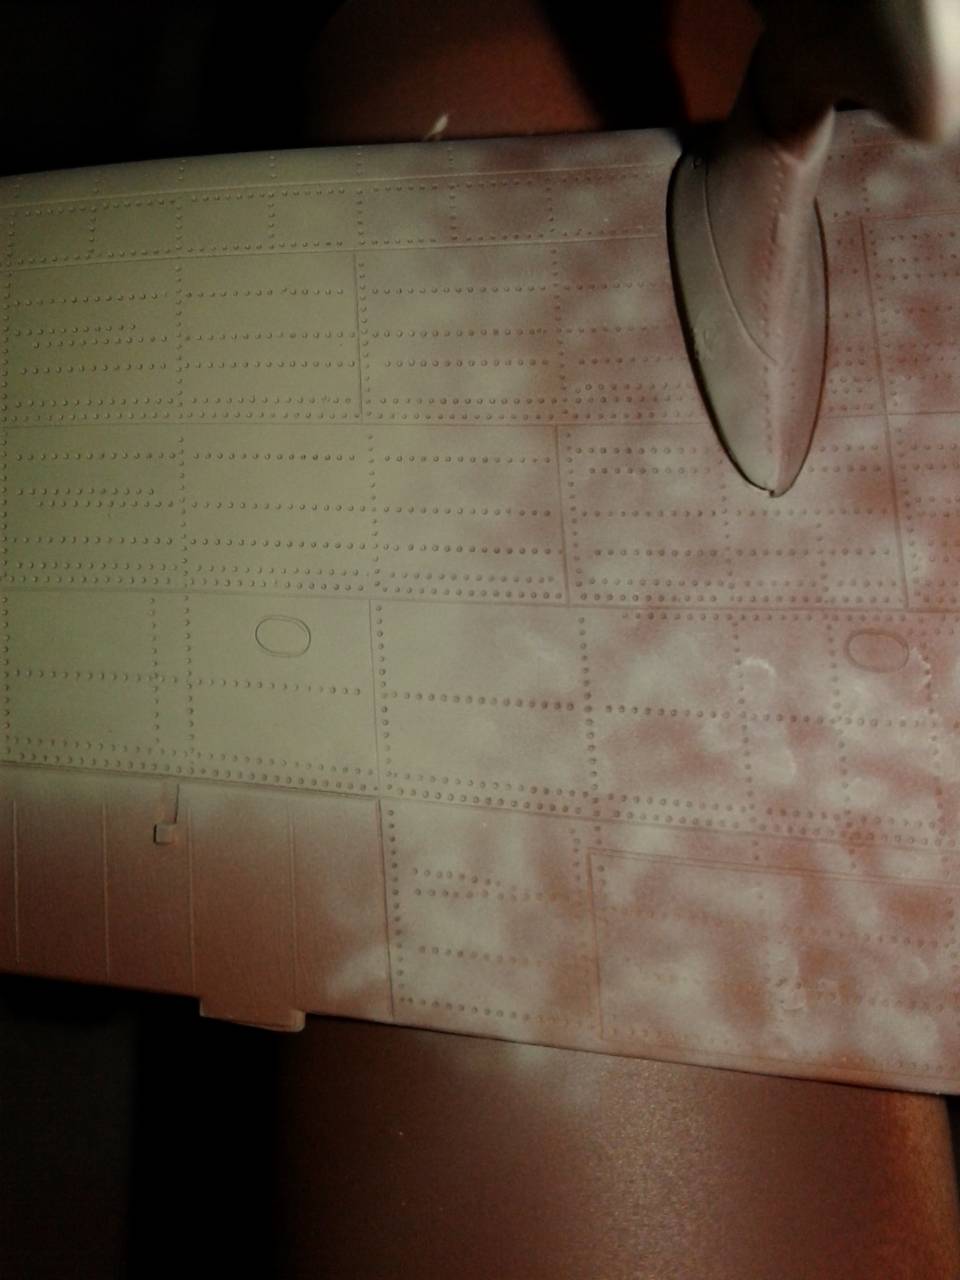
Next was to mottle and shade using Tamiya JA Grey, it's a slightly different color than the touted IJN Grey-Green, perhaps a little more grey, not sure. The effect was what I was after, a subtle break up of the monochromic color with some panel shading as a bonus.


I then masked off the control surfaces and painted JN Grey in the same fashion.


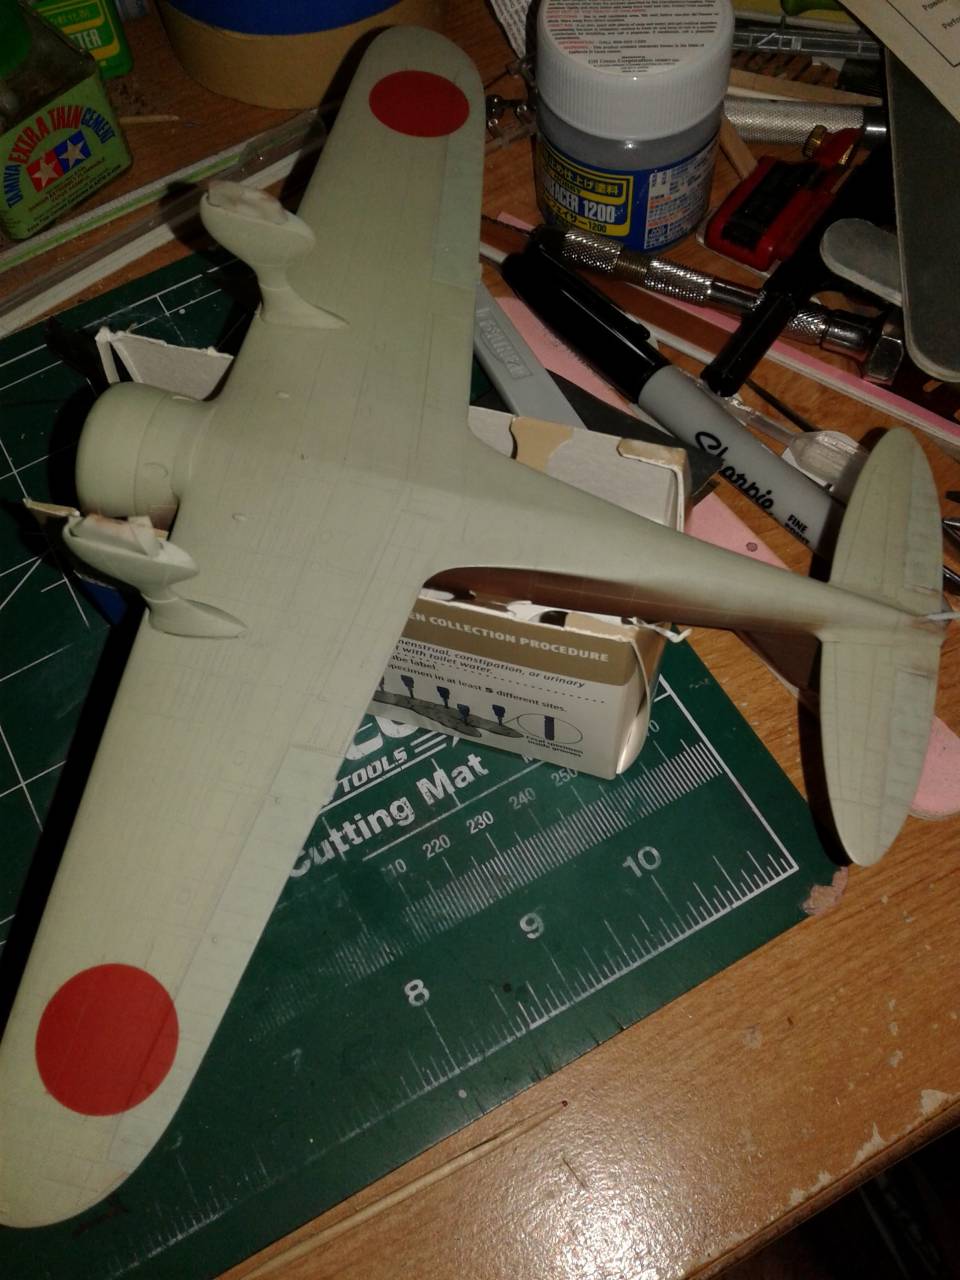
The completed result, due to the lighting, the effect of what I'm going for is best seen on the starboard side.


Using a compass with a razor blade in it, I cut out circles using the hinomaru's from the kit's decals as a template. I placed the templates onto the wings near where they should be. Unfortunately for me there is an aileron hinge right on the edge, and not wanting to risk bleed through I cheated. These were painted using Tamiya Flat red, which also happens to be insignia red, a hinomaru color used (gotta love the internet, it makes researching so much easier). While they look a bit too far back, They turned out well. Being underneath I bet my audience won't even notice. I hope so!


Next up will be the topside! More to follow soon, I hope you enjoy.
eMan
#298
_VISITCOMMUNITY
Hong Kong S.A.R. / 繁體
Joined: August 08, 2002
KitMaker: 1,182 posts
AeroScale: 351 posts
Posted: Monday, May 15, 2017 - 07:27 AM UTC
Progress update of my entry, classic Airframes 1/48 Curtiss Hawk III.


Pave-Hawk
_VISITCOMMUNITY
Western Australia, Australia
Joined: May 05, 2006
KitMaker: 900 posts
AeroScale: 200 posts
Posted: Monday, May 15, 2017 - 07:46 AM UTC
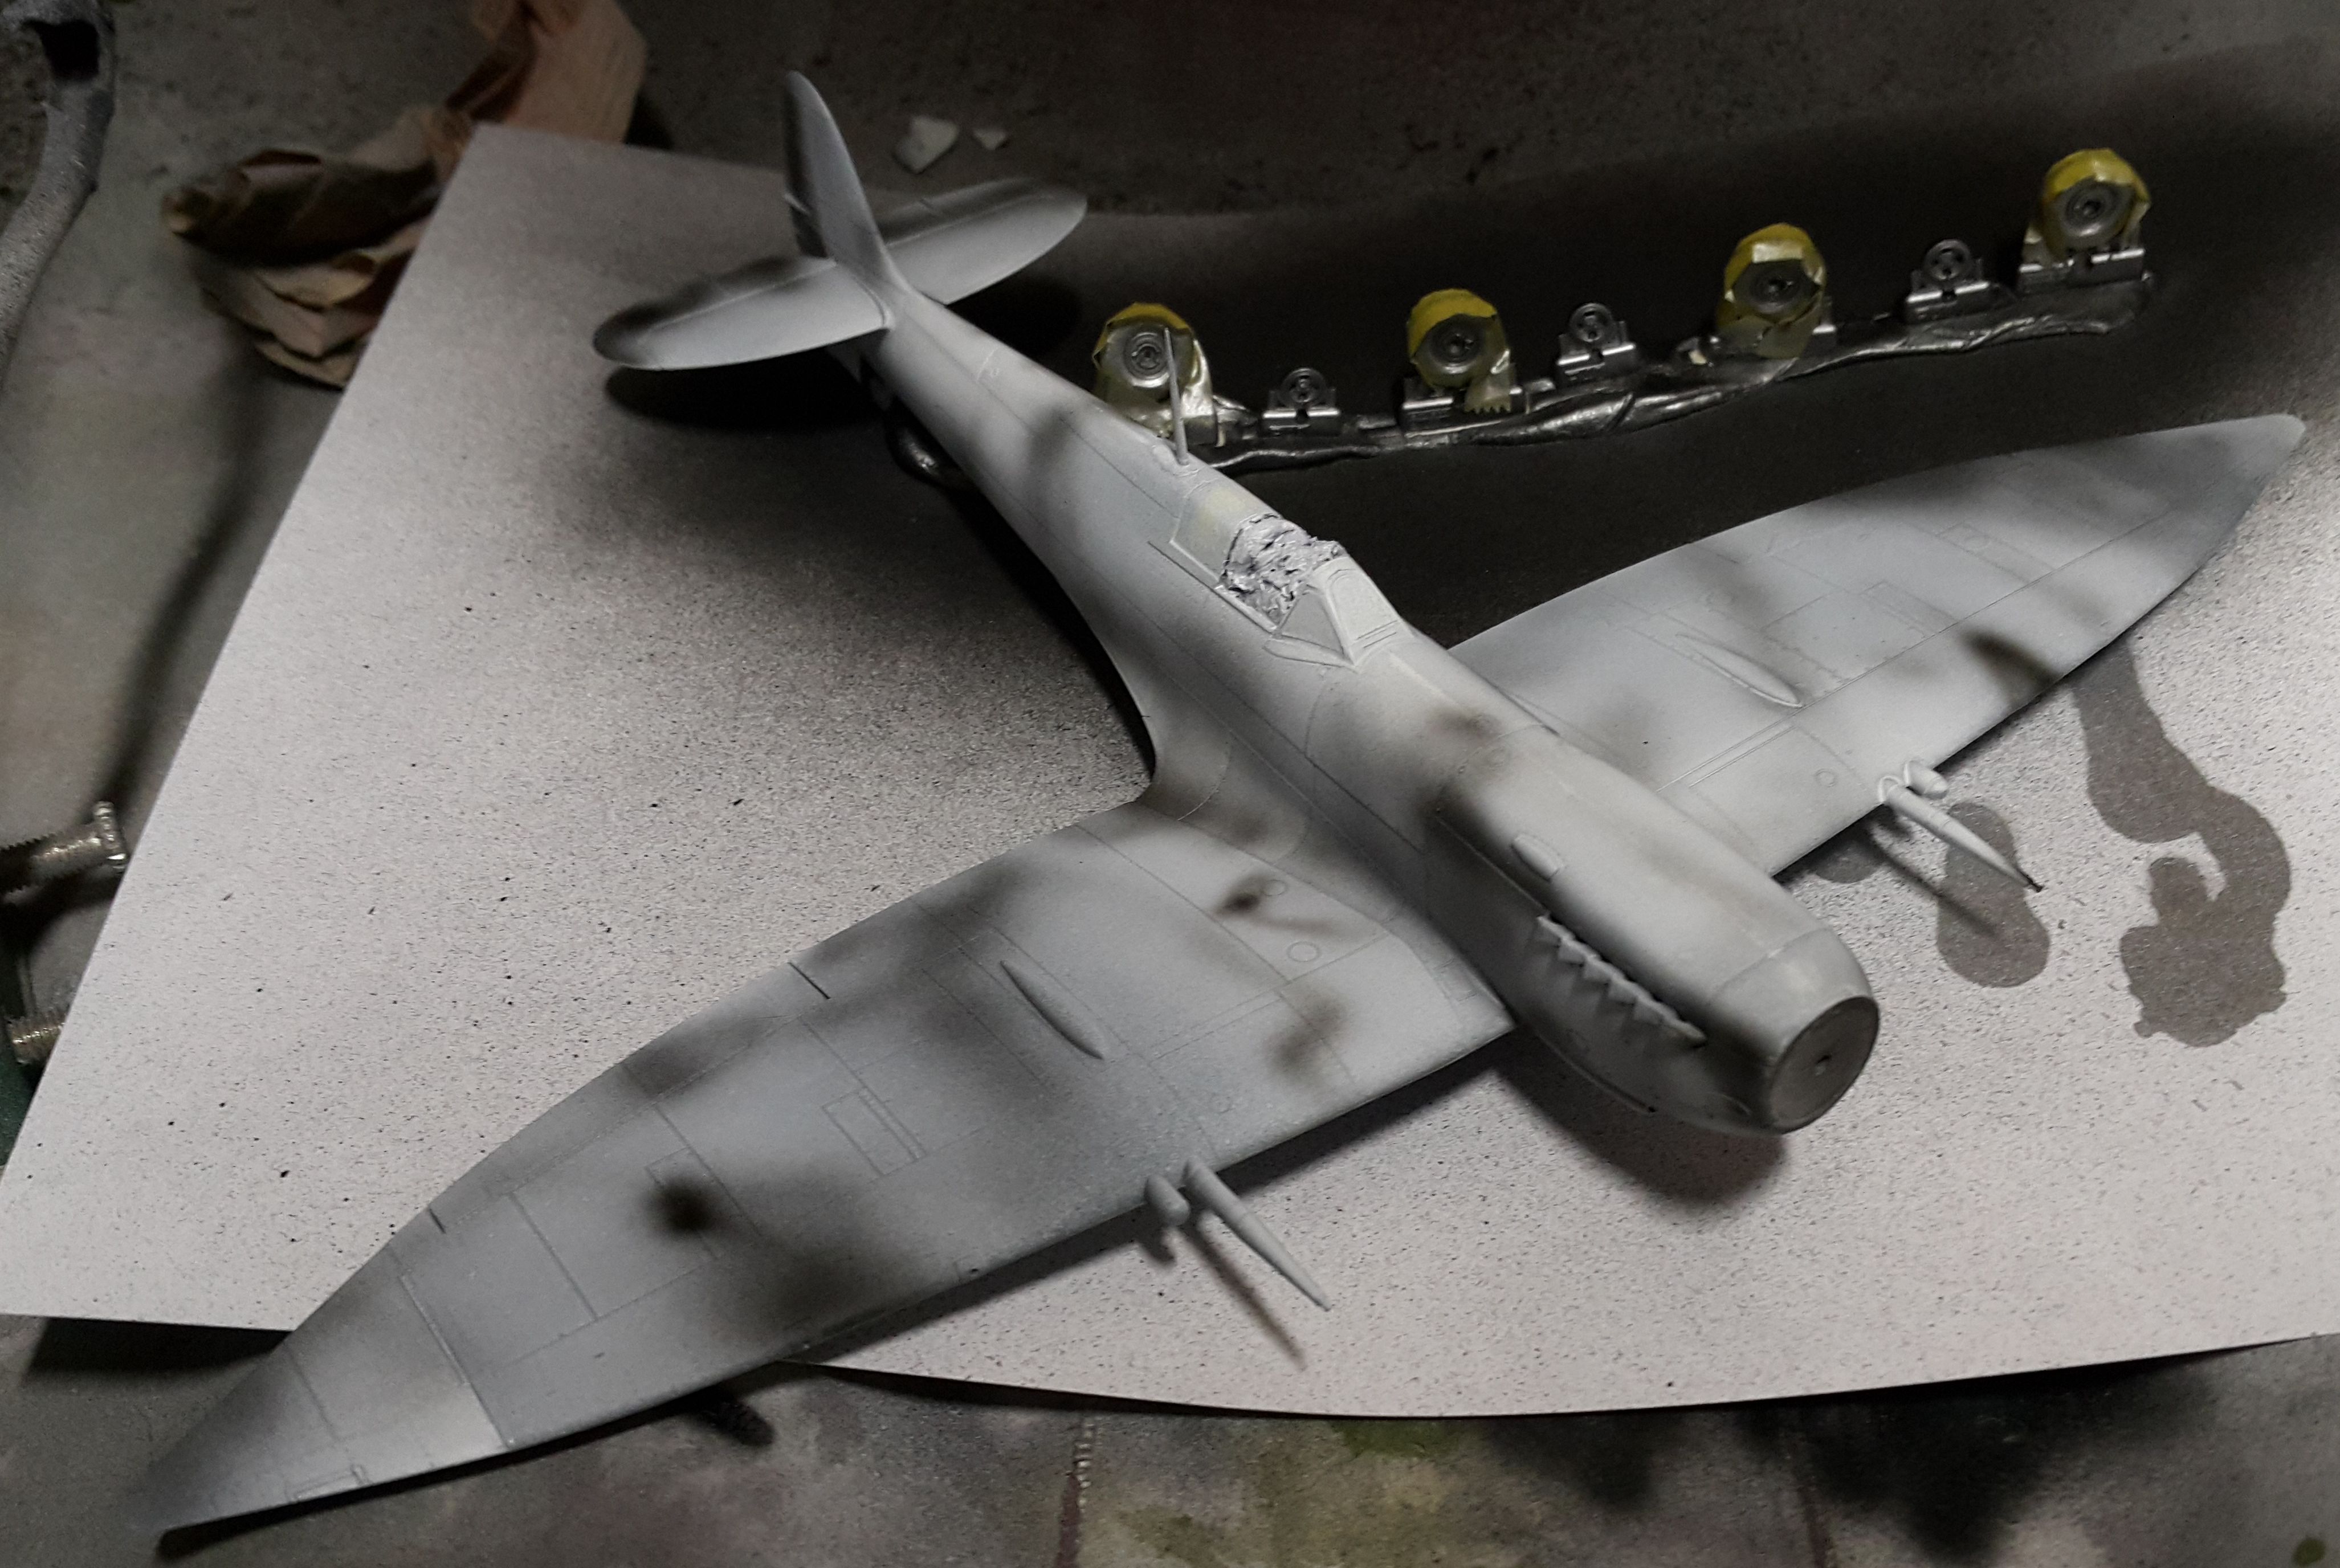
Spitfire is coming along, have installed a couple of small detail bits since this picture was taken.


Getting very close to being ready for paint.
MichaelSatin
Staff MemberCampaigns Administrator
AEROSCALE
_VISITCOMMUNITY
Colorado, United States
Joined: January 19, 2008
KitMaker: 3,909 posts
AeroScale: 2,904 posts
Posted: Monday, May 15, 2017 - 04:54 PM UTC
Looking good everyone, we're in the home stretch now!

Michael
SpeedyJ
_VISITCOMMUNITY
Bangkok, Thailand / ไทย
Joined: September 17, 2013
KitMaker: 1,617 posts
AeroScale: 212 posts
Posted: Monday, May 15, 2017 - 05:04 PM UTC
Yes the Home Stretch. Still have a few things to finish on the Hayate. But a lot of 'life' got me from several projects. First attempt will be this weekend when I've finished an Audit at work. We'll see.
Nice entries I've seen so far, campaign got me up to finally build planes like I always wanted. Some on hold now, because a Phantom came along. Focus on campaigns will come back very soon.
Keep up the good work everybody.

Kind regards from Thailand,

Robert Jan
Pave-Hawk
_VISITCOMMUNITY
Western Australia, Australia
Joined: May 05, 2006
KitMaker: 900 posts
AeroScale: 200 posts
Posted: Saturday, May 20, 2017 - 07:28 AM UTC
Masked up and ready for primer.


Trying to get both these Spits built simultaneously means I will probably be cutting it fine on this campaign, but have plenty of time to spare on the ETO campaign.
Pave-Hawk
_VISITCOMMUNITY
Western Australia, Australia
Joined: May 05, 2006
KitMaker: 900 posts
AeroScale: 200 posts
Posted: Sunday, May 21, 2017 - 01:34 PM UTC
Priming is done, time for colour

.
Savage
_VISITCOMMUNITY
England - East Anglia, United Kingdom
Joined: June 04, 2003
KitMaker: 1,405 posts
AeroScale: 97 posts
Posted: Sunday, May 21, 2017 - 02:50 PM UTC
Due to house moving etc., I got a little behind with my Builds and due to poor packing, some of my builds have been separated from their parts.
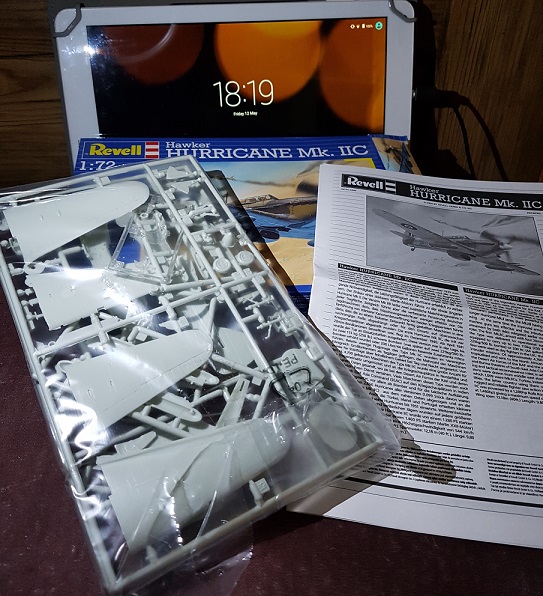
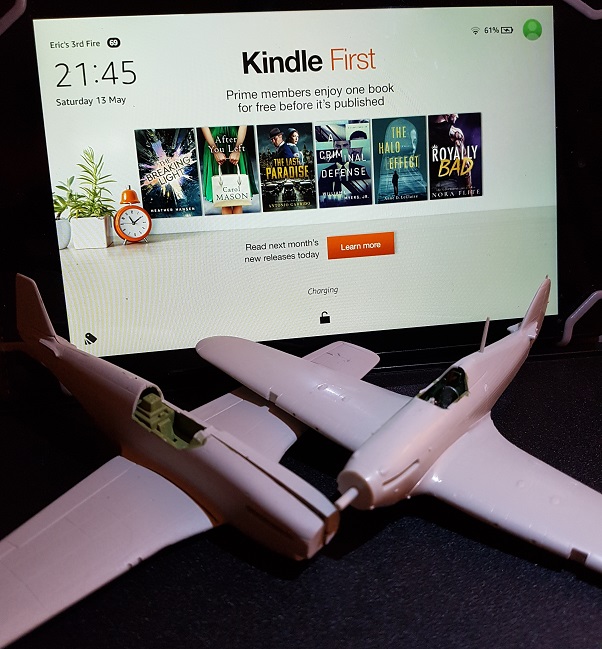
Thus my offering for this campaign has changed and will now be the Hawker Hurricane MkIIc in SEAC markings.


Although I like Revell’s kits, the idea of going with a 3 part lower wing, makes it a little difficult to get a great fit and alignment. Unbeknownst to me, the wing in my kit was very slightly warped and only became evident when I had already glued it together.