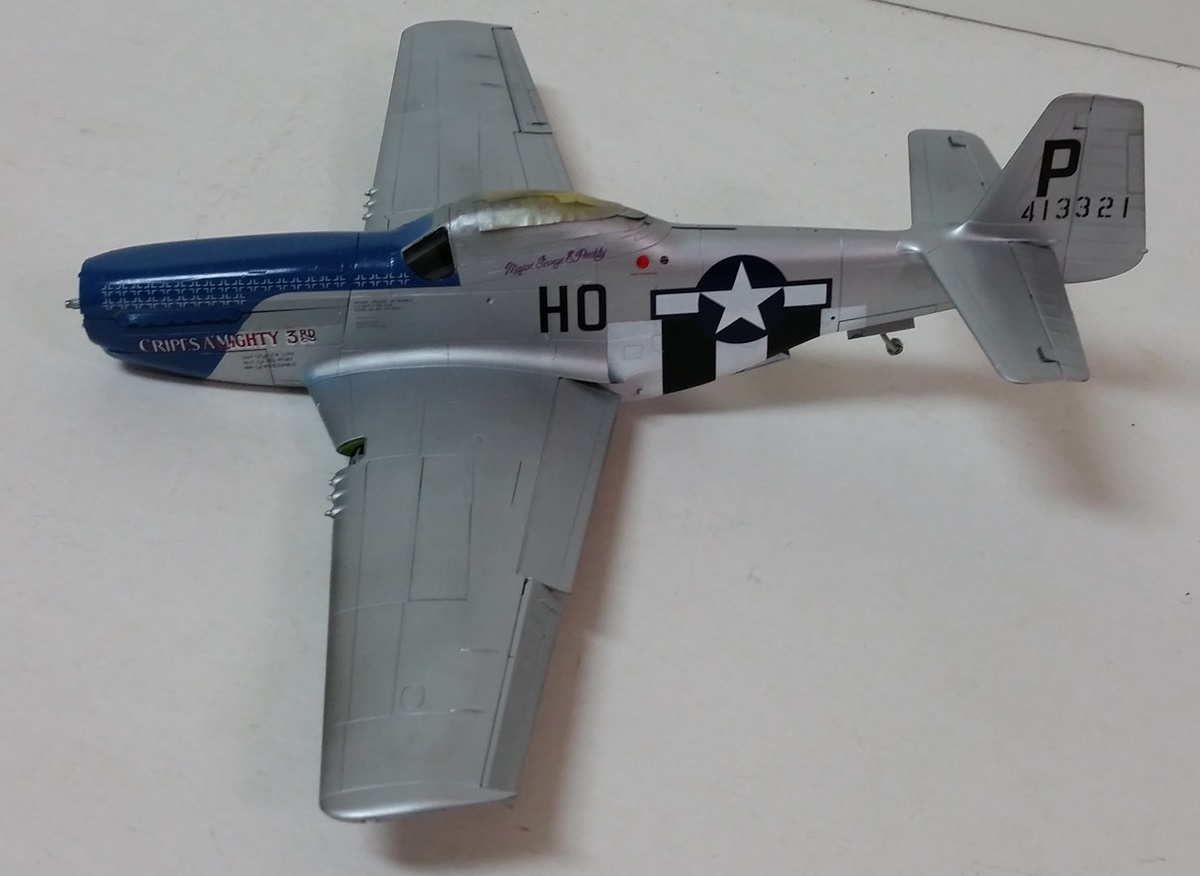
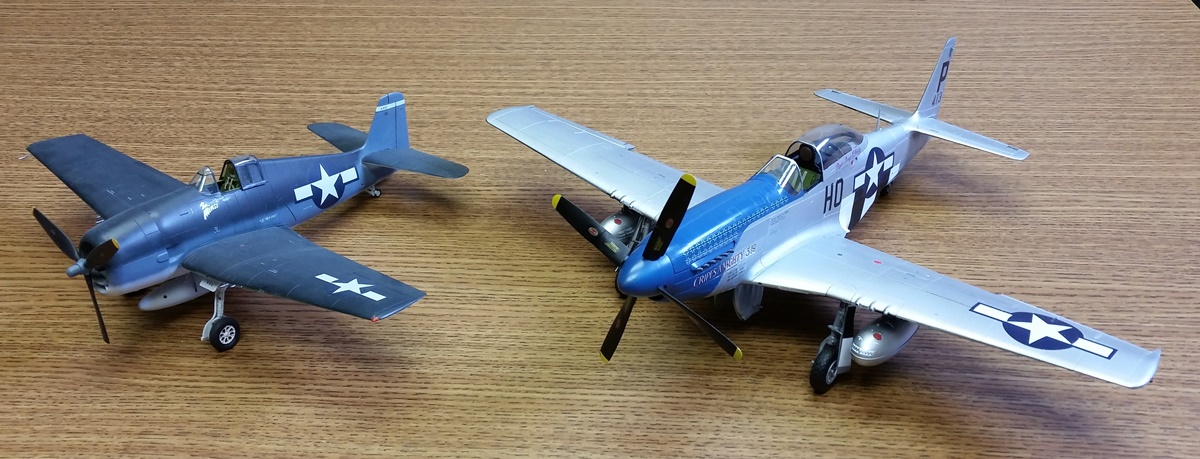
Its time for another update. A big thanks to Michael for extending the deadline, as I dont think Id of made it otherwise. Also your Mustang is looking nice!
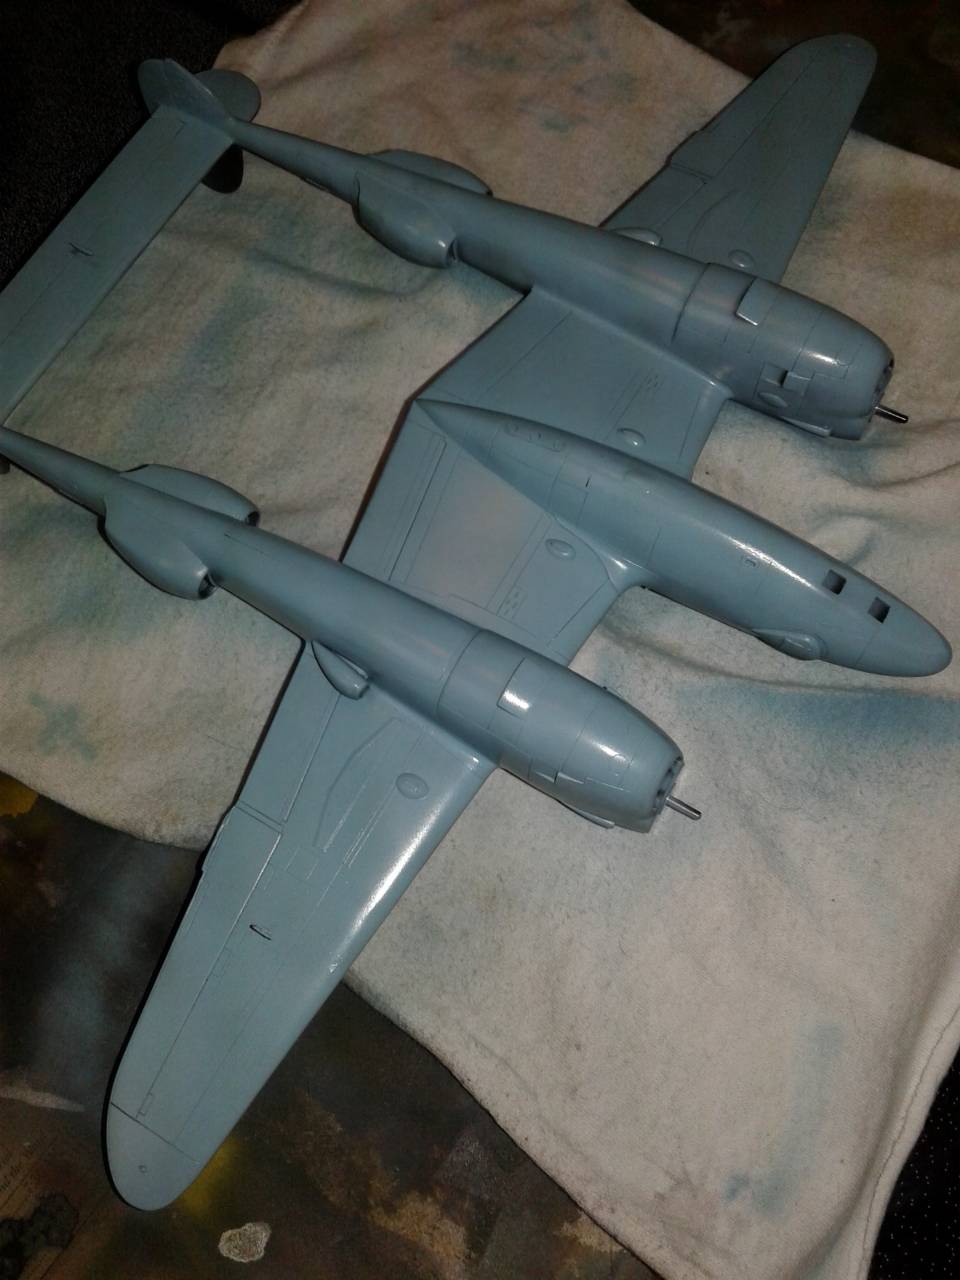
Last time I updated was at the start of a lot of sanding, putty and more of the same. For the most part it still continues, a lot of good progress has been made. So much so that I pulled out the Testors silver and checked all the seams for cracks and the like. Not as bad as I thought, and now its easier to see what else is left. For now I started on the port wing and am moving over to the starboard. Of note, the workload now is much easier, almost like a well fitting kit!
I can say that this kit is better than the Monogram one due to, according my references, their recessed panel lines, a bright spot in the kit design. Another would be the different variants that can be done. I picked mine up on e-bay for 21.00 USD delivered, so not a bad deal. An even better deal if you dont mind the fit issues. Be warned that there are some pretty big gaps under the wings (about 3 mm) where there is no plastic to plastic contact at all. In hindsight, I think a better dry fitting on my part could have helped. Although my chief concern was the alignment, which is really paying off. This is one sturdy and aligned monster. On my next P-38 Ill focus on the dry fitting a bit more, the design is more forgiving than I recall, though its been 20+ years for me!
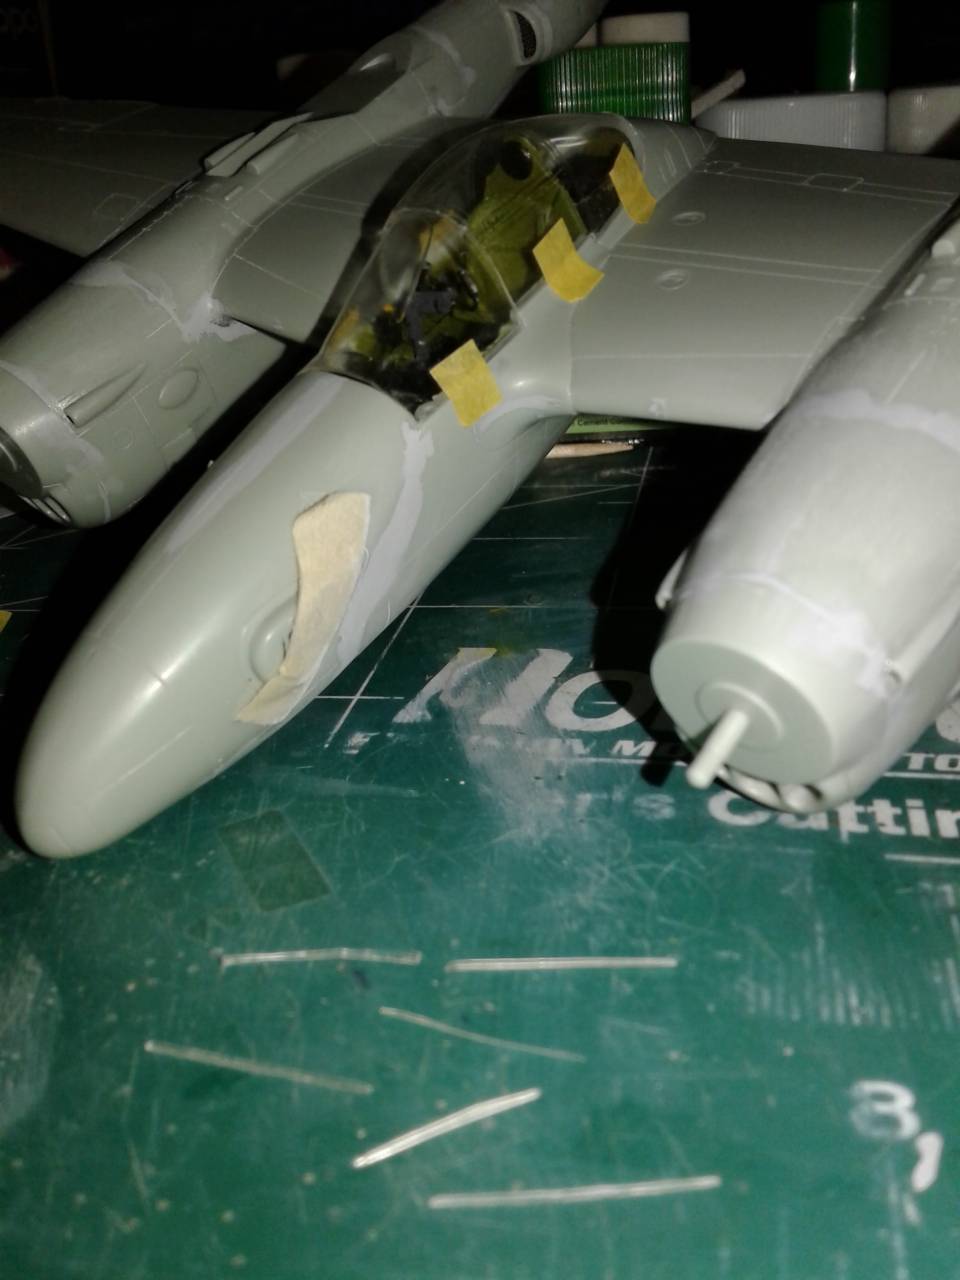
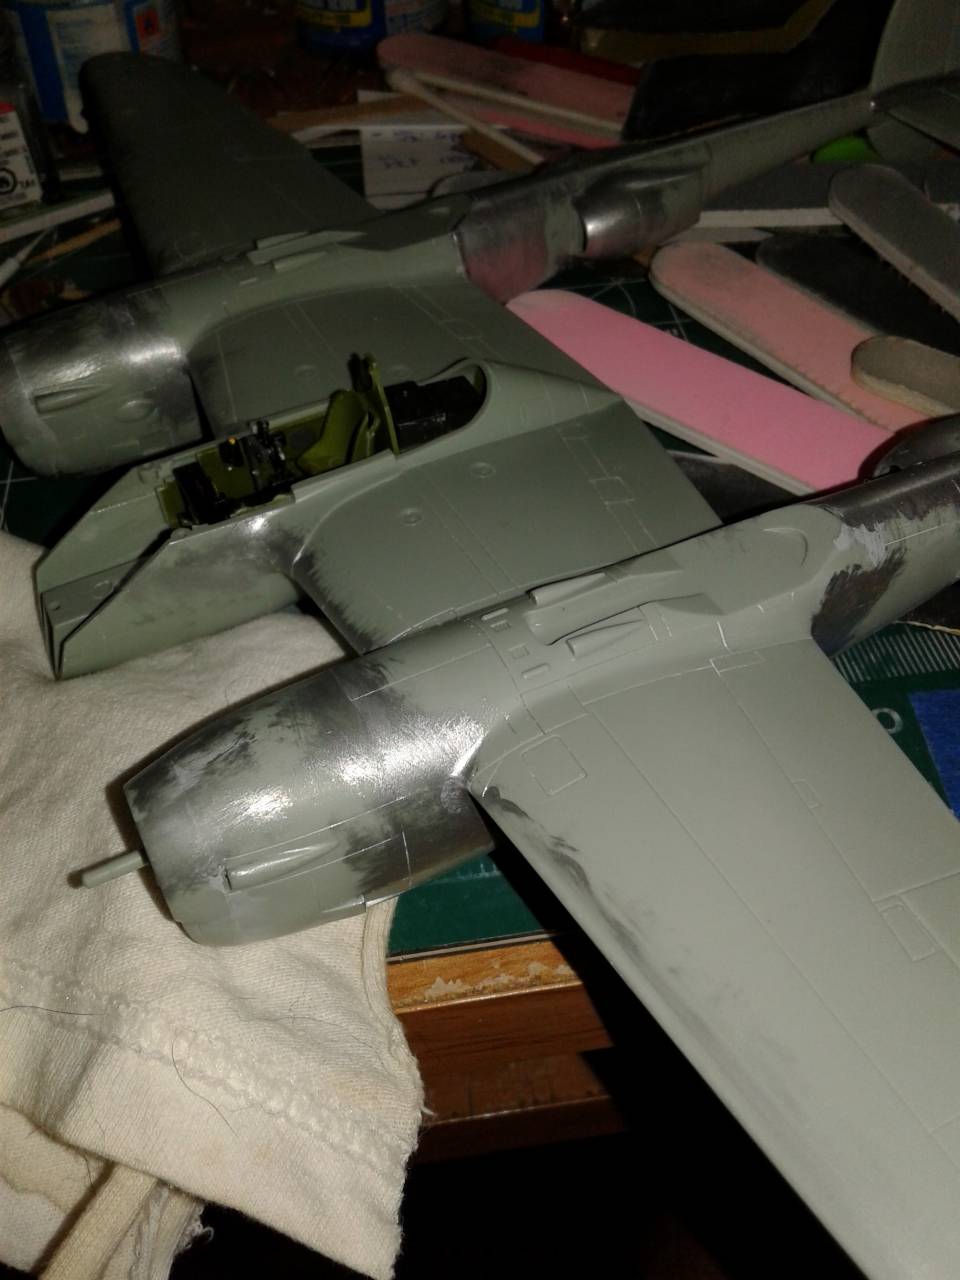
While all the muscle building was going on, I took breaks to work on the nose. I got some plastic card and painted one side flat black and cut to be a backdrop for the camera ports. I then cleaned up the side port glass and dipped them in future. I then glued them in place with superglue and got some minor crazing, which I found a bit unusual for me, as the future usually does a good job at preventing it. Its noticeable up close, and Im going to have to live with it.
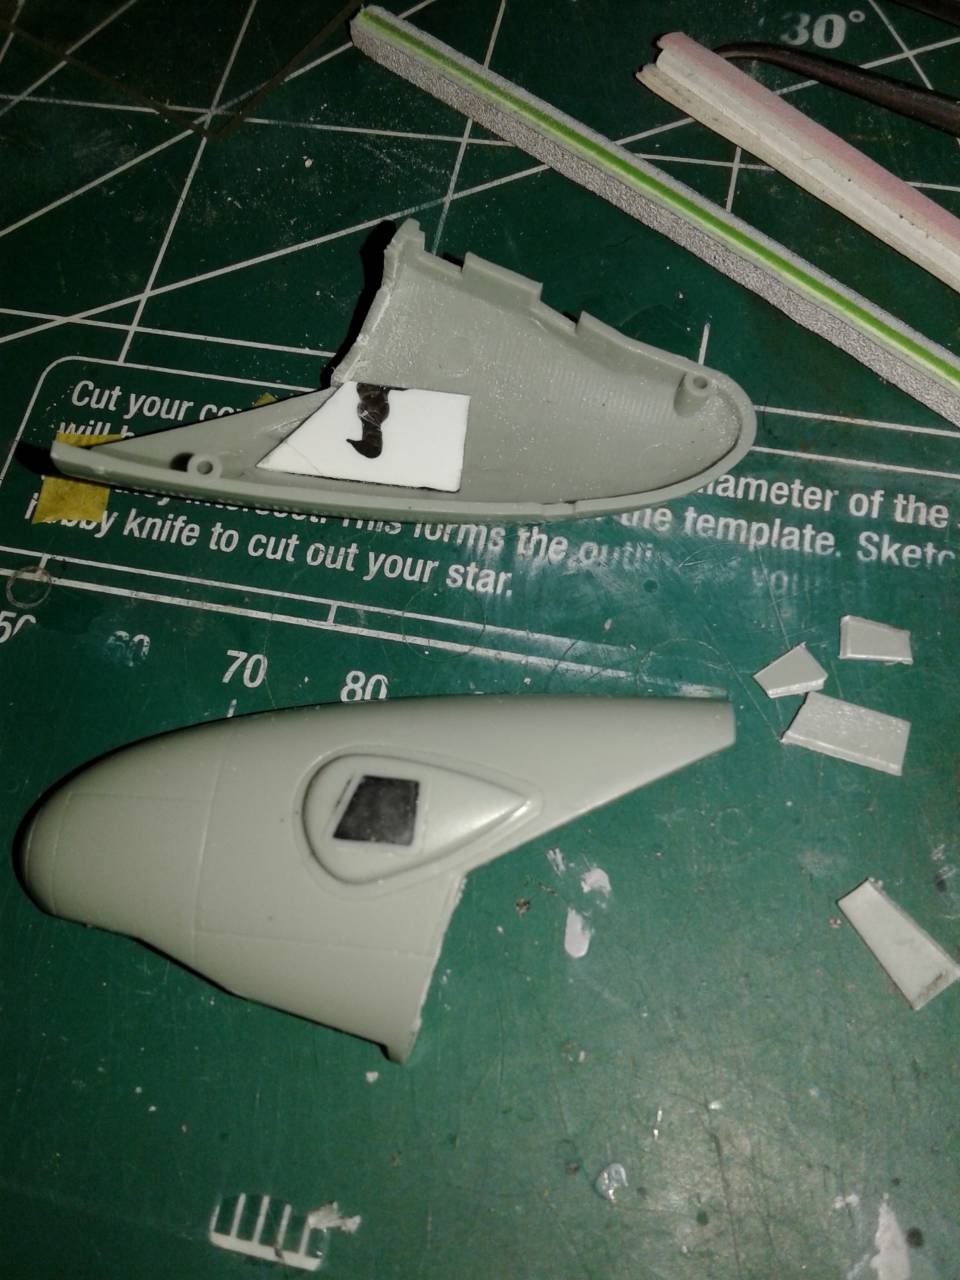
Next I removed part of the internal frame I think that are supposed to be the front of the nose wheel well. Wheels up, no need! Knowing the mast was doomed if it remained in place I cut it off and put it aside for safe keeping.
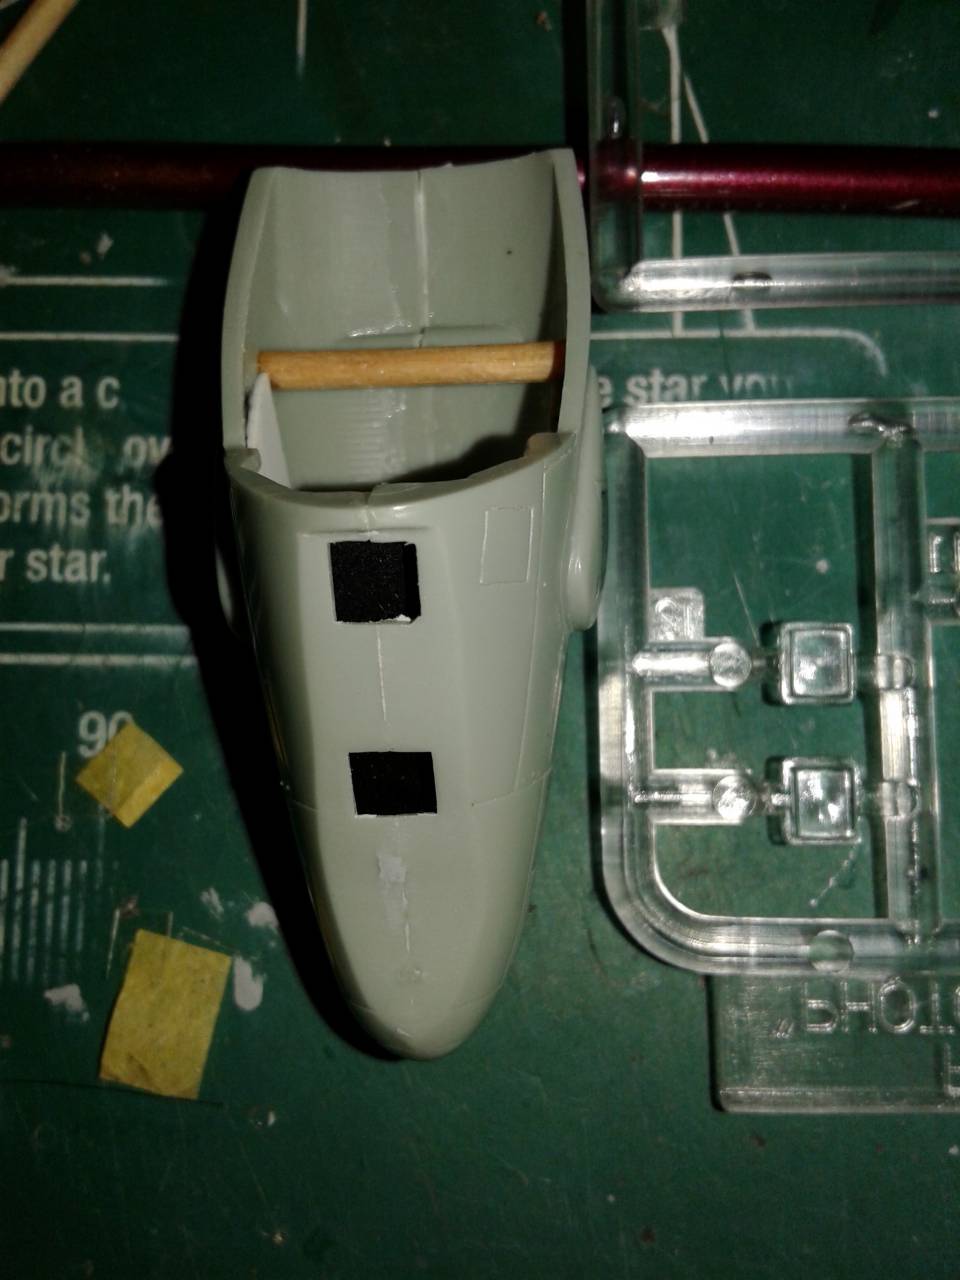
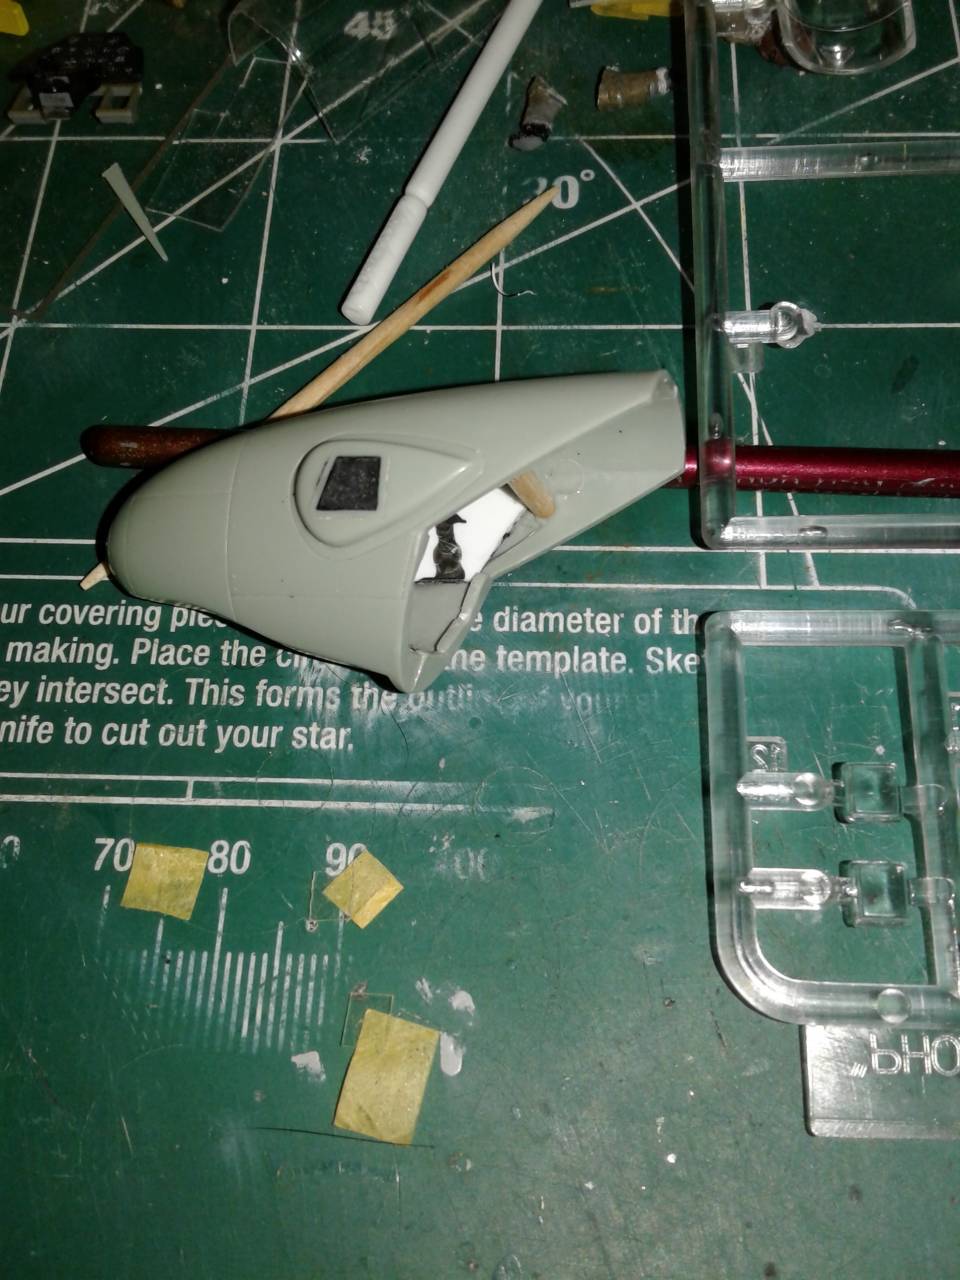
I glued the nose halves together and worked on the seams. Learning from before about dry fitting, I did some, and found the nose was a bit narrow. So I added a cut toothpick to act as a spreader bar. The fit is much better, and once done with the airframe Ill make the attachment. Of course when I installed the spreader bar, the seam on the top of the nose reopened, sigh I also added some black painted card go behind the ventral port openings as well.
Note the kit supplied glass to the right. There seems to be what I thought were mold seams but on closer inspection might be an attempt at mimicking camera lenses. Regardless, its not how they looked, so they will go into the despair box.
I then got some clear plastic card and cut it to shape for the underside camera ports. These are 3 x 4 mm each, and really challenging to dry fit. At this point Im still debating putting them in now, or after the paint job. Any help in making the call is much appreciated.
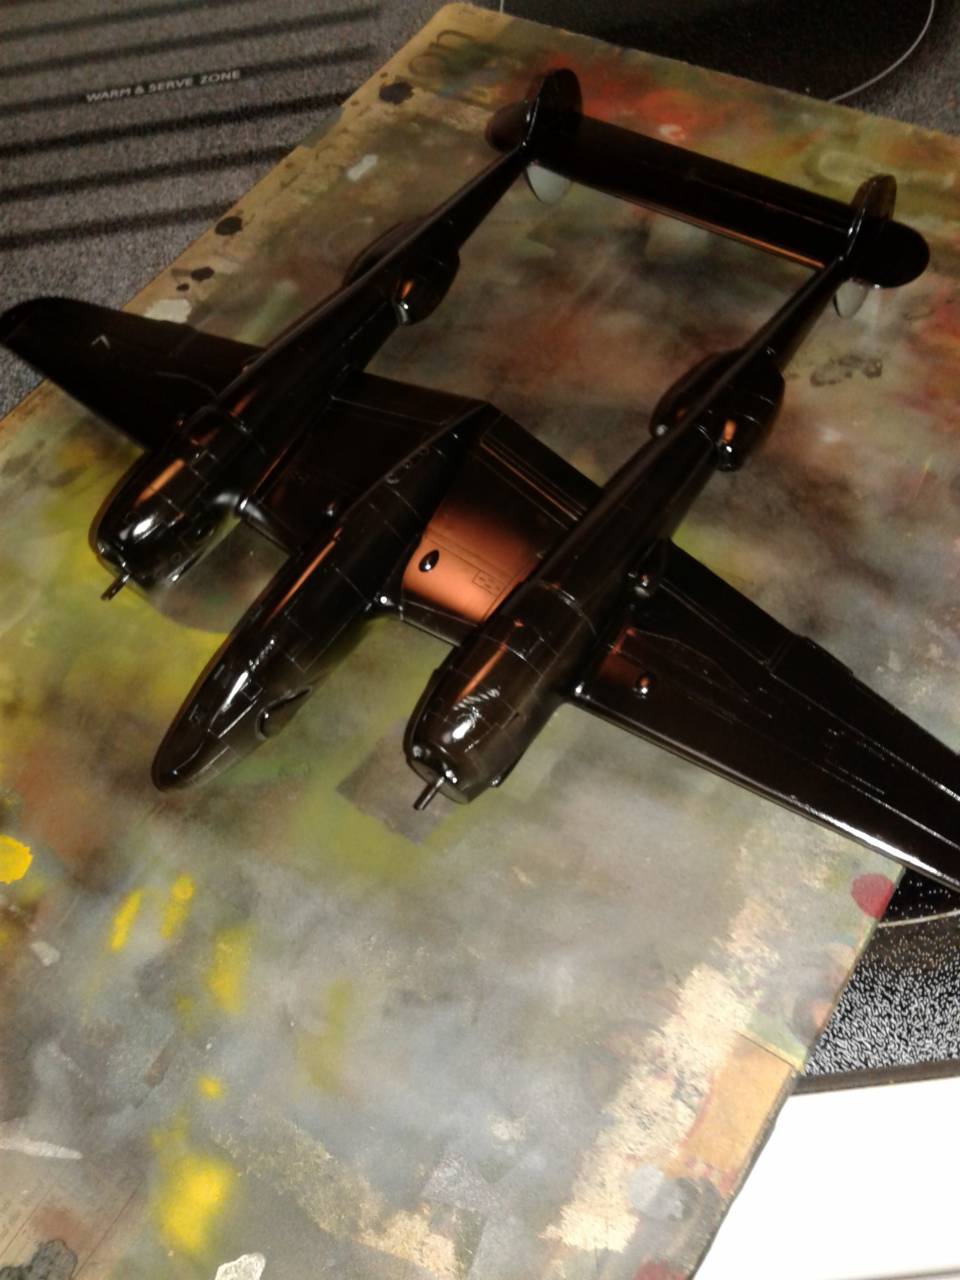
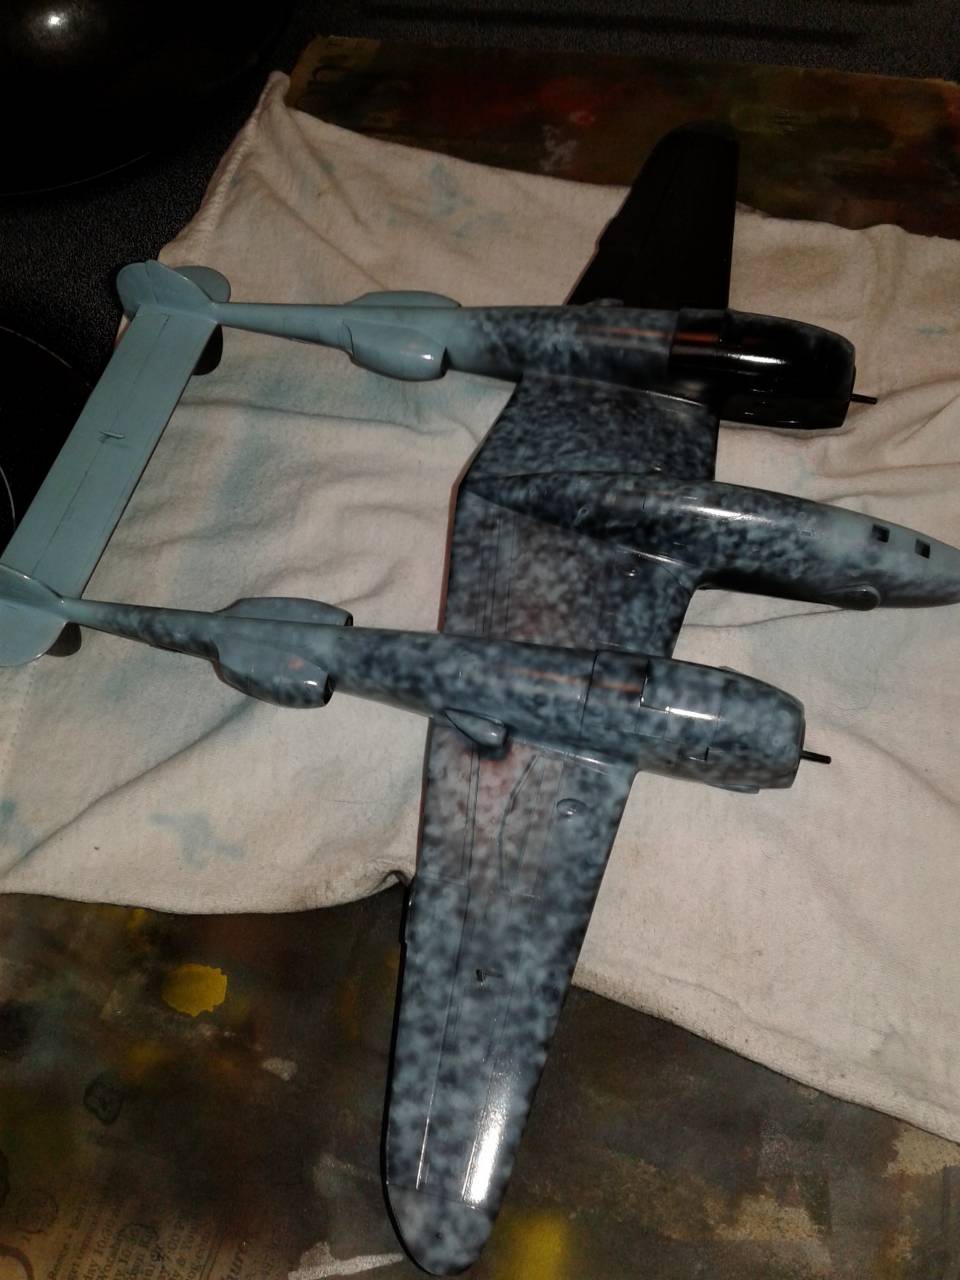
Once the nose is mounted and the area cleaned I can attach the canopy, and re-scribe lost panel lines. Then finally begin to paint this rough diamond. More to follow soon, thanks for reading.
John