Hi All,
All things come to an end, some are good, some not. For me this build has been such a mixed bag of things, I'll just say that I'm happy it's over.
Some years ago my dad related a story that happened around the dinner table, most likely 1943. His cousin was home on leave and announced that he'd be getting a motorcycle to get around while stationed in England. My dad's aunt exclaimed that motorcycles were far too dangerous to ride around, and that he'd surely get hurt or worse! There was an eruption of laughter from many at the table. Several of the folk asked her if she really knew what her son was doing in Europe. Turns out James Moran was a pilot. flying the modified P-38, photo recon version. Well, he got the motorcycle, and of course was hurt in an accident. He also had a good flying record, no injuries sustained by hostile encounters.
This story was the motivation behind the build. The intent is to put this model onto a stand and present it to my dad. Unfortunately, my research is still underway. At best I've got a name, and a start time of when Jim was in the service. So, getting a unit or identifying a particular aircraft at this time has proven elusive. Work still continues on this.
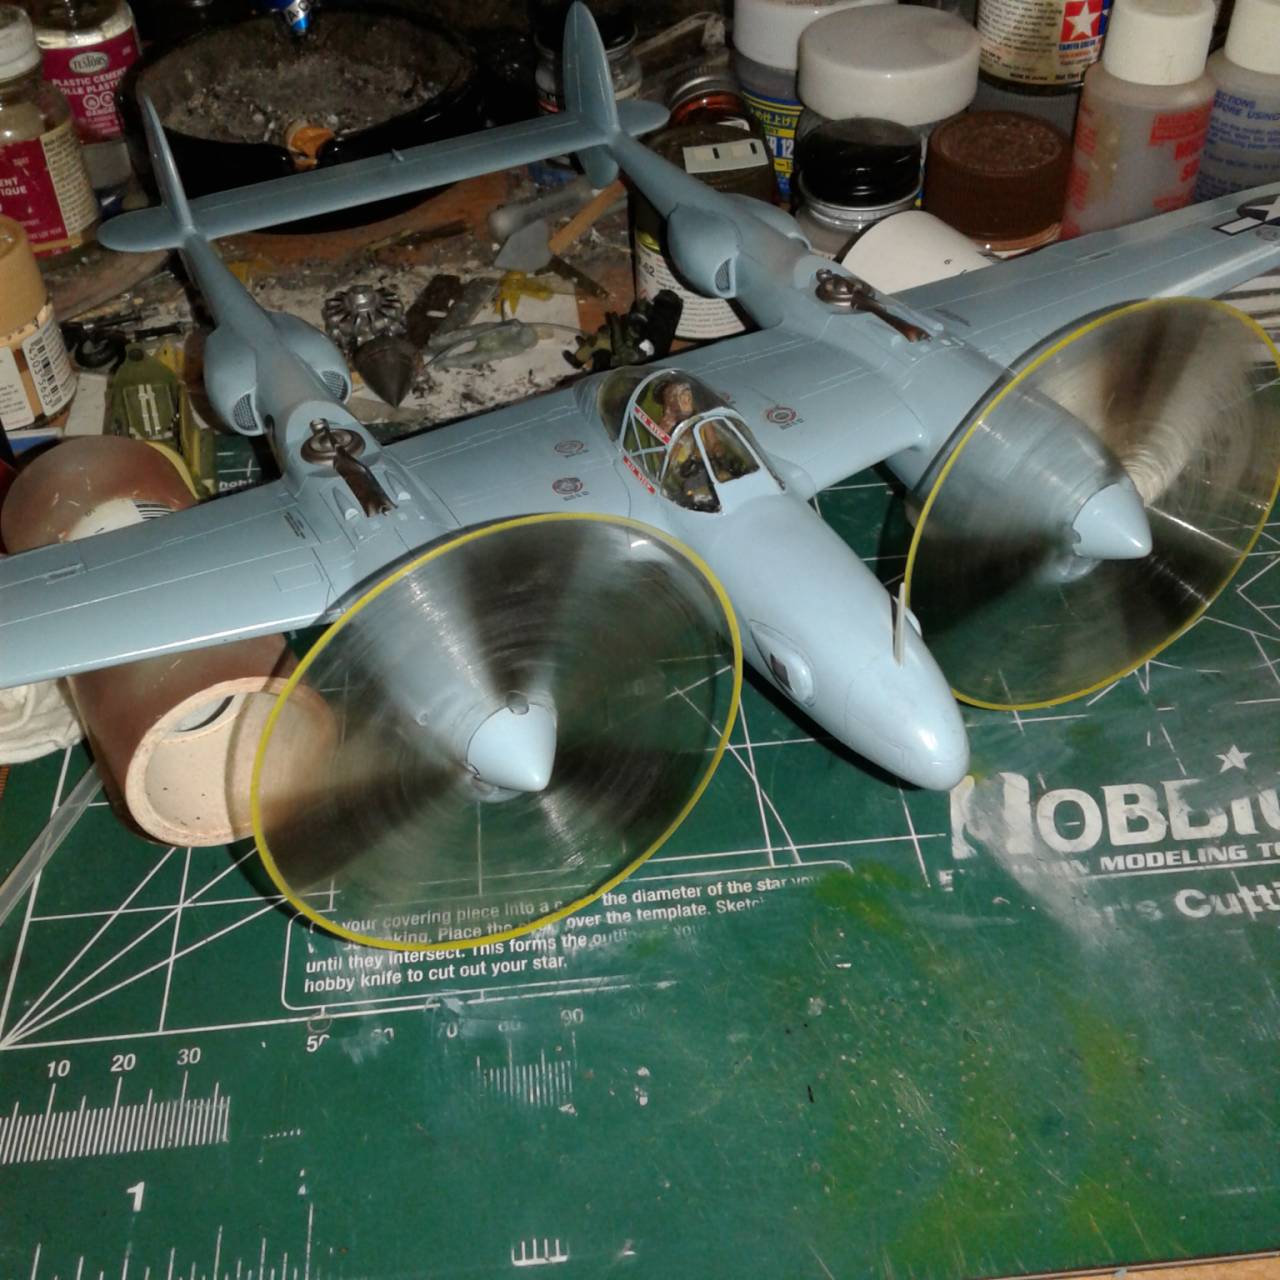
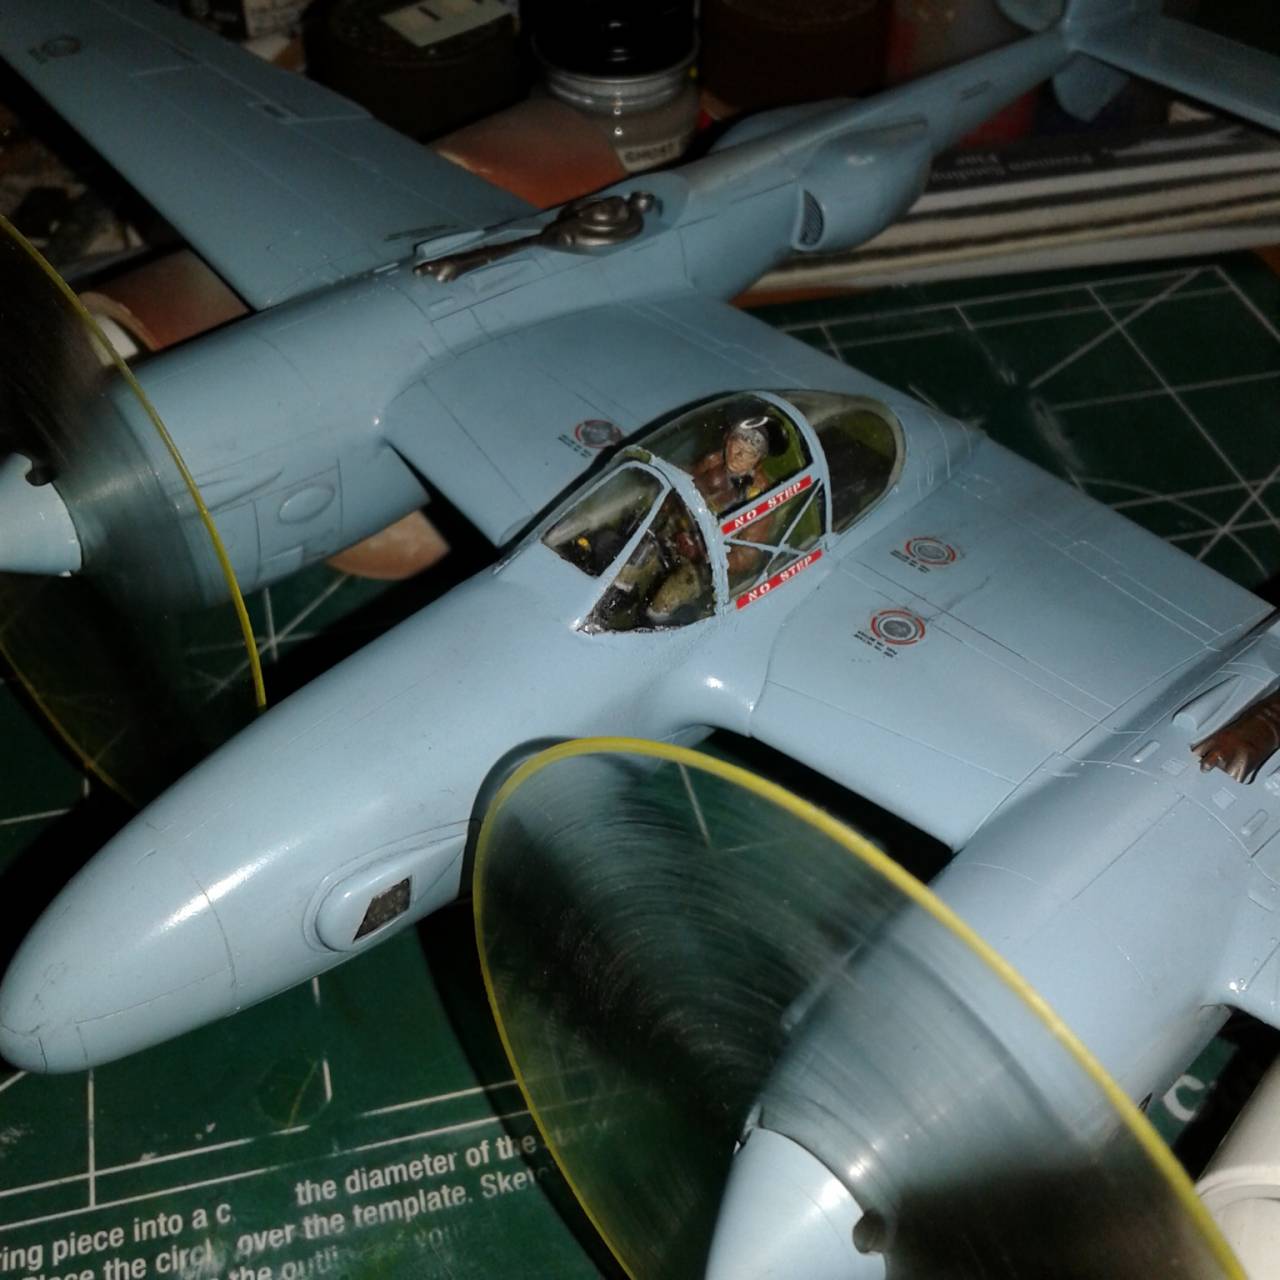
What I do have is a generic version of a photo recon P-38. It's not done as a F-5E, or even a F-4, but kind of a mix. This was done mostly out of ease of build. I knew up front that this was going to be a bit more than an average build for me, and it was. I botched the canopy, however, this was not intended to be an up close model, but more of a one meter bird (maybe more!). Foremost, that I wanted to get was good alignment, approaching it from a different angle from my past P-38 builds, and more of a procedure on how to build a better P-38, a plane that I find pleasing. Of which in my opinion I have done, granted the jury is still out, and we'll see on my next one. In my defense, had the clear parts actually fit I doubt that I'd of botched the canopy.
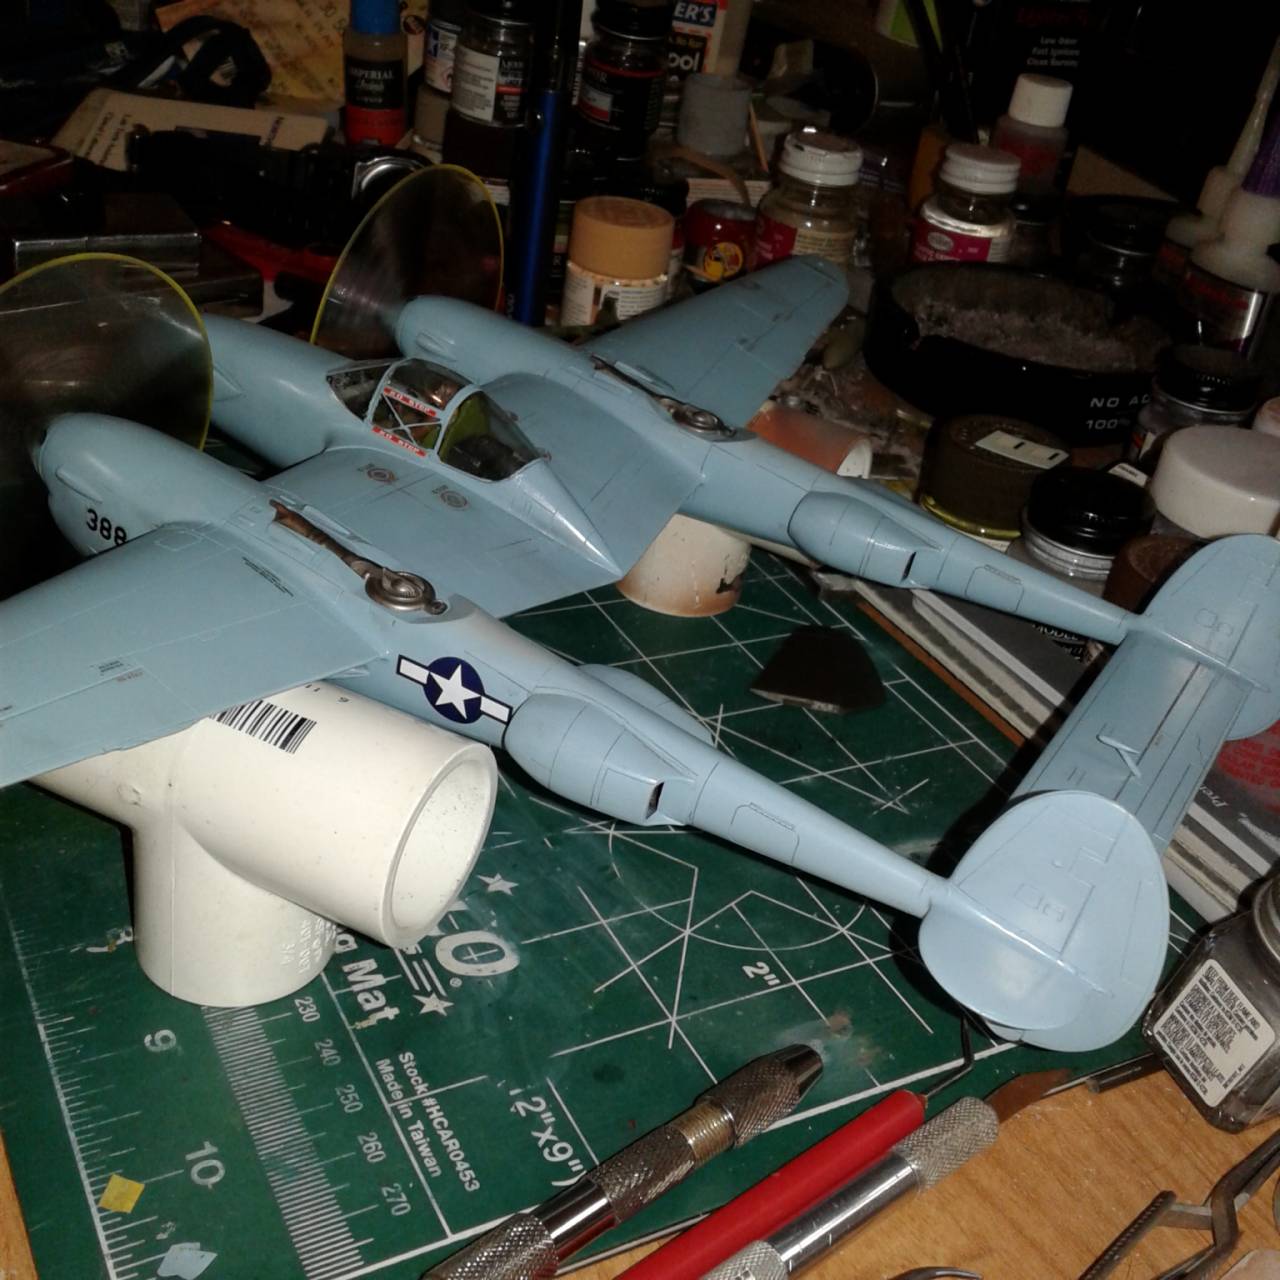
That said, I was able to finish the paint job, and it turned out ok. Though the build in my opinion had gone such that I was worn out, and I'll admit a bit mad at Academy. I'd purchased a nice set of decals and opted not to use them on this one. Using the kit decals proved to me yet again that it just wouldn't end. I'd have to agree with some fellow modelers that there seems to be a curse for some of us and Academy kits. It seems so with me. The decals behaved very much like Techmod decals. Well printed, but not wanting to conform, and in some cases not even adhere. Several silvered, and I tried all the solvents in my arsenal: The micro Sol system, Solveset, and Mr Softener. The later worked but then took the paint off below the decal! After much complaining and use of fingernails, and lots of acceptance, the decals were on. A coat of clear, some minor weathering and the main airframe was complete. Needless to say, the underside counterweight broke off a total of 5 times. The last being while posing the plane for the gallery pictures. It's on the workbench now, and may become a memento or trash, I'm still thinking that one over!
Since this was to be a hanging or stand model it meant that it'd be in flight. I'd read an interesting article in the December 2015 Fine Scale Modeler magazine written by Rogerio Marczak on spinning propellers. I decided to give it a try. While there is room for improvement on my delivery, I rather like it. It's simple and inexpensive.
Another shot of the props, and the botched canopy.
Overall, it looks the part. It's certainly a different type of bird than I've been building. While for me the fun factor left shortly after the box was opened, I am glad I did it. I learned a great deal on this project, and am inclined to do another soon. While not my best effort, I'm pretty sure that dad will enjoy this. I'll also leave the door open to change it out as more information becomes known.
Thanks for looking,
John
Finally, I'd like to add a big thanks to all that made this group build a reality! There are some really nice builds in the gallery, and it's nice to be a part of it. Thanks to all of you! You help to make me a far better modeler than I'd be on my own, and despite this build, it was fun!!


