

Zon, try this link to a youtube video that is pretty good for explaining how to mask canopies.
https://www.youtube.com/watch?v=-9fLpzoKmQI
Bob
Air Campaigns
Want to start or join a group build? This is where to start.
Want to start or join a group build? This is where to start.
Hosted by Frederick Boucher, Michael Satin
OFFICIAL: Schwalbe II

Bigrip74

Joined: February 22, 2008
KitMaker: 5,026 posts
AeroScale: 2,811 posts

Posted: Wednesday, May 13, 2020 - 09:26 PM UTC
Bigrip74
Joined: February 22, 2008
KitMaker: 5,026 posts
AeroScale: 2,811 posts
Posted: Thursday, May 14, 2020 - 06:17 AM UTC
With the uneven panels I am building up the putty in layers. I may not need any nose weight. 


GazzaS

#424

Joined: April 23, 2015
KitMaker: 4,648 posts
AeroScale: 1,938 posts

Posted: Thursday, May 14, 2020 - 05:17 PM UTC
I had the same problem with the front end of my Revell 262.
Bigrip74
Joined: February 22, 2008
KitMaker: 5,026 posts
AeroScale: 2,811 posts
Posted: Friday, May 15, 2020 - 03:59 AM UTC
I think that I am satisfied at this point with the putty. Only the paint job will tell.


zontar
Joined: August 27, 2006
KitMaker: 1,646 posts
AeroScale: 12 posts
Posted: Friday, May 15, 2020 - 10:39 AM UTC
Bob: Thanks for the tutorial link. very informative. Also, nice putty work.
Happy Modeling,
zon
Happy Modeling,
zon
GazzaS
#424
Joined: April 23, 2015
KitMaker: 4,648 posts
AeroScale: 1,938 posts
Posted: Friday, May 15, 2020 - 10:40 AM UTC
Good luck with your initial paint! I've come to the conclusion that the best way to find every fault is with a high gloss black. Matte primer can hide some of the smaller faults.
Keep up the good work!
Gaz
Keep up the good work!
Gaz
Bigrip74
Joined: February 22, 2008
KitMaker: 5,026 posts
AeroScale: 2,811 posts
Posted: Saturday, May 16, 2020 - 12:26 PM UTC
The carpet monster did not win. My replacement part arrived today and was attached before I lost it.

GazzaS
#424
Joined: April 23, 2015
KitMaker: 4,648 posts
AeroScale: 1,938 posts
Posted: Saturday, May 16, 2020 - 12:28 PM UTC
Bob,
Glad to hear it!
Glad to hear it!
Bigrip74
Joined: February 22, 2008
KitMaker: 5,026 posts
AeroScale: 2,811 posts
Posted: Saturday, May 16, 2020 - 03:31 PM UTC
If I am able to attach this wing and get it to at least look correct. I will then be able to start all of the little stuff.

GazzaS
#424
Joined: April 23, 2015
KitMaker: 4,648 posts
AeroScale: 1,938 posts
Posted: Saturday, May 16, 2020 - 04:27 PM UTC
Looks good to me, Bob! Do you use the liquitex as a filler?
Gaz
Gaz
Bigrip74
Joined: February 22, 2008
KitMaker: 5,026 posts
AeroScale: 2,811 posts
Posted: Saturday, May 16, 2020 - 04:37 PM UTC
Quoted Text
Looks good to me, Bob! Do you use the liquitex as a filler?
Gaz
I have (3) filler/putties that I use depending on the gap and where it is located.
Liquitex I like it and go to it most.
Tamiya Putty white
Tamiya Basic type grey
Bigrip74
Joined: February 22, 2008
KitMaker: 5,026 posts
AeroScale: 2,811 posts
Posted: Sunday, May 17, 2020 - 03:21 AM UTC
The tires are vinyl and were not too hard to mate the two halves of the plastic centers.

Bigrip74
Joined: February 22, 2008
KitMaker: 5,026 posts
AeroScale: 2,811 posts
Posted: Sunday, May 17, 2020 - 01:15 PM UTC
Well! this time the tweezers conspired against me. 
While trying to install the nose clear part, it shot off into outer space. I trimmed down a piece of clear sprue to glue to the nose with hopes to trim and sand later.
The wing tip lights were not big enough for to fill their spaces, so I used more clear sprue and glued them in place to cut down and sand after dried.
Bigrip74
Joined: February 22, 2008
KitMaker: 5,026 posts
AeroScale: 2,811 posts
Posted: Sunday, May 17, 2020 - 04:04 PM UTC
I found the Me262 I was building for the last 262 campaign and might as well finish it along with the build for this campaign.

GazzaS
#424
Joined: April 23, 2015
KitMaker: 4,648 posts
AeroScale: 1,938 posts
Posted: Sunday, May 17, 2020 - 06:04 PM UTC
Bob,
You've got some serious puttying happening there. But that's ok because two is better than one.
I have given up trying to glue tiny clear parts. What I have gotten into is called Bondic, or it's cheaper counterpart 5-Second Fix. Both are UV activated clear gels that harden after 5 seconds of UV light. They sand pretty well, and you can build things up in layers. They might save you some aggravation.
Gaz
Bigrip74
Joined: February 22, 2008
KitMaker: 5,026 posts
AeroScale: 2,811 posts
Posted: Sunday, May 17, 2020 - 06:09 PM UTC
Quoted Text
Bob,
You've got some serious puttying happening there. But that's ok because two is better than one.
I have given up trying to glue tiny clear parts. What I have gotten into is called Bondic, or it's cheaper counterpart 5-Second Fix. Both are UV activated clear gels that harden after 5 seconds of UV light. They sand pretty well, and you can build things up in layers. They might save you some aggravation.
Hummmm!
Gaz

RussellE
#306
Joined: June 27, 2010
KitMaker: 3,959 posts
AeroScale: 598 posts
Posted: Wednesday, May 20, 2020 - 10:52 PM UTC
well, I guess it's time I threw my hat in the ring on this one!
some absolutely brilliant work so far from so many, that it's either gonna inspire or put the fear of god in me so that I run for the hills!
Anyways, here's my starting shot...
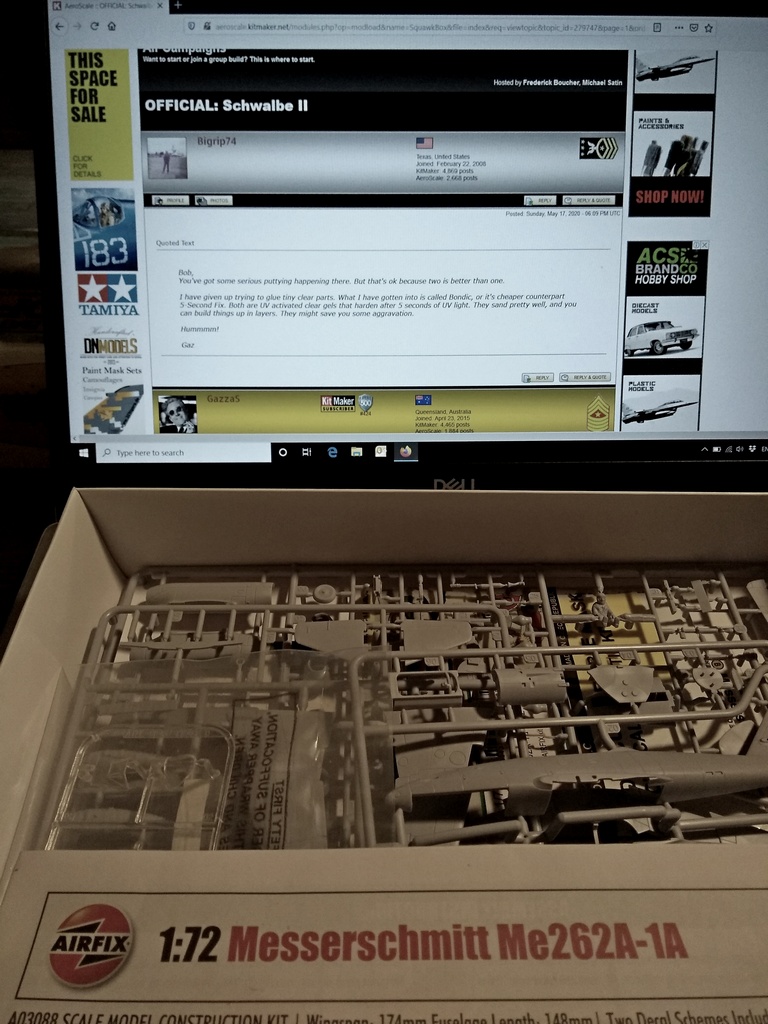
It's Airfix's latest 1/72 offering... so, fingers crossed!
some absolutely brilliant work so far from so many, that it's either gonna inspire or put the fear of god in me so that I run for the hills!
Anyways, here's my starting shot...
It's Airfix's latest 1/72 offering... so, fingers crossed!


AussieReg

#007
Joined: June 09, 2009
KitMaker: 8,156 posts
AeroScale: 3,756 posts
Posted: Thursday, May 21, 2020 - 01:22 AM UTC
Bob, moving along nicely with your duo there mate!
Great to see you join in here Russ, looking forward to watching your build come together!
Cheers, D
Great to see you join in here Russ, looking forward to watching your build come together!
Cheers, D


bomber14
Joined: February 02, 2015
KitMaker: 330 posts
AeroScale: 286 posts
Posted: Thursday, May 21, 2020 - 04:02 AM UTC
Quoted Text
Aloha All,
Gaz: really nice job. The cockpit came out well, as did the scallops on the wings.
Bob: nice start, but I don't envy you the sanding! also, hopefully you've been able to recover the parts from the carpet monster. I have wood floors, but I've still lost one of my trooper's heads!!
OK, hats off to all you that do these wingy things mostly. It seems like every time I think I'm ready to glue something together, there are two more things/areas that I need to paint. Anyway, I've got the wings, engines and front and rear canopy pieces glued on.
So, a question for my more airplane experienced fellows here: how best to mask across the open canopy portion? Tamiya has made it such that if you want the canopy closed, you have to cut off the mounts. Since my intent is to display it with the canopy open, I don't want to cut those bits off in order to temporarily close the canopy for painting. Any suggestions are appreciated.
Gaz: on the first page, you have me down as building the Revell, but I am working on the Tamiya.
Happy Modeling,
Zon
hi zon. what i have found that helps to mask off the open area is expanding foam. for example the triangular wedge shaped makeup foams that women use or even foam ear plugs. you can cut the makeup foams to the size/shape you want or just squish them up and stick them in the cockpit. they will expand to fill moet of the void. you can then fill the missed areas with tape. balles wet paper or poster tac. i would wait to glue the control stick in until after the painting and put a piece of tape across the opened end of the windscreen and rear canopy so you don't get overspray on the inside. for the wheel wells i use foam earplugs or fill them with poster tac, sometimes just wet paper towel.
hope this helps- joe
p.s. if you go shopping with your wife the makeup areas in the dept stores like macys will have stations where workers do live makeup to customers. you can grab a bunch of the wedges for free.
GazzaS
#424
Joined: April 23, 2015
KitMaker: 4,648 posts
AeroScale: 1,938 posts
Posted: Thursday, May 21, 2020 - 05:43 PM UTC
Russell,
Welcome to the Campaign! I'll be interested to see what Airfix has to offer.
Gaz
Welcome to the Campaign! I'll be interested to see what Airfix has to offer.
Gaz
bomber14
Joined: February 02, 2015
KitMaker: 330 posts
AeroScale: 286 posts
Posted: Tuesday, May 26, 2020 - 06:13 AM UTC
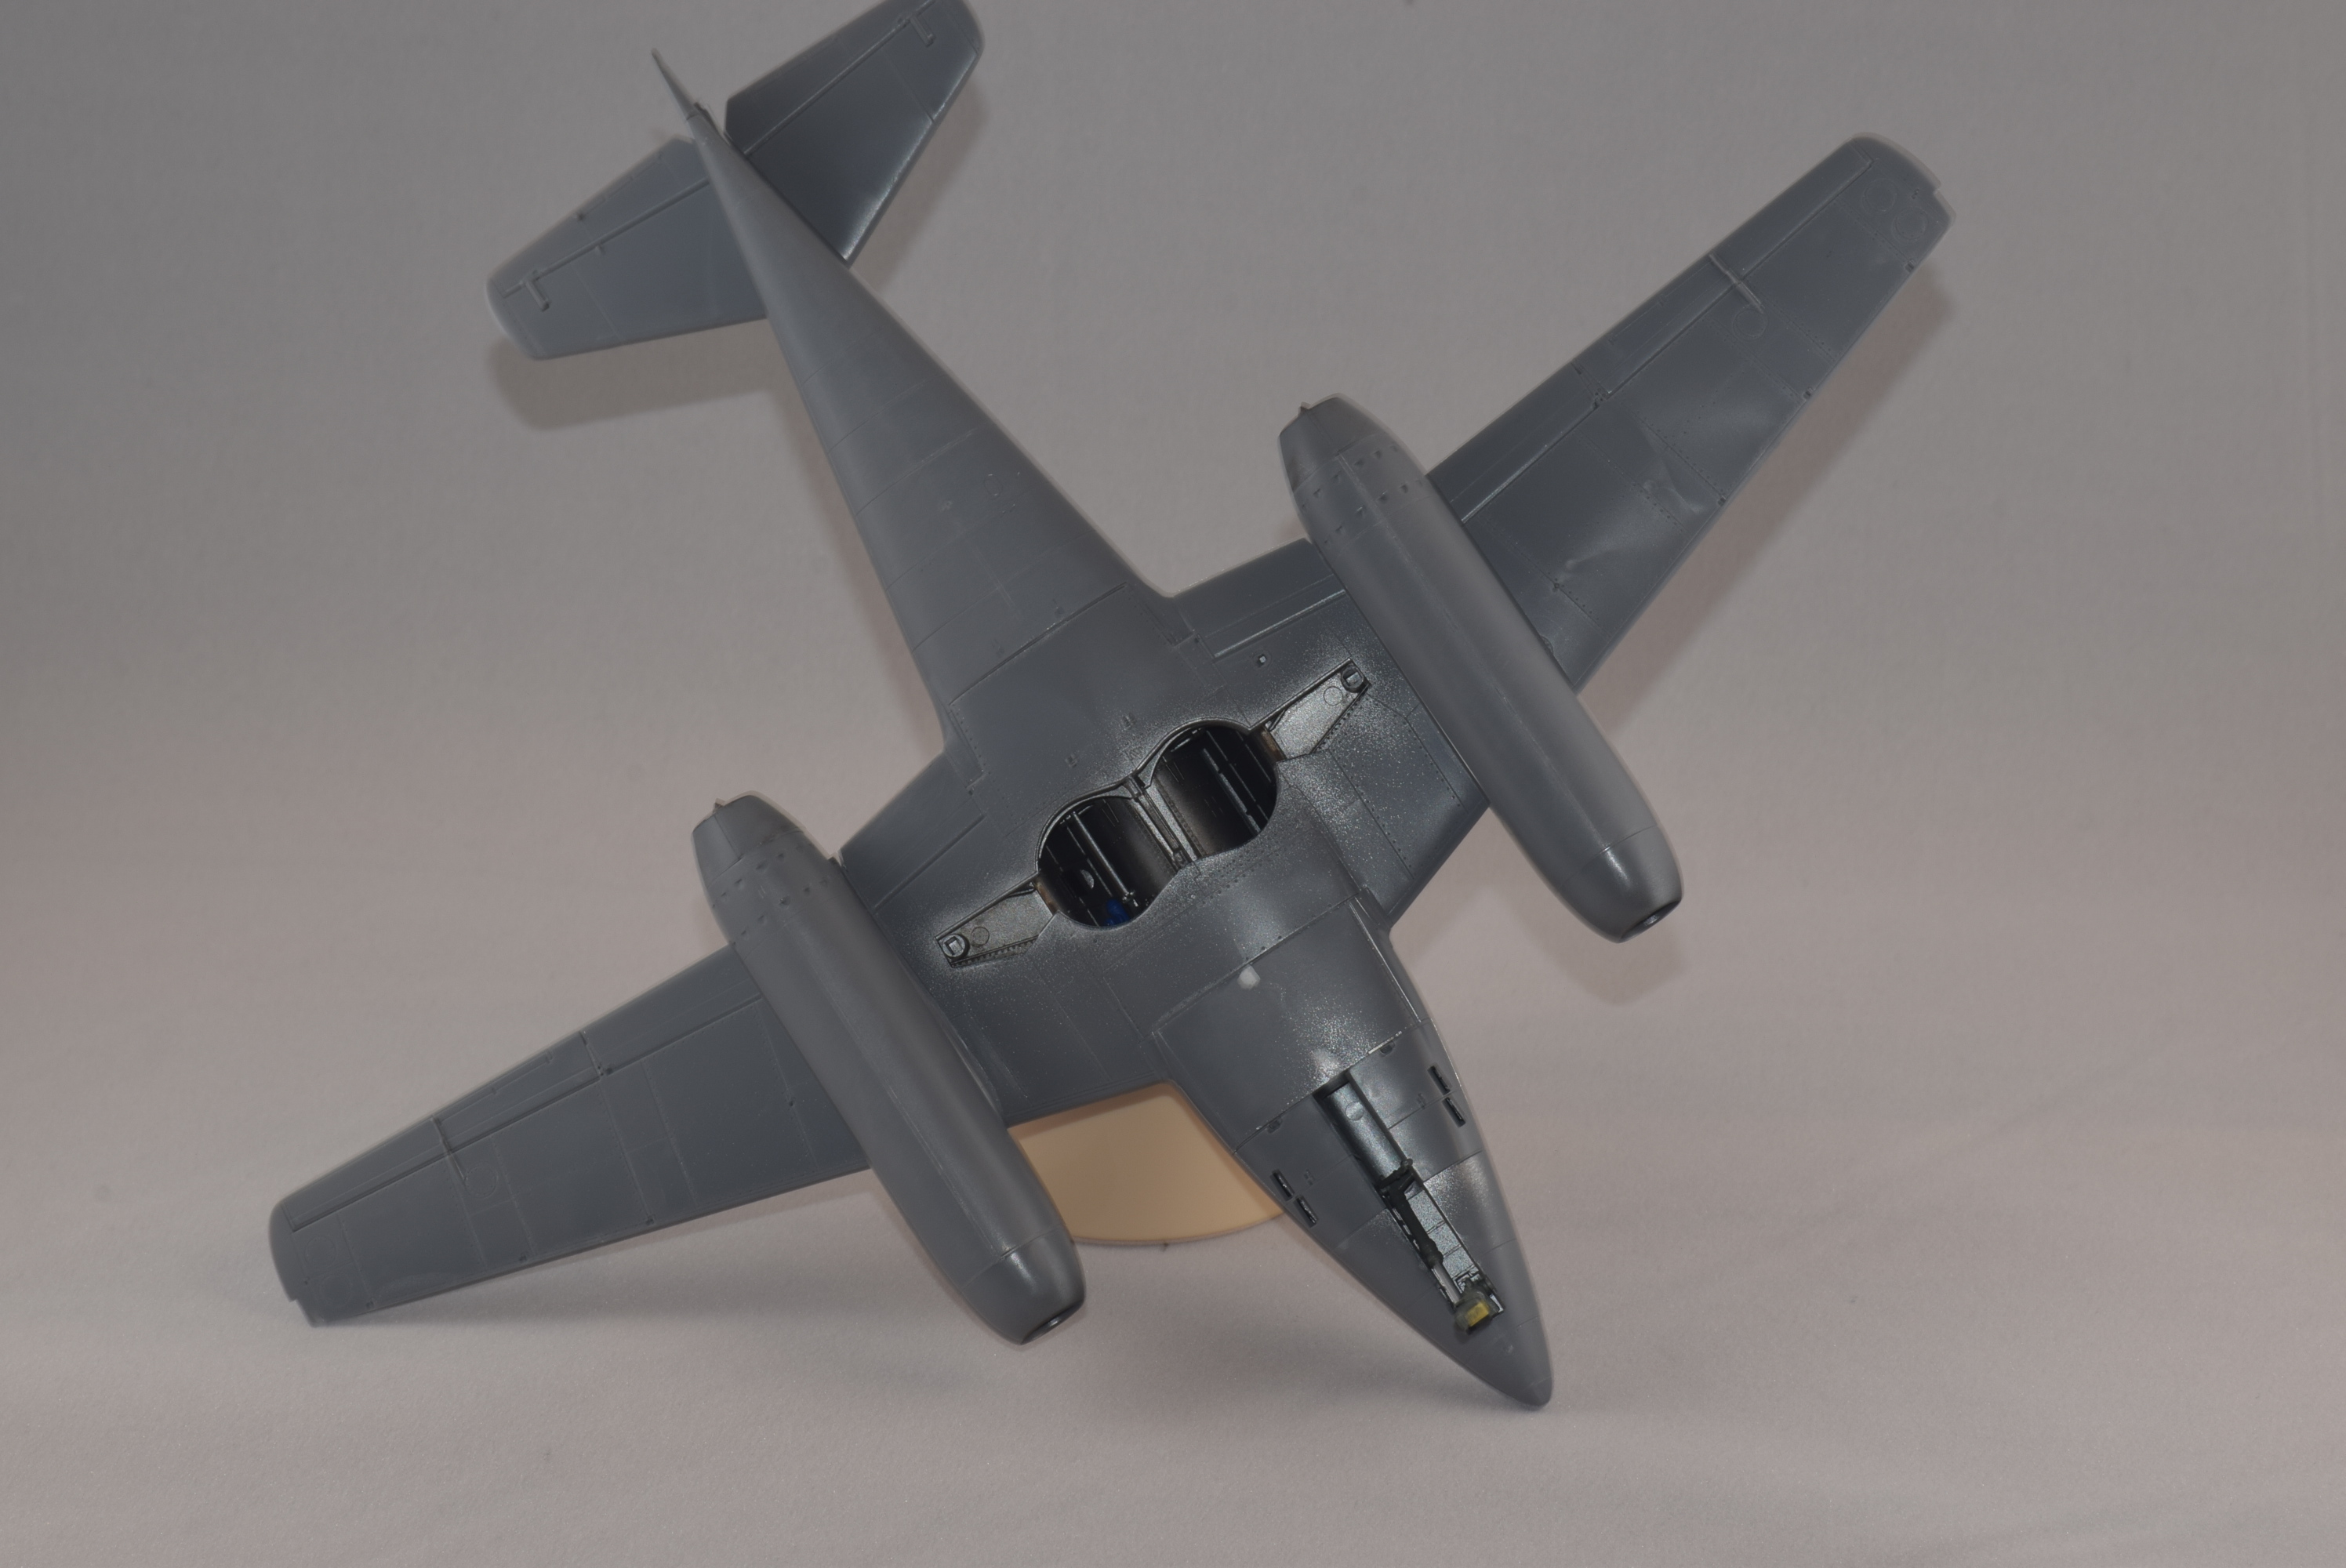
seems it's been a while since we had any updates. i know it's been a while for me but i have been working on it.
i managed to put in the slat ledges and filed them down to represent the cavity the slats retract into to provide a smooth leading edge.had some trouble getting the engines and fuselage to fit into place. i have a good size wing root gap i don't remember having on my last hobbyboss 262. i have some perftct plastic putty on the way that will hopefully take care of the issue.also not shown, i got the brake lines installed on the landing gear so they are ready to go. just been having some problems painting the wheels/tires. i didn't like the way they looked so i stripped them.
[ ][/img]

 " BORDER="0">
i managed to put in the slat ledges and filed them down to represent the cavity the slats retract into to provide a smooth leading edge.had some trouble getting the engines and fuselage to fit into place. i have a good size wing root gap i don't remember having on my last hobbyboss 262. i have some perftct plastic putty on the way that will hopefully take care of the issue.also not shown, i got the brake lines installed on the landing gear so they are ready to go. just been having some problems painting the wheels/tires. i didn't like the way they looked so i stripped them.
[
][/img] " BORDER="0"> GazzaS
#424
Joined: April 23, 2015
KitMaker: 4,648 posts
AeroScale: 1,938 posts
Posted: Tuesday, May 26, 2020 - 10:10 AM UTC
Joe,
Glad to see your update. I like what you've done to both the slat edges and the gun bay.
I too have a lot of trouble with tires. You'd think such a simple shape would be easy to do... but it's easy for it to look wrong.
Gaz
Glad to see your update. I like what you've done to both the slat edges and the gun bay.
I too have a lot of trouble with tires. You'd think such a simple shape would be easy to do... but it's easy for it to look wrong.
Gaz
Bigrip74
Joined: February 22, 2008
KitMaker: 5,026 posts
AeroScale: 2,811 posts
Posted: Tuesday, May 26, 2020 - 10:13 AM UTC
Joe, nice update. I see you are going for an open armament area.
Gary, Ive been waiting on a mask set before I will start painting.
Bob
Gary, Ive been waiting on a mask set before I will start painting.
Bob
Bigrip74
Joined: February 22, 2008
KitMaker: 5,026 posts
AeroScale: 2,811 posts
Posted: Tuesday, June 02, 2020 - 07:15 AM UTC
Well! today has been a comedy of errors 
1. went to mailbox to get my Me262 masks, but those sent were 1/72.
2. decided to mask with Tamiya tape. It well for the front wind screen.
3. did the right side of the canopy and it looked good.
4. started the left side and it shot off under the desk and took more time to find a flash light that worked than it did to find.
5. reattached the front wind screen with Tamiya Extra Thin this time.
Guess I will start again.
GazzaS
#424
Joined: April 23, 2015
KitMaker: 4,648 posts
AeroScale: 1,938 posts
Posted: Tuesday, June 02, 2020 - 02:09 PM UTC
I think we all suffer from the same comedic problems. At least you didnt step on it... I did that to a part last week. Thank goodness it wasnt a clear part.
 |

WEB HOSTING BY


Copyright ©2021 AeroScale and Kitmaker Network, a subsidiary of Silver Star Enterprises
All Rights Reserved. Please read our Conditions of Use and Privacy Policy.
All Rights Reserved. Please read our Conditions of Use and Privacy Policy.