

Unfortunately I have to bail on this one, my Mrs is holding my stash hostage!!!


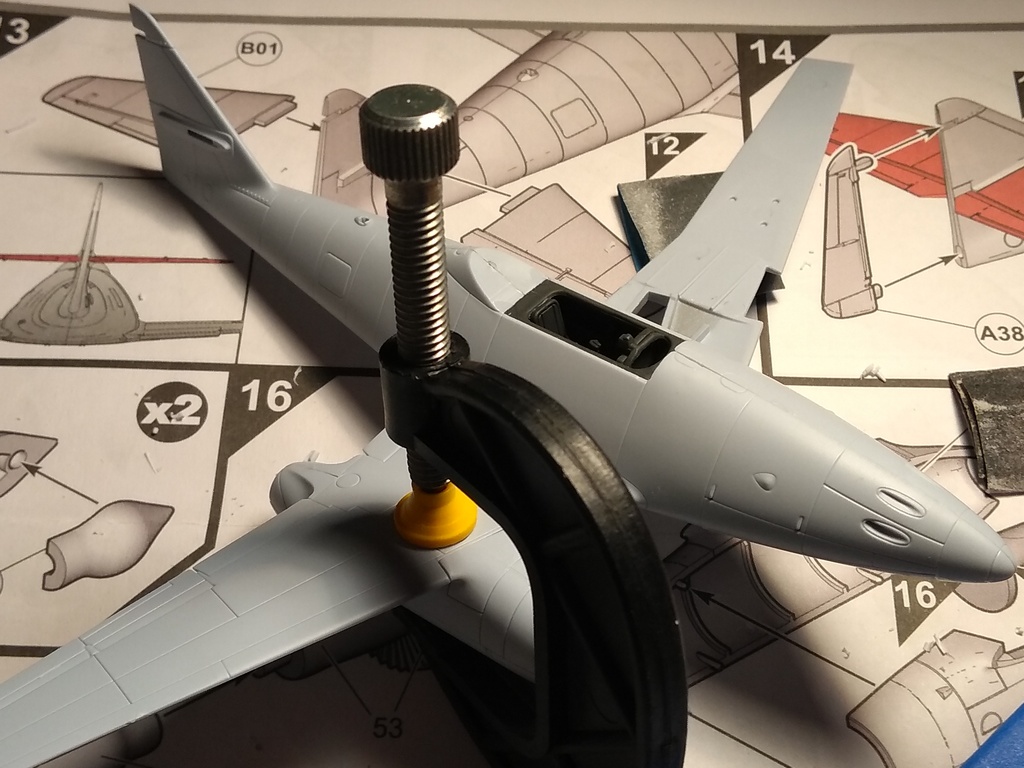
Russell, thanks for the advice but look what I have just glued!
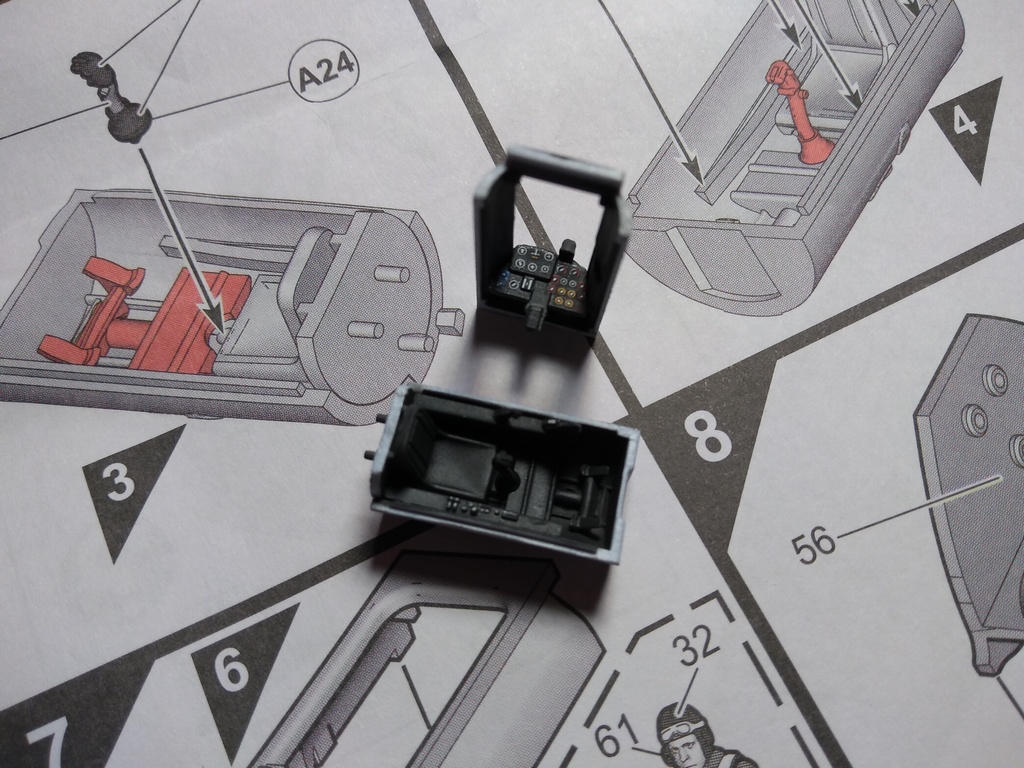
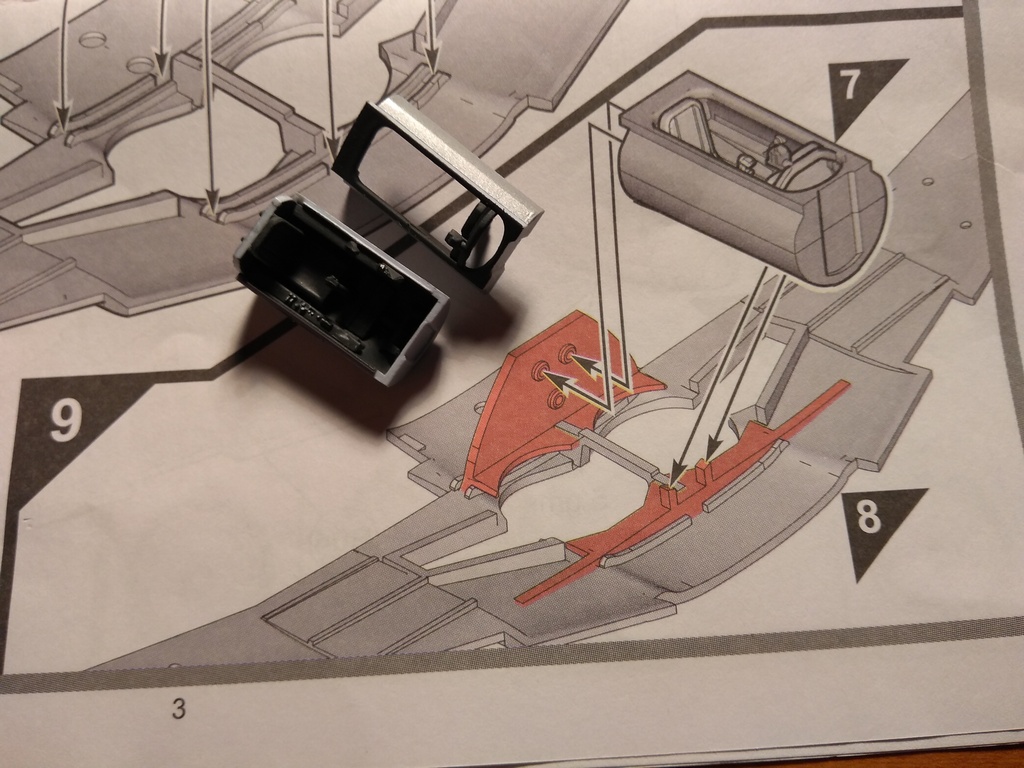
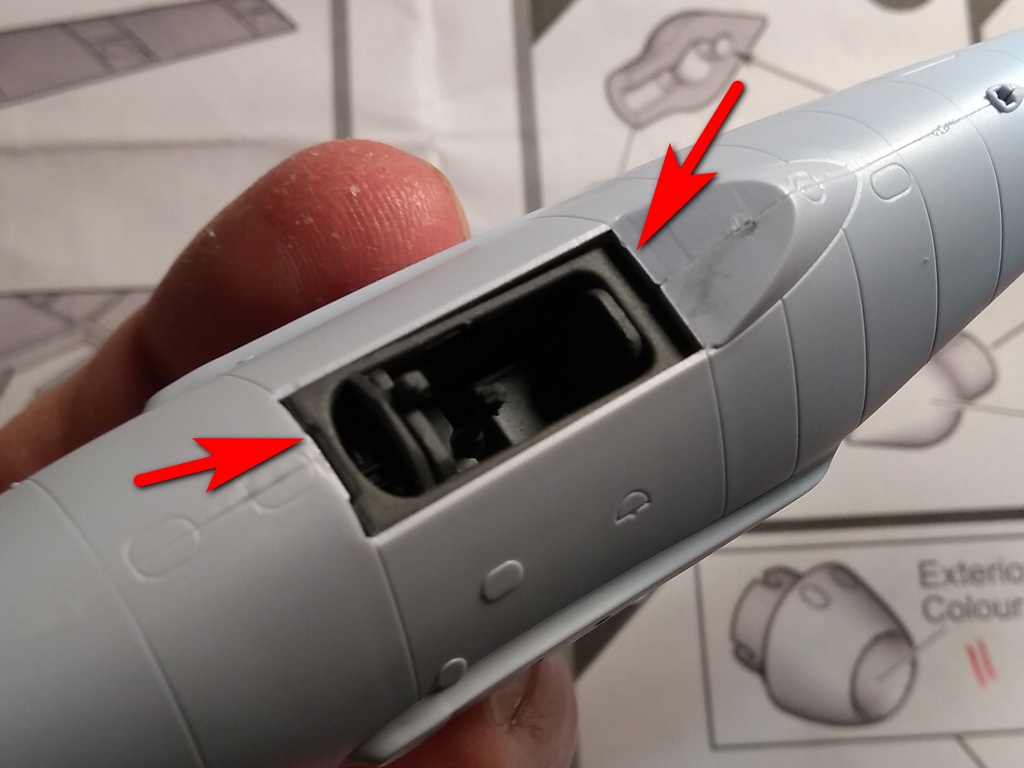
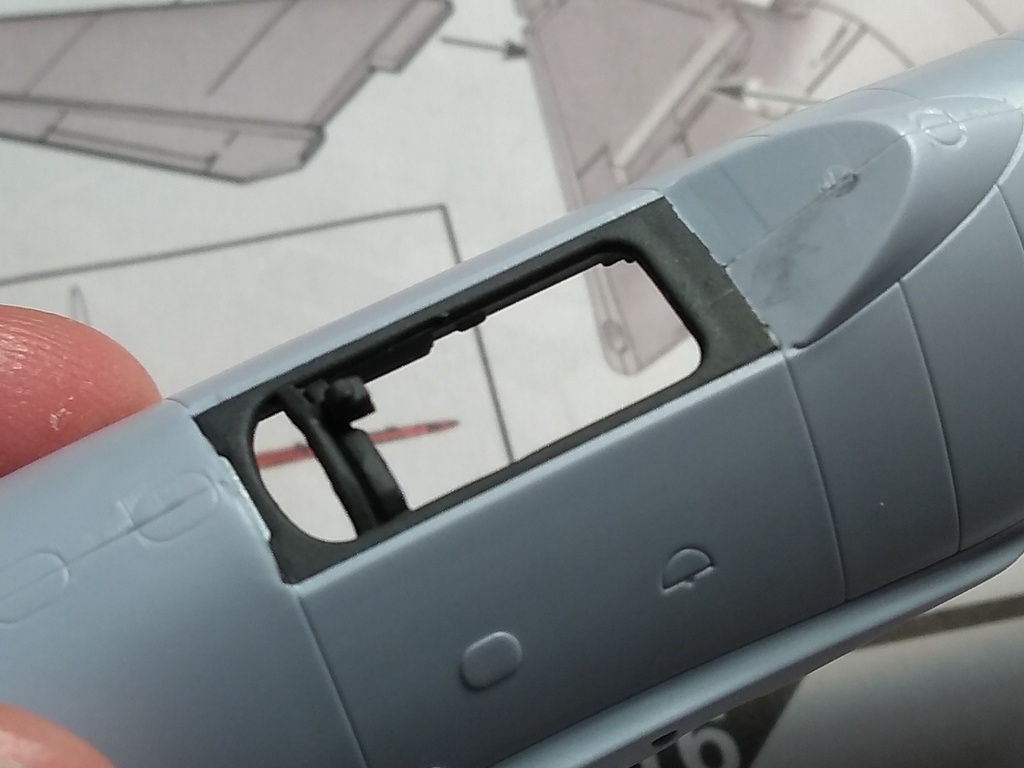
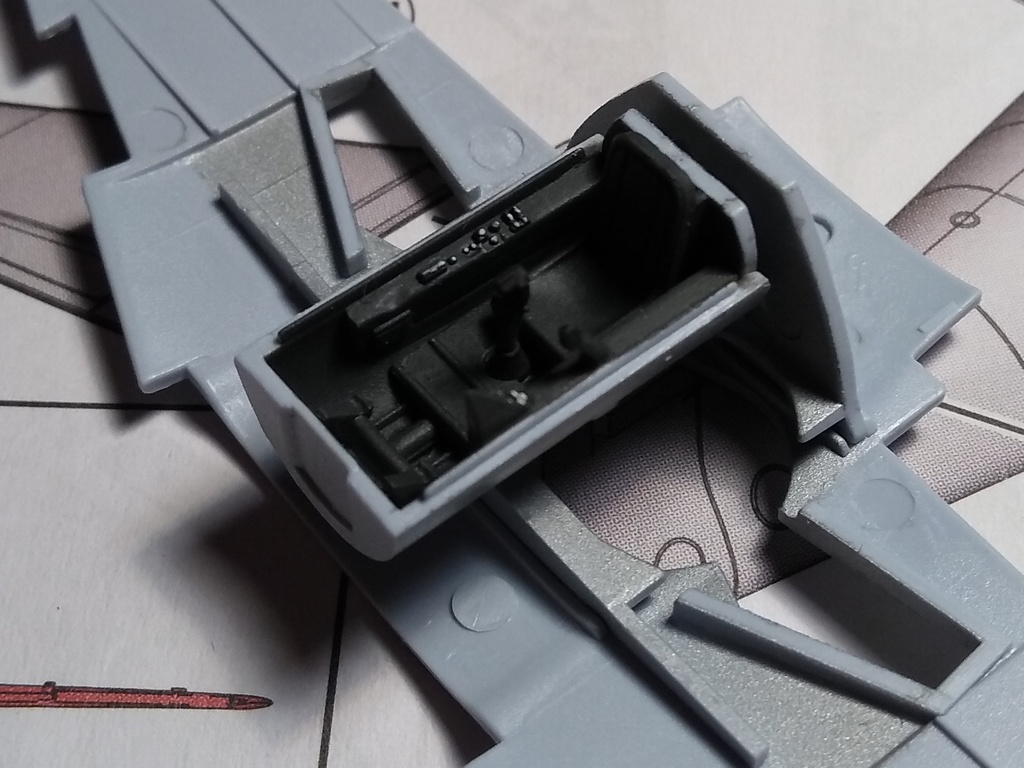
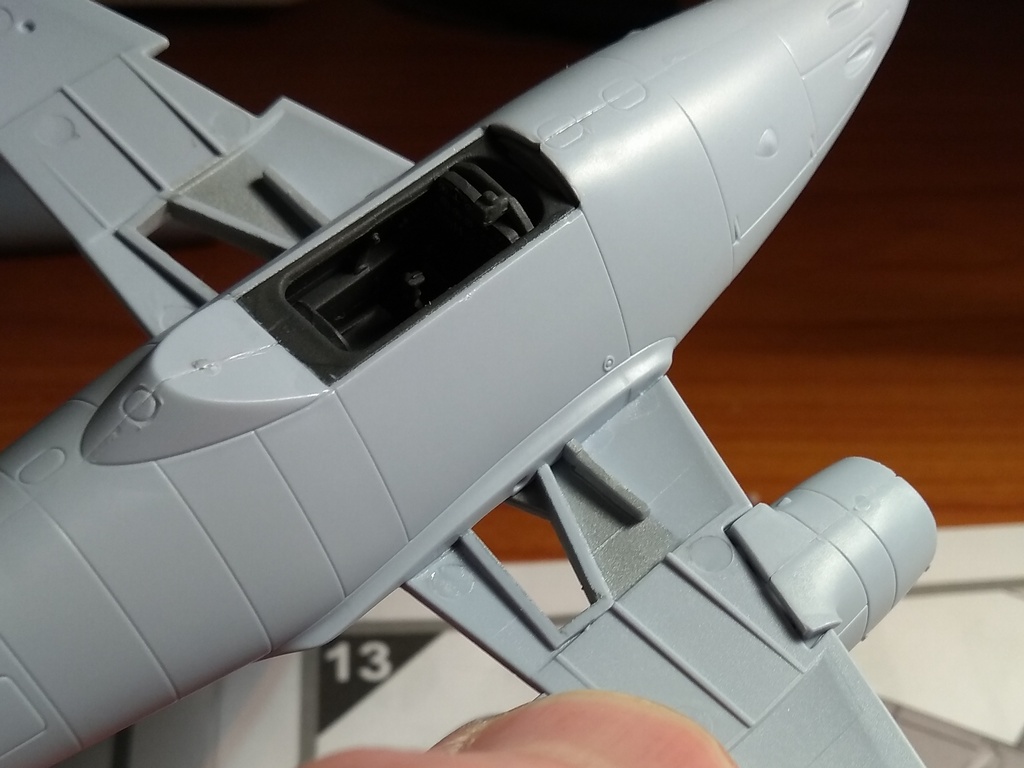
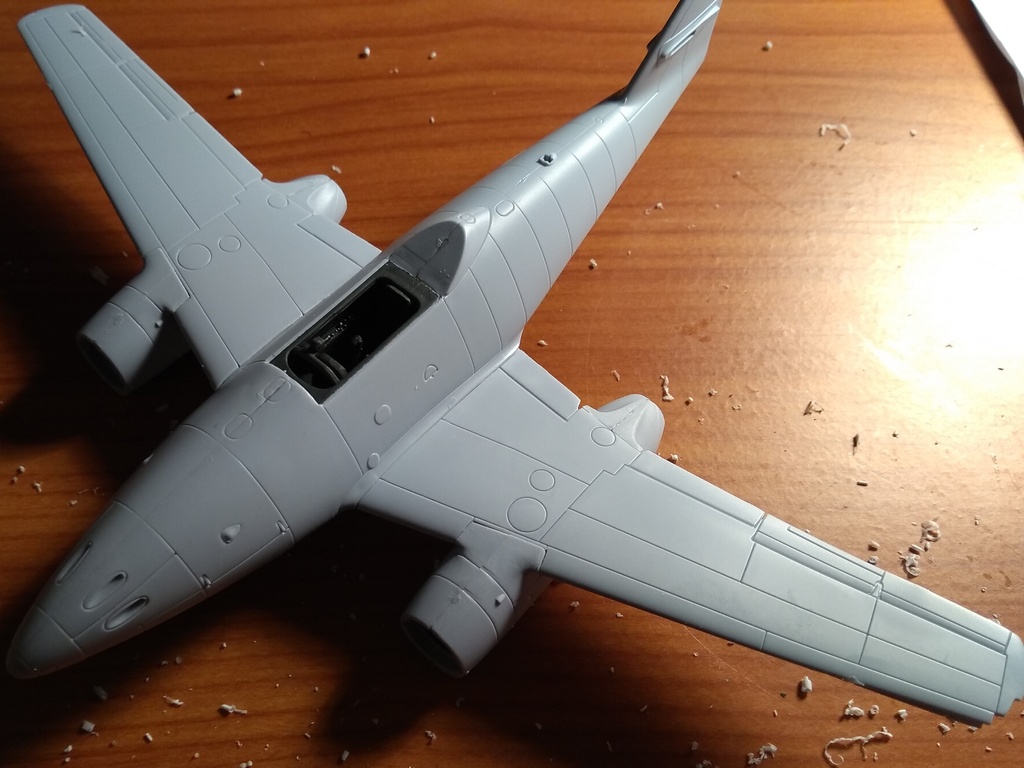
I am quite pleased with the very simple cockpit but, you are right, it doesn't fit easily on the top. I will crowbar it tomorrow...
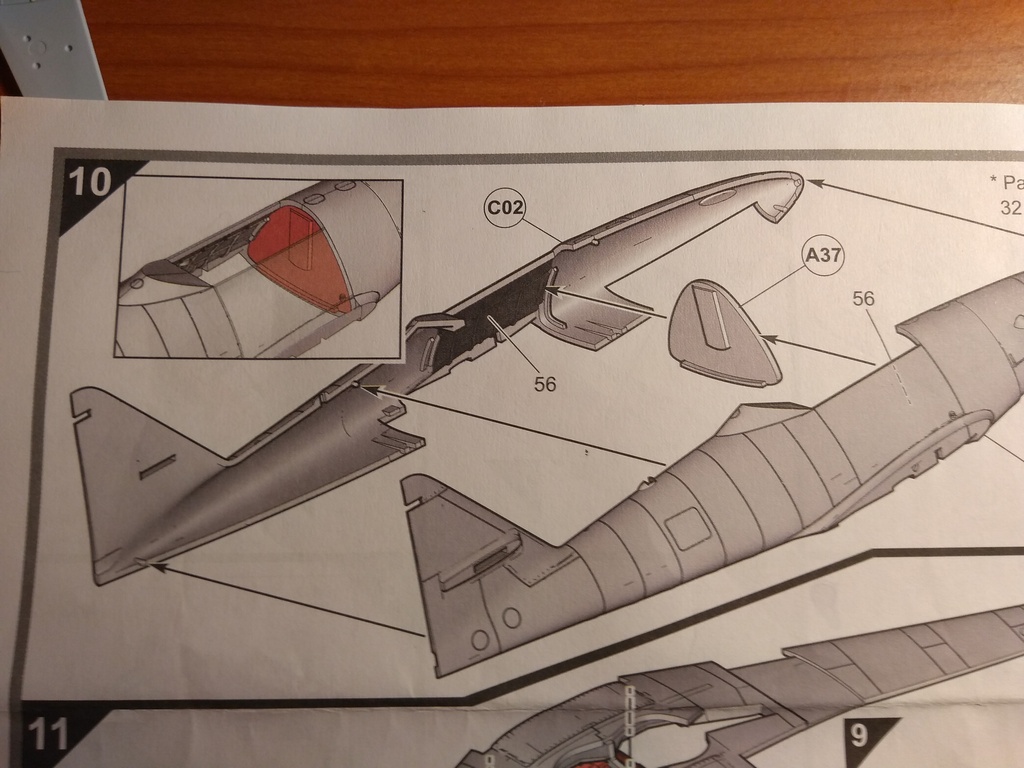
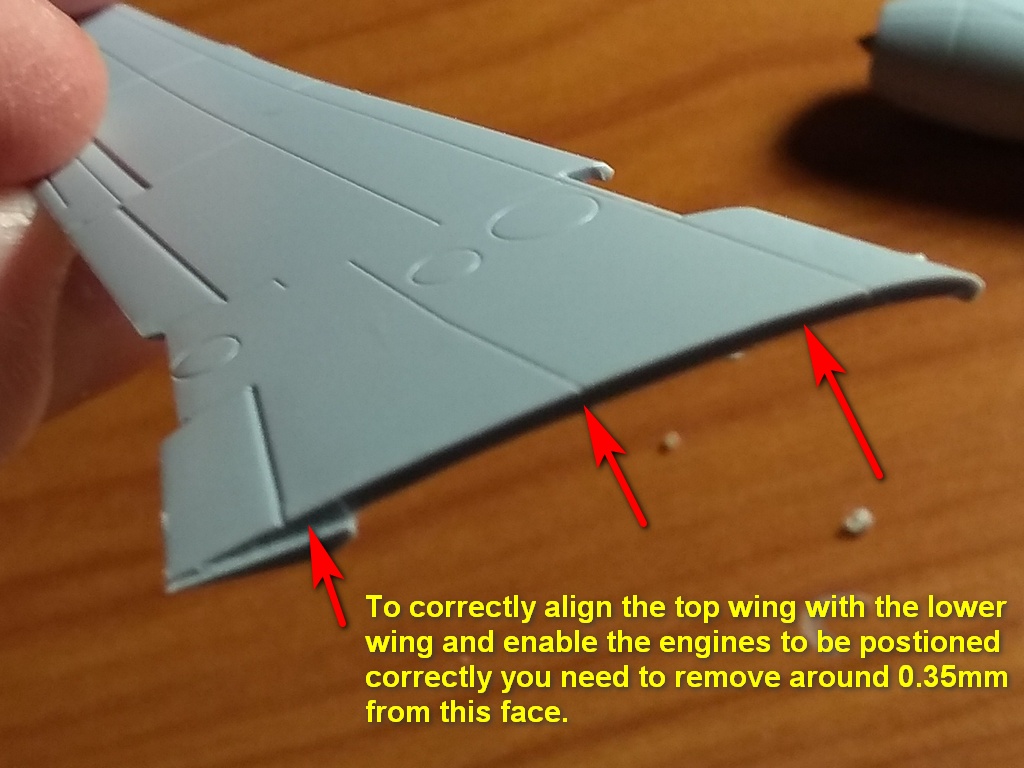
I have trimmed the engines and the wings quite a bit already. My challenge now is going to fix the engines straight and fill the gaps, but please put the pics as it may help a lot of people,
Thanks anyway,
Carlos.
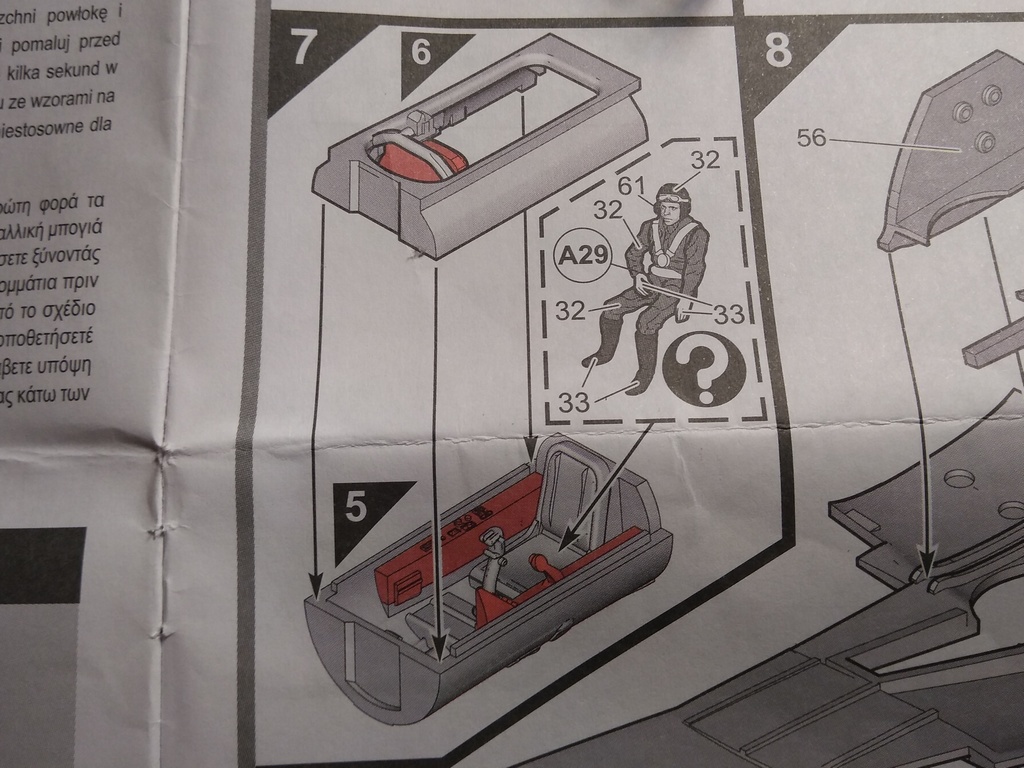
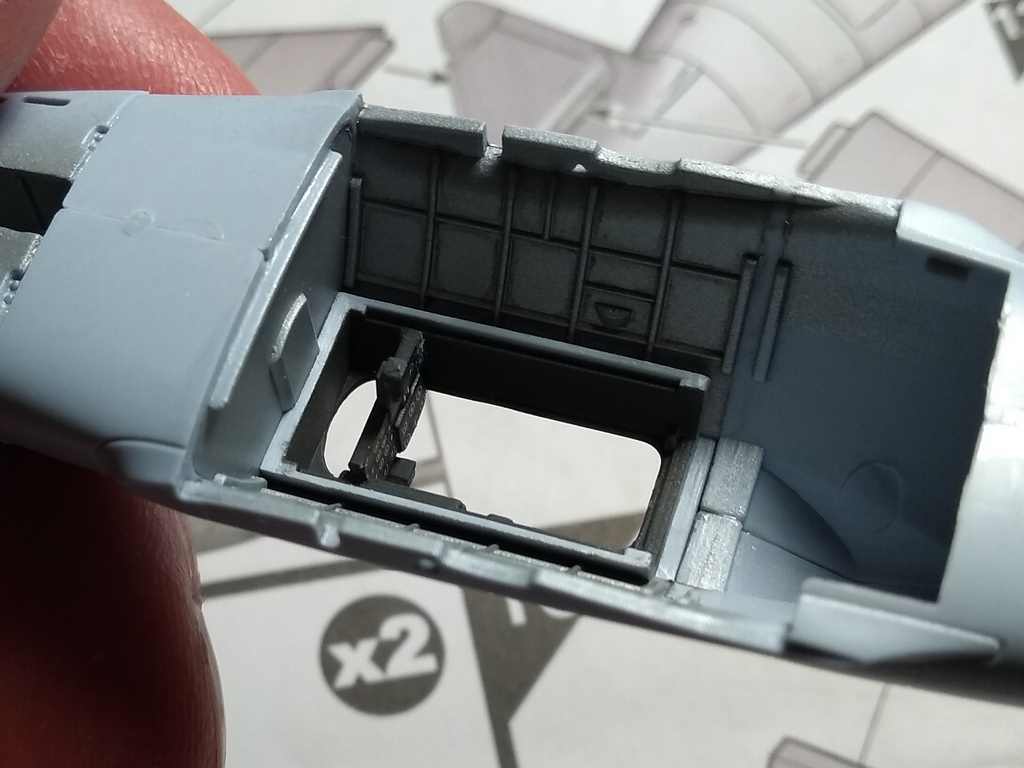
 The seat belts are a nice addition, something I may skip on this build...


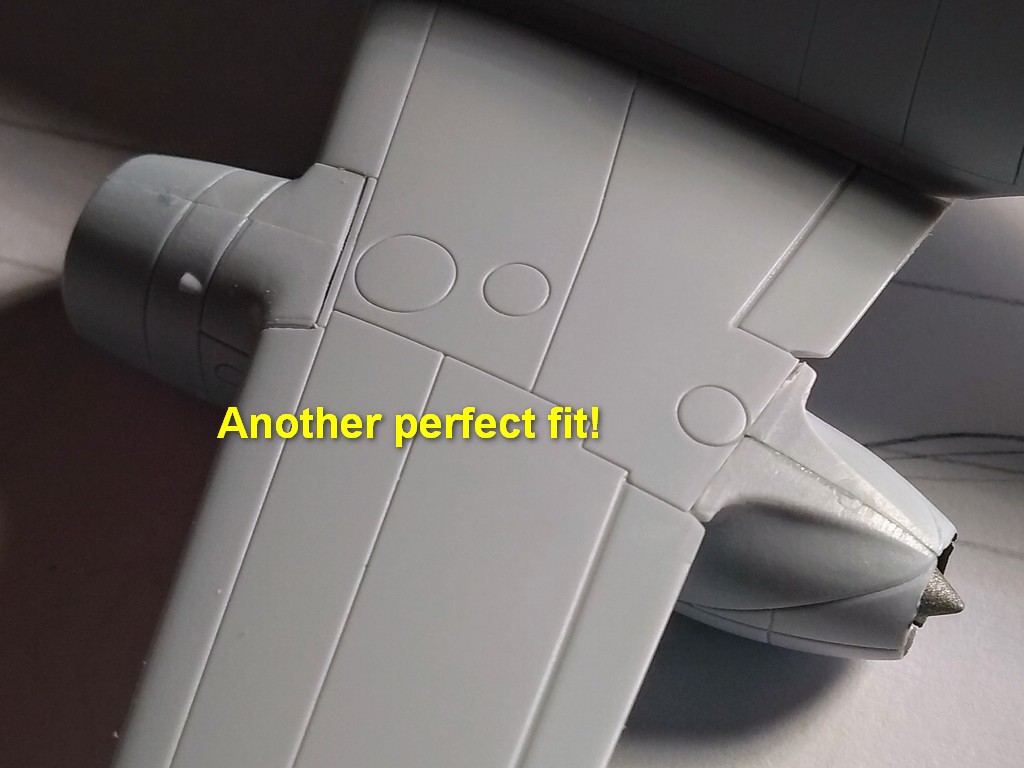
Some nice work there, Russell! It's nice to see a kit fit tightly. Usually its the opposite.
Gaz
yep, it sure is nice not to have to use much, if any filler Russell,
Thanks, that is really helpful.
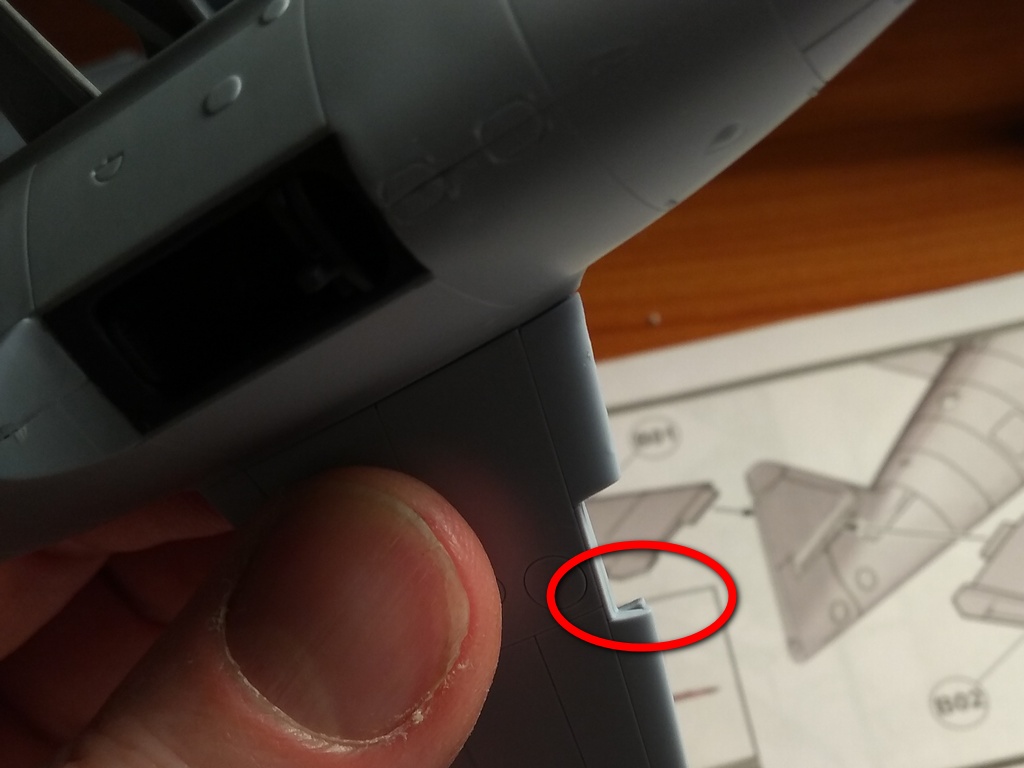
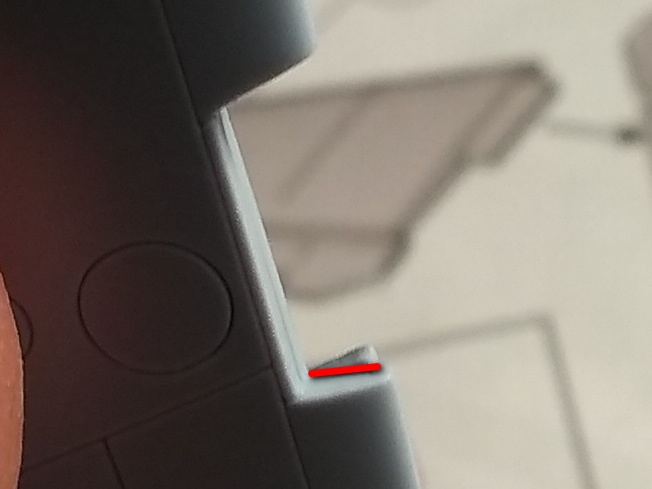
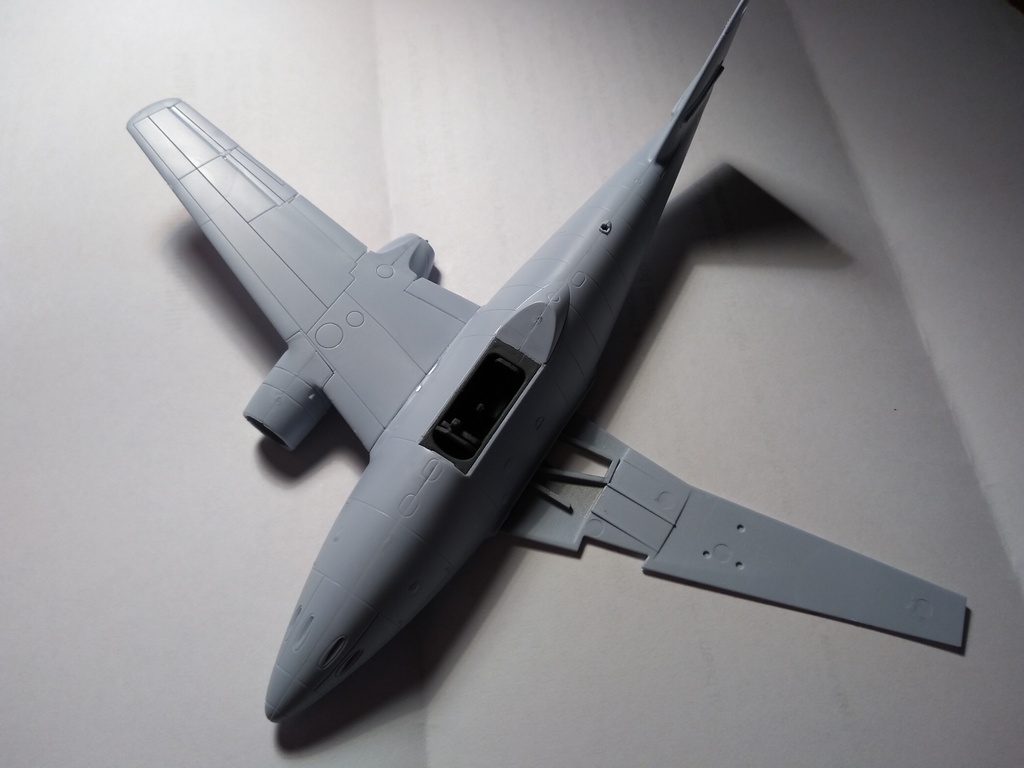
I have been messing about all week and I am really not happy with the result. I forced the cockpit in and misaligned the two halves of the fuselage just behind the cockpit, what a mess! Let's see if I can improve a bit.
Carlos.
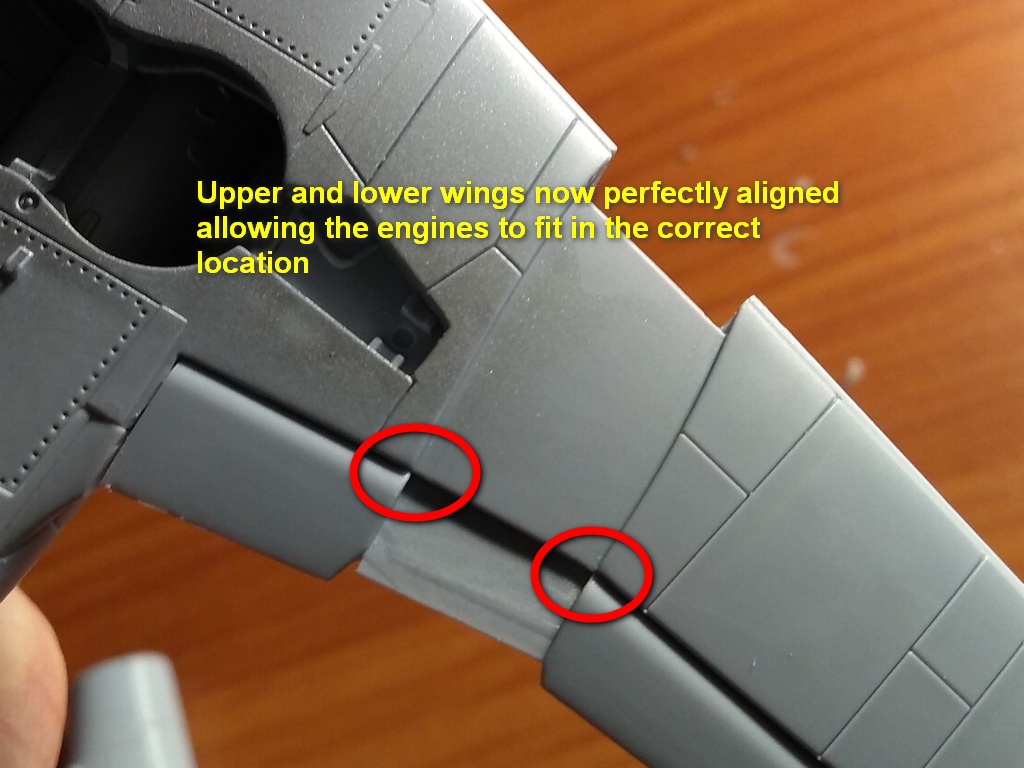
Hopefully my version 2.0 of fitting the port side wing and engine is even more helpful 


PS: I am terrified as I bought an Airfix Phantom for the Phantom campaign. Are this fitting issues common in modern Airfix?

Neat work Russ, and a very useful tutorial on tidying up the fit issues.
Once my P-47 clears the bench in the next couple of days I will have my builds front and centre again!
Cheers, D
Russell,
You make it look so easy! Thanks again, I am learning a lot and hopefully next time I will think more after a bad dry-fit.
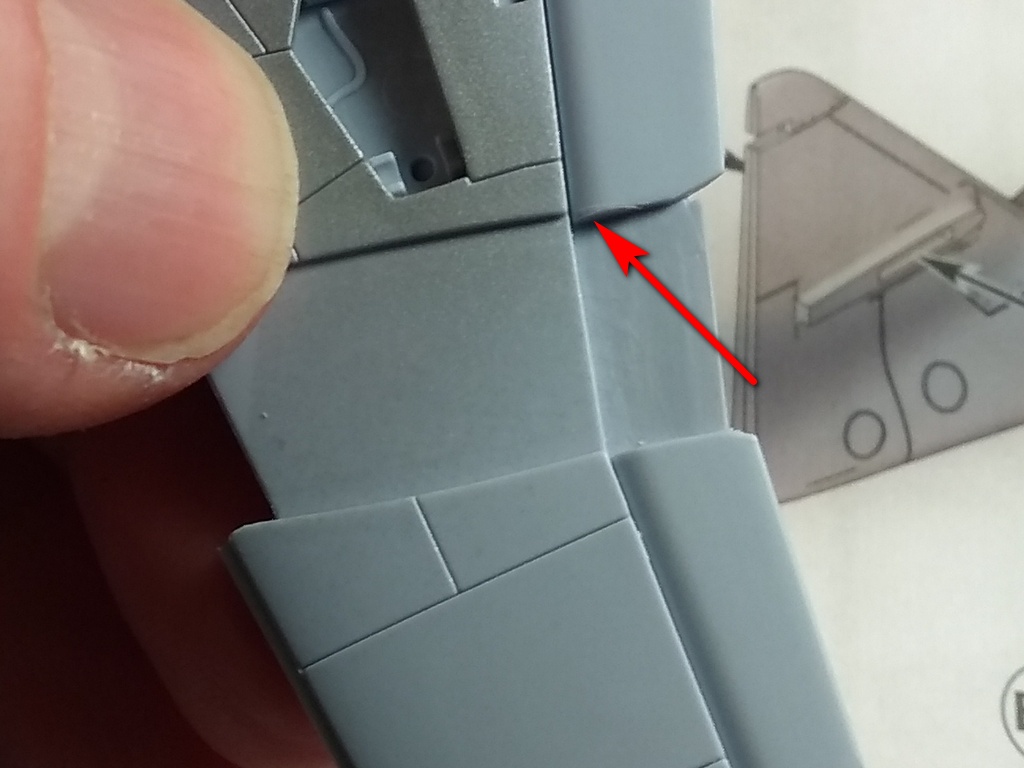
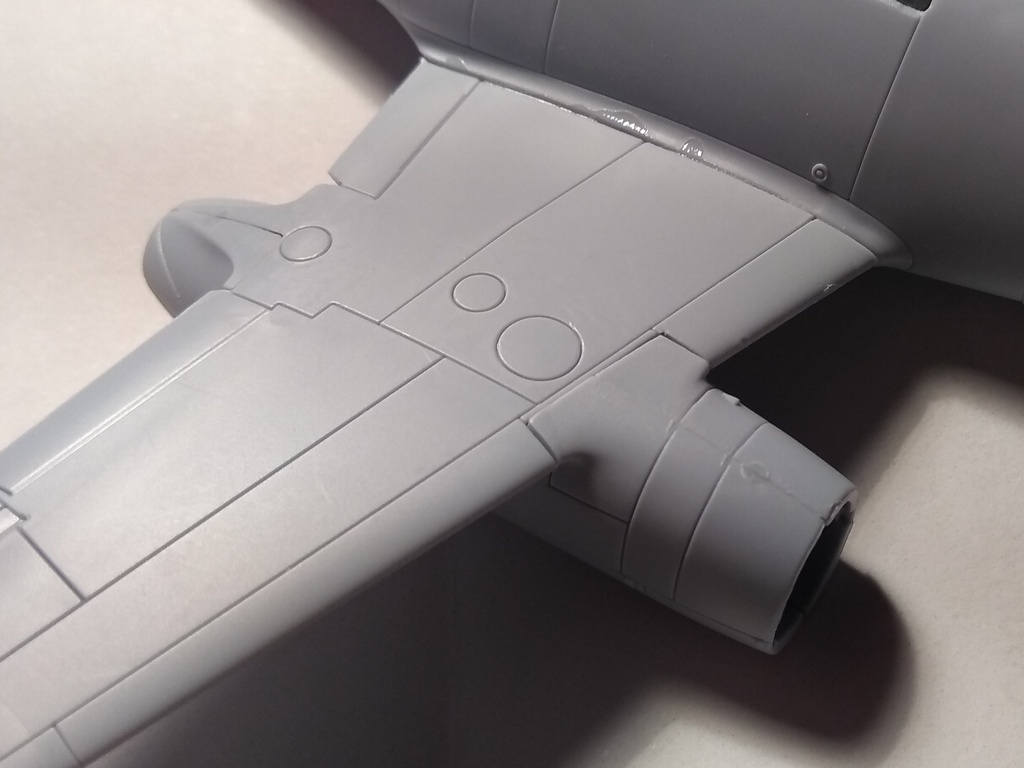
I have followed the brute force school with mine and the result is not neat at all:
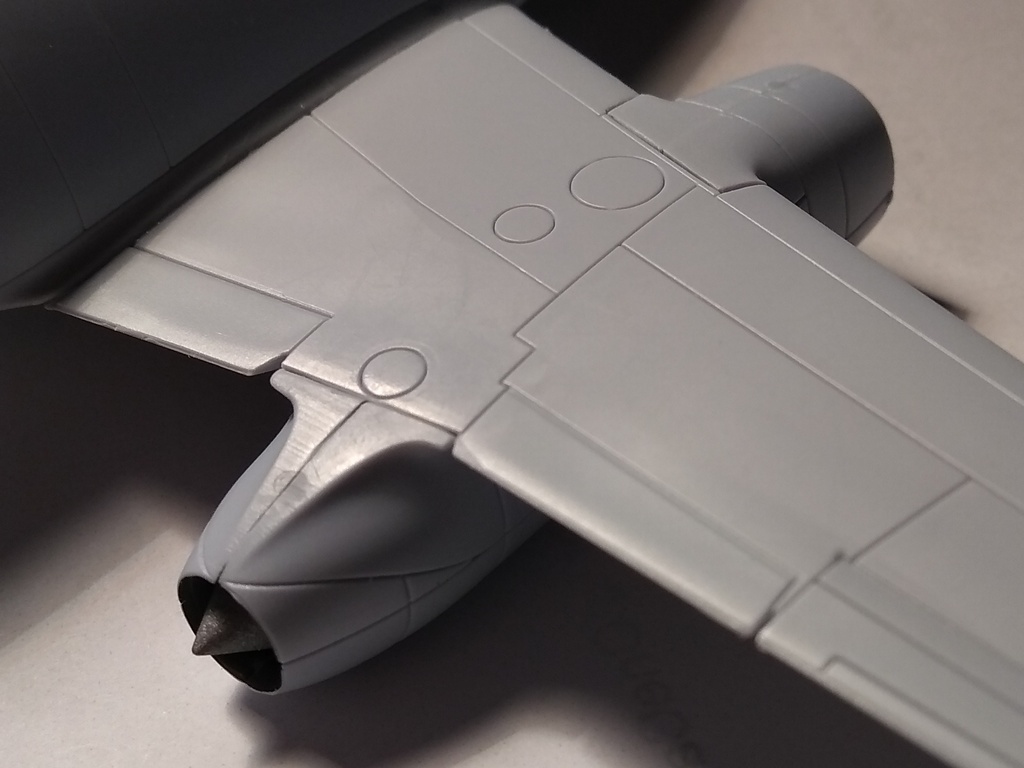
On the positive side, I will get to practice my sanding and re-scribing techniques tomorrow.
All the best,
Carlos.
PS: I am terrified as I bought an Airfix Phantom for the Phantom campaign. Are this fitting issues common in modern Airfix?
Russell, great progress!
Carlos, looks like you have some sanding to do.
Gaz
onto the "fun" part now 


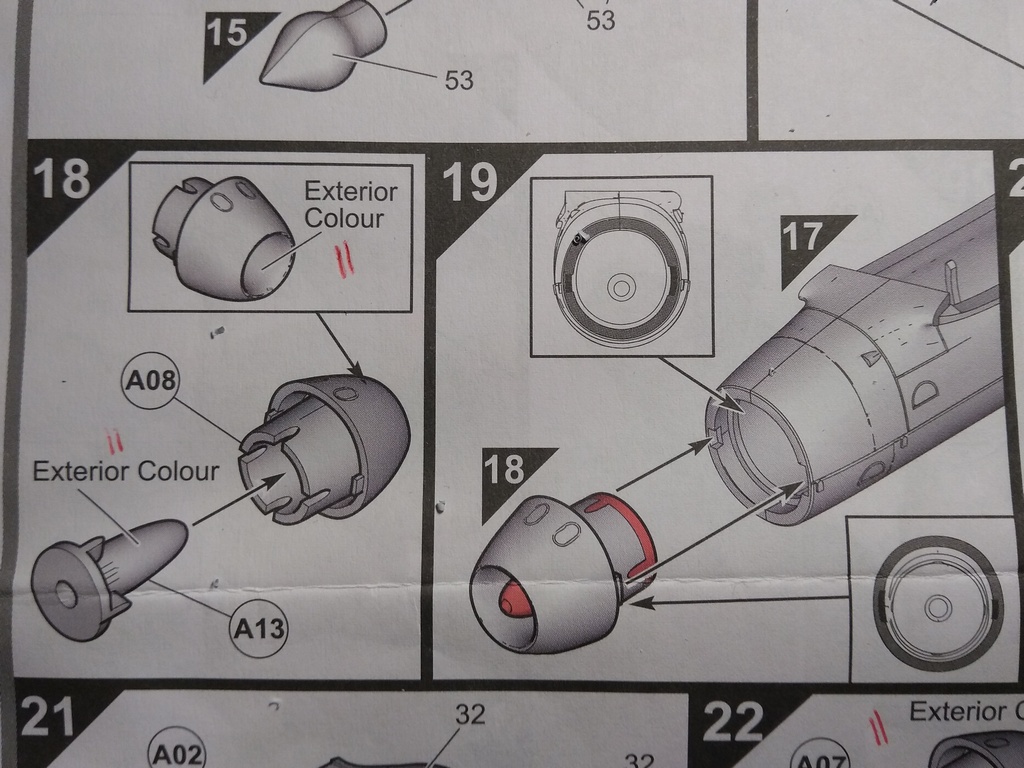
D. what paint are you using on the engine nozzle?
Bob


 |


