Air Campaigns
Want to start or join a group build? This is where to start.
Want to start or join a group build? This is where to start.
Hosted by Frederick Boucher, Michael Satin
The great checker board Campaign
thegirl

Joined: January 19, 2008
KitMaker: 6,743 posts
AeroScale: 6,151 posts

Posted: Sunday, December 06, 2009 - 11:33 AM UTC
Here is a shot before the primer goes on and the Alclad .

Posted: Tuesday, December 08, 2009 - 01:14 AM UTC
Hi guys, got a start on my Razorback today. This should be a fairly quick OOB build but I love the markings so I'm looking forward to getting to that point.
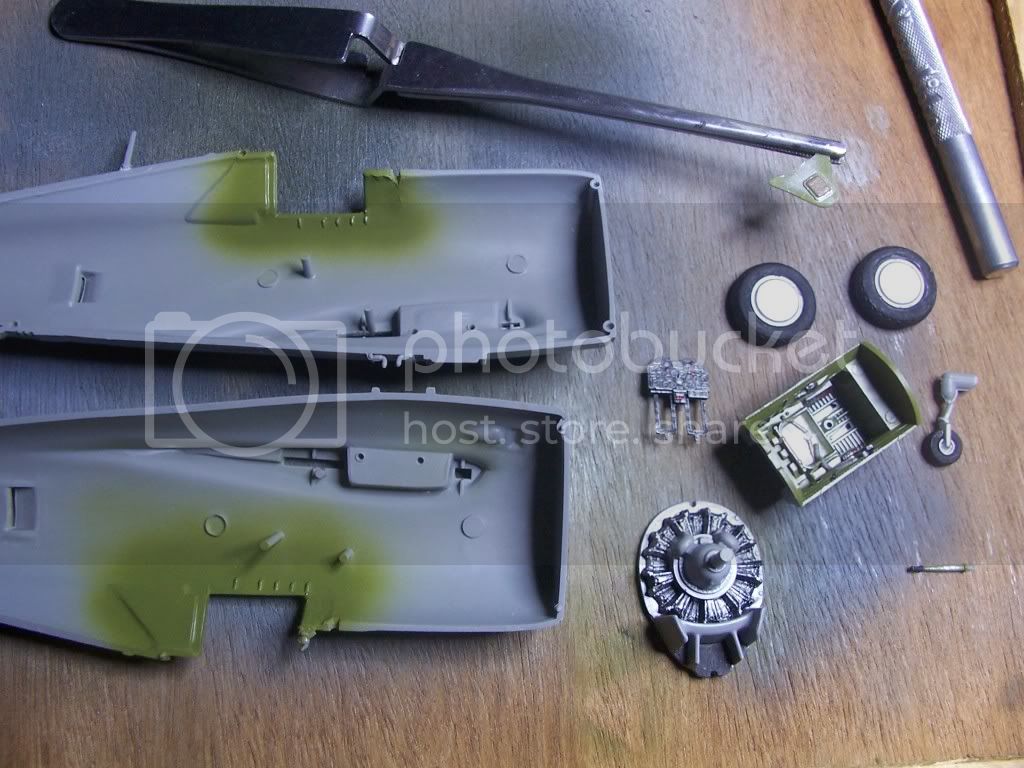
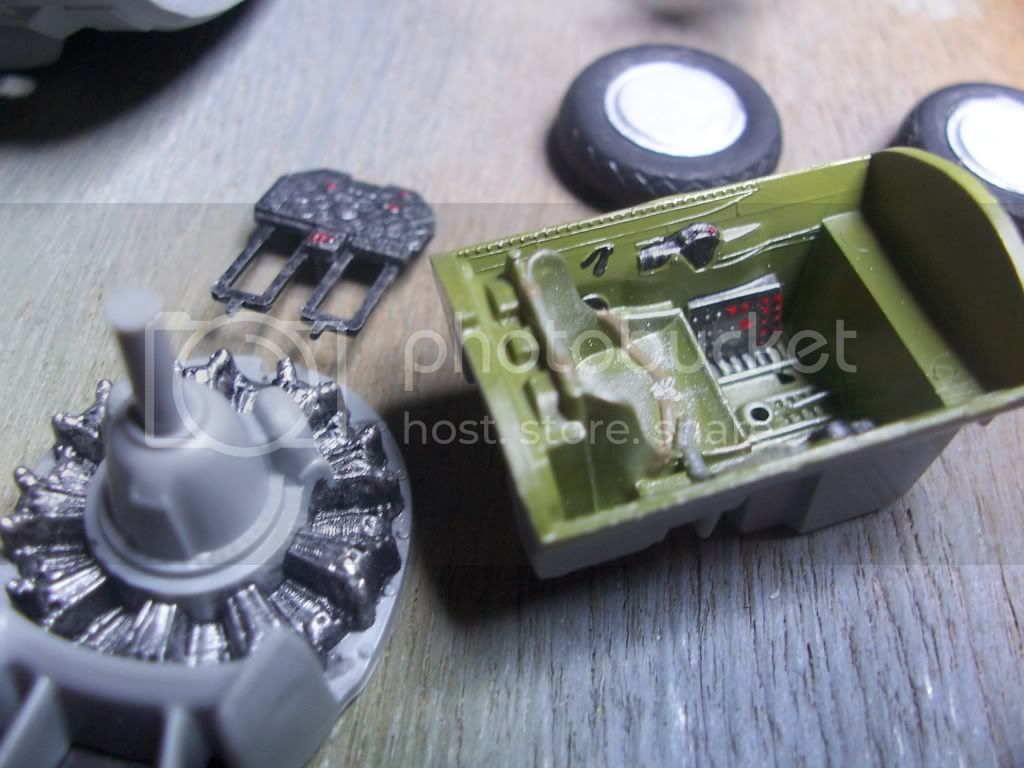
A little bit more weathering and tidy up in the office and the fuselage will be going together.
Cheers, D
Edit: BTW there's some great work going on here already, the gallery will be a treat !! Andy (Torchy) I hope my White 11 turns out as nice as your White 17, very nice job indeed mate !


A little bit more weathering and tidy up in the office and the fuselage will be going together.
Cheers, D
Edit: BTW there's some great work going on here already, the gallery will be a treat !! Andy (Torchy) I hope my White 11 turns out as nice as your White 17, very nice job indeed mate !
Posted: Wednesday, December 09, 2009 - 12:59 AM UTC
Smeeee again. Had another couple of hours at it tonight. Got the office installed, wings on, glass masked and engine in. After some sanding and scraping the wings fitted ok on the top wingroot area but a bit of a gap underneath. Some work to do there before more paint gets thrown at it.
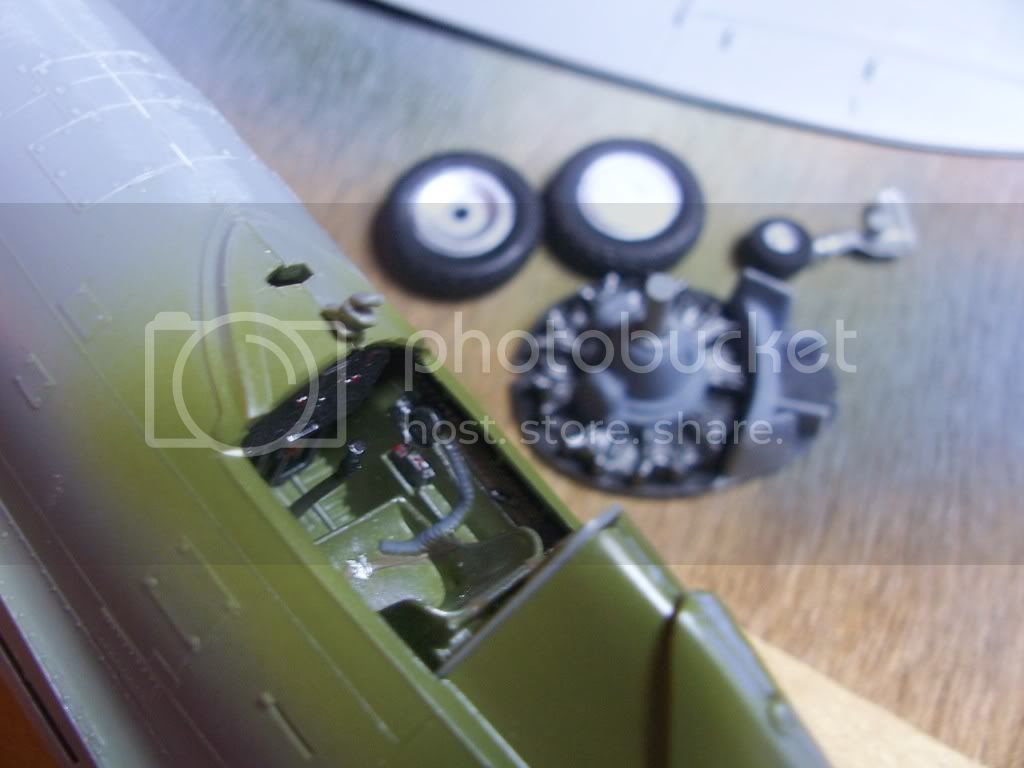
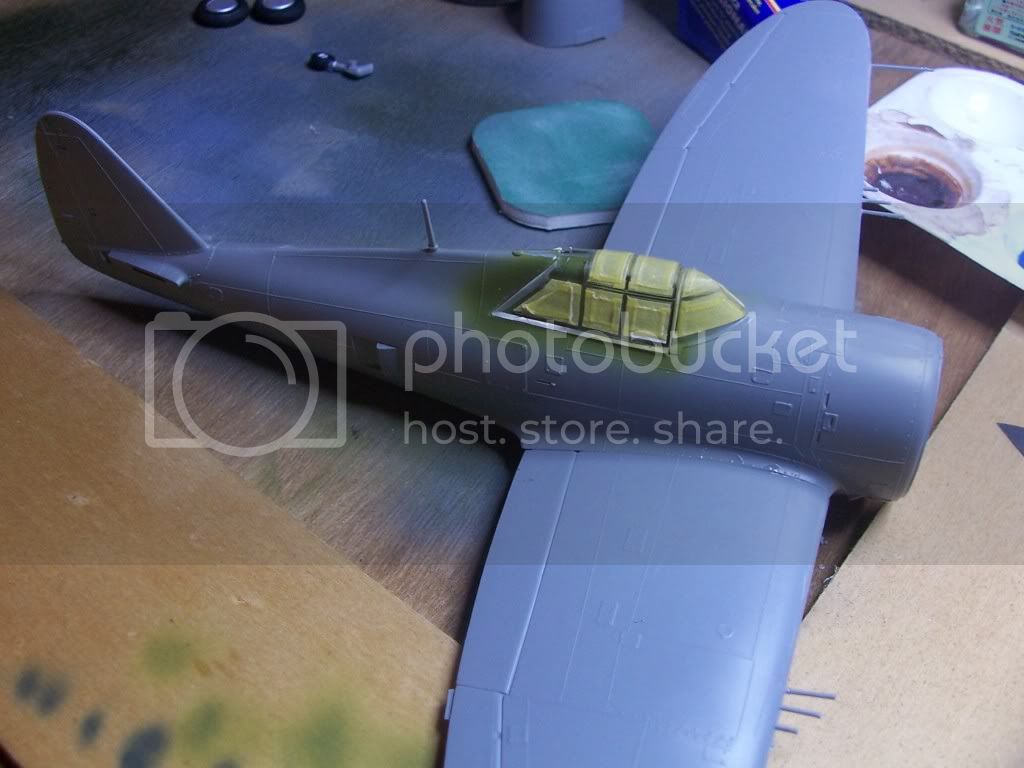
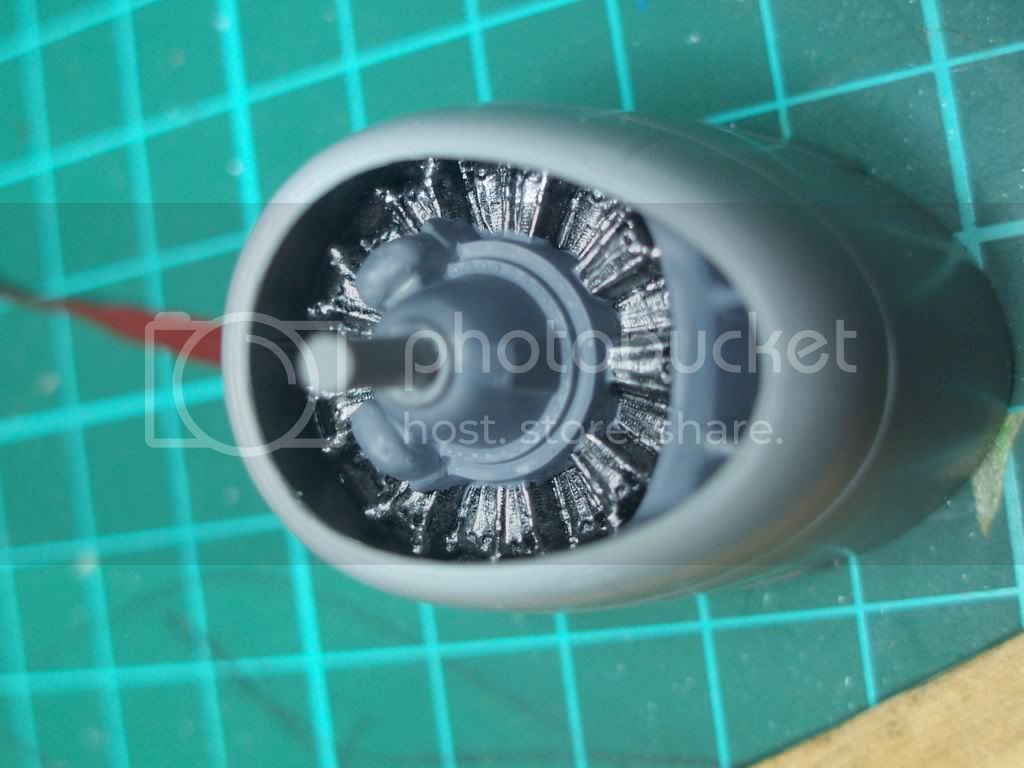
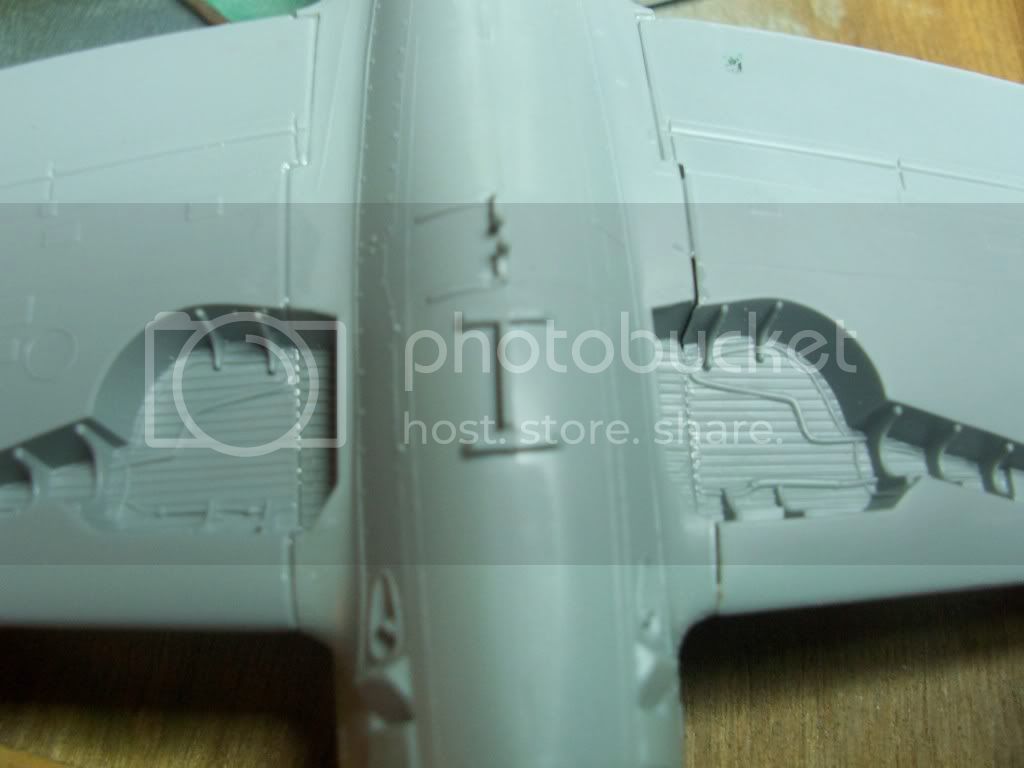
Seeya soon, D


Seeya soon, D
thegirl

Joined: January 19, 2008
KitMaker: 6,743 posts
AeroScale: 6,151 posts

Posted: Wednesday, December 09, 2009 - 01:35 AM UTC
Looking very nice so far D ! 
Not to bad of a gap on the underside , over all the fit of the kit seems to be pretty good .

Not to bad of a gap on the underside , over all the fit of the kit seems to be pretty good .

Posted: Wednesday, December 09, 2009 - 01:52 AM UTC
Thanks Terri, it's been going together pretty well but I always do a lot of test fits and there has been some sanding and filing along the way to get to this point. I know a lot of people prefer the NMF Bubbletop P-47's but I much prefer the OD/NG Razorbacks, they just look a bit more of a workhorse to me. I suppose personal opinion drives this site, how boring would it be if we all liked exactly the same stuff ???
Cheers, D
Cheers, D
Posted: Wednesday, December 09, 2009 - 08:01 AM UTC
Damian,
White 11 looks superb mate,coming on a treat
Andy
White 11 looks superb mate,coming on a treat

Andy
thegirl

Joined: January 19, 2008
KitMaker: 6,743 posts
AeroScale: 6,151 posts

Posted: Tuesday, December 15, 2009 - 01:57 AM UTC
Small up-date , but no pic's .
Tamiya black has been sprayed all over the airframe waiting for the first coat of alclad polished alum . I should be able to have that sprayed tonight as well as the small anti glare patch of olive drab . Pic's to follow soon ..........
Tamiya black has been sprayed all over the airframe waiting for the first coat of alclad polished alum . I should be able to have that sprayed tonight as well as the small anti glare patch of olive drab . Pic's to follow soon ..........
Posted: Friday, December 18, 2009 - 04:28 PM UTC
Update time, fiddly stuff. I've decided to paint and decal the tail first then mask it off securely while I finish the rest. Got the yellow on OK, lots of light coats of 50/50 thinned Tamiya Acrylic. Came up well, then a clear coat before the decals go on. Also got the red nose, propellor, and drop tanks done. Oh yeah, this one is going to have a flat belly tank AND wing tanks as well just for something different. I need to do some chopping to get the belly tank on.
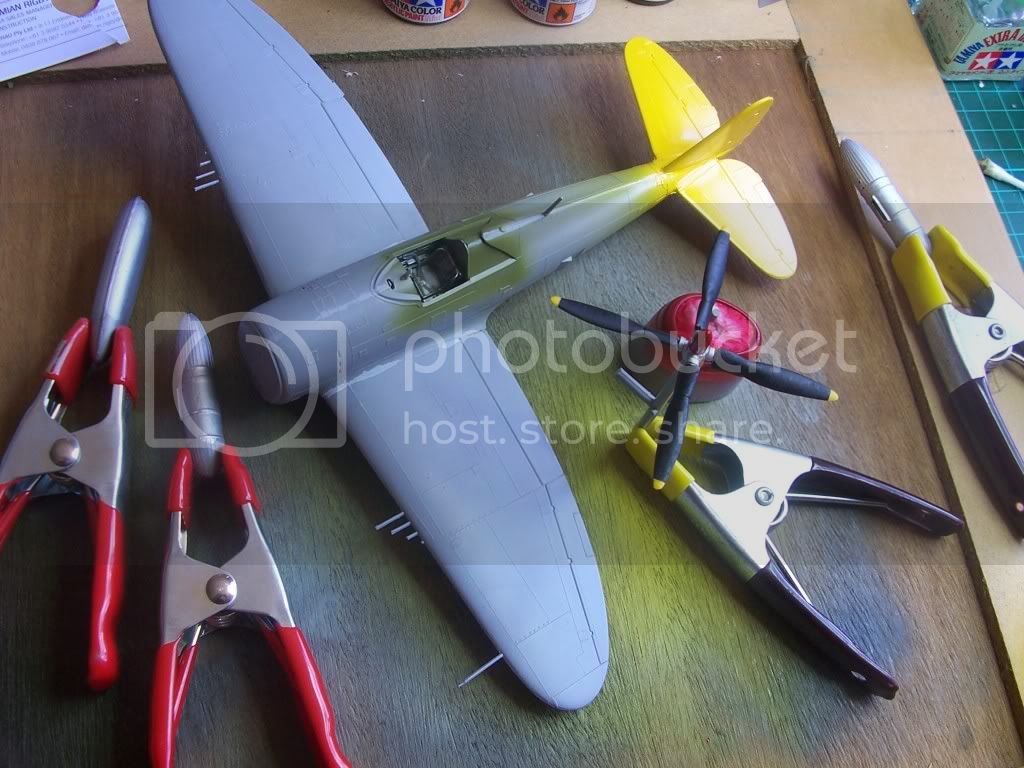
Overall I'm very happy with the way this one is going together, considering the trademark under the stabilizer dated the moulds to 1967 (the year of my birth!!)
Cheers all, D

Overall I'm very happy with the way this one is going together, considering the trademark under the stabilizer dated the moulds to 1967 (the year of my birth!!)
Cheers all, D
Posted: Saturday, December 19, 2009 - 01:35 AM UTC
Well that was NOT the most enjoyable time spent at the workbench . 


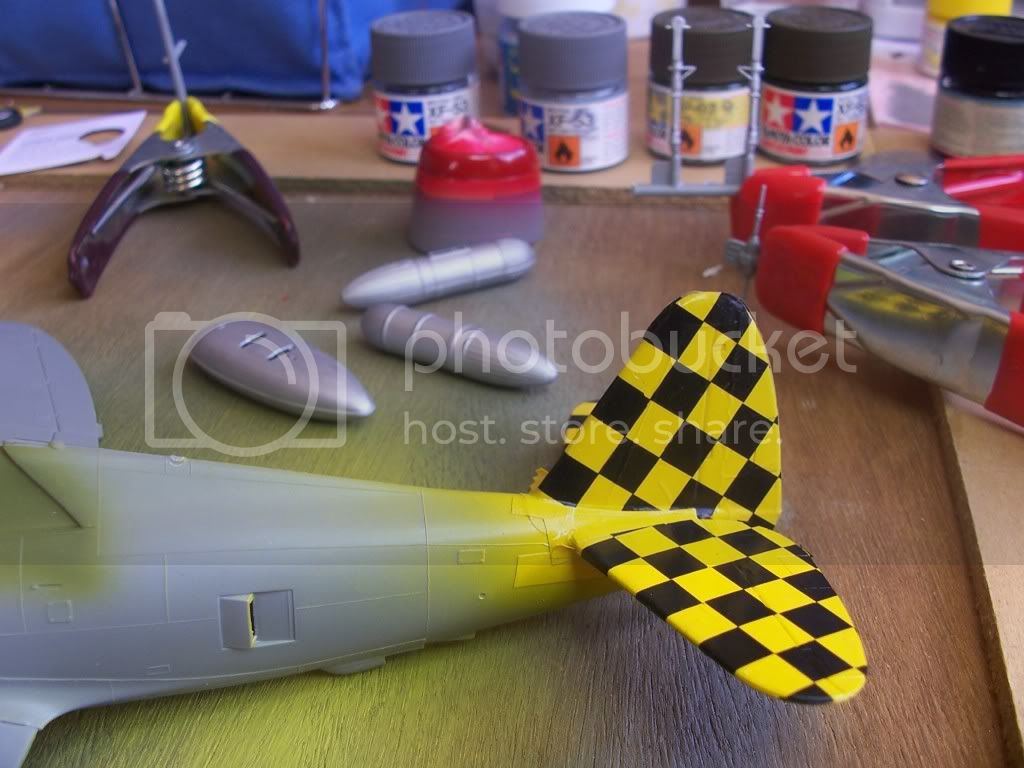
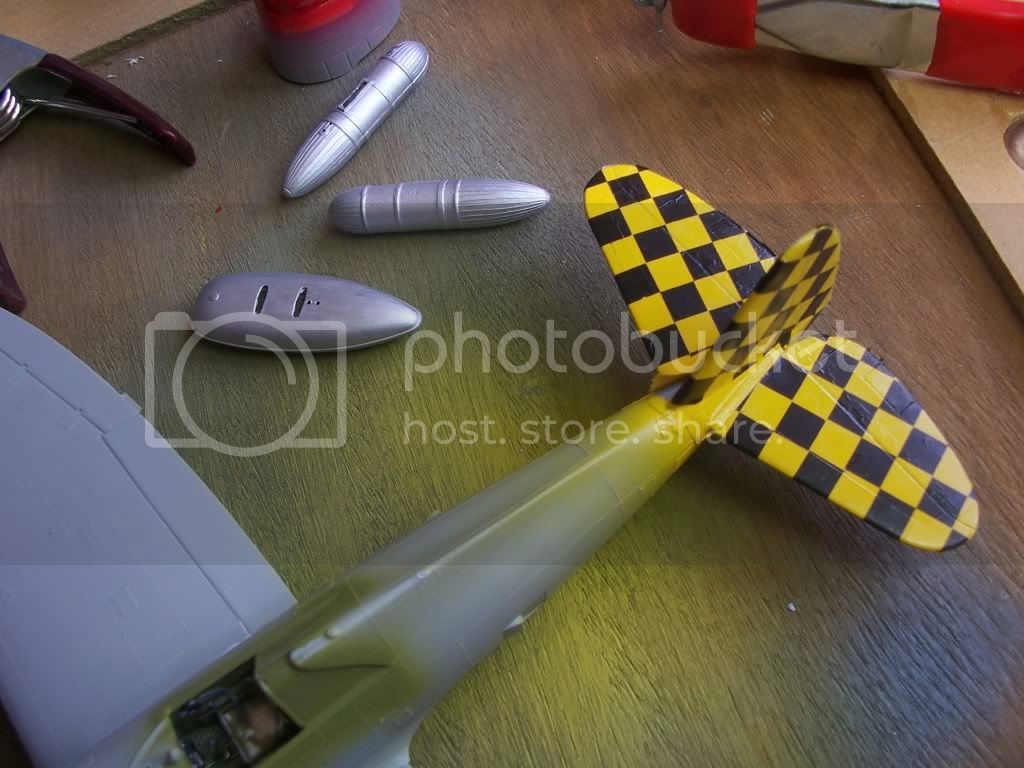
These decals were by that famous old-time manufacturer DESTRUCTO-DECALS, and readily disintegrated as soon as I touched them. An hour and a gallon of Mr Mark Setter later and they look passable if I stand WAY back and take photos.


These decals were by that famous old-time manufacturer DESTRUCTO-DECALS, and readily disintegrated as soon as I touched them. An hour and a gallon of Mr Mark Setter later and they look passable if I stand WAY back and take photos.
Posted: Saturday, December 19, 2009 - 02:19 AM UTC
As I like to say "a fuzzy digicam pic hides many a modelling sin!" 
Seriously, looks great. Trim off some of that carrier film around the fin top, touch up with paint and she'll be good to go

Seriously, looks great. Trim off some of that carrier film around the fin top, touch up with paint and she'll be good to go

Posted: Wednesday, December 23, 2009 - 11:08 AM UTC
G'day guys, a little update. It's been a busy week but I managed to scam some time. Got the tail masked up and the glass glued on, the nose fitted and the interior yellow in the wheel wells and covers. A good few coats of NG on the underside. Might get the OD on top today, stay tuned . . . . . . . .
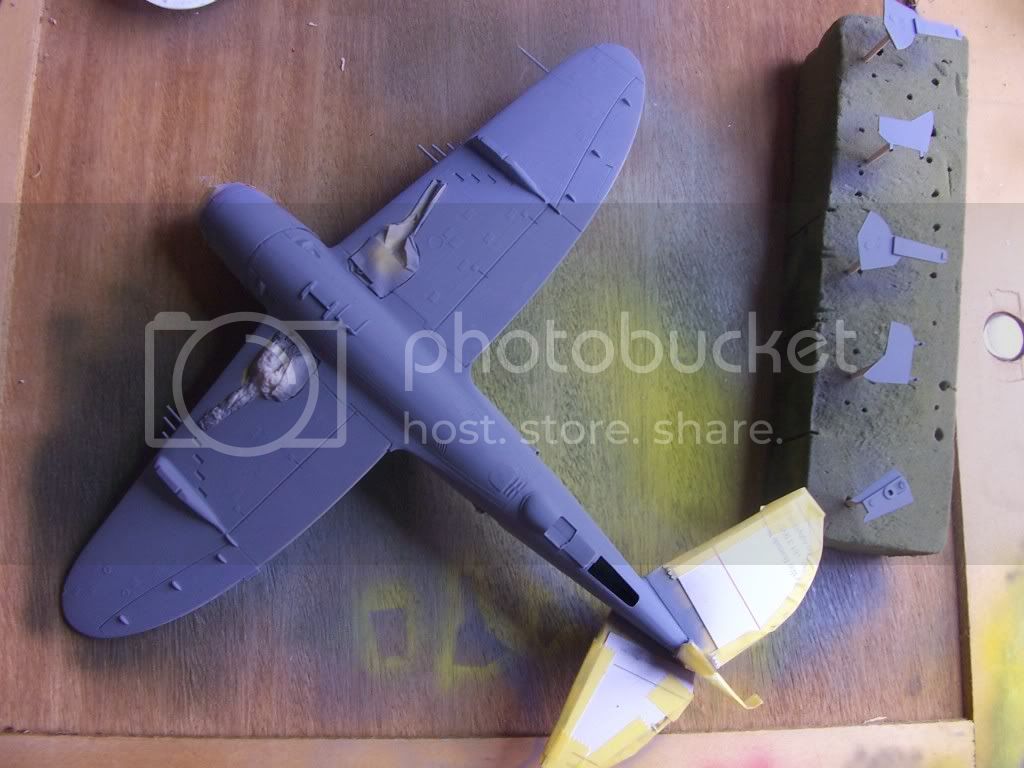
Cheers all, D

Cheers all, D

Posted: Wednesday, December 23, 2009 - 09:44 PM UTC
I'm Back ! We have COLOUR !!!
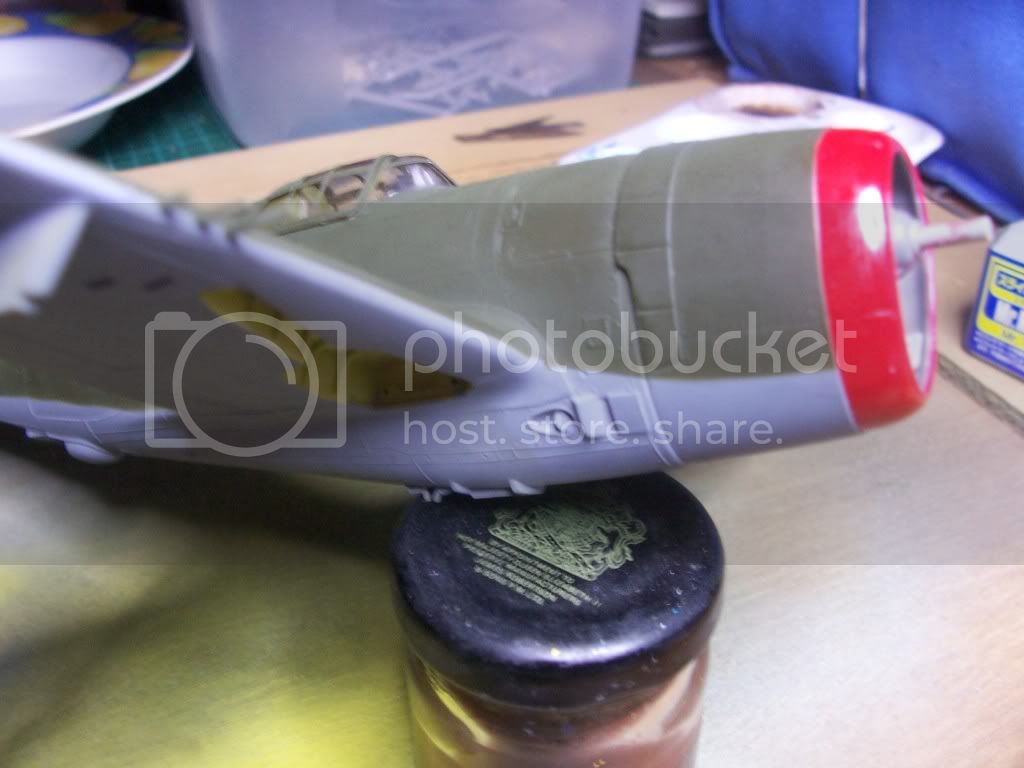
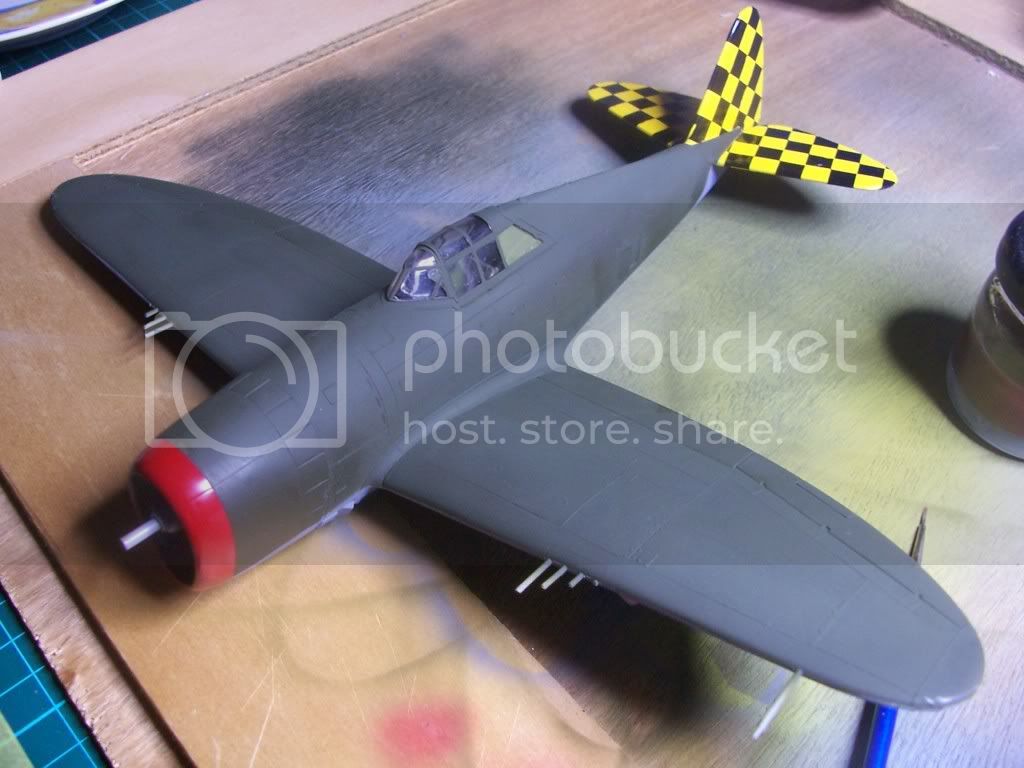
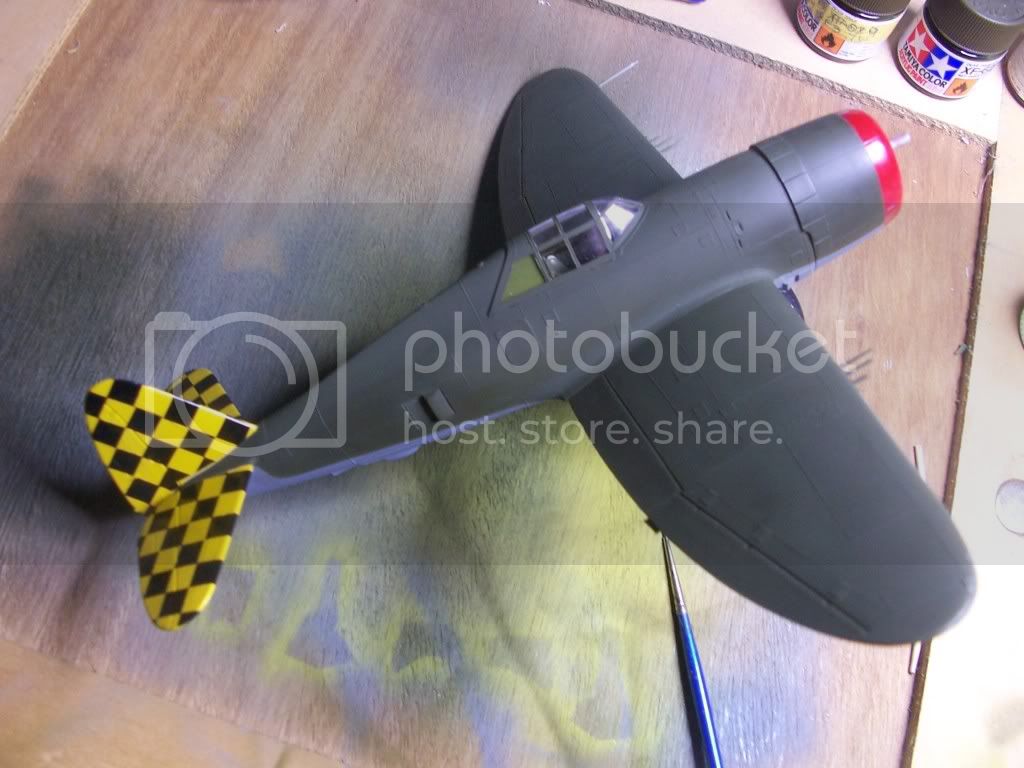
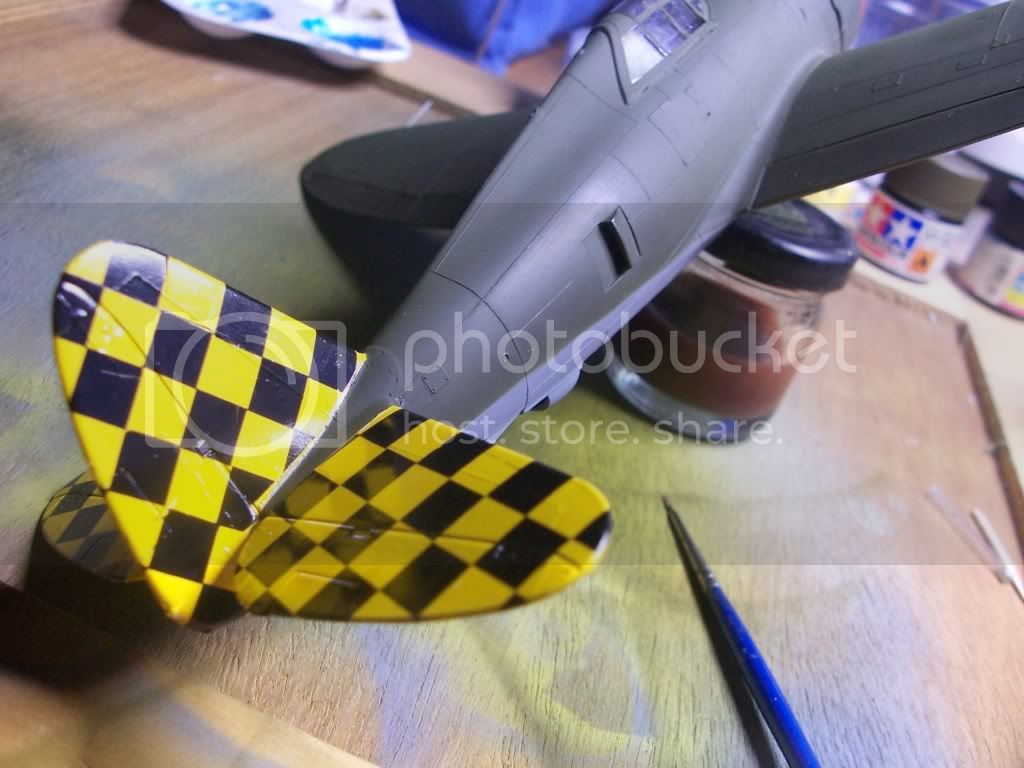
A little bit of touching up, but I'm happy with it.
Cheers, D


A little bit of touching up, but I'm happy with it.
Cheers, D
Posted: Thursday, December 24, 2009 - 02:57 AM UTC
Looking bloody great mate( thats Aussie ain't it?)
never thinked of painting the yellow before doing the decals on the tail,DOH!!! live and learn.
Merry Xmas mate
Andy
never thinked of painting the yellow before doing the decals on the tail,DOH!!! live and learn.
Merry Xmas mate
Andy
Posted: Thursday, December 24, 2009 - 07:06 PM UTC
Hehehe, almost got it Andy, there's a comma after "great", and an exclamation point after "mate". You have to give it some aggro and a slight twang.
Looking bloody great, mate !
Cheers mate, and merry christmas.
Looking bloody great, mate !
Quoted Text
Looking bloody great mate( thats Aussie ain't it?)
never thinked of painting the yellow before doing the decals on the tail,DOH!!! live and learn.
Merry Xmas mate
Andy
Cheers mate, and merry christmas.
TuomasH

Joined: September 10, 2008
KitMaker: 470 posts
AeroScale: 279 posts

Posted: Friday, December 25, 2009 - 05:44 AM UTC
Some progress on my Me 262, cockpit done.


The cockpit looks bit crude with so much zoom


The cockpit looks bit crude with so much zoom

JMartine

Joined: October 18, 2007
KitMaker: 1,698 posts
AeroScale: 96 posts

Posted: Sunday, December 27, 2009 - 04:41 AM UTC
If it is not too late I would like to join with the old Revell P51D. Ill post some pics next week.

TuomasH

Joined: September 10, 2008
KitMaker: 470 posts
AeroScale: 279 posts

Posted: Sunday, December 27, 2009 - 06:14 AM UTC
Quoted Text
If it is not too late I would like to join with the old Revell P51D. Ill post some pics next week.
Welcome aboard.
thegirl

Joined: January 19, 2008
KitMaker: 6,743 posts
AeroScale: 6,151 posts

Posted: Sunday, December 27, 2009 - 06:53 AM UTC
Nice painting D ! Looking really sharpe so far .
Cockpit locks reaaly great Tuomas , just have to love the camera and all it's little secerts it shows us !
Sure can James , still have a few months to go I believe . Looking forward to your build .
Cockpit locks reaaly great Tuomas , just have to love the camera and all it's little secerts it shows us !
Sure can James , still have a few months to go I believe . Looking forward to your build .

Posted: Sunday, December 27, 2009 - 11:55 PM UTC
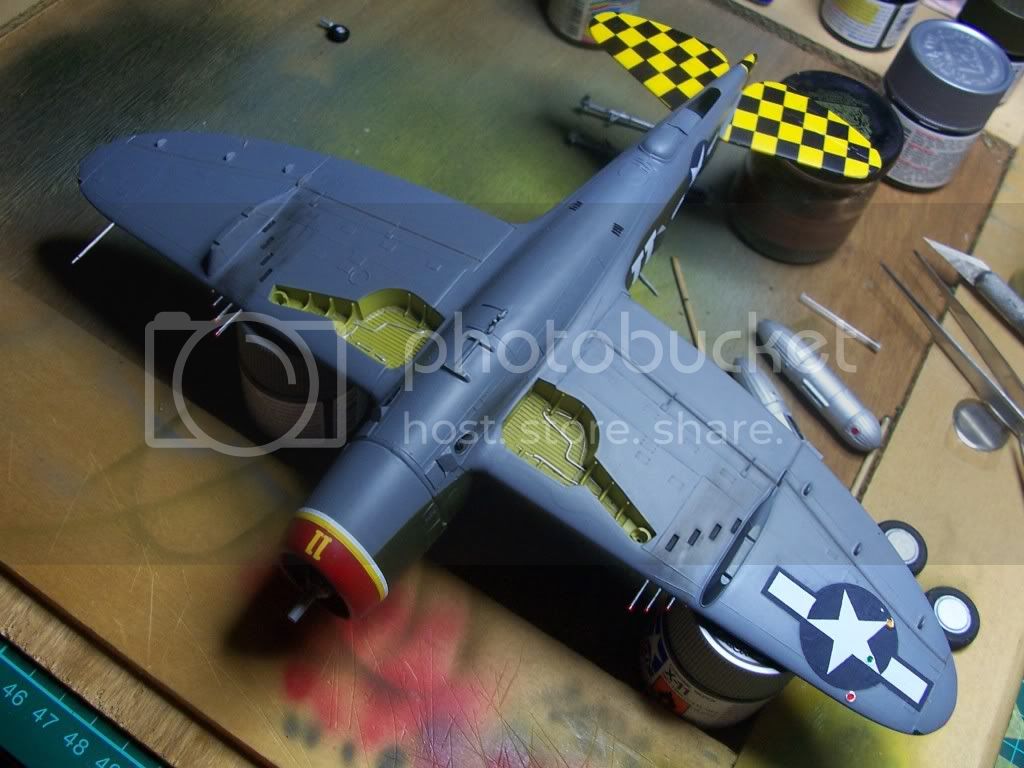
Ok, these are the last progress shots for WHite 11, next time you see me she'll be FINISHED !!
You can't see very well in these shots but I sprayed some panels with a faded OD on the wings, and I have no idea what happened to the glass, it was clear last night, slightly obscure thismorning. It has cleared up a lot with a couple of coats of Future, but still not good

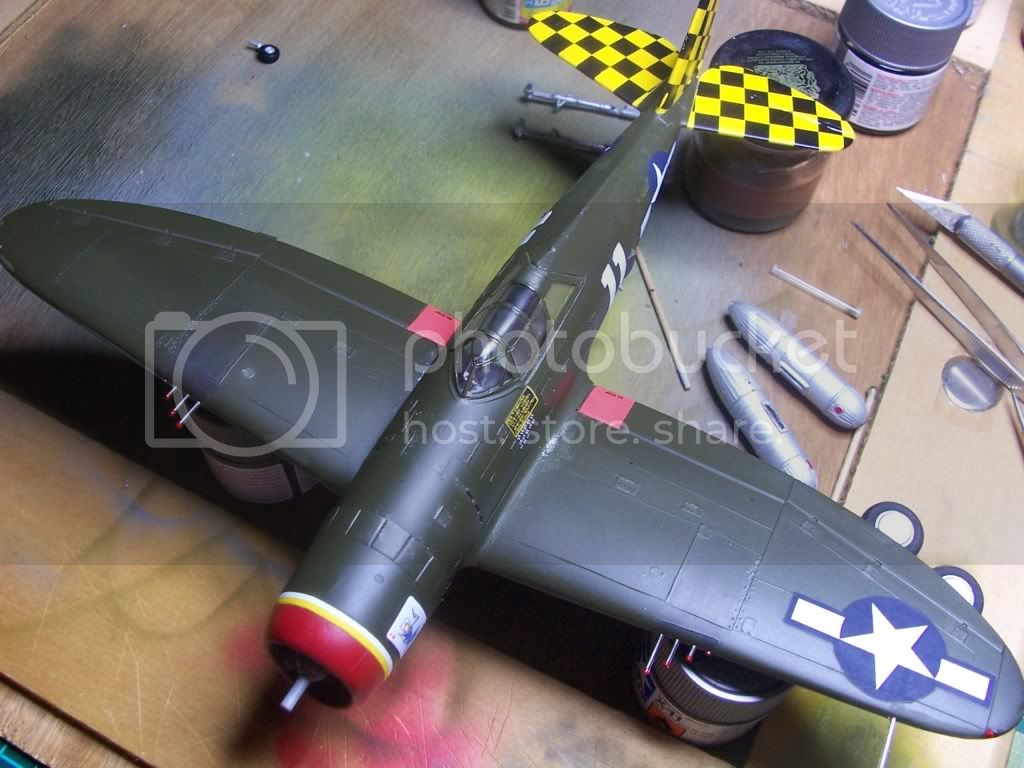
Cheers, D
You can't see very well in these shots but I sprayed some panels with a faded OD on the wings, and I have no idea what happened to the glass, it was clear last night, slightly obscure thismorning. It has cleared up a lot with a couple of coats of Future, but still not good


Cheers, D
Posted: Monday, December 28, 2009 - 03:04 PM UTC
Well I'm gunna call this one FINISHED . . . . .
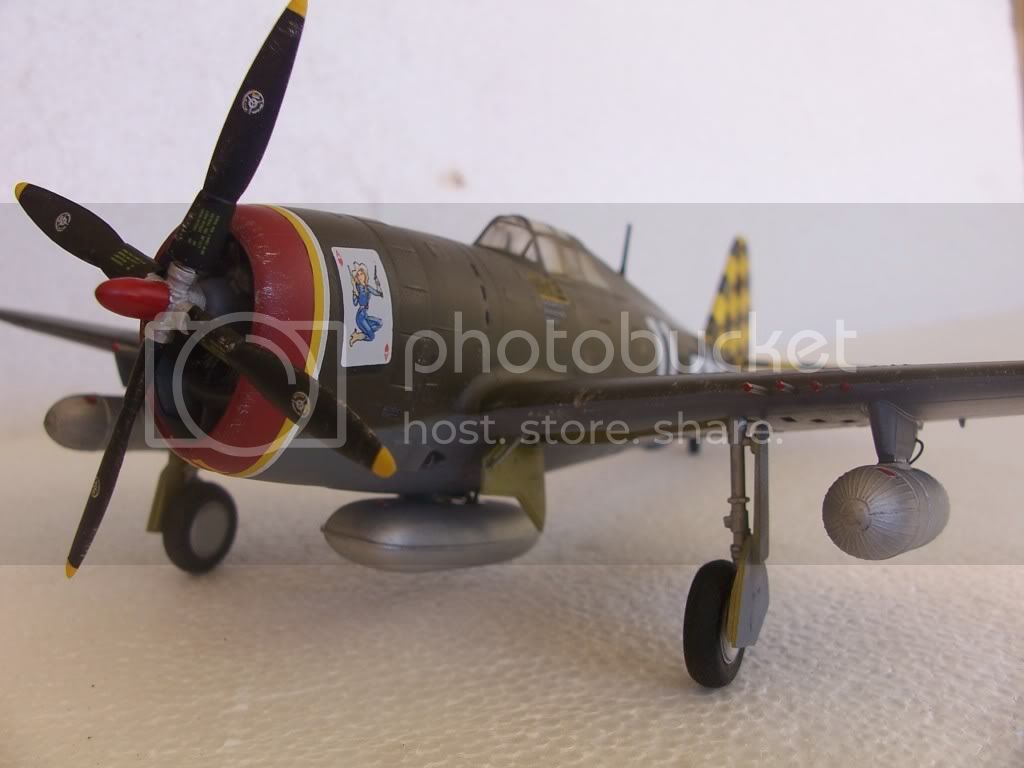

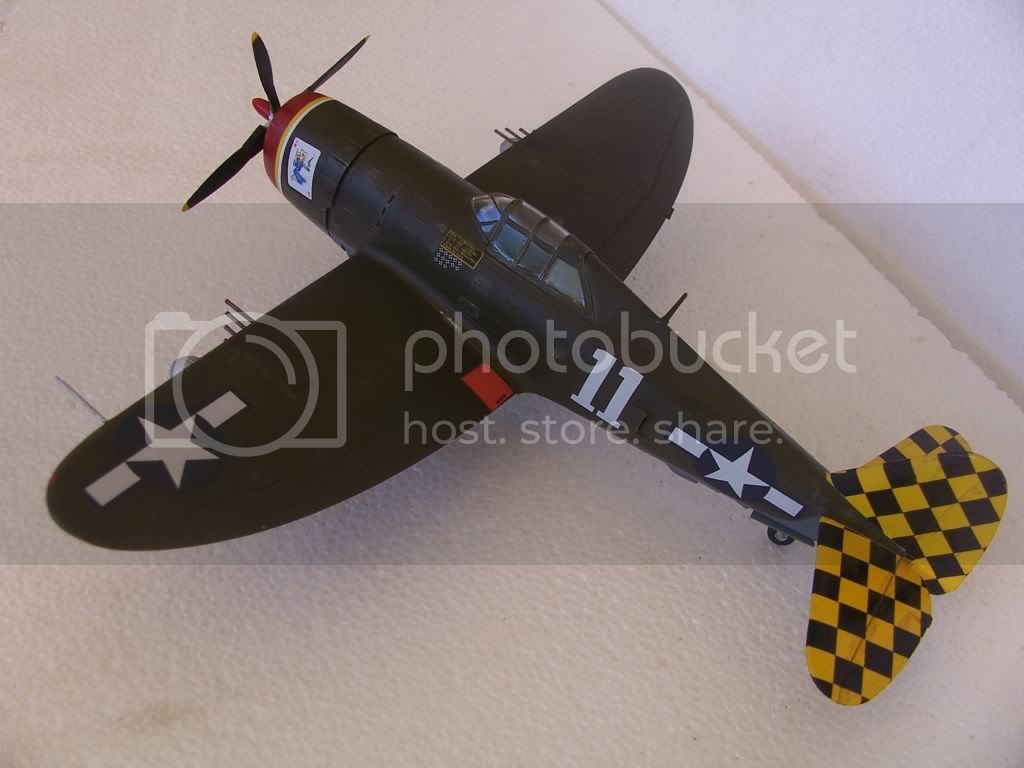
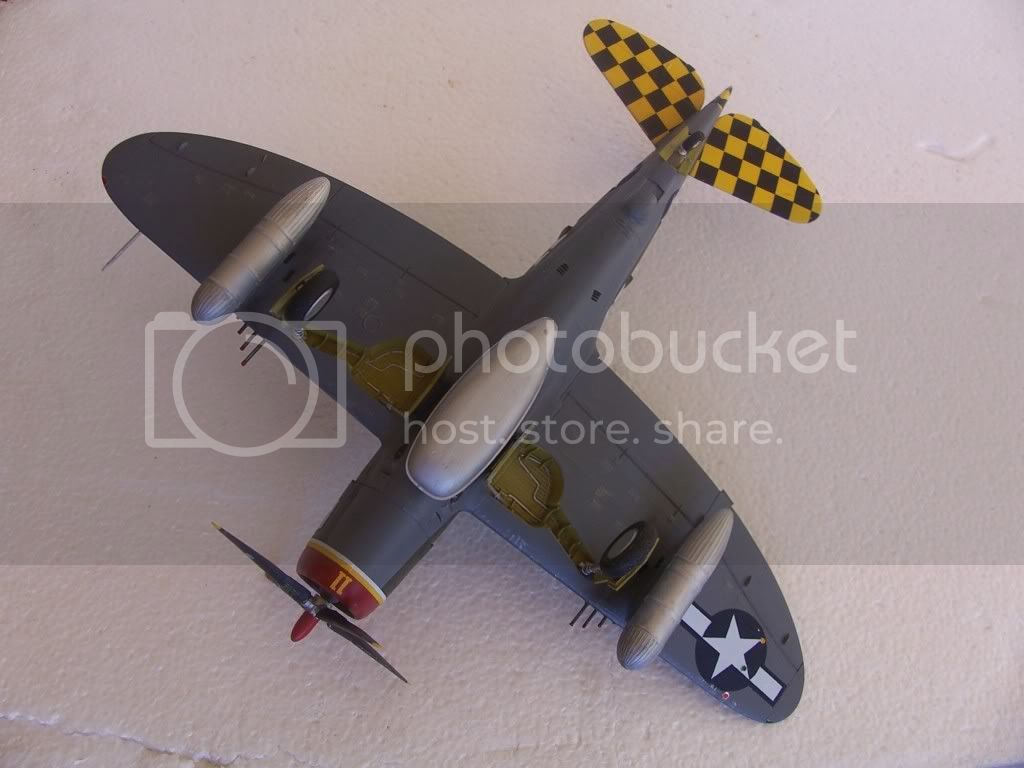
Thanks for a great campaign Terri

Cheers, D
P.S. Terri, there doesn't seem to be a Campaign Gallery for us, have you submitted a request ??


Thanks for a great campaign Terri


Cheers, D
P.S. Terri, there doesn't seem to be a Campaign Gallery for us, have you submitted a request ??
Posted: Tuesday, December 29, 2009 - 05:38 AM UTC
Lovely Jug in a classic scheme 

thegirl

Joined: January 19, 2008
KitMaker: 6,743 posts
AeroScale: 6,151 posts

Posted: Tuesday, December 29, 2009 - 02:12 PM UTC
Wow awesome jug D ! A fine build for the campaign indeed  Thanks for sharing your talents with us
  What is your over all view of the kit ?
 Thanks for sharing your talents with us
  What is your over all view of the kit ?
 Posted: Tuesday, December 29, 2009 - 02:47 PM UTC
Quoted Text
Wow awesome jug D ! A fine build for the campaign indeedThanks for sharing your talents with us
What is your over all view of the kit ?
Thanks Terri, that's high praise when it comes from you !! After over 20 years away from the hobby I am slowly re-learning the skills and learning heaps of new skills and techniques from reading (and re-reading) threads here. I am also learning to use my first airbrush having been given one by my wife earlier this year, and this has taken my builds to a new level.
As for this kit I was very impressed by the general fit and finish, given that the moulds are 42 years old. The only gap was in the lower wing root, and the canopy is slightly out of shape but that may be from years of storage. The surface was good and there was no flash and no sink marks. The only ejector pin marks visible once completed are on the wheel covers, but with some dry brushing and weathering they look like the are meant to be there. I am not at the level of sanding and re-scribing raised panel lines yet, and the raised lines on this kit are very fine anyway. My main aim with my first few campaign builds is to learn painting, weathering and finishing skills, and to whittle down the stash a bit !! Then I will move on to more challenging kits like my 1/32 Special Hobby P-39 and 1/24 VFS Jug with some PE and Resin parts. I have never had any experience with either.
Cheers, thanks for the compliments, and I hope you all have a wonderful New Year!


Posted: Thursday, December 31, 2009 - 02:43 AM UTC
Main construction is now done

I concentrated on getting the upper fwd fuselage join with no step...
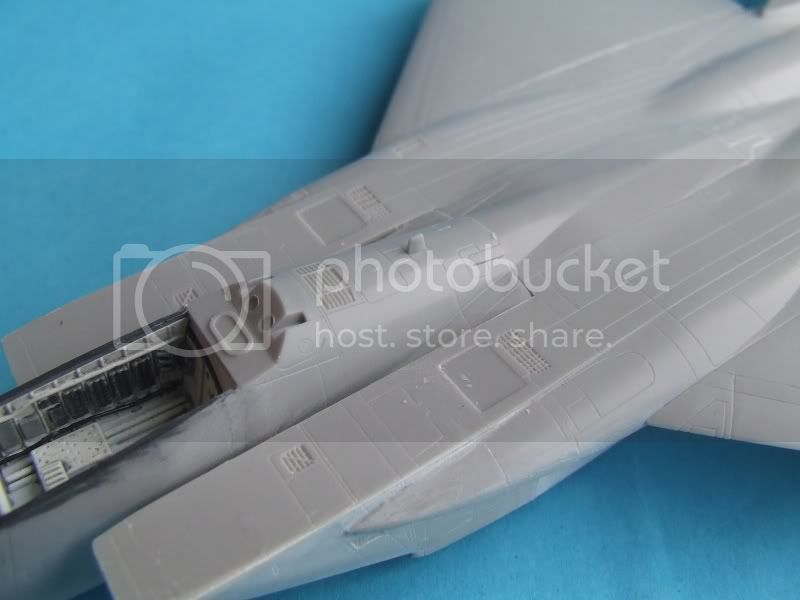
Which left a gap underneath....but at least this should be easier to fill
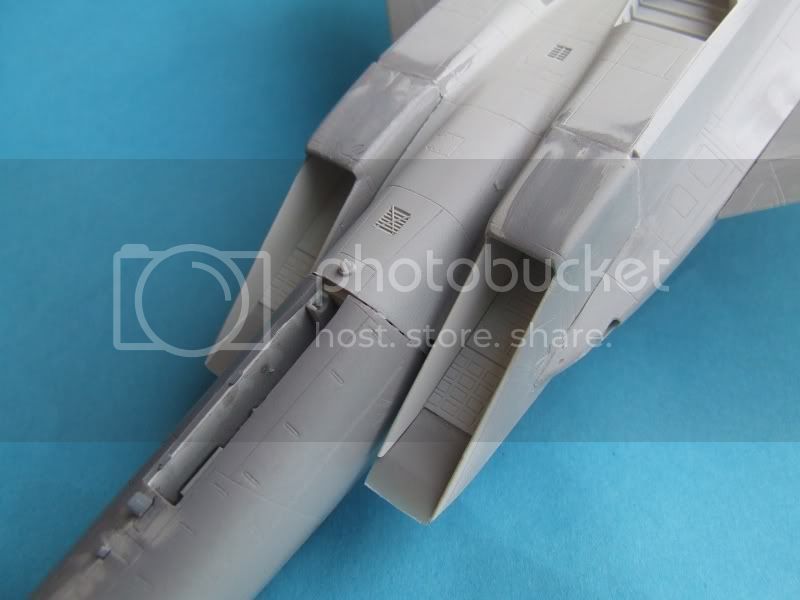
Any idea on how to fill that gap in the gun bay?
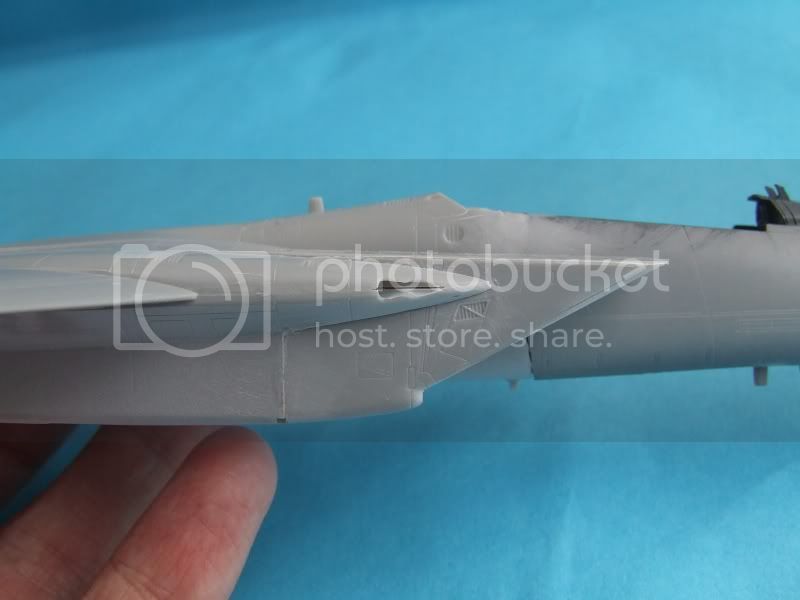
Like my Nimrod, this will take a back-seat to my Raptor whilst I get that done. As usual, all comments, questions, advice etc welcomed.

I concentrated on getting the upper fwd fuselage join with no step...

Which left a gap underneath....but at least this should be easier to fill

Any idea on how to fill that gap in the gun bay?

Like my Nimrod, this will take a back-seat to my Raptor whilst I get that done. As usual, all comments, questions, advice etc welcomed.
Posted: Thursday, December 31, 2009 - 01:00 PM UTC
Neil, nice work so far.
I had a similar issue with an F-84G and I used a toothpick to apply a small amount of Mr Surfacer at a time, it took several applications but I didn't need to sand afterwards.
Hope this helps
Cheers, D
Quoted Text
Any idea on how to fill that gap in the gun bay?
Like my Nimrod, this will take a back-seat to my Raptor whilst I get that done. As usual, all comments, questions, advice etc welcomed.
I had a similar issue with an F-84G and I used a toothpick to apply a small amount of Mr Surfacer at a time, it took several applications but I didn't need to sand afterwards.
Hope this helps
Cheers, D
 |


