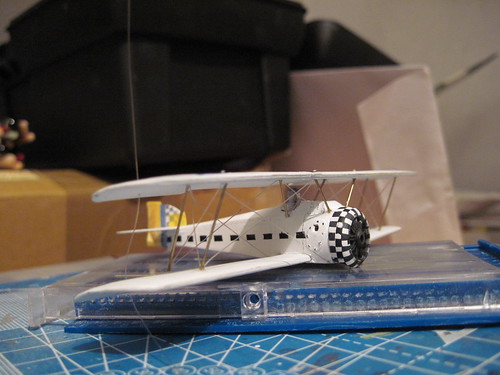
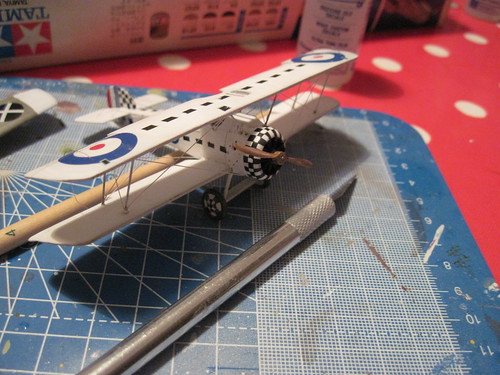
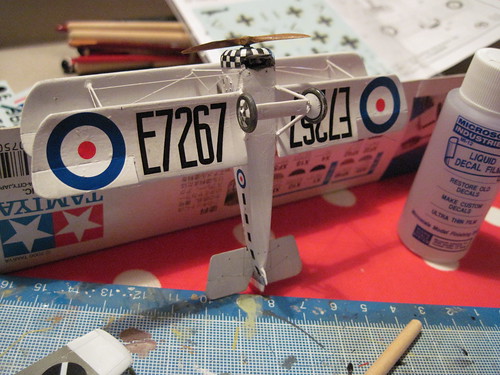
Decided against the loop method for rigging. Sanded it all back and start again.
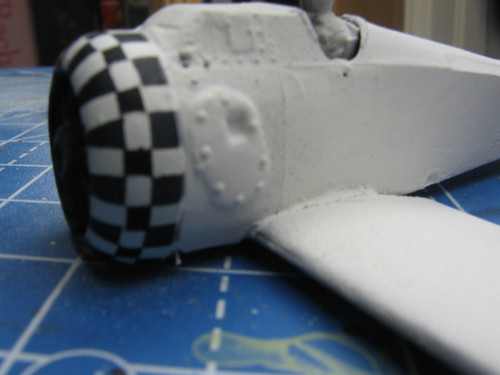
This time masked the cowl with thin ~.3mm strips and used the airbrush, now I have a desk to work at this is much easier. It is cleaner and quicker than brushes anyway. Better result than the sharpie or brushwork. Will mask the fuse and wing next. Sorry for dark pic.
Cobby seems to have copped a faceful of Tamiya Flat White the poor bugger.
Air Campaigns
Want to start or join a group build? This is where to start.
Hosted by Frederick Boucher, Michael Satin
The great checker board Campaign
jaypee
Scotland, United Kingdom
Joined: February 07, 2008
KitMaker: 1,699 posts
AeroScale: 1,384 posts
Joined: February 07, 2008
KitMaker: 1,699 posts
AeroScale: 1,384 posts
Posted: Monday, March 08, 2010 - 12:39 PM UTC
thegirl
Alberta, Canada
Joined: January 19, 2008
KitMaker: 6,743 posts
AeroScale: 6,151 posts
Joined: January 19, 2008
KitMaker: 6,743 posts
AeroScale: 6,151 posts
Posted: Thursday, March 18, 2010 - 12:32 AM UTC
How is the Camel coming along Jaypee ?
Still have a few months to go . Still time for some new comers to join in
JMartine
New Jersey, United States
Joined: October 18, 2007
KitMaker: 1,698 posts
AeroScale: 96 posts
Joined: October 18, 2007
KitMaker: 1,698 posts
AeroScale: 96 posts
Posted: Sunday, March 21, 2010 - 04:47 AM UTC
Catching up wit the great builds in here..
Hermon – really nice job on the P-40, very different for sure, interesting sheme.
JP – Love the bird; never seen that scheme before, learn something new each group build! Bummer about the “oops”… I “sunk” a destroyer and a carrier last year, both sitting on my work bench when the shelf above it decided to dive bomb onto my work bench …
Ayhan – beautiful build and great photography!
Sean – Gorgeous phantom, love the markings and finish.
Terri – Great job, hope mine comes out half as good as yours! Love the finish… I will for sure steal some painting pointers from your build blog
I have not started mine yet, have couple things to finish.. here is my spread:

I am also building an old testor’s P-51D for the Alum campaign, what a difference in quality!
On top you have the True Details cockpit detail for P-51D (1/48)
Second row is the Revell P-51D
Bottom row is the Testor’s…. (and that is why it will be built “in flight”, no cockpit detail at all!).
Posted: Monday, April 19, 2010 - 11:15 PM UTC
Hi Terri
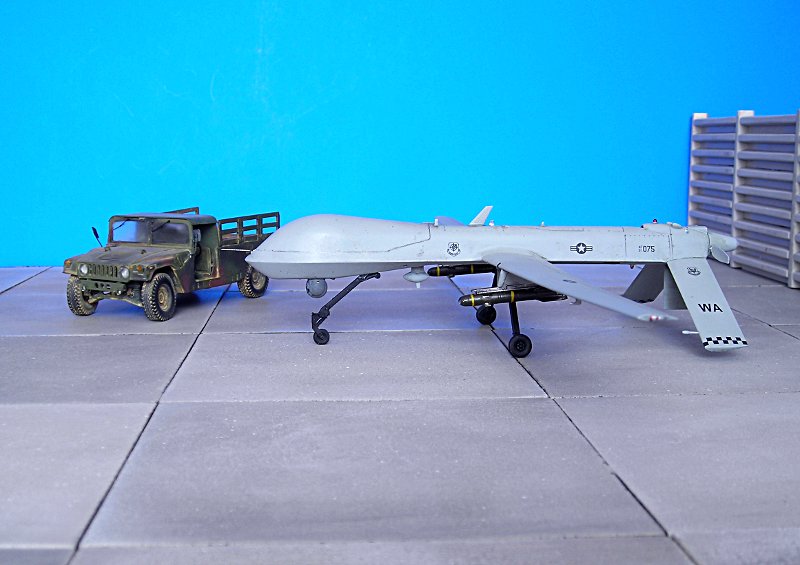
Just a short question: Would this thing count for your campaign?
(I decided recently which version to build and now that I have the decals on I think it is a checker board on the tail )
Build thread is here: MQ-1 Predator 1/48 Bronco
all the best
Steffen
Just a short question: Would this thing count for your campaign?
(I decided recently which version to build and now that I have the decals on I think it is a checker board on the tail )
Build thread is here: MQ-1 Predator 1/48 Bronco
all the best
Steffen
Posted: Tuesday, April 20, 2010 - 12:33 AM UTC
Steffen, I think that would qualify as long as it was started within the campaign period. It has more checkers on it than what I am going to enter.
Great build, Terri. That is a really nice Mustang! The checkers look good with that aluminium finish.
Nice progress, JP. You are really trying a lot of techniques on this bird. Looking forward to see more.
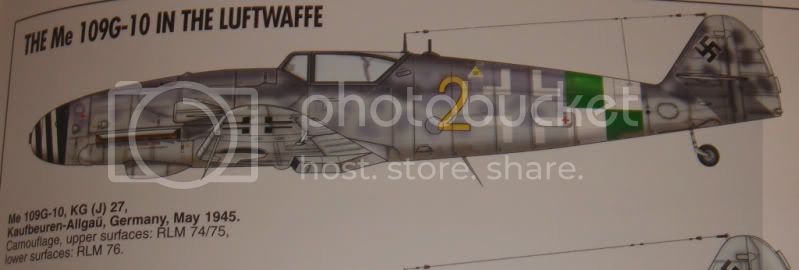
I am going to do a ME 109G-10 in factory defence colours. However, in one profile it states that this aircraft is from KG(J) 27, but in the decal instructuions it says Industri schutz staffel. I am beliving the industri schutz staffel.
In any case it will not affect the build much. Very attractive colours for the Industri schutz staffel.
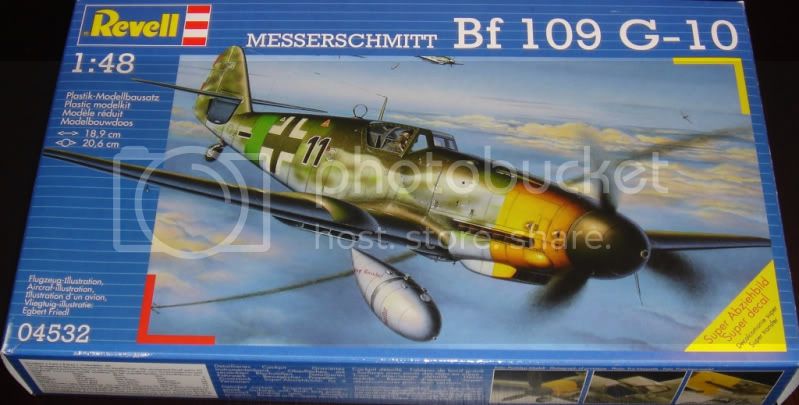
I am using Revells reboxing. It is a quite OK kit, but needs a new vacformed canopy from Squadron/signal.
More to follow soon.
Posted: Tuesday, April 20, 2010 - 12:57 AM UTC
Hi Jesper
Thanks mate (and nice projects you have) ... I got the kit on Jan. 16 2010 (just checked the Postman thread ) and started it afterwards so I guess I am well inside the time frame .... not sure the kit was already out in November
all the best
Steffen
Thanks mate (and nice projects you have) ... I got the kit on Jan. 16 2010 (just checked the Postman thread ) and started it afterwards so I guess I am well inside the time frame .... not sure the kit was already out in November
all the best
Steffen
thegirl
Alberta, Canada
Joined: January 19, 2008
KitMaker: 6,743 posts
AeroScale: 6,151 posts
Joined: January 19, 2008
KitMaker: 6,743 posts
AeroScale: 6,151 posts
Posted: Tuesday, April 20, 2010 - 03:04 AM UTC
Thanks Jesper for the kind comment . Looking forward to your build of the Revell kit . Nice colourful option as well . Will look sharp when done .
Steffen , You can enter it in the campaign
Posted: Tuesday, April 20, 2010 - 03:22 AM UTC
Thank you Terri!
so I will enlist .. it is nice to have the entry already finished .... should start a 109 next
all the best
Steffen
so I will enlist .. it is nice to have the entry already finished .... should start a 109 next
all the best
Steffen
Posted: Tuesday, April 20, 2010 - 11:22 PM UTC
Thanks for the comments, Steffen and Terri
I hope everything will work out nice. The decals are a bit old, but they look okay, so hopefully they will go down nicely.
More to follow.....
I hope everything will work out nice. The decals are a bit old, but they look okay, so hopefully they will go down nicely.
More to follow.....
jaypee
Scotland, United Kingdom
Joined: February 07, 2008
KitMaker: 1,699 posts
AeroScale: 1,384 posts
Joined: February 07, 2008
KitMaker: 1,699 posts
AeroScale: 1,384 posts
Posted: Sunday, May 02, 2010 - 12:31 PM UTC
Getting there at last. Struts made from brass rod no attempt to make it aerofoil, and I'm sure I'm missing some rigging but it'll pass for now. Shoulda bought some Strutz from John Adams at the Scotnats model show but I forgot in all the excitement.
Control horns and wires to add but the rigging and struts was the main hurdle for me. Glad it's done.
Got a new camera too. A Canon AS1100, great point and shoot, but I can't find how to set the f-stop, hence the narrow depth of field, I know the setting is in there somewhere.
Blueheeler
New South Wales, Australia
Joined: March 18, 2008
KitMaker: 347 posts
AeroScale: 223 posts
Joined: March 18, 2008
KitMaker: 347 posts
AeroScale: 223 posts
Posted: Sunday, May 02, 2010 - 10:35 PM UTC
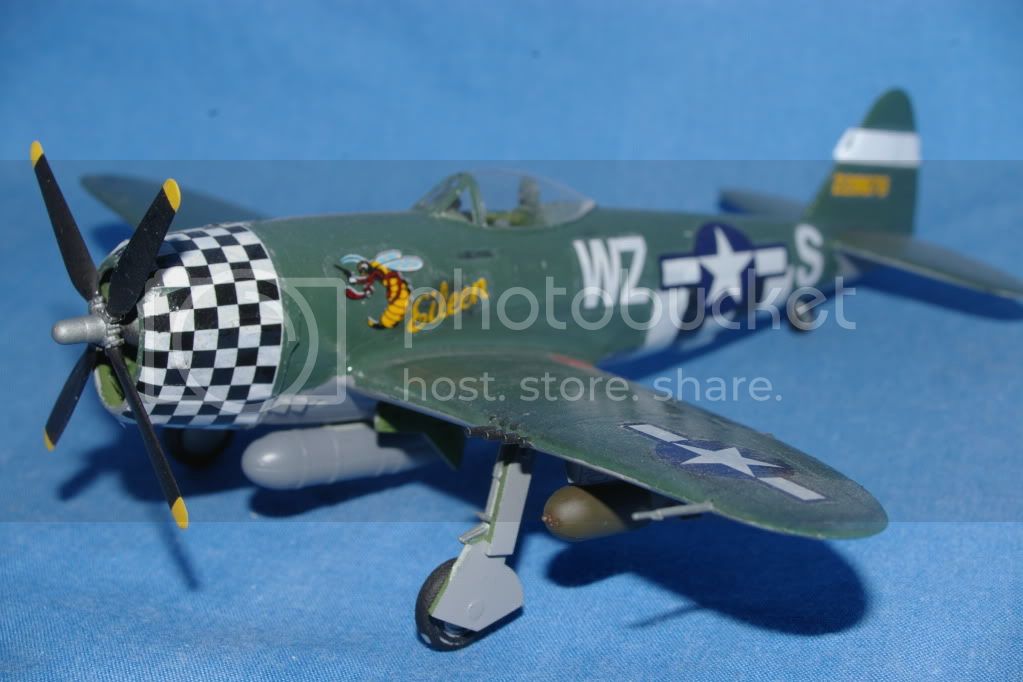
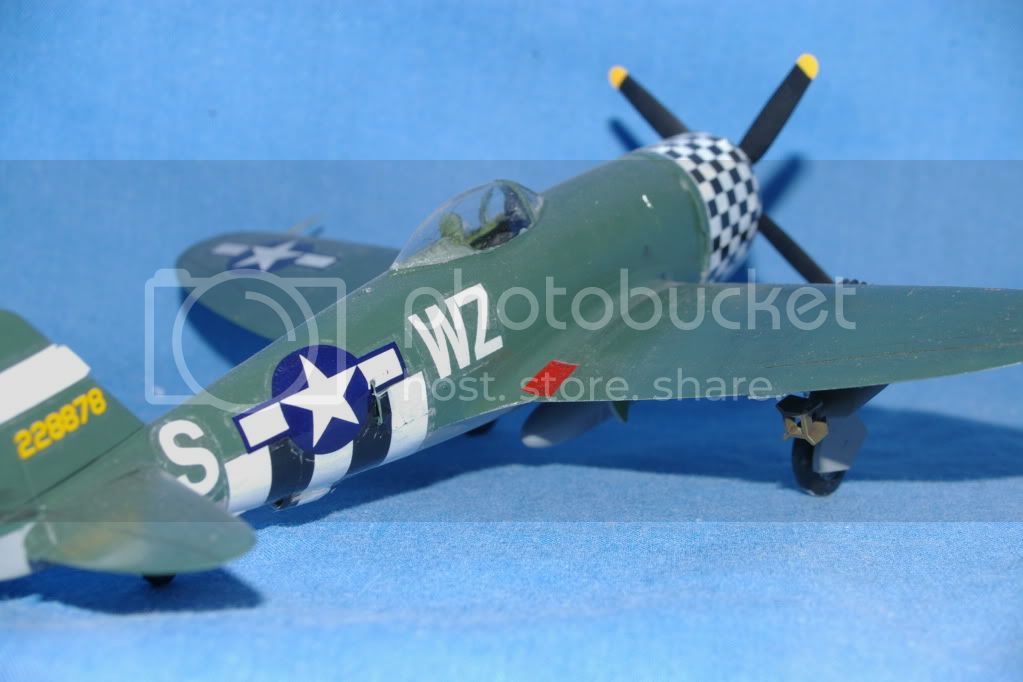
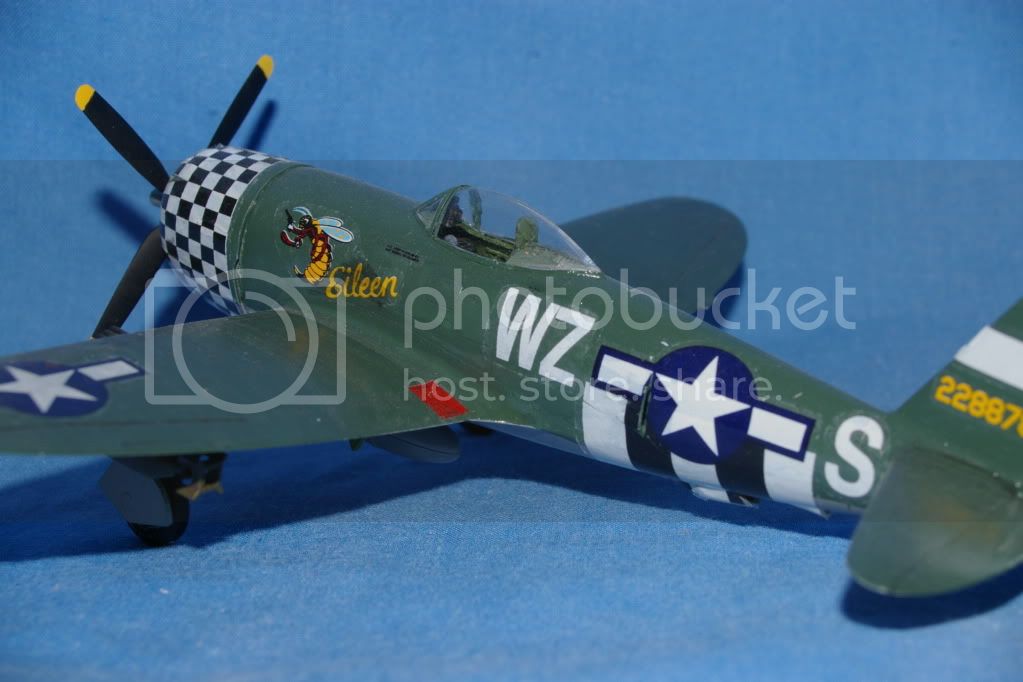
Finally pulled my finger out and got my entry completed. Its Academies 1/72 P-47D "Eileen". Usually love the Academy aircraft and never usually have problems with the decals, but these one's were shockers! Anyway, enjoy.
Removed by original poster on 05/03/10 - 10:29:22 (GMT).
Posted: Monday, May 03, 2010 - 01:11 AM UTC
Zoinks, less than a month left! Better get my skates on!
jaypee
Scotland, United Kingdom
Joined: February 07, 2008
KitMaker: 1,699 posts
AeroScale: 1,384 posts
Joined: February 07, 2008
KitMaker: 1,699 posts
AeroScale: 1,384 posts
Posted: Monday, May 03, 2010 - 02:19 AM UTC
Tough break Nick. I've got the "Eileen" kit to do for Lampie's P-47 GB. Albeit a different decal option. I'll sure be testing the decals first.
One thing to try in future is Klear as a decal medium to eliminate the silvering. Ta for the heads up. I've had Academy decals go on fine, but I've heard the horror stories too.
VonCuda
North Carolina, United States
Joined: November 28, 2005
KitMaker: 2,216 posts
AeroScale: 1,080 posts
Joined: November 28, 2005
KitMaker: 2,216 posts
AeroScale: 1,080 posts
Posted: Monday, May 03, 2010 - 12:55 PM UTC
Well I finally got my entry ready for photos. Not the greatest kit I've ever built.....and quite frankly, one of the ugliest paint schemes, but here she is.
The only reason I ever bought this kit was because of the decals. Turns out that the decals are junk. There are so many touch-ups that I can't take any close up photos.
Hermon
The only reason I ever bought this kit was because of the decals. Turns out that the decals are junk. There are so many touch-ups that I can't take any close up photos.
Hermon
Bigrip74
Texas, United States
Joined: February 22, 2008
KitMaker: 5,026 posts
AeroScale: 2,811 posts
Joined: February 22, 2008
KitMaker: 5,026 posts
AeroScale: 2,811 posts
Posted: Monday, May 03, 2010 - 03:25 PM UTC
Herman, nice P-40 and a most striking scheme too bad it is not in the P-40 Work/Truck Campaign. Which kit is this, I must have been asleep when you mentioned it
Bob
Bob
warreni
South Australia, Australia
Joined: August 14, 2007
KitMaker: 5,926 posts
AeroScale: 2,201 posts
Joined: August 14, 2007
KitMaker: 5,926 posts
AeroScale: 2,201 posts
Posted: Monday, May 03, 2010 - 06:50 PM UTC
OK.. Less than month to go so I better at least get started...
Subject is a 1/32 Trumpeter F4U-1D in the Checkerboard markings.. what else?! 1sr to sign up, last to start! lol
Got the engine, cockpit and tailwheel done in the last 48 hours. Got the build mixed in with a Wingnuts Junkers J.1 so while one is drying the other can be built..
Subject is a 1/32 Trumpeter F4U-1D in the Checkerboard markings.. what else?! 1sr to sign up, last to start! lol
Got the engine, cockpit and tailwheel done in the last 48 hours. Got the build mixed in with a Wingnuts Junkers J.1 so while one is drying the other can be built..
Posted: Monday, May 03, 2010 - 10:32 PM UTC
Very nice build, Hermon. Love the colour scheme!
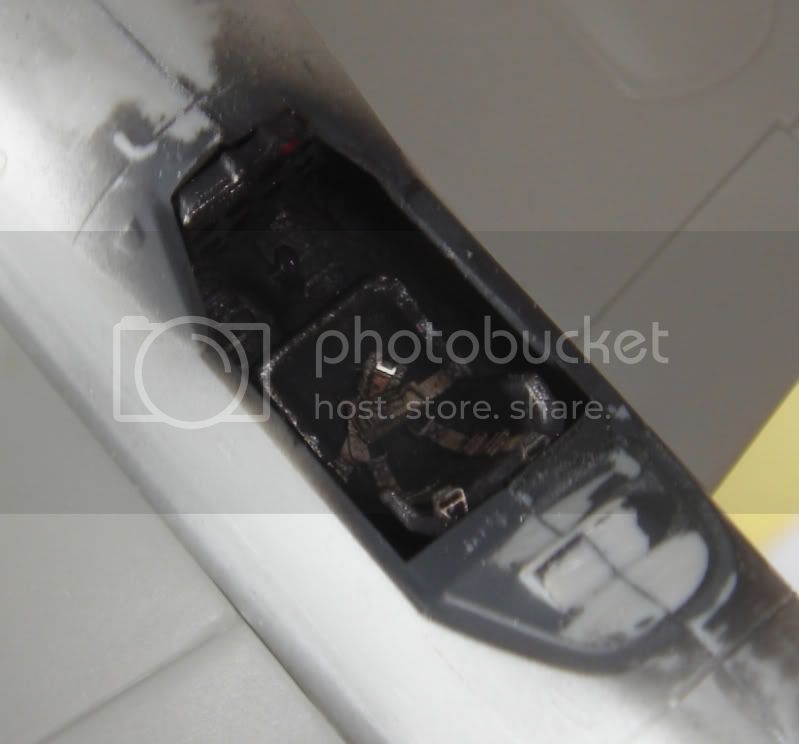
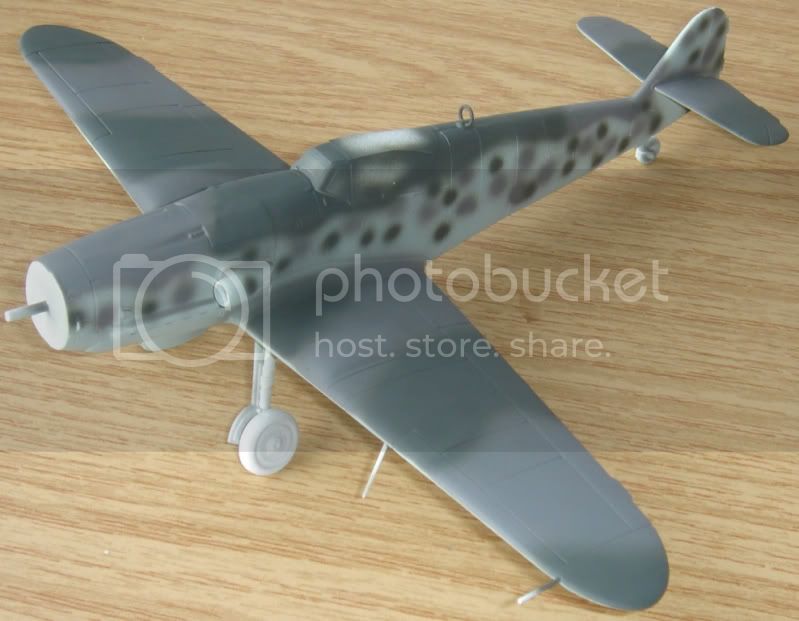
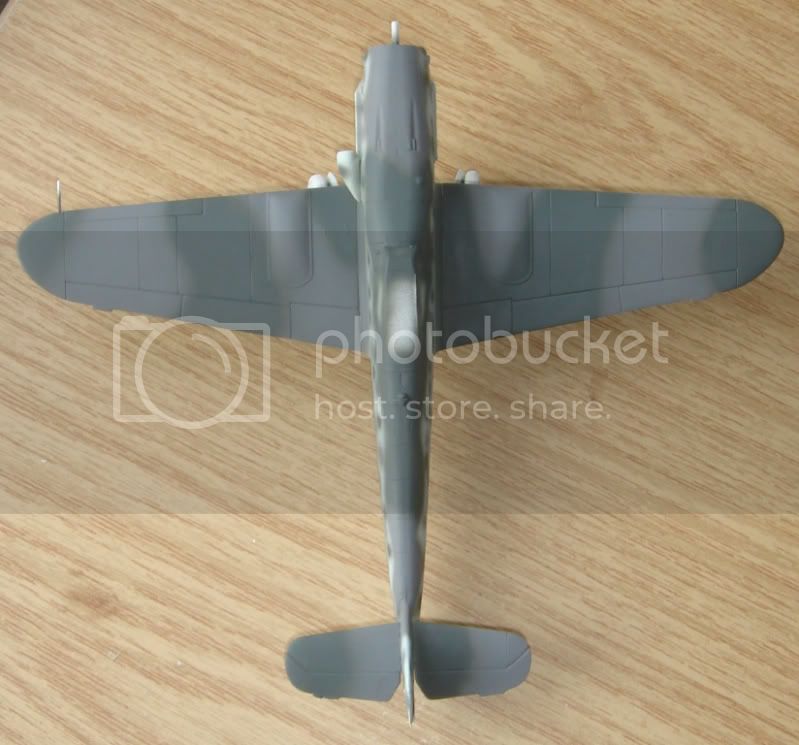
I have started my Bf 109G-10 and I am making fast progress. It is all build, which took less than 2 hours. Only additions were a Squadron vacformed canopy and some Eduard PE seatbelts. The basic camouflage is applied with some new paints that seems a little of the mark for the RLM colours, but on the other hand give a nice contrast in the camouflage.
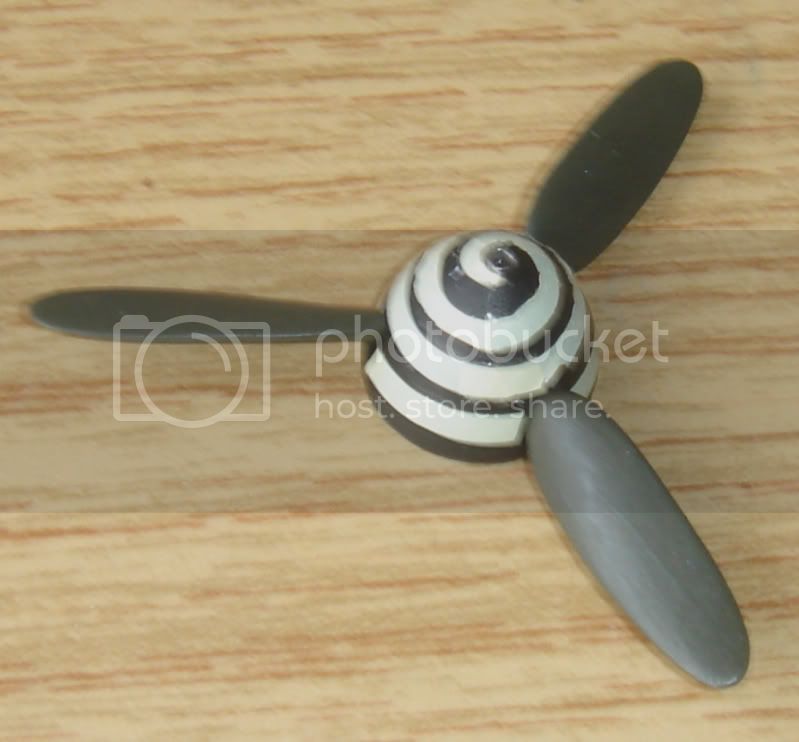
Only problem so far is the spiral on the spinner. The decal solution destroyed it, so some careful painting is needed.
Next is the decals and then some weathering. So far everything is going very smoothly.
More to follow.
thegirl
Alberta, Canada
Joined: January 19, 2008
KitMaker: 6,743 posts
AeroScale: 6,151 posts
Joined: January 19, 2008
KitMaker: 6,743 posts
AeroScale: 6,151 posts
Posted: Tuesday, May 04, 2010 - 03:53 AM UTC
nice build Nick , shame about the decals though . I haven't tried their decals yet but from what I hear they are a hit miss type thing .
Love the Camel Jaypee , nothing wrong with the brass rod , it does look rather neat . Glad to see you back on this project
Now that is different markings Hermon , I like the build it does have a sinister feel to it .
Well Warren , it's about time , was thinking you forgot about us and went into hiding ! Looking forward to your build .
Jesper , that was fast ! Looking good so far , looks like the fit was good . Did you have to use any filler yet ?
warreni
South Australia, Australia
Joined: August 14, 2007
KitMaker: 5,926 posts
AeroScale: 2,201 posts
Joined: August 14, 2007
KitMaker: 5,926 posts
AeroScale: 2,201 posts
Posted: Tuesday, May 04, 2010 - 09:35 AM UTC
I had an enforced layoff due to my hobby room being filled with kitchen stuff while the kitchen was renovated. All good now. The Corsair's fuselage is together as are the tailplanes. SHould be no problem finishing in time..
Posted: Tuesday, May 04, 2010 - 08:20 PM UTC
Quoted Text
Jesper , that was fast ! Looking good so far , looks like the fit was good . Did you have to use any filler yet ?
Yes, very fast build. The fit is excellent except for the clear parts for the canopy. There are large gaps that cannot be easily fixed, so I went for a vacformed canopy instead. The alternative is to leave the canopy open. Then the gaps are not apparent.
First decals are already on. More to follow later.
Posted: Friday, May 07, 2010 - 01:41 AM UTC
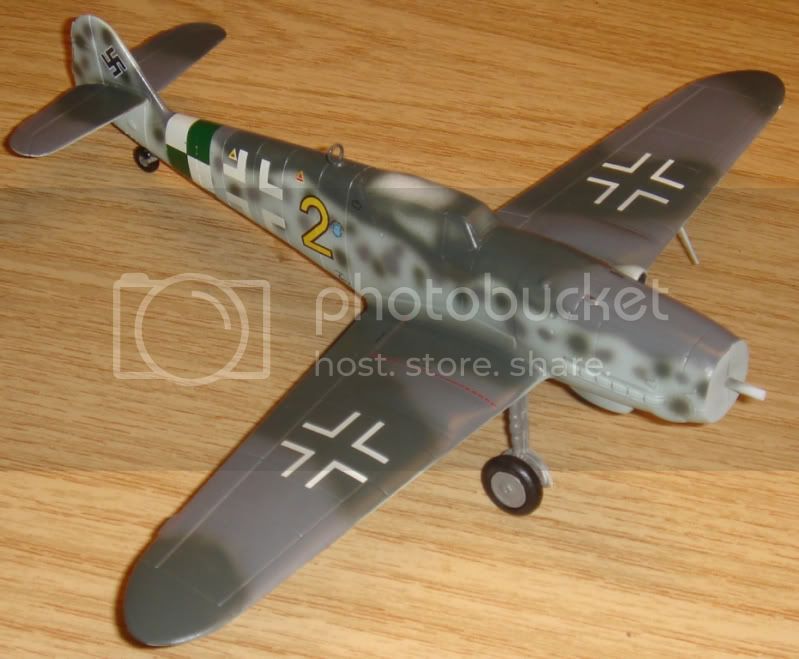
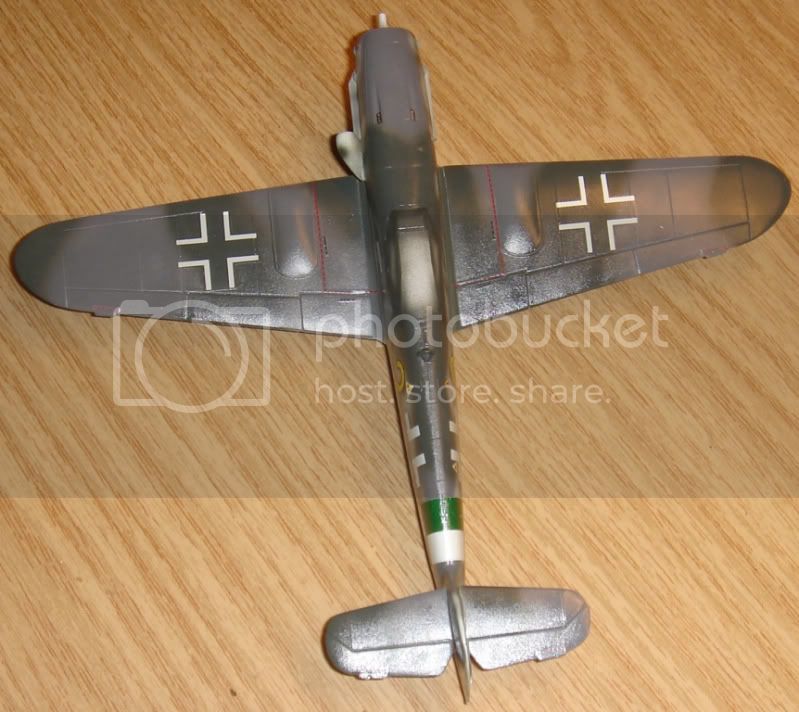
I have made a bit more progress on my Bf 109G-10. The decals are now on.
Next is some weathering although work will probably stall a bit this weekend.
Comments welcome.
Next is some weathering although work will probably stall a bit this weekend.
Comments welcome.
thegirl
Alberta, Canada
Joined: January 19, 2008
KitMaker: 6,743 posts
AeroScale: 6,151 posts
Joined: January 19, 2008
KitMaker: 6,743 posts
AeroScale: 6,151 posts
Posted: Tuesday, May 11, 2010 - 02:29 AM UTC
Very nice job so far Jesper !
Ruffus
Guatemala
Joined: April 12, 2005
KitMaker: 343 posts
AeroScale: 111 posts
Joined: April 12, 2005
KitMaker: 343 posts
AeroScale: 111 posts
Posted: Tuesday, May 18, 2010 - 02:21 PM UTC
Hi!! very nice works Guys, I'm wondering if there is going to be an extension? I am waaay behind schedule here, the fuselage is done, but not the cockpit area, no paint and of course, no decals , will keep trying though.
Byron
Byron
jaypee
Scotland, United Kingdom
Joined: February 07, 2008
KitMaker: 1,699 posts
AeroScale: 1,384 posts
Joined: February 07, 2008
KitMaker: 1,699 posts
AeroScale: 1,384 posts
Posted: Saturday, May 22, 2010 - 11:28 AM UTC
Finally some progress!
It's been all go for the last few weeks and I've had zero bench time. However I'm pleased to report I'm found an excellent source of laser jet decal paper. Thin, easy to use, inks stick well, no runs etc. Printed the codes for Cobby's camel and some checks for the tailplane (still to apply those)
She is almost done.
A few touch-ups and final control cables, maybe a bit of muck and dirt and thats us fini. Glad I did this profile it is striking and despite the difficulties I've learned to use the wing jig and make my own struts and decals. So great bang for the buck.
P.S. Loving this new camera. Canon A1100
No need for tripod just snapped these in low light without any thinking, no need even for brain.