Quoted Text
Terri I'm just wondering when exactly this campaign closes..
In case you didn't find out already, 19th of this month.
You can see the ending dates of each currently running campaign on the campaign overview page (click on the 'campaigns' tab on top the page). It's also shown on the specific
campaign page.
Quoted Text

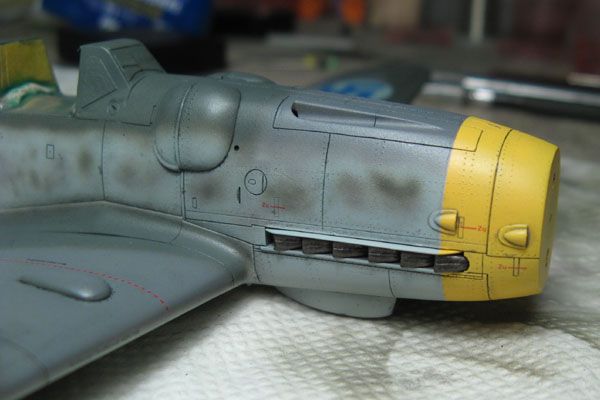
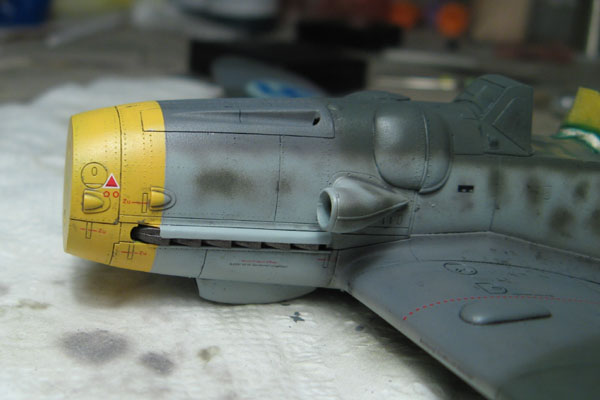
On a related front, I have picked up a Hasegawa Bf 109 G-6 kit (#8067) for using the Italian markings Rowan reviewed here, and I wanted to find out what upgrades are really necessary to do this kit correctly?
Do I need an Aires cockpit? Wheel wells? I know some Hasegawa kits need a lot of improving, but this one is fairly recent, correct?
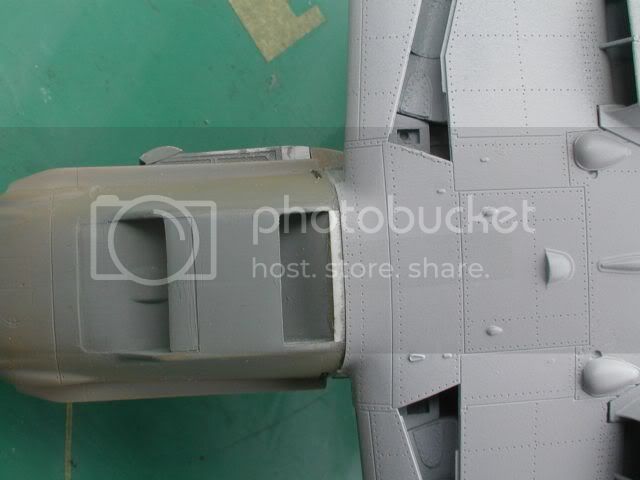
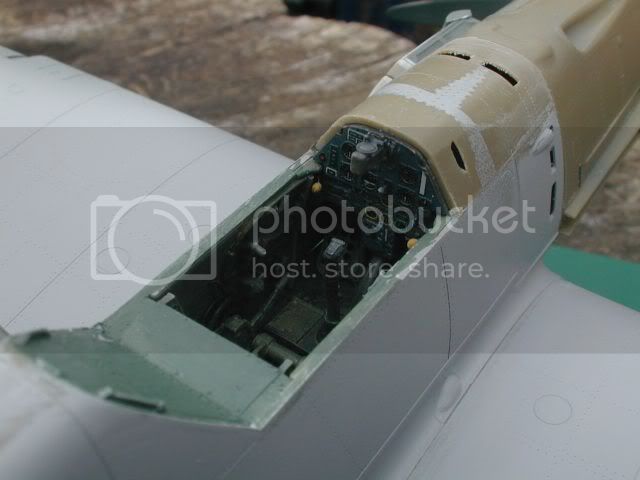
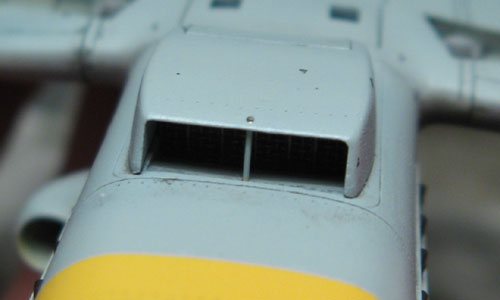
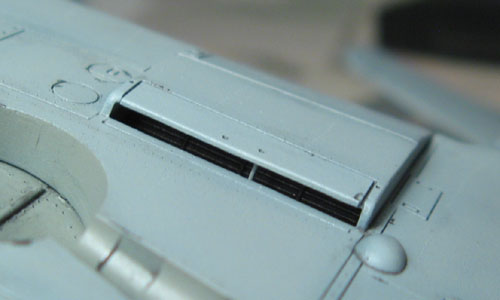
Well, it's not my scale so I'm not the best person to comment on that, but the OOB cockpit detail looks better than on the 1:48 scale kit (here's some photos posted in WIP thread:
< click >.
There's no question about it though if a resin cockpit would be an improvement.
Here's a tweak list (in pdf) for the G-6 from largescaleplanes.com:
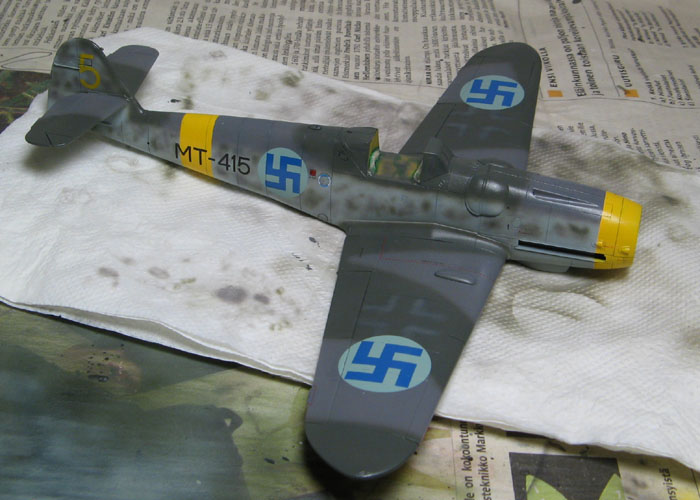
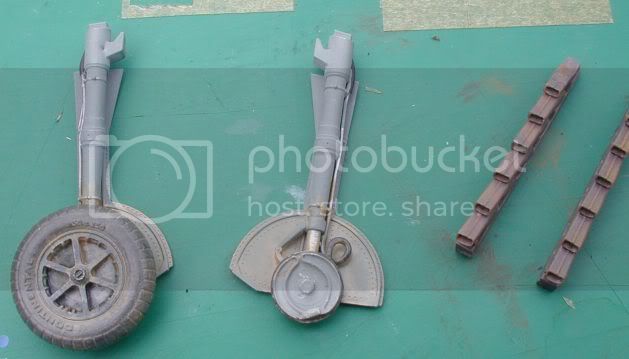
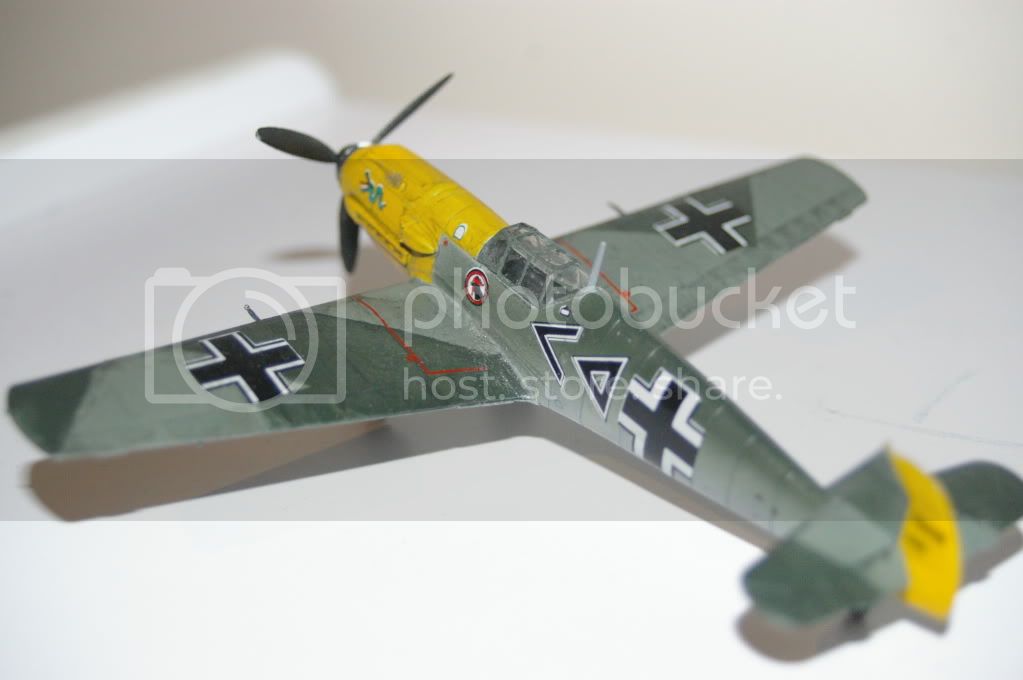
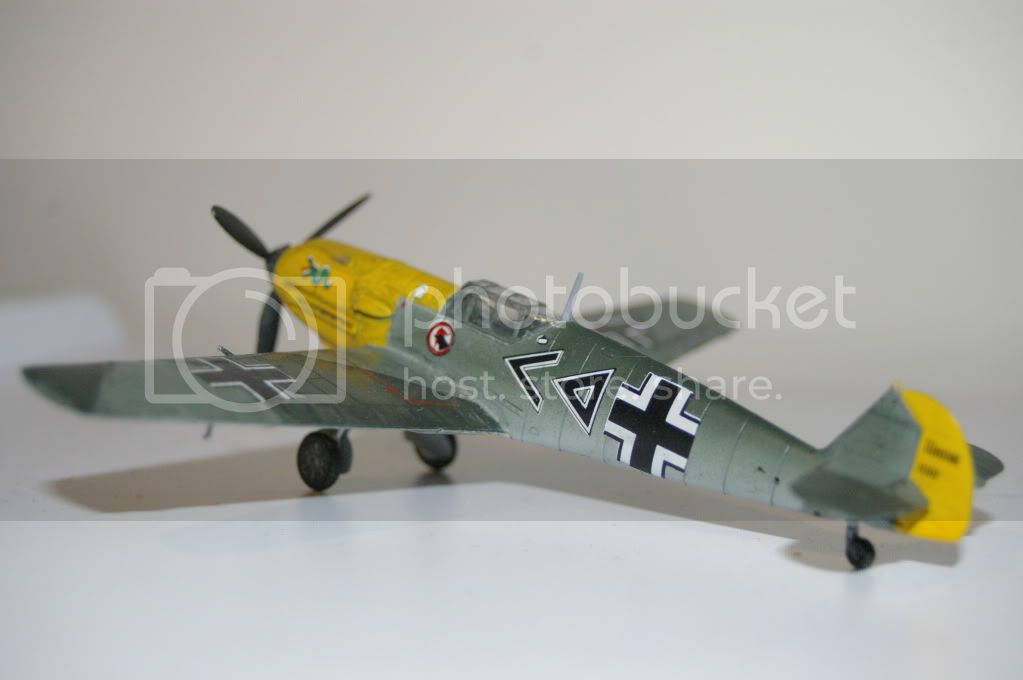
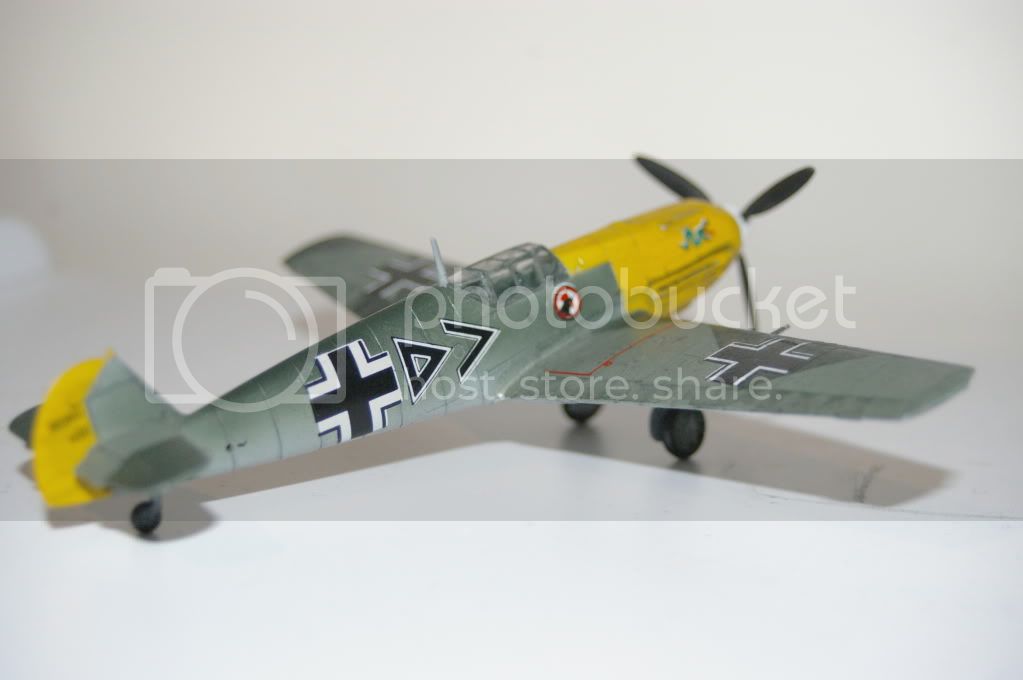
< click >No update this time on my entry. Decaling is underway at the moment. It has been taking a while as there's quite a few of them and I want to do my best to avoid silvering and get them snuggle down to the recessed details. But I'm almost done at the moment. More WIP pics coming soon.

Edit: Anyone know why < and > refuse to work with URL tags? I tried to do the two links above as
"less-than" click "greater than", but they didn't display any text at all in the message after posting, and when editing, the spaces for the links' text were empty.
Even as normal text, anything written between < and > doesn't show.
Edit 2: Interesting... With a space between, it works.


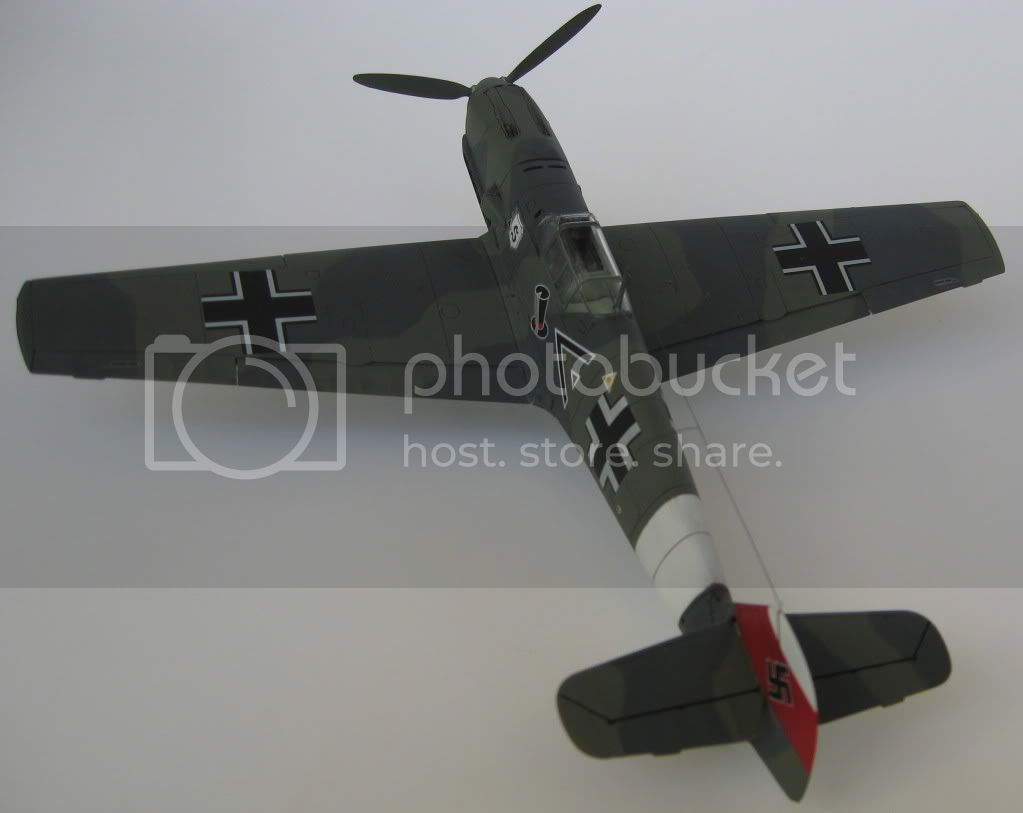


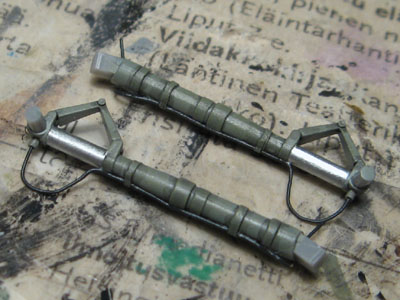
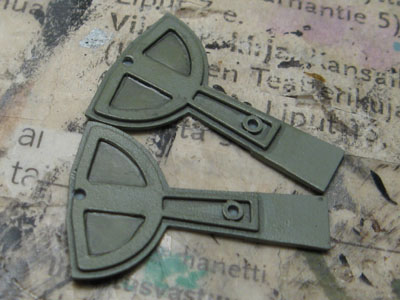
 . The photo is a tad grainy, sorry about that.