Hi All!
Time for next update!
The build is rolling on
All I had to do to take care of the joins, was a quick swipe with a sanding stick over all joins, done, neat and clean!

The elevators were simply pushed into the stabilizator, and the whole assembly was glued to the fuselage side.
I repeated the procedure for the other side, and made sure I secured the connecting rod with cement!
Everything lock itself in the correct position!


As you can see here, I got some drooping of the rudder to simulate gravity.
Time to spend some time with the wings!
In reality, they are already done, as I have built them parallel with the fuselage, but its more logical to show them now.
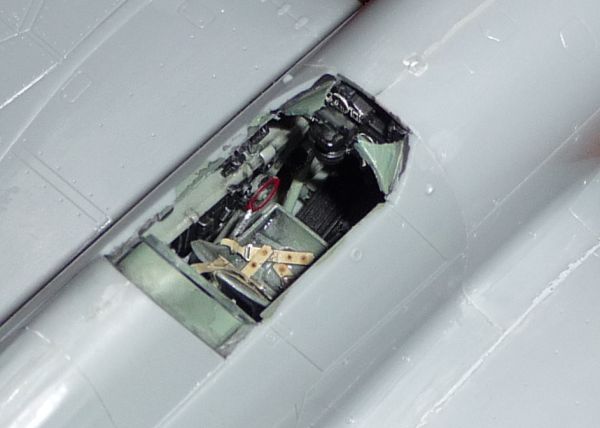
Well start with the wheel wells; each consists of several pieces;


The wheel wells are glued to the bottom wing, as are the inner part of the wells.

When the wells are in place on both sides, I can add the wing spar to ensure I get the correct dihedral on the wings.

When the glue had set overnight, I could add all the hatches on both lower and upper wing half.
This moment was pure gluing the perfect fitting parts in the right slots, and went fast and painless.
The (almost completed) wing looks like this;
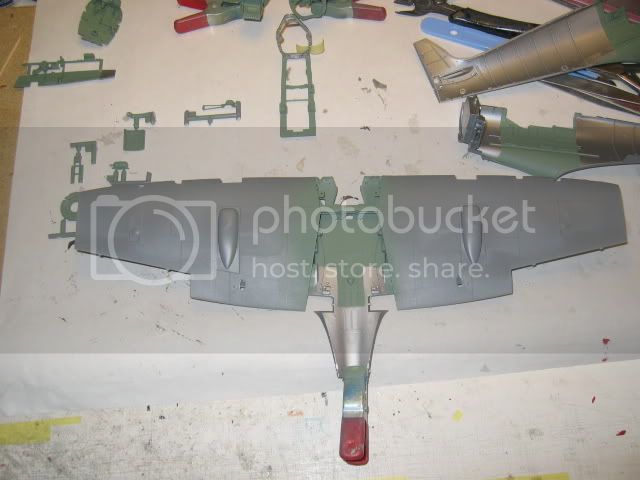

I left the ailerons, coolers and wing tips to be added later on.
Here you can see the ailerons, oil coolers and wing tips, together with the engine, that I built earlier.
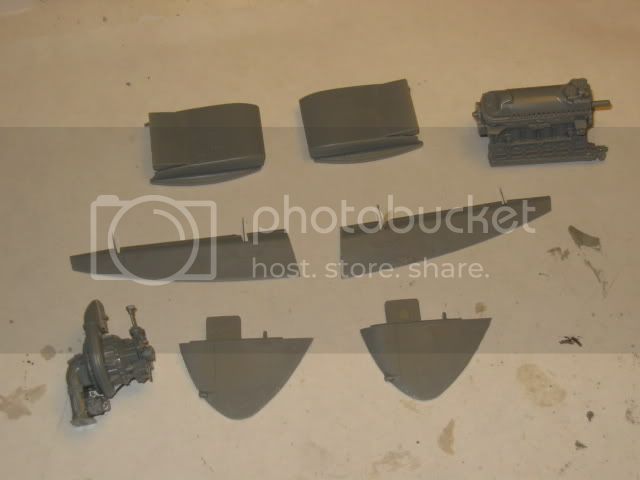
The ailerons are simply pushed in place (took a great deal of strength), the flaps are glued in the UP position, and the standard wing tips are glued in place.
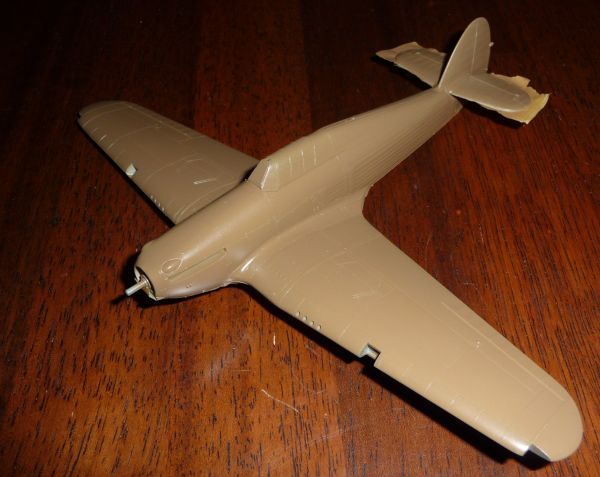
Look, a Spitfire wing!

Heres the almost completed wing (sans oil coolers) together with the fuselage and engine.

I took a great deal of dexterity and strength, but then I got that distinct Tamiya-click when the wing just snapped into place!

I thought this was an impossible join to get good, but Tamiya´s engineers have given this a hard, thorough thought, and once again Mission Impossible had been executed!
The landing gears (that I built earlier) are simply pushed into place; the two wedges of plastic are screwed into place, locking the gear securely in place.
The wedge and screw are concealed by a removable little hatch, held in place by a small magnet.
If you wish, you can remove the hatch, unscrew the screw and remove the wedge and replace it with a retracted version of the gear, and show the model in flying position on the supplied stand!
Not an all too easy or fast operation, takes about 20minutes to do, but it works well.


Next, the engine was painted.
I painted the engine with Revell Antrazit, a very dark grey, almost black, and it was just perfect for this engine!
Then I followed up with a silver dry brush and a black wash, and then a bit more dry brushing with silver.
Heres the engine, painted and ready, with the completed mounting frame and the screw to hold it together.


I panted the oil-cooler faces Alclad Aluminium, and gave them a musty black wash.

Then I had a hard time, trying to fit the engine in the frame without breaking anything.
The fit is perfect, but very tight so add some determination and dexterity!
But finally I had it in place!


Here you can see the screw holding the engine in place, which I secured with Loctite.

I painted the exhausts in my own mix, made up from Hull Red (Hu70), Antique Bronze (Hu171) and Aluminium (Hu56), and they were glued to the frame, and the frame was glued to the engine and bulkhead.
A completed Rolls-Royce Merlin engine;


The Power-egg was glued to the engine bulkhead, and I used lots of superglue here!


Now we can enjoy the beautiful lines of the Spitfire!
More to come soon!
I realize that I misjudged the complexity and building time needed for this kit, and I won´t be done in time!
But keep an eye on this tread, she will be built and pics posted until the very end!
Cheers!
Stefan E