Hi all!
Nice Junkers Tom, and how could I say no to more Spitfire pics?

Here they come;
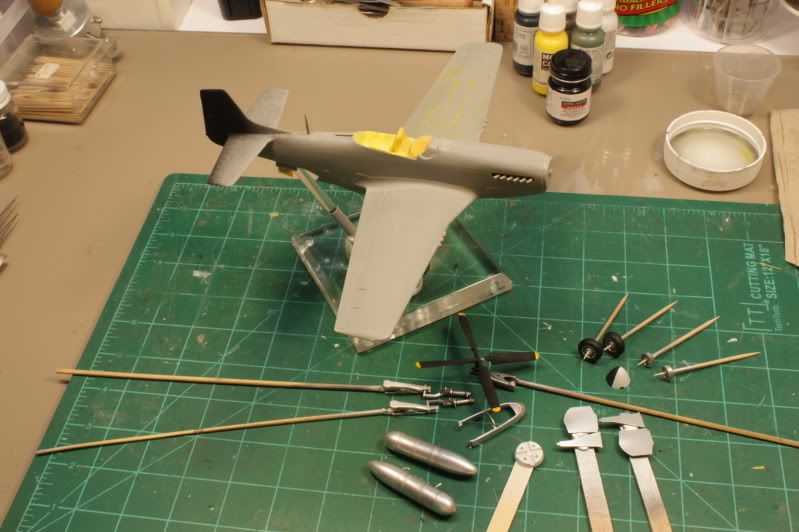
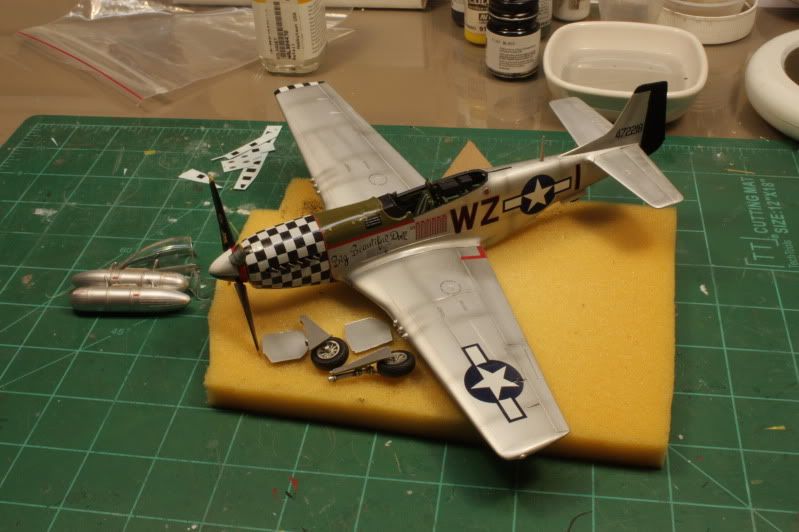
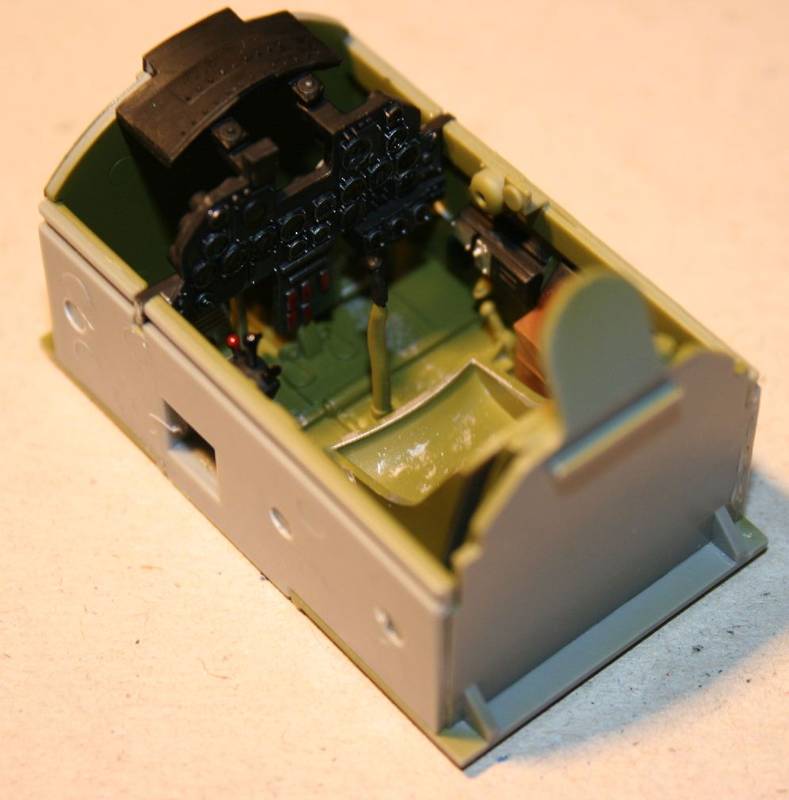
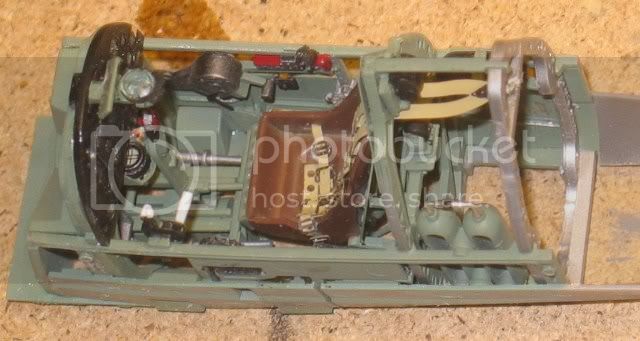
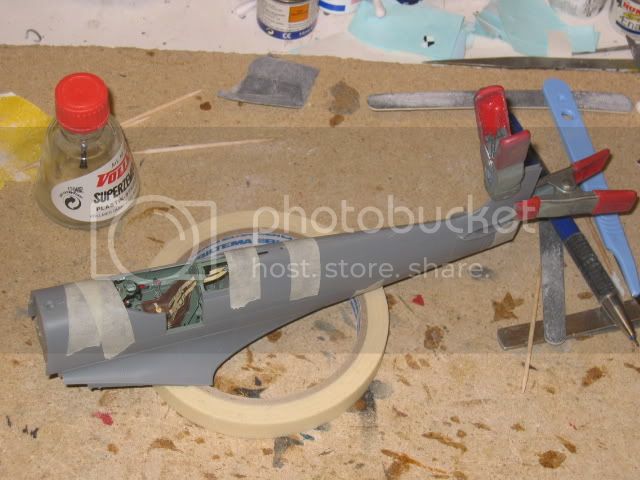
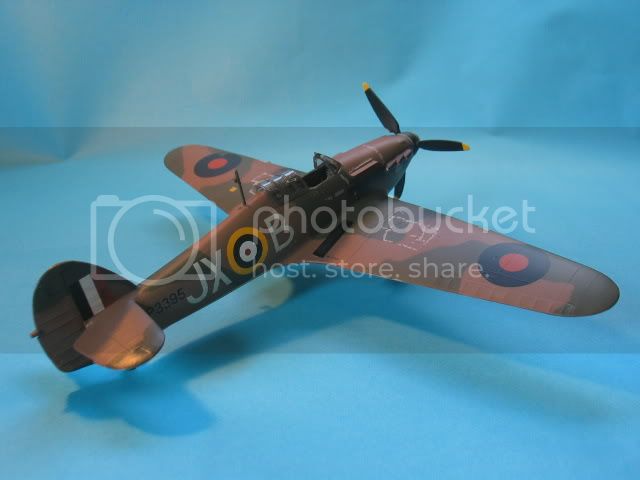
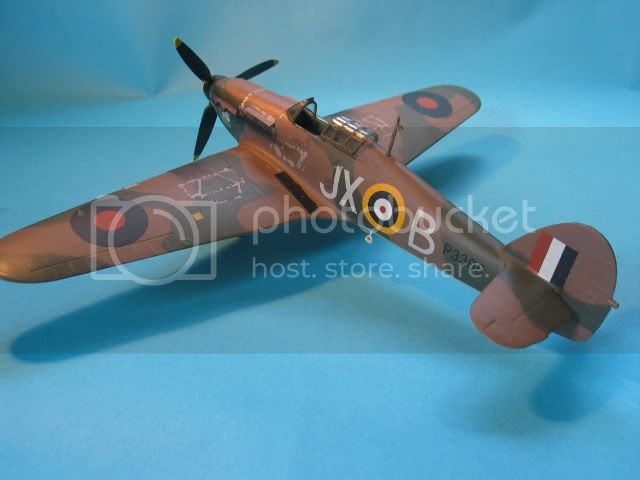
Time for another update on the Spit!
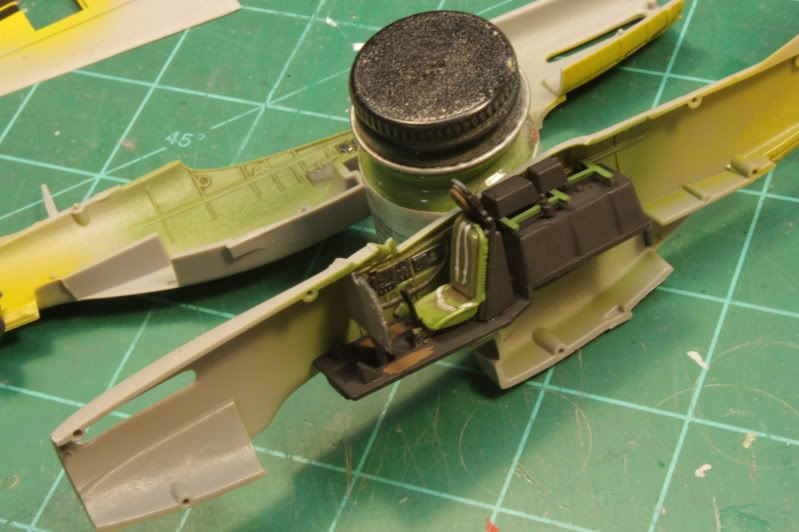
The Interior is almost completely painted, but I still have to do a black wash, but Ill wait until everything is assembled.
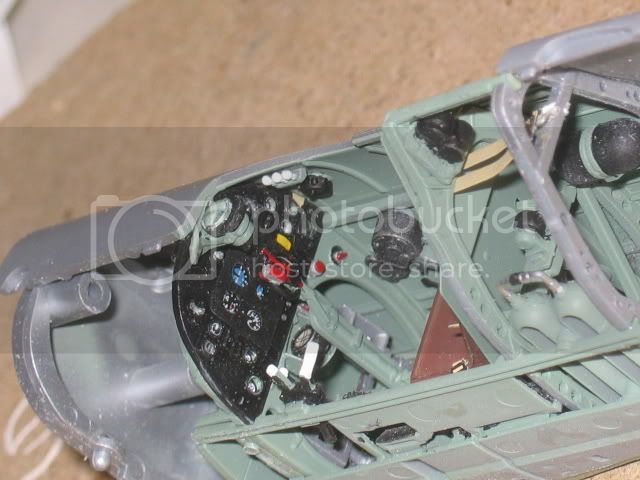
I started with the instrument panel.
The clear parts got a dip in Johnsons floor polish (Swedish equivalent to Future); this makes it possible to use CA-glue later on.
When I opened the bag with the decals and saw these decals, I thought WTF????
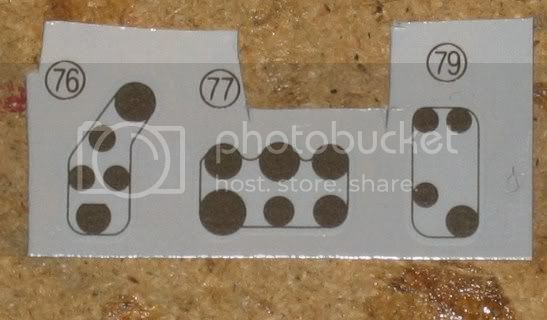
Then I got it!
The instruments are printed bottom up, so what you see on the paper is only the back of the decal!
Thats another reason to dip the clear parts in Johnsons, to get a smooth, nice surface for the decals to grab onto!
The decals themselves are well printed, perfect in register and fits like a glove!

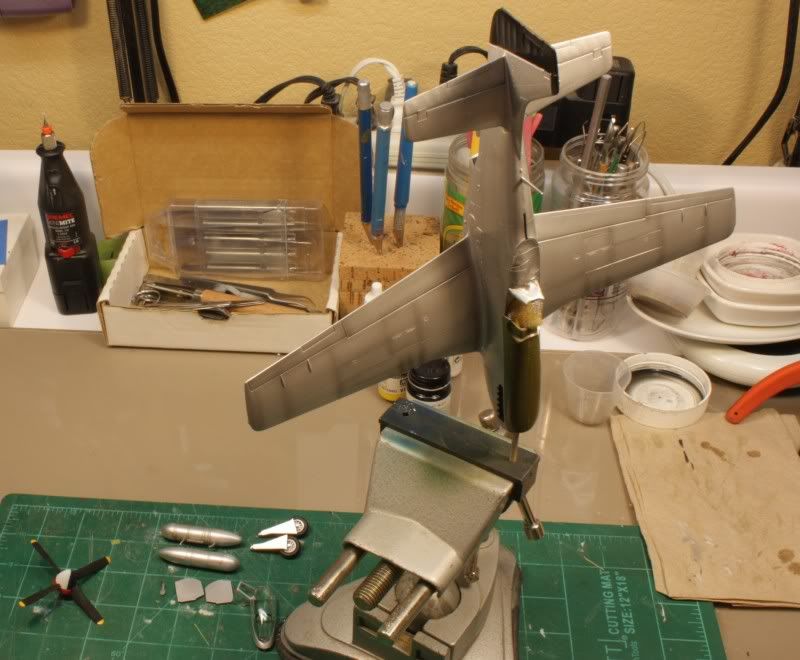
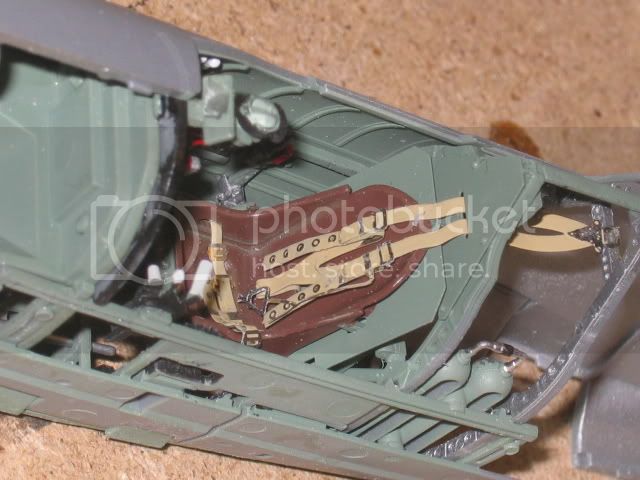
This is the complete bulkhead;

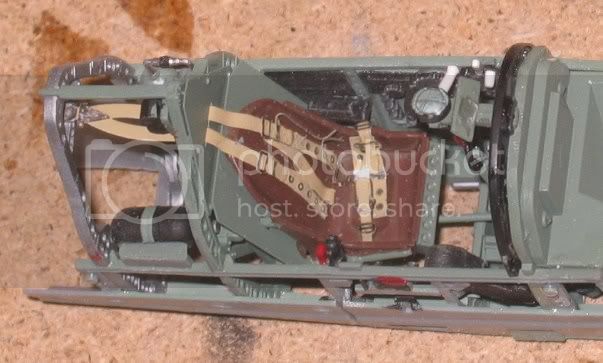
One of the side-parts;

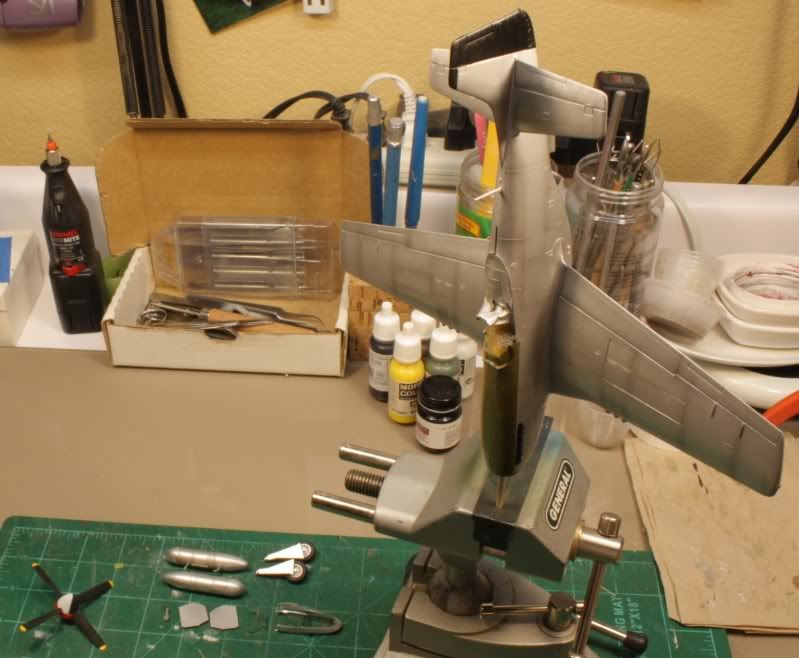
This is the engine bulkhead and engine frames, lots of SMALL parts here;
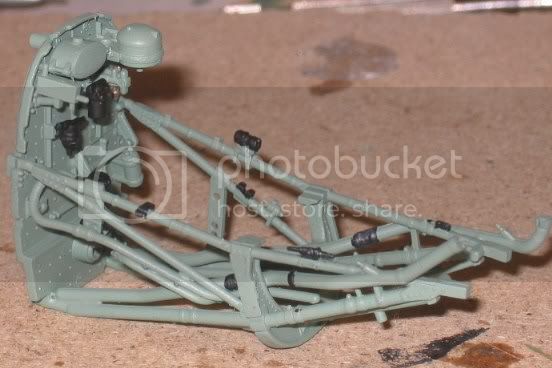
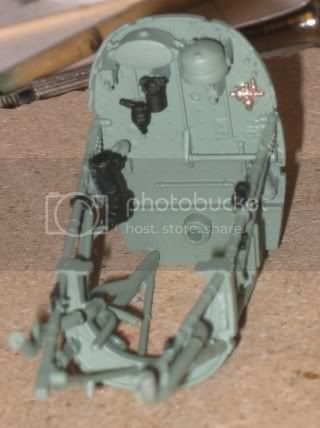
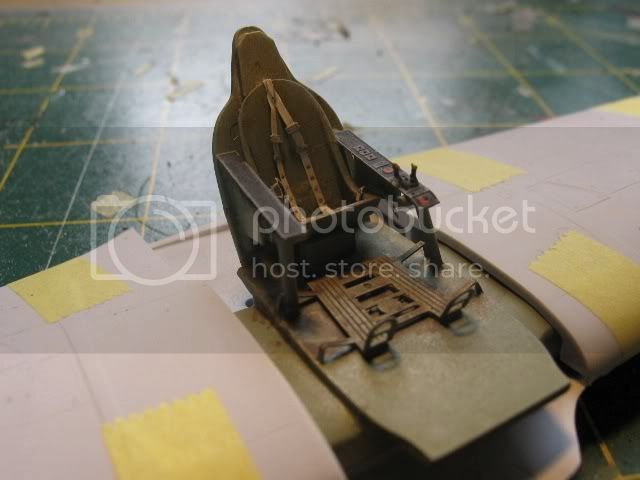
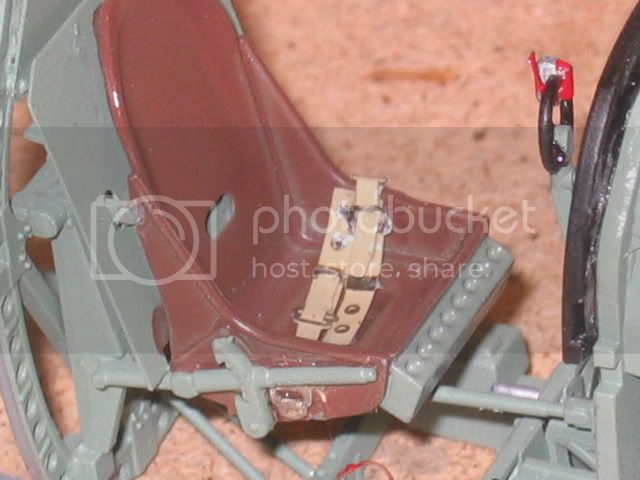
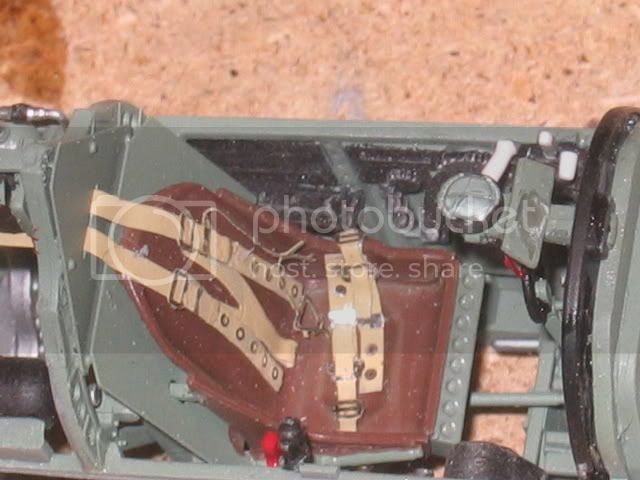
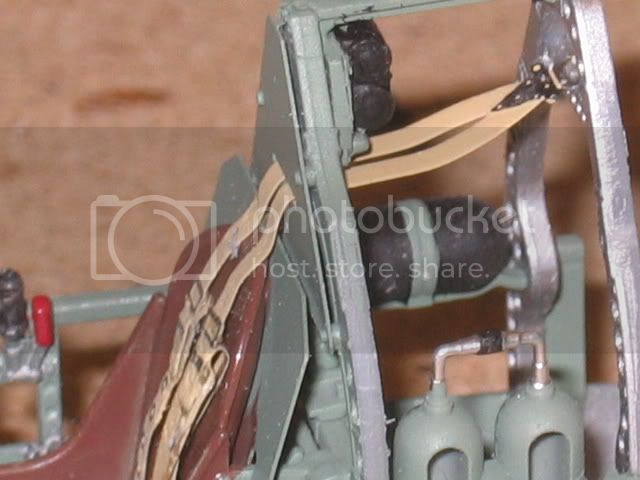
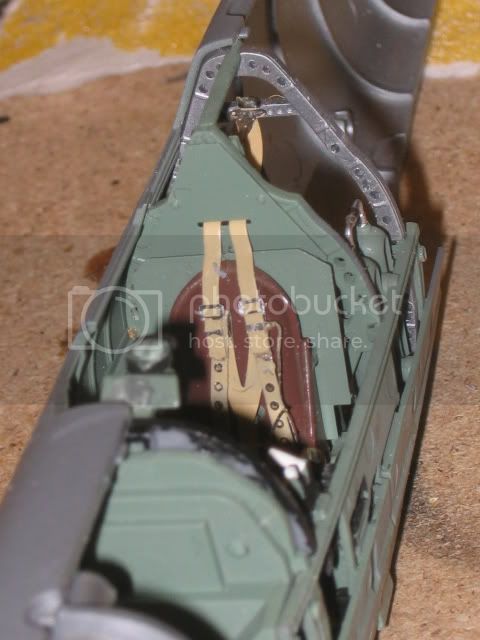
The bulkhead with the pilots seat, made of Bakelite, in a reddish-brownish colour, I used Humbrol160 German Red-Brown, a WWI-colour, but I thought it was appropriate here.

Still have to add the seatbelts!
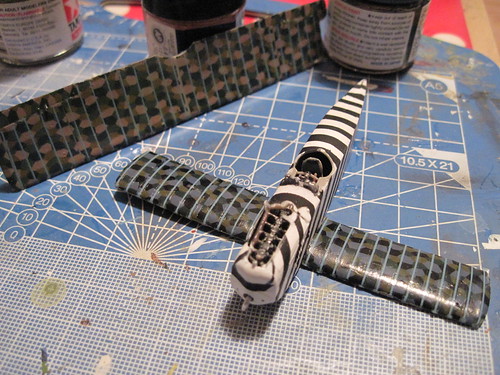
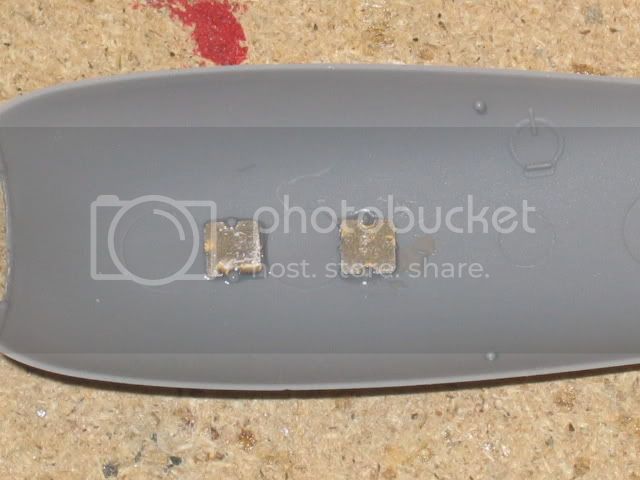
The engine covers are made of a somewhat harder plastic, and comes in thir own little tray, where they are well protected from damage.

These parts do need the protection as they are extremely thin, only o.4mm, and must be handled with caution!

The covers are held in place with the aid of small, but very strong, magnetos glued to the inside.
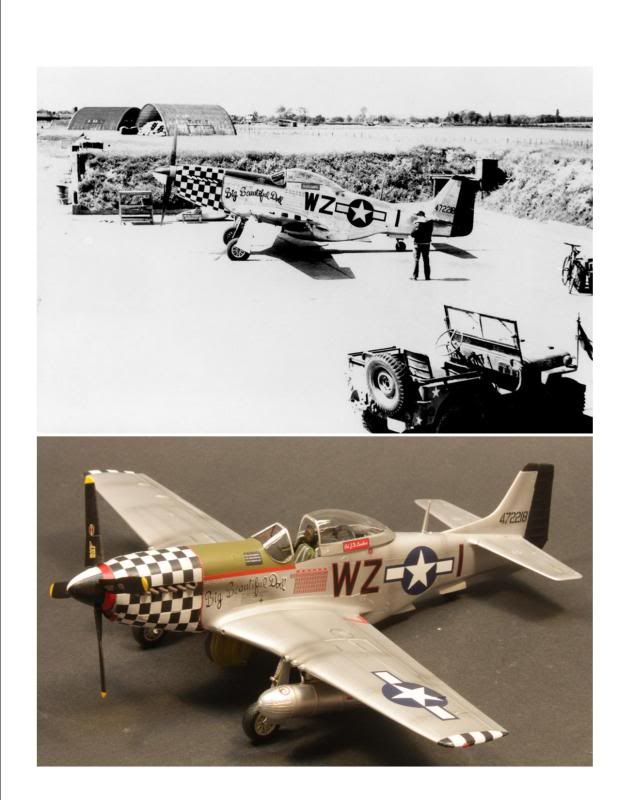
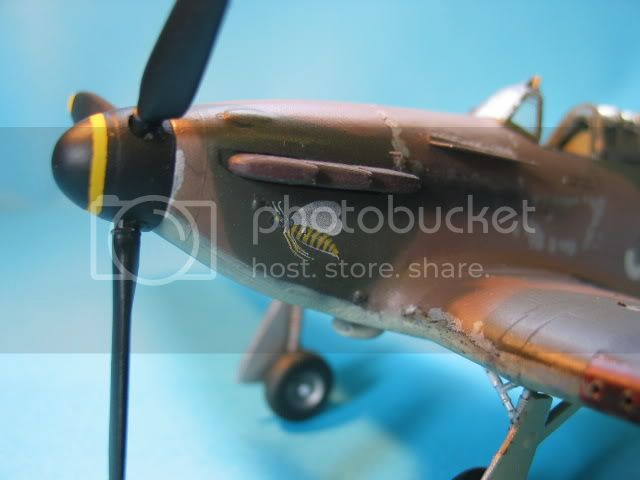
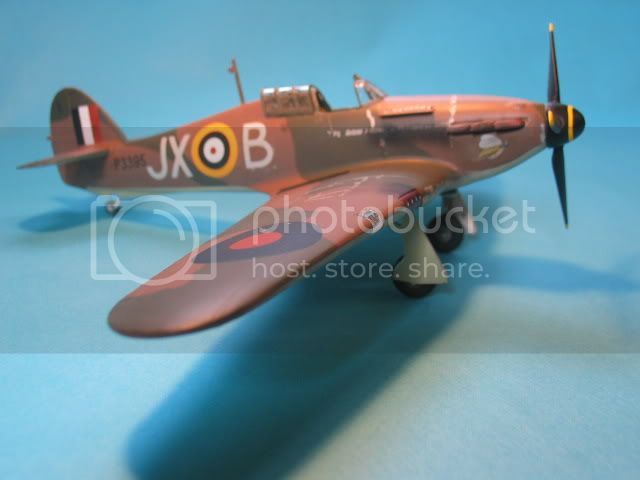
First impressions was true, and even more so, The Big T have done it again!
With this kit Tamiya leads the way!
More to come soon!
Cheers!
Stefan E