Hi all!!
This ain´t no speed-build, Ill tell you that!
Now, I have assembled every sub-assembly, before it has to be painted.
This is my own order in building, and to some it can look rather irrational!
But, theres a system in the madness of it all!
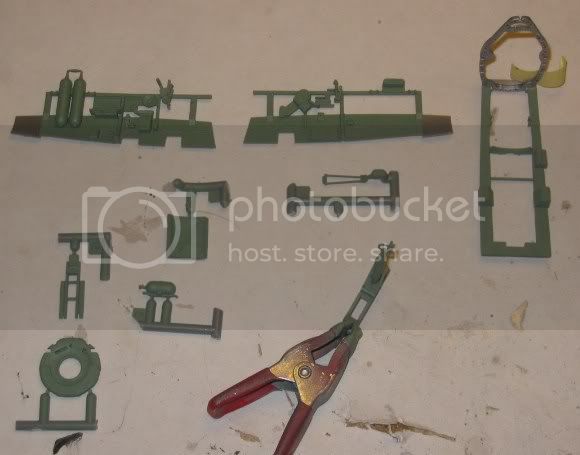
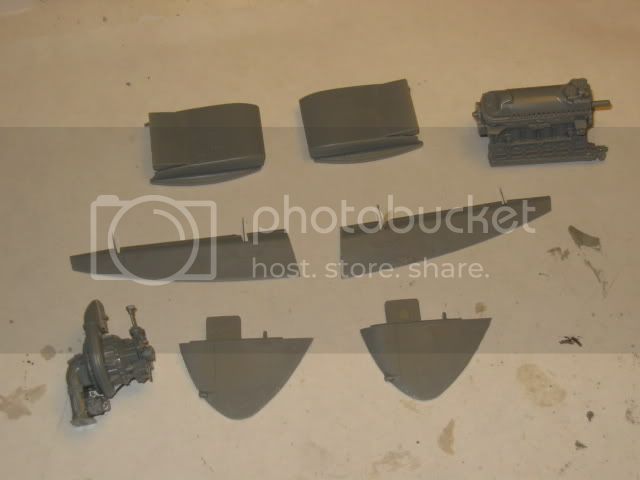
The workplace is filling up with parts;
This is what I have done so far;
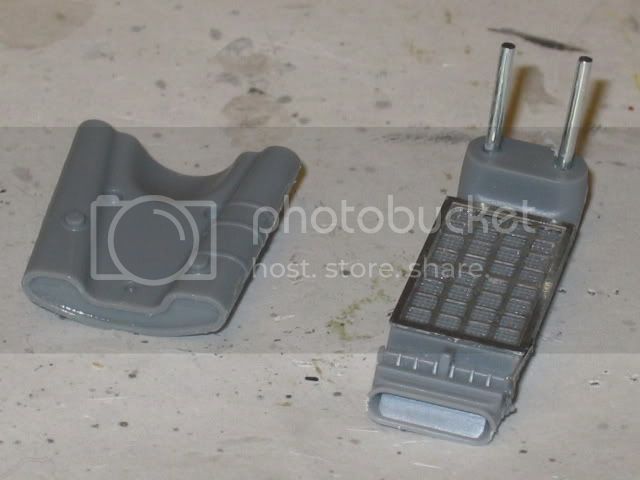
The oil cooler and the long tropical filter (that I wont use);
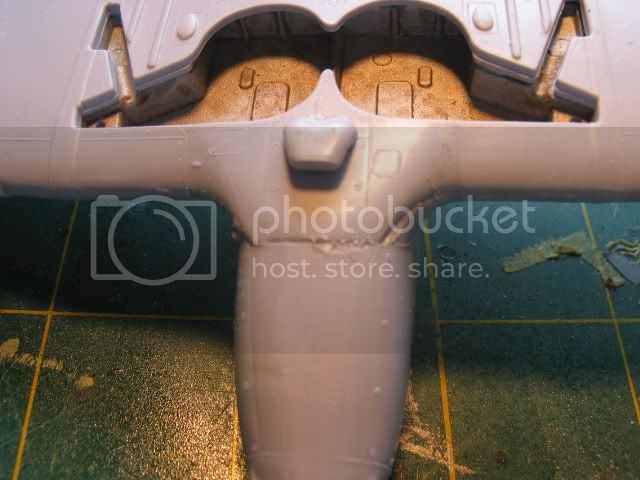
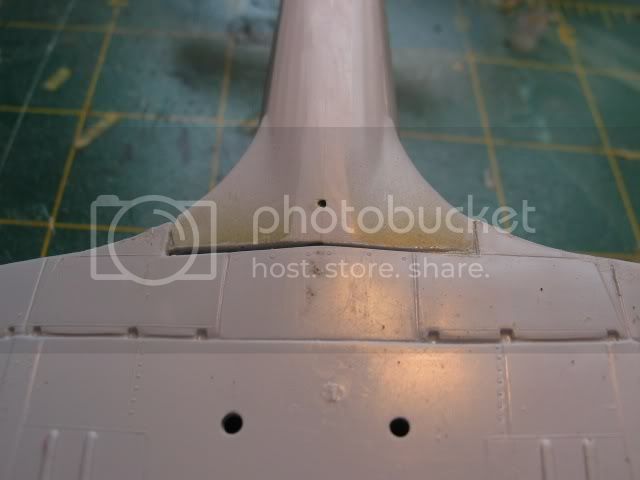
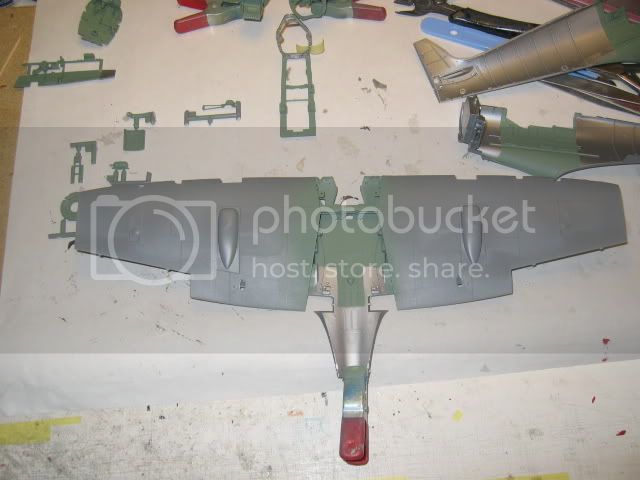
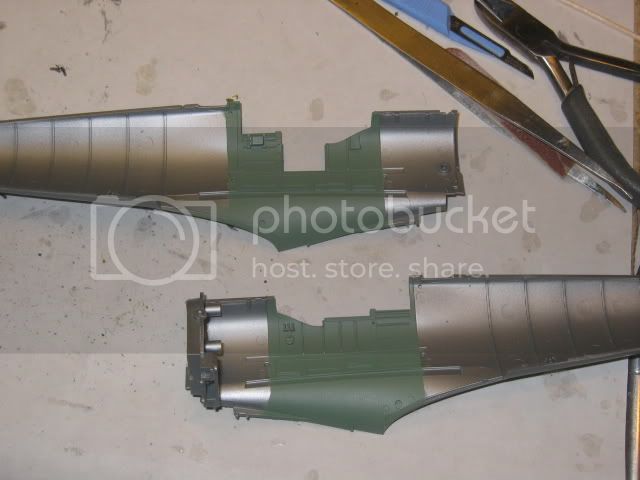
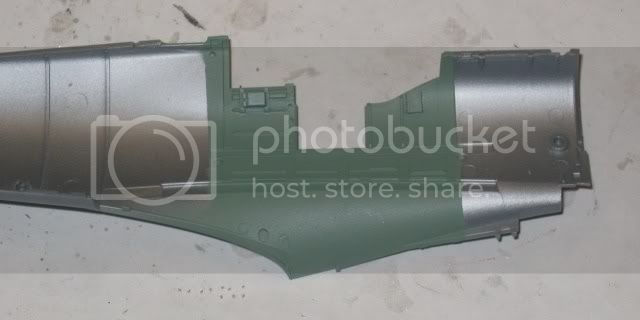
The wings are almost completely assembled and the interior painted;
I have painted the interior, Interior Green in the cockpit and Alclad Aluminium over other surfaces.
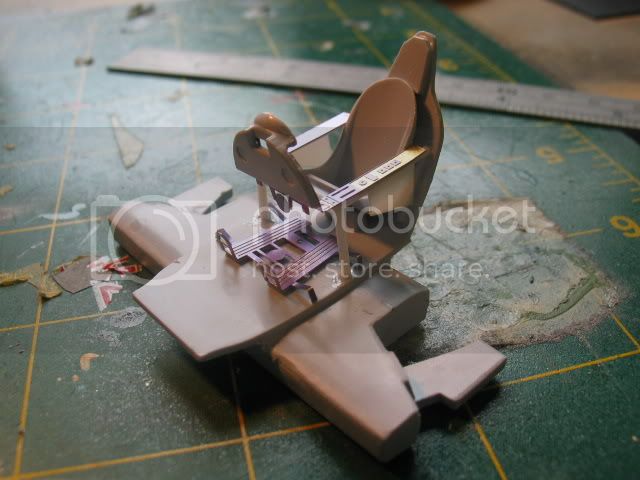
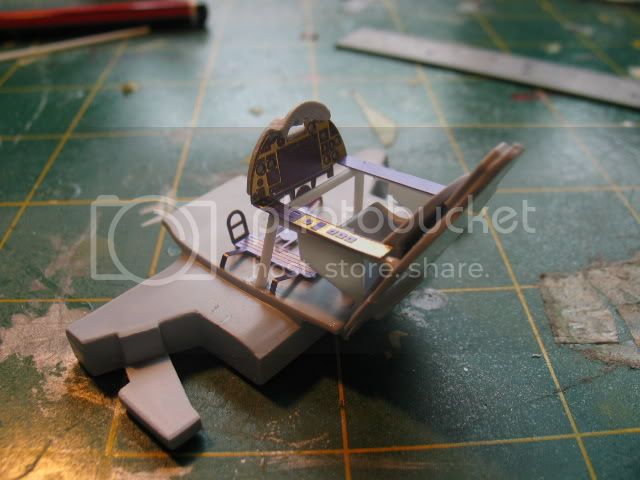
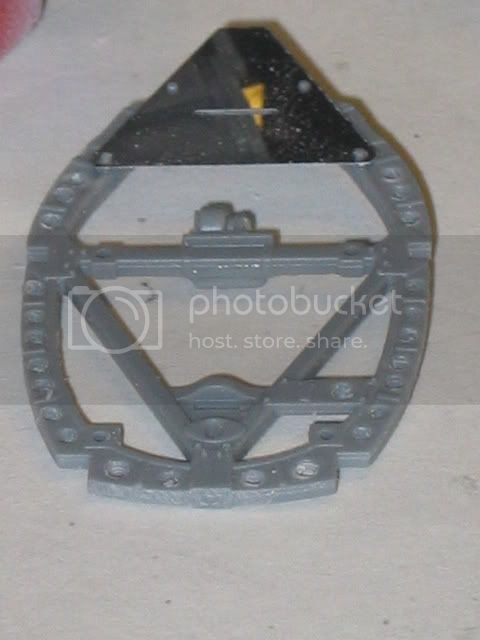
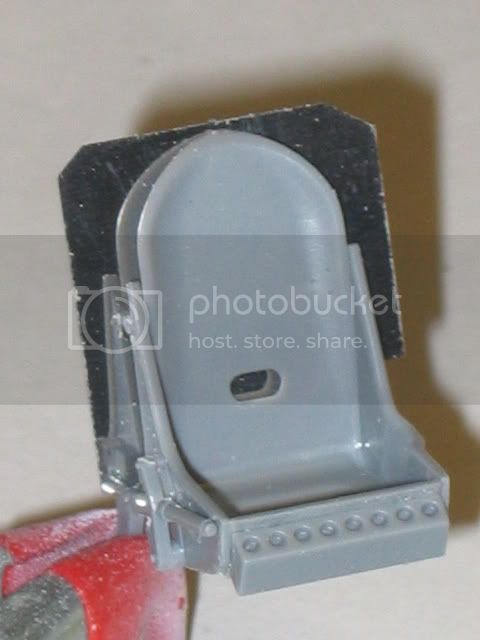
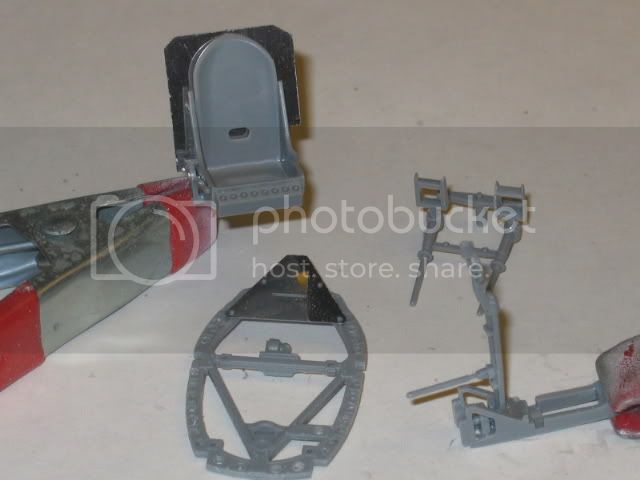
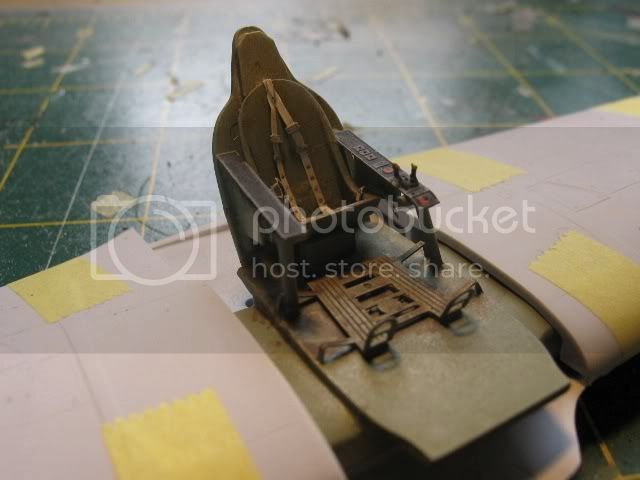
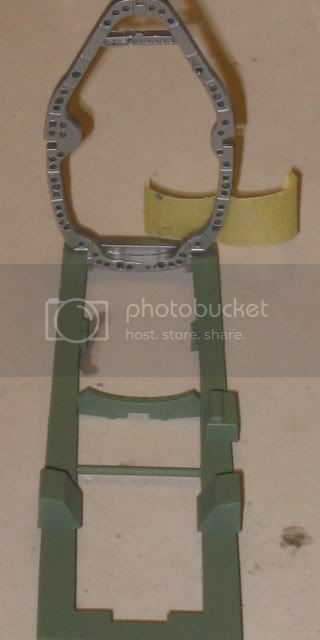
Seat and bulkhead is painted;
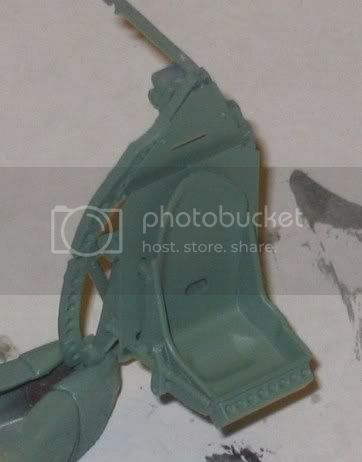
Here will the Instrument panel and compass reside;
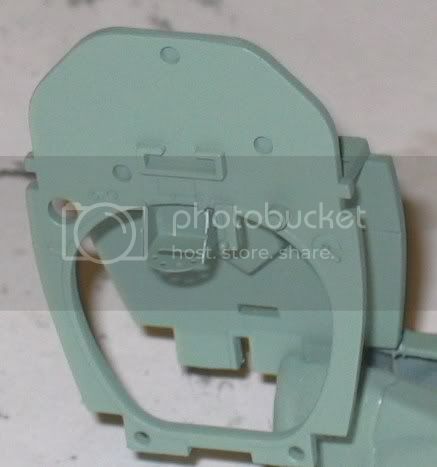
The Engine firewall are a mass of (MANY) small parts, extremely well detailed!

The firewall painted;
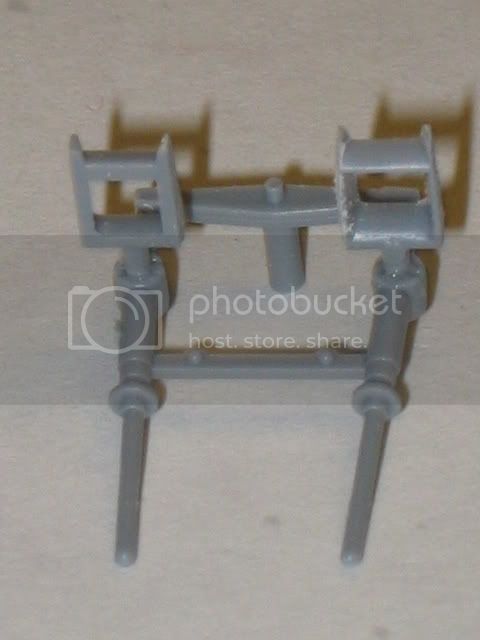
Engine bearers mounted on the bulkhead;
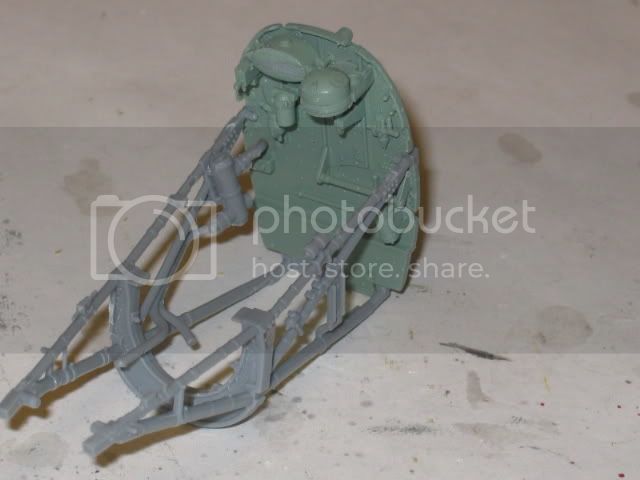
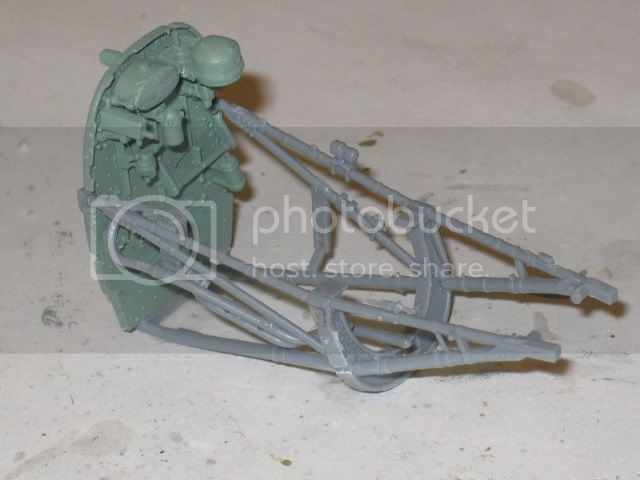
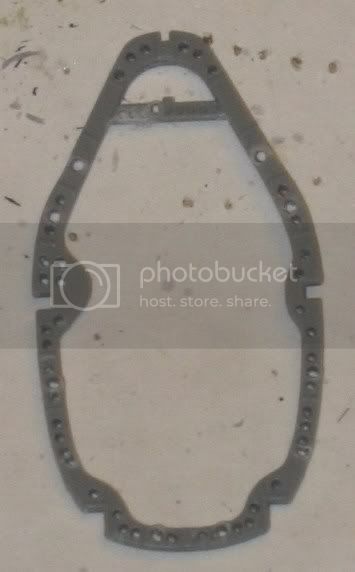
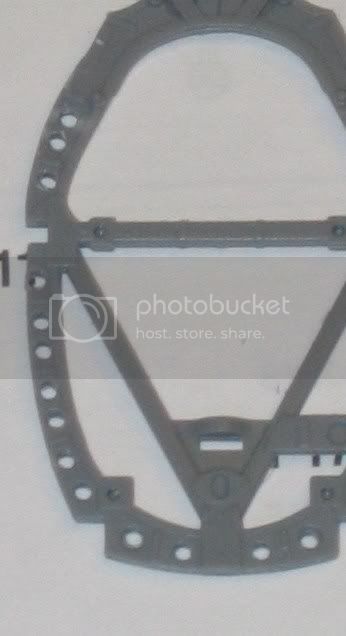
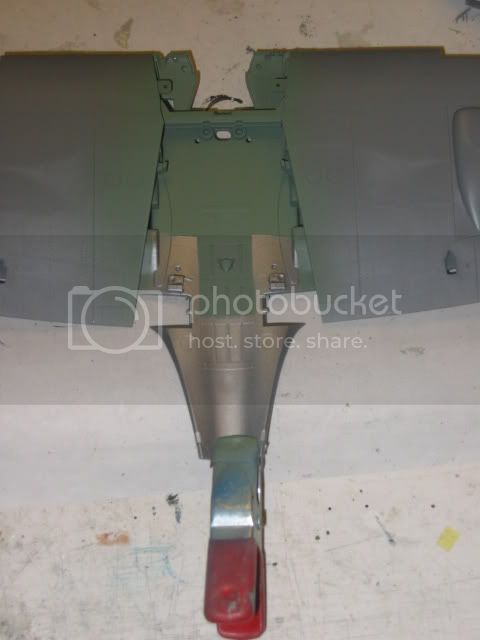
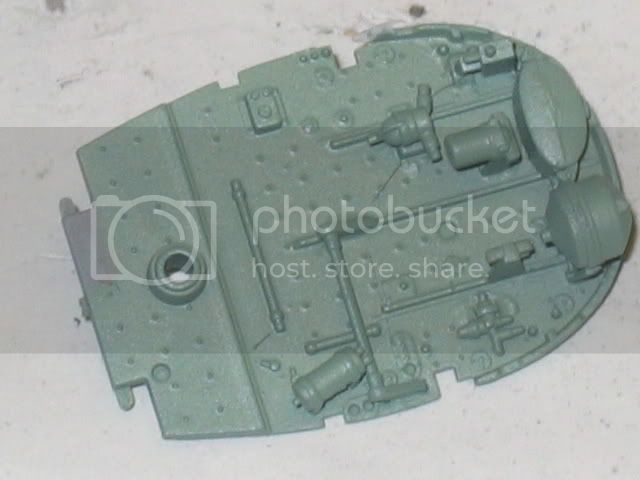
The floor frame and rear bulkhead assembled and painted;
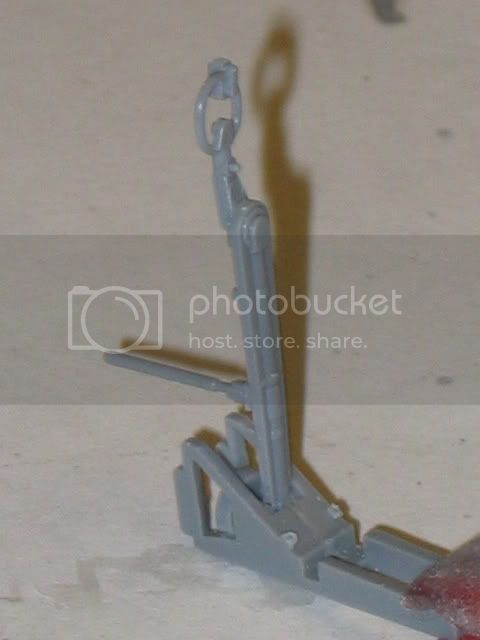
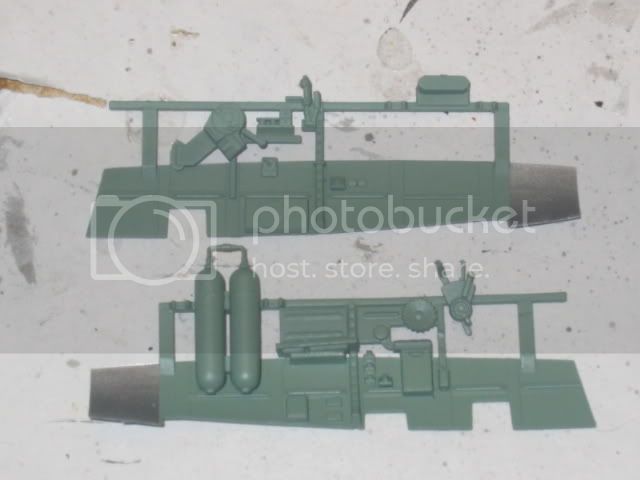
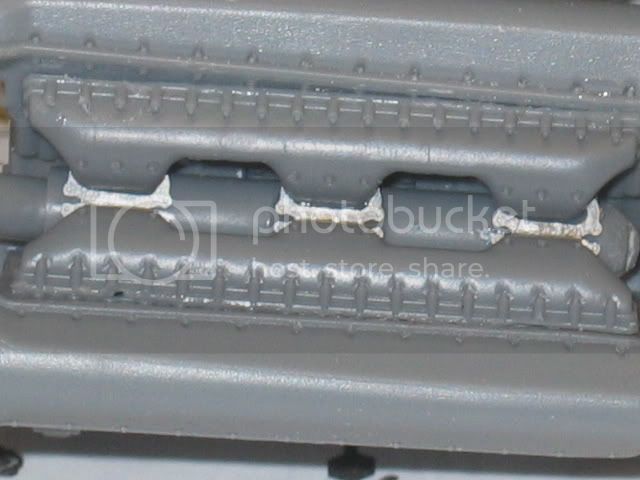
Some small parts;
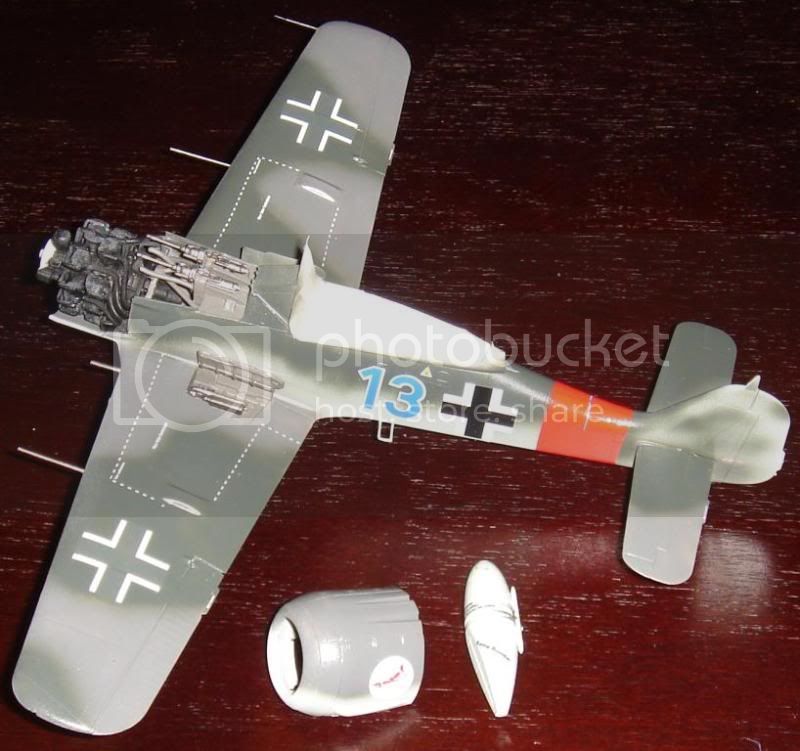
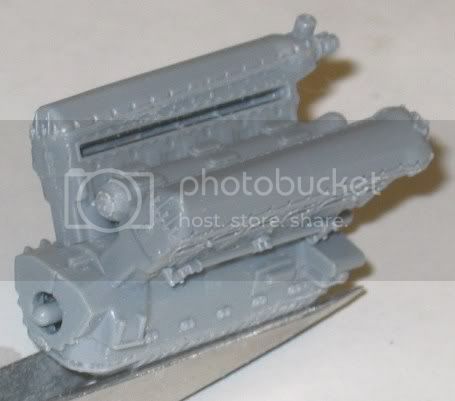
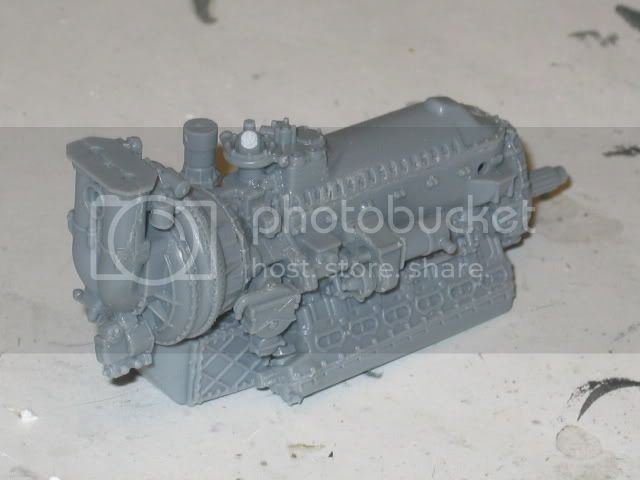
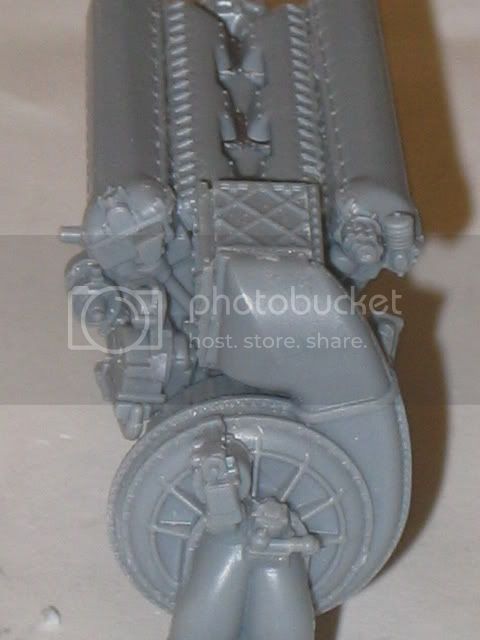
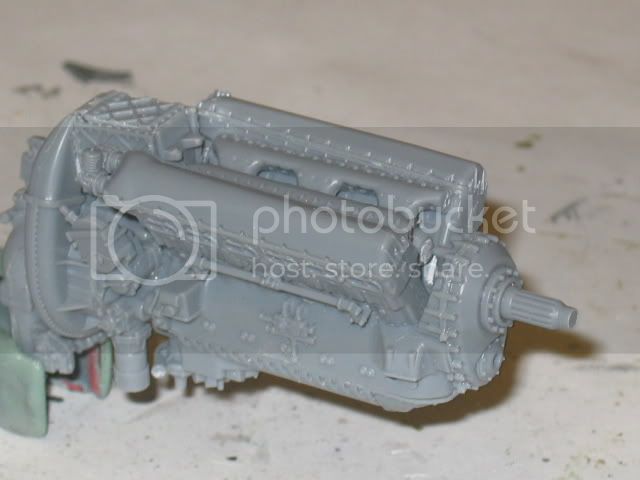
This is the jewel in the crown, the engine!
This is the finest replica of a Merlin engine I have ever seen, Period!
It takes more then 70 parts to make up the engine alone!
The detail is incredible and I wont go on about the wonderful fit of all parts!
You can almost say its like LEGO building bricks, everything literally falls together!
If the parts wont fit, then YOU are to blame!
I almost had it completely done before I remembered the camera!
Some pics were taken after all;
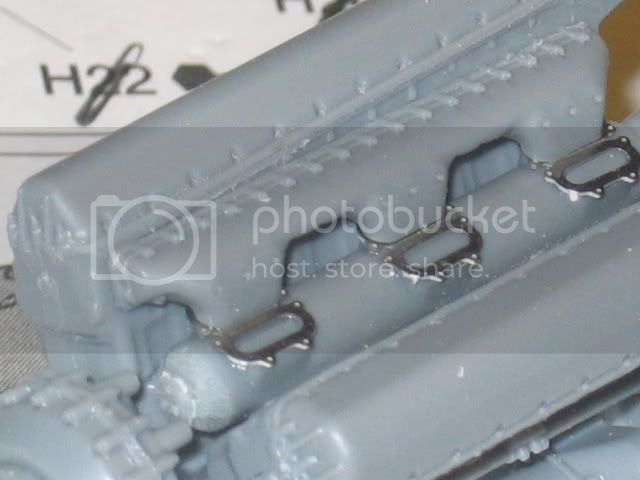
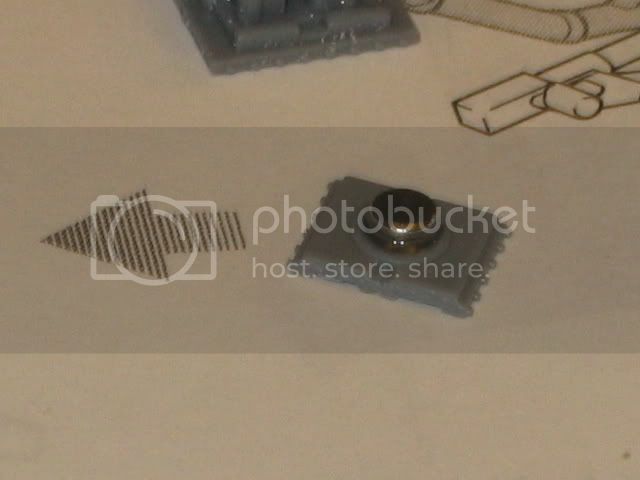
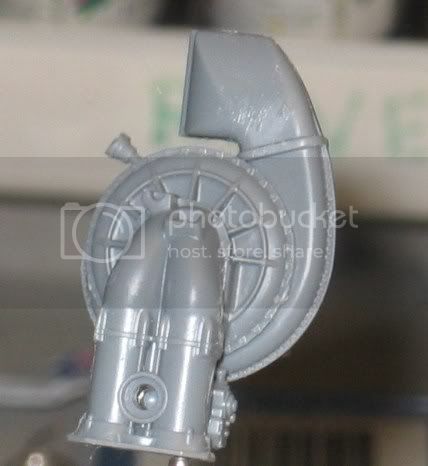
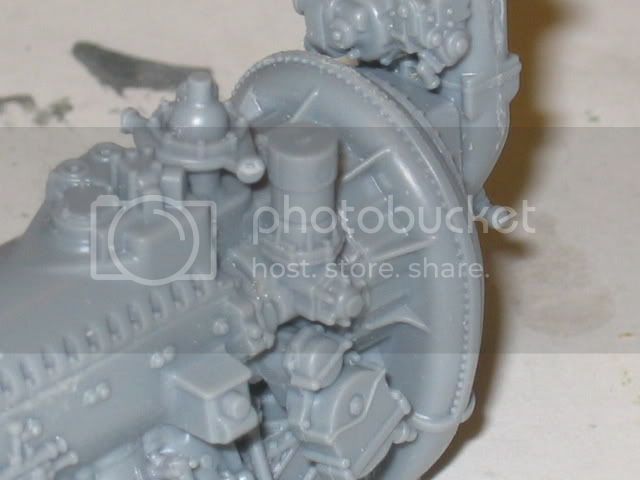
A small, but very strong magnet are concealed in the compressor filter, this will hold the top cover in place!
Genial, but typically Tamiya!
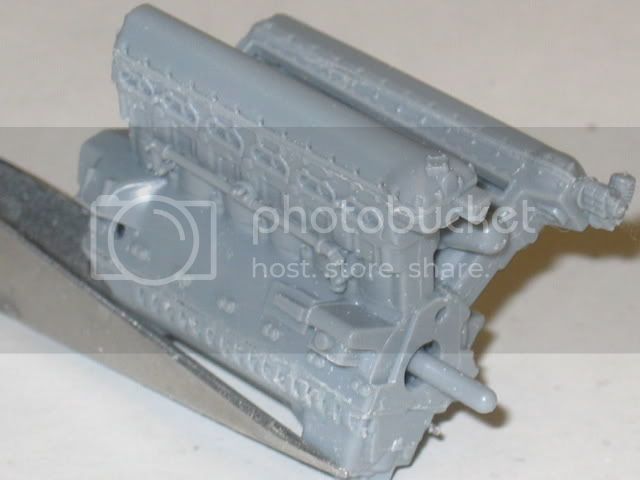
The compressor unit, only this consists of more then 30 parts!
The magnet is located in the square box on top.
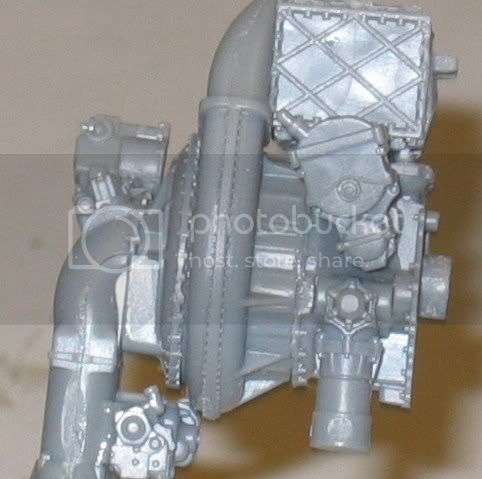
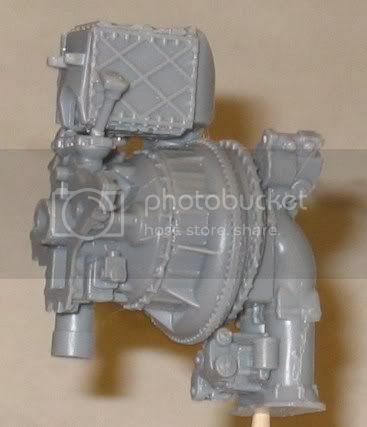
The compressor unit mounted on the engine;
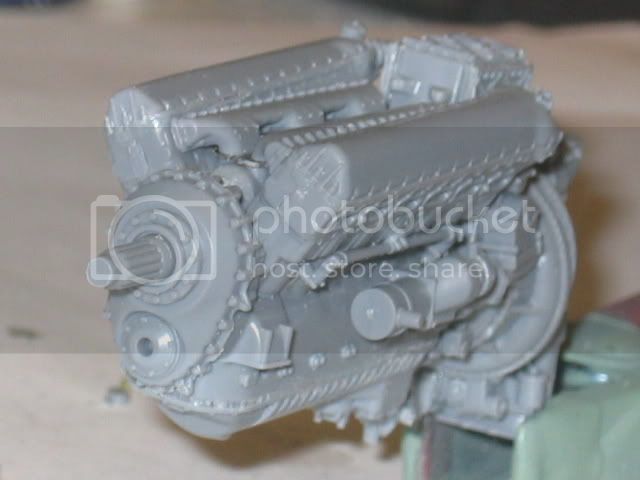
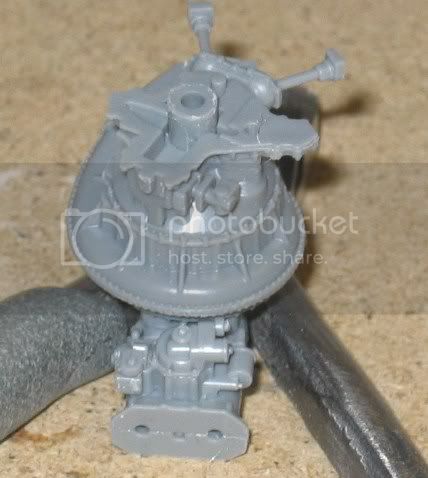
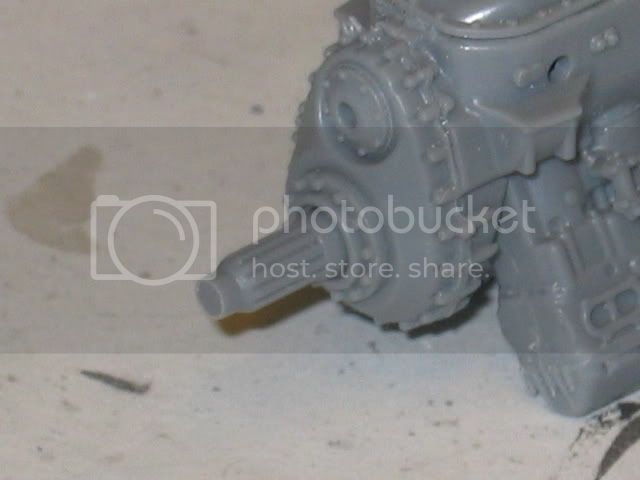
Usually You get a pin to mount the prop onto, not Tamiya, They have gone all the way and detailed everything!
Even the axle is detailed!
Even more parts;
Thats all for now!
More to come soon!
Cheers!
Stefan E