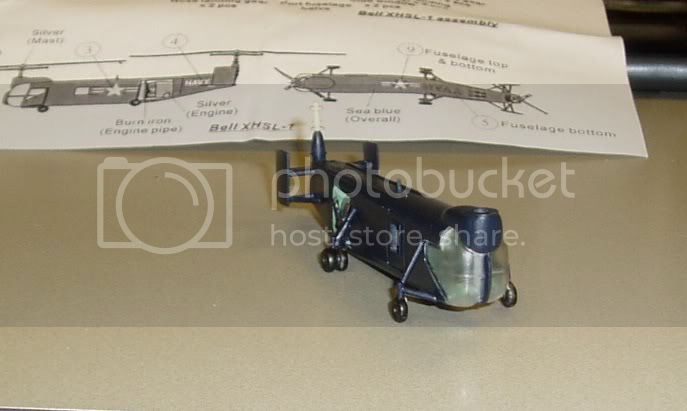
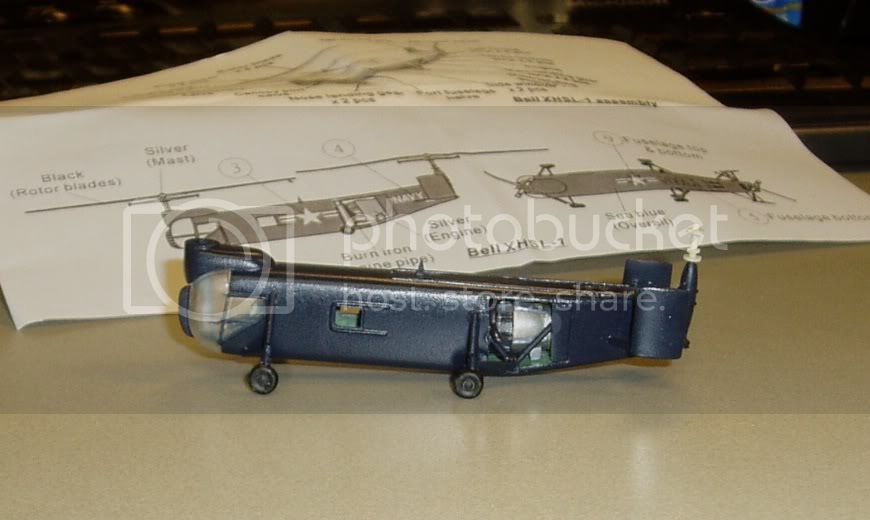
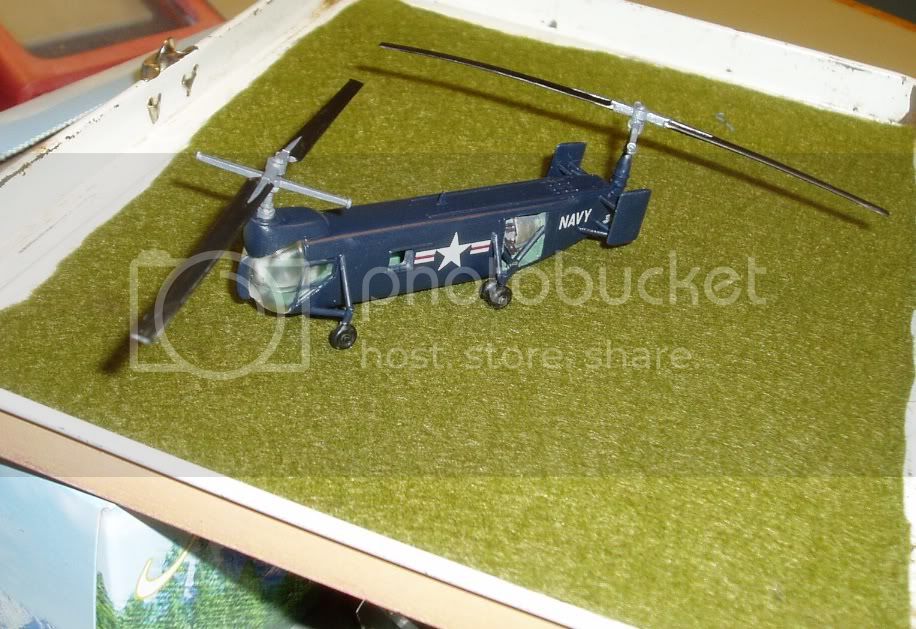
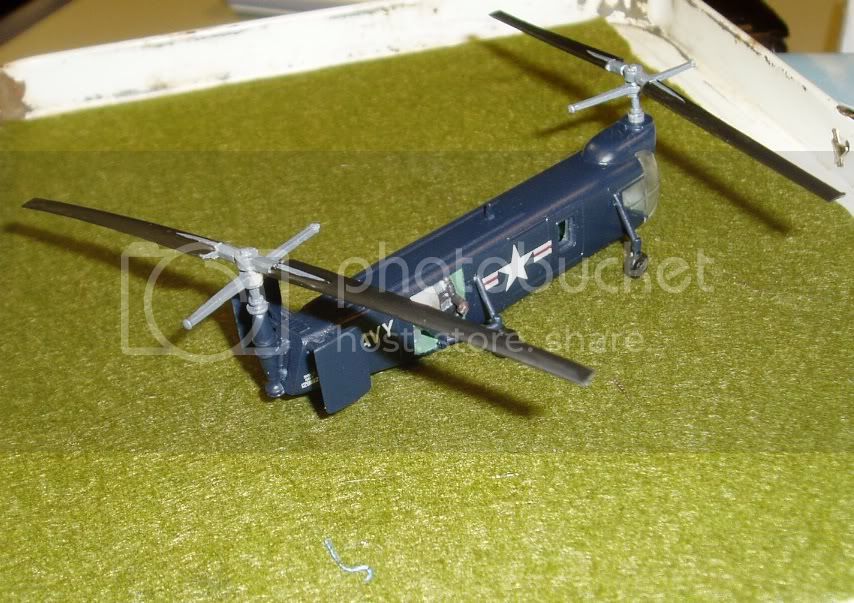
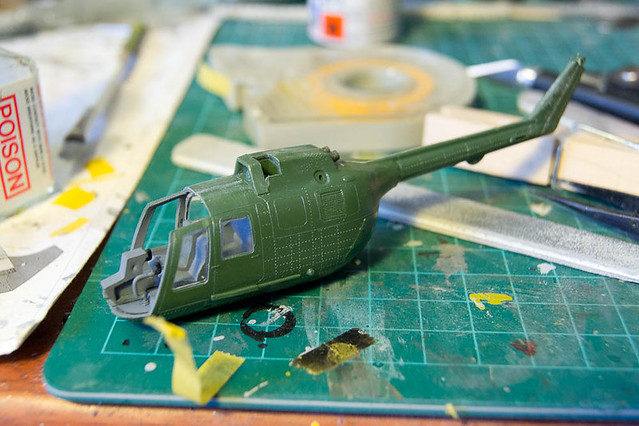
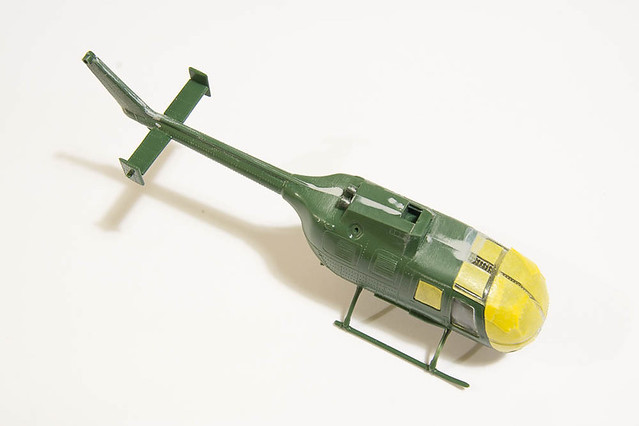
Thanks for all the comments, guys. Appreciate it.
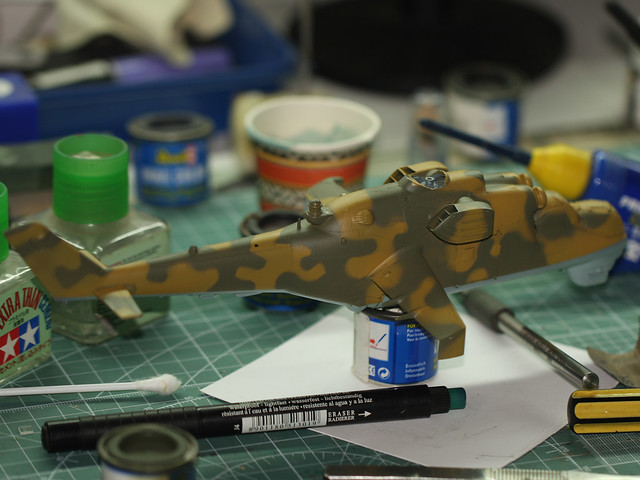
I gave it a coat of clear varnish yesterday after finishing the last touch ups.
Next are the decals. I am going for the sandinista markings. I hope the decals are not too old, but usually ESCI decals stand up to the test of time pretty well.....hopefully in this case as well
More to follow
Air Campaigns
Want to start or join a group build? This is where to start.
Hosted by Frederick Boucher, Michael Satin
OFFICIAL: Aerial Screw Helicopter Campaign
Posted: Sunday, December 11, 2011 - 03:09 AM UTC
Posted: Sunday, December 11, 2011 - 04:09 PM UTC
I got the landing gear together, and shot a coat of gloss lacquer.
cute little bug.
next step is decals.
cute little bug.
next step is decals.
Keeperofsouls2099
Florida, United States
Joined: January 14, 2009
KitMaker: 2,798 posts
AeroScale: 2,443 posts
Joined: January 14, 2009
KitMaker: 2,798 posts
AeroScale: 2,443 posts
Posted: Monday, December 12, 2011 - 12:14 AM UTC
Almost there good job
Posted: Monday, December 12, 2011 - 06:22 PM UTC
decals on, fully assembled, though the rotors are just balancing on the masts.
still needs a few touches of paint and a last coat of lacquer over all.
Posted: Friday, December 16, 2011 - 10:38 AM UTC
Nice progress, Jonathan. Looking forward to see it fully finished.
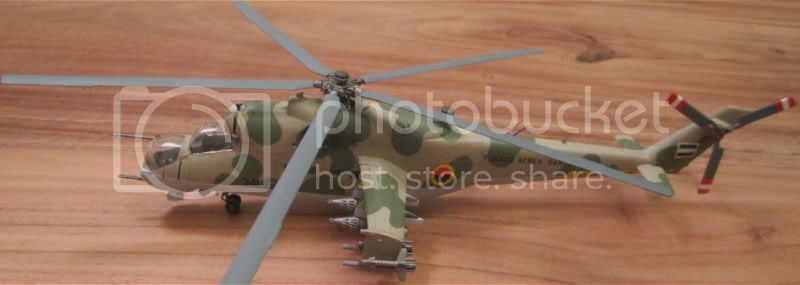
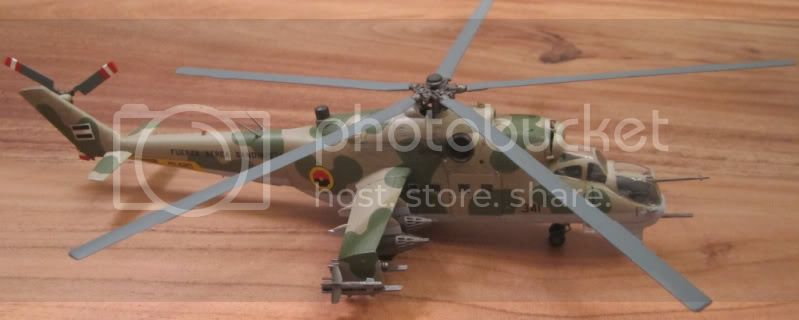
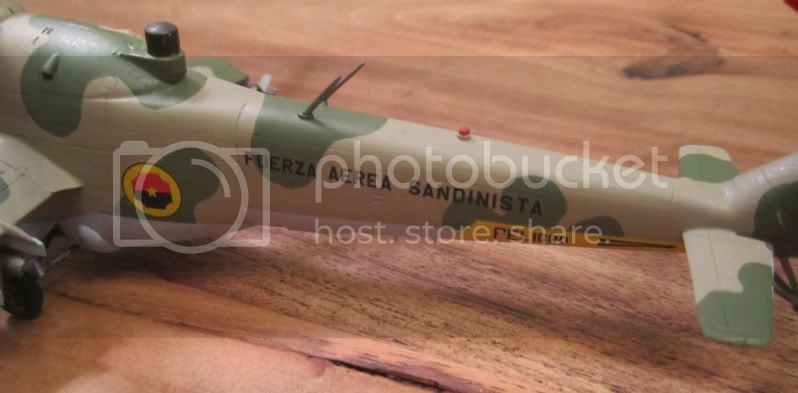
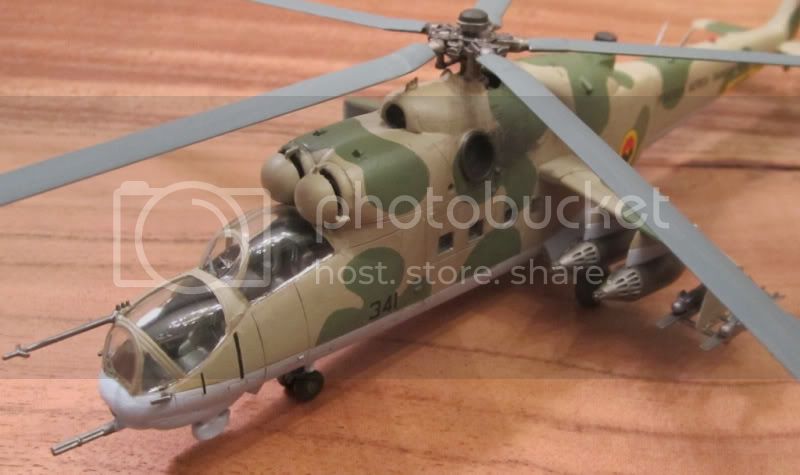
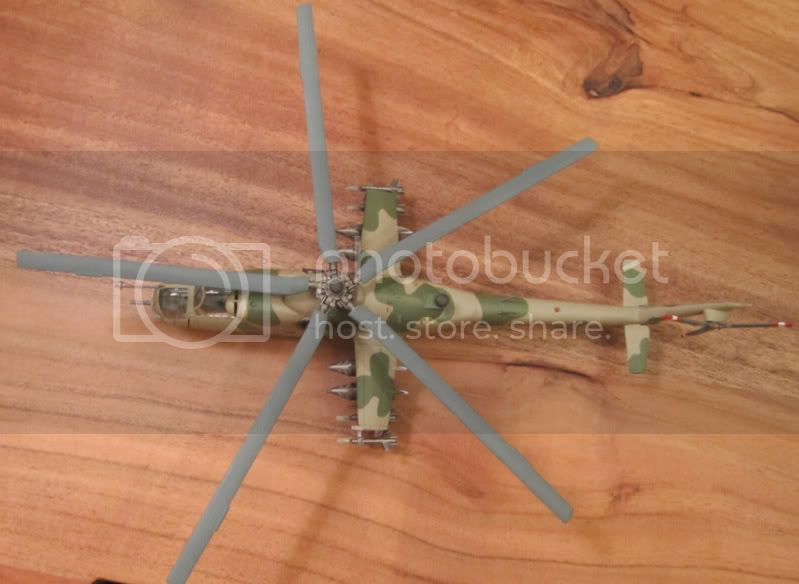
I have finished my Hind D in Sandinista markings. Nice change from all those red stars. I made a few mistakes around the cockpit, but I am in general very satisfied with the look.
It is a serious weapons load these Hinds carried in addtion to a squad of assault troops.
Comments welcome.
I have finished my Hind D in Sandinista markings. Nice change from all those red stars. I made a few mistakes around the cockpit, but I am in general very satisfied with the look.
It is a serious weapons load these Hinds carried in addtion to a squad of assault troops.
Comments welcome.
robot_
United Kingdom
Joined: March 08, 2009
KitMaker: 719 posts
AeroScale: 691 posts
Joined: March 08, 2009
KitMaker: 719 posts
AeroScale: 691 posts
Posted: Friday, December 16, 2011 - 11:16 AM UTC
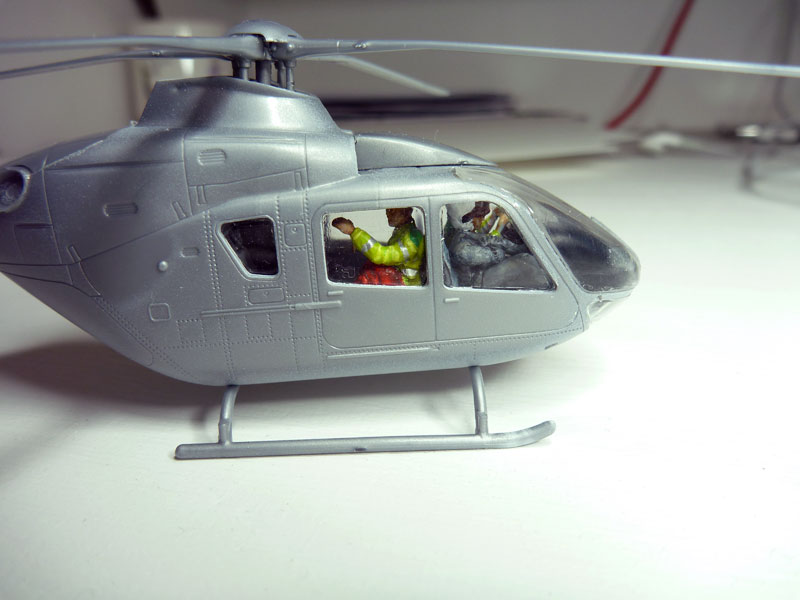
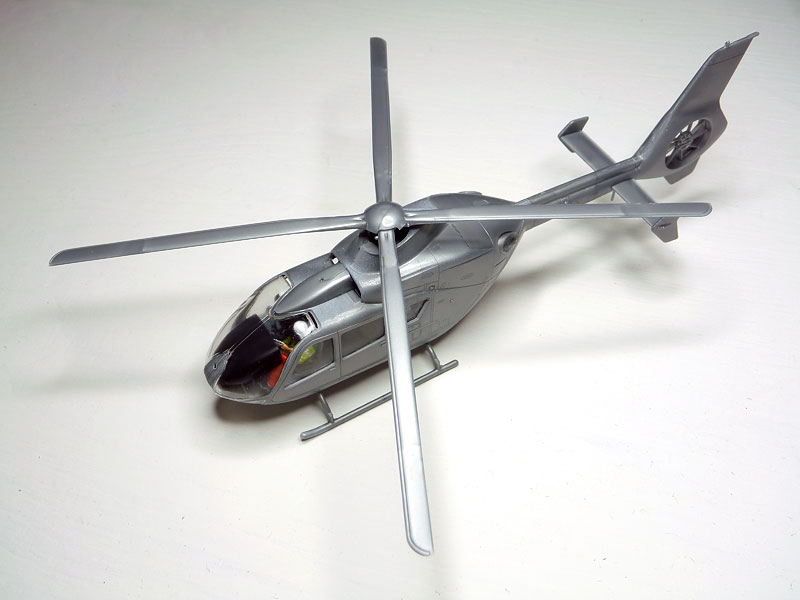
I am rushing to get my two emergency service Eurocopters finished.
This is the air ambulance G-HBOB. The police one is not far behind. All decals have been designed now.
The windows didn't go in without a struggle, though I think the polishing out of the frame lines moulded in has helped a bit- these are represented in the kit decals anyway.
The front glazing is a nightmare- after a lot of sanding to fit, there is still a huge 2mm gap at the top, that will be tick to fill. This is the air ambulance- the Police one is lag gin a bit, but is almost ready to have the fuselage closed as well.
Keeperofsouls2099
Florida, United States
Joined: January 14, 2009
KitMaker: 2,798 posts
AeroScale: 2,443 posts
Joined: January 14, 2009
KitMaker: 2,798 posts
AeroScale: 2,443 posts
Posted: Friday, December 16, 2011 - 01:15 PM UTC
Good progress guys nice finish on the hind .almost time for this one to be in the books.keep them coming and thanks for taking part in my campaign.
robot_
United Kingdom
Joined: March 08, 2009
KitMaker: 719 posts
AeroScale: 691 posts
Joined: March 08, 2009
KitMaker: 719 posts
AeroScale: 691 posts
Posted: Sunday, December 18, 2011 - 10:12 AM UTC
Thanks for your time to run the campaign Justin. A shame I haven't contributed more to it (hopefully will finish though).
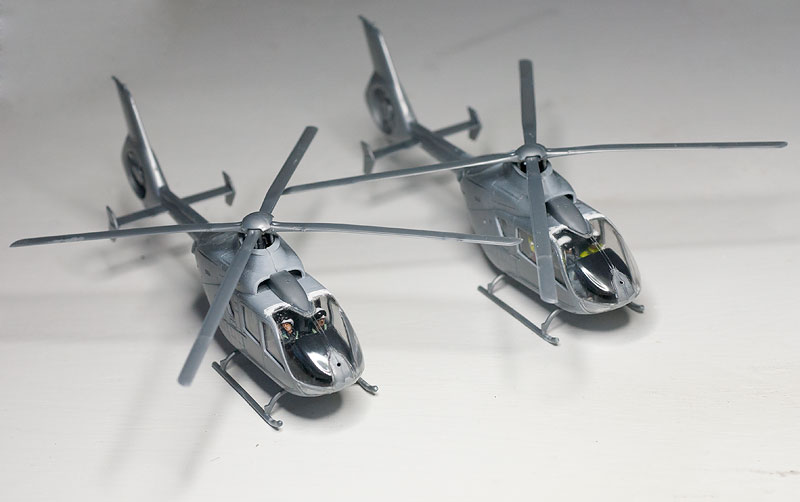
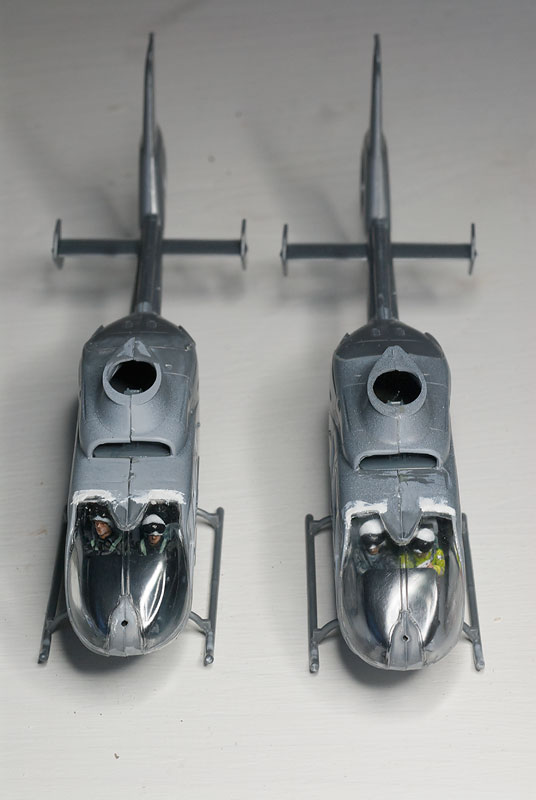
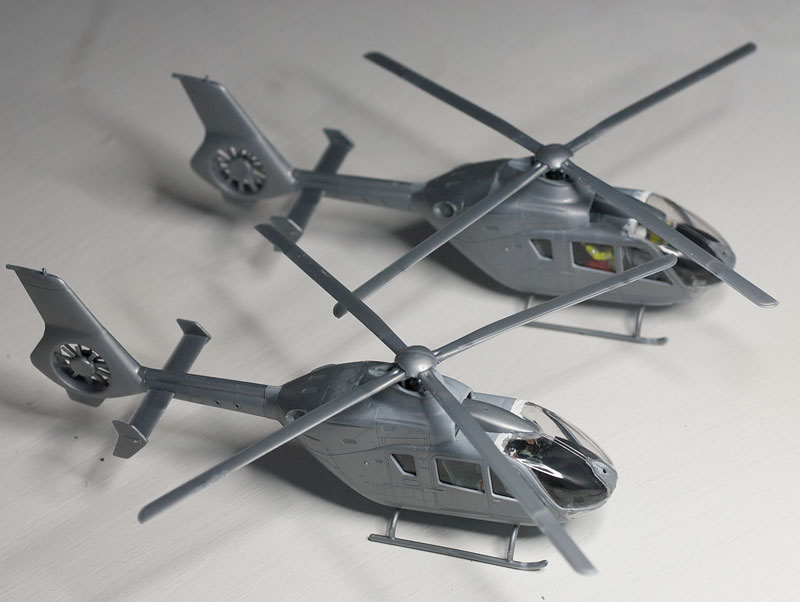
Here is how we stand today.
The Police one, G-TVHB, has caught up, and I have filled above the glazing. I used white milliput so that if it shows through the glazing it doesn't look too odd (as green squadron putty would), and I can smooth it with water without harming the clear parts.
Here is how we stand today.
The Police one, G-TVHB, has caught up, and I have filled above the glazing. I used white milliput so that if it shows through the glazing it doesn't look too odd (as green squadron putty would), and I can smooth it with water without harming the clear parts.
Posted: Sunday, December 18, 2011 - 04:20 PM UTC
Thanks for the comment, Justin.
Nice progress, Ben. Looking forward to see them in their colors.
Posted: Monday, December 19, 2011 - 05:12 AM UTC
The story so far:
I am not too happy with the finish, but as time is running out, i'll have to live with it
Keeperofsouls2099
Florida, United States
Joined: January 14, 2009
KitMaker: 2,798 posts
AeroScale: 2,443 posts
Joined: January 14, 2009
KitMaker: 2,798 posts
AeroScale: 2,443 posts
Posted: Monday, December 19, 2011 - 12:47 PM UTC
Think it looks good after some weathering it will pop good work
Posted: Monday, December 19, 2011 - 06:05 PM UTC
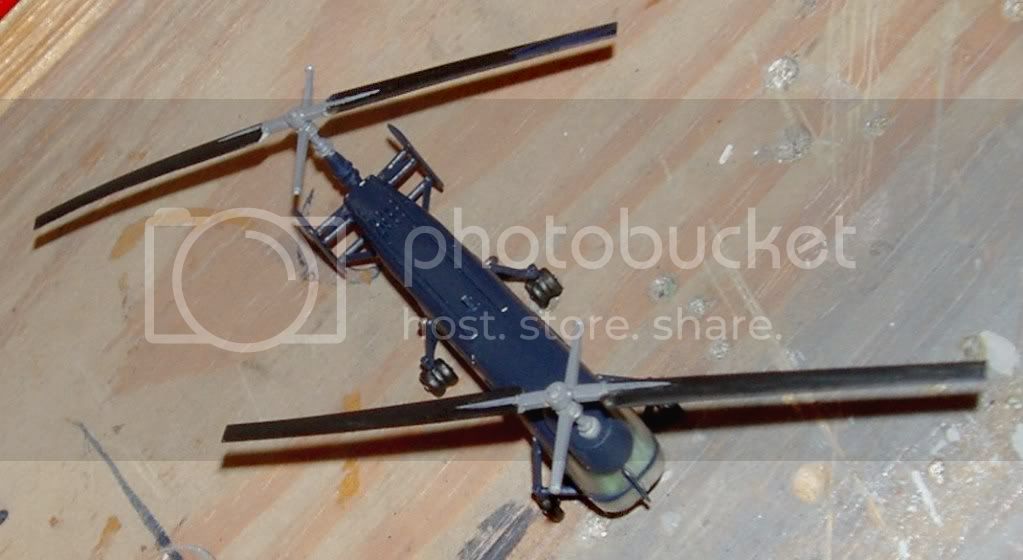
Hey guys, I haven't had a lot of bench time lately, but I have managed to get some colour and a pinwash on the Airjeep.
I think I might even get this one done on time, perhaps, maybe
Cheers, D
I think I might even get this one done on time, perhaps, maybe
Cheers, D
Keeperofsouls2099
Florida, United States
Joined: January 14, 2009
KitMaker: 2,798 posts
AeroScale: 2,443 posts
Joined: January 14, 2009
KitMaker: 2,798 posts
AeroScale: 2,443 posts
Posted: Tuesday, December 20, 2011 - 04:06 AM UTC
The auss man lives looking cool kinda like a video game controller that's evil Good work sir
mykroft
Ontario, Canada
Joined: November 14, 2009
KitMaker: 270 posts
AeroScale: 264 posts
Joined: November 14, 2009
KitMaker: 270 posts
AeroScale: 264 posts
Posted: Wednesday, December 21, 2011 - 10:30 AM UTC
Unfortunately I ran into a last-minute snag with Airwolf, there's a part missing from the kit and it's an important one, the nose fairing. Luckily it's a part that isn't used on the stock B222, so I need to track down another copy of the kit and steal the part.
Since I'd still rather like to finish this GB, I'm going to do a speed build of a Bo105 from Aifix's ancient 1/72 kit. Pics to follow.
Posted: Wednesday, December 21, 2011 - 11:49 AM UTC
This thing is almost done.
I think Im going to fuss over it for a few more days before taking galley pics.
robot_
United Kingdom
Joined: March 08, 2009
KitMaker: 719 posts
AeroScale: 691 posts
Joined: March 08, 2009
KitMaker: 719 posts
AeroScale: 691 posts
Posted: Friday, December 23, 2011 - 09:20 AM UTC
First day off for Christmas today, so got quite a bit done.
First was some masking (very tedious, only did the air ambulance, then got too bored...).
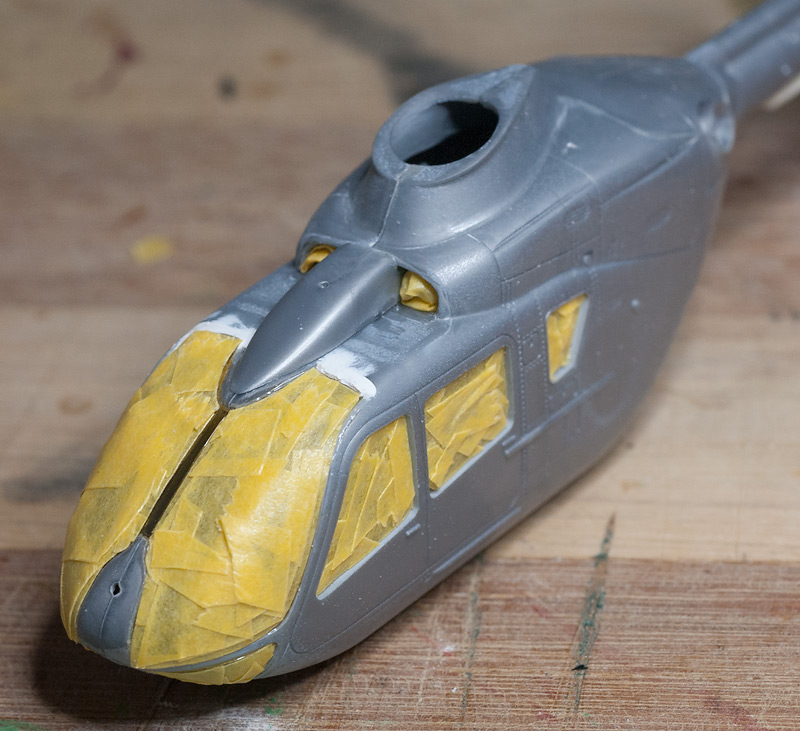
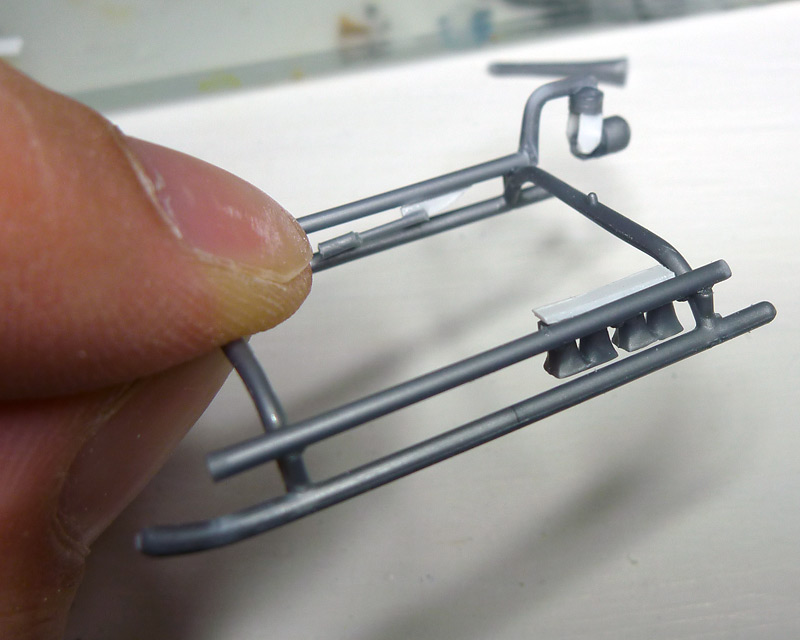
Then I had a go at scratch building the secondary skid rails and police equipment mounted on them. I used only some plastic card and some heated sprue
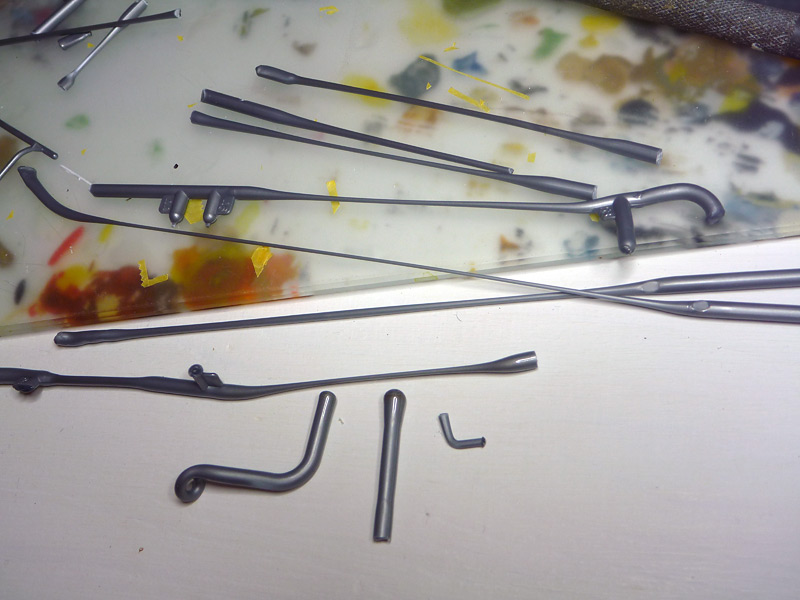
The ball camera (front) and searchlight (rear) were have rounded surfaces, so I heated sprue until it made rounded ends of the right size for these.
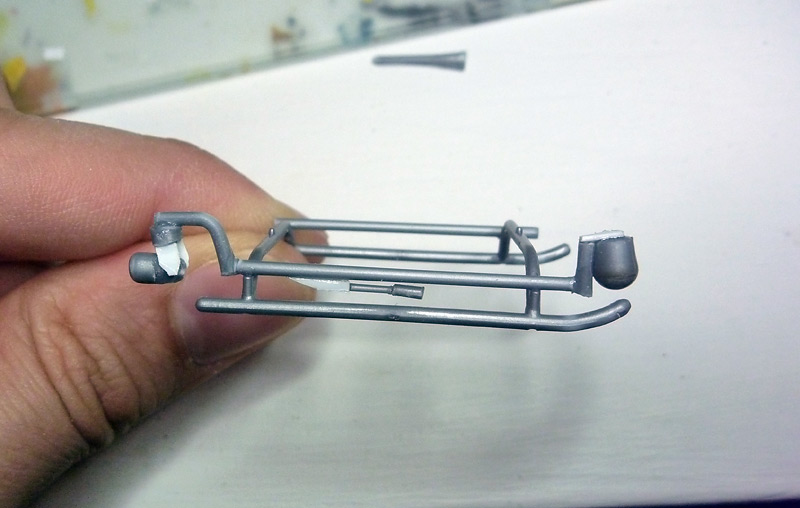
The thing between the rails in the middle is a microwave antenna to allow fast data communication, for things such as live video relay to the ground
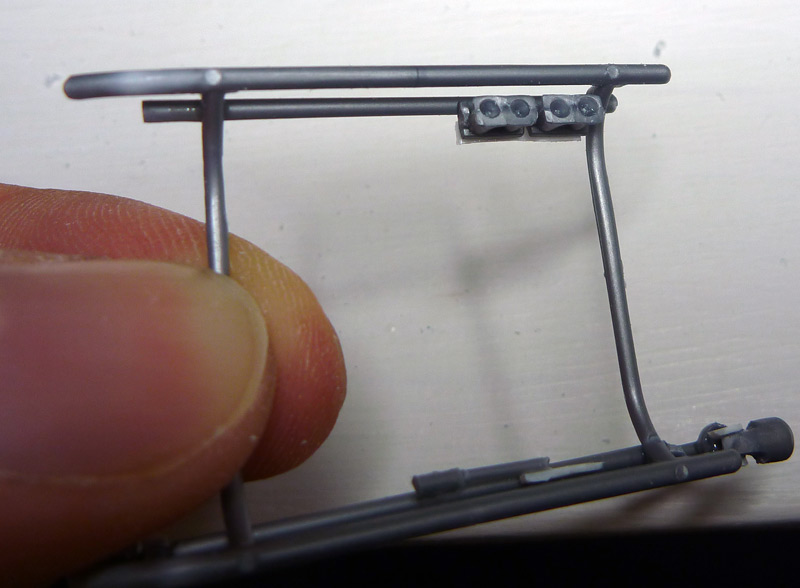
I used the kit-included pairs of loud hailers (only one pair came per kit, on the sprue from the EC 145, I think), both pairs on the police helicopter. The real thing has six cones, and they point forward slightly, but I don't mind this inaccuracy enough to scratch build them. I drilled out their undersides:
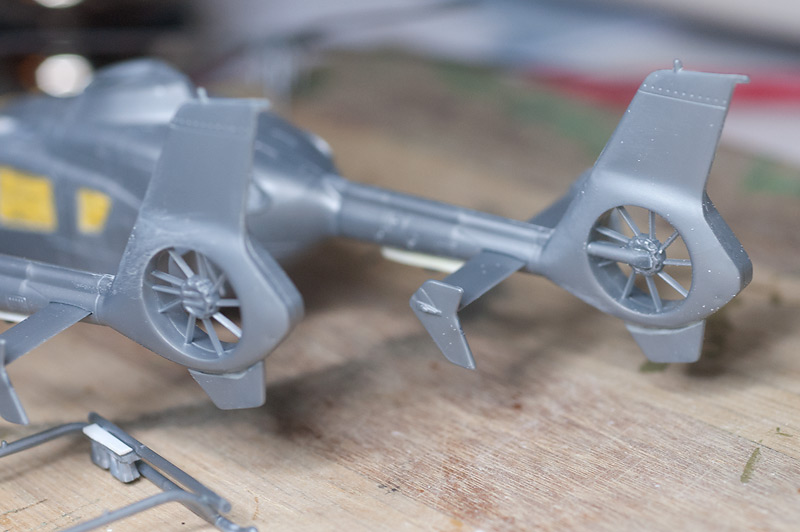
The EC-135 P2+ aircraft have a few features missing from this kit, so I had to scratch build these navigation bits on the underside of the tail:
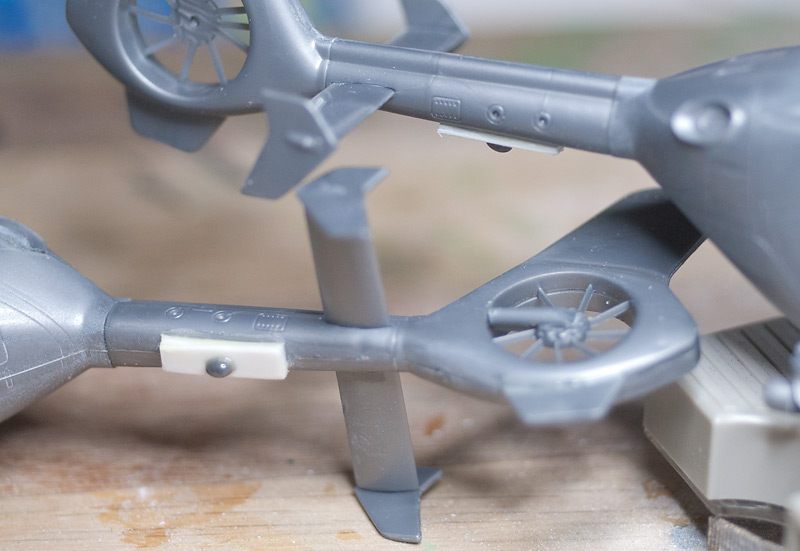
And the cover for the tail rotor drive shaft (modified on right, original on left):
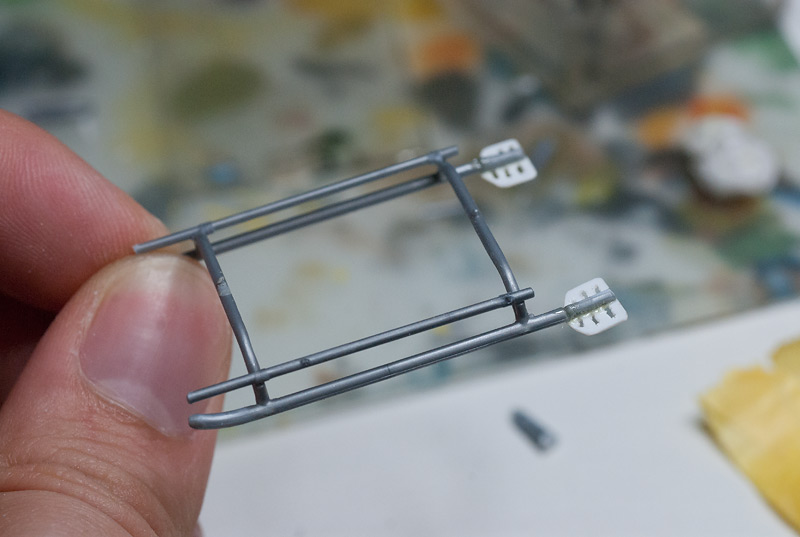
The air ambulance has anti-settling bits on the rear end of its skids, so I made a (poor) replica of these.
How things stand at the end of the day:
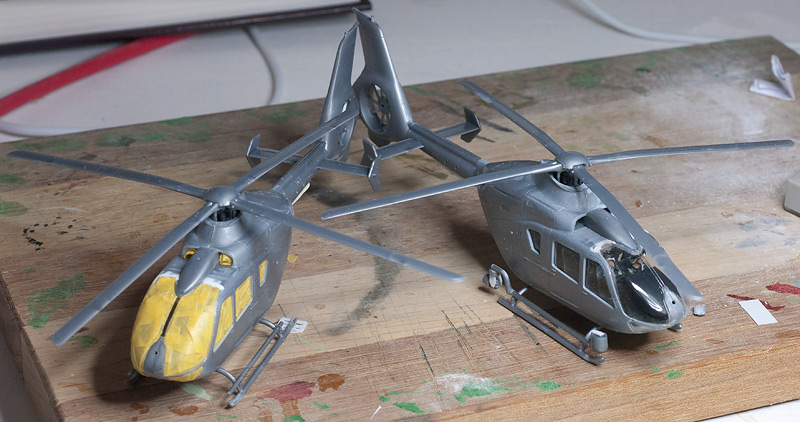
I need to mask the police helicopter, fill the sink marks in the rotor blades, drill out holes in the nose for lights, add some things either side of the nose (pitots?), and then I'll be ready for paint!
Keeperofsouls2099
Florida, United States
Joined: January 14, 2009
KitMaker: 2,798 posts
AeroScale: 2,443 posts
Joined: January 14, 2009
KitMaker: 2,798 posts
AeroScale: 2,443 posts
Posted: Saturday, December 24, 2011 - 12:19 AM UTC
Good work guys.nice scratch building
HeyLoad
Illinois, United States
Joined: December 06, 2005
KitMaker: 64 posts
AeroScale: 33 posts
Joined: December 06, 2005
KitMaker: 64 posts
AeroScale: 33 posts
Posted: Saturday, December 24, 2011 - 05:28 AM UTC
I had a long pause in construction, but trying to rush to an on-time finish. As a reminder, I have a Hasegawa 1/48 Seaking. Mostly built now and got a coat of primer on today. Hope to finish under the wire, but there's a lot of decals!
Tom
Tom
mykroft
Ontario, Canada
Joined: November 14, 2009
KitMaker: 270 posts
AeroScale: 264 posts
Joined: November 14, 2009
KitMaker: 270 posts
AeroScale: 264 posts
Posted: Sunday, December 25, 2011 - 07:22 AM UTC
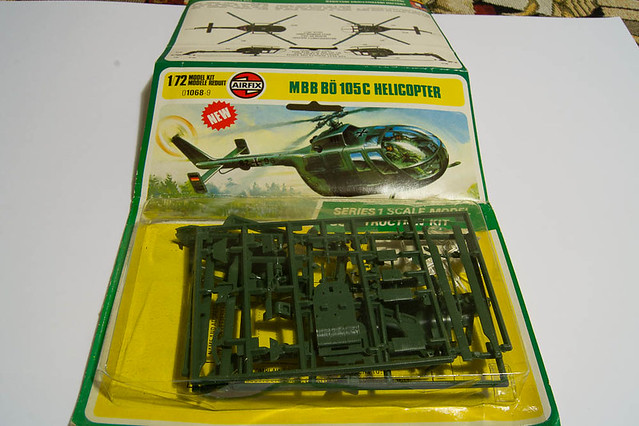
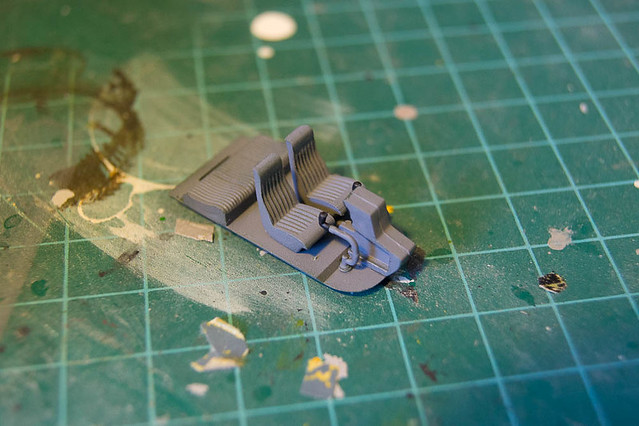
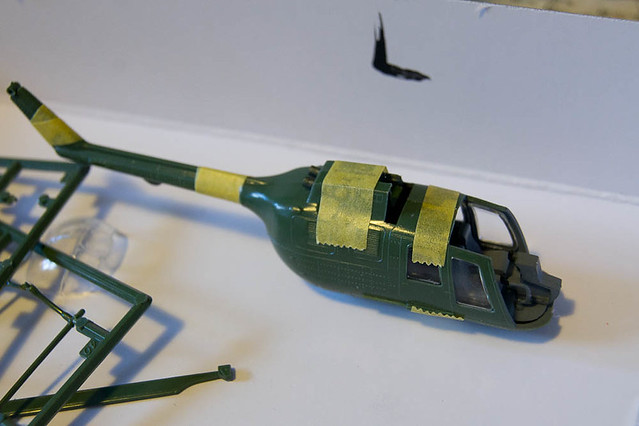
Well, here's the Airfix Bo105:
In original packaging
Aifix Bo105 1/72 by mawz_models, on Flickr
And working on the office
Aifix Bo105 1/72 by mawz_models, on Flickr
Fuselage together
Aifix Bo105 1/72 by mawz_models, on Flickr
Cleaning stuff up
Aifix Bo105 1/72 by mawz_models, on Flickr
In original packaging
Aifix Bo105 1/72 by mawz_models, on Flickr
And working on the office
Aifix Bo105 1/72 by mawz_models, on Flickr
Fuselage together
Aifix Bo105 1/72 by mawz_models, on Flickr
Cleaning stuff up
Aifix Bo105 1/72 by mawz_models, on Flickr
Keeperofsouls2099
Florida, United States
Joined: January 14, 2009
KitMaker: 2,798 posts
AeroScale: 2,443 posts
Joined: January 14, 2009
KitMaker: 2,798 posts
AeroScale: 2,443 posts
Posted: Monday, December 26, 2011 - 12:39 AM UTC
We have got some late entries it's coming down to the wire folks.alot of great builds have come out and are going on.im pushing for you guys to finish you can do it
Posted: Thursday, December 29, 2011 - 10:12 AM UTC
Just spent a happy hour reviewing the thread, there is some excellent work and
some great tips (particularly Q's dots:-) ). Thanks Justin for a great idea and a well run campaign.
Posted: Thursday, December 29, 2011 - 10:45 AM UTC
Just a couple of decals to go and the Piasecki is done. Pics soon.
Cheers, D
Cheers, D
mykroft
Ontario, Canada
Joined: November 14, 2009
KitMaker: 270 posts
AeroScale: 264 posts
Joined: November 14, 2009
KitMaker: 270 posts
AeroScale: 264 posts
Posted: Thursday, December 29, 2011 - 11:57 AM UTC
Keeperofsouls2099
Florida, United States
Joined: January 14, 2009
KitMaker: 2,798 posts
AeroScale: 2,443 posts
Joined: January 14, 2009
KitMaker: 2,798 posts
AeroScale: 2,443 posts
Posted: Thursday, December 29, 2011 - 12:36 PM UTC
Well thanks for taking part in my campaign all who partook and I look forward to seeing you in future campaigns.the official end is tonight at midnight so I hope to see some more finish.with my wife's surgery putting some dents in things I regret not being able to finish a build but I have some birds for the next one.again thank you and I will distribute the ribbons tomorrow after work.please make sure you have pics uploaded to the gallery per tomcats request on entry's .
Posted: Thursday, December 29, 2011 - 08:29 PM UTC
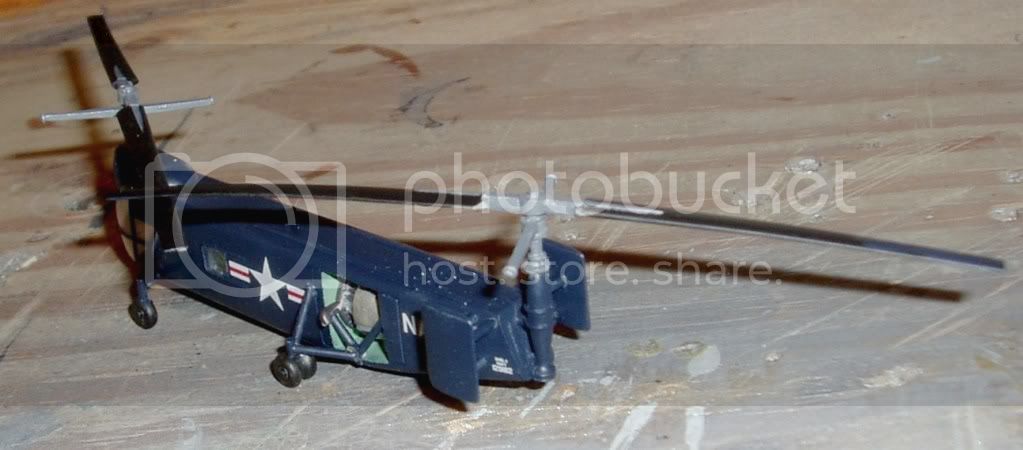
Well here it is, just in time !
The 1/35 Glencoe Models rendition of the Piasecki ZV-8P Airjeep.
It needs a second coat of clear to protect the decals, and one day I might paint up the dinky little base that is supplied with the kit.
Thanks for a sensational Campaign Justin, and congrats to all who have contributed. There are some great builds on display !
Cheers, D