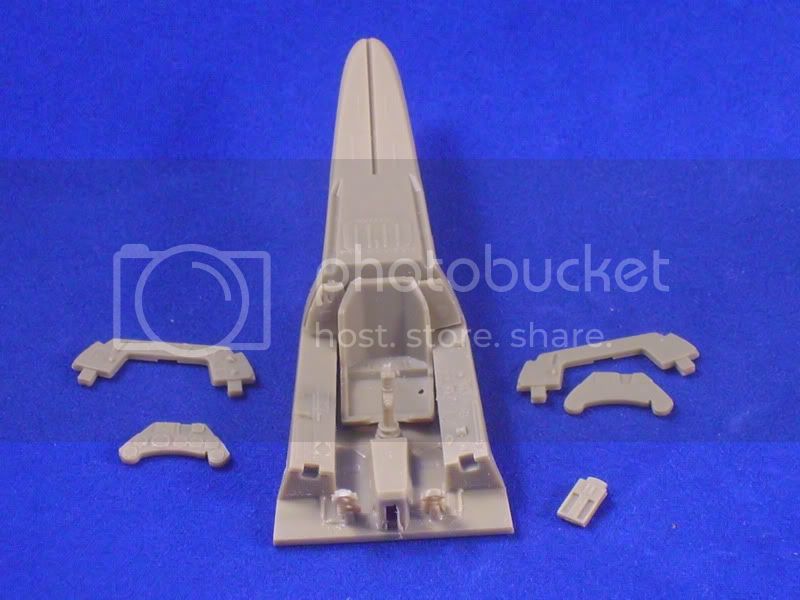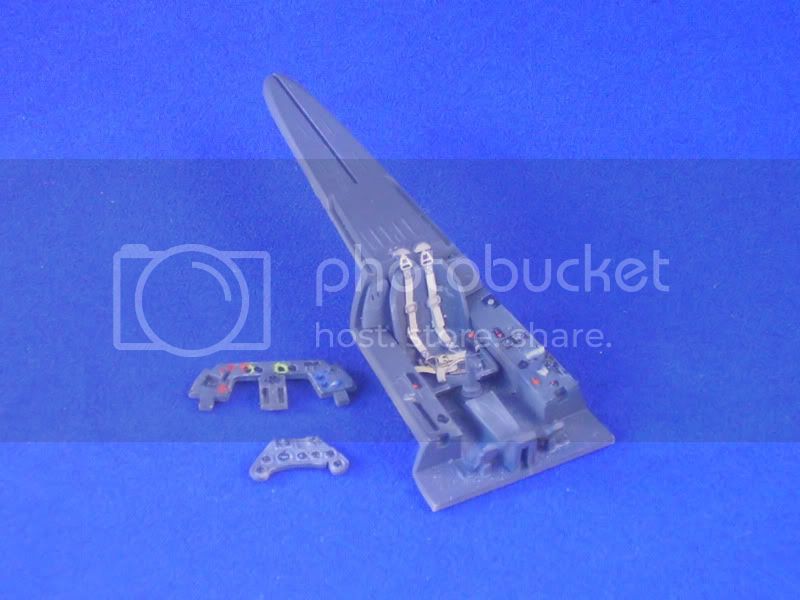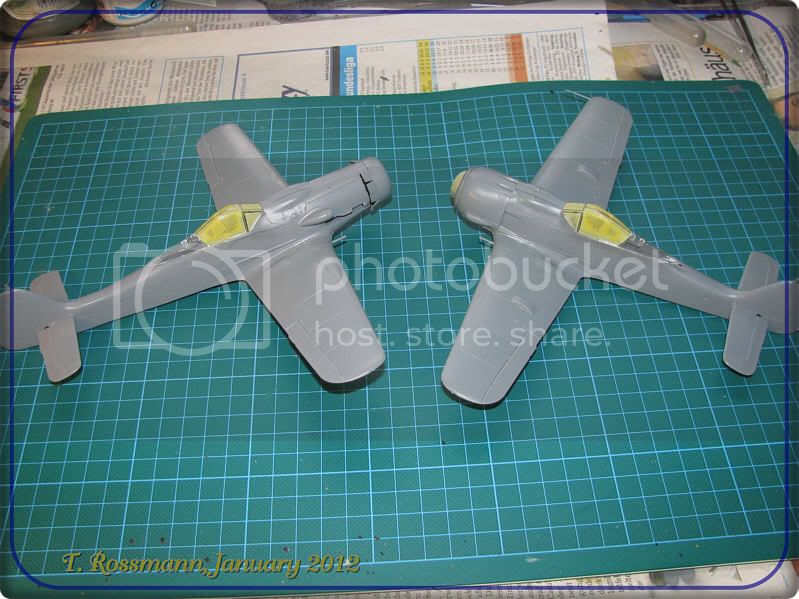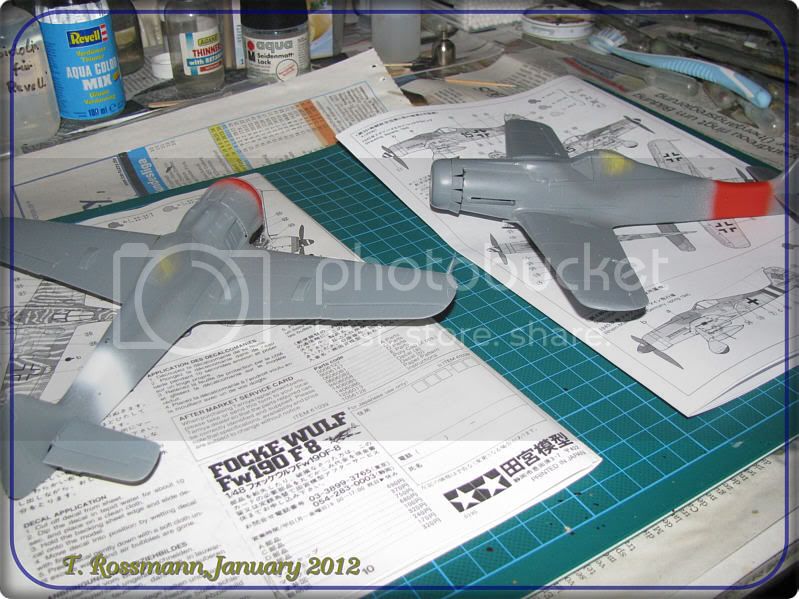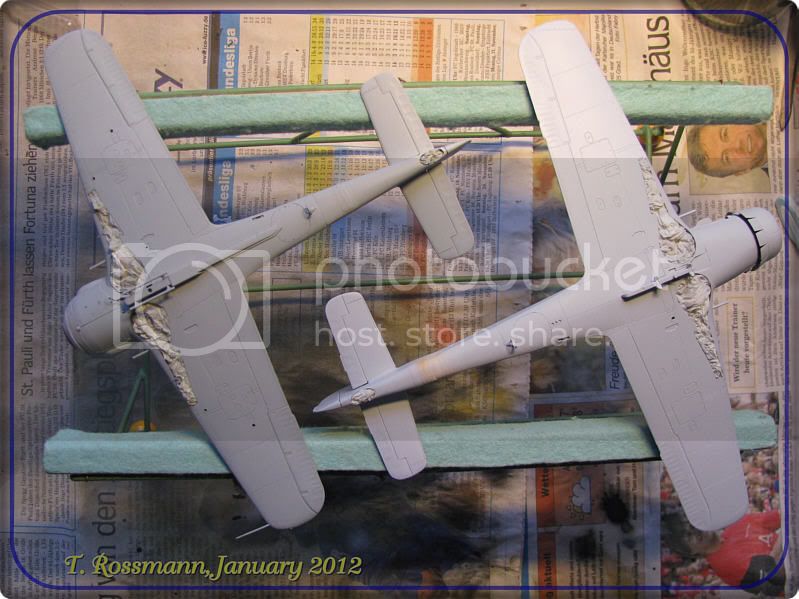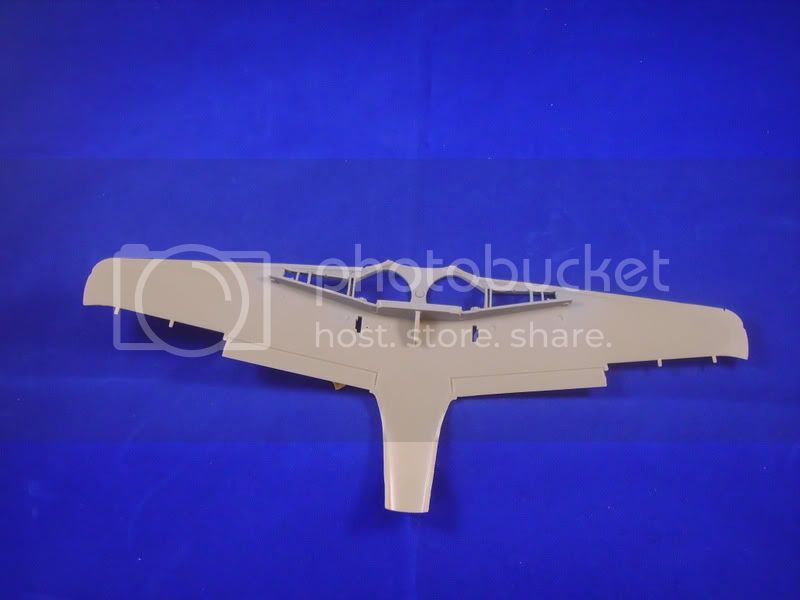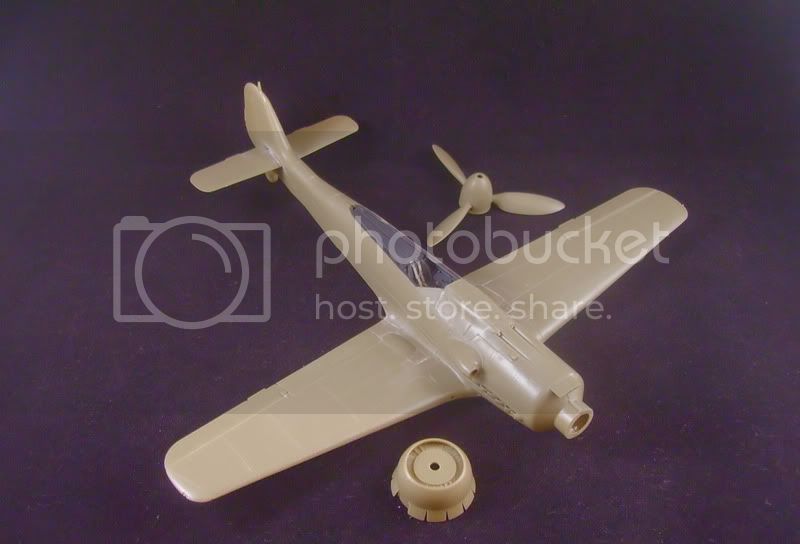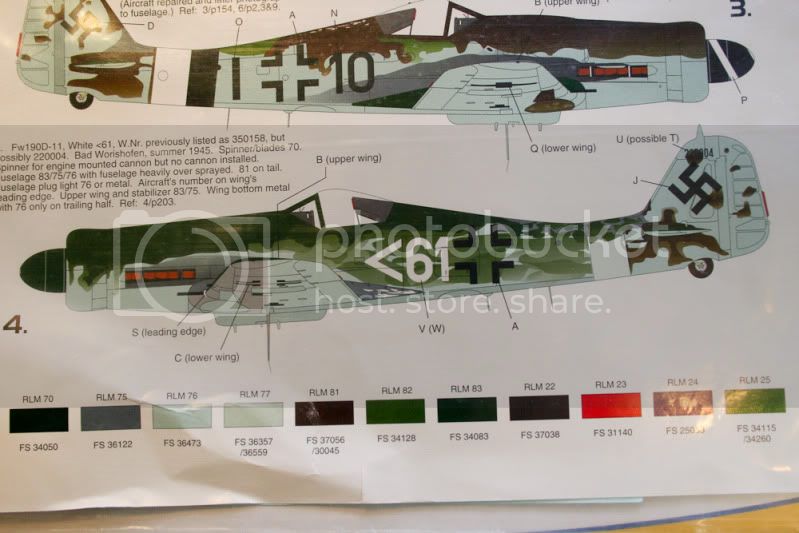

 You may already be aware of this, but since you're at a dimensional check phase, here's a heads-up in case you aren't: the cowling front opening on this kit is underscale, and makes the cowl "taper down" much too markedly. I think it's pretty noticeable. I built a few of these kits in the late '90s, and I used to graft a copy of the Hasegawa kit's cowling front onto them. Check out the comparison photos between the 1:1 plane and the kit in this article for a pretty clear visual on what needs to be improved . . .
 http://www.ipmsstockholm.org/magazine/1999/07/stuff_eng_waligorski_fw190.htm
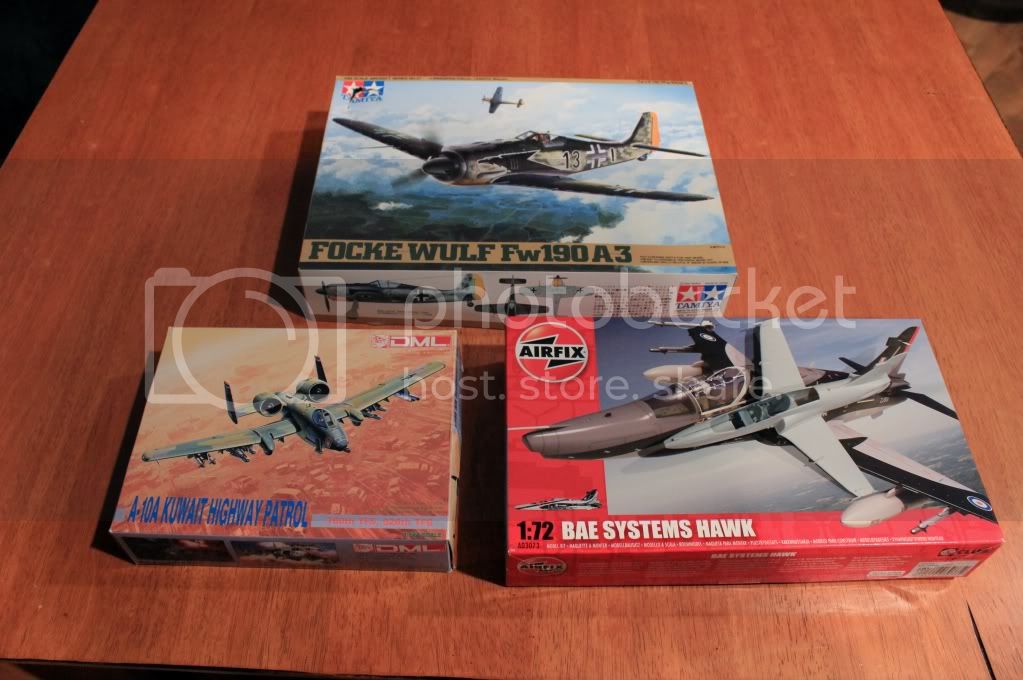
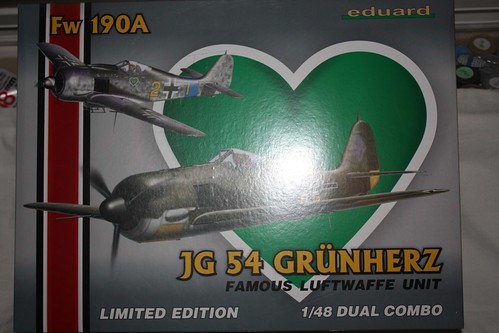
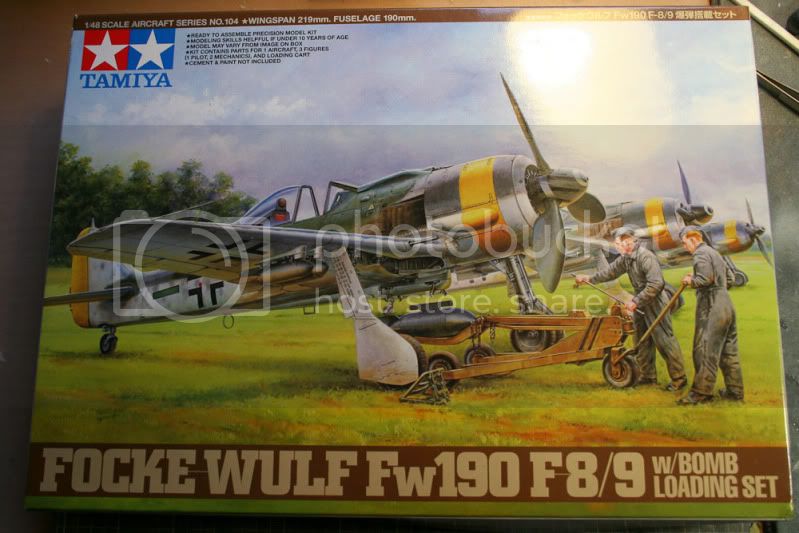
While this kit has a couple of little issues, I think it's still one of the best 1/72 Fw 190 kits on the market.
Regards;
Automaton