Hi Bruce.
Sorry for the delay in replying, had a couple of busy days. I'm with Jess on this one. I've been through all of my material on the P-61 and can't find any references to blue paintwork in any of them.
Cheers, D
Air Campaigns
Want to start or join a group build? This is where to start.
Want to start or join a group build? This is where to start.
Hosted by Frederick Boucher, Michael Satin
OFFICIAL: Devils in the Dark: Nightfighters!
Posted: Wednesday, March 27, 2013 - 05:37 PM UTC
bdanie6

Joined: November 09, 2008
KitMaker: 615 posts
AeroScale: 459 posts

Posted: Wednesday, March 27, 2013 - 10:59 PM UTC
Oh well,  Thank you for taking the time to look
See all of you
Later

 Thank you for taking the time to look
See all of you
Later


bdanie6

Joined: November 09, 2008
KitMaker: 615 posts
AeroScale: 459 posts

Posted: Saturday, March 30, 2013 - 11:52 PM UTC
Presenting the Mosquito NF Mk XII as flown by Wing Commander John Cunningham and Flight Lieutenant C F Rawnsley.


Inspite of (or rather because of ) all the issues with this kit, I really enjoyed this build.
I am very much looking forward to seeing how everyone else does. There are so many great builds going on now.
Later


Inspite of (or rather because of
 ) all the issues with this kit, I really enjoyed this build.
I am very much looking forward to seeing how everyone else does. There are so many great builds going on now.

Later

MichaelSatin


Joined: January 19, 2008
KitMaker: 3,909 posts
AeroScale: 2,904 posts

Posted: Sunday, March 31, 2013 - 01:48 AM UTC
Excellent work everyone! We seem to have really hit a nerve with this campaign, especially with the P-61 crowd (though the Mossie supporters are going strong too). Glad everyone is having so much fun!
Michael
Michael
mykroft

Joined: November 14, 2009
KitMaker: 270 posts
AeroScale: 264 posts

Posted: Sunday, March 31, 2013 - 07:09 AM UTC
After a long delay, I finally finished the F-82G. Ran into the usual problem with using old (70's) decals, some of them simply shattered on me. I did get lucky in that all the damage was on less-visible fuselage stencilling.
So here she is, Monogram's little F-82G, from the original boxing no less:

Monogram F-82 Twin Mustang 1/72 by mawz_models, on Flickr

Monogram F-82 Twin Mustang 1/72 by mawz_models, on Flickr

Monogram F-82 Twin Mustang 1/72 by mawz_models, on Flickr
So here she is, Monogram's little F-82G, from the original boxing no less:

Monogram F-82 Twin Mustang 1/72 by mawz_models, on Flickr

Monogram F-82 Twin Mustang 1/72 by mawz_models, on Flickr

Monogram F-82 Twin Mustang 1/72 by mawz_models, on Flickr
MichaelSatin


Joined: January 19, 2008
KitMaker: 3,909 posts
AeroScale: 2,904 posts

Posted: Sunday, March 31, 2013 - 07:21 AM UTC
Posted: Monday, April 01, 2013 - 11:27 AM UTC
Still working here, just been slowed down a little. The paint is on the Mosquito, and the landing gear are in the paint shop for a coat of Alcad Airframe Aluminum.


GhostHawk

Joined: January 27, 2011
KitMaker: 268 posts
AeroScale: 264 posts

Posted: Friday, April 05, 2013 - 10:53 AM UTC
Hello:
An Small progress on my Fiat CR-42 CN

A lot of fitting on evreywhere, and some small impruvements on the resin bottles... (looks likea lot of part from the box were from an other kit)

Of course it's not glued, I'm looking for something else to put inside or on the sidewall... Something you can see from outside with the model cloused...!

The Control Stick did not convence me on the paint job, but is glued, so... will be there for life time...

I hope you like it...
Cheers
Diego
An Small progress on my Fiat CR-42 CN

A lot of fitting on evreywhere, and some small impruvements on the resin bottles... (looks likea lot of part from the box were from an other kit)


Of course it's not glued, I'm looking for something else to put inside or on the sidewall... Something you can see from outside with the model cloused...!


The Control Stick did not convence me on the paint job, but is glued, so... will be there for life time...


I hope you like it...

Cheers
Diego

Posted: Friday, April 05, 2013 - 11:49 AM UTC
Hi Diego I'm really liking the cockpit so far! I really do like the Classic Airframe kits as they provide such a great level of detail and the fit is at least pretty reasonable overall. I'm looking forward to seeing it finished!
Posted: Friday, April 05, 2013 - 01:07 PM UTC
Diego, very nice work so far on the CR office. I would suggest giving the control stick a wash with some thinned black paint to highlight the contours, it is amazing how much difference such a small thing can make.
I've been at the beach this past week with my family on holiday so no progress to report. Back to work on Monday , but I will be able to get back to the workbench this week.
Cheers, D
I've been at the beach this past week with my family on holiday so no progress to report. Back to work on Monday
 , but I will be able to get back to the workbench this week.
Cheers, D
Posted: Friday, April 05, 2013 - 06:27 PM UTC
Awesome D! LOL funny how often life gets in the way of our modelling. Looking forward to seeing the P70 finished!

Jessie_C


Joined: September 03, 2009
KitMaker: 6,965 posts
AeroScale: 6,247 posts

Posted: Wednesday, April 10, 2013 - 08:31 AM UTC
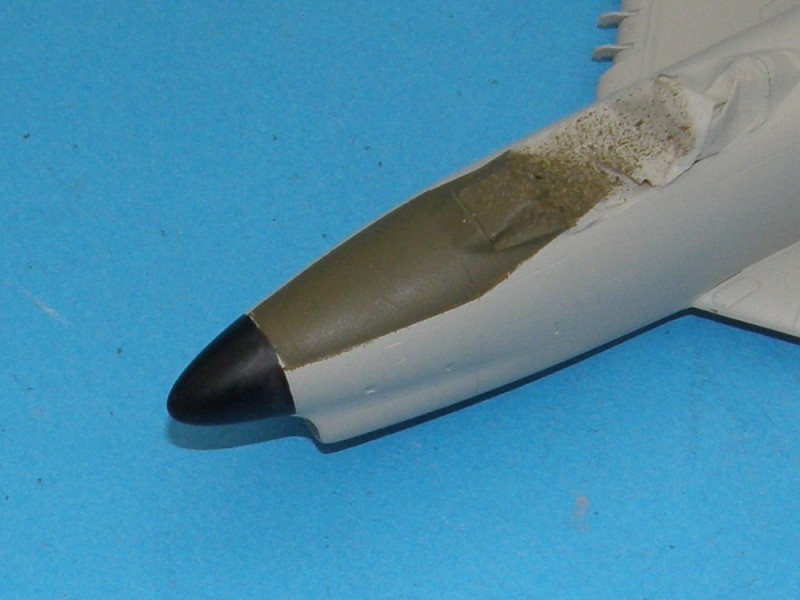
Radome and anti-glare panel painted. Now I'll mask these for painting the overall airframe colour.

Posted: Thursday, April 11, 2013 - 02:00 AM UTC
Quick update on the Great Wall P-61A
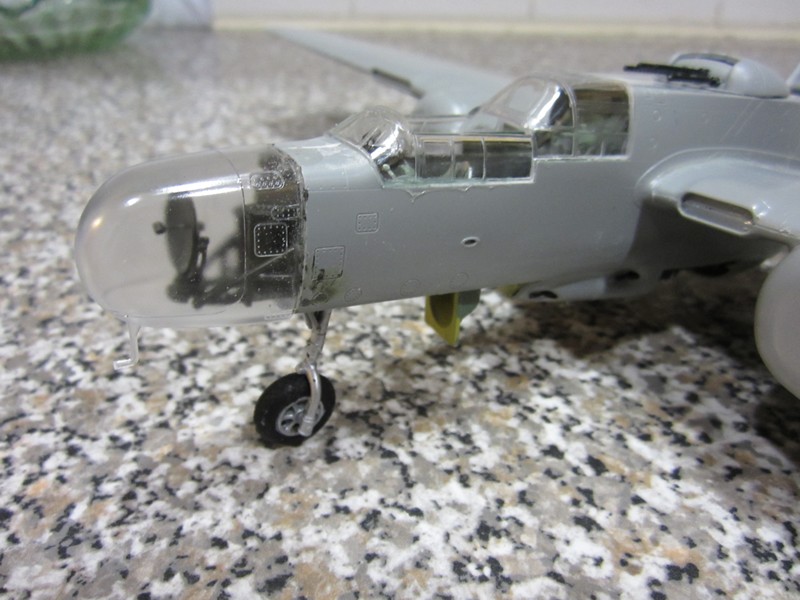
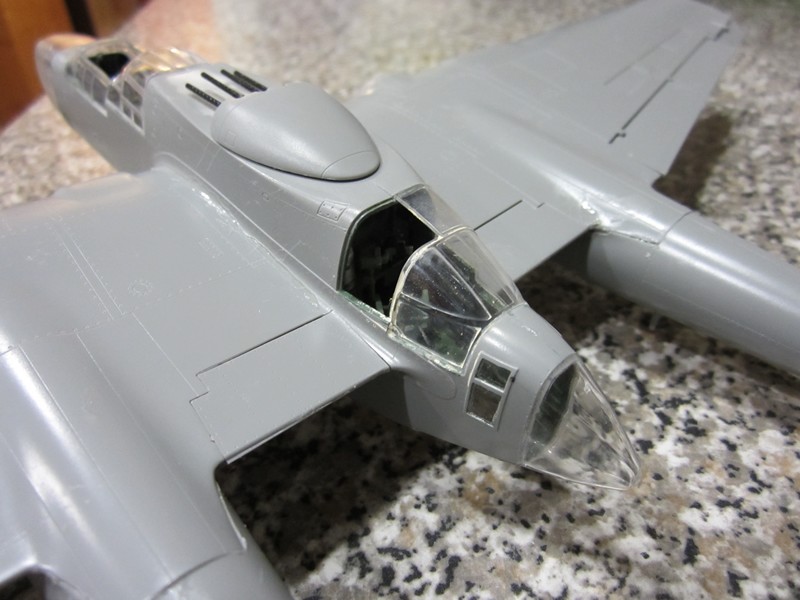
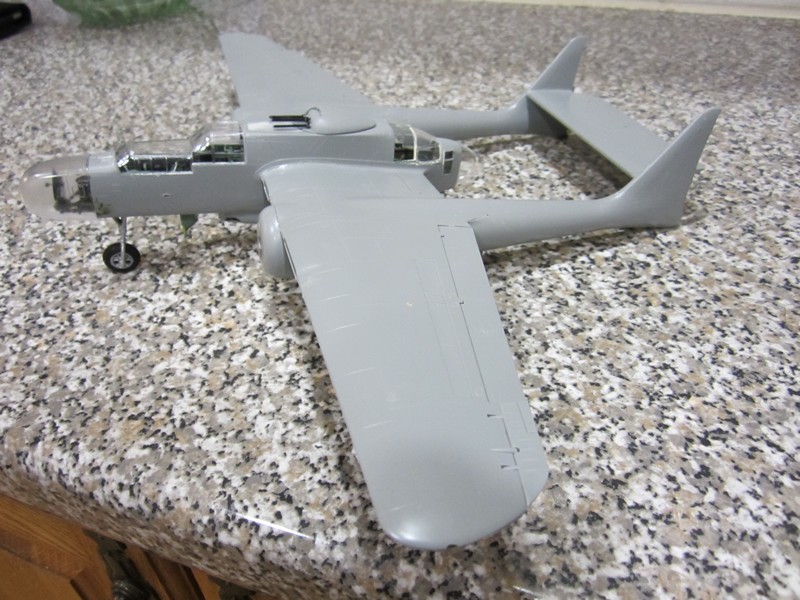
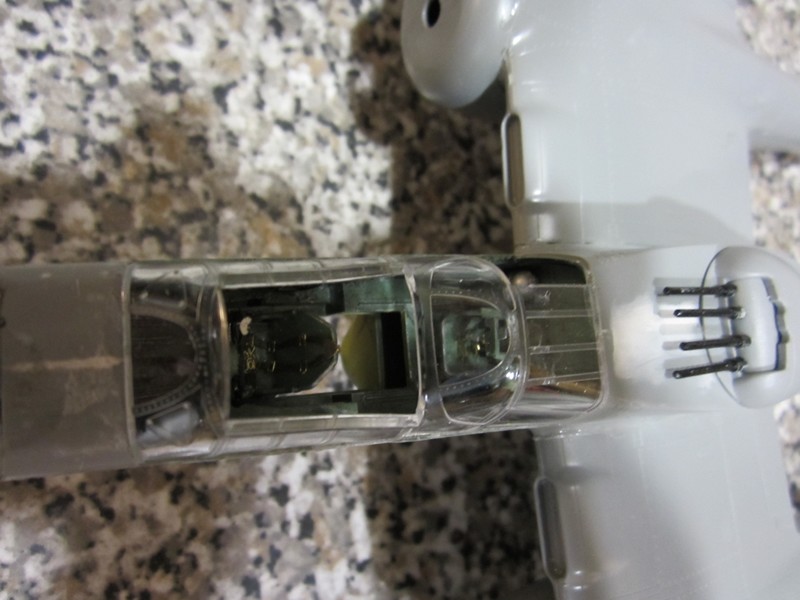
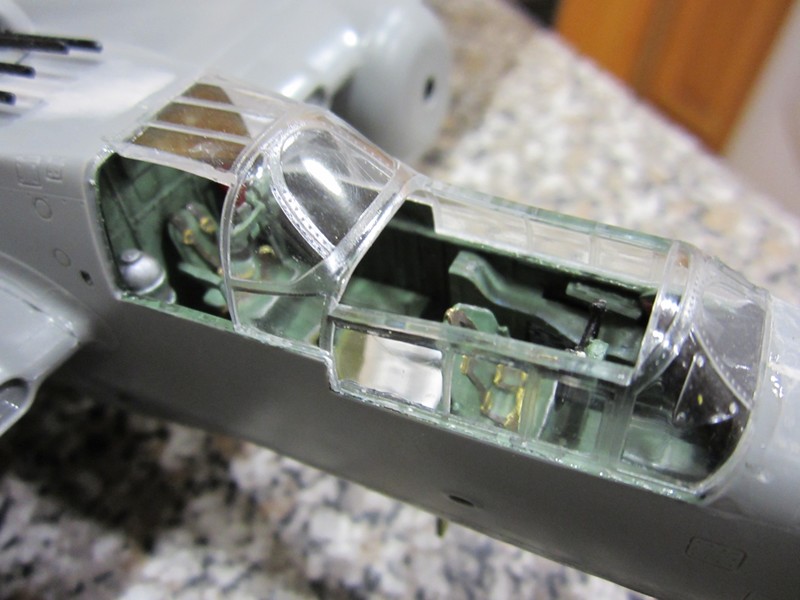
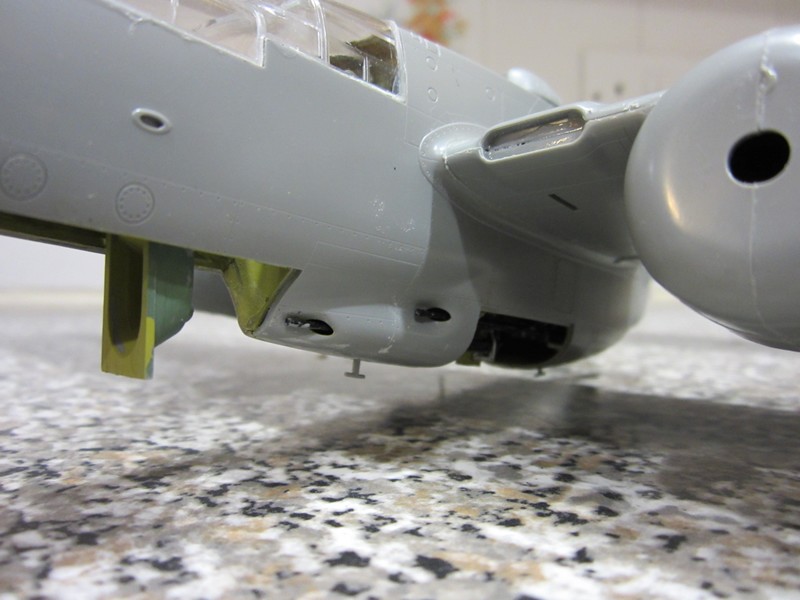
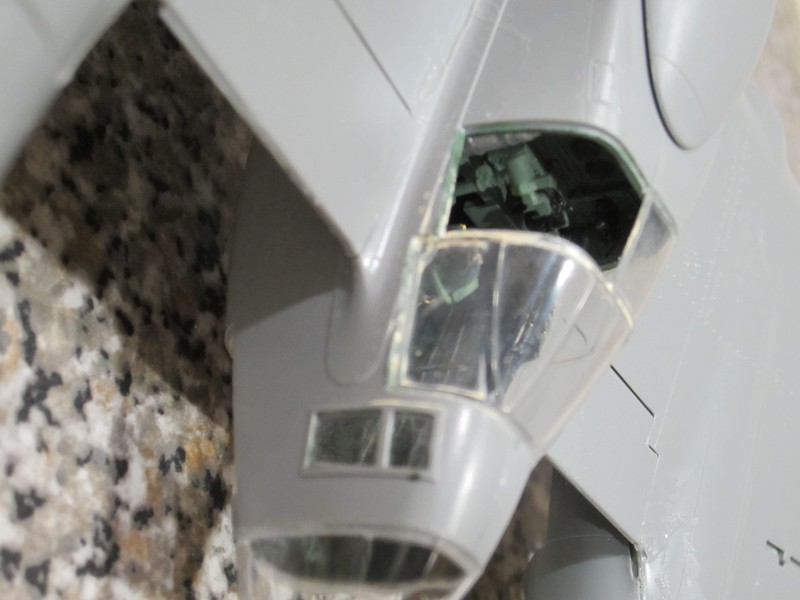
So far, great kit, filler is almost not required and fits generally are good. I broke the crew access ladder while seperating it from the sprue, some of the very fine components are very delicate


So far, great kit, filler is almost not required and fits generally are good. I broke the crew access ladder while seperating it from the sprue, some of the very fine components are very delicate
Posted: Thursday, April 11, 2013 - 08:27 AM UTC
Playing some catch up, here is the Mosquito on painted and sitting on its own wheels.


Decals next....
Decals next....

Jessie_C


Joined: September 03, 2009
KitMaker: 6,965 posts
AeroScale: 6,247 posts

Posted: Thursday, April 11, 2013 - 09:43 AM UTC
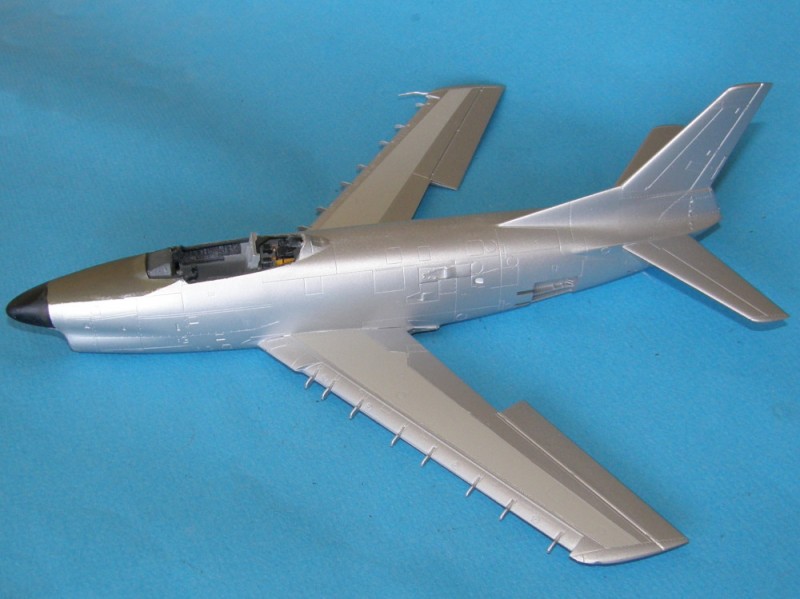
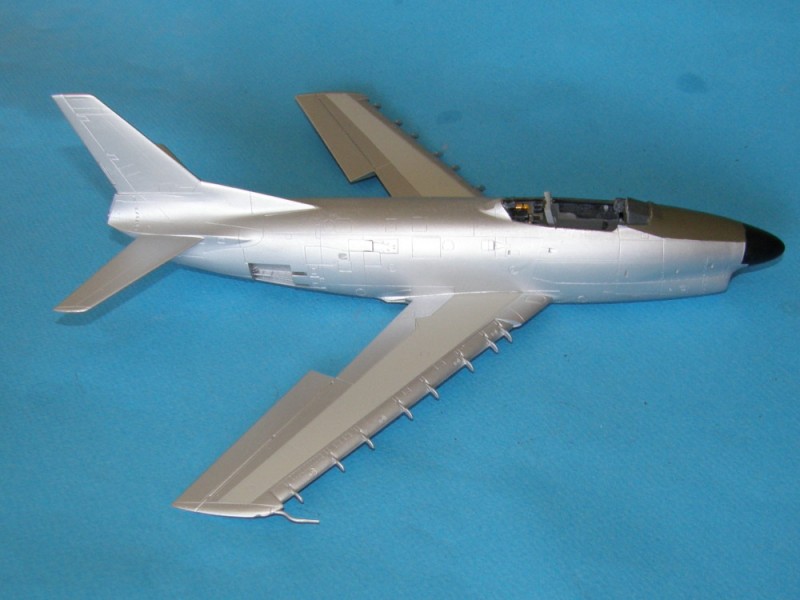
The Dog has some colour now


Jessie_C


Joined: September 03, 2009
KitMaker: 6,965 posts
AeroScale: 6,247 posts

Posted: Thursday, April 11, 2013 - 05:41 PM UTC
Stencils! I think that the decal sheet has every stencil that was ever applied to a Sabre on it. Here's the results of two sessions. There are 34 decals here, and that's just scratching the surface.
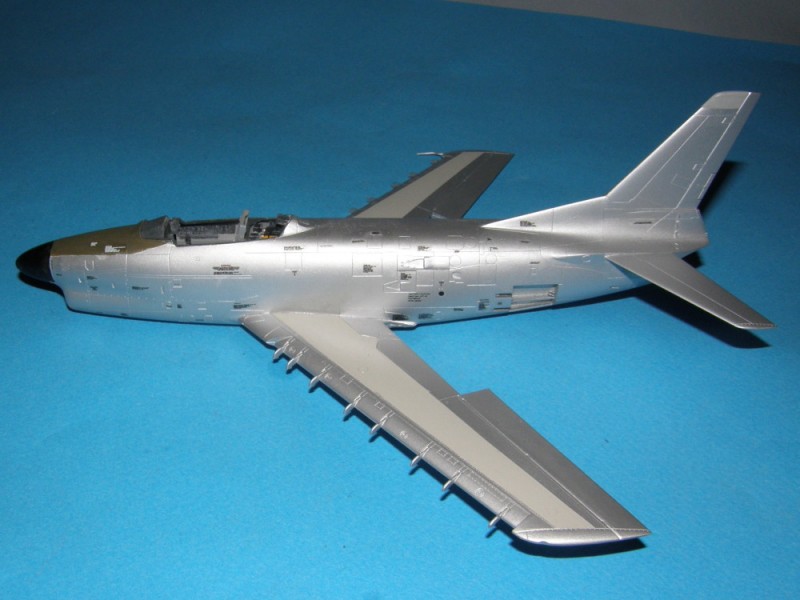
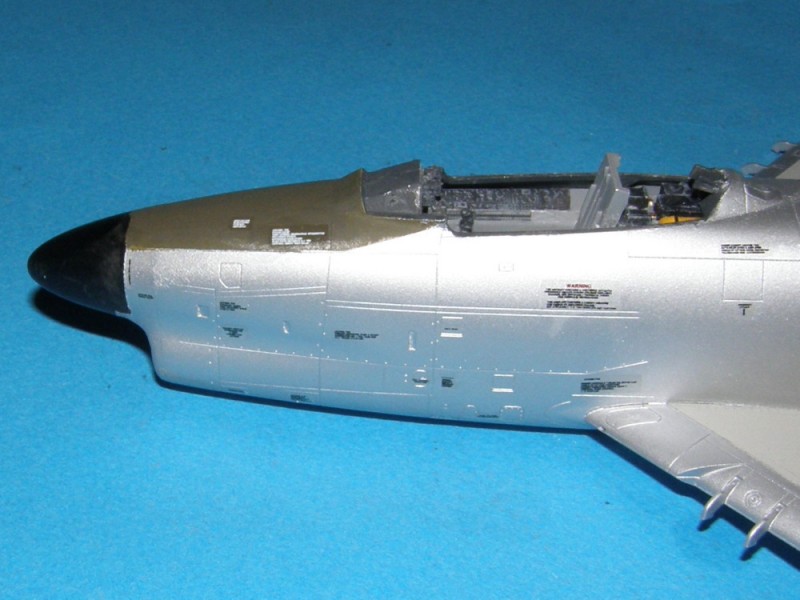
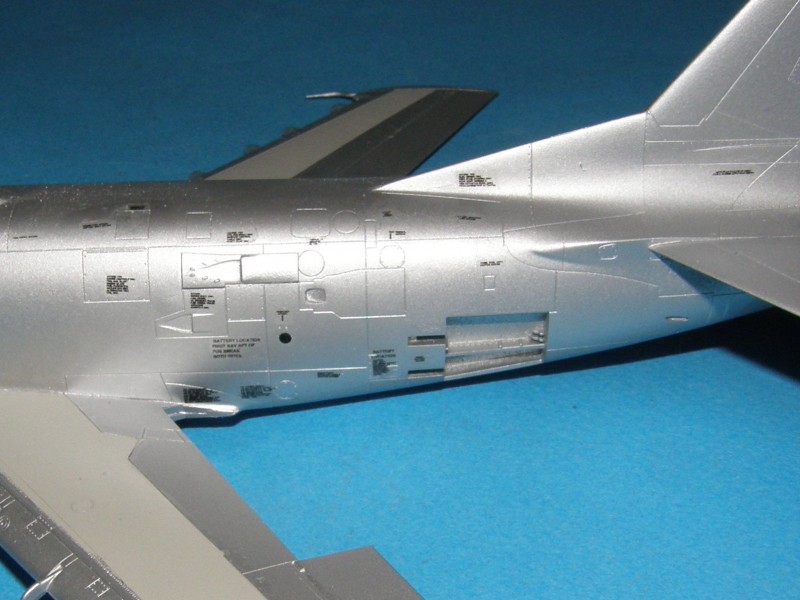
Now I have to repeat that for the right side, then the top and bottom and all this is before getting to the larger decals.


Now I have to repeat that for the right side, then the top and bottom and all this is before getting to the larger decals.
Posted: Thursday, April 11, 2013 - 06:22 PM UTC
All I can say Jess is rather you than me! Yes I've struck the same thing when using aftermarket decals for a 1/48 Mig21PF the stencil sheet was a separate sheet with some 372(!!) separate decals on it however you only used certain stencil decals depending on the variant you were building.But just as complete as the dog! LOL
MichaelSatin


Joined: January 19, 2008
KitMaker: 3,909 posts
AeroScale: 2,904 posts

Posted: Friday, April 12, 2013 - 12:39 AM UTC
Beautiful work everyone! Sorry about the stencils though Jessie, still it sure is looking good!
Michael
Michael

Jessie_C


Joined: September 03, 2009
KitMaker: 6,965 posts
AeroScale: 6,247 posts

Posted: Friday, April 12, 2013 - 03:57 AM UTC
When most companies sell an aircraft they include the operating and maintenance manuals in the sale. North American saves paper by painting their manual right onto the airplane.

GhostHawk

Joined: January 27, 2011
KitMaker: 268 posts
AeroScale: 264 posts

Posted: Friday, April 12, 2013 - 11:54 AM UTC
Hello,
Thanks Chris...!
Thanks Damian...!
Yes, the overall fit is good; but I'm still fighting to put my home made office into the tube...

And,like you can see, the stick gets a correction treatment...
Repanted with and small brush and silver paint from a marker, and then washed with several layers of Tamiya X-19 Smoke... Which works pritty good...
Thanks
Diego
Thanks Chris...!
Thanks Damian...!
Yes, the overall fit is good; but I'm still fighting to put my home made office into the tube...


And,like you can see, the stick gets a correction treatment...

Repanted with and small brush and silver paint from a marker, and then washed with several layers of Tamiya X-19 Smoke... Which works pritty good...

Thanks

Diego

MichaelSatin


Joined: January 19, 2008
KitMaker: 3,909 posts
AeroScale: 2,904 posts

Posted: Friday, April 12, 2013 - 12:51 PM UTC
Nice Diego! Keep at it, you'll find a way to get that bad boy installed!
Michael
Michael

Jessie_C


Joined: September 03, 2009
KitMaker: 6,965 posts
AeroScale: 6,247 posts

Posted: Monday, April 15, 2013 - 02:27 PM UTC
Most of the stencils are on the top. Now I have to turn it over and do all the underside ones.
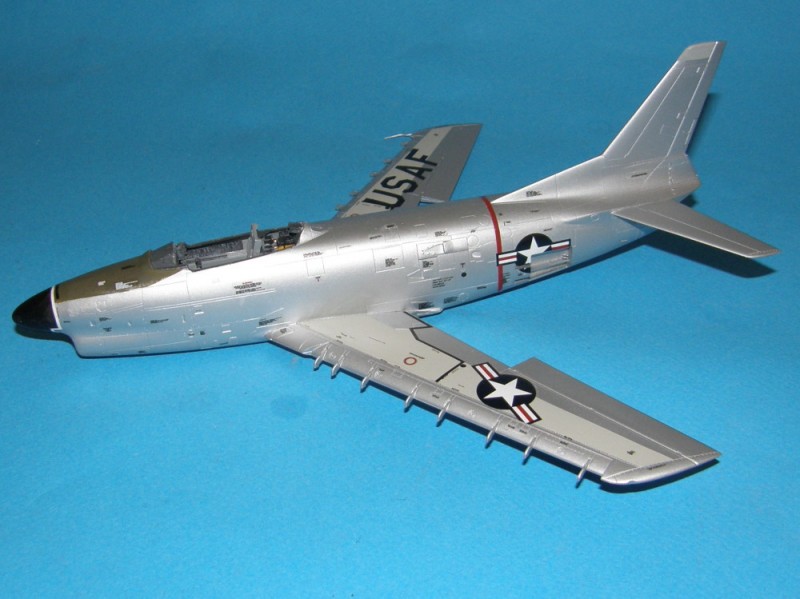
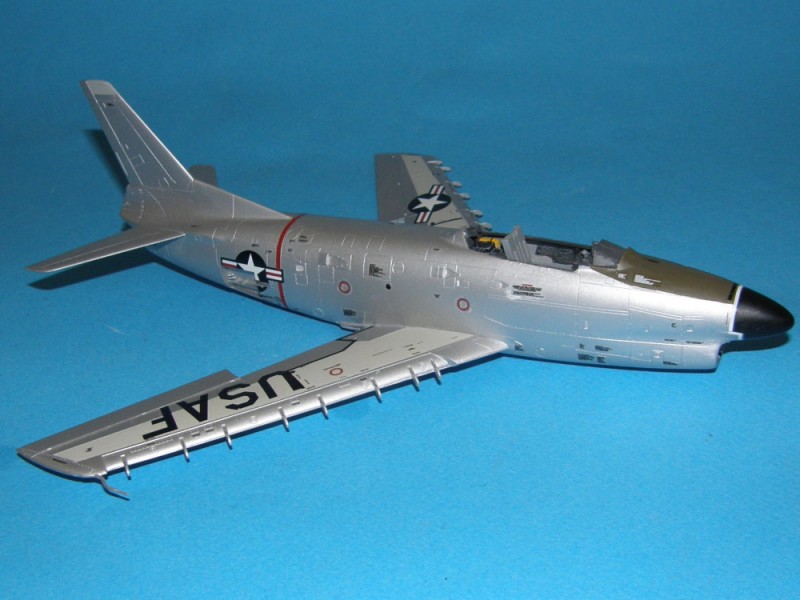
The decals placement diagrams are not the clearest. The panel lines in the drawings don't match the model, and when I put the larger markings on, they covered up some of the small stencils, which I doubt they were supposed to do.


The decals placement diagrams are not the clearest. The panel lines in the drawings don't match the model, and when I put the larger markings on, they covered up some of the small stencils, which I doubt they were supposed to do.
Posted: Monday, April 15, 2013 - 02:47 PM UTC
Hi Jess just a quick question I've noticed that all of the decals have snugged down very nicely even over what appears to be a matte paint how did you achieve such excellent adhesion? I sometimes struggle even with a gloss coat and using Microscale Microset and Microsol.
And didn't the Sabre Dog have guns? I thought so, if so where are they situated on this particular aircraft?
And didn't the Sabre Dog have guns? I thought so, if so where are they situated on this particular aircraft?

Jessie_C


Joined: September 03, 2009
KitMaker: 6,965 posts
AeroScale: 6,247 posts

Posted: Monday, April 15, 2013 - 03:17 PM UTC
I used Solvaset to get them to snuggle down. The ones on the anti-glare panel went down onto their very own private puddles of straight Solvaset.
The Dog Sabre was armed with rockets only. The gun version was the F-86K, built for export to NATO nations. By contrast, it didn't have rockets, making the lead collision approach the radar was programmed with a trifle risky.
The Dog Sabre was armed with rockets only. The gun version was the F-86K, built for export to NATO nations. By contrast, it didn't have rockets, making the lead collision approach the radar was programmed with a trifle risky.
Posted: Monday, April 15, 2013 - 07:46 PM UTC
I can see how the fighter jockeys would love it though Jess as it'd add to the thrill of it all. It'd certainly get the adrenaline flowing!
 |


