Air Campaigns
Want to start or join a group build? This is where to start.
Want to start or join a group build? This is where to start.
Hosted by Frederick Boucher, Michael Satin
OFFICIAL: Anything Goes Campaign

Siderius

Joined: September 20, 2005
KitMaker: 1,747 posts
AeroScale: 1,673 posts

Posted: Sunday, July 28, 2013 - 12:52 PM UTC
Adam, great work there. Sebastian, good looking 104, superb. Russell
Posted: Sunday, July 28, 2013 - 01:39 PM UTC
Got a coat of primer on. 
Cheers Rob.
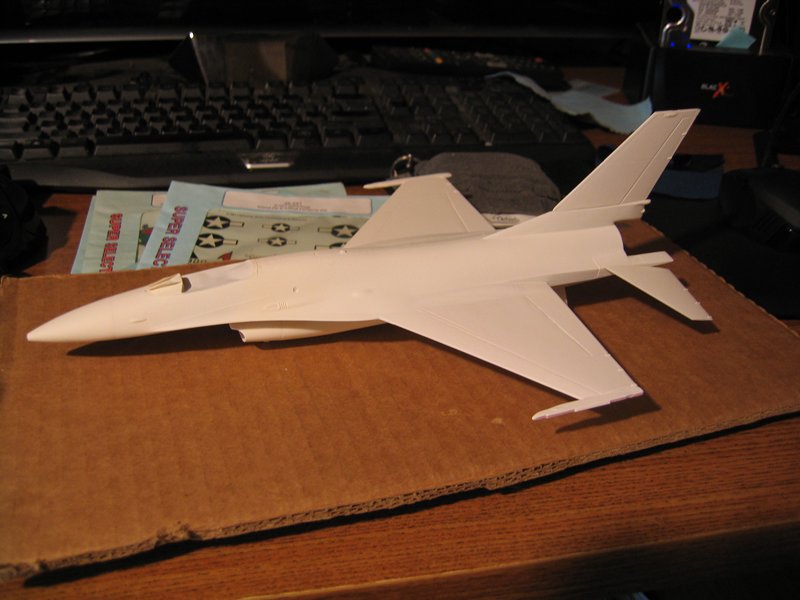

Cheers Rob.

Posted: Monday, July 29, 2013 - 11:55 PM UTC
Hi all 
most of my build pics went west due to a pc malfuntion


I've found these few,for what use they are


The dials are waterslide rather than self sticky ones like the 110 has.

The pe sheets are superb,and the clear parts are crystal clear.
The Haynes manual came in handy for the colours


I really love these panels and I hope they do more in this scale,a spit ,mossie ,lanc PLEASE!!!
Hope you like
Andy

most of my build pics went west due to a pc malfuntion


I've found these few,for what use they are

The dials are waterslide rather than self sticky ones like the 110 has.
The pe sheets are superb,and the clear parts are crystal clear.
The Haynes manual came in handy for the colours
I really love these panels and I hope they do more in this scale,a spit ,mossie ,lanc PLEASE!!!
Hope you like
Andy

Emeritus

Joined: March 30, 2004
KitMaker: 2,845 posts
AeroScale: 1,564 posts

Posted: Tuesday, July 30, 2013 - 06:02 AM UTC
Getting there... Seems the weight I added was sufficient. No tail-sitting here. 

^ Assembly going on there. The instrument panel, its HUD glass and canopy windscreen are one, as are the navigation lights (resin parts by CMK) and that antenna on the spine. The jet nozzle and tail-support gear are also glued in at the moment.
I got most of the smaller parts done and ready for final asesmbly at the moment, but here's the main landing gear legs, sans the wheels and well doors. The solid-moulded lights I cut off and drilled holes for MV lenses. Such nice-looking parts! Definitely more realistic than plastic painted silver.

Still working on the ejection seat and harness. I should have everything ready tomorrow.


^ Assembly going on there. The instrument panel, its HUD glass and canopy windscreen are one, as are the navigation lights (resin parts by CMK) and that antenna on the spine. The jet nozzle and tail-support gear are also glued in at the moment.
I got most of the smaller parts done and ready for final asesmbly at the moment, but here's the main landing gear legs, sans the wheels and well doors. The solid-moulded lights I cut off and drilled holes for MV lenses. Such nice-looking parts! Definitely more realistic than plastic painted silver.

Still working on the ejection seat and harness. I should have everything ready tomorrow.

Posted: Tuesday, July 30, 2013 - 06:02 AM UTC
Andy, that instrument panel is awesome. I could have sworn it was the real thing!
I'm calling my Camel done. After a little tidying up it hasn't turned out too bad. I still need more practice on biplanes and I have to thank everyone for the encouragement and advice. I'll keep it in mind in future builds.


Looking forward to seeing everyone else's finished.
Now, I'm off to build a tank.
I'm calling my Camel done. After a little tidying up it hasn't turned out too bad. I still need more practice on biplanes and I have to thank everyone for the encouragement and advice. I'll keep it in mind in future builds.


Looking forward to seeing everyone else's finished.
Now, I'm off to build a tank.
drabslab

Joined: September 28, 2004
KitMaker: 2,186 posts
AeroScale: 1,587 posts

Posted: Tuesday, July 30, 2013 - 07:56 AM UTC
Splendid models here!
and my mus-disaster-tang is approaching finalisation as well.
I may be ready just in time. Things are drying right now.
But i do expect that "something" is going to happen soon
and my mus-disaster-tang is approaching finalisation as well.

I may be ready just in time. Things are drying right now.
But i do expect that "something" is going to happen soon

markchis

Joined: February 09, 2009
KitMaker: 467 posts
AeroScale: 60 posts

Posted: Wednesday, July 31, 2013 - 02:26 AM UTC
very cool work all around !!
I made the deadline ! My first aeroscale campaign.
here is the qualification picture
1/32 Mustang Capt. Charles E. Weaver 357th FG

best
Mark
I made the deadline ! My first aeroscale campaign.
here is the qualification picture
1/32 Mustang Capt. Charles E. Weaver 357th FG
best
Mark

Emeritus

Joined: March 30, 2004
KitMaker: 2,845 posts
AeroScale: 1,564 posts

Posted: Wednesday, July 31, 2013 - 03:09 AM UTC
Looks good!  More pics, please.
The deadline is drawing dangerously near, but so am I getting close to finishing my entry. Last assembly painted!

Now I'll just have to wait a little while for the flat coat to dry, and hope it pops in the cockpit just as well as it did when dryfitting. After getting the seat in, it's just the canopy and I'm done!

 More pics, please.
The deadline is drawing dangerously near, but so am I getting close to finishing my entry. Last assembly painted!

Now I'll just have to wait a little while for the flat coat to dry, and hope it pops in the cockpit just as well as it did when dryfitting. After getting the seat in, it's just the canopy and I'm done!

Posted: Wednesday, July 31, 2013 - 07:11 AM UTC
Wow some great entries crossing the finish line.
Don't forget although the deadline is tonight (GMT) and the thread will be un-sticked anyone that is close to the finish will still get a ribbon if you do finish in a reasonable time frame, so lets see that last few that are nearly done
Don't forget although the deadline is tonight (GMT) and the thread will be un-sticked anyone that is close to the finish will still get a ribbon if you do finish in a reasonable time frame, so lets see that last few that are nearly done


Emeritus

Joined: March 30, 2004
KitMaker: 2,845 posts
AeroScale: 1,564 posts

Posted: Wednesday, July 31, 2013 - 07:16 AM UTC
All done! And the deadline's a good 2 hours and 15 minutes ahead to boot. 
Here's some pics. Hope you like 'em!


And thanks for running the campaign, I had a great time!


Here's some pics. Hope you like 'em!


And thanks for running the campaign, I had a great time!


drabslab

Joined: September 28, 2004
KitMaker: 2,186 posts
AeroScale: 1,587 posts

Posted: Wednesday, July 31, 2013 - 07:52 AM UTC
This is IT!!!

The most battle hardened meanest modelled machine that this campaign has produced.
Now, I am not referring to the supreme build quality, or the fame of the Mustang, or the exquisite paint job but ...
I am simply pointing towards the longest list of modelling errors, build and painting disasters, and clumsiest modelling that this site has ever witnessed. While the model itself - Tamiya 1/48 scale Mustang - almost guarantees a problem free built, I personally managed to sé"é'w it up at almost every opportunity.

It started with poor interior painting, which I only noticed after I placed some pictures on Aeroscale.
I also broke the stick before the cockpit was assembled and forgot to add the gunsight. I only noticed this when everything was already assembled and yes, I had to wurm the canopy open with a cutter to add it, which of course, gave a large scar in the alclad and a re-paint job...
I used too much glue when connecting the flaps, ruining the wing surface. The gods of putty and elbow grease came to the rescue of this one.
I broke of the rear wheel and needed a 0.5 mm drill, some electricity wire and a bucket of patience to repair this.
I LOST a frontwheel, completely with strut et all ... and found it back after a 1/2 hour intensive search, almost exactly where it was supposed to be ...
When applying alclad I acidently touched the wet wing surface with my finger, panicked seeing the effect and tryed to rub of the alclad with some tissue. BAD IDEA. This took also away the black undercoat that was softened by the alclad. A long session with very fine sandpaper was needed to bring the surface to a state where I could apply a new undercoat and new alclad layer.
The blue nose gave its own problems with the alclad getting under the masking tape. Also this part was painted twice.

The decals were typically Tamiya, meaning perfect, but I nevertheless managed to destroy thoroughly the US star on the upper wing. Careful puzzling, and some blue and white paint made this stupidity hardly visible.
Believe it or not, but applying future/isopropanol went flawless. I still can't believe it.
I am also totally flabbergasted that this model still looks like a mustang and that I could repair most of my building/painting errors, to the level that most of it has become invisible.
Finally, I like this model, it was the first one that I finished after officially declaring war to my stack. Stacks are hard opponents, that is for sure.
Oh, yes, did I mention that I accidently put the front windshield upside down?


The most battle hardened meanest modelled machine that this campaign has produced.
Now, I am not referring to the supreme build quality, or the fame of the Mustang, or the exquisite paint job but ...
I am simply pointing towards the longest list of modelling errors, build and painting disasters, and clumsiest modelling that this site has ever witnessed. While the model itself - Tamiya 1/48 scale Mustang - almost guarantees a problem free built, I personally managed to sé"é'w it up at almost every opportunity.

It started with poor interior painting, which I only noticed after I placed some pictures on Aeroscale.
I also broke the stick before the cockpit was assembled and forgot to add the gunsight. I only noticed this when everything was already assembled and yes, I had to wurm the canopy open with a cutter to add it, which of course, gave a large scar in the alclad and a re-paint job...
I used too much glue when connecting the flaps, ruining the wing surface. The gods of putty and elbow grease came to the rescue of this one.
I broke of the rear wheel and needed a 0.5 mm drill, some electricity wire and a bucket of patience to repair this.
I LOST a frontwheel, completely with strut et all ... and found it back after a 1/2 hour intensive search, almost exactly where it was supposed to be ...
When applying alclad I acidently touched the wet wing surface with my finger, panicked seeing the effect and tryed to rub of the alclad with some tissue. BAD IDEA. This took also away the black undercoat that was softened by the alclad. A long session with very fine sandpaper was needed to bring the surface to a state where I could apply a new undercoat and new alclad layer.
The blue nose gave its own problems with the alclad getting under the masking tape. Also this part was painted twice.

The decals were typically Tamiya, meaning perfect, but I nevertheless managed to destroy thoroughly the US star on the upper wing. Careful puzzling, and some blue and white paint made this stupidity hardly visible.
Believe it or not, but applying future/isopropanol went flawless. I still can't believe it.
I am also totally flabbergasted that this model still looks like a mustang and that I could repair most of my building/painting errors, to the level that most of it has become invisible.
Finally, I like this model, it was the first one that I finished after officially declaring war to my stack. Stacks are hard opponents, that is for sure.
Oh, yes, did I mention that I accidently put the front windshield upside down?

drabslab

Joined: September 28, 2004
KitMaker: 2,186 posts
AeroScale: 1,587 posts

Posted: Wednesday, July 31, 2013 - 08:09 AM UTC
@Eetu:
That Draken is just magnificent!!!
That Draken is just magnificent!!!
Posted: Wednesday, July 31, 2013 - 08:19 AM UTC
Great work Eetu. The Drakken really is a futuristic looking jet isn't it.

Emeritus

Joined: March 30, 2004
KitMaker: 2,845 posts
AeroScale: 1,564 posts

Posted: Wednesday, July 31, 2013 - 10:24 AM UTC
Thanks! 
Indeed, its aesthetic are quite futuristic, if I didn't know, I probably wouldn't guess it's 50's design.

Indeed, its aesthetic are quite futuristic, if I didn't know, I probably wouldn't guess it's 50's design.
Posted: Wednesday, July 31, 2013 - 12:29 PM UTC
Drabslab,
I hear you on that one,
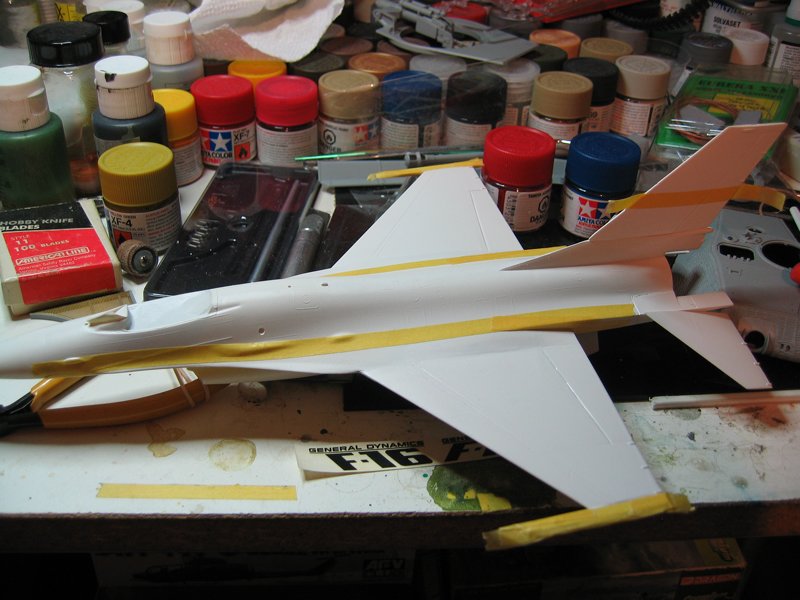
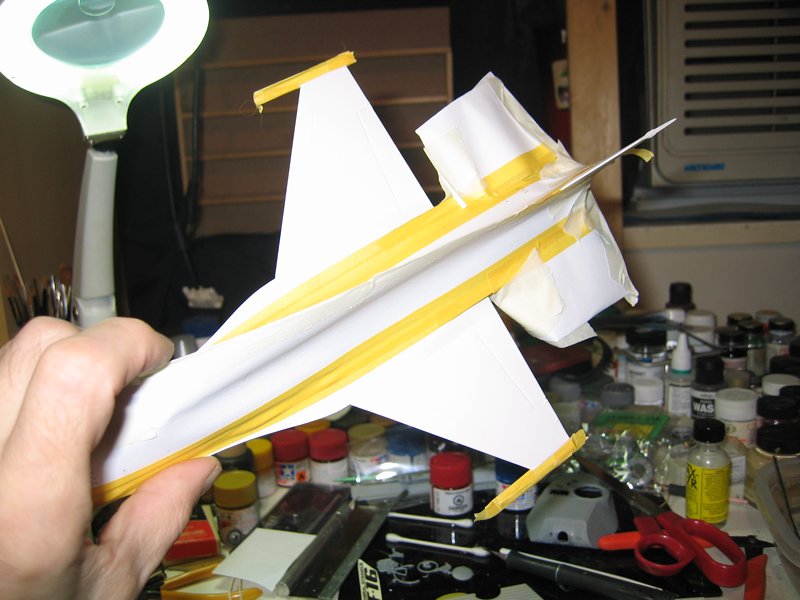
I used my usual technique of spraying a light coat of future after masking to help seal the tape but... I then painted the red too soon and had some crazing to deal with OH! and a fingerprint but a second coat managed to fix that
  I am hoping to mask and paint the blue and black Tonight but between being burnt out from work and the heat I'm not sure I'll be able too.
I am pleased with how the masking for the red came out.
Cheers Rob.
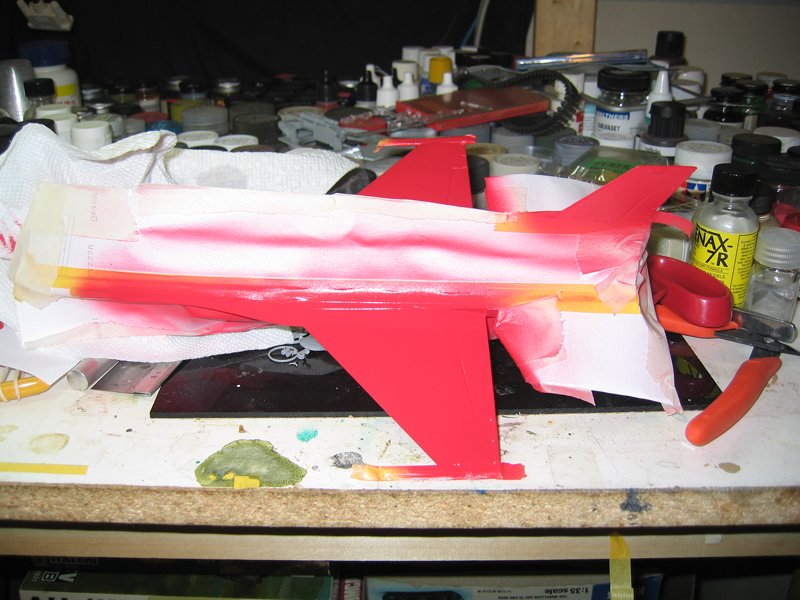
I hear you on that one,

I used my usual technique of spraying a light coat of future after masking to help seal the tape but... I then painted the red too soon and had some crazing to deal with OH! and a fingerprint
 but a second coat managed to fix that
  I am hoping to mask and paint the blue and black Tonight but between being burnt out from work and the heat I'm not sure I'll be able too.
I am pleased with how the masking for the red came out.

Cheers Rob.


raypalmer

Joined: March 29, 2010
KitMaker: 1,151 posts
AeroScale: 985 posts

Posted: Wednesday, July 31, 2013 - 01:14 PM UTC
Draken and Mustang are fit for the museum!
Posted: Wednesday, July 31, 2013 - 01:55 PM UTC
Hello everyone.
A Lot of great builds finishing up here. I'm almost sorry to see it end...
This was a very varied Campaign...
Keep the model building fun everyone.
Delbert
A Lot of great builds finishing up here. I'm almost sorry to see it end...
This was a very varied Campaign...
Keep the model building fun everyone.
Delbert
vdejarnette

Joined: February 25, 2013
KitMaker: 209 posts
AeroScale: 138 posts

Posted: Wednesday, July 31, 2013 - 02:19 PM UTC
Calling the Dart done...


And here are a few with it's Nazi precursor, the Lippisch P.13. This one is from PM Model and I finished it about 10 months ago, one of my first few finished models.


And here are a few with it's Nazi precursor, the Lippisch P.13. This one is from PM Model and I finished it about 10 months ago, one of my first few finished models.


Posted: Wednesday, July 31, 2013 - 04:34 PM UTC
I managed to get the masking done for the last colors and shot the blue, can't do the black yet so hopefully Tomorrow. 
The blue is darker than the flash makes it look.
Cheers Rob.
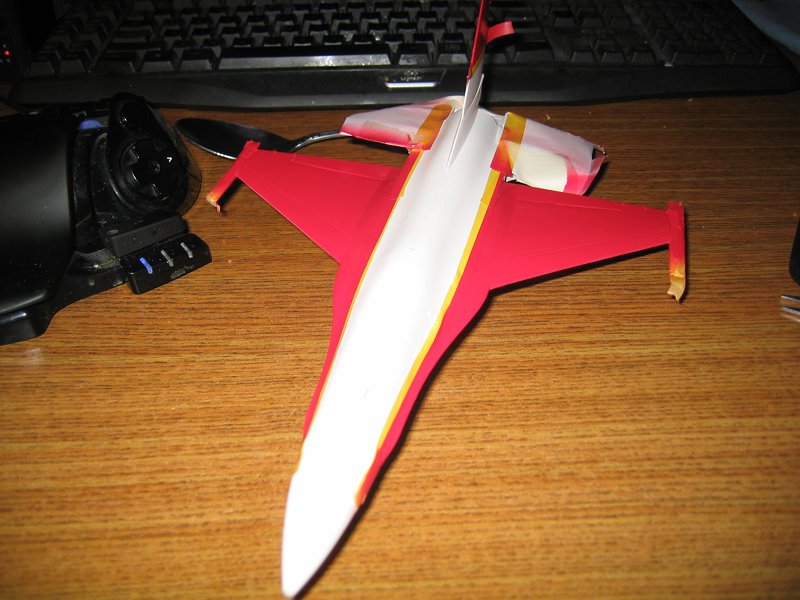
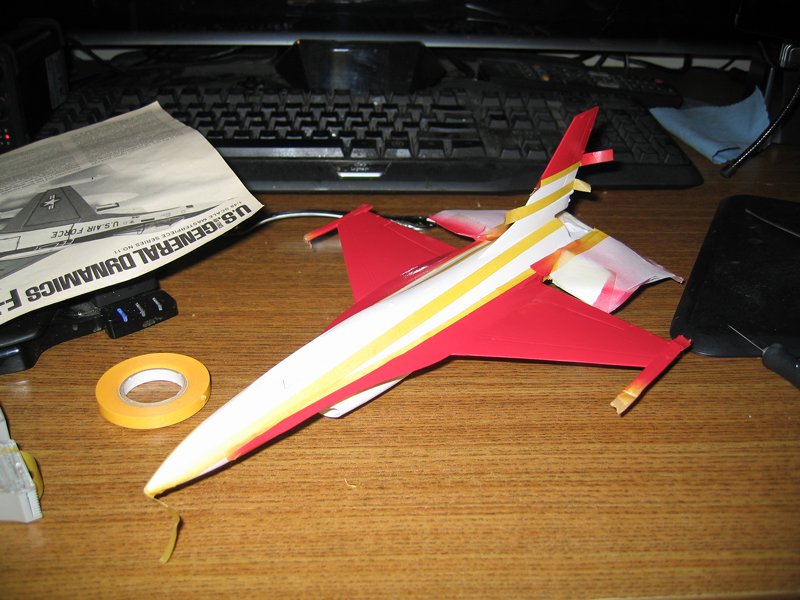
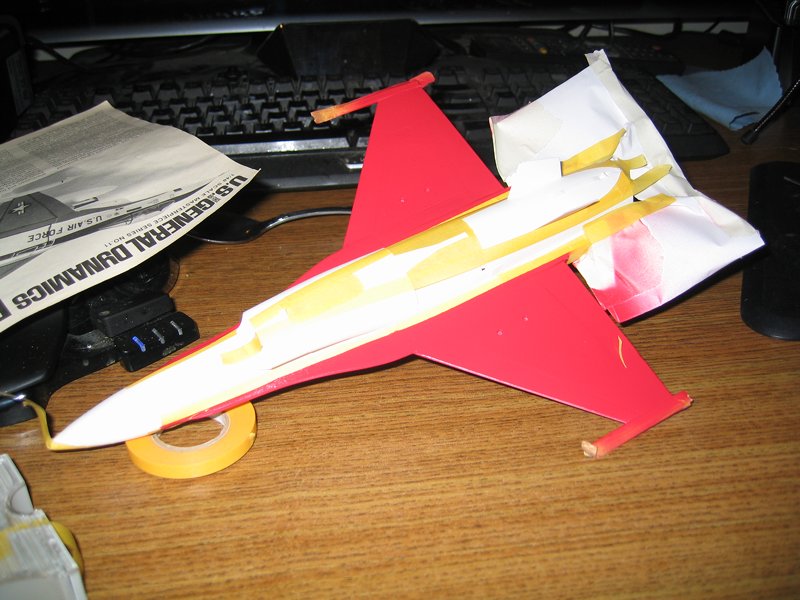
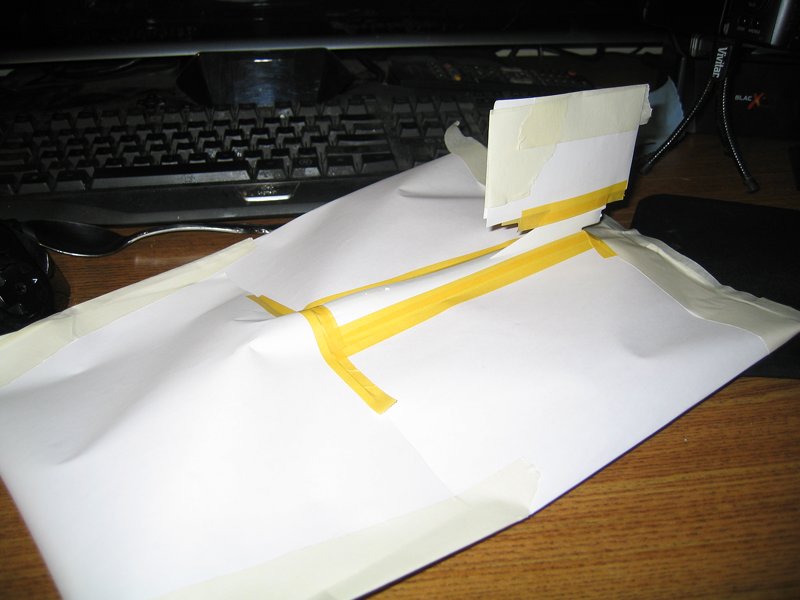
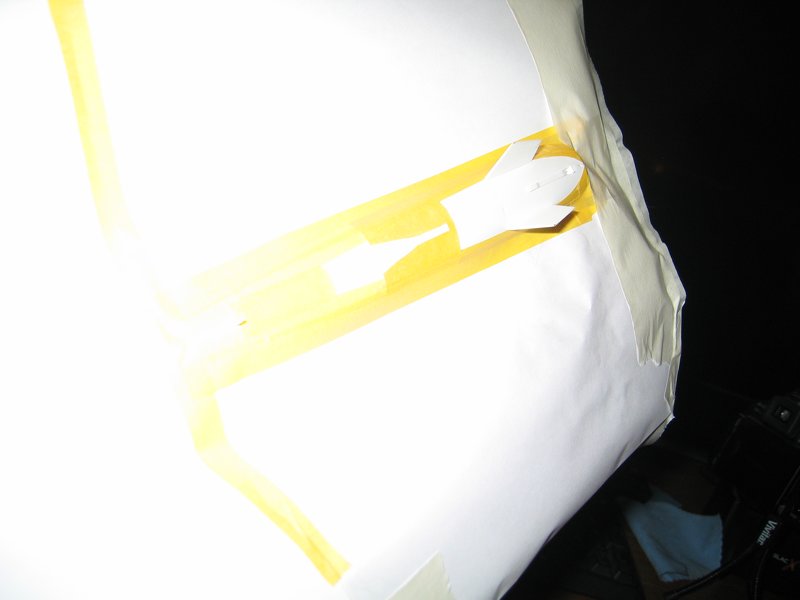
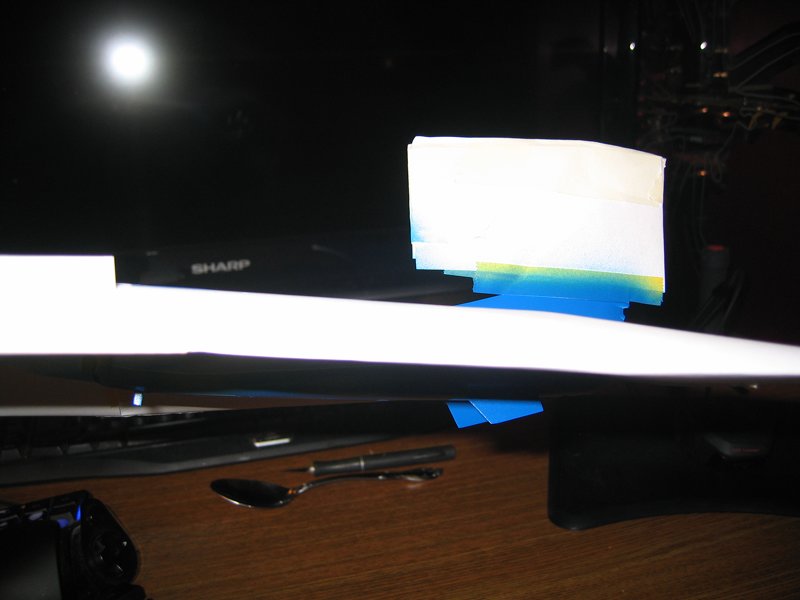
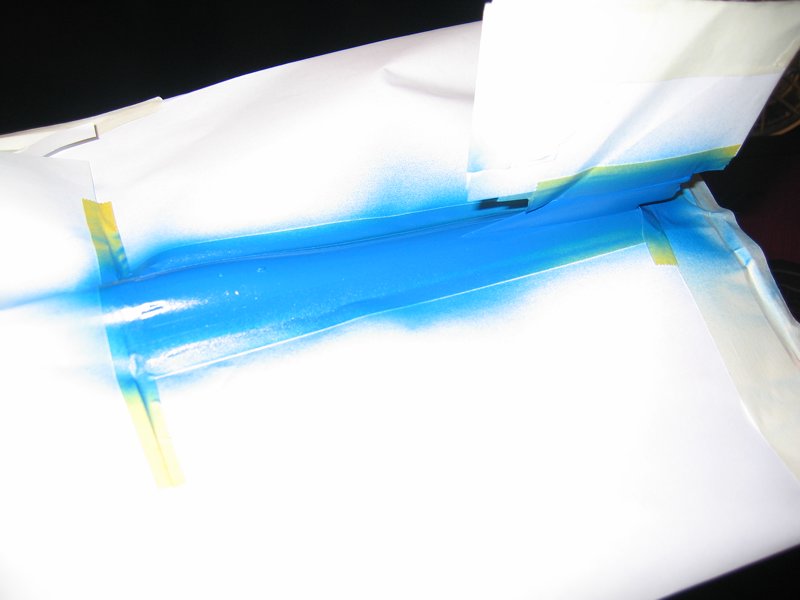

The blue is darker than the flash makes it look.
Cheers Rob.


mrockhill

Joined: June 17, 2009
KitMaker: 566 posts
AeroScale: 507 posts

Posted: Wednesday, July 31, 2013 - 05:58 PM UTC
Eetu, your draken looks excellent! You did a great job picking the right camo colors 
Drabslab your mustang turned out nice,I wouldn't be too hard on yourself. Despite the obstacles you still have a nicely finished mustang to remind yourself how you stuck to your guns and got it done and done right.
Too many other great builds too my hats off to everyone


As for my progress I have to call it quits for the night as I must wait for the glue to dry before I can get my "Dora" upright, wheels and prop attached and antenna rigged and she's done. On Time or not im not sweating, its been fun rushing about these last couple hours tying the loose ends together. Instead of "Iron Chef" they should have a show called "Iron Modeler"
Crandalls Dora book wasn't just posed there, its been in the heat of the action. Probably got some overspray too. Just another day taking one for the team.


Drabslab your mustang turned out nice,I wouldn't be too hard on yourself. Despite the obstacles you still have a nicely finished mustang to remind yourself how you stuck to your guns and got it done and done right.
Too many other great builds too my hats off to everyone


As for my progress I have to call it quits for the night as I must wait for the glue to dry before I can get my "Dora" upright, wheels and prop attached and antenna rigged and she's done. On Time or not im not sweating, its been fun rushing about these last couple hours tying the loose ends together. Instead of "Iron Chef" they should have a show called "Iron Modeler"

Crandalls Dora book wasn't just posed there, its been in the heat of the action. Probably got some overspray too. Just another day taking one for the team.


markchis

Joined: February 09, 2009
KitMaker: 467 posts
AeroScale: 60 posts

Posted: Wednesday, July 31, 2013 - 10:00 PM UTC
Van,Eatu - cool results!
a few more -


best
Mark
a few more -


best
Mark
drabslab

Joined: September 28, 2004
KitMaker: 2,186 posts
AeroScale: 1,587 posts

Posted: Wednesday, July 31, 2013 - 10:58 PM UTC
Now that's a mustang!

markchis

Joined: February 09, 2009
KitMaker: 467 posts
AeroScale: 60 posts

Posted: Wednesday, July 31, 2013 - 11:37 PM UTC
So is yours ! and it looks damn fine. Enjoyed reading all the honesty about the trials and tribulations of the build. Not many people mention that aspect - but it happens all the time ! Best part is what you have done - overcome it all and finished a mighty impressive build - well done !
Posted: Thursday, August 01, 2013 - 09:38 AM UTC
Wow yet more great models crossing the finish line.
I've awarded ribbons to those that have posted in the gallery.
If you haven't already don't forget to do so to get your ribbon
Anything Goes Campaign Gallery
I've awarded ribbons to those that have posted in the gallery.
If you haven't already don't forget to do so to get your ribbon
Anything Goes Campaign Gallery
Posted: Thursday, August 01, 2013 - 09:44 AM UTC
as is often the case, the last day of the campaign brought a brilliant finish. 

 |


