Nice looking JU-88, Raj. Until now, I didn't even know Tamiya put one out. I'm looking forward to your build.
Working on Russell's CF-100. Here's where it's at:
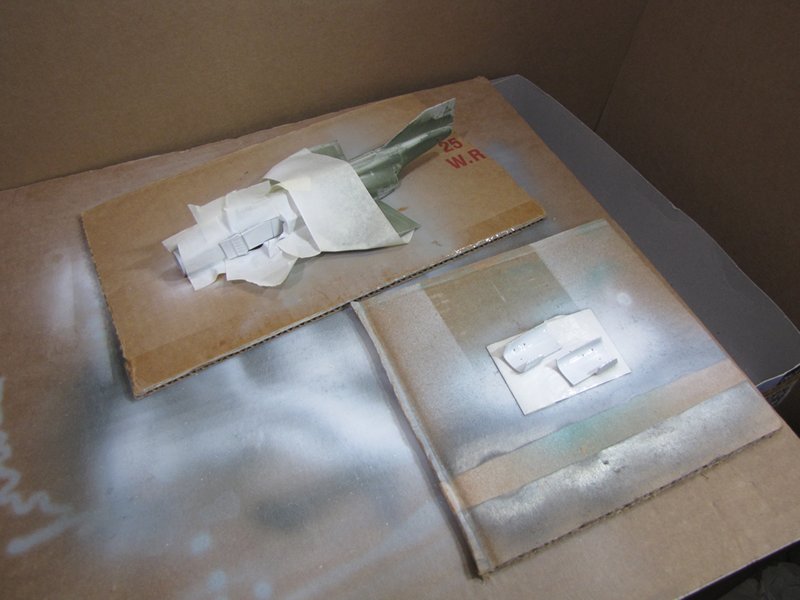
I've primed with a dark grey, then applied Humbrol silver enamel, before I spray on the true colors I want. The final colors will be Tamiya. This allows a gentle alcohol rub to subtly expose the metal undercoat for weathering purposes.
Allowing for extensive dry times, the process definitely takes longer. I've been having excellent results using the technique, though. Also, the CF-100 had a black interior for the most part. So its nice to highlight the seat edges and other parts.
Air Campaigns
Want to start or join a group build? This is where to start.
Hosted by Frederick Boucher, Michael Satin
Official: Russell Anderson Memorial Campaign
Mcleod
Alberta, Canada
Joined: April 07, 2010
KitMaker: 1,028 posts
AeroScale: 939 posts
Joined: April 07, 2010
KitMaker: 1,028 posts
AeroScale: 939 posts
Posted: Wednesday, March 26, 2014 - 09:57 AM UTC
Posted: Wednesday, March 26, 2014 - 02:59 PM UTC
Quoted Text
I know I may be shouted down for this but man if there isn't an angle this thing doesn't look ugly from.
Ugly and beautiful at the same time, a bit like . . . . . Never mind
Posted: Thursday, March 27, 2014 - 03:31 AM UTC
@ Ben
It seems to be an Italeri kit in a Tamiya box. It says Italeri on the front right next to the Tamiya logo.
Posted: Thursday, March 27, 2014 - 04:23 AM UTC
Ok,
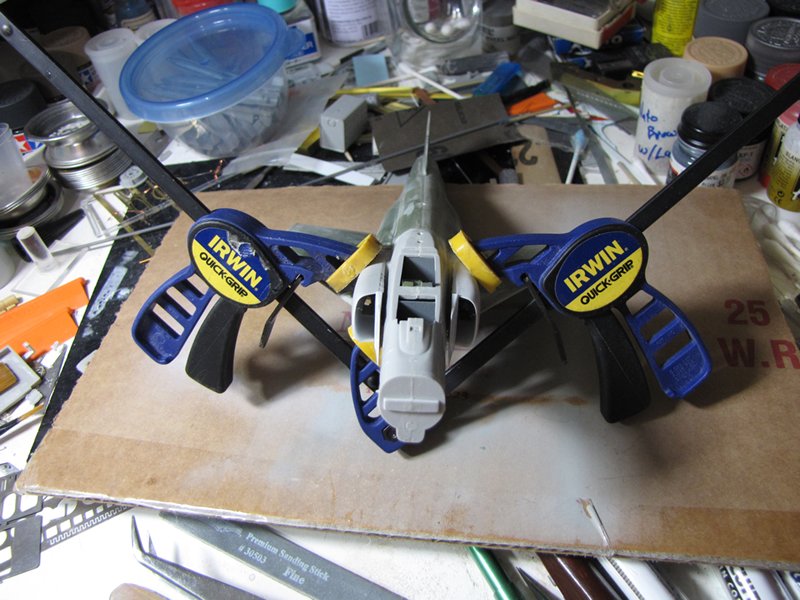
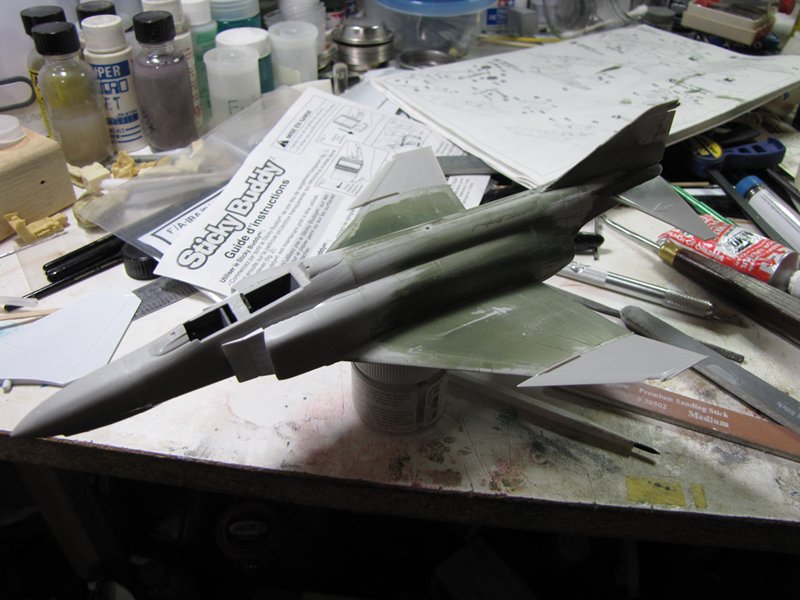
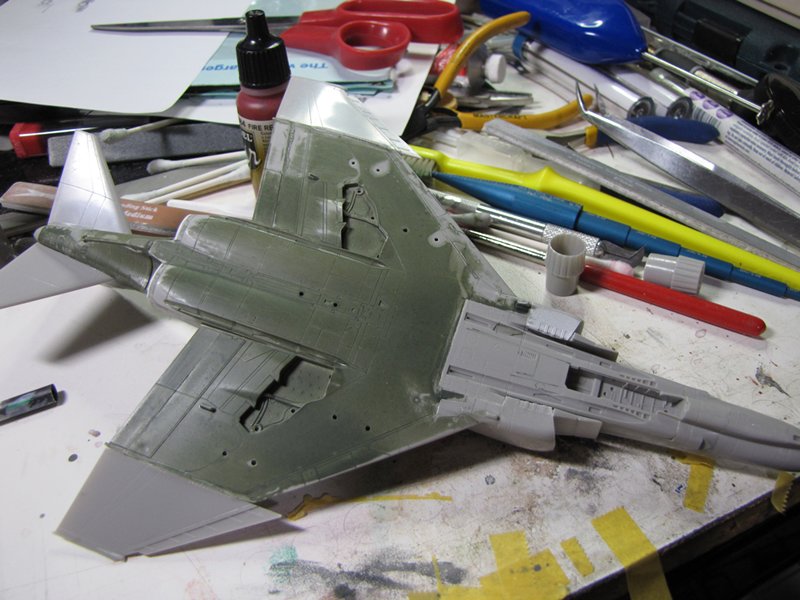
I painted the inside of the intakes and added some weight to the nose then finished assembling the fuse.
Cheers Rob.
I painted the inside of the intakes and added some weight to the nose then finished assembling the fuse.
Cheers Rob.
Mcleod
Alberta, Canada
Joined: April 07, 2010
KitMaker: 1,028 posts
AeroScale: 939 posts
Joined: April 07, 2010
KitMaker: 1,028 posts
AeroScale: 939 posts
Posted: Thursday, March 27, 2014 - 05:25 AM UTC
The F-4 is coming right along, Rob. Looks great
Jessie_C
British Columbia, Canada
Joined: September 03, 2009
KitMaker: 6,965 posts
AeroScale: 6,247 posts
Joined: September 03, 2009
KitMaker: 6,965 posts
AeroScale: 6,247 posts
Posted: Thursday, March 27, 2014 - 12:30 PM UTC
Quoted Text
@ Ben
It seems to be an Italeri kit in a Tamiya box. It says Italeri on the front right next to the Tamiya logo.
Tamiya and Italeri have a partnership to share moulds for the Japanese market. Very few of those kits are seen outside Japan so you've got a rare one there
raypalmer
Ontario, Canada
Joined: March 29, 2010
KitMaker: 1,151 posts
AeroScale: 985 posts
Joined: March 29, 2010
KitMaker: 1,151 posts
AeroScale: 985 posts
Posted: Friday, March 28, 2014 - 05:10 PM UTC
Starting with some plumage. What colour should the gear Bay and struts be? Also the canvas around the tailwheel mechanisms seems like it shouldn't be rust brown as rog indicates.
Jessie_C
British Columbia, Canada
Joined: September 03, 2009
KitMaker: 6,965 posts
AeroScale: 6,247 posts
Joined: September 03, 2009
KitMaker: 6,965 posts
AeroScale: 6,247 posts
Posted: Friday, March 28, 2014 - 05:25 PM UTC
Quoted Text
Starting with some plumage. What colour should the gear Bay and struts be? Also the canvas around the tailwheel mechanisms seems like it shouldn't be rust brown as rog indicates.
Thunderbolts most often had yellow zinc chromate gear bays (and doors) and alumimium-painted struts. The canvas bag was probably a greenish khaki colour to begin with, but very quickly it would have gotten pretty muddy and grunged up.
SaxonTheShiba
United States
Joined: February 01, 2009
KitMaker: 1,233 posts
AeroScale: 663 posts
Joined: February 01, 2009
KitMaker: 1,233 posts
AeroScale: 663 posts
Posted: Saturday, March 29, 2014 - 07:54 AM UTC
Mcleod
Alberta, Canada
Joined: April 07, 2010
KitMaker: 1,028 posts
AeroScale: 939 posts
Joined: April 07, 2010
KitMaker: 1,028 posts
AeroScale: 939 posts
Posted: Saturday, March 29, 2014 - 08:51 AM UTC
I'm really looking forward to your Lancaster build in here, Ian. Hope to see you posting frequent progress. Good luck!!
SaxonTheShiba
United States
Joined: February 01, 2009
KitMaker: 1,233 posts
AeroScale: 663 posts
Joined: February 01, 2009
KitMaker: 1,233 posts
AeroScale: 663 posts
Posted: Saturday, March 29, 2014 - 09:06 AM UTC
Thanks Ben. Been researching VR-R KB772 all afternoon trying to figure out if it had the repositioned Martin turret placement on the spine. Data on Mk X's is sparse to say the least.
Regards,
Ian
Regards,
Ian
SaxonTheShiba
United States
Joined: February 01, 2009
KitMaker: 1,233 posts
AeroScale: 663 posts
Joined: February 01, 2009
KitMaker: 1,233 posts
AeroScale: 663 posts
Posted: Saturday, March 29, 2014 - 11:04 AM UTC
thegirl
Alberta, Canada
Joined: January 19, 2008
KitMaker: 6,743 posts
AeroScale: 6,151 posts
Joined: January 19, 2008
KitMaker: 6,743 posts
AeroScale: 6,151 posts
Posted: Saturday, March 29, 2014 - 03:07 PM UTC
Ian , will be following this build closing . I'm planning on getting this kit in the future . Nice start on the pit so far .
Terri
Terri
raypalmer
Ontario, Canada
Joined: March 29, 2010
KitMaker: 1,151 posts
AeroScale: 985 posts
Joined: March 29, 2010
KitMaker: 1,151 posts
AeroScale: 985 posts
Posted: Saturday, March 29, 2014 - 04:56 PM UTC
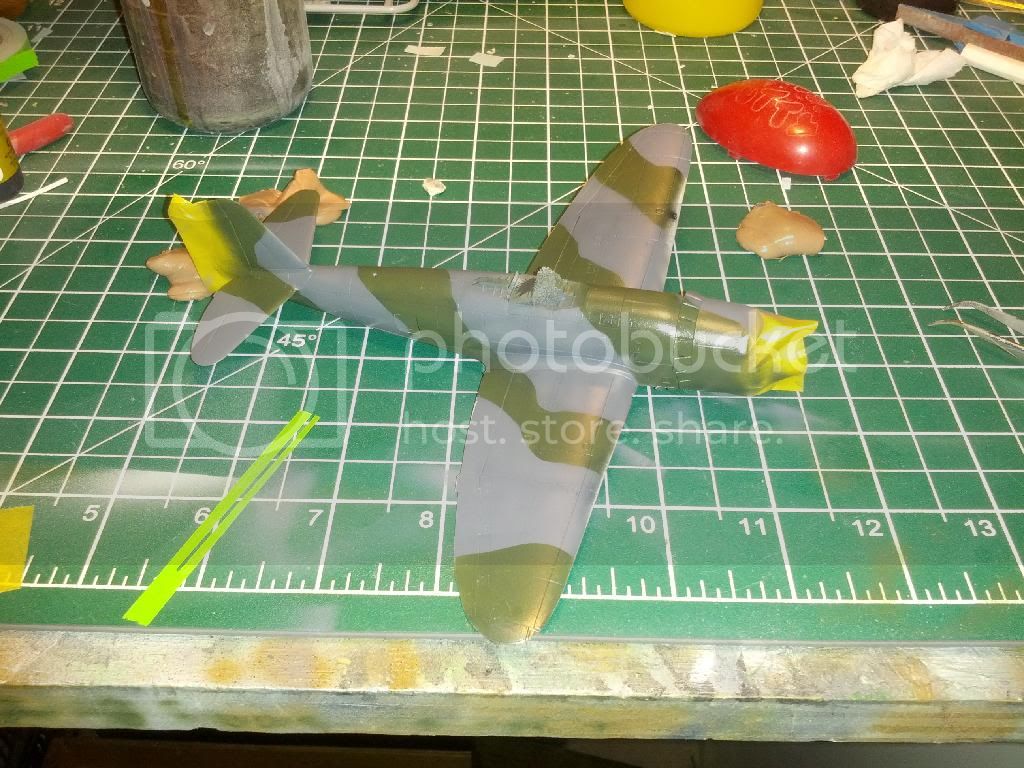
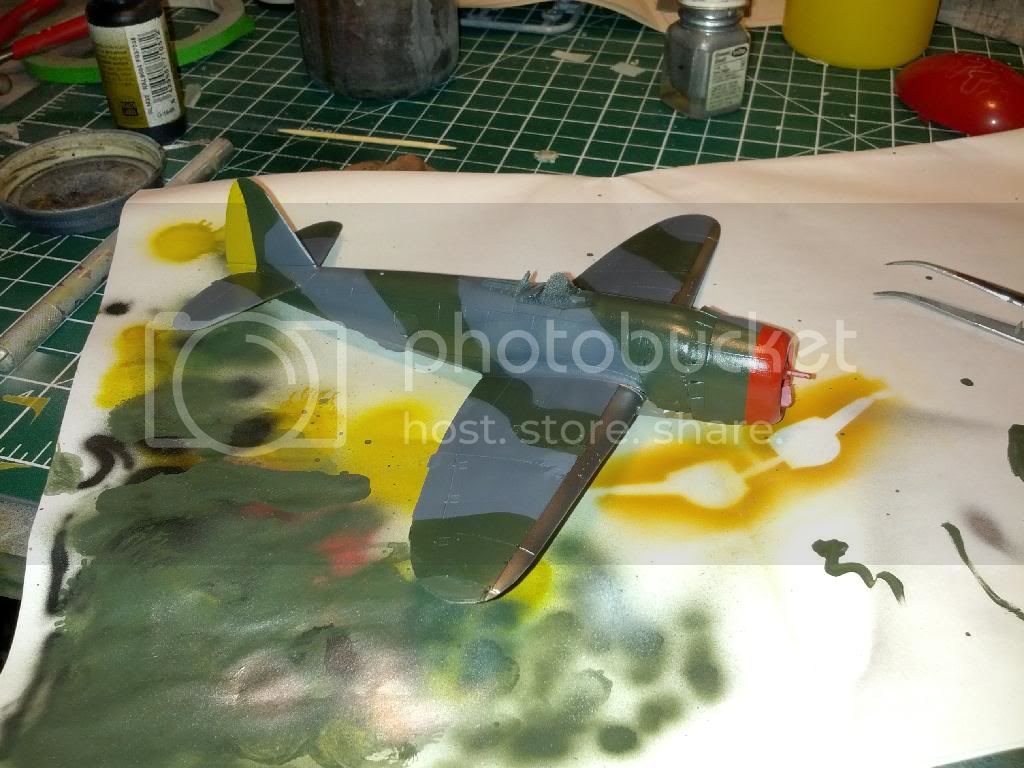
Upper surfaces finished. I had a massive amount of trouble getting model colour thinned correctly. Using the vallejo thinner mind you. It's a very narrow margin between spraying water colours and clogging up the old a/b. I must adhere strictly to model air from now on.
If the alclad goes on agreeably I shall be close to home.
Mcleod
Alberta, Canada
Joined: April 07, 2010
KitMaker: 1,028 posts
AeroScale: 939 posts
Joined: April 07, 2010
KitMaker: 1,028 posts
AeroScale: 939 posts
Posted: Sunday, March 30, 2014 - 01:24 AM UTC
I think the P-47 looks really nice.
I guess that ugliness is pretty well camoflaged now.
Quoted Text
there isn't an angle this thing doesn't look ugly from.
I guess that ugliness is pretty well camoflaged now.
SaxonTheShiba
United States
Joined: February 01, 2009
KitMaker: 1,233 posts
AeroScale: 663 posts
Joined: February 01, 2009
KitMaker: 1,233 posts
AeroScale: 663 posts
Posted: Sunday, March 30, 2014 - 02:55 AM UTC
Terri----Thanks. So far the quality of the kit looks very good.
Richard----The Jug really looks good thus far. Looking forward to more.
Best wishes,
Ian
Richard----The Jug really looks good thus far. Looking forward to more.
Best wishes,
Ian
raypalmer
Ontario, Canada
Joined: March 29, 2010
KitMaker: 1,151 posts
AeroScale: 985 posts
Joined: March 29, 2010
KitMaker: 1,151 posts
AeroScale: 985 posts
Posted: Sunday, March 30, 2014 - 04:18 PM UTC
Thank you Ian.
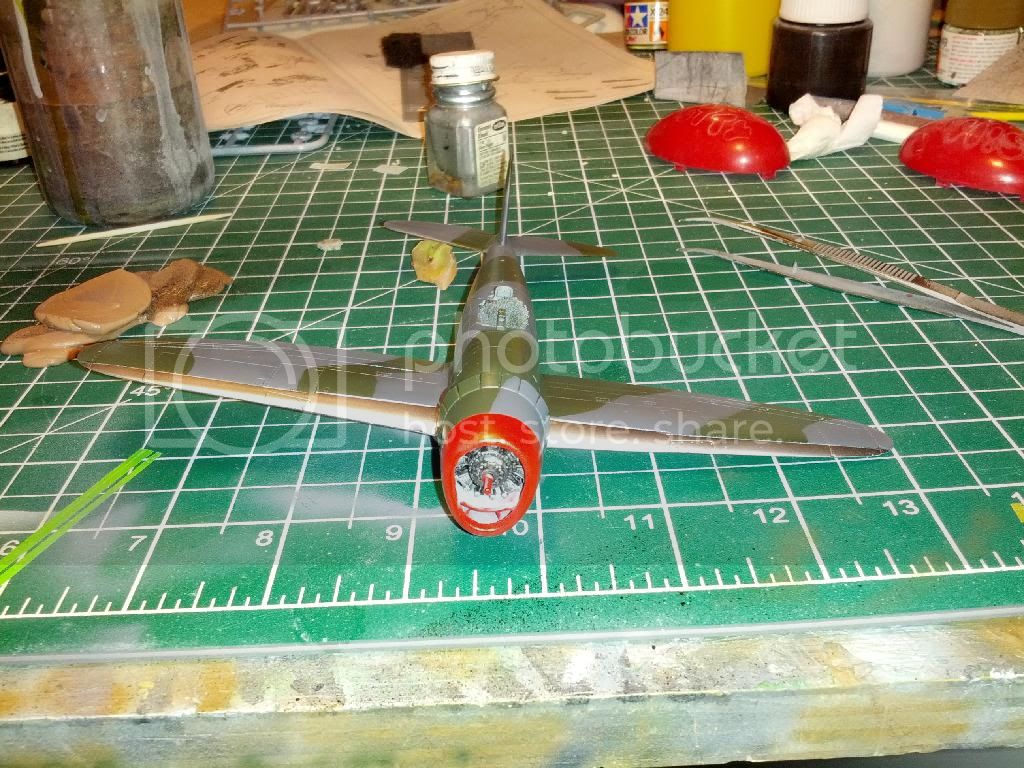
Nothing is more satisfying than doing brush touch ups that stand out sorely (first pic). Only for them to totally dissappear under future (second pic).
Reasonably smooth progress today.
What colour are the wheels?
Nothing is more satisfying than doing brush touch ups that stand out sorely (first pic). Only for them to totally dissappear under future (second pic).
Reasonably smooth progress today.
What colour are the wheels?
Jessie_C
British Columbia, Canada
Joined: September 03, 2009
KitMaker: 6,965 posts
AeroScale: 6,247 posts
Joined: September 03, 2009
KitMaker: 6,965 posts
AeroScale: 6,247 posts
Posted: Sunday, March 30, 2014 - 04:36 PM UTC
Stock P-47 wheels were painted aluminium.
Posted: Sunday, March 30, 2014 - 08:00 PM UTC
More progress...
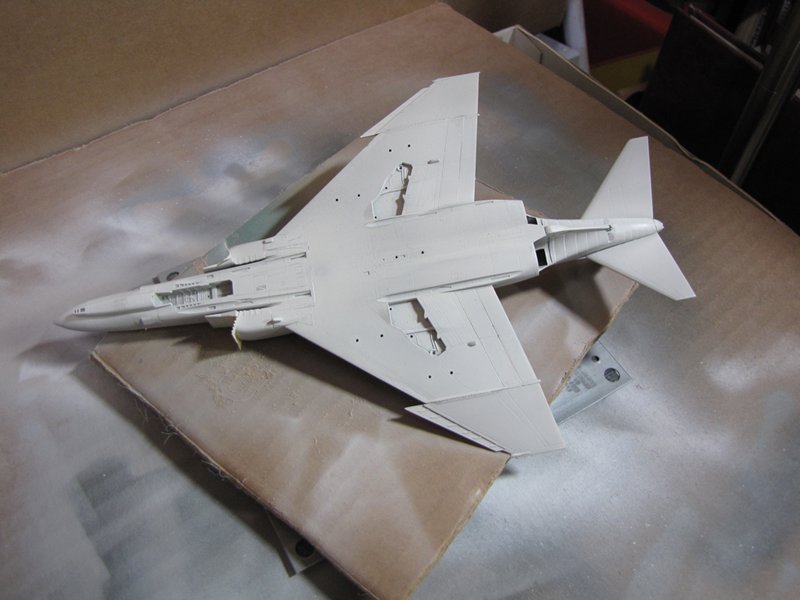
The plane ready for painting and with the primer on the bottom.
Cheers Rob.
The plane ready for painting and with the primer on the bottom.
Cheers Rob.
Posted: Monday, March 31, 2014 - 03:35 AM UTC
Can't remember what I last posted, so you'll get the lot. Victor started....
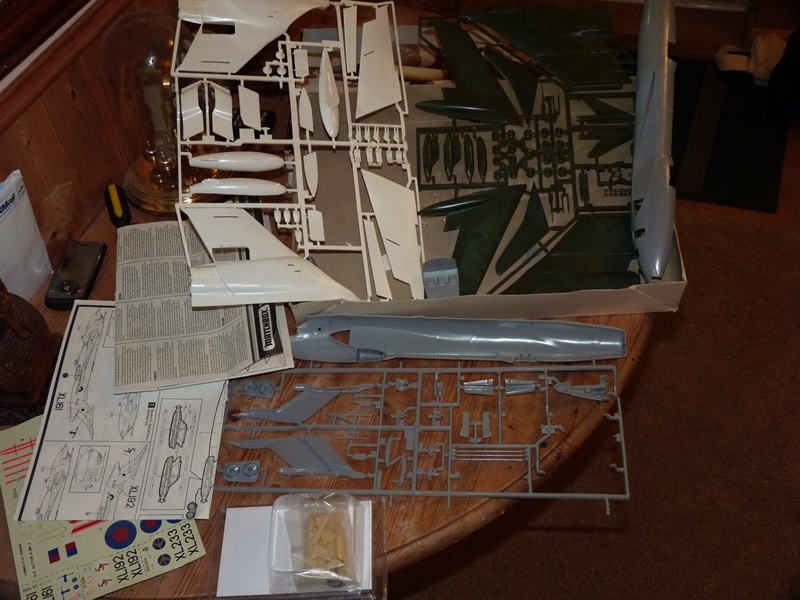
Started on 16/3, kit had been opened before me and a number of parts are detached from the sprues. Usual crazy Matchbox colours
Pit assembled, this is the extent of the detail in the kit. As I have a few personal things going on at the moment I am leaving it as it is
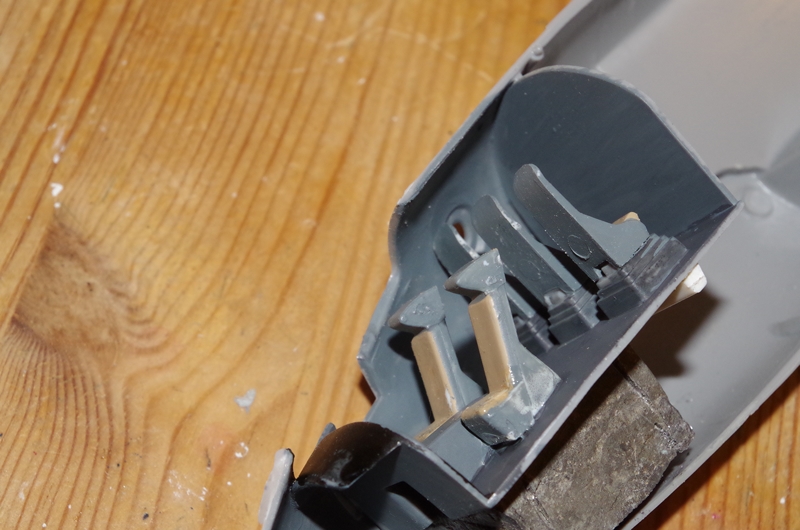
Note the lump of lead under the cockpit floor (65g, kit says 40g, no way is this going to be a tail sitter
Wing root intakes are so wrong that even I cant ignore them. I am not forking out £30 for a resin kit so the insides of the intakes are re-profiled using Milliput
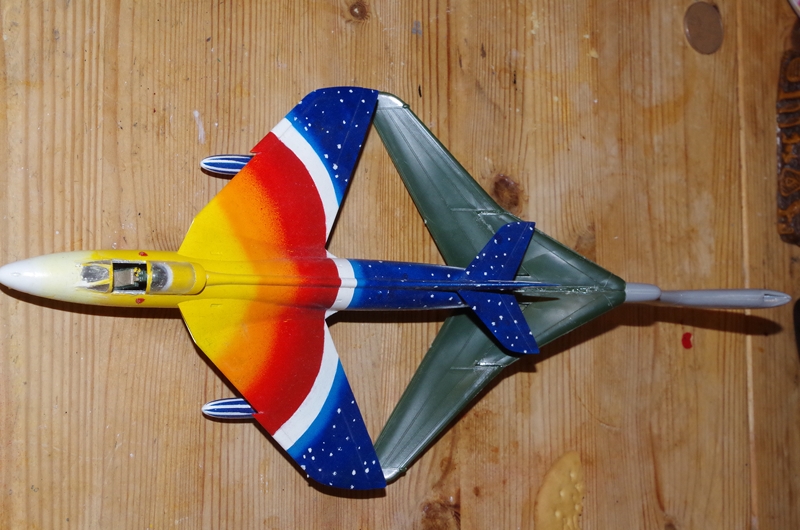
Tail span is almost the same as a Hunter's wingspan, this is going to be the largest 1/72 aircraft I have ever built. (No I have never built any US bomber later than a B-24)
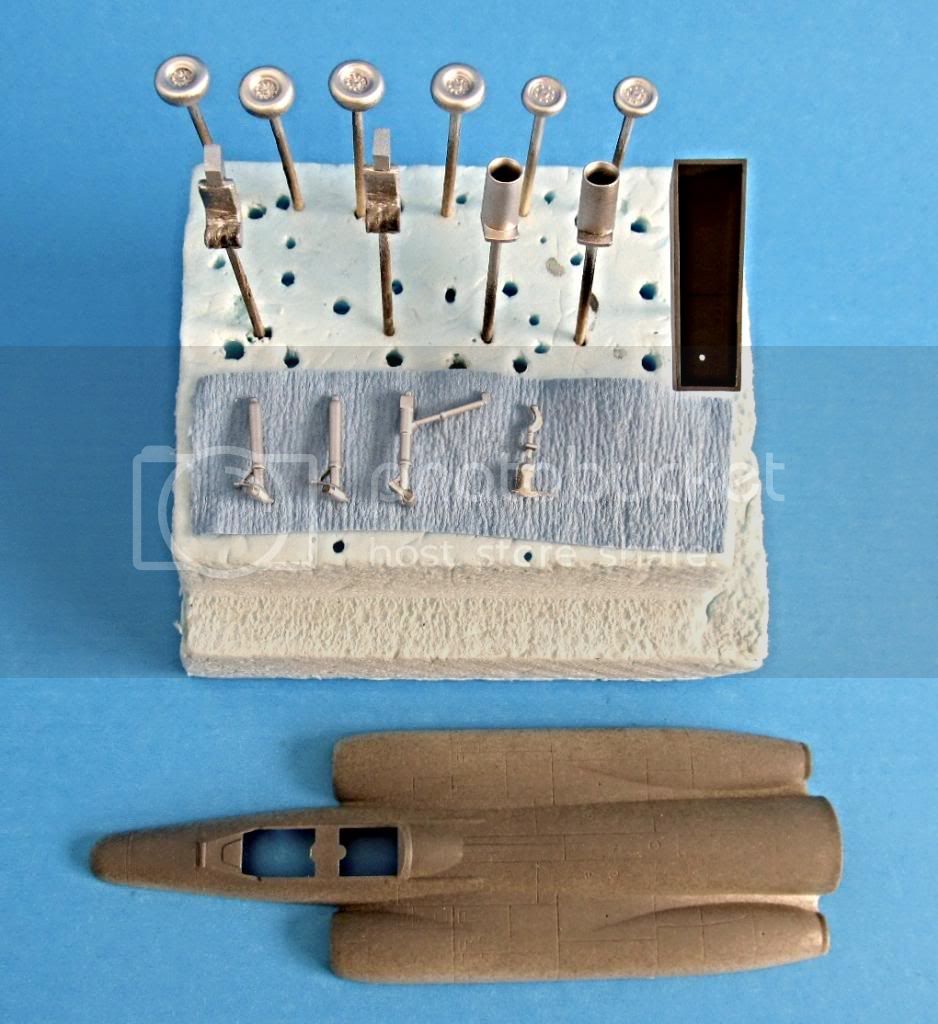
The wing construction is like the real thing, 4 parts (inner and outer wings on each side), lots of filling in the join and under the wing. Lots of filing in the intakes.to get the vanes half decent. Fuselage has gone together well,
I wanted to rescribe this one but have no idea where my scriber has gone, if I can get another I will try rescribing as I have never done it before
Mcleod
Alberta, Canada
Joined: April 07, 2010
KitMaker: 1,028 posts
AeroScale: 939 posts
Joined: April 07, 2010
KitMaker: 1,028 posts
AeroScale: 939 posts
Posted: Monday, March 31, 2014 - 04:09 AM UTC
Quoted Text
I will try rescribing as I have never done it before
I suspect that means a really sharp needle glued into the end of a dowel; the only complicated tool we all used to have.
Anyway, Andrew, the Victor certainly looks huge. Well done
Posted: Monday, March 31, 2014 - 04:20 AM UTC
North4003
England - West Midlands, United Kingdom
Joined: August 01, 2012
KitMaker: 960 posts
AeroScale: 391 posts
Joined: August 01, 2012
KitMaker: 960 posts
AeroScale: 391 posts
Posted: Monday, March 31, 2014 - 05:20 AM UTC
I've completed the Star Trek Galileo II for the Enterprise Campaign but thought that I'd also post it here since it was part of Russell's collection. I left the top and bottom hull sections loose because there is an interior. The scale is around 1/50 so I would like to add some figures and lights at some point.
In memory of Russell.
Mcleod
Alberta, Canada
Joined: April 07, 2010
KitMaker: 1,028 posts
AeroScale: 939 posts
Joined: April 07, 2010
KitMaker: 1,028 posts
AeroScale: 939 posts
Posted: Monday, March 31, 2014 - 05:47 AM UTC
Very nice, Brent.
If that pretty little intergalactic ride was given to you from Russell's collection via JPTRR, please feel free to include it in this campaign as well, and place it in the gallery. Russell would have liked that.
thegirl
Alberta, Canada
Joined: January 19, 2008
KitMaker: 6,743 posts
AeroScale: 6,151 posts
Joined: January 19, 2008
KitMaker: 6,743 posts
AeroScale: 6,151 posts
Posted: Monday, March 31, 2014 - 11:44 AM UTC
A lot of really good in progress builds going on !
Brent , she is fantastic ! Russell would be very proud on the work you have done
Terri
Brent , she is fantastic ! Russell would be very proud on the work you have done
Terri