Air Campaigns
Want to start or join a group build? This is where to start.
Official: Russell Anderson Memorial Campaign
Dragon164
#226
_VISITCOMMUNITY
British Columbia, Canada
Joined: February 20, 2012
KitMaker: 1,909 posts
AeroScale: 508 posts
Posted: Saturday, April 05, 2014 - 06:22 PM UTC
Yes Ian, nice work on the Lanc!

Ben have you considered painting the both ip pieces black then scratching the dial through the holes? I hope that makes sense.

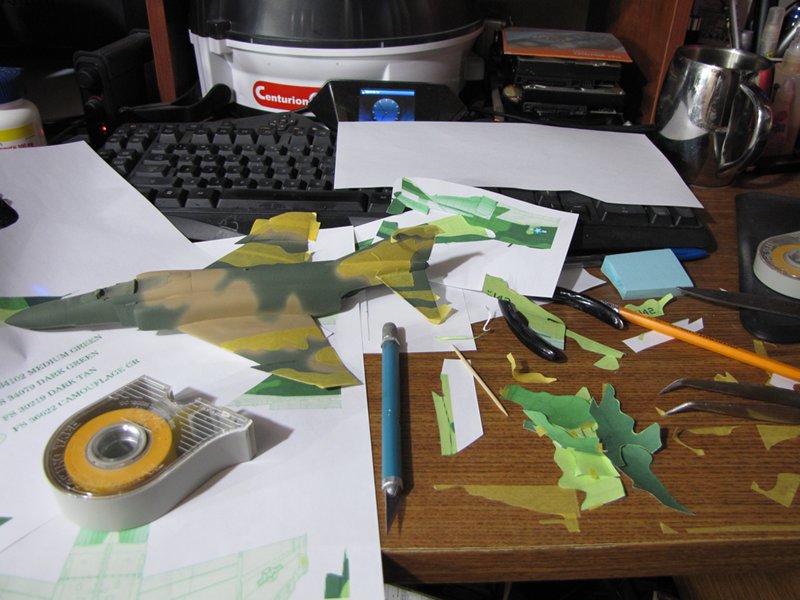
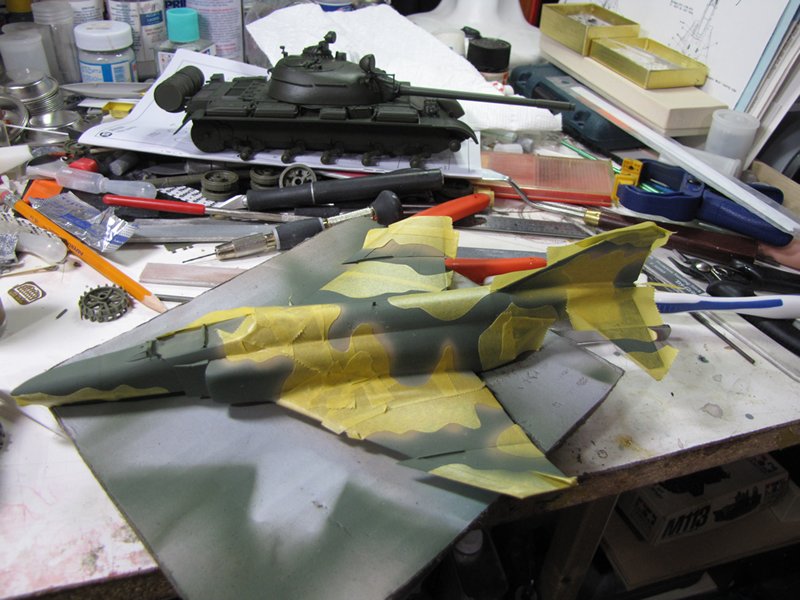
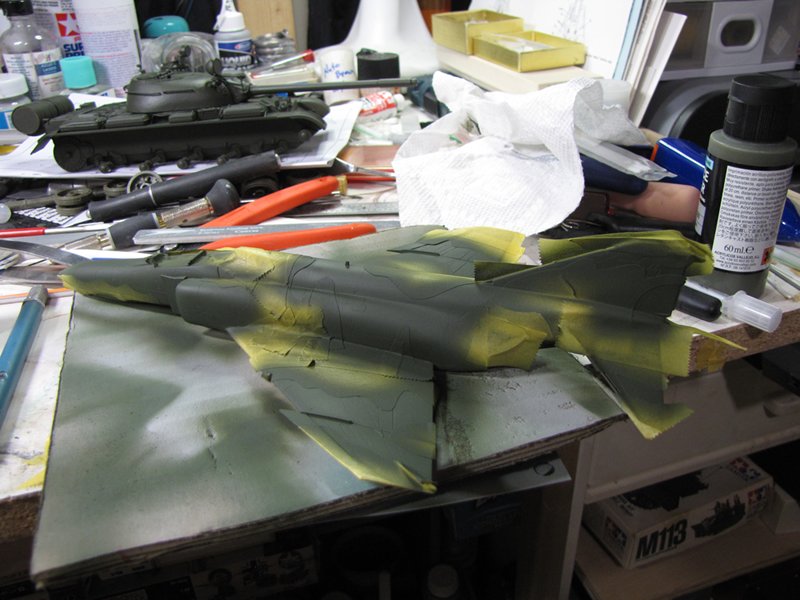
I was not happy with my freehand camo, maybe I should save that for larger scales, So I am now re-masking everything I can save most of what's done with some touch ups.

Cheers Rob.
md72
#439
_VISITCOMMUNITY
Washington, United States
Joined: November 05, 2005
KitMaker: 4,950 posts
AeroScale: 3,192 posts
Posted: Saturday, April 05, 2014 - 07:45 PM UTC
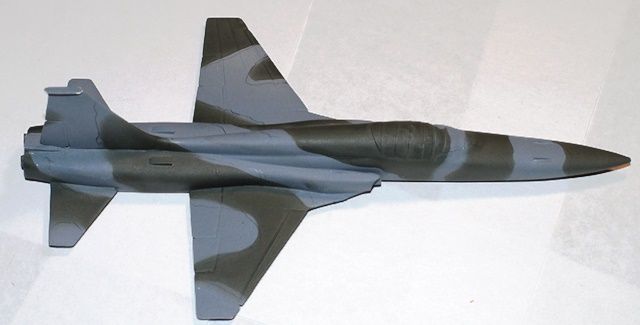
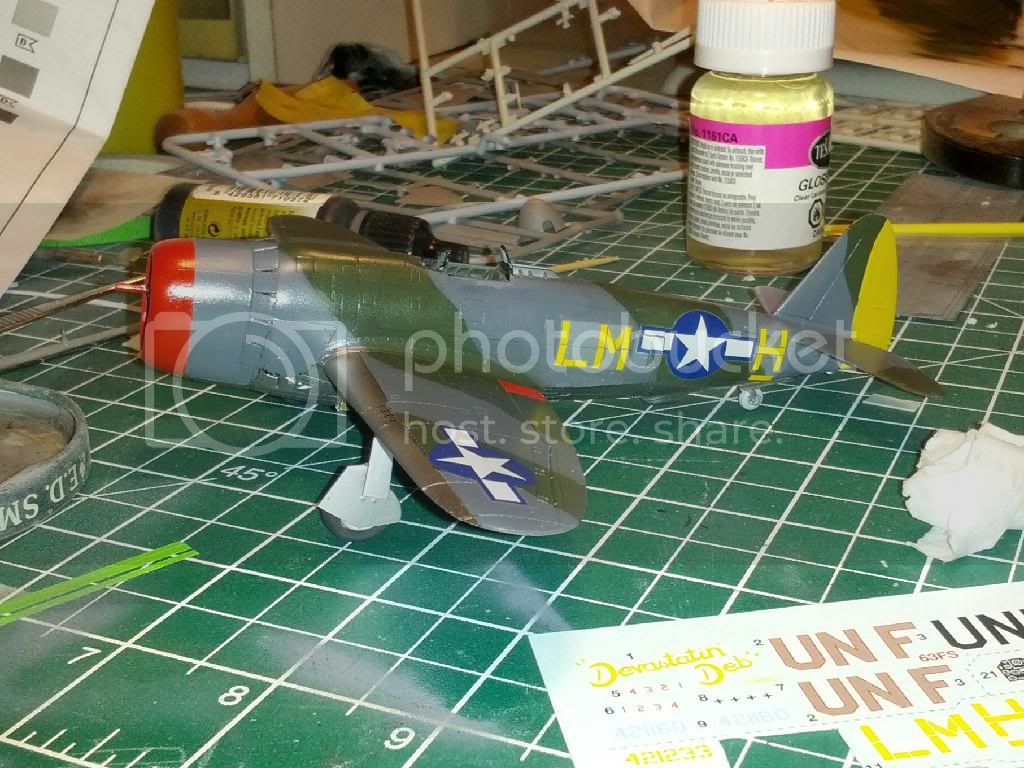
Rob, I tried Lee's masking technique for my F-5. Wow, it was a lot of work, but I think the results were worth it:
ljames0874
_VISITCOMMUNITY
England - South East, United Kingdom
Joined: August 15, 2012
KitMaker: 408 posts
AeroScale: 365 posts
Posted: Saturday, April 05, 2014 - 08:46 PM UTC
Looking good there Mark! I demasked the Javelin yesterday, and I'm pretty happy with it, just one or two touch ups needed. Later on, I'm going to mask and spray the nose cone black.
ludwig113
_VISITCOMMUNITY
England - South East, United Kingdom
Joined: February 05, 2008
KitMaker: 1,381 posts
AeroScale: 1,110 posts
Posted: Saturday, April 05, 2014 - 10:13 PM UTC
getting there, undercarridge and decals next!


paul
Mcleod
_VISITCOMMUNITY
Alberta, Canada
Joined: April 07, 2010
KitMaker: 1,028 posts
AeroScale: 939 posts
Posted: Sunday, April 06, 2014 - 01:09 AM UTC
Hi,Mark. The F-5 is really starting to look good. Just a note on the tack/camo technique. You might try it without the pencil lines. Instead, have a profile in front of you to reference as your laying down the tack snakes. Just makes for less clean-up.

Everyone else is doing fabulous work as well. It's going to be a great gallery display.


Quoted Text

Ben have you considered painting the both ip pieces black then scratching the dial through the holes?


I thought about that, Rob. The small dial holes are 0.6mm in diameter and my fat fingers are considerably larger and clumsy. It just seems more accurate to me to scratch new ones, using a technique I'm familiar with. There was no rear panel included, so the rear seat position has to be built anyway.

Ben
thegirl
_VISITCOMMUNITY
Alberta, Canada
Joined: January 19, 2008
KitMaker: 6,743 posts
AeroScale: 6,151 posts
Posted: Sunday, April 06, 2014 - 01:46 AM UTC
Wow , you guy's are coming along really well on your builds !


Mark , nice job on the camo I will be giving this a try as well on future builds . Yes , it's a bit more work involved , but the results are must impressive .


Terri
SaxonTheShiba
_VISITCOMMUNITY
United States
Joined: February 01, 2009
KitMaker: 1,233 posts
AeroScale: 663 posts
Posted: Sunday, April 06, 2014 - 04:05 AM UTC
Paul----That Vulcan really looks good. Nicely done.

Rob and Mark----Great work on your respective camo schemes. Nicely done as well.


Best wishes,


Ian
Merlin
Staff MemberSenior Editor
AEROSCALE
#017
_VISITCOMMUNITY
United Kingdom
Joined: June 11, 2003
KitMaker: 17,582 posts
AeroScale: 12,795 posts
Posted: Sunday, April 06, 2014 - 04:43 AM UTC

Quoted Text

I'm also working the seats over. They come with molded in harness and an ugly injection release mark right in the harness centre.


Hi Rob

I'm convinced some mould-makers have a (not so) secret vendetta against pattern-makers and us mere mortal modellers!

All the best

Rowan
ljames0874
_VISITCOMMUNITY
England - South East, United Kingdom
Joined: August 15, 2012
KitMaker: 408 posts
AeroScale: 365 posts
Posted: Sunday, April 06, 2014 - 06:00 AM UTC
Just a quick update on the Javelin, here she is, and as the decals do not include the walkway markings, I painted and "negative masked" them before doing the camouflage.


Well done everyone, there are some great builds happening. I'm keeping a special eye on the Vulcan, as I recently acquired the same kit, courtesy of Russell, via Fred.
ludwig113
_VISITCOMMUNITY
England - South East, United Kingdom
Joined: February 05, 2008
KitMaker: 1,381 posts
AeroScale: 1,110 posts
Posted: Sunday, April 06, 2014 - 07:08 AM UTC

Quoted Text

I'm keeping a special eye on the Vulcan, as I recently acquired the same kit, courtesy of Russell, via Fred.


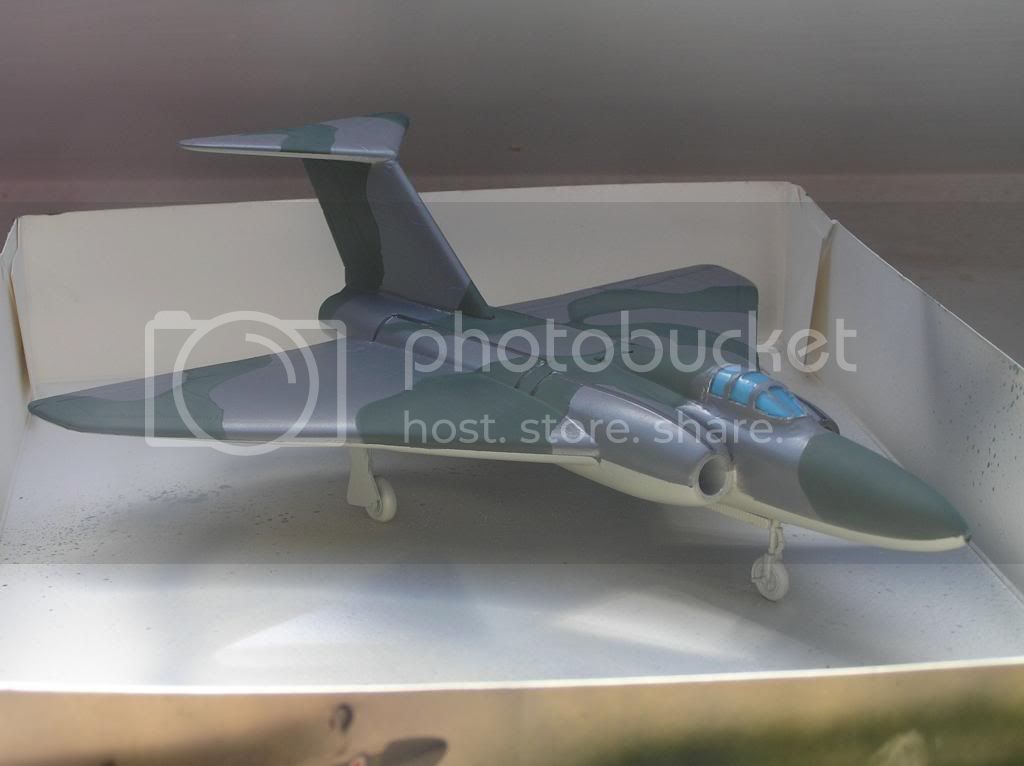
hi, i never knew he had this kit, but i'm so glad i chose this now.

great little kit, i've not used any filler and the fit is fantastic, the decals are on now, just the top coat to sort

paul
Naseby
_VISITCOMMUNITY
Slovakia
Joined: October 15, 2010
KitMaker: 825 posts
AeroScale: 476 posts
Posted: Sunday, April 06, 2014 - 08:24 AM UTC
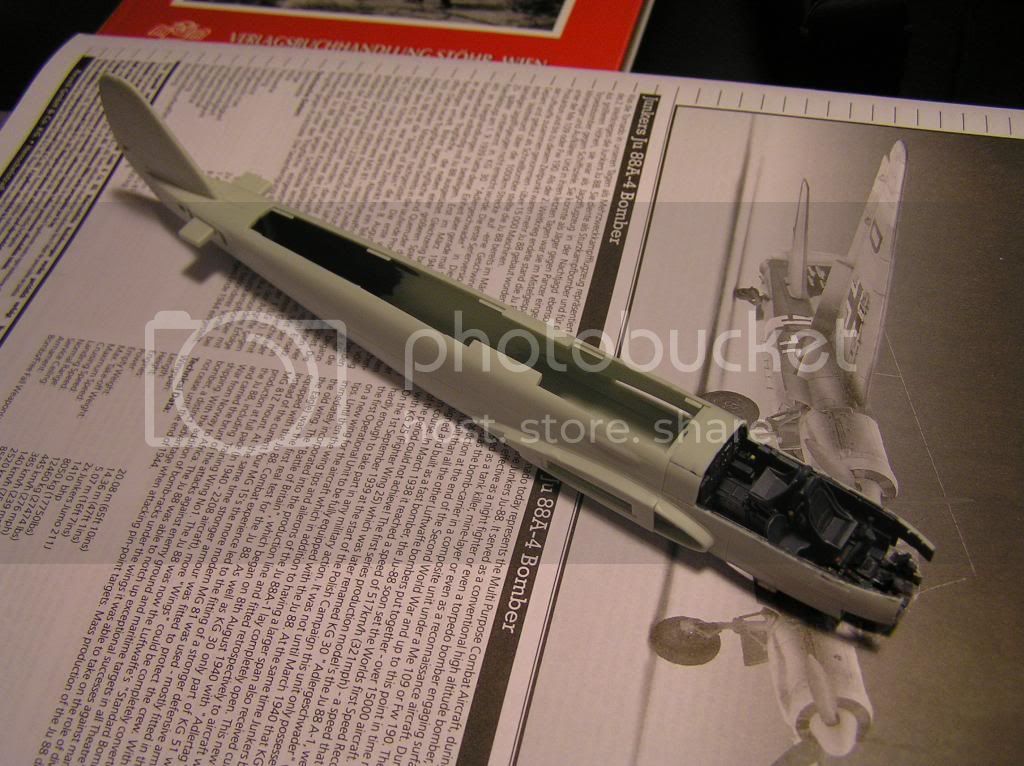
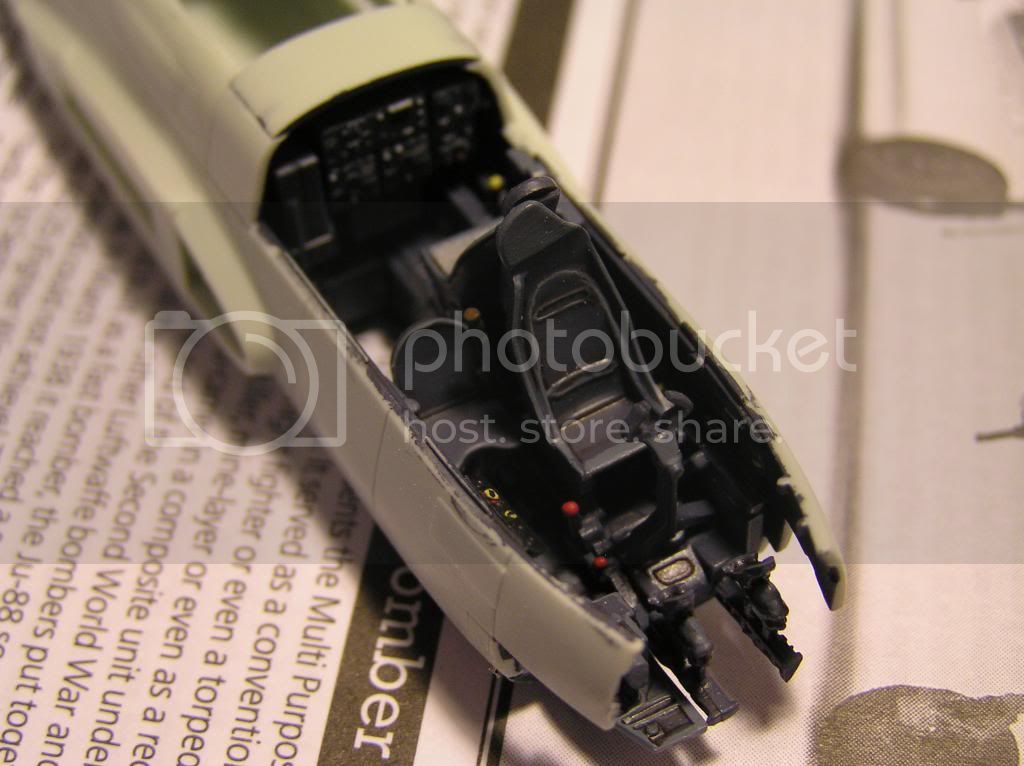
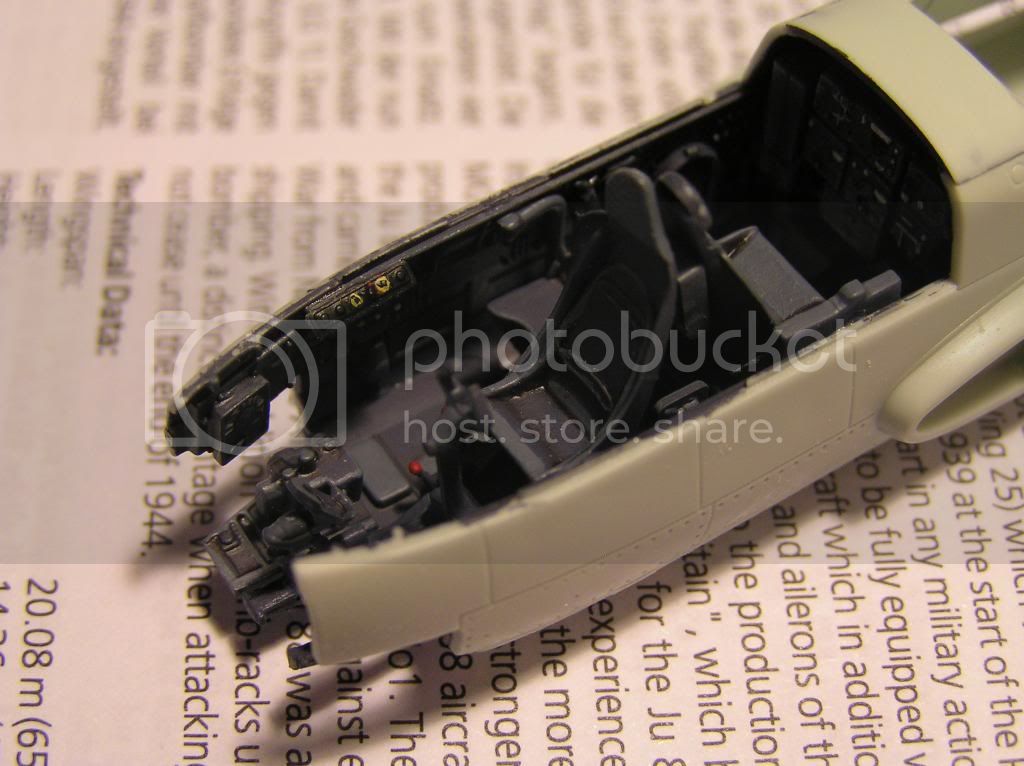
Wow so much going on in here! Im a bit ashamed that my progress is so slow in comparison to all of You. Even thou I stopped all my other projects, I can hardly get some bench time lately, so here are just a few progress pictures of the Junkers. The fit of the cockpit and fuselage halves is good. The fuselage is also divide into the forward and after section for later version of the kit I guess. This requires more attention then a two piece fuselage would.


Mcleod
_VISITCOMMUNITY
Alberta, Canada
Joined: April 07, 2010
KitMaker: 1,028 posts
AeroScale: 939 posts
Posted: Sunday, April 06, 2014 - 09:51 AM UTC
Slow and nice, or nice and slow is ok, too, Naseby. Your JU-88 is coming along just fine!!
raypalmer
_VISITCOMMUNITY
Ontario, Canada
Joined: March 29, 2010
KitMaker: 1,151 posts
AeroScale: 985 posts
Posted: Sunday, April 06, 2014 - 03:12 PM UTC

Homing in on it now. How does one apply the enormous star-on-bar over that huge vent in the fuselage??

Mcleod
_VISITCOMMUNITY
Alberta, Canada
Joined: April 07, 2010
KitMaker: 1,028 posts
AeroScale: 939 posts
Posted: Sunday, April 06, 2014 - 03:18 PM UTC

Quoted Text

How does one apply the enormous star-on-bar over that huge vent in the fuselage??


I should think you get ahold of Mr Mayfield, and beg, pillage, or plunder for one nice mask in this scale.!
Jessie_C
_VISITCOMMUNITY
British Columbia, Canada
Joined: September 03, 2009
KitMaker: 6,965 posts
AeroScale: 6,247 posts
Posted: Sunday, April 06, 2014 - 04:59 PM UTC
If you look at this picture you'll see that it was applied in several parts over the various doors. When the doors are closed, the insignia looks like it's one piece.
almonkey
_VISITCOMMUNITY
England - East Midlands, United Kingdom
Joined: March 23, 2003
KitMaker: 2,124 posts
AeroScale: 788 posts
Posted: Monday, April 07, 2014 - 07:21 AM UTC
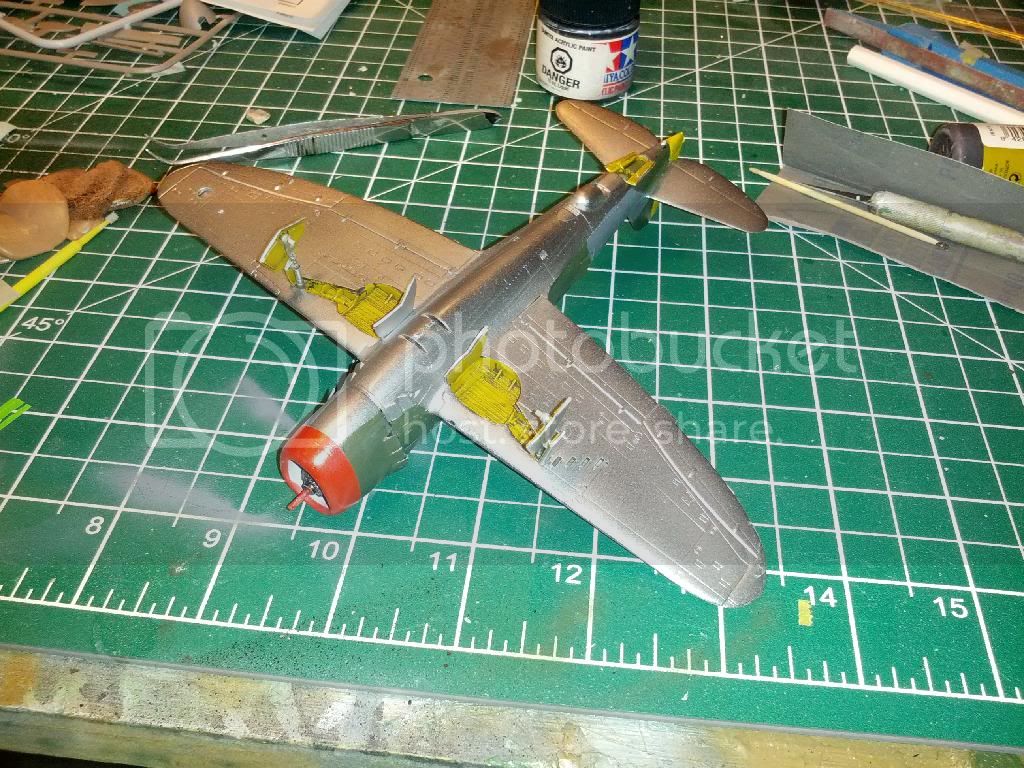
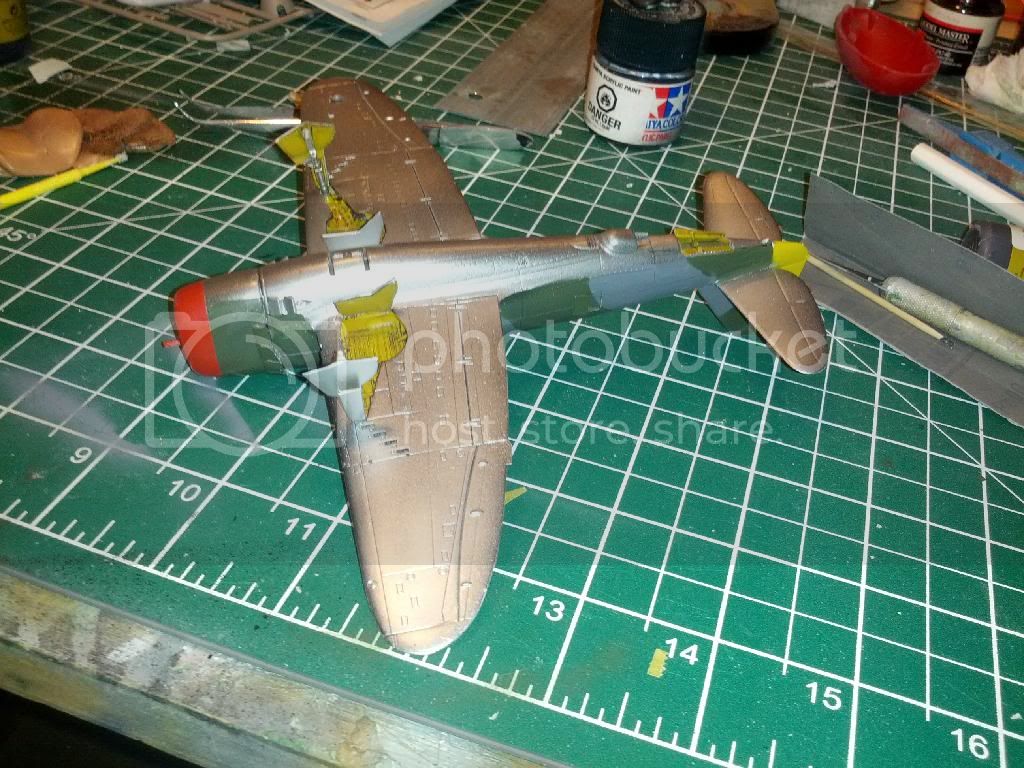
got some more work done on russell's 219, because of the fact this kit is now REALLY heavy, due to the lead i've filled it with, i decided i would beef up the main landing gear to help take the weight.

the first thing i did was to put a peice of load bearing plastic across the top of the wheel well. also visible is the piece of sprue bracing the bay ceiling.

this is because, as built from the instructions the main gear legs have little tabs sticking out at the front that fit in the sockets seen above, but this is without reaching the bay ceiling so these tabs would be the only thing supporting the weight of the model.


as for those tabs, i cut them off, and replaced them with structural cut down pins


and here it all is being test fitted.


and all that lead has done its job!


i've also started working on scratching up the missing main gear doors. i may well cut the kit one in half as in the instructions, but put the halves on both nacelles outer sides, and use my scratched ones on the inner side.
raypalmer
_VISITCOMMUNITY
Ontario, Canada
Joined: March 29, 2010
KitMaker: 1,151 posts
AeroScale: 985 posts
Posted: Tuesday, April 08, 2014 - 04:19 PM UTC
Very interesting to see your solution to the landing gear Al. Good stuff.

Stars and bars branding has begun. These decals are a mite leathery.
Removed by original poster on 04/09/14 - 16:20:58 (GMT).
Removed by original poster on 04/09/14 - 16:23:14 (GMT).
Removed by original poster on 04/09/14 - 16:24:57 (GMT).
IronOwl
_VISITCOMMUNITY
Georgia, United States
Joined: January 07, 2013
KitMaker: 572 posts
AeroScale: 130 posts
Posted: Wednesday, April 09, 2014 - 04:34 AM UTC


Heres My entry for this Build A German Marine Tornado

Sascha(Ironowl)
SaxonTheShiba
_VISITCOMMUNITY
United States
Joined: February 01, 2009
KitMaker: 1,233 posts
AeroScale: 663 posts
Posted: Friday, April 11, 2014 - 11:49 AM UTC
Nice progress on everybody's projects. Slight update on the Lanc.....fuselage and wings are together. Fit was good although I had to sand down the edges of the bomb bay and flight deck to get the fuselage to close.
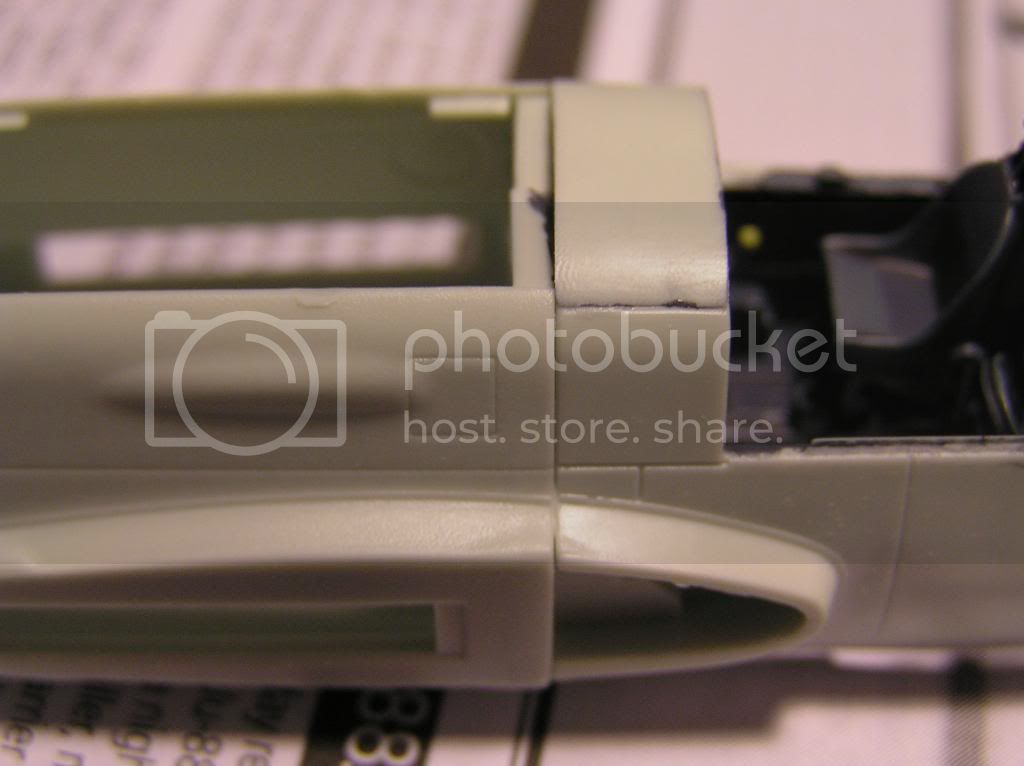
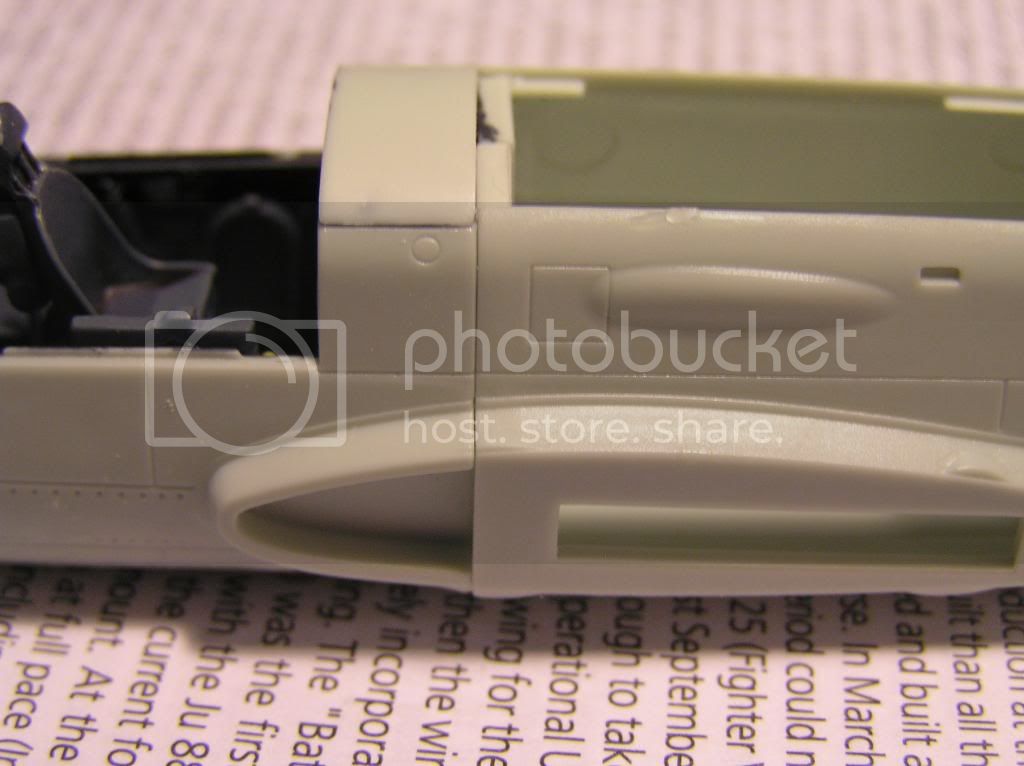
Best wishes,

Ian


SgtRam
Staff MemberEditor-at-Large
AEROSCALE
#197
_VISITCOMMUNITY
Ontario, Canada
Joined: March 06, 2011
KitMaker: 3,971 posts
AeroScale: 511 posts
Posted: Friday, April 11, 2014 - 01:31 PM UTC
Got started a little late, but here is my entry for Russel. A 1/72 scale Sopwith Camel. It is now packaged as a Squadron Encore kit, but is an older Roden kit.


Nito74
_VISITCOMMUNITY
Lisboa, Portugal
Joined: March 04, 2008
KitMaker: 5,386 posts
AeroScale: 635 posts
Posted: Saturday, April 12, 2014 - 06:08 AM UTC
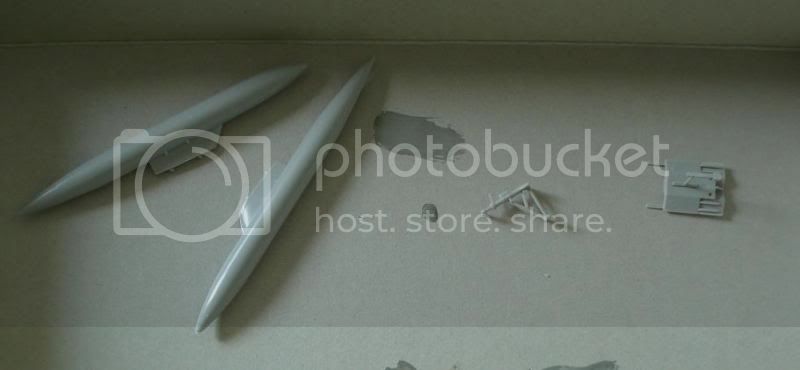
Weapons bay details & fuel tanks,


Also gave a light coat of Aircraft Grey near the wheels bay.

Dragon164
#226
_VISITCOMMUNITY
British Columbia, Canada
Joined: February 20, 2012
KitMaker: 1,909 posts
AeroScale: 508 posts
Posted: Saturday, April 12, 2014 - 09:10 PM UTC
I got all the masking for the final color done, made more work for myself freehanding it to start. I shot the final color and there is a small touch up left for the tan.

Cheers Rob.