Its great to see all the progress being made. I like the dynamic way Lee mounted his ekronoplan. Andys bv138 is looking fantastic, the cockpit especially.Bryans swordfish has come along way since it was covered in clamps!
My progress has been slow but worth while. Im still plugging away in the cockpit, which has become a model all its own. Shouldnt be much longer and the rest of the plane should be pretty straight foward. Heres what I have so far.
Air Campaigns
Want to start or join a group build? This is where to start.
Hosted by Frederick Boucher, Michael Satin
OFFICIAL: Sea Plane Campaign 2014
mrockhill
Pennsylvania, United States
Joined: June 17, 2009
KitMaker: 566 posts
AeroScale: 507 posts
Joined: June 17, 2009
KitMaker: 566 posts
AeroScale: 507 posts
Posted: Friday, December 05, 2014 - 07:23 PM UTC
Posted: Friday, December 05, 2014 - 07:43 PM UTC
Hi to all!
Entrys coming along nicely,mine is moveing along slowly I hope to post photo's soon.
Keep up the good work.
Richard.
Entrys coming along nicely,mine is moveing along slowly I hope to post photo's soon.
Keep up the good work.
Richard.
ljames0874
England - South East, United Kingdom
Joined: August 15, 2012
KitMaker: 408 posts
AeroScale: 365 posts
Joined: August 15, 2012
KitMaker: 408 posts
AeroScale: 365 posts
Posted: Friday, December 05, 2014 - 10:25 PM UTC
Cheers Mike - your cockpit is looking fantastic btw!
Blespooky
Tel Aviv-Yafo, Israel
Joined: June 03, 2014
KitMaker: 277 posts
AeroScale: 36 posts
Joined: June 03, 2014
KitMaker: 277 posts
AeroScale: 36 posts
Posted: Tuesday, December 09, 2014 - 04:39 PM UTC
1:72 Airfix Fairey Swordfish
@ Andy that Bv looks complex, I enjoy seeing your creative solutions
@ Mike that is one complex little cockpit, maybe add some pontoons to it and call it good,
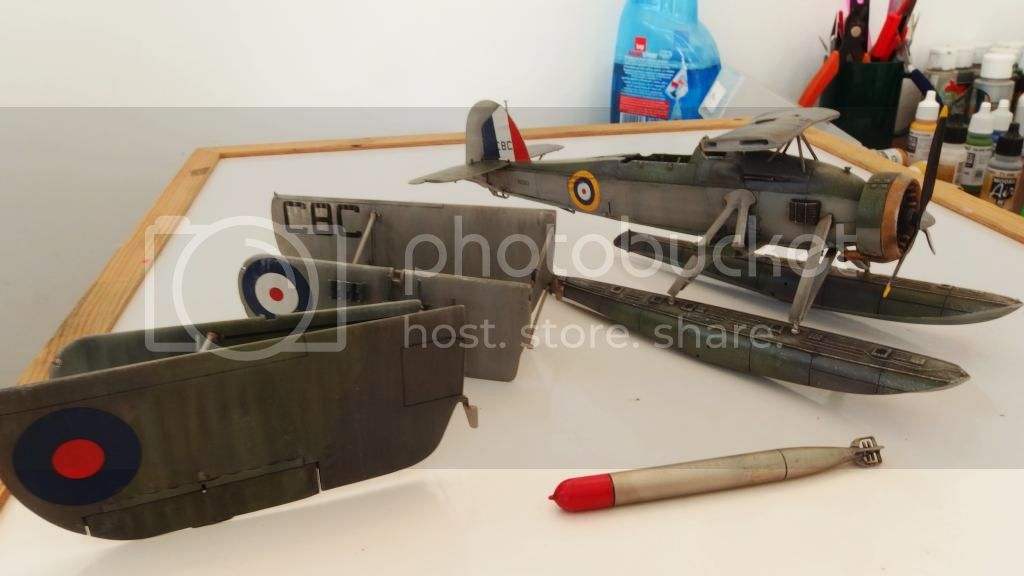
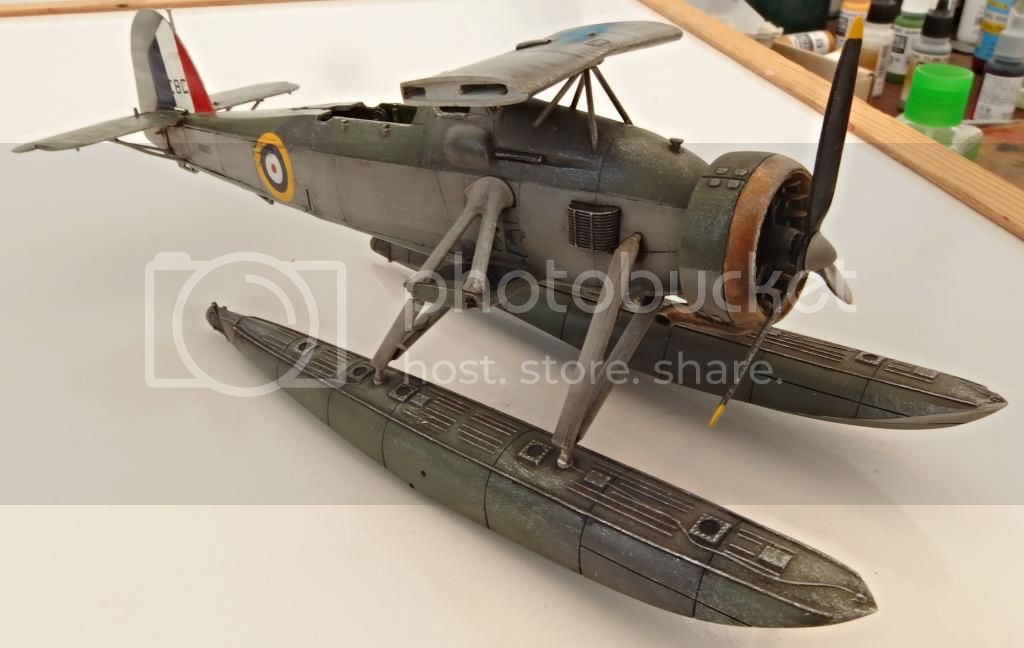
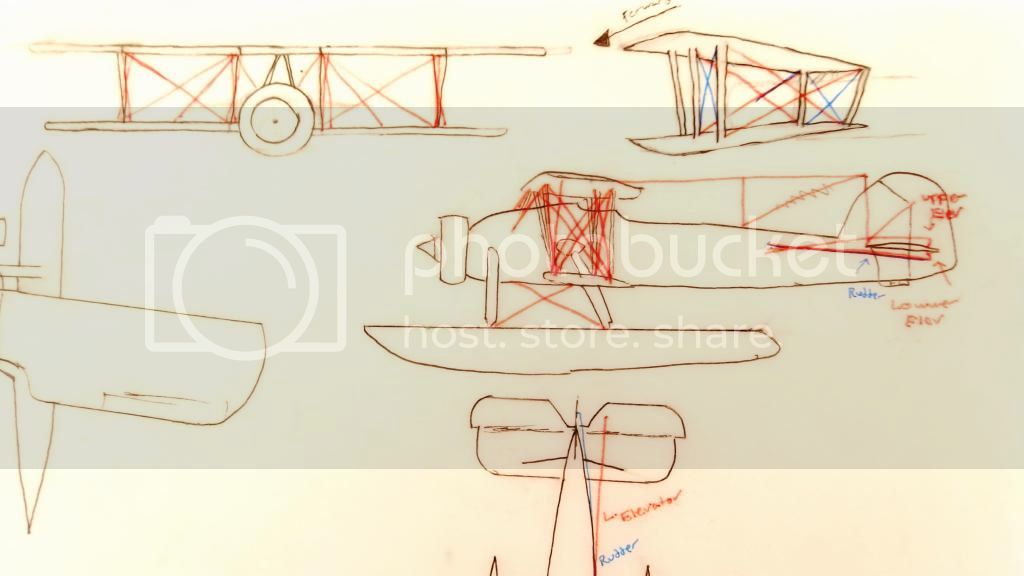
I have added a wash and light airbrushing to the swordfish. If anyone builds this in the future it is important to make the beams which hold the floats very very strong as I have broken then a few times. Next up rigging. I will use black fine easy line which may or may not be correct as I have seen many pictures which point to both as being correct.
Thanks,
Bryan
bdanie6
New Hampshire, United States
Joined: November 09, 2008
KitMaker: 615 posts
AeroScale: 459 posts
Joined: November 09, 2008
KitMaker: 615 posts
AeroScale: 459 posts
Posted: Wednesday, December 10, 2014 - 08:28 AM UTC
Just a short update today. RLM 72 laid on and masked for RLM 73
Next up, spray on the RLM 73 and remove the masking tape
Later
Next up, spray on the RLM 73 and remove the masking tape
Later
Posted: Thursday, December 11, 2014 - 02:34 AM UTC
Good to see everyones builds progressing nicely.
Hit a bit of a stumbling block with my build.
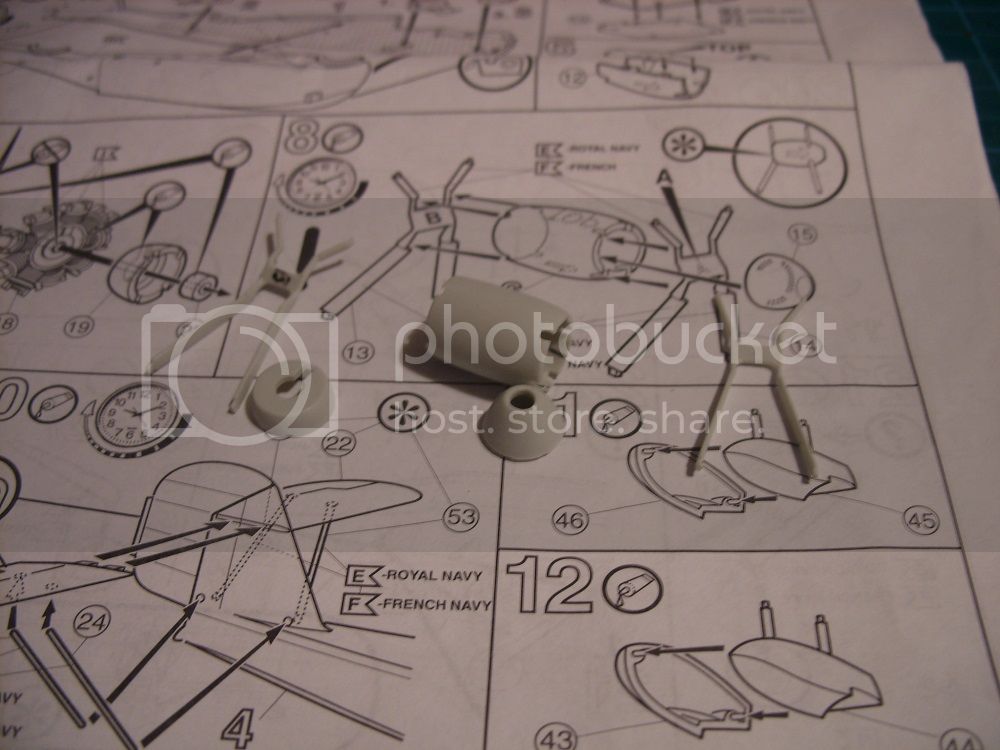
Matchbox designed the struts that connect the fuselage, engine nacelle and upper wing as 2 parts with everything pre-molded at the correct angles. To complicate matters, the Walrus engine was offest slightly to starboard and the kits parts are supposed to replicate this when assembled. Seems great in theory but doesn't to want to co-operate with me. I can get the struts and pod together as it says in the instructions, but the engine points the port and the struts don't line up with the holes in the upper wing or slots in the fuselage. Trying the pieces in other combinations only makes it worse!
Bit of a head scratcher.
Oh, and I also drilled out the oil cooler intake on the front cone as this part was molded solid.
Posted: Thursday, December 11, 2014 - 03:30 AM UTC
bdanie6
New Hampshire, United States
Joined: November 09, 2008
KitMaker: 615 posts
AeroScale: 459 posts
Joined: November 09, 2008
KitMaker: 615 posts
AeroScale: 459 posts
Posted: Thursday, December 11, 2014 - 06:54 AM UTC
Some progress and a major set back
First, the progress
Finally got the RLM 73 laid down. It came out real nice. Model Master Enamel, of course.
I placed the wing on the hull, just to check the fit and look of the camouflage
And of course, the bottom of the hull and wings with the RLM 65 color and the RLM 04 theater bands, in this case, Western Europe.
Now, unfortunately, the bad news. I glued the wings to the hull using the center line struts that I had applied to the wing bottom before painting the hull. In the process I managed to break the gun barrel off the stern turret gun. Found the barrel on the floor (thank god for tile floors...no carpet monster here )
After the glue dried I found that the wings had dried at an angle .
I took the sponson struts and tried to fit them in under the wing to straighten it out....Old fat fingers and 1/72 scale...didn't fit
So I removed the wing and tried to glue the sponson struts on first. Ya know, the sponsons have locater holes, but the struts ain't got no studs!
So I took the central hull strut off the wing (this is the only strut that actually as a tab and slot arrangement that works) and tried to glue it to the hull. So, of course, wen I pressed the strut ta into the hull slot, the bottom seam on the hull let go
It's all back in the box for the time being
Some unkind words were spoken
Later
not sure how much later, but later ( I need a or 3)
Blespooky
Tel Aviv-Yafo, Israel
Joined: June 03, 2014
KitMaker: 277 posts
AeroScale: 36 posts
Joined: June 03, 2014
KitMaker: 277 posts
AeroScale: 36 posts
Posted: Thursday, December 11, 2014 - 12:06 PM UTC
*&$#!
Dont panic, after a few beers and a few days break I'm sure the solution and renewed motivation will get you back to the bench. Dont forget to smile.
Bryan
Dont panic, after a few beers and a few days break I'm sure the solution and renewed motivation will get you back to the bench. Dont forget to smile.
Bryan
ljames0874
England - South East, United Kingdom
Joined: August 15, 2012
KitMaker: 408 posts
AeroScale: 365 posts
Joined: August 15, 2012
KitMaker: 408 posts
AeroScale: 365 posts
Posted: Thursday, December 11, 2014 - 12:10 PM UTC
Bad luck there Bruce - It happens to the best of us occasionally!
Take a step back for a couple of days, then try again - plenty of time left!
Posted: Thursday, December 11, 2014 - 04:52 PM UTC
Take a rest Bruce!
We have all been there
It will all come together.
We have all been there
It will all come together.
Posted: Saturday, December 13, 2014 - 02:44 PM UTC
Quoted Text
1:72 Airfix Fairey Swordfish
@ Andy that Bv looks complex, I enjoy seeing your creative solutions
@ Mike that is one complex little cockpit, maybe add some pontoons to it and call it good,
I have added a wash and light airbrushing to the swordfish. If anyone builds this in the future it is important to make the beams which hold the floats very very strong as I have broken then a few times. Next up rigging. I will use black fine easy line which may or may not be correct as I have seen many pictures which point to both as being correct.
Thanks,
Bryan
Great job on the string bag Bryan! Been taking notes for when i start mine!
Bad luck there Bruce... take a rest from it, a few beers and things will not seem so bad in a few days...
Posted: Saturday, December 13, 2014 - 10:42 PM UTC
Hello all. five weeks left in the campaign, and Ive finally gotten started. my subject is the PBY-5 Catalinas operated by Transocean Airlines (TALOA) in the Trust Territory between 1949 and 1955, using a Minicraft 1/144 scale kit.
uh oh, there are two complete kits in the box. what a surprise.
Here is an interesting picture taken on Kusaie. Possibly a visiting UN delegation.
Ive dithered and delayed and almost delisted from the campaign, because I needed to remove the blister observation windows and replace them with flush doors. I finally resolved a method for doing it , and now its done.
cut a big square hole around the oval one, warp in some .015 styrene card backer on the inside, scarf in a curved bit of .030 into the outside surface, fill and fair---
I made a template out of Dymo tape to scribe the lifting doors with window.
now I can move forward.
sculpting the turret-less nose will be easy, and I need to cut out and enlarge the windows to passenger plane size.
edit to add this interesting collection of post war civil Catalinas
Posted: Saturday, December 13, 2014 - 10:49 PM UTC
Nice save Ben!
bdanie6
New Hampshire, United States
Joined: November 09, 2008
KitMaker: 615 posts
AeroScale: 459 posts
Joined: November 09, 2008
KitMaker: 615 posts
AeroScale: 459 posts
Posted: Sunday, December 14, 2014 - 08:34 AM UTC
Just a short update tonight.
After letting the model sit overnight in its box and thinking about how to fix it all up, I got out my trusty pin vise and bits and some old hard wire I had laying about and set to it
Then I very carefully superglued everything together.
And we have a seaplane
Next is engines, then clear cote, decals, dull cote and the fiddly bits.
Then a few more and it's done.
Later
ljames0874
England - South East, United Kingdom
Joined: August 15, 2012
KitMaker: 408 posts
AeroScale: 365 posts
Joined: August 15, 2012
KitMaker: 408 posts
AeroScale: 365 posts
Posted: Sunday, December 14, 2014 - 11:39 AM UTC
Well saved Bruce - just goes to show there's nothing that super glue and a bit of drilling and pinning can't fix!
Posted: Sunday, December 14, 2014 - 01:57 PM UTC
Nice save, Bruce. Looks really nice. Sometimes taking a break adnd a few deep breaths can work wonders.
Looking forward to see more
bdanie6
New Hampshire, United States
Joined: November 09, 2008
KitMaker: 615 posts
AeroScale: 459 posts
Joined: November 09, 2008
KitMaker: 615 posts
AeroScale: 459 posts
Posted: Sunday, December 14, 2014 - 06:18 PM UTC
Lee, Jesper, thank you. When things fell apart I figured I was dead in the water (Pun intended)
A little time out and a bit of planning and repairs are acceptable, not great, but good enough to move on.
Engines are now on, so now I am just setting it up for the gloss cote. Photos to come
Later
A little time out and a bit of planning and repairs are acceptable, not great, but good enough to move on.
Engines are now on, so now I am just setting it up for the gloss cote. Photos to come
Later
Posted: Friday, December 19, 2014 - 04:58 AM UTC
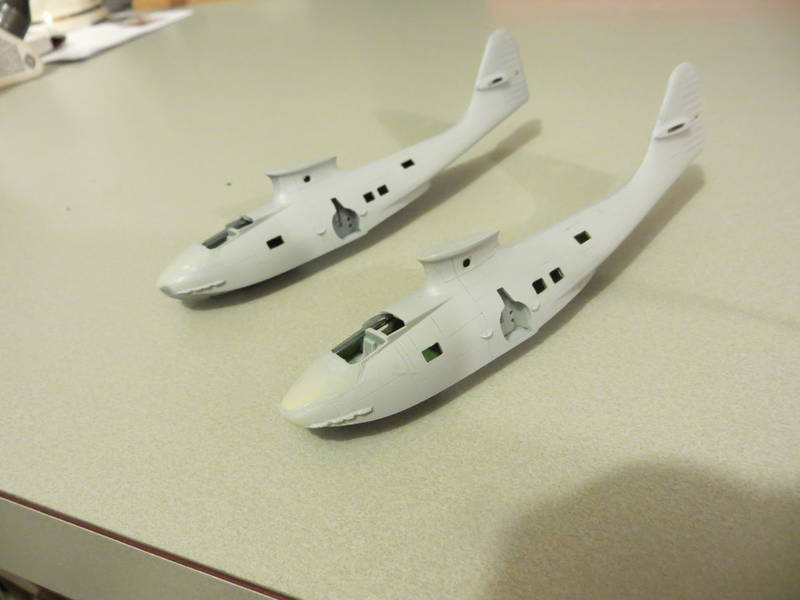
Here are the modified PBY hulls all closed up with nose weights in place of gun turrets.
some drilling and filing, a little sculpting with miliput - almost ready for paint.
Posted: Saturday, December 20, 2014 - 04:01 AM UTC
engines done
bdanie6
New Hampshire, United States
Joined: November 09, 2008
KitMaker: 615 posts
AeroScale: 459 posts
Joined: November 09, 2008
KitMaker: 615 posts
AeroScale: 459 posts
Posted: Saturday, December 20, 2014 - 09:29 AM UTC
Looking good Jonathan, they are coming along nicely.
As for me, the Do 24 has its engines now, has been gloss coated, and decaled. Just waiting to seal in the decals with some dull cote and then add the fiddly bits.
We have engines!
Shiny!
and markings
3rd SeenotGruppe 1942
Well, the finish line is now in sight. Maybe another day or two and we'll call her done.
Til then
Later
Posted: Saturday, December 20, 2014 - 05:57 PM UTC
Nice work Jonathan & Bruce.
I have just about finished sanding the filler on the wing joints on my build.
stukaace
England - West Midlands, United Kingdom
Joined: January 03, 2006
KitMaker: 39 posts
AeroScale: 39 posts
Joined: January 03, 2006
KitMaker: 39 posts
AeroScale: 39 posts
Posted: Monday, December 22, 2014 - 11:08 PM UTC
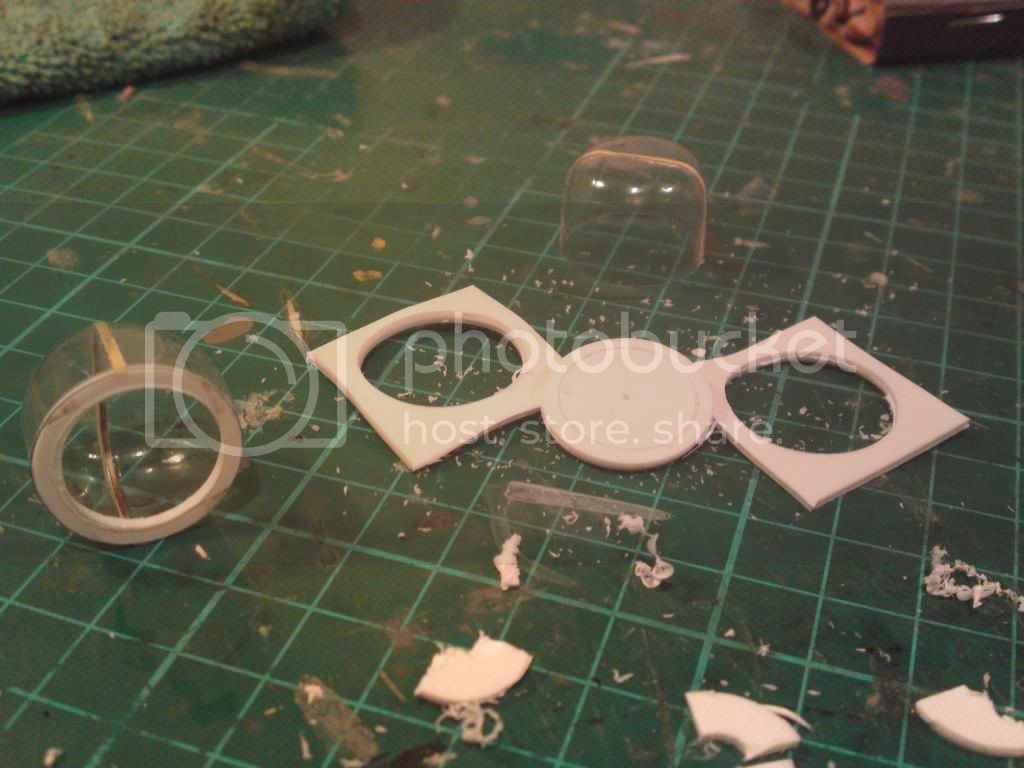
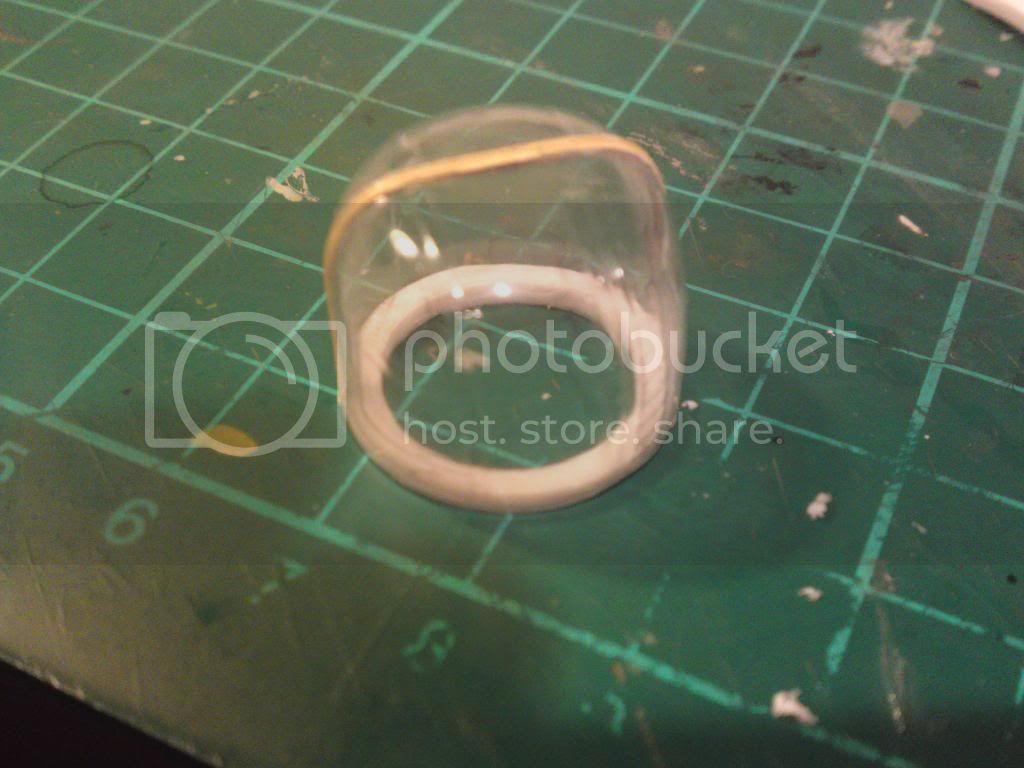
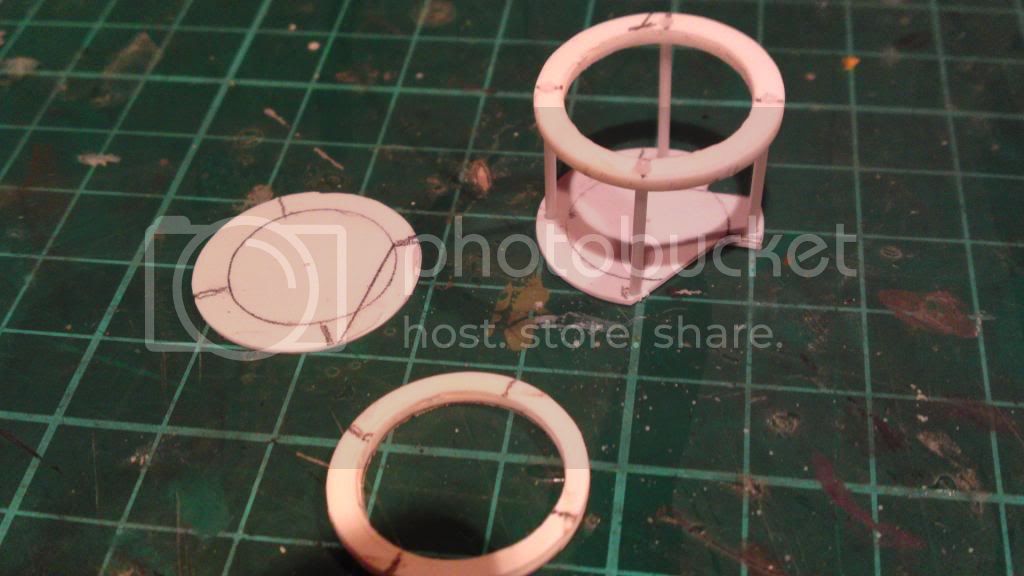
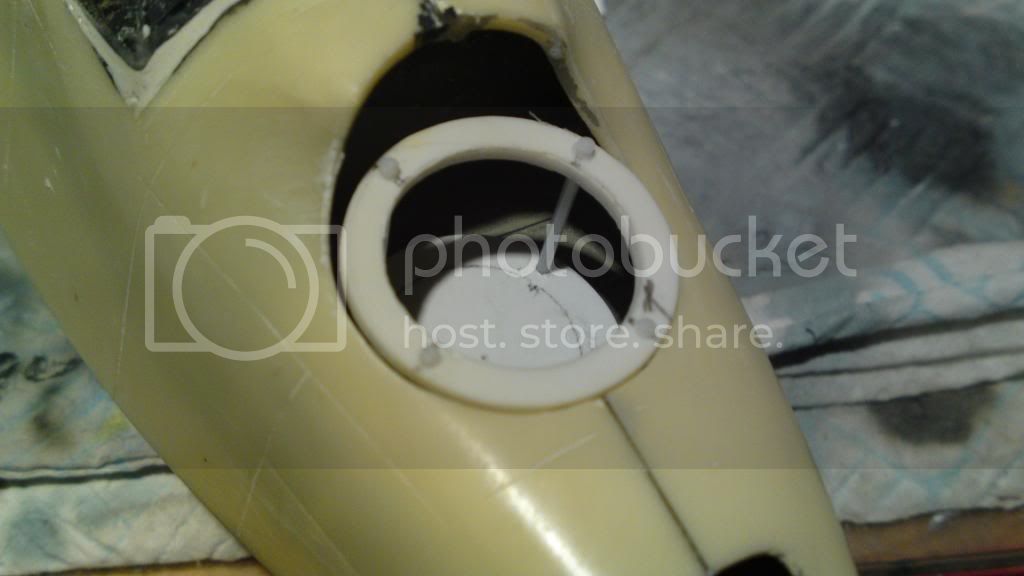
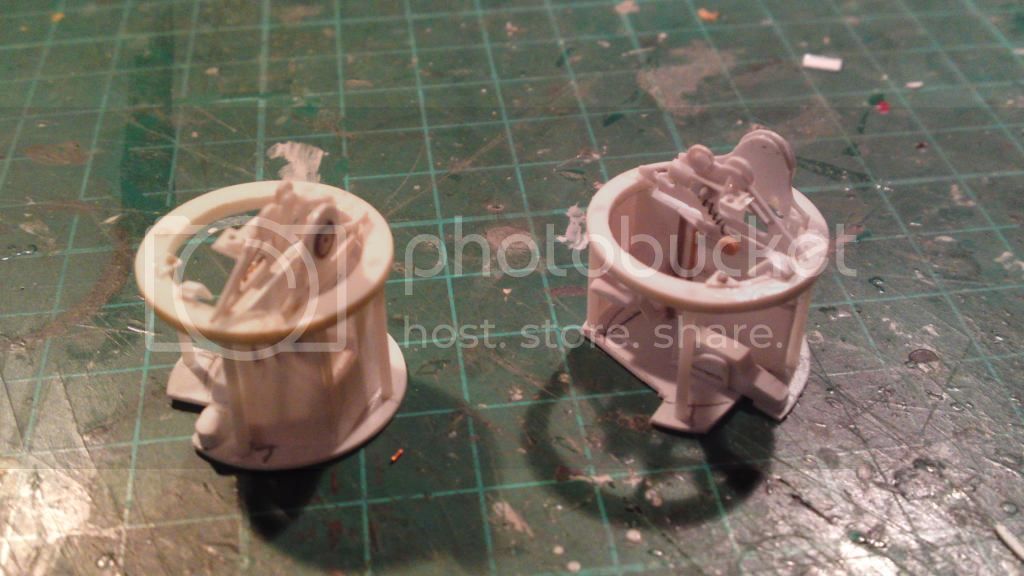
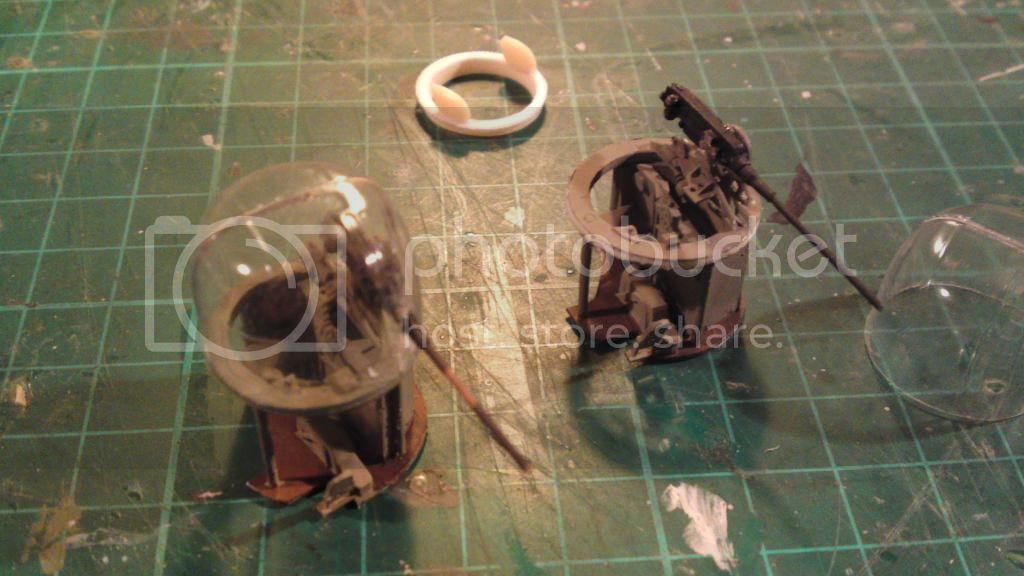
Hi all just a quick pictorial update on the Bv138. this shows part of the construction of the front & rear turrets:-
Story so far turrets still to be finished, upper dorsal 'turret' to be built then onto priming .
Other builds in this campaign looking great.
Merry Christmas/Happy Holidays and Happy New Year to all at Aeroscale in fact to everybody
Cheers Andy
Story so far turrets still to be finished, upper dorsal 'turret' to be built then onto priming .
Other builds in this campaign looking great.
Merry Christmas/Happy Holidays and Happy New Year to all at Aeroscale in fact to everybody
Cheers Andy
Posted: Tuesday, December 23, 2014 - 02:05 PM UTC
Wow Andy that's some pretty fancy scratch building there buddy!I take my hat off to you, your skills are more advanced then mine own. I applaud the progress so far and I hope to emulate them one day in the not to distant future.
Have a great festive season everyone I'll no doubt be posting my progress over the break as I intend to make full use of it modelling! (Wife and kids permitting LOL)
Posted: Thursday, December 25, 2014 - 02:54 AM UTC
Those certainly are beautifuly crafted gin turrets, hats off!
I got the cockpit masks done on these PBYs . This is a task I dread.
fully painted now in gloss aluminum. wings are just dry fitted.
and Ive made up the decals. once on white film and once on clear.
I got the cockpit masks done on these PBYs . This is a task I dread.
fully painted now in gloss aluminum. wings are just dry fitted.
and Ive made up the decals. once on white film and once on clear.