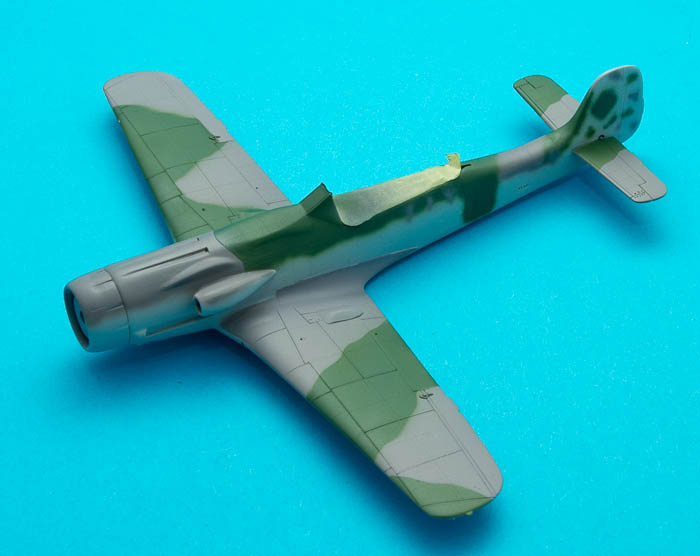
Nice start on the Dora, Atoplu!

How's the kit fitting together?
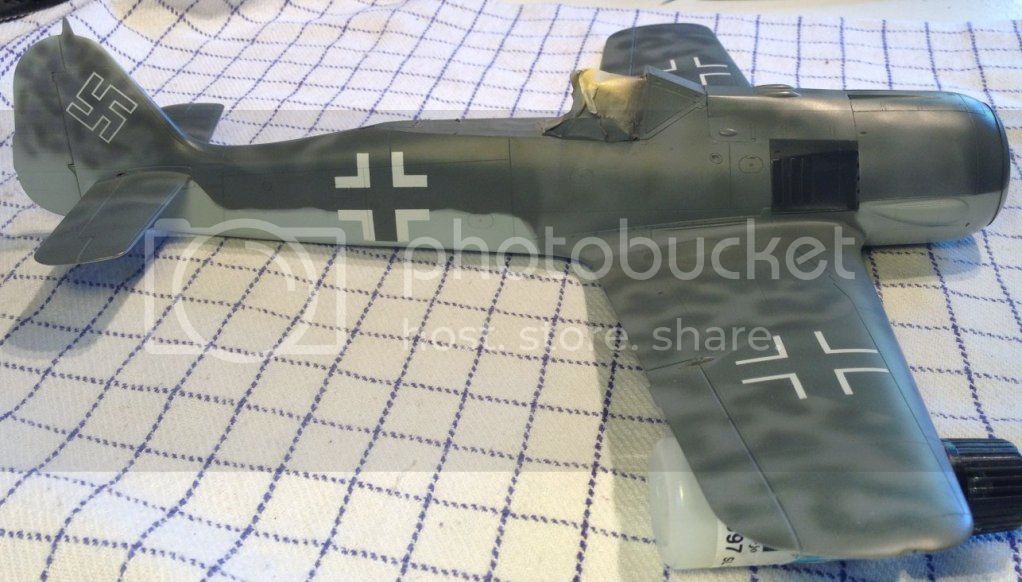
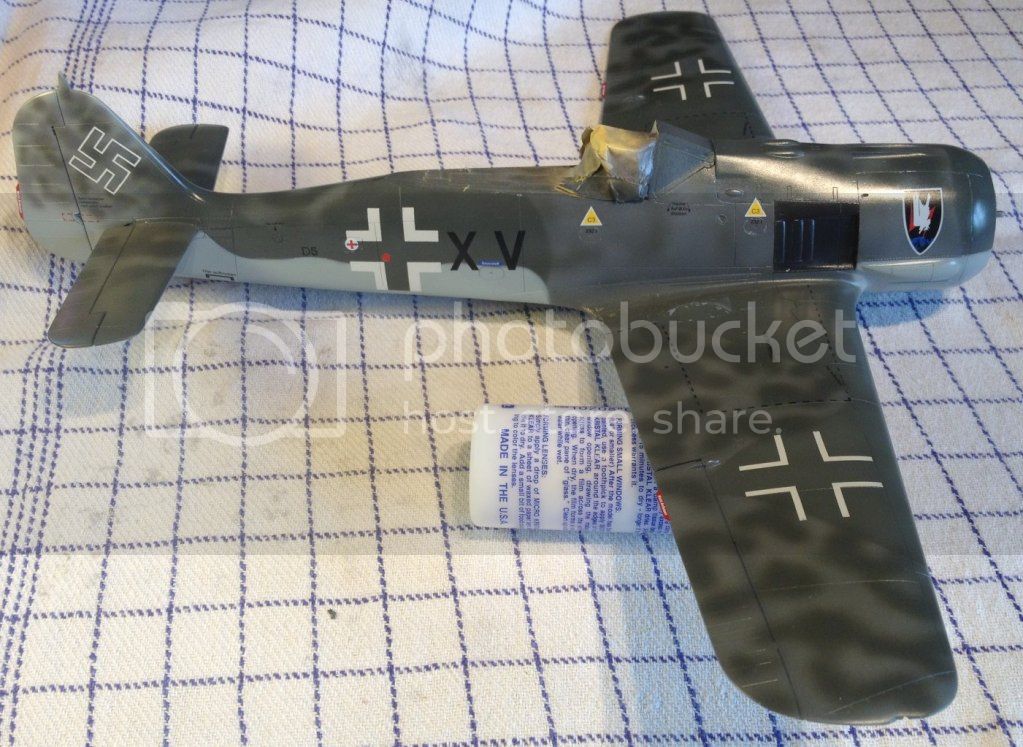
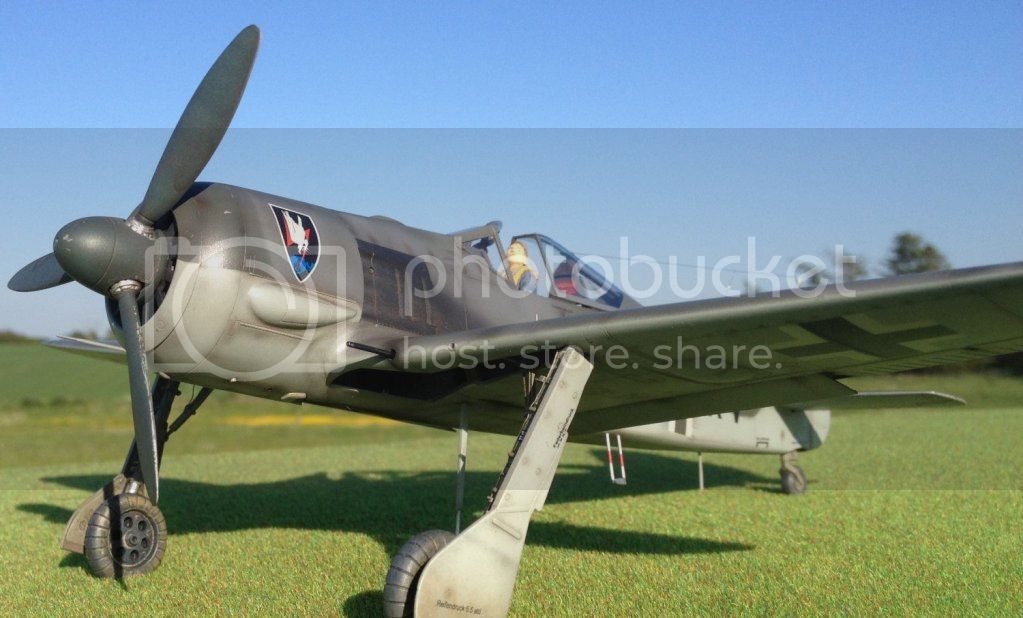
My A-8's moving along quite nicely. Gotta love being back on the workbench after a while!

Naturally starting off with the stuff going between the fuselage halves, I couldn't help a bit of additional detail to both the engine and the cockpit.
For the BMW 801, I just had to add the ignition harness missing from the basic kit, even though hardly anything will be visible from behind the prominent cooling fan...

And here's the engine ready for installation.

Moving on to the cockpit, I went by my routine of using Xtracrylics RLM66, which turned to be a less-than-ideal choice, as the pre-painted PE colour is lighter and more bluish. Not wanting to repaint the cockpit, I thought of re-painting the PE with a more matching shade, but gave up on it, as the details were too intricate to paint around neatly. Hope it doesn't stick out too much when done...

The only aftermarket addition to the cockpit is a resin control stick from CMK's "Quick & easy" accessory line. I made a new throttle from thin styrene sheet and a resin handle from a M2 Browning set. A shorthened M2 handle made a new handle for the canopy crank, replacing the flat PE part. Instead of just gluing the seat belts in place, I fashioned small mounting loops for them from brass wire. Not only does it look realistic, it also made it easier to glue the shoulder harness in place, as they were attached on one end but still could be moved around.

Main wheel wells just about ready:


Not only do those brass barrels do away with the hassle of removing mould seams, they also have the nifty feature of coming in two segments, allowing the inner parts to be assembled with the wing and the outer segments added right at the end of the build.
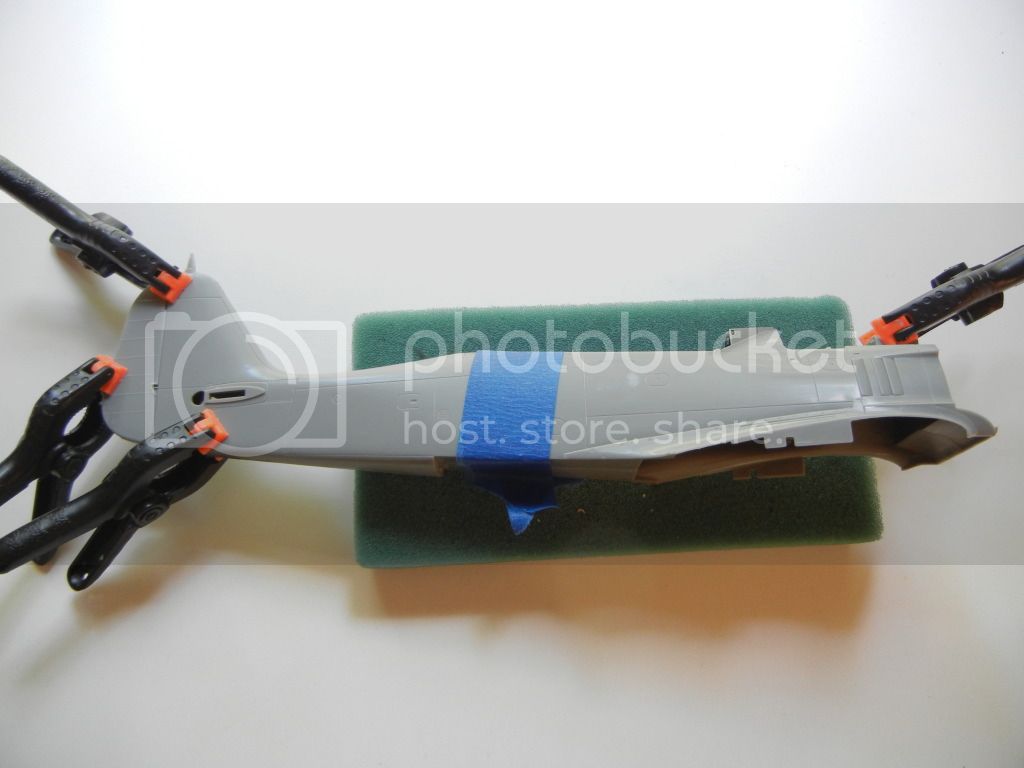
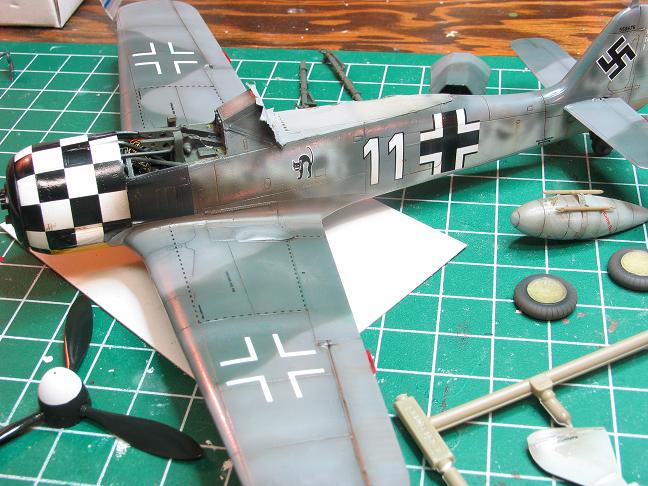
Next it's time to start getting this bird together.