OFFICIAL: Fighters! Campaign Thread
MichaelSatin
 Campaigns Administrator
Colorado, United States
Joined: January 19, 2008
KitMaker: 3,909 posts
AeroScale: 2,904 posts
Posted: Saturday, May 12, 2012 - 10:13 AM UTC
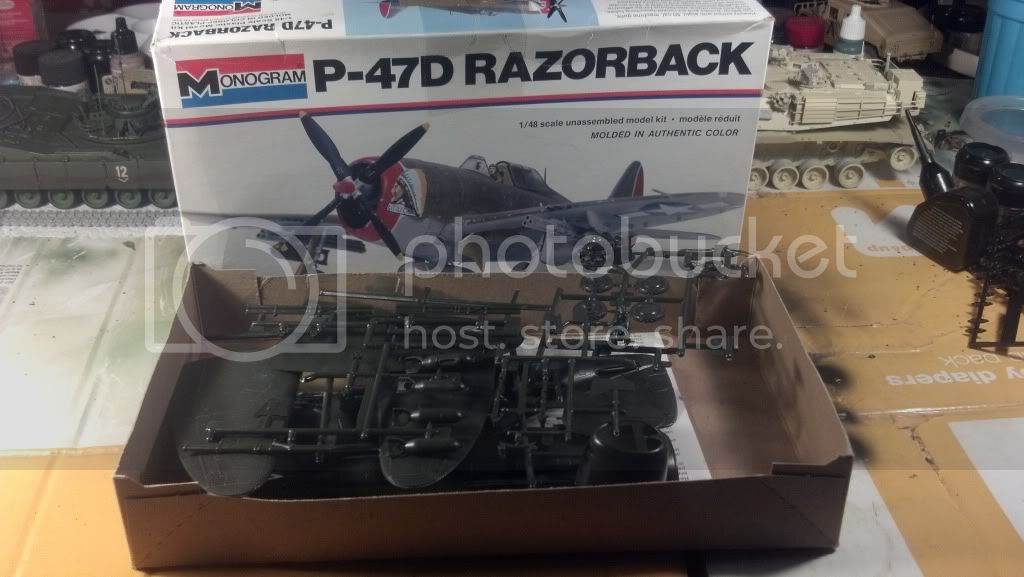
Well, I said I wanted to do an F6F. So, if I can drag myself out of my current slump, here's my plan:
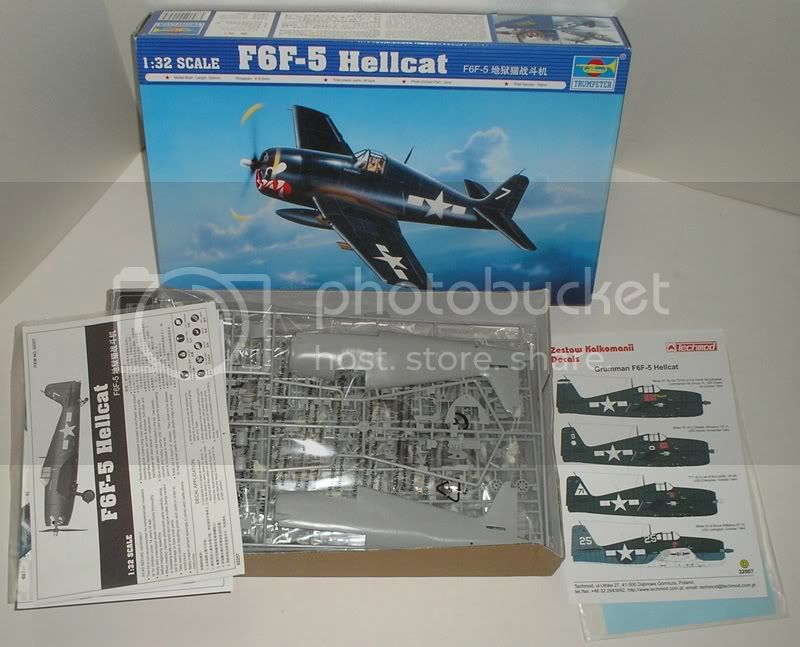
Trumpeter 1/32 F6F-5 with Techmod decals to do David McCampbell's Minsi III in October, 1945. This will be part of my slowly growing collection of American Fighters of WWII in the colors of their highest scoring ace.
Now let's see if I can actually get myself going!
Michael
On the bench:
Sorta depends on your definition of "on the bench"...
New York, United States
Joined: March 08, 2010
KitMaker: 3,662 posts
AeroScale: 174 posts
Posted: Sunday, May 13, 2012 - 03:43 AM UTC
Michael that looks like a nice fun kit 1/32 must be big

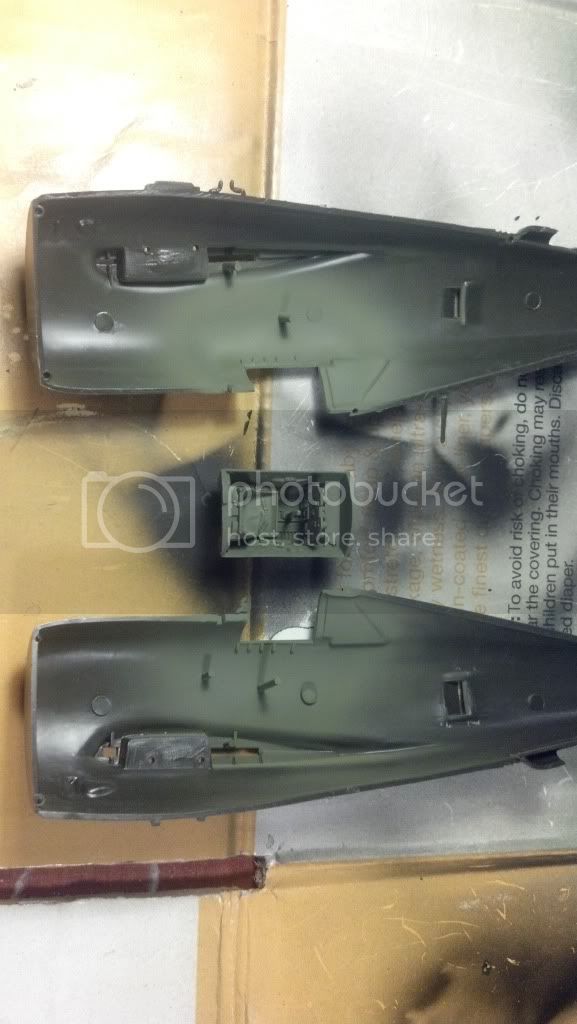
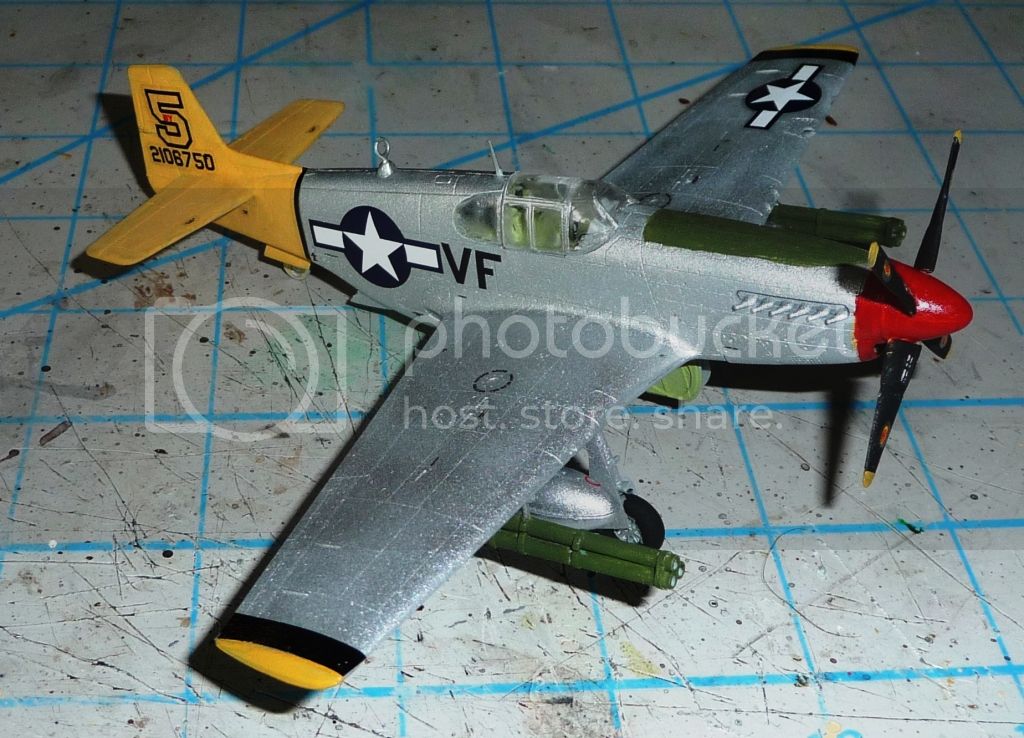
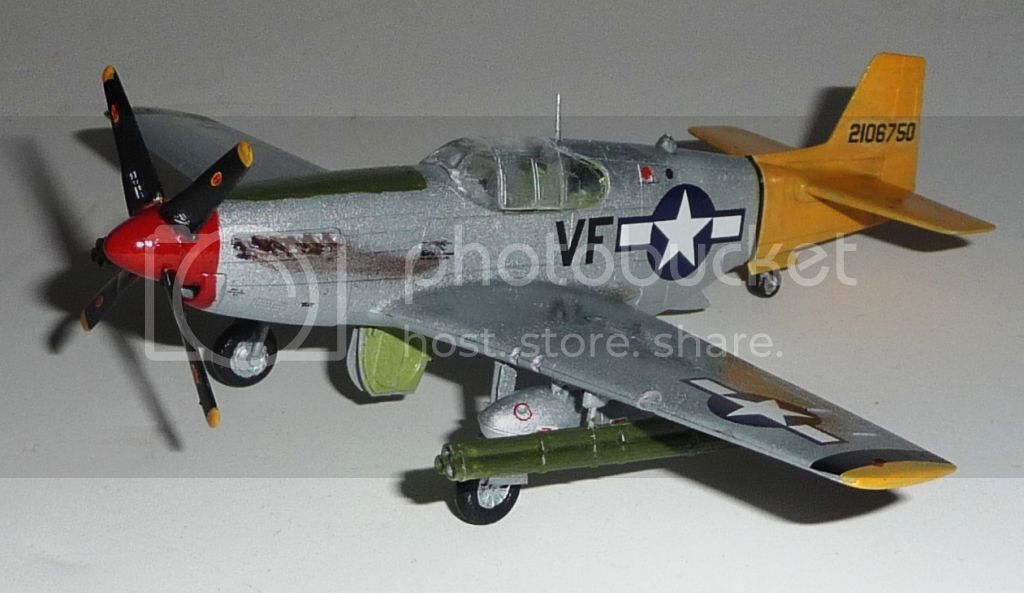
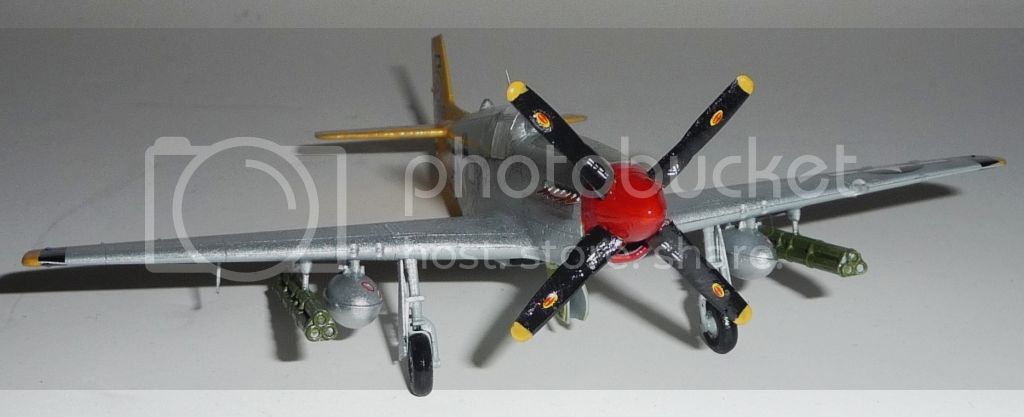
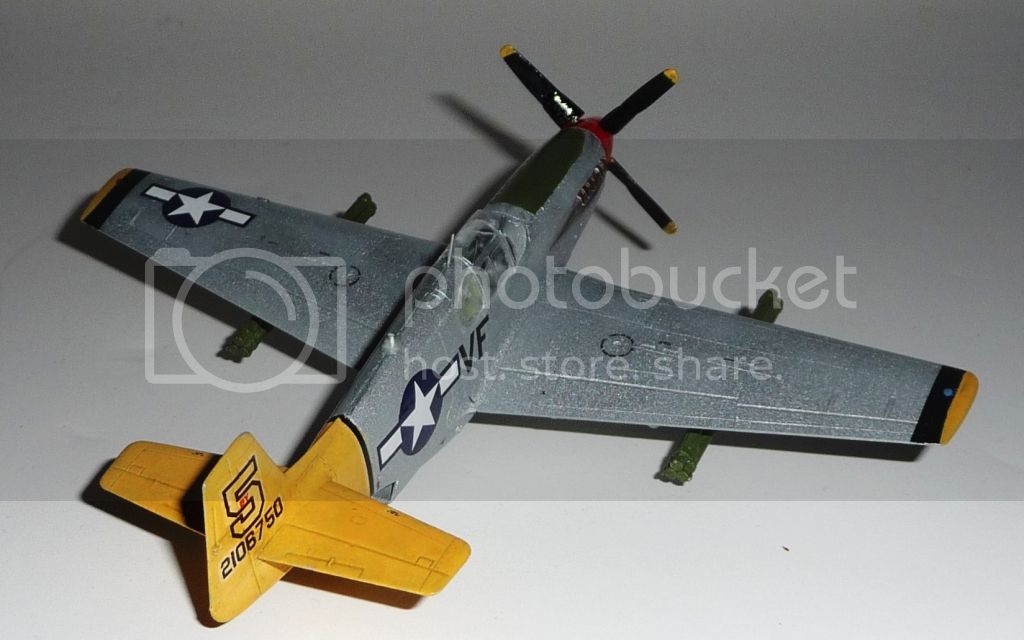
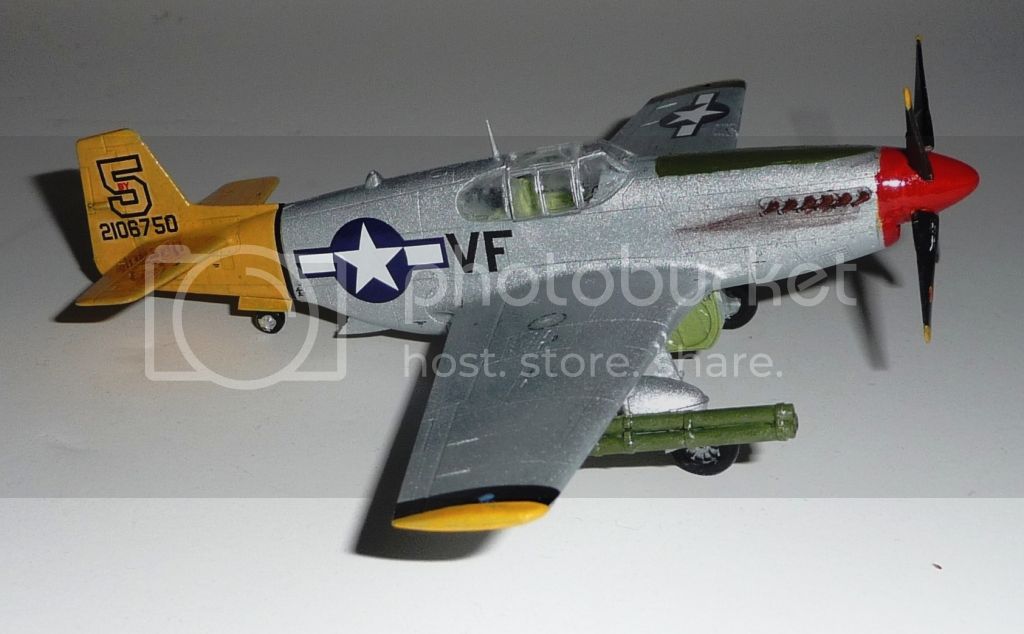
Here is some progress on my Mustang
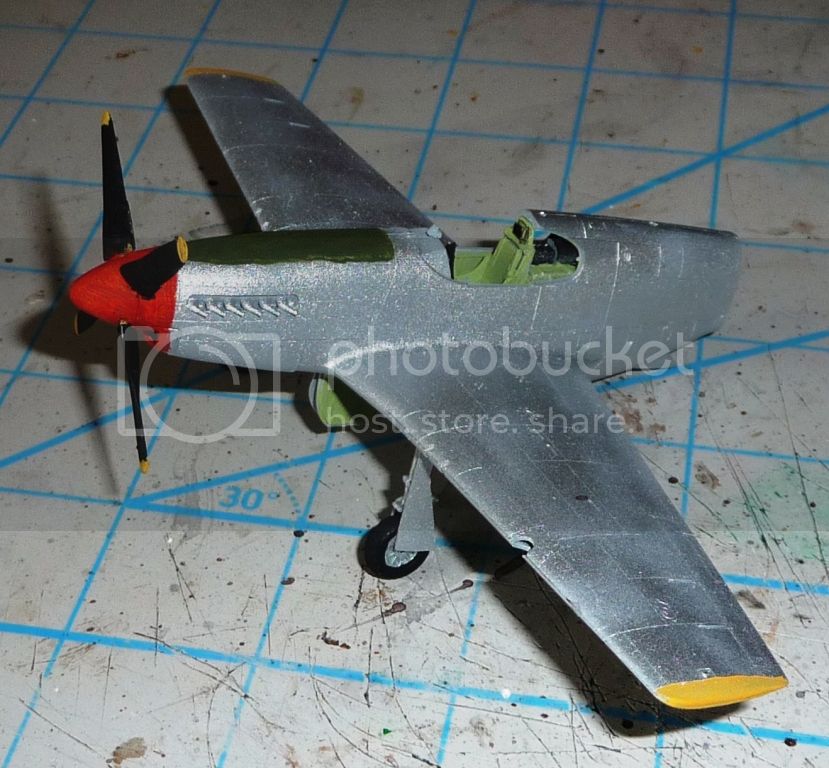
Still need to paint the tail section

Active Campaigns on the bench:
Operation Fall Gelb - Pz.Kpfw. IV Ausf. C
Engineering the Future - M-26 Recovery Vehicle
115 Campaigns completed
Victoria, Australia
Joined: September 19, 2003
KitMaker: 708 posts
AeroScale: 674 posts
Posted: Monday, May 14, 2012 - 05:11 AM UTC
Mitchael,
That 32 scale kit will make an interesting 'Minsi III' subject, I have the OOP AeroMaster 48 scale decal sheet for the same aircraft.
Made a little more progress on my 'Gekko'
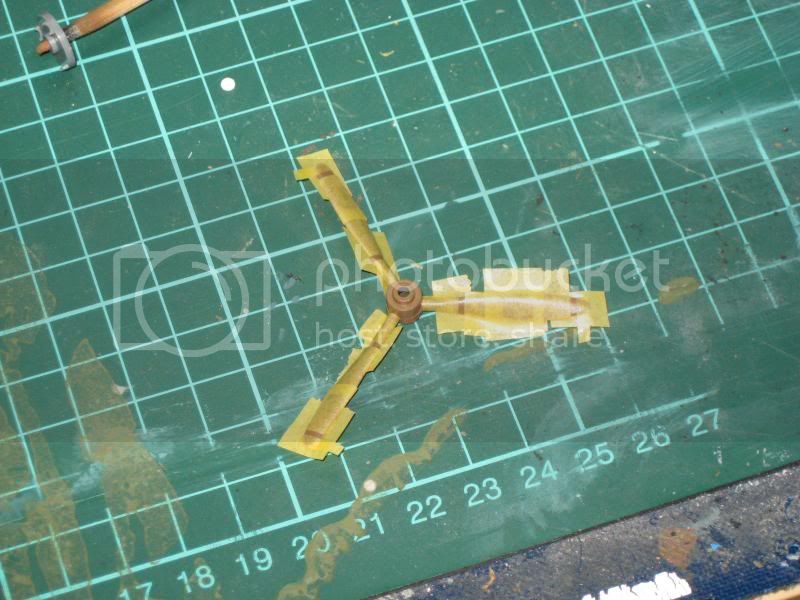
Masked off prop blades as the kit supplied decals did not suit.
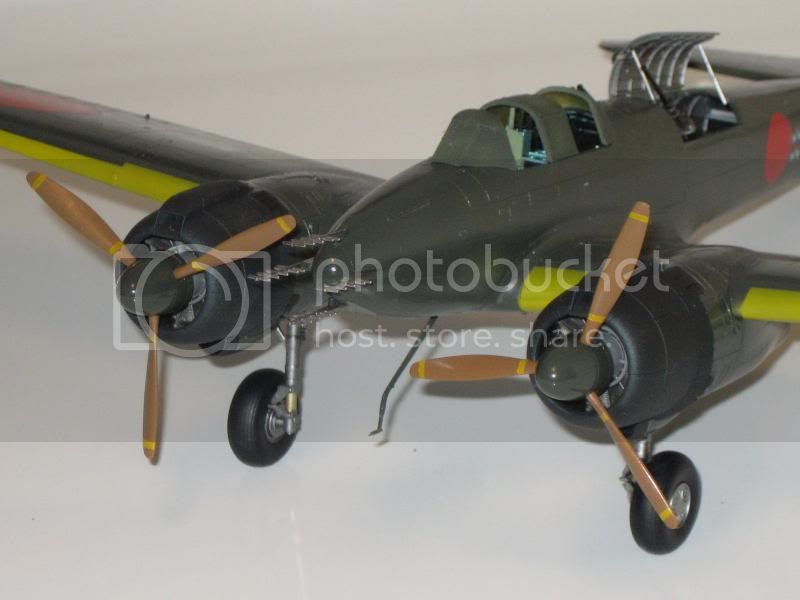
Prop spinners are only dry fitted to the model at present.
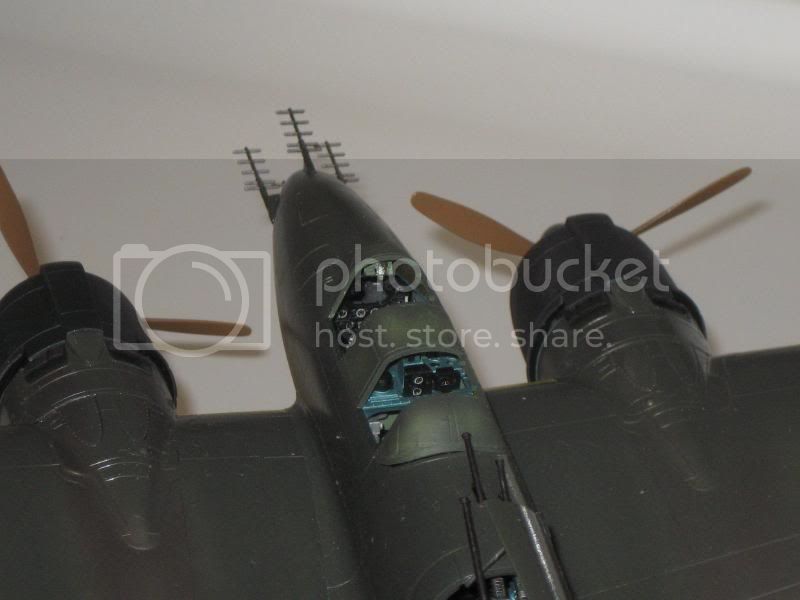
Gun sight fitted to inside of wind screen and painted silver [as per the kit instructions].
President:- Southern Model Club.
Those who never learn from history will always repeat it.
"When you go home tell them of us and say.
For your tomorrow we gave our today."
England - East Midlands, United Kingdom
Joined: February 07, 2004
KitMaker: 911 posts
AeroScale: 415 posts
Posted: Monday, May 14, 2012 - 05:45 PM UTC
Wow, you're really steaming ahead there Rob.
I've been making progress on my Lightning, just about at the stage for a coat of white primer

I'm using the Aeroclub white metal nose ring as it polishes up to a nice shiny metallic gleam, just like the real thing

Thought I'd just give it a trial fit.....eeek!!

Looks like I've got a nose ring to mask, and a canyon to fill, before I can spray a coat of primer......
"Nelson be damned.......Lets get the hell out of here!"
British Columbia, Canada
Joined: September 03, 2009
KitMaker: 6,965 posts
AeroScale: 6,247 posts
Posted: Tuesday, May 15, 2012 - 01:09 AM UTC
Quoted Text
Looks like I've got a nose ring to mask, and a canyon to fill, before I can spray a coat of primer......
Or a nose ring to file down so it fits...
When once you have tasted flight you will walk the Earth with your eyes turned skyward.
For there you have been, and there you will always long to return.
-Leonardo Da Vinci
England - East Midlands, United Kingdom
Joined: February 07, 2004
KitMaker: 911 posts
AeroScale: 415 posts
Posted: Tuesday, May 15, 2012 - 04:46 AM UTC
yeah, but then the fwd fuselage won't be flush with the nose ring
"Nelson be damned.......Lets get the hell out of here!"
British Columbia, Canada
Joined: September 03, 2009
KitMaker: 6,965 posts
AeroScale: 6,247 posts
Posted: Tuesday, May 15, 2012 - 01:17 PM UTC
That's why the model gods invented files and polishing sticks. The metal is thick enough to file down so it fits the plastic inside and out.
When once you have tasted flight you will walk the Earth with your eyes turned skyward.
For there you have been, and there you will always long to return.
-Leonardo Da Vinci
Florida, United States
Joined: January 14, 2009
KitMaker: 2,798 posts
AeroScale: 2,443 posts
Posted: Tuesday, May 15, 2012 - 02:41 PM UTC
Pc of plastic card sanding and all better.seems easier to me

"From time to time, the tree of liberty must be watered with the blood of
tyrants and patriots."
- Thomas Jefferson
IPMS#47611
British Columbia, Canada
Joined: September 03, 2009
KitMaker: 6,965 posts
AeroScale: 6,247 posts
Posted: Tuesday, May 15, 2012 - 02:59 PM UTC
Why yes, I do tend to do things the hard way. Why do you ask?
When once you have tasted flight you will walk the Earth with your eyes turned skyward.
For there you have been, and there you will always long to return.
-Leonardo Da Vinci

#042
England - North East, United Kingdom
Joined: November 18, 2006
KitMaker: 2,828 posts
AeroScale: 1,720 posts
Posted: Sunday, May 20, 2012 - 09:14 AM UTC
Due to life and work commitments I haven't been at the bench in nearly six weeks

but I'm hoping to get started on this kit soon for the campaign.
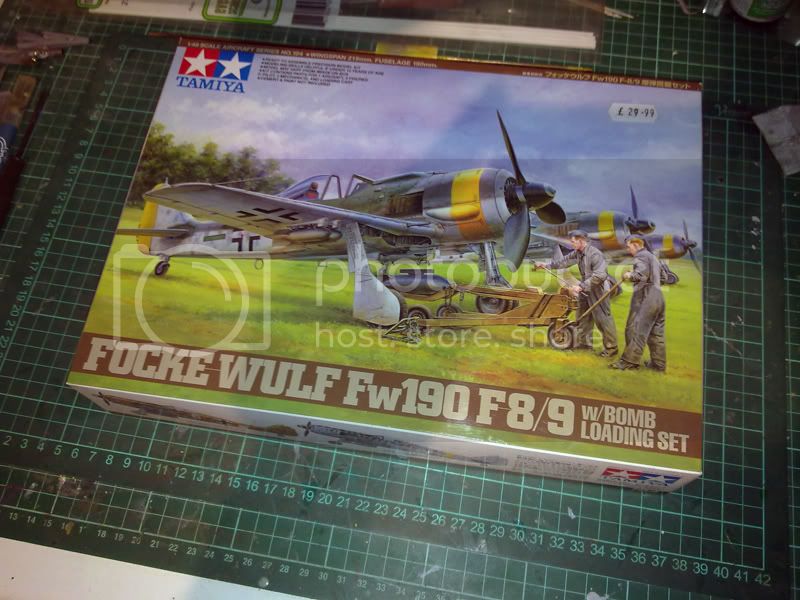
I'll be building it OOB except for some etch belts and will be doing it in markings from I/SG2 based in Hungary, winter 1944-45.
Modellers Creed: This is my toolbox. There are many like it, but this one is mine. My toolbox is my best friend. It is my life. I must master it as I must master my life. My toolbox, without me, is useless. Without my toolbox, I am useless.
Illinois, United States
Joined: April 25, 2008
KitMaker: 338 posts
AeroScale: 20 posts
Posted: Sunday, May 20, 2012 - 10:53 AM UTC
Got started a couple of nights ago on a 1/144 F-15. Its an old kit but everything looks in order. It doesn't have a cockpit, but oh well, I paid next to nothing for it.


#226
British Columbia, Canada
Joined: February 20, 2012
KitMaker: 1,909 posts
AeroScale: 508 posts
Posted: Sunday, May 20, 2012 - 02:47 PM UTC
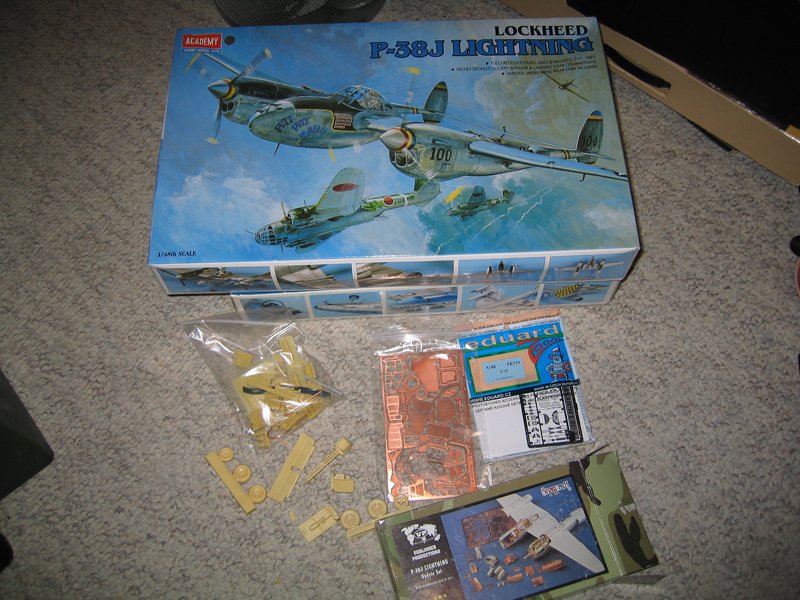
This is what I plan to build, I won't be using all the AM pictured but quite a bit.

Cheers Rob.
Anything without guns is a target!
27 completed campaigns and counting :)
Iowa, United States
Joined: May 11, 2012
KitMaker: 195 posts
AeroScale: 38 posts
Posted: Tuesday, May 22, 2012 - 06:41 AM UTC
Hope it's not to late to get in on the fun....will post pics tomorrow of my build before i start.
Thanks,
Jon
Ontario, Canada
Joined: November 14, 2009
KitMaker: 270 posts
AeroScale: 264 posts
Posted: Tuesday, May 22, 2012 - 08:27 AM UTC
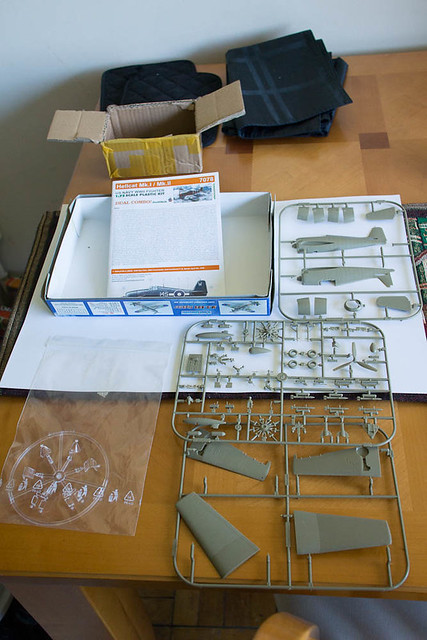
So I left my choice up to SWMBO, and after a couple false starts (she's a little unclear on what actually is a fighter, and picked a F-117 and then a Norseman) and she's decided I should build a Hellcat Mk.I from 800 Squadron in June of '44
 Eduard Hellcat Mk.I 1/72
 by
mawz_models, on Flickr
It's from the Dual Combo boxing, so I've stolen another box for it.
Iowa, United States
Joined: May 11, 2012
KitMaker: 195 posts
AeroScale: 38 posts
Posted: Wednesday, May 23, 2012 - 03:08 AM UTC
California, United States
Joined: May 20, 2011
KitMaker: 30 posts
AeroScale: 28 posts
Posted: Wednesday, May 23, 2012 - 05:05 PM UTC
I'm in with this:
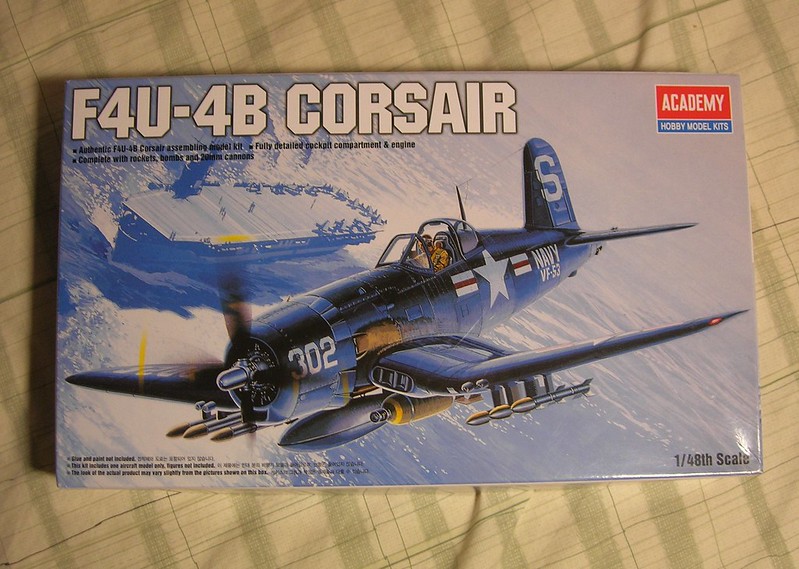
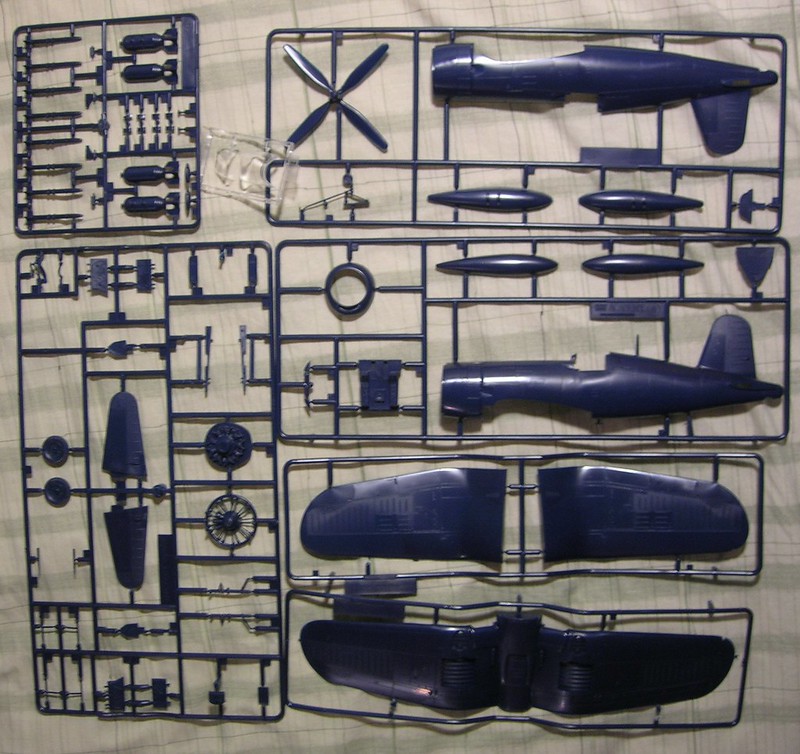
Illinois, United States
Joined: April 25, 2008
KitMaker: 338 posts
AeroScale: 20 posts
Posted: Friday, May 25, 2012 - 06:25 PM UTC
Well, I am afraid that I am out of this one, at least for now. My F-15's parts are really crappy. When assembling the hull I discovered HUGE gaps and overlaps when test fitting the nose to the fuselage.
I can make it look okay-ish, but it will never look good enough to sit on my shelf so I am scrapping it. If I find another fighter I will bring it into this campaign.
New York, United States
Joined: March 08, 2010
KitMaker: 3,662 posts
AeroScale: 174 posts
Posted: Saturday, May 26, 2012 - 02:56 AM UTC
Active Campaigns on the bench:
Operation Fall Gelb - Pz.Kpfw. IV Ausf. C
Engineering the Future - M-26 Recovery Vehicle
115 Campaigns completed
Iowa, United States
Joined: May 11, 2012
KitMaker: 195 posts
AeroScale: 38 posts
Posted: Saturday, May 26, 2012 - 03:14 AM UTC
Sal the date that was stamped on the wing was 1976....i just wish i had more time to spend working on it....everyones builds are looking great can't wait to see them when they are finished

California, United States
Joined: May 20, 2011
KitMaker: 30 posts
AeroScale: 28 posts
Posted: Sunday, May 27, 2012 - 12:33 PM UTC
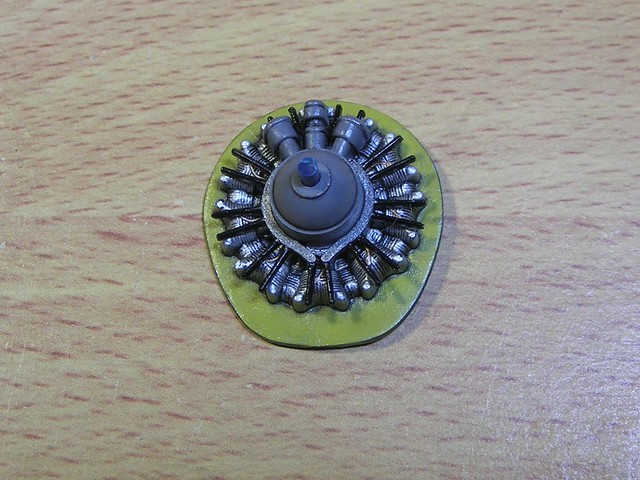
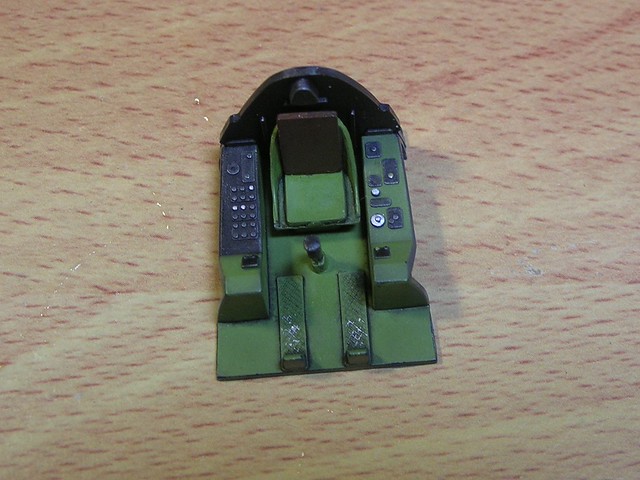
Hi folks, I have finished my F4U-4B's engine and cockpit.
The engine has a decent degree of detail:
The cockpit is quite Spartan so I didn't spend much time on it:
When I began to stick together the fuselage, I unfortunately broke the T-shaped thin-wire-like thing on the bottom (the thing in the red circle)
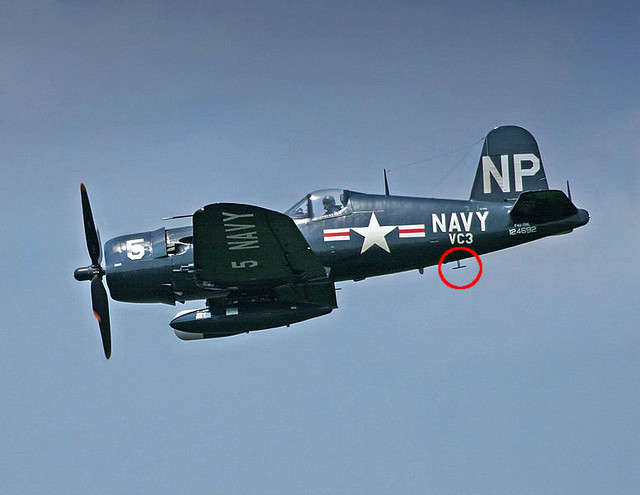
I found it quite difficult to make this shape with metal wire, so I wonder if this thing is always there for an F4U-4B? Can I just omit it?
Thanks,
Jiang
British Columbia, Canada
Joined: September 03, 2009
KitMaker: 6,965 posts
AeroScale: 6,247 posts
Posted: Sunday, May 27, 2012 - 01:42 PM UTC
That's one of the radar altimeter aerials (there should be two of them some distance apart). I use plastic rod to recreate the whenever I break them off. Drill two small holes close together, glue in lengths of plastic rod and let it dry, then trim to the proper length and glue on the cross member.
When once you have tasted flight you will walk the Earth with your eyes turned skyward.
For there you have been, and there you will always long to return.
-Leonardo Da Vinci
Ontario, Canada
Joined: November 14, 2009
KitMaker: 270 posts
AeroScale: 264 posts
Posted: Thursday, May 31, 2012 - 12:39 PM UTC
Been working on the rather fiddly cockpit for the Eduard Hellcat.
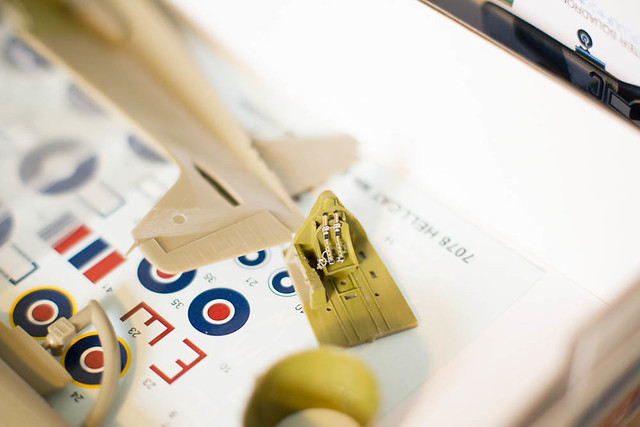 Eduard Hellcat Mk.I 1/72
 by
mawz_models, on Flickr
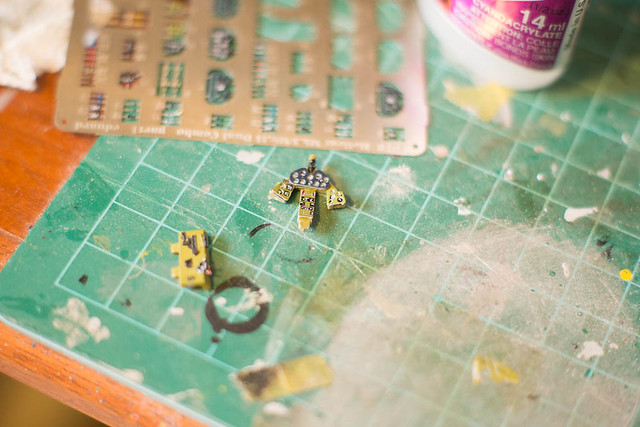 Eduard Hellcat Mk.I 1/72
 by
mawz_models, on Flickr
Looks gorgeous, but if it hadn't been an FAA-specific boxing I'd have just bought the Weekend edition. Most of that lovely PE is going to be completely hidden.
Iowa, United States
Joined: May 11, 2012
KitMaker: 195 posts
AeroScale: 38 posts
Posted: Thursday, May 31, 2012 - 03:11 PM UTC
Well here is a little update on my progress
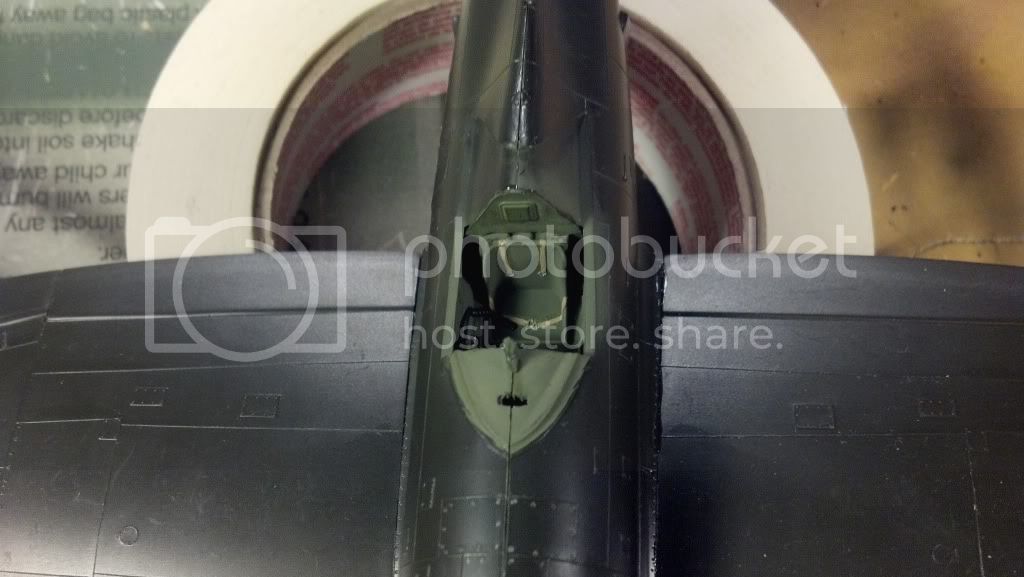
Relized after i took the pic i forgot to paint the head rest

The fit of the wing root on the topside is pretty good but on the botton side is a different story
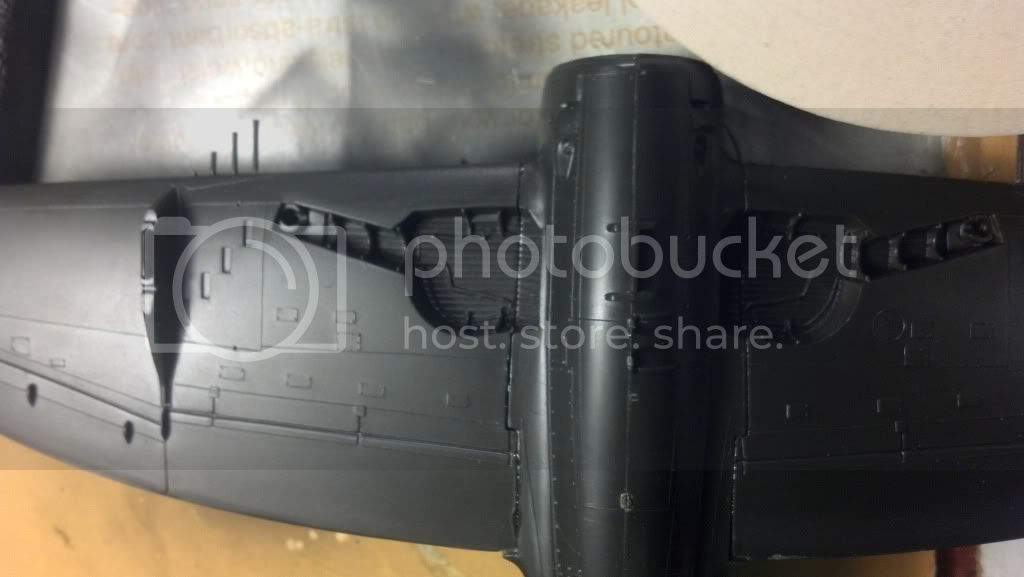

but after a little putty and some handy work with a scribing tool all is good

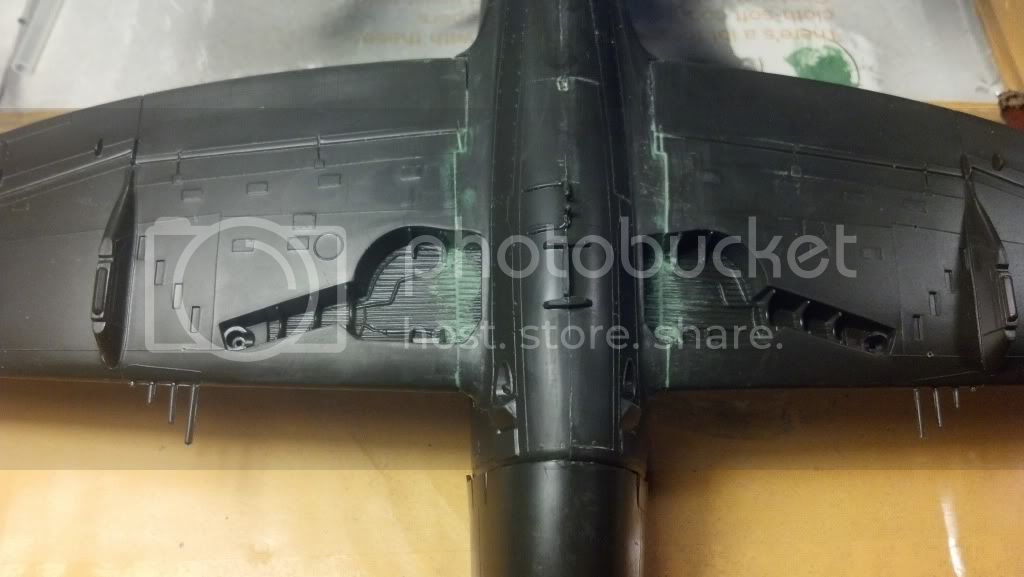
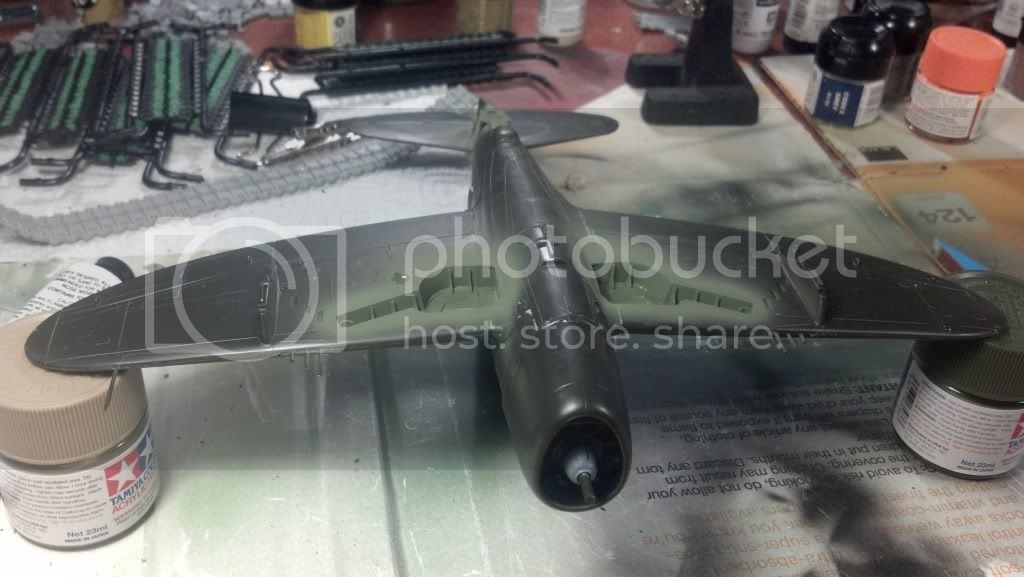
And also had a chance to get the engine completed and mounted along with the cowl
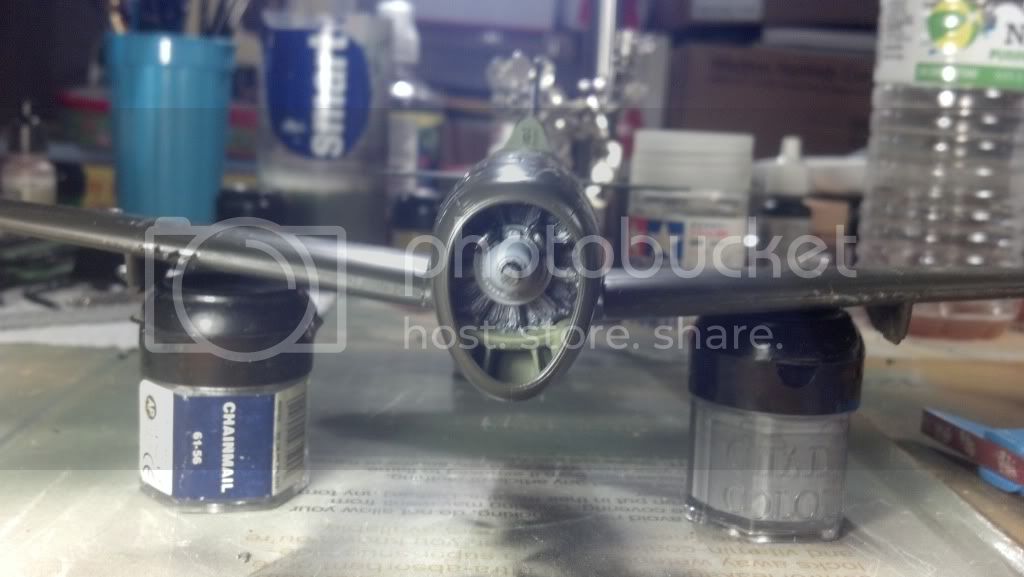
Thats all i have for now....comments and critiques welcome.

Thanks,
Jon
England - East Midlands, United Kingdom
Joined: February 07, 2004
KitMaker: 911 posts
AeroScale: 415 posts
Posted: Thursday, May 31, 2012 - 07:11 PM UTC
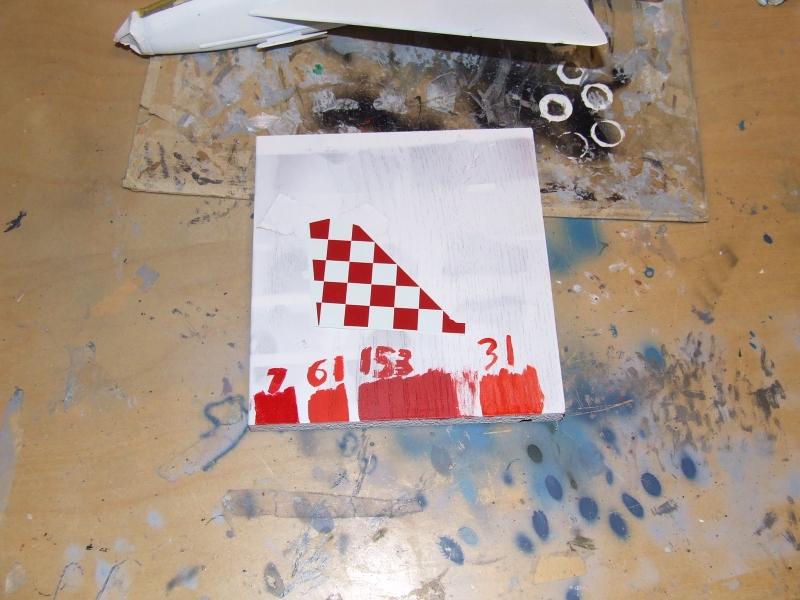
Progressing with my Lighning. First up a little experiment I did with all the reds in my paint collection to try and match the closest one to the red checks on the tail.
Bizzarely, Tamiya X-7 is the closest according to the camera, but Humbrol 153 to the naked eye....
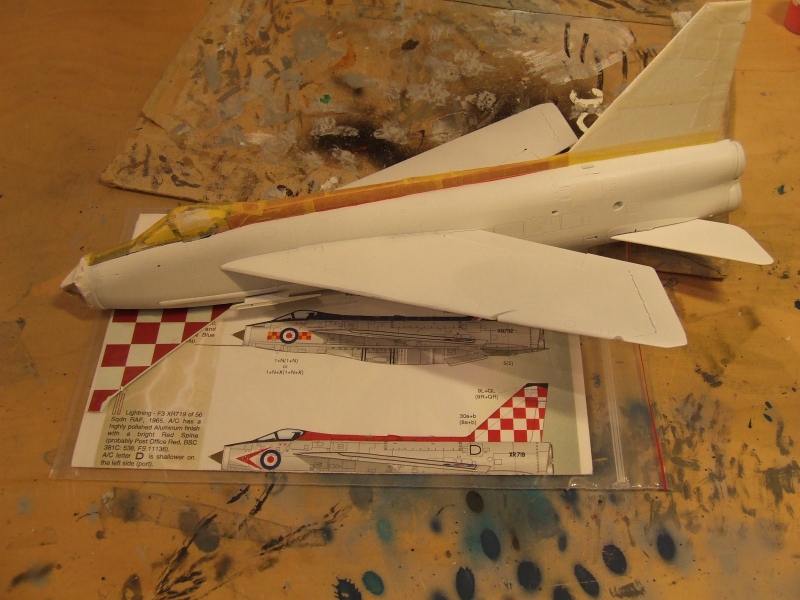
All masked up and ready for some silver paint...
"Nelson be damned.......Lets get the hell out of here!"
New York, United States
Joined: March 08, 2010
KitMaker: 3,662 posts
AeroScale: 174 posts
Posted: Friday, June 01, 2012 - 07:33 AM UTC
Active Campaigns on the bench:
Operation Fall Gelb - Pz.Kpfw. IV Ausf. C
Engineering the Future - M-26 Recovery Vehicle
115 Campaigns completed


