Air Campaigns
Want to start or join a group build? This is where to start.
Want to start or join a group build? This is where to start.
Hosted by Frederick Boucher, Michael Satin
OFFICIAL: Fighters! Campaign Thread
Removed by original poster on 07/18/12 - 15:15:14 (GMT).

Emeritus

Joined: March 30, 2004
KitMaker: 2,845 posts
AeroScale: 1,564 posts

Posted: Wednesday, July 18, 2012 - 03:20 AM UTC
Another late starter reporting in! 
Or is it that late yet, as this thing's running all the way till October?
Anyway, after finishing an Eduard Fw 190 for the Würger campaign, I felt like I really needed something to rest my nerves with. If there something more suitable than a Tamiya kit, I haven't heard about it!
Well this shouldn't require any explanations. Along the Bf 109, fighters just doesn't get much more iconic than the Spitfire.
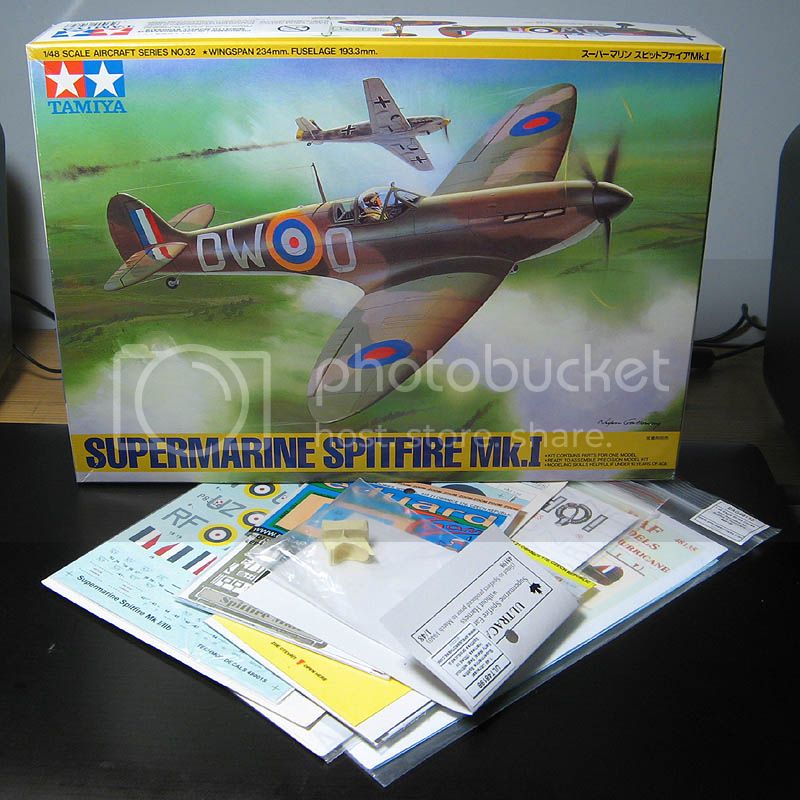
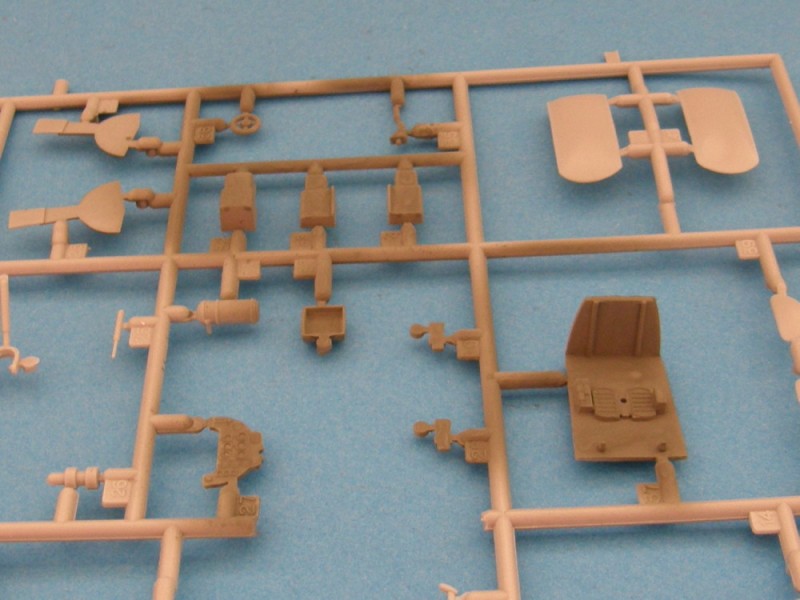
I've had this in my stash for quite a while, and now seems to be a perfect time to get it on the workbench. Of course, I couldn't help collecting some aftermarket goodies to spruce it up. To go with the canopy masks, I got the Eduard Zoom PE set and an Ultracast resin seat.
The kit decals seemed otherwise fine, but had yellowed with time, so I'll be replacing them. In the pic there's a Techmod sheet from which I'll be using just the stencils (the marking choices are for Ib and IIb types, and the roundel colors are too bright), code and registry numbers and letters set from Tally-ho and Eagle Strike roundels.
I haven't yet decided on the plane I want to depict, so suggestions are more than welcome!
I don't have WIP pics to show yet, but I should have some soon.
Oh, this seems just what's needed after that 190! Dryffting suggests this will go together almost by itself. And I've already got all the non-clear parts de-sprued & cleaned up without cluttering up my table at all! Good times.

P.S. Does that picture work OK?
As Photobucket is doing some maintenance at the moment, I couldn't get to my gallery. Instead I just wrote the url I needed to my message as I already got the pic uploaded. Using a picture url starting with "smg.photobucket" didn't work, but "img.photobucket" did... Addresses for different PB servers, I presume?

Or is it that late yet, as this thing's running all the way till October?
Anyway, after finishing an Eduard Fw 190 for the Würger campaign, I felt like I really needed something to rest my nerves with. If there something more suitable than a Tamiya kit, I haven't heard about it!
Well this shouldn't require any explanations. Along the Bf 109, fighters just doesn't get much more iconic than the Spitfire.

I've had this in my stash for quite a while, and now seems to be a perfect time to get it on the workbench. Of course, I couldn't help collecting some aftermarket goodies to spruce it up. To go with the canopy masks, I got the Eduard Zoom PE set and an Ultracast resin seat.
The kit decals seemed otherwise fine, but had yellowed with time, so I'll be replacing them. In the pic there's a Techmod sheet from which I'll be using just the stencils (the marking choices are for Ib and IIb types, and the roundel colors are too bright), code and registry numbers and letters set from Tally-ho and Eagle Strike roundels.
I haven't yet decided on the plane I want to depict, so suggestions are more than welcome!
I don't have WIP pics to show yet, but I should have some soon.
Oh, this seems just what's needed after that 190! Dryffting suggests this will go together almost by itself. And I've already got all the non-clear parts de-sprued & cleaned up without cluttering up my table at all! Good times.

P.S. Does that picture work OK?
As Photobucket is doing some maintenance at the moment, I couldn't get to my gallery. Instead I just wrote the url I needed to my message as I already got the pic uploaded. Using a picture url starting with "smg.photobucket" didn't work, but "img.photobucket" did... Addresses for different PB servers, I presume?
Posted: Wednesday, July 18, 2012 - 05:38 AM UTC
Emeritus pic is showing up fine in the post 
Welcome aboard with your build yep we are due to finish the end of October so not really late as another 3.5 months to go plenty of time

Welcome aboard with your build yep we are due to finish the end of October so not really late as another 3.5 months to go plenty of time


Jessie_C


Joined: September 03, 2009
KitMaker: 6,965 posts
AeroScale: 6,247 posts

Posted: Wednesday, July 18, 2012 - 12:36 PM UTC
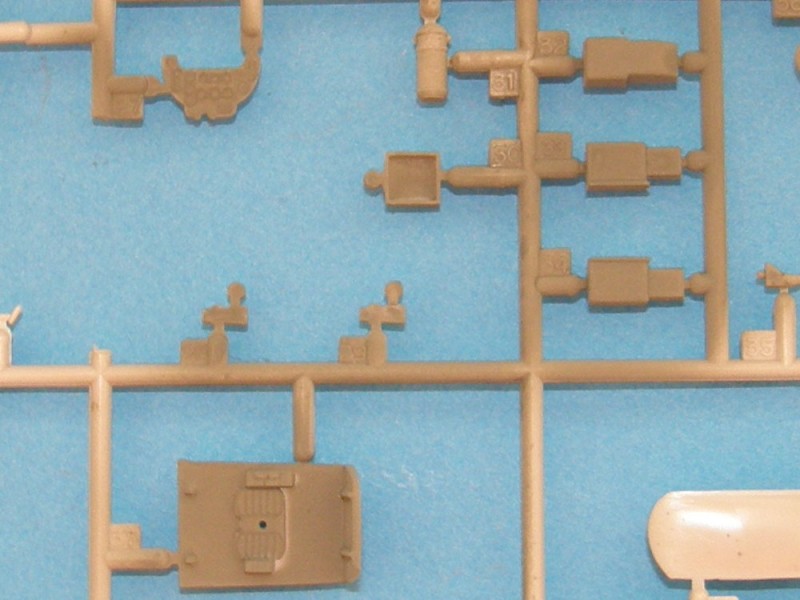
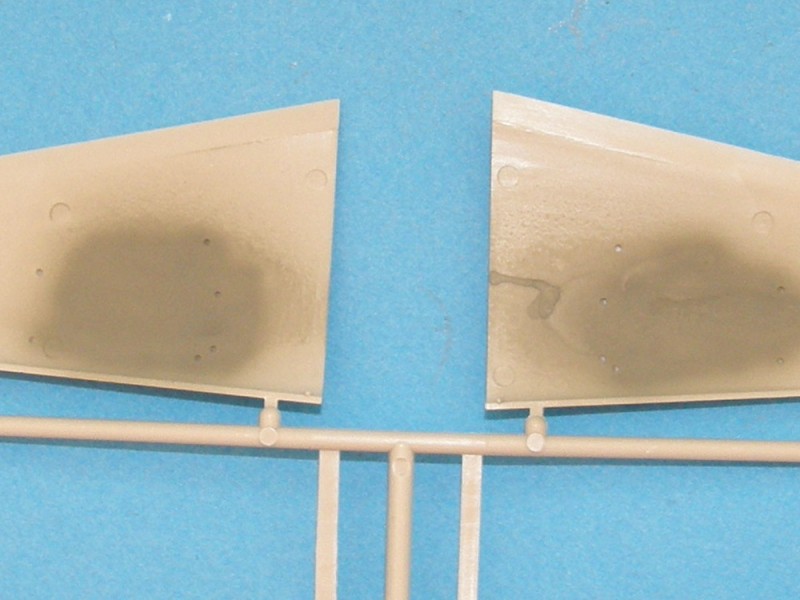
And they're off! I took one of my brand new airbrushes and went to town with the Tamiya RLM 02. Since this is a shade darker than most other RLM 02s I've encountered, I figure it's a nice anonymous but plausible colour to use. The first coat was too thin. It went on looking very splotchy, almost as if there was grease on the plastic. I let it dry and mixed up a new batch which went on much more smoothly.
First the Mezek:
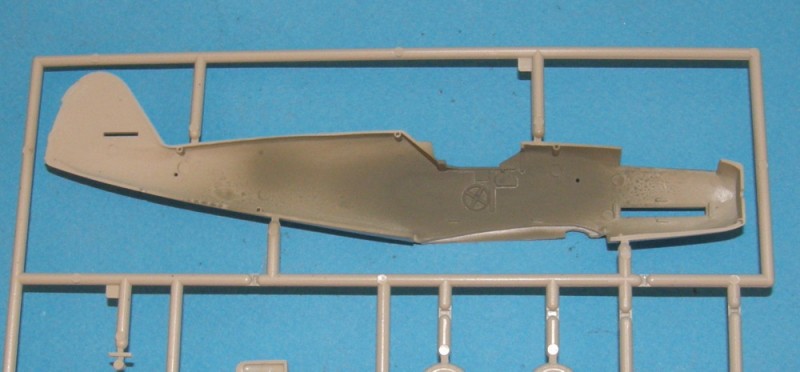
Then the Buchon:
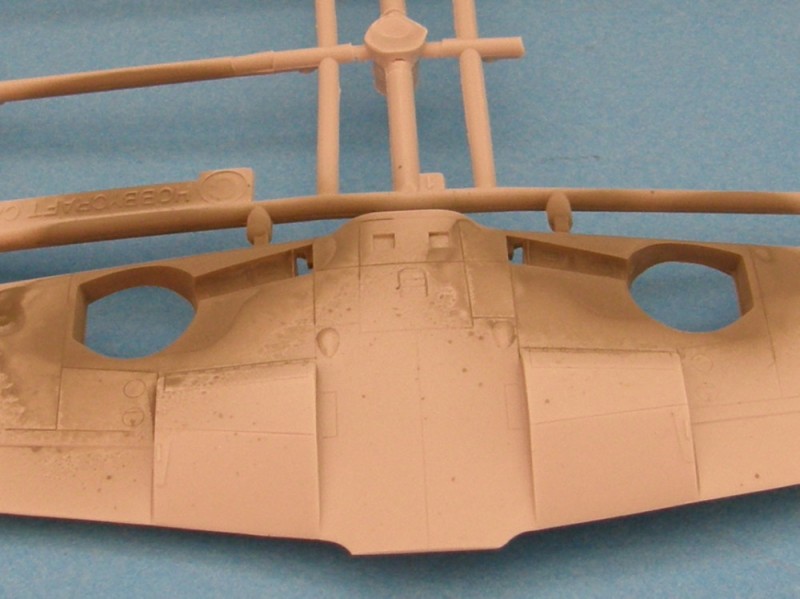
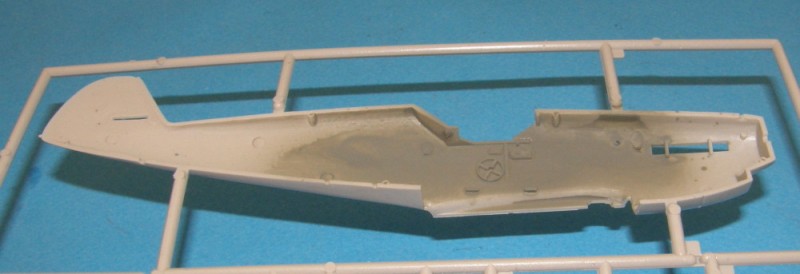
Right now there's not much to tell the two of them apart.
First the Mezek:


Then the Buchon:


Right now there's not much to tell the two of them apart.

lespauljames

Joined: January 06, 2007
KitMaker: 3,661 posts
AeroScale: 369 posts

Posted: Thursday, July 19, 2012 - 07:52 AM UTC
nice work everyone!
here is my latest update!
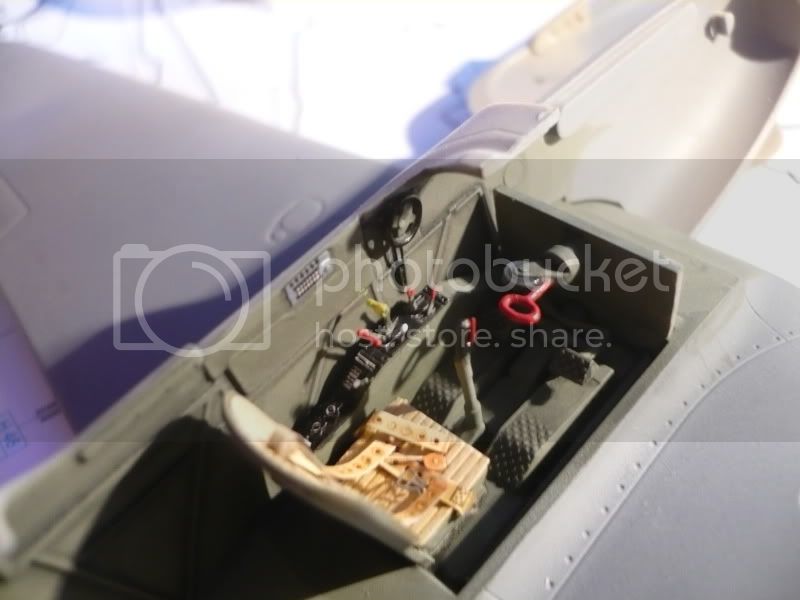
here is my latest update!

Arrrgee

Joined: June 30, 2012
KitMaker: 54 posts
AeroScale: 43 posts

Posted: Thursday, July 19, 2012 - 08:15 AM UTC
It's been several days since my last update, here are some pics of the progress I have made.
Prepped ready for primer and paint;

And after painting with some drybrushing added;


And the underside, a black pastel wash applied and some gunpowder and oil stains;


And finally the finished product, only the second model I've ever airbrushed, I'm still learning a lot, I had to touch up several areas but I'm relatively happy with the outcome;


And so concludes my first group build entry ever!
Prepped ready for primer and paint;

And after painting with some drybrushing added;


And the underside, a black pastel wash applied and some gunpowder and oil stains;


And finally the finished product, only the second model I've ever airbrushed, I'm still learning a lot, I had to touch up several areas but I'm relatively happy with the outcome;


And so concludes my first group build entry ever!

Jessie_C


Joined: September 03, 2009
KitMaker: 6,965 posts
AeroScale: 6,247 posts

Posted: Thursday, July 19, 2012 - 08:25 AM UTC
Great finish Richard  Don't forget to upload your pictures to the gallery.
 Don't forget to upload your pictures to the gallery.
 Posted: Thursday, July 19, 2012 - 07:27 PM UTC
Great progress everyone its really nice to see the builds coming along.
Nice work on the Hawk Richard the airbrushing is good especially for a second attempt
Nice work on the Hawk Richard the airbrushing is good especially for a second attempt
Posted: Thursday, July 19, 2012 - 11:49 PM UTC
Since the consensus is that I shouldn't weather this, I'm calling it done.
I've wanted to do this plane since the Airfix 1/48 Lightnings were released ~15 years ago (was it really that long? ), such a colourful subject and my dad was on 56 Squadron Lightnings, so its nice to finally have it in the collection. Unfortunately the Aeromaster decals have the wrong colour code letter for the airbrake (should be red) and I couldn't find an appropriate decal in my stash.
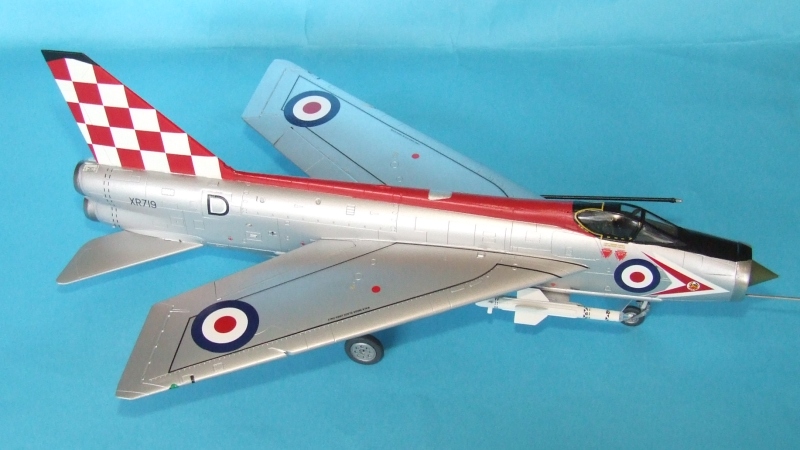
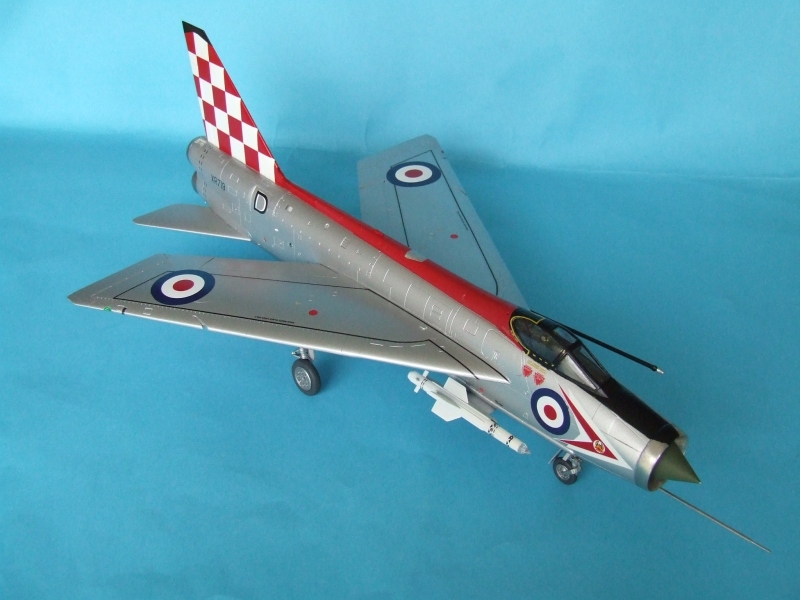
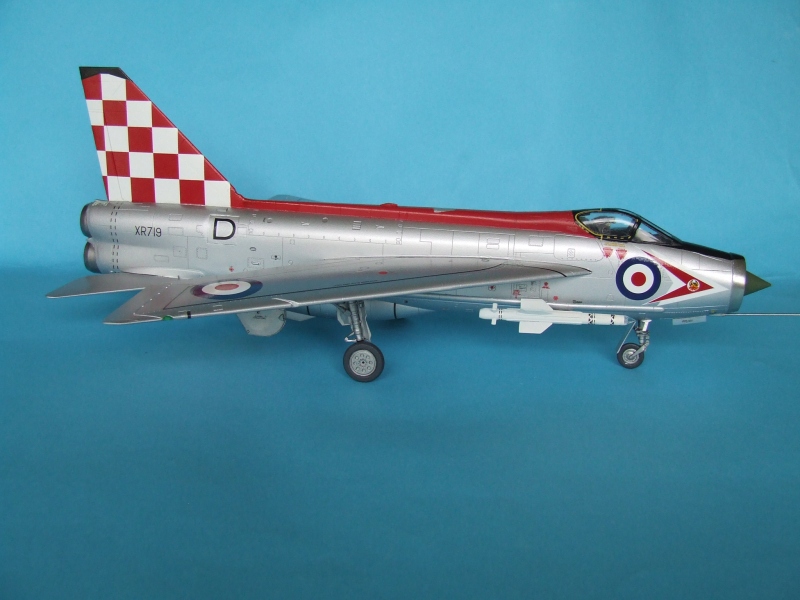
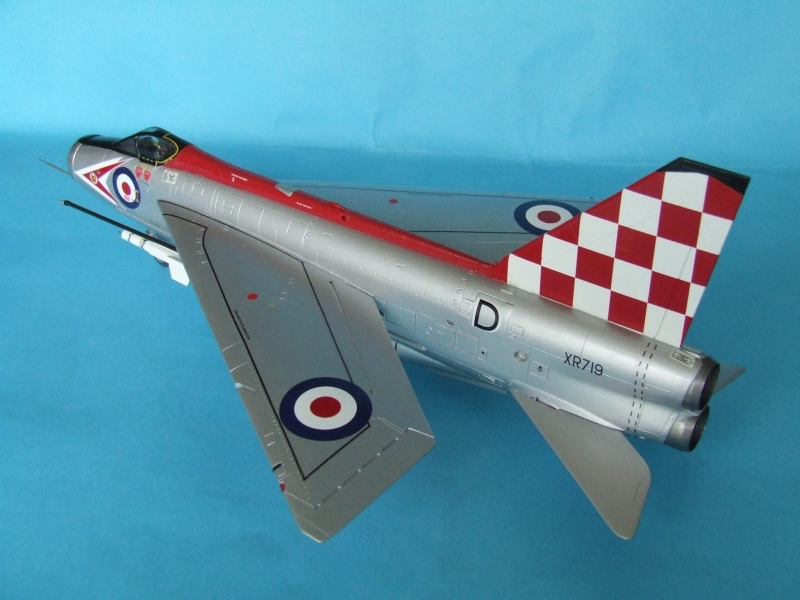
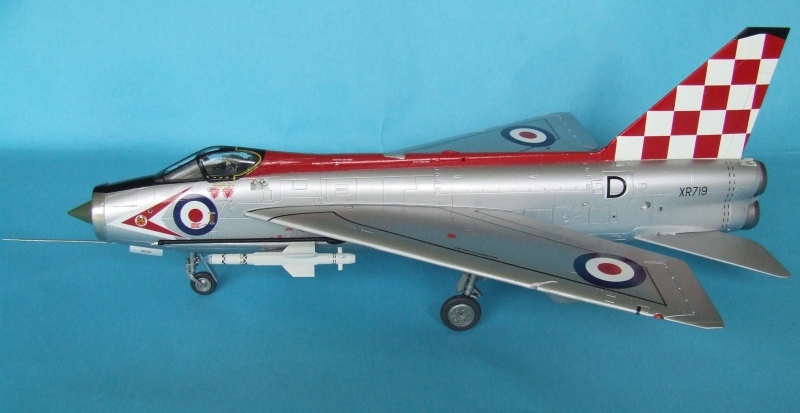
I've wanted to do this plane since the Airfix 1/48 Lightnings were released ~15 years ago (was it really that long?
 ), such a colourful subject and my dad was on 56 Squadron Lightnings, so its nice to finally have it in the collection. Unfortunately the Aeromaster decals have the wrong colour code letter for the airbrake (should be red) and I couldn't find an appropriate decal in my stash.


mrockhill

Joined: June 17, 2009
KitMaker: 566 posts
AeroScale: 507 posts

Posted: Friday, July 20, 2012 - 10:55 AM UTC
Here is an overdue update on my 1/48 hasegawa A6M2 Zero build. Ive knocked out or in progress on numerous small assemblies and having inner conflict with AMS. Thankfully sanity is winning out and Im pretty pleased with the results so far.
My major progress to report is the completion of the cockpit and engine assemblies. I had all sorts of extra detail planned for the cockpit, wiring, seat brackets etc, but skipped it in the interest of actually getting something built. I did create some levers and knobs with sprue and blobs of micro crystal clear. The seat was sanded down on all sides. I planned on eduard color etched belts originally. Every time Ive used these, I like them less and less. I dont feel like I get enough movement out of them before the color flakes off. Got frustrated with the PE belts so I made some quick tape belts (nakajima) I snipped the buckle off the etched set and glued it to the tape and it really made them look respectable. Good enough in my book.
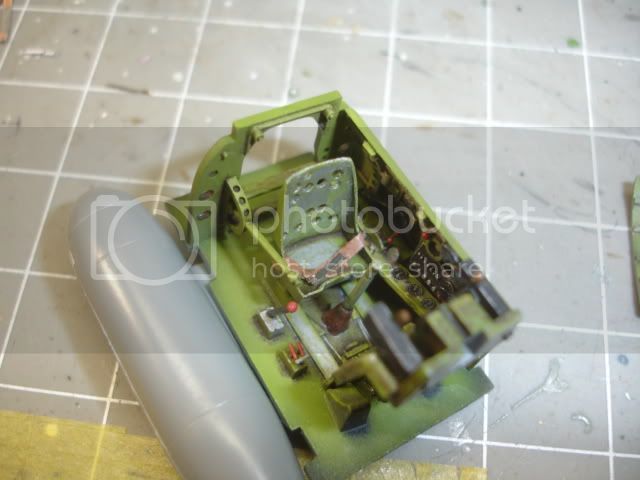
Kit decals were used for the instruments, then topped with micro clear. I made some fuel selection levers(?) from sprue to replace the kits bumps and drilled out some odds and ends. The color is much greener than I wanted, was looking for more yellow. Correct? IDK, I started to space out after 3 pages of online discussion on the subject. Everything got an oil wash and some silver color pencil. Ejector pin mark on the MG wont be visible...time saved!
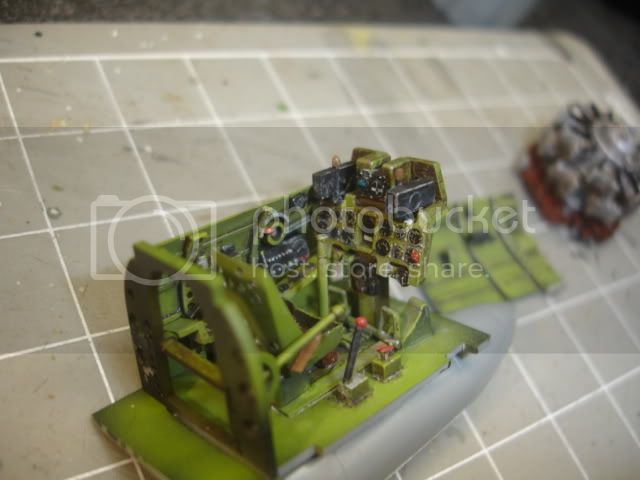
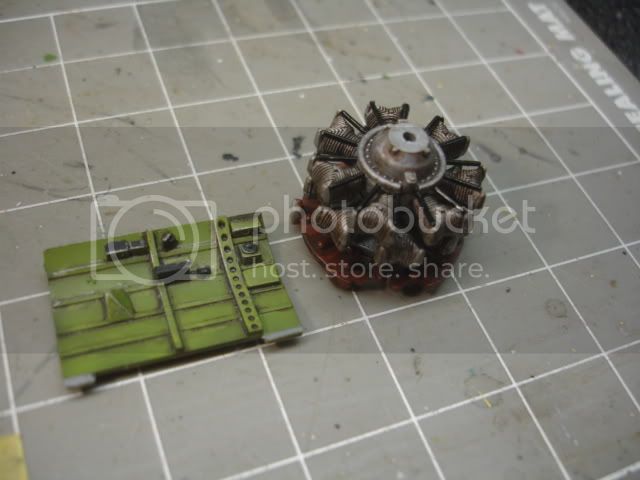
Engine and the "uninteresting wall" of the cockpit. No frills on the engine. I wanted wiring but didnt feel up for all the drilling and fidgeting with wire. With the relatively close cowl and the spinner, it likely wont be much missed. Painted testors aluminum with some sorta testors redbrown exhaust. All washed with Burnt sienna oil paint.
My major progress to report is the completion of the cockpit and engine assemblies. I had all sorts of extra detail planned for the cockpit, wiring, seat brackets etc, but skipped it in the interest of actually getting something built. I did create some levers and knobs with sprue and blobs of micro crystal clear. The seat was sanded down on all sides. I planned on eduard color etched belts originally. Every time Ive used these, I like them less and less. I dont feel like I get enough movement out of them before the color flakes off. Got frustrated with the PE belts so I made some quick tape belts (nakajima) I snipped the buckle off the etched set and glued it to the tape and it really made them look respectable. Good enough in my book.

Kit decals were used for the instruments, then topped with micro clear. I made some fuel selection levers(?) from sprue to replace the kits bumps and drilled out some odds and ends. The color is much greener than I wanted, was looking for more yellow. Correct? IDK, I started to space out after 3 pages of online discussion on the subject. Everything got an oil wash and some silver color pencil. Ejector pin mark on the MG wont be visible...time saved!

Engine and the "uninteresting wall" of the cockpit. No frills on the engine. I wanted wiring but didnt feel up for all the drilling and fidgeting with wire. With the relatively close cowl and the spinner, it likely wont be much missed. Painted testors aluminum with some sorta testors redbrown exhaust. All washed with Burnt sienna oil paint.


Siderius

Joined: September 20, 2005
KitMaker: 1,747 posts
AeroScale: 1,673 posts

Posted: Friday, July 20, 2012 - 12:01 PM UTC
Neil, it is a great build indeed! Really enjoyed looking at it. Russell 

Posted: Saturday, July 21, 2012 - 08:41 AM UTC
Hi all
picked this up cheap from Ebay,should start it next week


Andy
picked this up cheap from Ebay,should start it next week


Andy

BlackWidow

Joined: August 09, 2009
KitMaker: 1,732 posts
AeroScale: 1,336 posts

Posted: Saturday, July 21, 2012 - 08:43 AM UTC
Neil, great looking Lightning there!  It was really an unusual aircraft.
I have just uploaded 2 pics of my Hurri to the campaign gallery. If you wish you can see some more pics and read something about the history of this aircraft here (scroll down the page to the end).
An update of my Griffon Spit follows soon ....
Torsten
 It was really an unusual aircraft.
I have just uploaded 2 pics of my Hurri to the campaign gallery. If you wish you can see some more pics and read something about the history of this aircraft here (scroll down the page to the end).
An update of my Griffon Spit follows soon ....
Torsten

Posted: Saturday, July 21, 2012 - 06:44 PM UTC
An update on my Tomahawk II B, it's together, undercoated & ready for some paint, which will be a while off

Posted: Saturday, July 21, 2012 - 08:48 PM UTC
Neil fab looking lightning 
Mike great work so far on the Zero looking foward to seeing it progress
Andy looking forward to seeing another Lightning for the campaign (the more the merrier with Lightnings got a soft spot for them with living very close to RAF Binbrook where they were stationed)
John the Tomahawk is looking great like the panel lining you've done to it
Posted: Sunday, July 22, 2012 - 02:55 AM UTC
Quoted Text
OK, gallery back onlineand my Lightning is just about done, but I'm having a dilema - to wheather or not? Right now she's nice and shiny, and doing a realistically weathered NMF Lightning is very difficult (and rarely seen).
So what do we think, call it a day and quit while I'm ahead? Or a touch of dirt?

Love this Neil
I'll get down and dirty with mine


Andy

lespauljames

Joined: January 06, 2007
KitMaker: 3,661 posts
AeroScale: 369 posts

Posted: Sunday, July 22, 2012 - 06:12 AM UTC
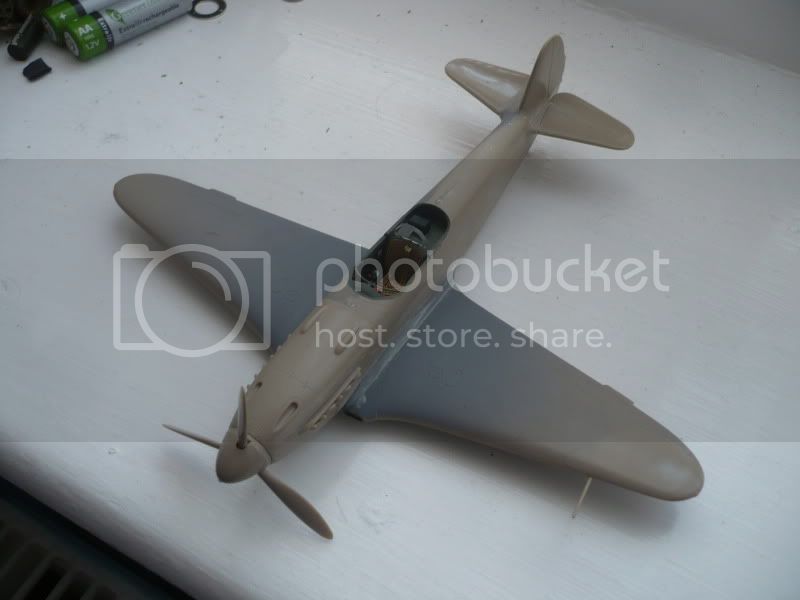
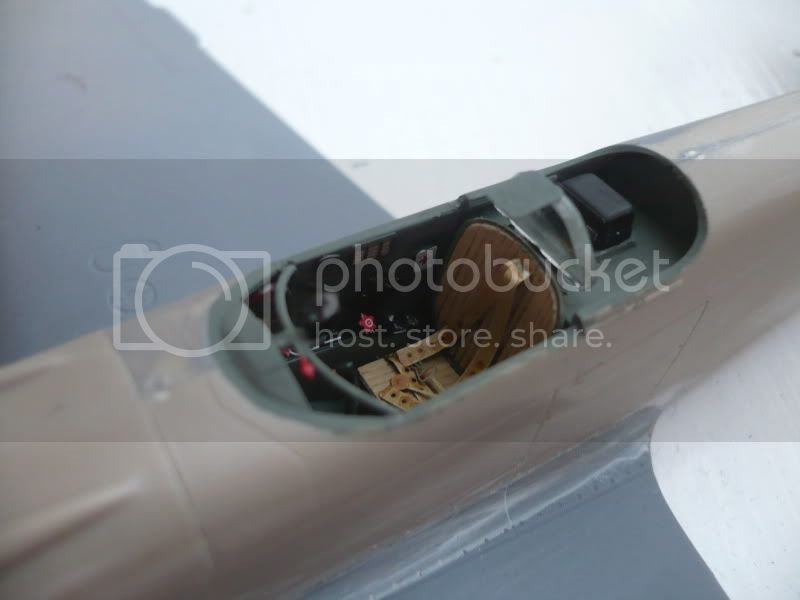
little more here.


Siderius

Joined: September 20, 2005
KitMaker: 1,747 posts
AeroScale: 1,673 posts

Posted: Sunday, July 22, 2012 - 12:51 PM UTC
Well guys (that includes gals), I have been slow getting out of the gate this year in modeling. I will endeavor to finish this Kawanishi "George" in the time given. I wanted to share a couple pictures of the kit which I am about to start. Russell 
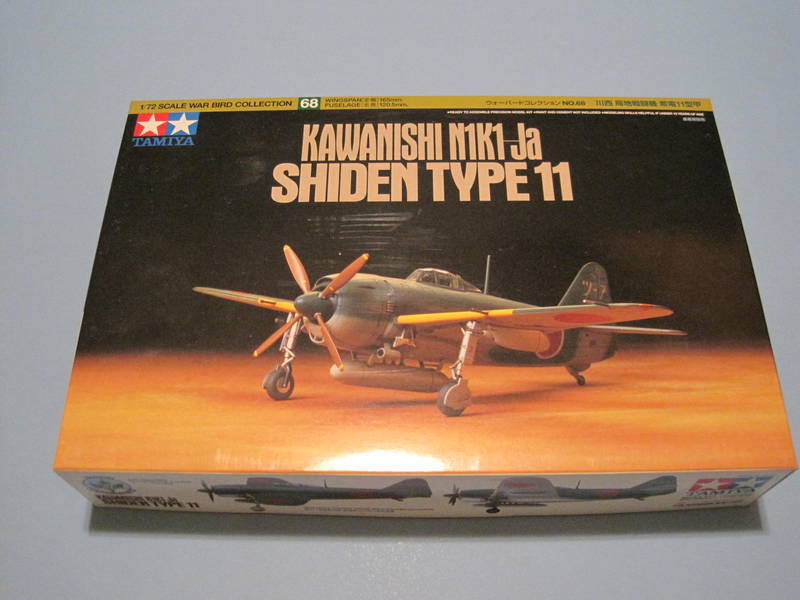
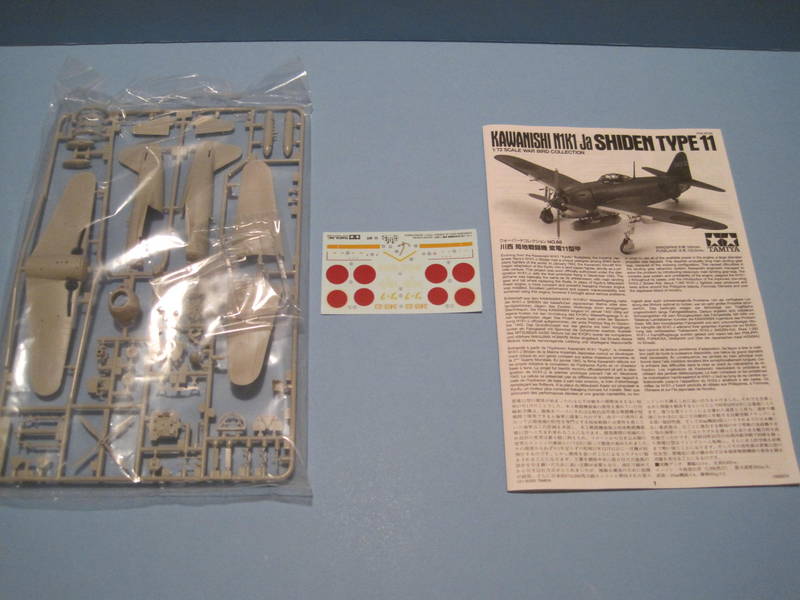
P.S. Sorry about the glare off the plastic bag!!


P.S. Sorry about the glare off the plastic bag!!

SaxonTheShiba

Joined: February 01, 2009
KitMaker: 1,233 posts
AeroScale: 663 posts

Posted: Sunday, July 22, 2012 - 01:21 PM UTC
Richard---Congrats on the P-40...looks great.
Neil---Beautiful Lightning and great job with your natural metal finish. The Lightning is a truly beautiful fighter. The markings on that one really bring it to life.
I worked some more on my F-4 "Sierra". I got the CAM resin leading edge slats installed, as well as the new resin wing-tips. Unfortunately I got two left side slats in the set so I had to fabricate the right side slat using the kit leading edge and sheet stock. Should be fine though, once I sand it down. I will get the outer wings shimmed up and filled this week. Installed the intakes in the fuselage, also. Hopefully I will get all those metal plates sanded off the fuselage as well. I wish Tamiya had not used a maintenance hack F-4 as the basis for the test shot with all the repair plates on it..........oh well. Anyway, great work by everyone in the thread.
Regards, Ian




Posted: Monday, July 23, 2012 - 05:49 PM UTC
[quoteLove this Neil
I'll get down and dirty with mine

Andy[/quote]
Thanks Having seen your big Mossie, I feel confident you can make yours look more realistic than mine
I'll get down and dirty with mine


Andy[/quote]
Thanks
 Having seen your big Mossie, I feel confident you can make yours look more realistic than mine
Posted: Monday, July 23, 2012 - 06:43 PM UTC
James nice progress on the Yak looking good
Russell nice kit choice Ive always fancied having a go at that one but never have got the kit.
Ian nice work on the F-4 and the scratch built bit.
Russell nice kit choice Ive always fancied having a go at that one but never have got the kit.
Ian nice work on the F-4 and the scratch built bit.

Jessie_C


Joined: September 03, 2009
KitMaker: 6,965 posts
AeroScale: 6,247 posts

Posted: Tuesday, July 24, 2012 - 04:44 AM UTC
Pigeon, meet Mule.
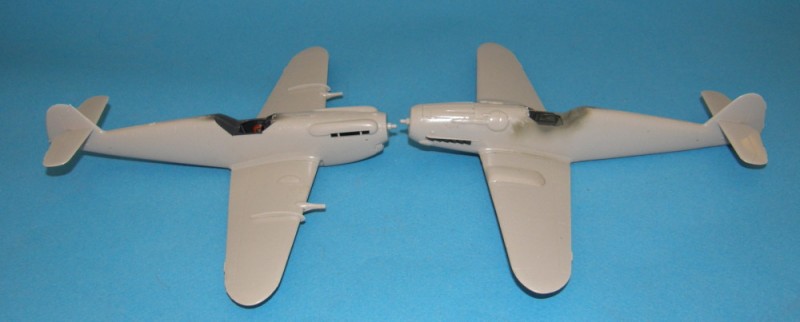
Mule, meet Pigeon.
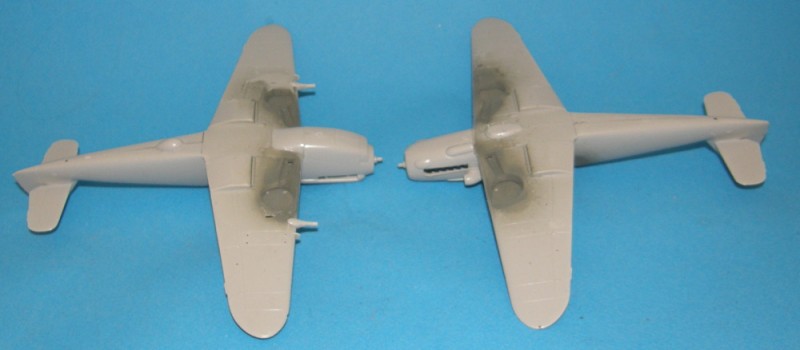
Both of you need to meet putty and sandpaper.
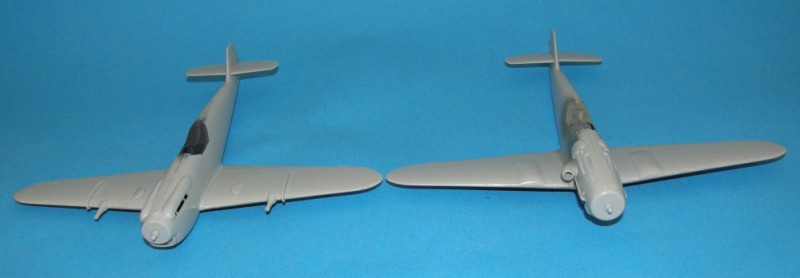

Mule, meet Pigeon.

Both of you need to meet putty and sandpaper.


Snorri23

Joined: March 25, 2010
KitMaker: 514 posts
AeroScale: 244 posts

Posted: Tuesday, July 24, 2012 - 09:10 PM UTC
While scrolling through the posts I saw many great builds and paint jobs.I am greatly inspired to keep on trying to create a better build. As for myself the Do 17 has not left the box. With school, trying to finish the Do 10 for the matchbox build there is not much time. I will get to it eventually, I do pray. TTFN. 

Posted: Tuesday, July 24, 2012 - 09:55 PM UTC
Quoted Text
Pigeon, meet Mule.

Mule, meet Pigeon.

Both of you need to meet putty and sandpaper.


lespauljames

Joined: January 06, 2007
KitMaker: 3,661 posts
AeroScale: 369 posts

Posted: Wednesday, July 25, 2012 - 04:06 AM UTC
looking forward to more progress Jessica.
Here is mine so far.......
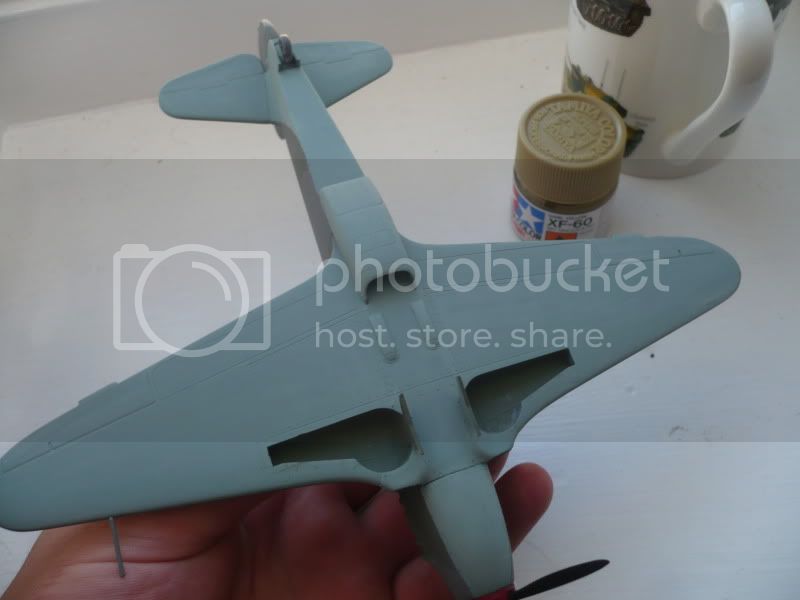
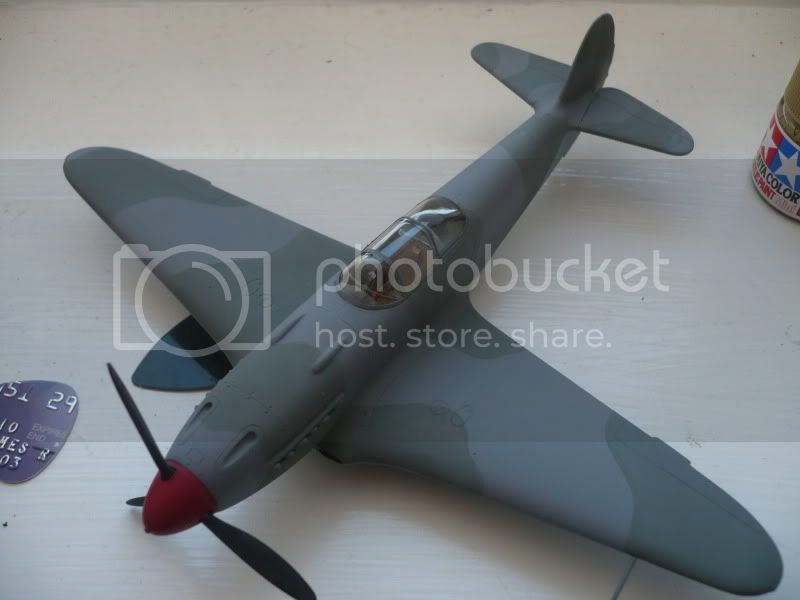
Here is mine so far.......


 |


