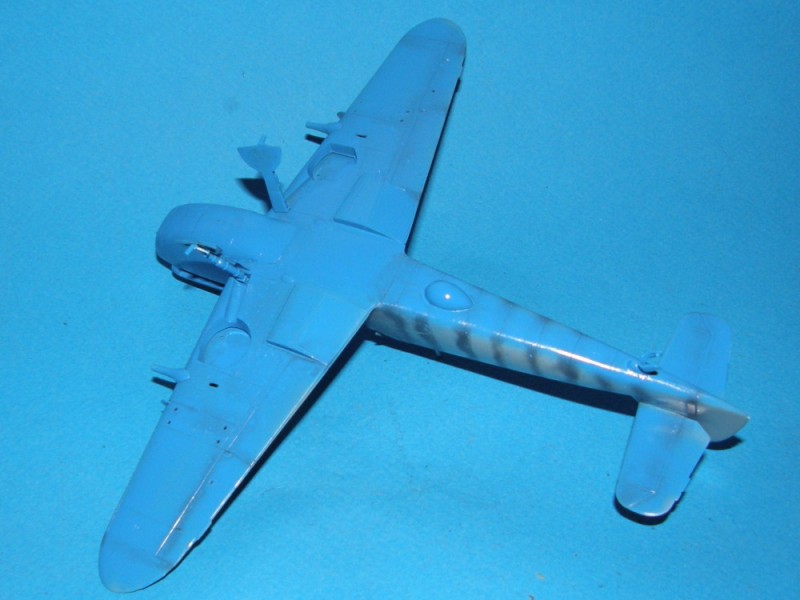
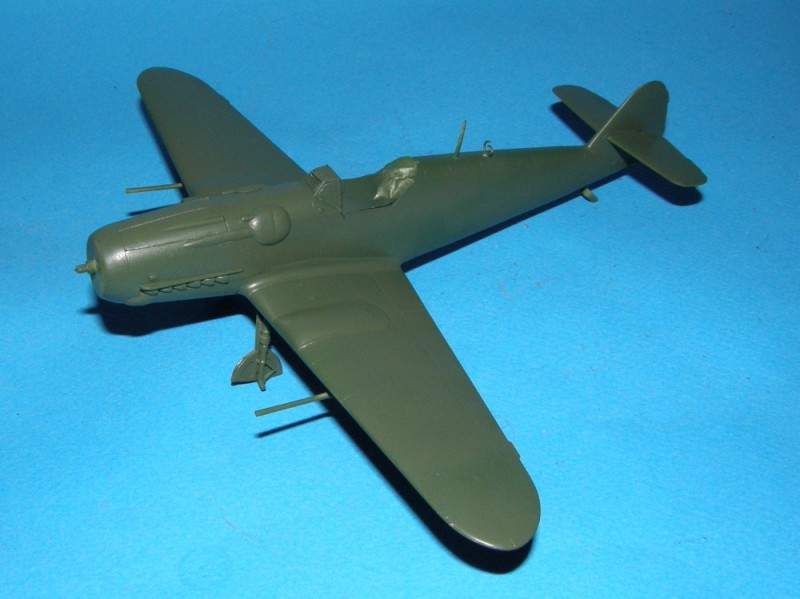
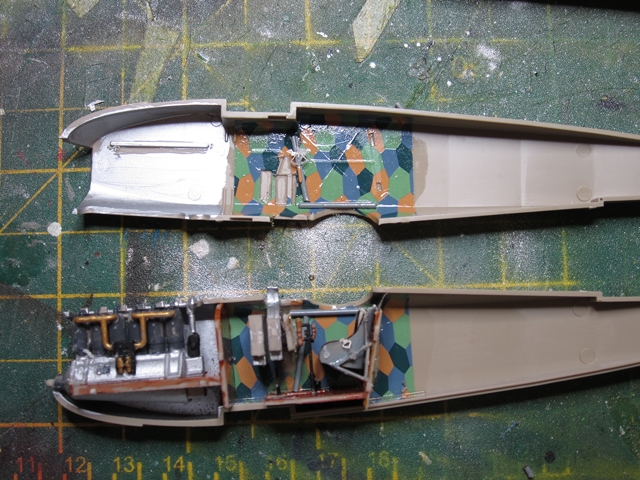
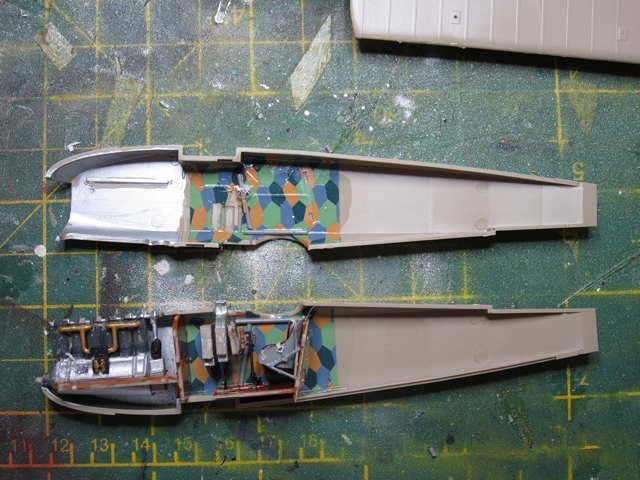
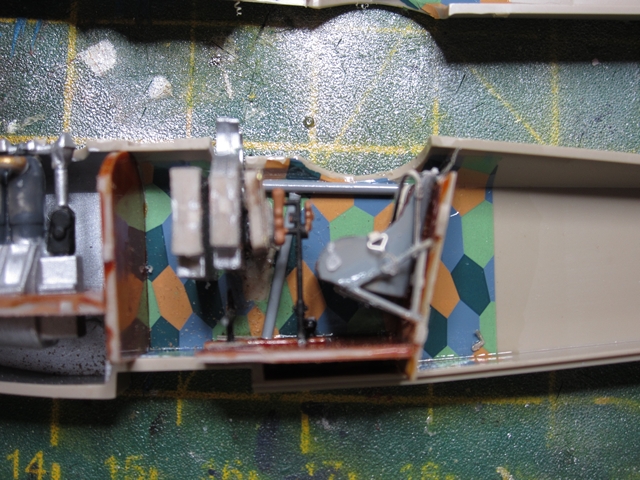
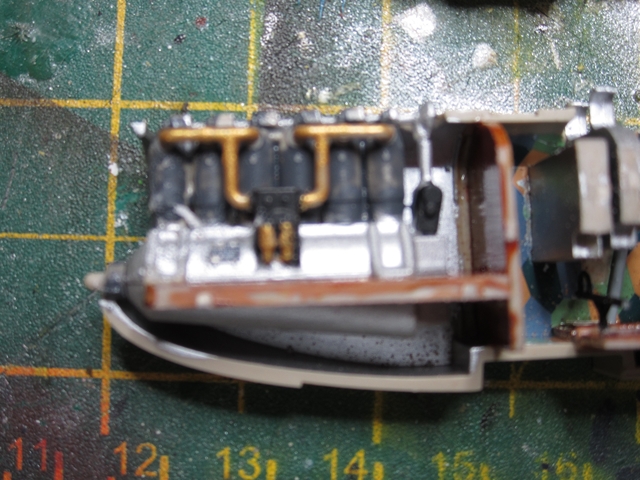
We have progress! Sitting at home with no work today is a sad state of affairs but at least something is getting done. Its gone together fairly well with some minor fitting and shimming here and there. So far just a few minor seams to clean up and most succumbed to some Mr.Surfacer 500. There is a particularly nasty seam I need to carefully address in the wheel wells and if anything is the Achilles heel of this kit so far. And if it doesnt clean up well at least its on the bottom! I "hope" to have her in primer by the end of the weekend
Air Campaigns
Want to start or join a group build? This is where to start.
Hosted by Frederick Boucher, Michael Satin
OFFICIAL: Fighters! Campaign Thread
mrockhill
Pennsylvania, United States
Joined: June 17, 2009
KitMaker: 566 posts
AeroScale: 507 posts
Joined: June 17, 2009
KitMaker: 566 posts
AeroScale: 507 posts
Posted: Wednesday, August 15, 2012 - 05:40 AM UTC
Posted: Wednesday, August 15, 2012 - 07:18 AM UTC
Great progress Mike hope the filling goes well
mrockhill
Pennsylvania, United States
Joined: June 17, 2009
KitMaker: 566 posts
AeroScale: 507 posts
Joined: June 17, 2009
KitMaker: 566 posts
AeroScale: 507 posts
Posted: Wednesday, August 15, 2012 - 07:48 AM UTC
Quoted Text
Great progress Mike hope the filling goes well
Thanks! The plan so far is to fill the seam with mr.surfacer, probably several coats and cleaning it up with a cotton swab dunked in...well, whatever can clean it up. Hopefully something other than lacquer thinner. Im thinking the small structural bits in the well can be seamed up with CA. Should be a hoot!
Mustanger
Virginia, United States
Joined: July 06, 2012
KitMaker: 94 posts
AeroScale: 33 posts
Joined: July 06, 2012
KitMaker: 94 posts
AeroScale: 33 posts
Posted: Wednesday, August 15, 2012 - 09:57 AM UTC
Quoted Text
Looking forward to seeing it progress
Thanks, Sam.
Since I'm starting from zero as far as supplies/equipment goes, and no place to build, I'm interested in seeing how I fare, too.
Posted: Wednesday, August 15, 2012 - 10:10 AM UTC
Quoted Text
There is a particularly nasty seam I need to carefully address in the wheel wells and if anything is the Achilles heel of this kit so far.
Hi Mike. For a gap in that location I think you would be much better off filling it with some stretched sprue or thin scrap or Evergreen stock. If it ends up slightly raised it will look like part of the structure.
Cheers, D
litespeed
News Reporter
England - North West, United Kingdom
Joined: October 15, 2009
KitMaker: 1,976 posts
AeroScale: 1,789 posts
Joined: October 15, 2009
KitMaker: 1,976 posts
AeroScale: 1,789 posts
Posted: Thursday, August 16, 2012 - 08:00 AM UTC
Hi Sam
Do you mind if I participate? I have Eduards 1/72 Bf 110E ready to go with extra bits and bobs that Eduard has supplied. I will finish it as the box cover.
tim
Do you mind if I participate? I have Eduards 1/72 Bf 110E ready to go with extra bits and bobs that Eduard has supplied. I will finish it as the box cover.
tim
Posted: Thursday, August 16, 2012 - 08:54 AM UTC
Of course not Tim the more the merrier. Looking forward to seeing that kit built up and the extra bits for it. Seriously tempted by it
litespeed
News Reporter
England - North West, United Kingdom
Joined: October 15, 2009
KitMaker: 1,976 posts
AeroScale: 1,789 posts
Joined: October 15, 2009
KitMaker: 1,976 posts
AeroScale: 1,789 posts
Posted: Thursday, August 16, 2012 - 09:49 AM UTC
Thanks Sam
I have just started putting the cockpit together. I am trying to glue as much stuff in as possible before spraying it with primer then painting it mostly RLM 02. I do like the small inserts that fit over the gap where the wing root shows inside the cockpit.
tim
I have just started putting the cockpit together. I am trying to glue as much stuff in as possible before spraying it with primer then painting it mostly RLM 02. I do like the small inserts that fit over the gap where the wing root shows inside the cockpit.
tim
Jessie_C
British Columbia, Canada
Joined: September 03, 2009
KitMaker: 6,965 posts
AeroScale: 6,247 posts
Joined: September 03, 2009
KitMaker: 6,965 posts
AeroScale: 6,247 posts
Posted: Friday, August 17, 2012 - 04:11 PM UTC
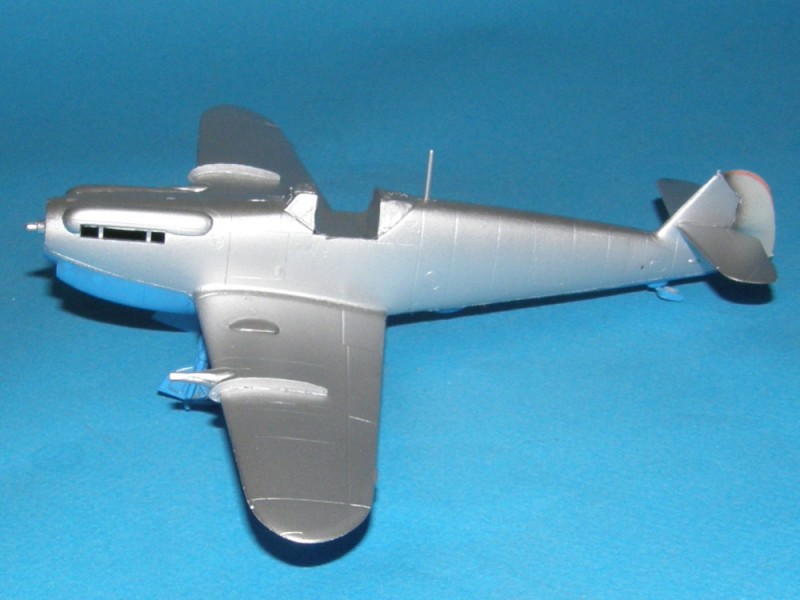
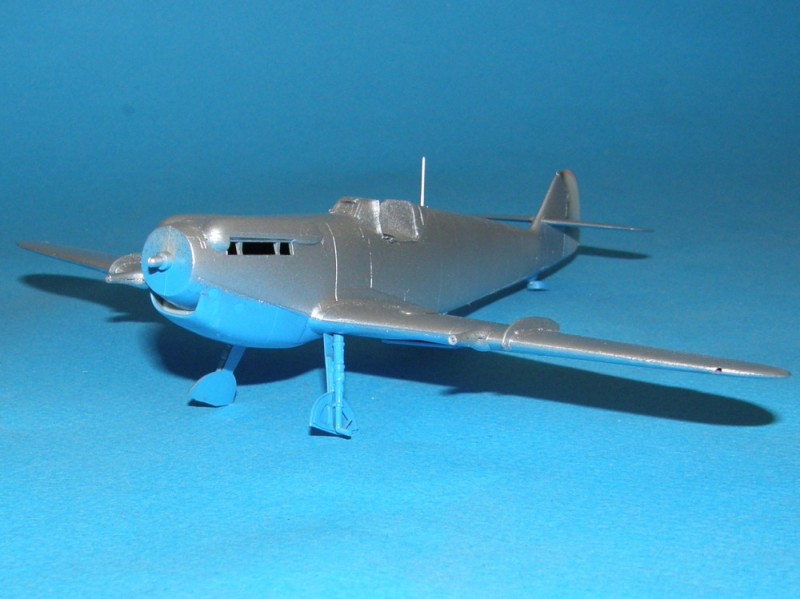
I've splashed some more paint around. The Buchon is now almost perfectly camouflaged against my blue background paper and the Mezek is looking aggressively military.
Posted: Saturday, August 18, 2012 - 04:46 AM UTC
Nice work Tim like the inserts too
Great progress on the pair of them Jessie like the background camo colour
Jessie_C
British Columbia, Canada
Joined: September 03, 2009
KitMaker: 6,965 posts
AeroScale: 6,247 posts
Joined: September 03, 2009
KitMaker: 6,965 posts
AeroScale: 6,247 posts
Posted: Saturday, August 18, 2012 - 12:59 PM UTC
Now I've got some silver on the Buchon. I have to clean up the inevitable overspray, but it's getting there.
SaxonTheShiba
United States
Joined: February 01, 2009
KitMaker: 1,233 posts
AeroScale: 663 posts
Joined: February 01, 2009
KitMaker: 1,233 posts
AeroScale: 663 posts
Posted: Sunday, August 19, 2012 - 04:21 AM UTC
Continued work on the 1/32 Rhino. Installed the outer wing panels, with slat wells, this weekend. The fit in regards to the CAM resin slats was pretty bad so it took some coaxing to get everything right. Should be ready to start applying ALOT of Light Gull Grey shortly since most of the sub-assemblies are done.
Best wishes, Ian
Best wishes, Ian
Siderius
Tennessee, United States
Joined: September 20, 2005
KitMaker: 1,747 posts
AeroScale: 1,673 posts
Joined: September 20, 2005
KitMaker: 1,747 posts
AeroScale: 1,673 posts
Posted: Sunday, August 19, 2012 - 04:56 AM UTC
That is one big bird Ian! Where will you put it? Russell
Posted: Monday, August 20, 2012 - 12:48 AM UTC
My entry. Hasegawa 1/32 Bf109 G-6. I plan to use the Aires Cockpit set for the build. This will be my first time using resin and I am keeping my fingers crossed
Plan to finish it as Gelb 1 of Erich Hartmann when he was he Staffel Kapitan of 9./JG52
Bf109 G-6 by iflytb20, on Flickr
Plan to finish it as Gelb 1 of Erich Hartmann when he was he Staffel Kapitan of 9./JG52
Bf109 G-6 by iflytb20, on Flickr
litespeed
News Reporter
England - North West, United Kingdom
Joined: October 15, 2009
KitMaker: 1,976 posts
AeroScale: 1,789 posts
Joined: October 15, 2009
KitMaker: 1,976 posts
AeroScale: 1,789 posts
Posted: Tuesday, August 21, 2012 - 09:11 AM UTC
Hi all
Primed and painted RLM02 to the cockpit. There are quite a few photo etched parts to fit which is a bit time consuming but worth the effort.
tim
Primed and painted RLM02 to the cockpit. There are quite a few photo etched parts to fit which is a bit time consuming but worth the effort.
tim
litespeed
News Reporter
England - North West, United Kingdom
Joined: October 15, 2009
KitMaker: 1,976 posts
AeroScale: 1,789 posts
Joined: October 15, 2009
KitMaker: 1,976 posts
AeroScale: 1,789 posts
Posted: Wednesday, August 22, 2012 - 08:20 AM UTC
Hi all
The ribs for the undercarriage bay have been attached. The ribs are part of the PE detailing set [72542] and don’t come with the Profipack kit.
Wings were glued together then the nacelles attached. removed the clamps and then attached the wing tips. Everything seems to fit very well indeed. I have been using dabs of liquid glue to join the parts.
tim
mrockhill
Pennsylvania, United States
Joined: June 17, 2009
KitMaker: 566 posts
AeroScale: 507 posts
Joined: June 17, 2009
KitMaker: 566 posts
AeroScale: 507 posts
Posted: Wednesday, August 22, 2012 - 01:02 PM UTC
That 110 is an impressive little kit!
wespe66
Frederiksborg, Denmark
Joined: June 27, 2011
KitMaker: 122 posts
AeroScale: 121 posts
Joined: June 27, 2011
KitMaker: 122 posts
AeroScale: 121 posts
Posted: Thursday, August 23, 2012 - 06:45 AM UTC
Torsten, congrats on your finished buld! Beautiful work. Nothing like a clipped-wing Griffon-Spit...
You other guys are doing some fine work too.
Raj, I will follow yours with special interest, as I have the Hasegawa 109G-6 1/32 in my stash too.
Update:
Cockpit, engine and inside fuselage have been painted and assembled. Sorry I forgot to take pics before assembly.
One funny thing is that the cockpit looks much more dirty than the engine, because of the lighter color. But hey, maybe the ground-crew justed washed the engine...
Ok-Ok, I will dirty the up later :-)
Next up is the wing assembly.
This Eduard Bf109E 1/48 is a great kit - highly recommended!
Cheers
You other guys are doing some fine work too.
Raj, I will follow yours with special interest, as I have the Hasegawa 109G-6 1/32 in my stash too.
Update:
Cockpit, engine and inside fuselage have been painted and assembled. Sorry I forgot to take pics before assembly.
One funny thing is that the cockpit looks much more dirty than the engine, because of the lighter color. But hey, maybe the ground-crew justed washed the engine...
Ok-Ok, I will dirty the up later :-)
Next up is the wing assembly.
This Eduard Bf109E 1/48 is a great kit - highly recommended!
Cheers
Posted: Thursday, August 23, 2012 - 09:53 AM UTC
Some nice models coming up, and a lot of Messerschmidts. Bit more done on the Fokker, the fuselage is actually closed up now, painting starts this weekend
Removed by original poster on 08/24/12 - 00:12:07 (GMT).
Removed by original poster on 08/24/12 - 00:13:26 (GMT).
redalb2253
South Carolina, United States
Joined: June 02, 2006
KitMaker: 235 posts
AeroScale: 60 posts
Joined: June 02, 2006
KitMaker: 235 posts
AeroScale: 60 posts
Posted: Thursday, August 23, 2012 - 12:15 PM UTC
That worked I had to make a decision and chose the 43 year old and not many WW1 planes so..
redalb2253
South Carolina, United States
Joined: June 02, 2006
KitMaker: 235 posts
AeroScale: 60 posts
Joined: June 02, 2006
KitMaker: 235 posts
AeroScale: 60 posts
Posted: Thursday, August 23, 2012 - 12:19 PM UTC
I'm using Goldmetal models decals the kit one kinda fell apart in the water also using resin Vickers.
Posted: Thursday, August 23, 2012 - 09:12 PM UTC
Great progress everyone, not been on much this week as redoing the room computer is in and had to pack it away so not much time for getting on line with getting the room done.
litespeed
News Reporter
England - North West, United Kingdom
Joined: October 15, 2009
KitMaker: 1,976 posts
AeroScale: 1,789 posts
Joined: October 15, 2009
KitMaker: 1,976 posts
AeroScale: 1,789 posts
Posted: Friday, August 24, 2012 - 09:36 AM UTC
Hi all
Joined the fuselage halves together after adding the last of the PE parts and added all but one of the MG FF guns spare magasines. After a couple of hours to set I removed the clamps from the fuselage and then glued the wings and horizontal stabilisers. I had already glued the vertical fins before adding the stabilisers. There was a slight step where the one piece horizontal stabiliser fits into the rear fuselage. I deepened the recess a fraction and this sorted the problem out. Very impressive fit so far.
This evening I added the resin nose gun bay mounts. The kit does not require any surgery, it just fits straight in after removing the casting stump.
Joined the fuselage halves together after adding the last of the PE parts and added all but one of the MG FF guns spare magasines. After a couple of hours to set I removed the clamps from the fuselage and then glued the wings and horizontal stabilisers. I had already glued the vertical fins before adding the stabilisers. There was a slight step where the one piece horizontal stabiliser fits into the rear fuselage. I deepened the recess a fraction and this sorted the problem out. Very impressive fit so far.
This evening I added the resin nose gun bay mounts. The kit does not require any surgery, it just fits straight in after removing the casting stump.